Final Fantasy XII: The Zodiac Age Guide Walkthrough Part 1
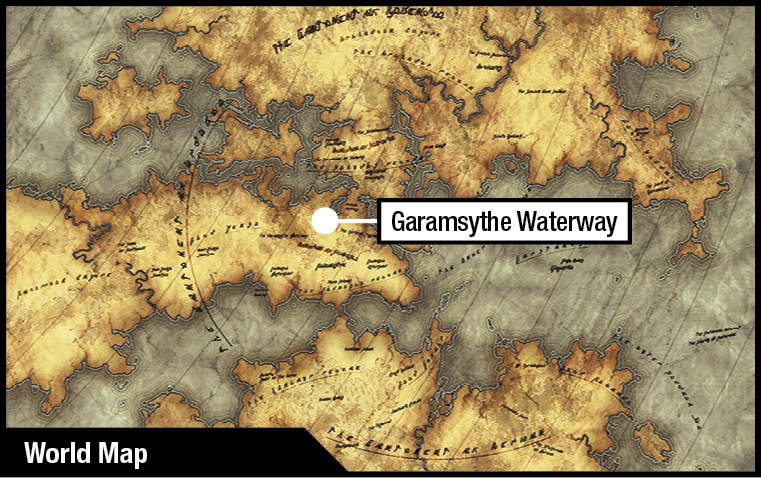
Garamsythe Waterway 2
OBJECTIVE
Survive the Underground Waterway
Venture from the royal palace back to the city via the treacherous underground waterway, defeating deadly foes along the way.
Action Checklist
1. Learn how to use the Gambit system.
2. Work through the waterway canals.
3. Pick up a “party guest” and defeat a powerful Imperial force.
4. Fight off a nasty Flan ambush.
5. Defeat Firemane, the game’s first real boss.
| Pop odds | If pop, Gil odds & Amt | Normal Loot | w/Diamond Armlet | ||||
|---|---|---|---|---|---|---|---|
|
# |
App. % |
Gil % |
Amt. if Gil |
50% |
50% |
90% |
10% |
|
1 |
80% |
40% |
~80 |
Phoenix Down |
Phoenix Down |
Knot of Rust |
Meteorite (A) |
|
2 |
80% |
30% |
~80 |
Antidote |
Antidote |
Knot of Rust |
Meteorite (A) |
|
3 |
80% |
45% |
~90 |
Potion |
Altair |
Knot of Rust |
Meteorite (B) |
|
4 |
80% |
40% |
~100 |
Hi-Potion |
Leather Breastplate |
Knot of Rust |
Meteorite (A) |
|
5 |
75% |
30% |
~80 |
Antidote |
Antidote |
Knot of Rust |
Meteorite (A) |
|
6 |
75% |
40% |
~80 |
Potion |
Light-woven Shirt |
Knot of Rust |
Meteorite (A) |
|
7 |
75% |
40% |
~80 |
Potion |
Chromed Leathers |
Knot of Rust |
Meteorite (A) |
|
8 |
75% |
35% |
~110 |
Ether |
Ether |
Knot of Rust |
Meteorite (A) |
|
9 |
75% |
35% |
~80 |
Potion |
Oaken Pole |
Knot of Rust |
Meteorite (B) |
|
10 |
75% |
40% |
~90 |
Potion |
Kotetsu |
Knot of Rust |
Meteorite (A) |
|
11 |
100% |
0% |
— |
Hi-Potion |
Hi-Potion |
Hi-Potion |
Hi-Potion |
|
12 |
100% |
0% |
— |
Phoenix Down |
Phoenix Down |
Phoenix Down |
Phoenix Down |
|
13 |
80% |
35% |
~80 |
Dark Mote |
Dark Mote |
Knot of Rust |
Meteorite (A) |
|
14 |
80% |
35% |
~90 |
Soleil Fang |
Soleil Fang |
Knot of Rust |
Meteorite (B) |
|
15 |
70% |
40% |
~95 |
Antidote |
Silken Shirt |
Knot of Rust |
Meteorite (A) |
|
16 |
70% |
40% |
~85 |
Potion |
Bowgun |
Knot of Rust |
Meteorite (A) |
|
17 |
70% |
40% |
~300 |
Hi-Potion |
Longsword |
Knot of Rust |
Meteorite (A) |
|
18 |
70% |
45% |
~80 |
Phoenix Down |
Mace |
Knot of Rust |
Meteorite (B) |
|
19 |
90% |
50% |
~300 |
Chronos Tear |
Serum |
Knot of Rust |
Meteorite (C) |
|
20 |
90% |
50% |
~300 |
Ether |
Long Bolts |
Knot of Rust |
Meteorite (A) |
|
21 |
90% |
50% |
~300 |
Nu Khai Sand |
Hi-Potion |
Knot of Rust |
Meteorite (A) |
|
22 |
100% |
0% |
— |
Gilt Measure |
Gilt Measure |
Gilt Measure |
Gilt Measure |
|
23 |
90% |
50% |
~300 |
Ether |
Aqua Mote |
Knot of Rust |
Meteorite (B) |
|
24 |
90% |
50% |
~300 |
Potion |
Gold Needle |
Knot of Rust |
Meteorite (A) |
|
25 |
90% |
50% |
~300 |
Ether |
Potion |
Knot of Rust |
Meteorite (A) |
|
26 |
90% |
50% |
~300 |
Phoenix Down |
Gold Needle |
Knot of Rust |
Meteorite (B) |
|
27 |
90% |
50% |
~300 |
Dispel Mote |
Gravity Mote |
Knot of Rust |
Meteorite (A) |
|
28 |
100% |
0% |
— |
Hornito |
Hornito |
Hornito |
Hornito |
|
29 |
90% |
50% |
~300 |
Nu Khai Sand |
Silent Shot |
Knot of Rust |
Meteorite (A) |
|
30 |
100% |
0% |
— |
Jade Collar |
Jade Collar |
Jade Collar |
Jade Collar |
|
31 |
90% |
50% |
~300 |
Potion |
Aero Mote |
Knot of Rust |
Meteorite (B) |
|
32 |
90% |
50% |
~300 |
Echo Herbs |
Aqua Mote |
Knot of Rust |
Meteorite (A) |
|
33 |
100% |
0% |
— |
Achilles |
Achilles |
Achilles |
Achilles |
|
34 |
90% |
50% |
~300 |
Antidote |
Ether |
Knot of Rust |
Meteorite (A) |
|
35 |
90% |
50% |
~300 |
Eye Drops |
Chronos Tear |
Knot of Rust |
Meteorite (B) |
Learn Gambits!
This is a different part of the waterway now: you start at the East Spur Stairs. Save your game at the Save Crystal nearby and head downstairs for a quick Gambit tutorial. Follow it carefully, and take note of Balthier’s advice: “Vitality before violence.” In general, you should put healing/repair gambits before fighting gambits in your task order. (Again, for a more in-depth look at Gambits, see the “Gambits” chapter in this guide.)
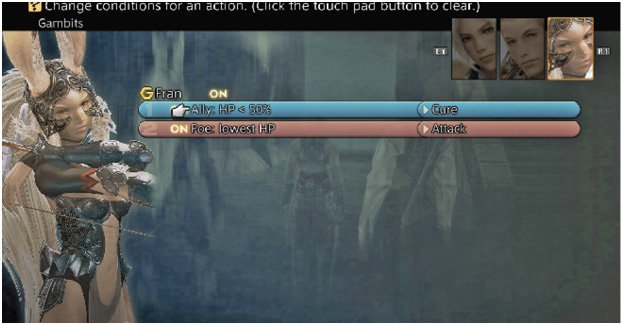
After the tutorial, open the Party Menu and check out the party’s Gambit setups. Throughout the game, you'll want gambits set up that enable party members to sustain and enhance each other, while efficiently thinning out incoming enemy ranks. Design gambits that will be useful in many scenarios, and that will remove the types of actions you don't want to worry about, and save your attention for contingencies, issuing commands to your characters that are beyond the scope of the Gambit system.
For now, assign the first (higher-priority) gambit slot on each character to some kind of healing action, and the second gambit to offense. For now, "Ally HP < 30%—Potion" and "Ally HP < 50%—Cure" suffice for restoration, and "Foe: lowest HP—Attack" covers attacking.
These are just suggestions, mind you. Feel free to experiment with the order and type of gambits in the early going until you get a feel for how they actually work on the ground. And read the chapter in this guide on Gambits!
Move Down the Eastern Waterway
Now examine the fallen soldiers lying nearby. Balthier identifies them as anti-Imperial insurgents who infiltrated the area, hoping the Imperial guard would be distracted by the palace fete. He speculates that Vayne used himself as bait to draw them in, then sent in his powerful air brigade led by the Ifrit to crush the resistance.
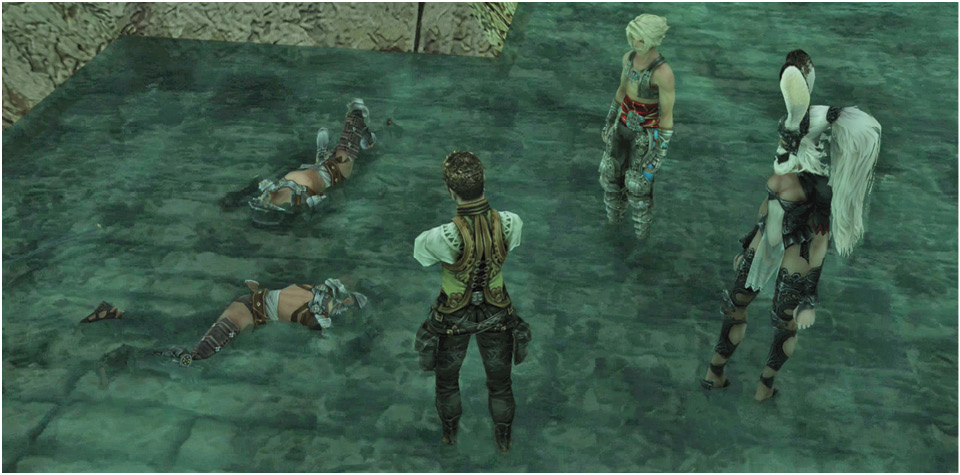
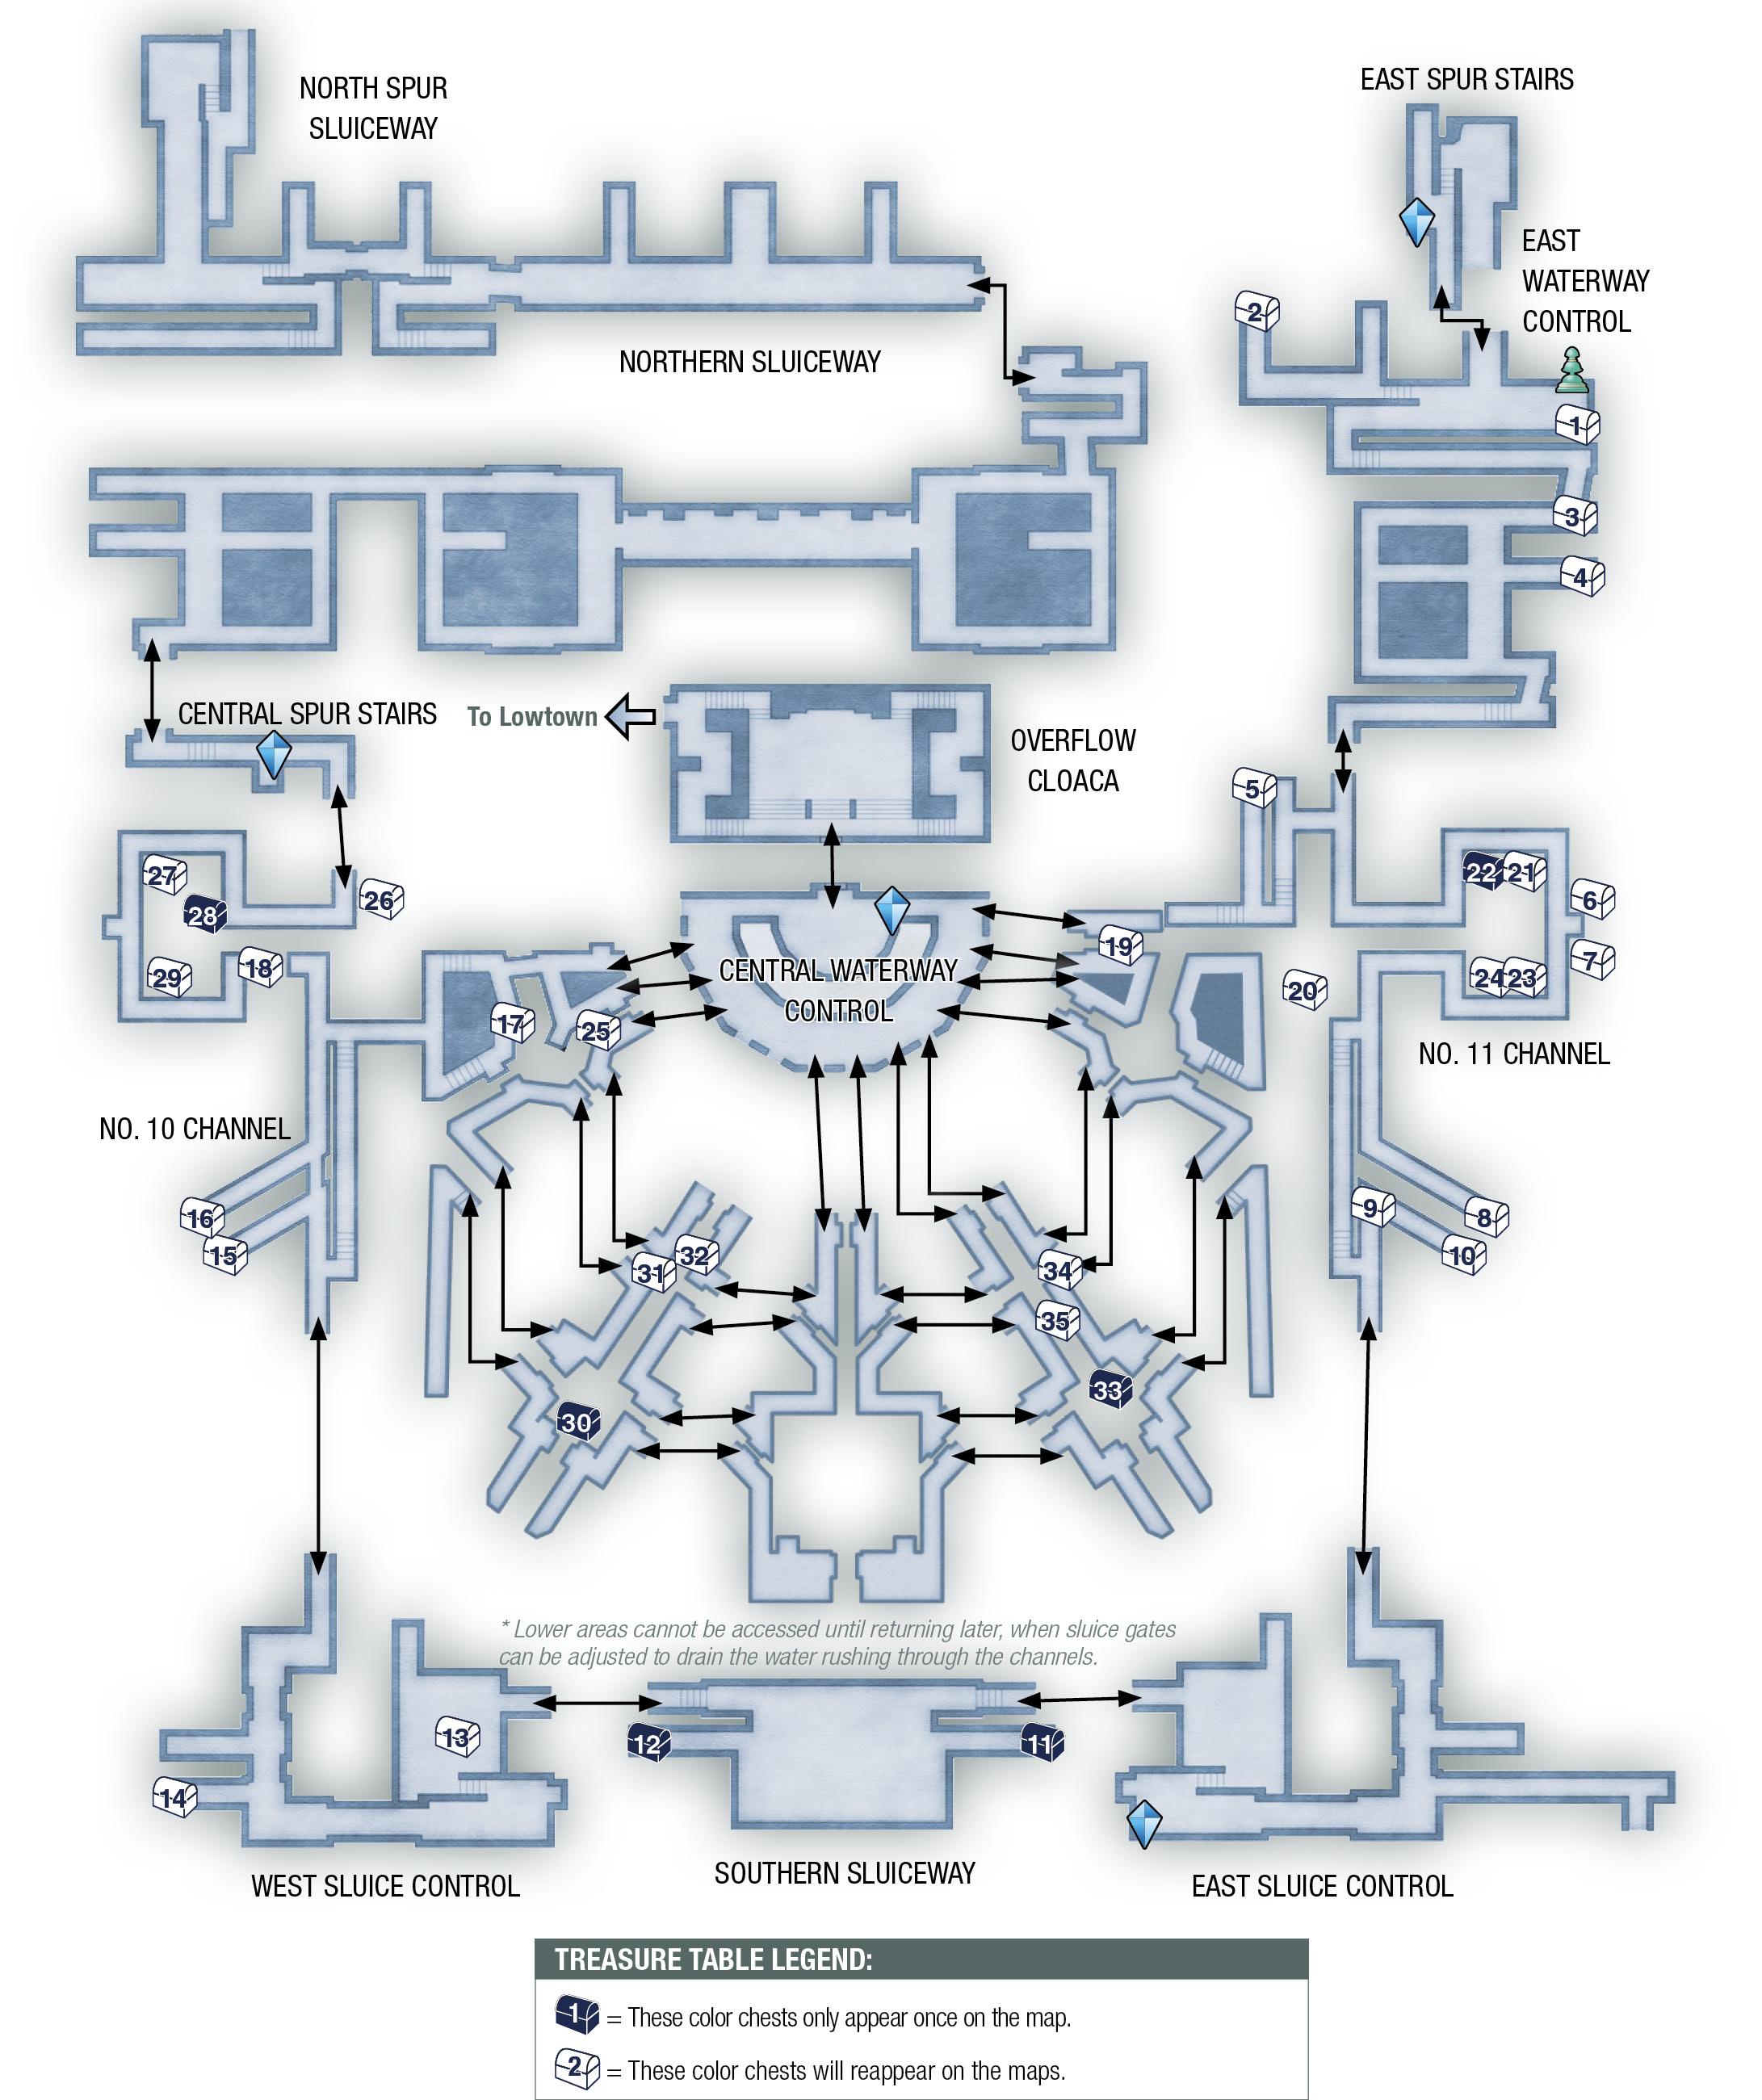
Head down the waterway into the next area, the East Waterway Control. Turn left to nab the full waterway map from the Map Urn, then continue along the route. As in the west waterway, the eastern route is essentially linear, although there are a few treasures tucked into alcoves and dead ends. (Refer to the maps in this section for possible treasure locations.) Fighting rats and bats is much easier with Balthier’s gun and Fran’s bow backing up Vaan.
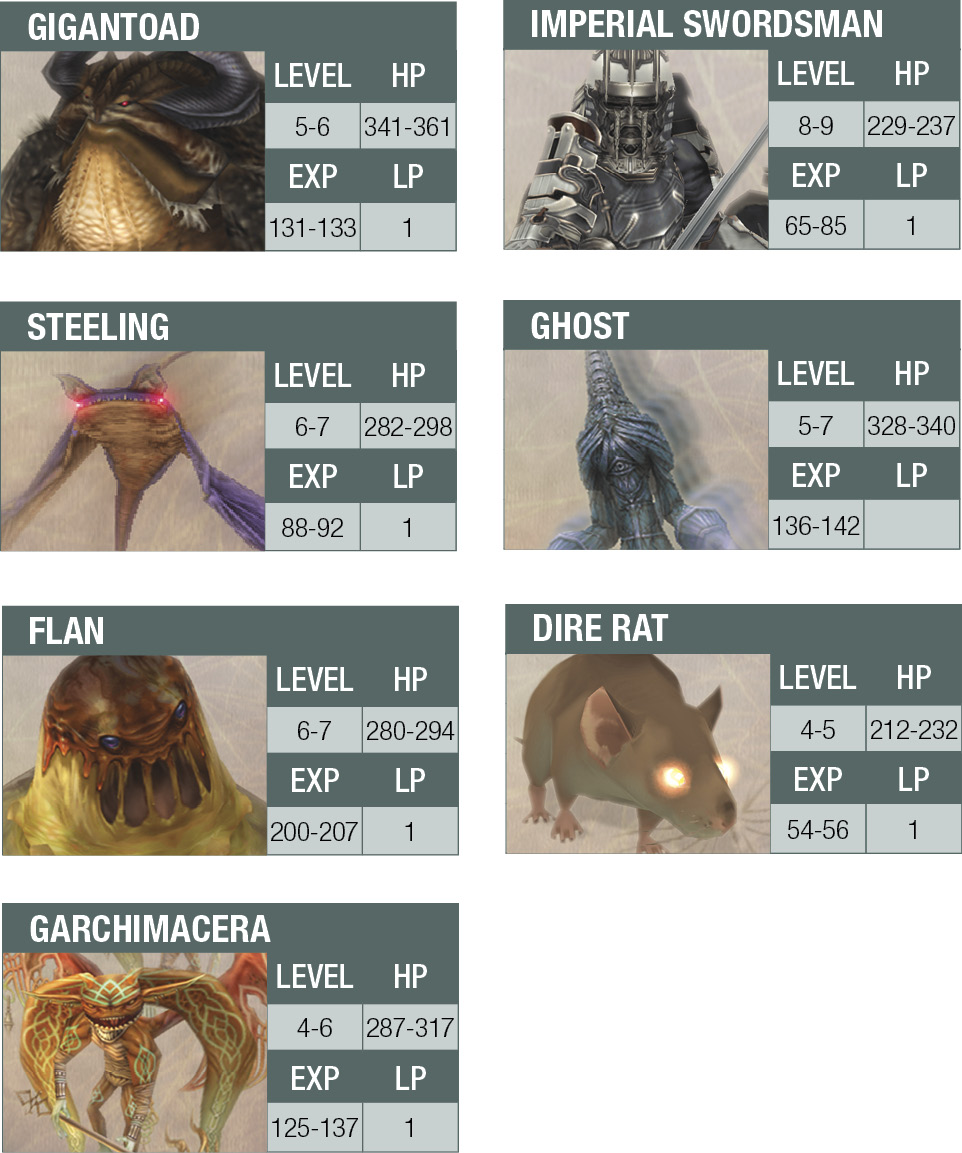
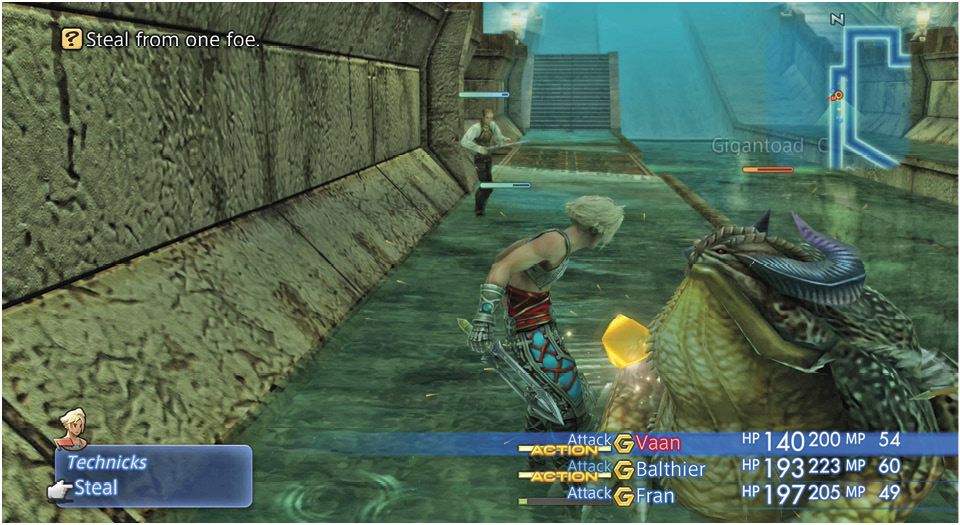
Continue south through the East Waterway Control into the No. 11 Channel. This is where the party encounters the Gigantoads, formidable Level 5 foes. If you have Libra active (or a Bangle equipped), however, you’ll see that Gigantoads are weak against the Fire element.
Luckily, Fran can cast the Fire magick, so you can command her to nuke the Gigantoads with Fire magick when she has MP to spare, instead of relying on her gambits to trigger a regular Attack.
Upon reaching the East Sluice Control area, the party will hook west to find a Save Crystal. Save your game and proceed down the stairs to trigger an event. Up ahead, Vaan and the party spot an approaching squad of Imperial soldiers chasing a woman in a red skirt—the same woman you saw earlier in the brief event in the waterway where the resistance forces were rallying for the palace assault.
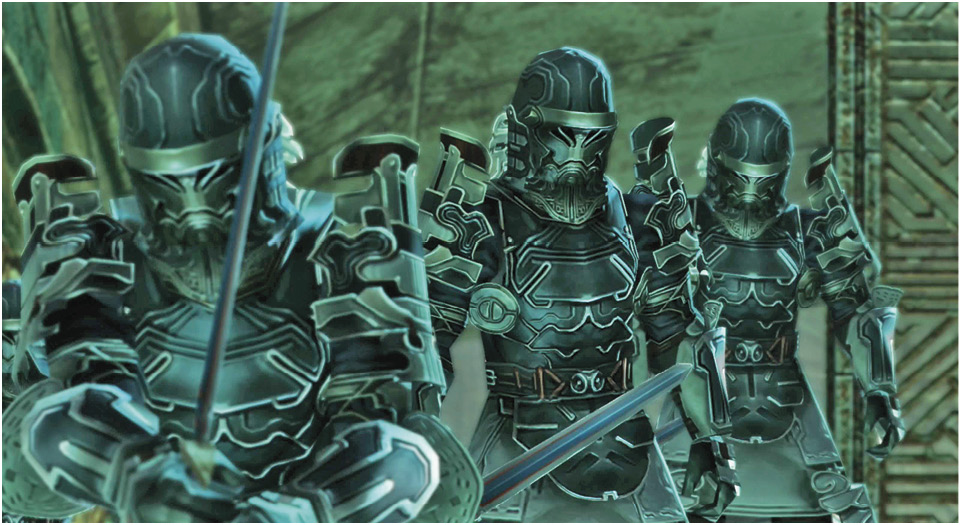
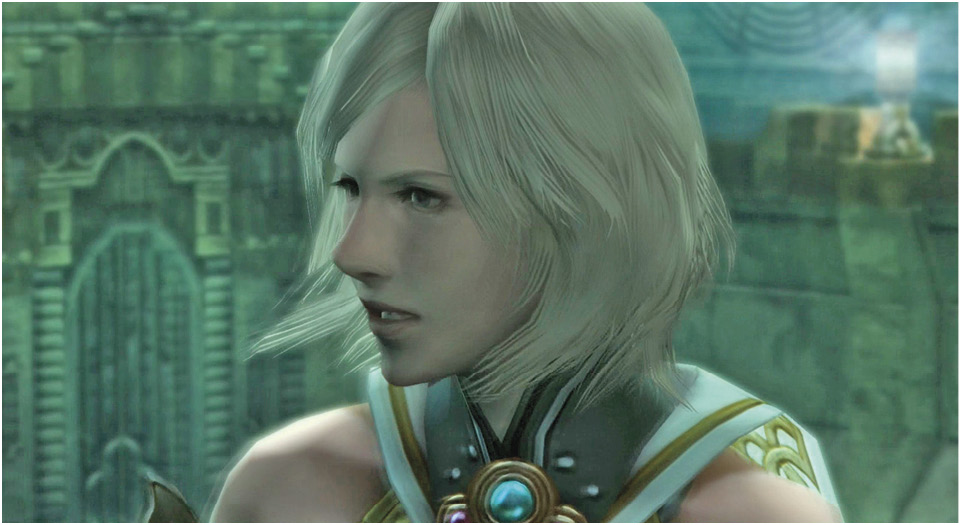
The woman fights valiantly, but she’s outnumbered four to one. The Imperials trap her on a ledge. Her doom looks imminent… until Vaan sprints out into the open, calling for her to jump. She does and Vaan catches her. Saved!
Naturally, the Imperial guard isn’t too pleased with this turn of events. Here comes the first serious action against the Empire!
Defeat the Imperial Foursome
The area gates swing shut behind your party as the action begins; no retreat is possible. If your party’s gambits are set as suggested earlier, though, you should have no problem with this fight. The woman joins your party in this fight, but she fights independently; you have no control over her.
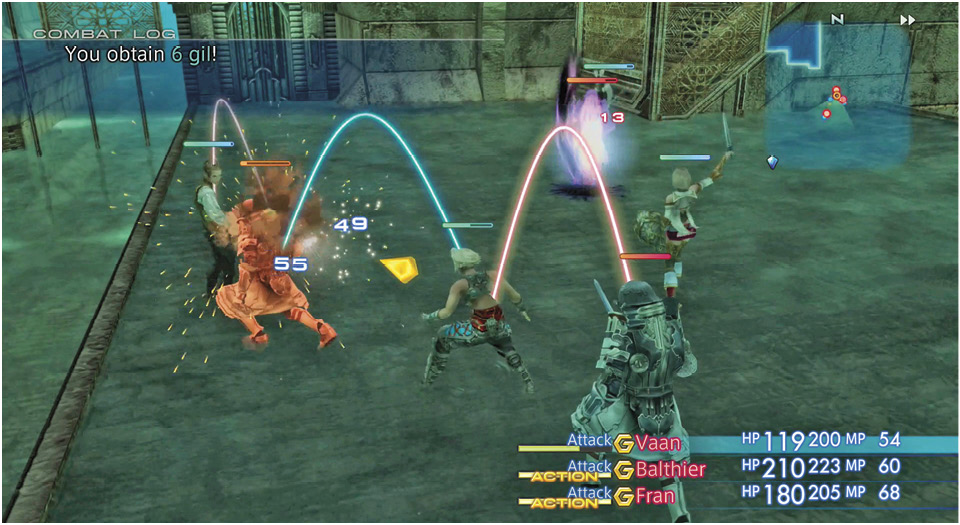
One of the Imperial Swordsmen has a Protect spell cast, so save him for last. When the last enemy falls, the gates reopen followed by another event that introduces the woman as Amalia. Suddenly, the stone Vaan took from the palace treasury starts to glow. What is it?
Fran and Balthier want to move on immediately, so Vaan invites Amalia to join the party. When control returns to Vaan, the gates have reopened, so go back upstairs to the Save Crystal, heal up, and save your game. Then go back downstairs and approach Amalia to trigger one last event. She agrees to travel with the group… but only as a guest, which means you can alter her gambits and give battle orders to her, but you cannot change her equipment or licenses.
Fight Off the Flan Ambush
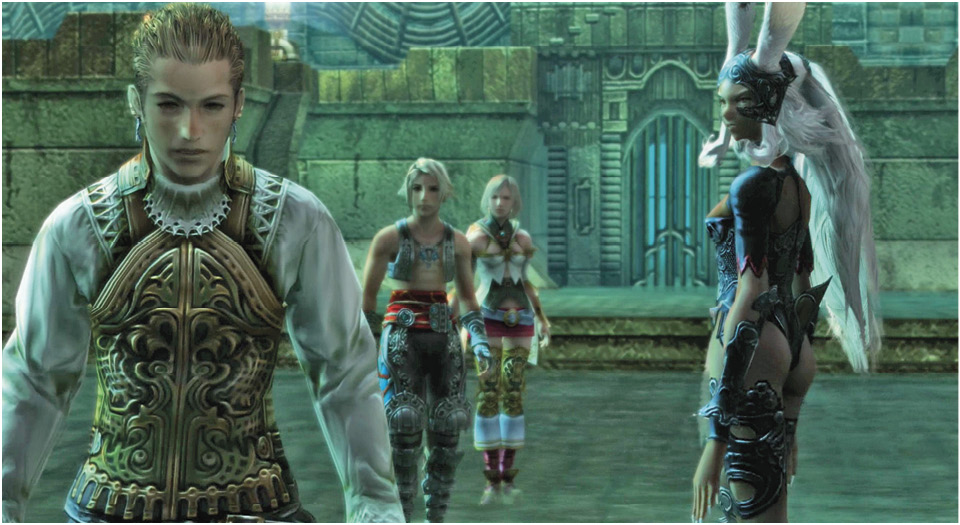
Continue pushing to the west and move into the Southern Sluiceway, which is a big open area just perfect for an ambush. Sure enough, as the party enters, four slimy Flan monsters surround the group. These nasty beasts cast Blind against your party, so prepare to use Eye Drops on anyone afflicted with the Blind status effect. All escape routes are sealed, so you must fight or die.
This is a tough fight. The Flan beasts cast Cure on each other, so just when you think you’ve got a gelatin-head on the ropes it may suddenly get a health boost. Don’t be dismayed if a party member gets KO’d, however. Just use a Phoenix Down to revive him/her along with a quick Potion to boost HP.
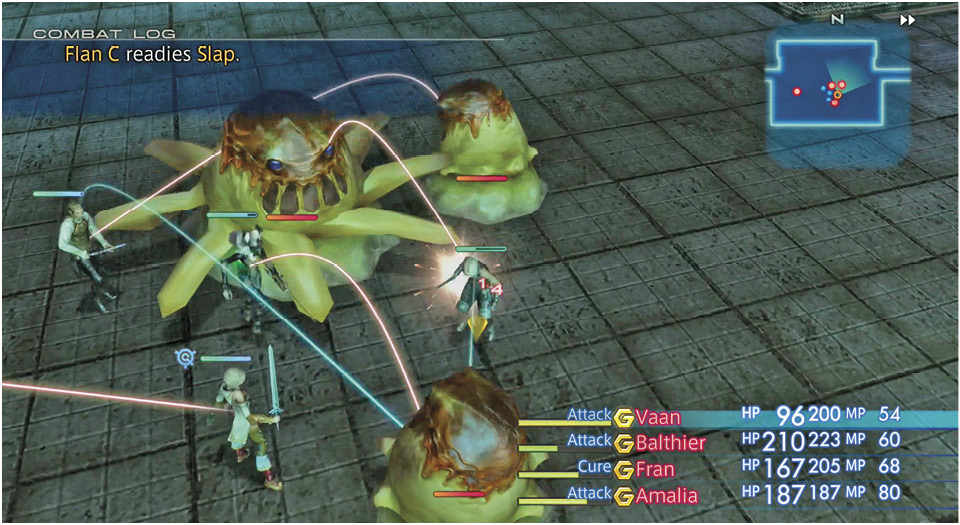
Although not technically a boss battle, this fight is long and tough enough that the game displays a congratulations screen when the last Flan finally melts into oblivion. Good work! Now it’s time to move on.
Get to the Waterway Exit
The passages open back up once you defeat the Flans, so backtrack to the East Sluice Control and use the Save Crystal again. Then go west two areas to the West Sluice Control and start heading northward from there. Watch out for some new enemies, the Ghost (weak against Cure magick) and the Garchimacera (weak against the Water element).
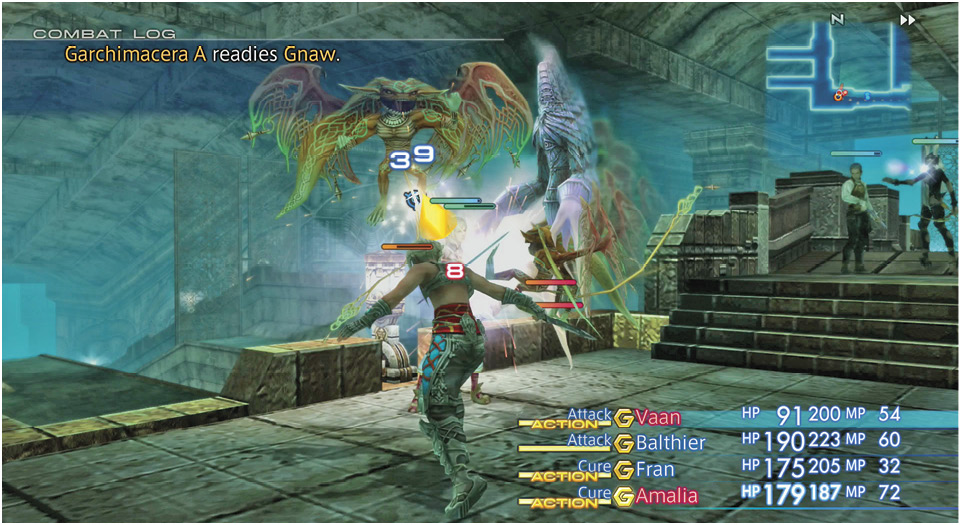
Proceed through the No. 10 Channel until you reach the Central Waterway Control, a semicircular area with a set of four rusted, locked mechanisms used for operating sluice gates. There is also a handy Save Crystal near its north exit. Recharge and save, then go through the door that leads north into the Overflow Cloaca.
Firemane
The doors clang shut behind the party. That’s never a good sign. Suddenly, a fireball blows into the room and changes into a flaming stallion: Firemane! This boss is weak against the Aqua element, but you do not have the Aqua spell at this point in the game, so just launch normal attacks. Do not let Fran attack with Fire magick! 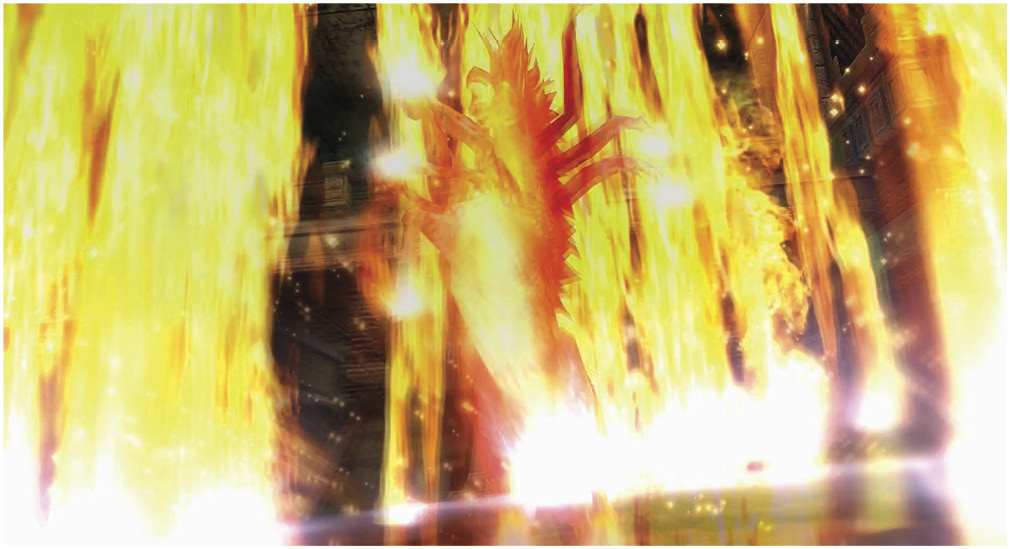
If you haven’t done so already, you may want to move Vaan’s attack gambit above his Cure gambit. All party members will spend a good portion of this battle with less than 70 percent of their normal HP, so Vaan may spend too much time curing and not enough time hitting Firemane with sword attacks. 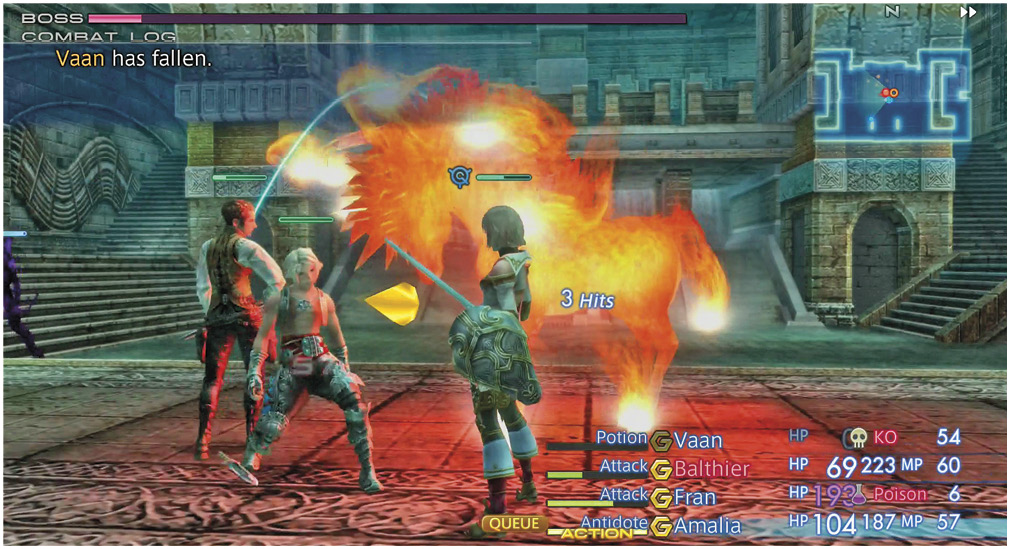
From time to time, Firemane will teleport around the room so rotate the camera to locate his new position. Amalia is a very valuable ally in this fight, so keep Amalia healthy with Cure and Potions if her HP gets too low. With good Cure gambits in place, you can outlast this boss without too much trouble. |

Yes, the victory over Firemane is bittersweet, as Imperial troops under the direct command of Lord Vayne suddenly burst in and seize the entire party, including Amalia. As they are led away in chains, Amalia pleads for their release, but to no avail.
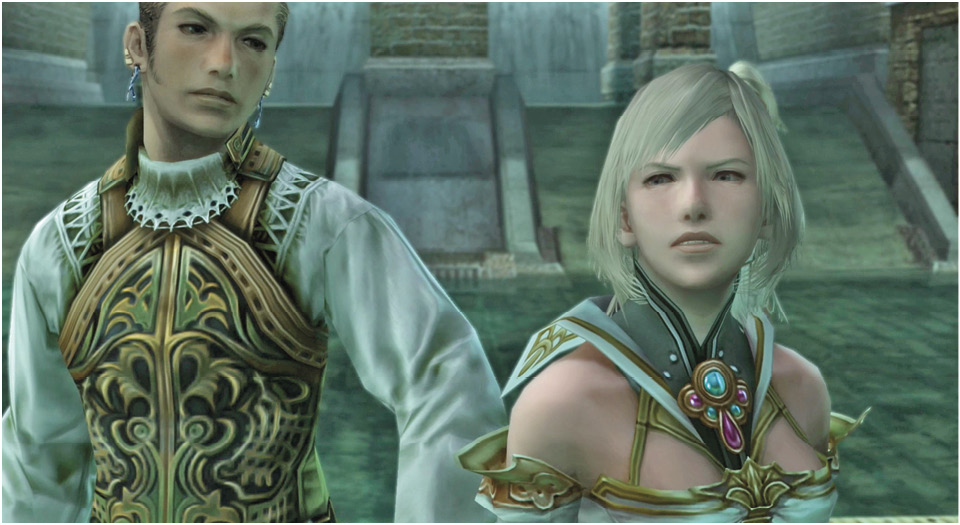
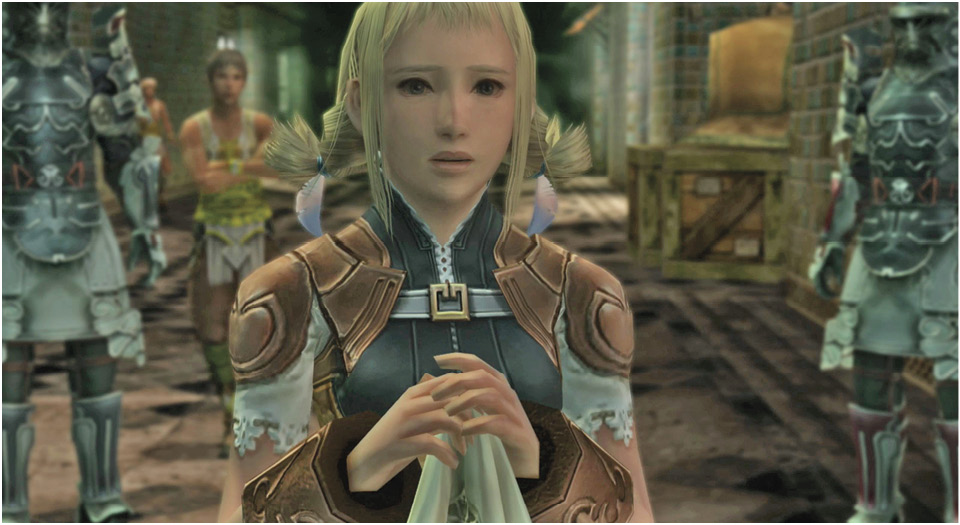
Penelo arrives at the scene and tries to reach Vaan, but Balthier steps into her path and gives her something to keep “just until I bring Vaan back.” We also see a bangaa bounty hunter, angry at losing Balthier to the Imperials.
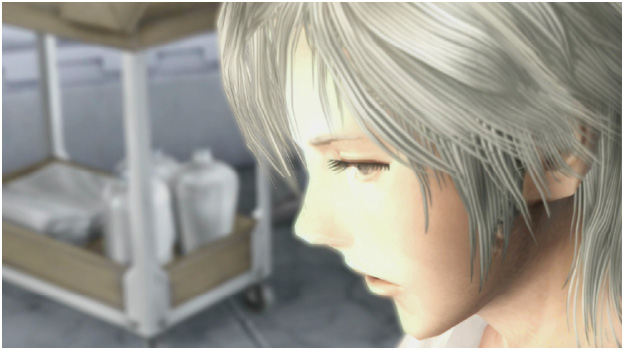
Then the scene fades to a flashback. Here’s where the significance of the Galbana Lilies (the ones Vaan picked in the Estersand) is explained.