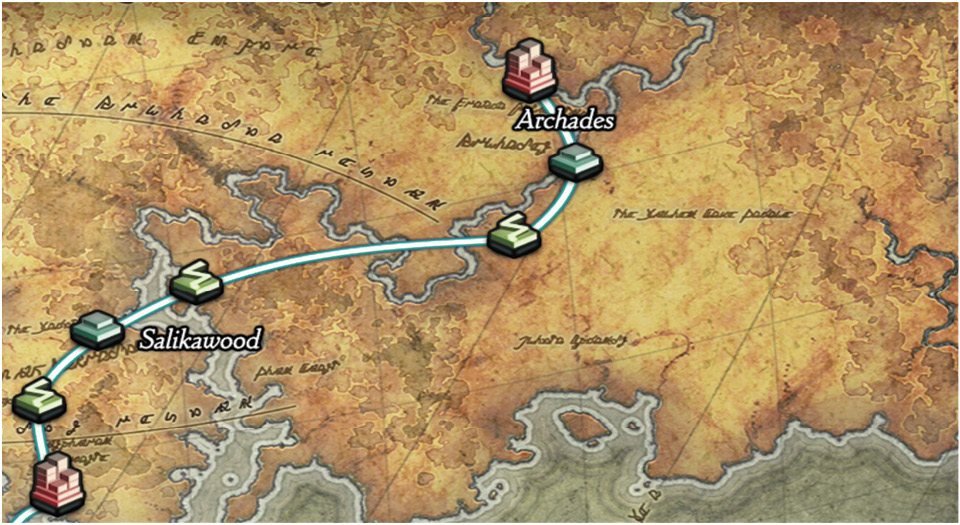
Final Fantasy XII: The Zodiac Age Guide Walkthrough Part 3
Stilshrine of Miriam
Action Checklist
1. Navigate the maze to find the sword’s location.
2. Solve the Stone Brave statue puzzle.
3. Defeat Vinuskar.
4. Defeat Mateus.
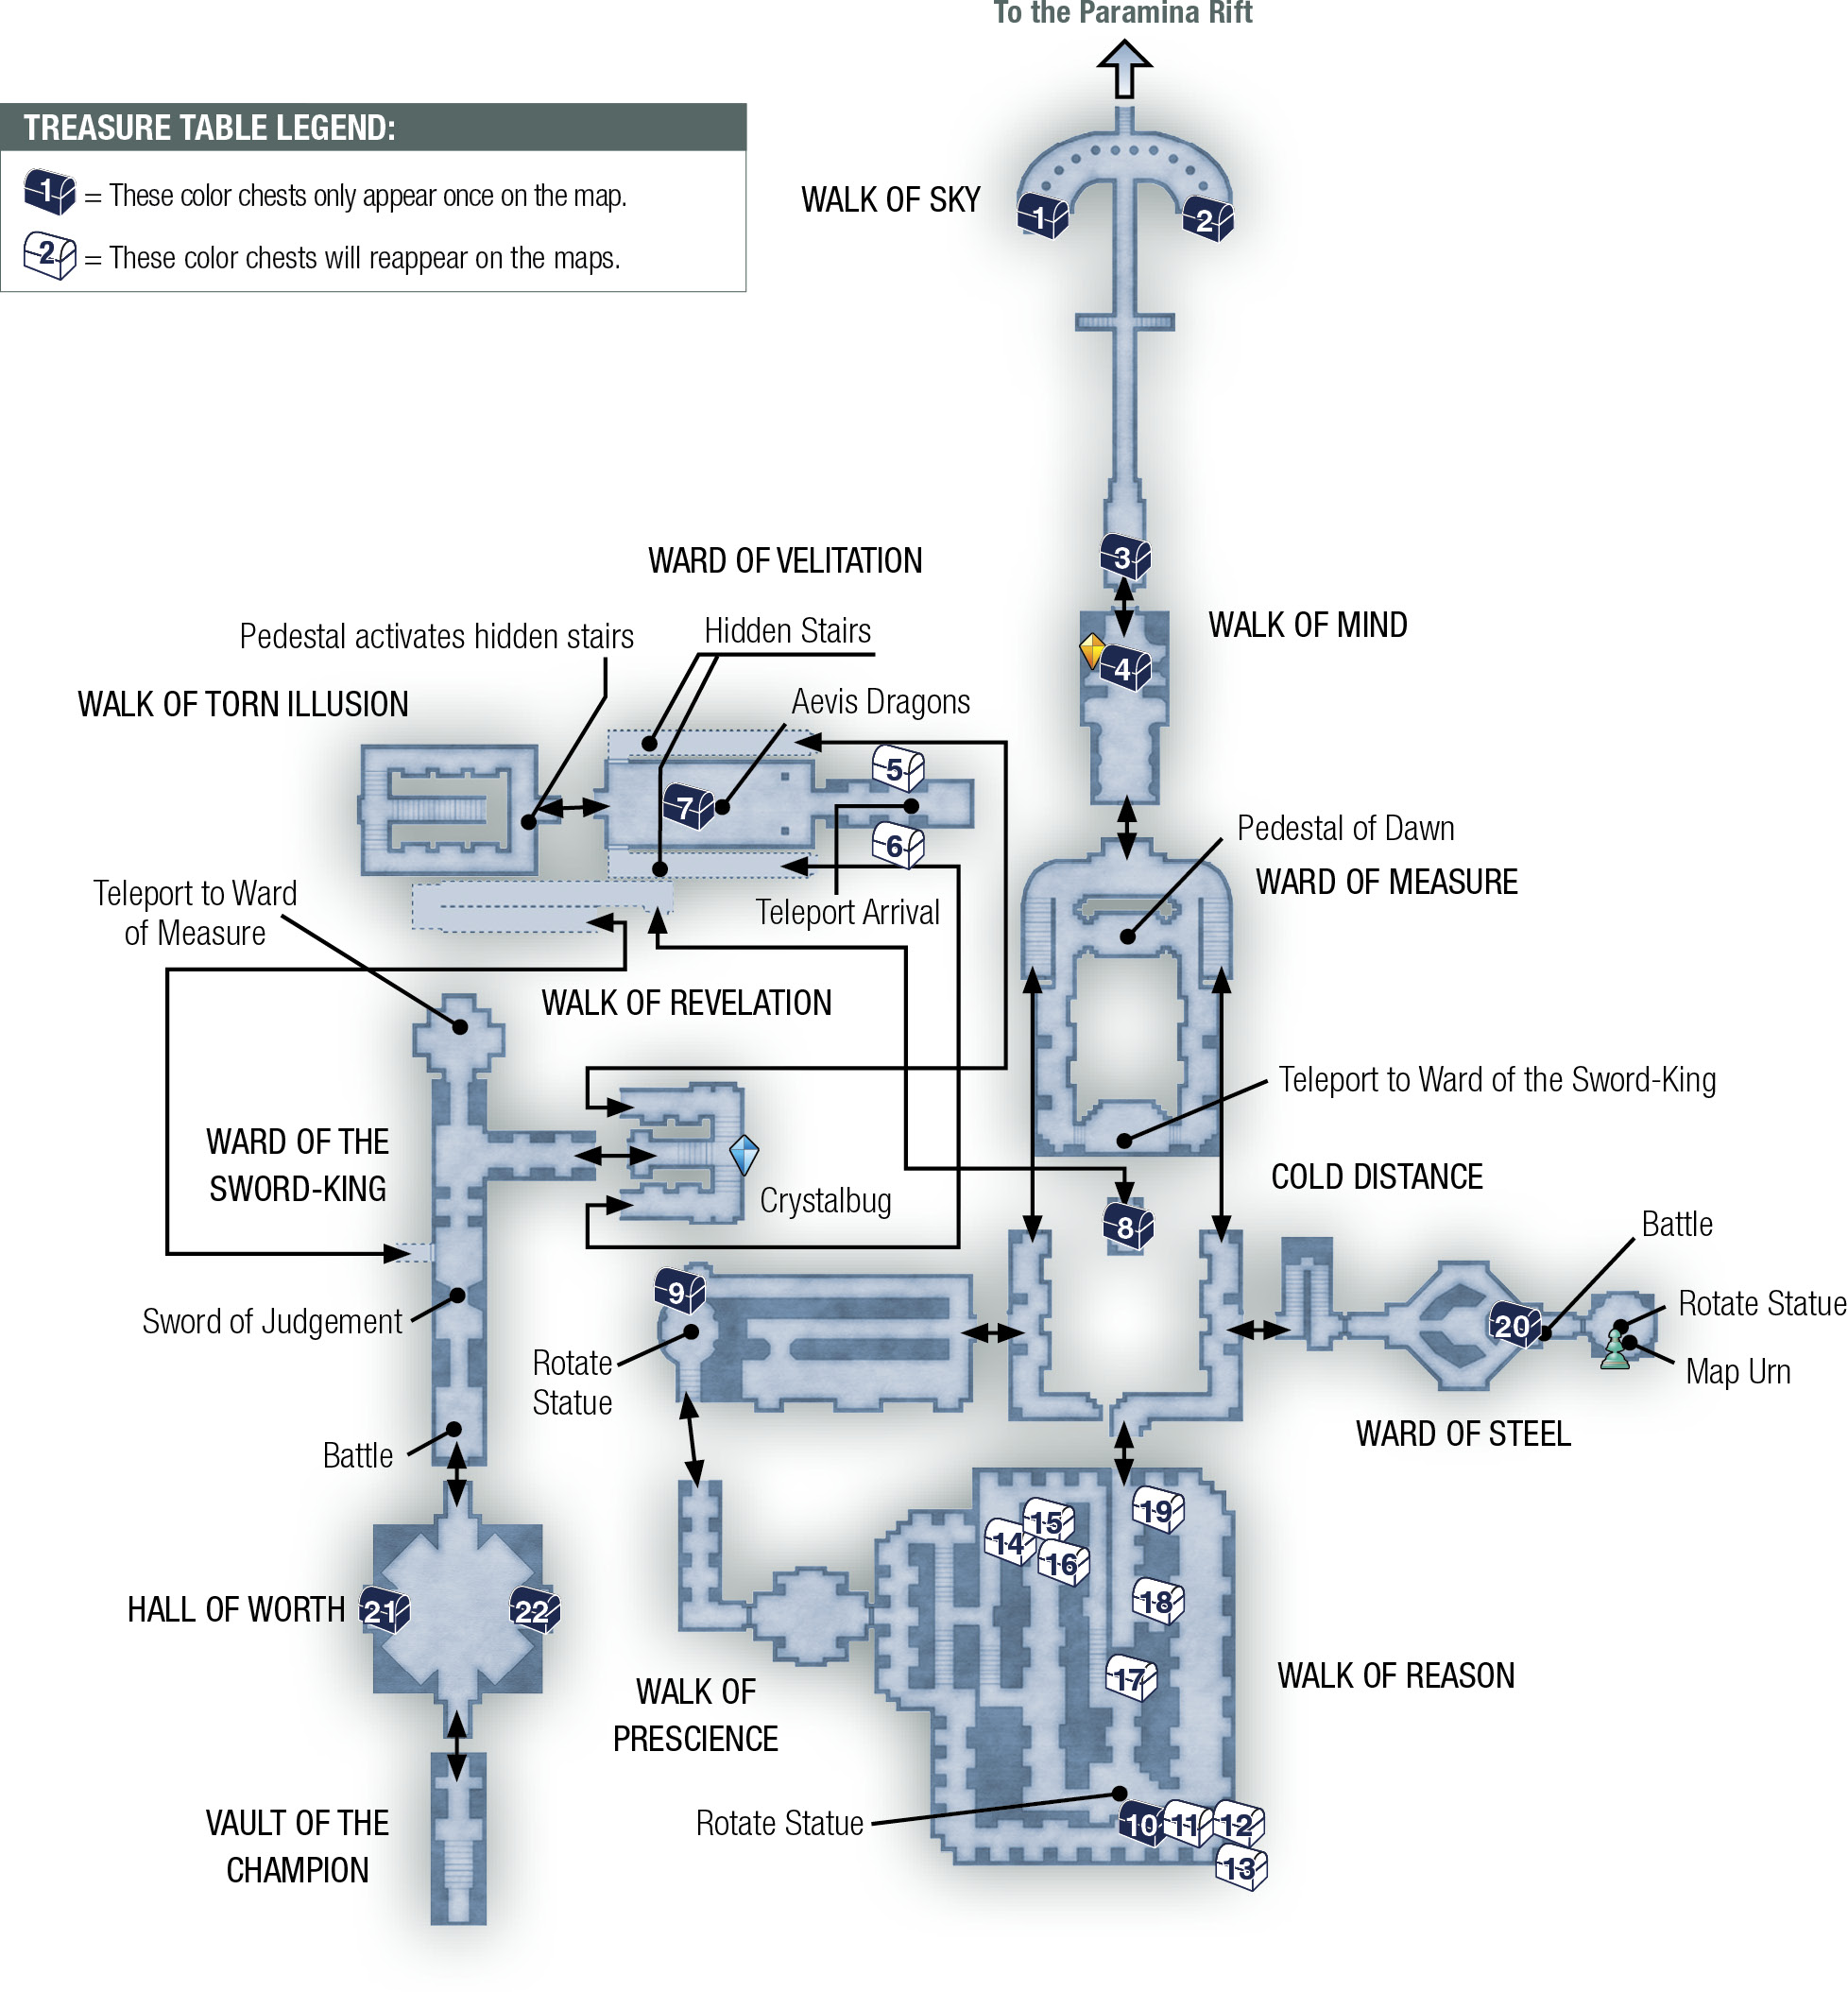
| Pop odds | If pop, Gil odds & Amt | Normal Loot | w/Diamond Armlet | ||||
|---|---|---|---|---|---|---|---|
|
# |
App. % |
Gil % |
Amt. if Gil |
50% |
50% |
90% |
10% |
|
1 |
100% |
0% |
— |
Tourmaline Ring |
Tourmaline Ring |
Tourmaline Ring |
Tourmaline Ring |
|
2 |
100% |
0% |
— |
Tourmaline Ring |
Tourmaline Ring |
Tourmaline Ring |
Tourmaline Ring |
|
3 |
100% |
0% |
— |
Battle Harness |
Battle Harness |
Battle Harness |
Battle Harness |
|
4 |
100% |
0% |
— |
Ice Shield |
Ice Shield |
Ice Shield |
Ice Shield |
|
5 |
5% |
5% |
~65000 |
Potion |
Potion |
Knot of Rust |
Meteorite (B) |
|
6 |
10% |
95% |
~200 |
Megalixir |
Potion |
Knot of Rust |
Meteorite (A) |
|
7 |
100% |
0% |
— |
Countdown |
Countdown |
Countdown |
Countdown |
|
8 |
100% |
0% |
— |
Shell Shield |
Shell Shield |
Shell Shield |
Shell Shield |
|
9 |
100% |
0% |
— |
Ruby Ring |
Ruby Ring |
Ruby Ring |
Ruby Ring |
|
10 |
100% |
0% |
— |
Ashura |
Ashura |
Ashura |
Ashura |
|
11 |
75% |
50% |
~370 |
Cura Mote |
Platinum Sword |
Knot of Rust |
Meteorite (A) |
|
12 |
75% |
50% |
~370 |
Hi-Potion |
Obelisk |
Knot of Rust |
Meteorite (A) |
|
13 |
75% |
50% |
~370 |
Remedy |
Hunting Crossbow |
Knot of Rust |
Meteorite (A) |
|
14 |
75% |
50% |
~370 |
Phoenix Down |
Power Rod |
Knot of Rust |
Meteorite (C) |
|
15 |
75% |
50% |
~370 |
Chronos Tear |
Kiku-ichimonji |
Knot of Rust |
Meteorite (A) |
|
16 |
75% |
50% |
~370 |
Chronos Tear |
Golden Staff |
Knot of Rust |
Meteorite (A) |
|
17 |
75% |
50% |
~370 |
Cura Mote |
Loxley Bow |
Knot of Rust |
Meteorite (B) |
|
18 |
75% |
50% |
~370 |
Phoenix Down |
Ras Algethi |
Knot of Rust |
Meteorite (A) |
|
19 |
75% |
50% |
~370 |
Phoenix Down |
Hammerhead |
Knot of Rust |
Meteorite (A) |
|
20 |
100% |
0% |
— |
Sage’s Ring |
Sage’s Ring |
Sage’s Ring |
Sage’s Ring |
|
21 |
100% |
0% |
— |
Elixir |
Elixir |
Elixir |
Elixir |
|
22 |
100% |
0% |
— |
Bubble Mote |
Bubble Mote |
BubbleMote |
Bubble Mote |
Find the Way to the Sword
Proceed down the long Walk of Sky into the next area, the Walk of Mind, which has a Save Crystal. Use it and continue south to enter the shrine proper. In the Ward of Measure, find the Pedestal of the Dawn and equip your party leader with the Dawn Shard before you touch the pedestal to teleport to a new area. (If you touch the pedestal without the Dawn Shard equipped, the teleport won’t work and three Zombies will arise from the ground to attack.)
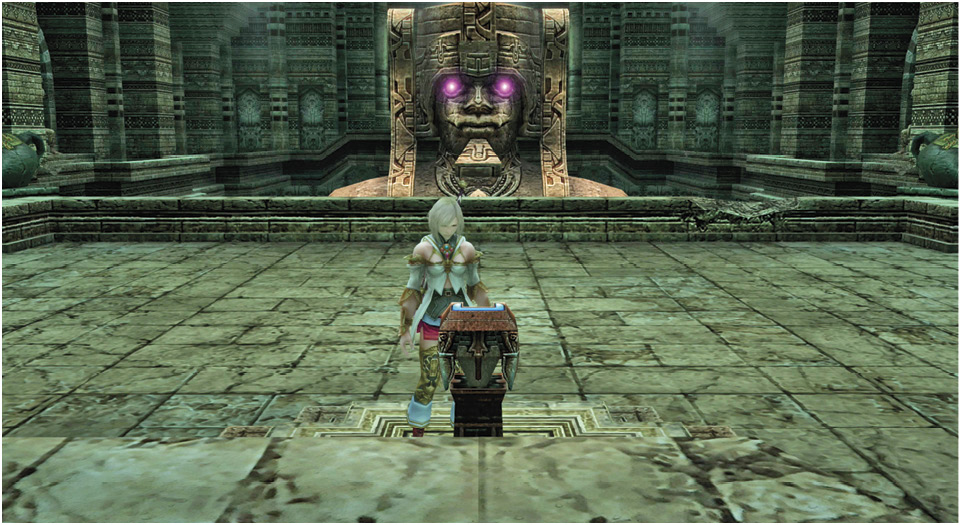
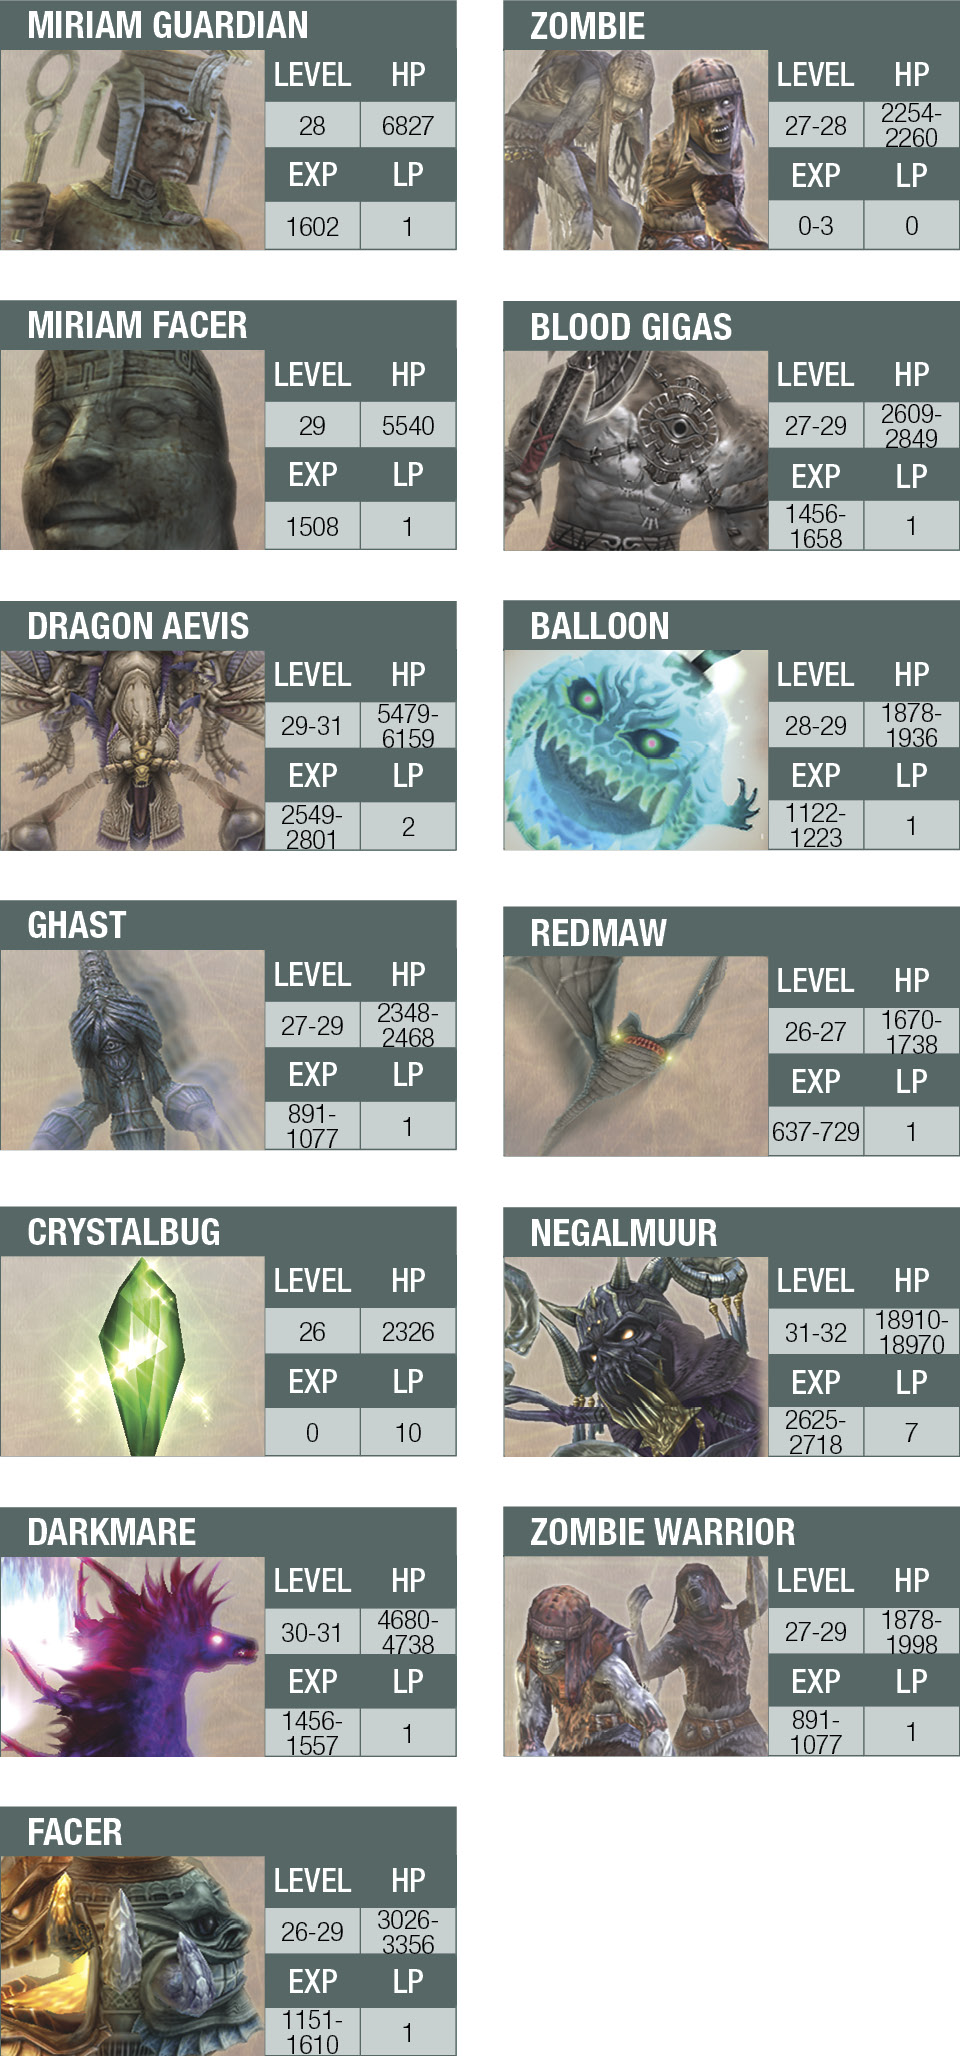
The party’s teleportation into the Ward of Velitation awakens a huge stone Miriam Guardian. Pound this foe with Wind spells like Aero, or just hack at it with weapons. There is a rare beneficial “trap” in front of the treasure chest here, so grab the Countdown technick from the chest and get a nice little boost in HP or MP.
Now comes a brutal fight, one where Quickenings or Time magicks can really come in handy. The only way forward is through a large room where powerful Dragon Aevis monsters stomp around angrily. These are Level 30 beasts! One tactic is to rush right into the middle of them to draw all three closer together, then unleash a Quickening chain. (If you don’t have Quickenings or a spell like Disable, it might be best to simply flee past the dragons for now.) Additionally, try using the spell Blizzara to really inflict some damage!
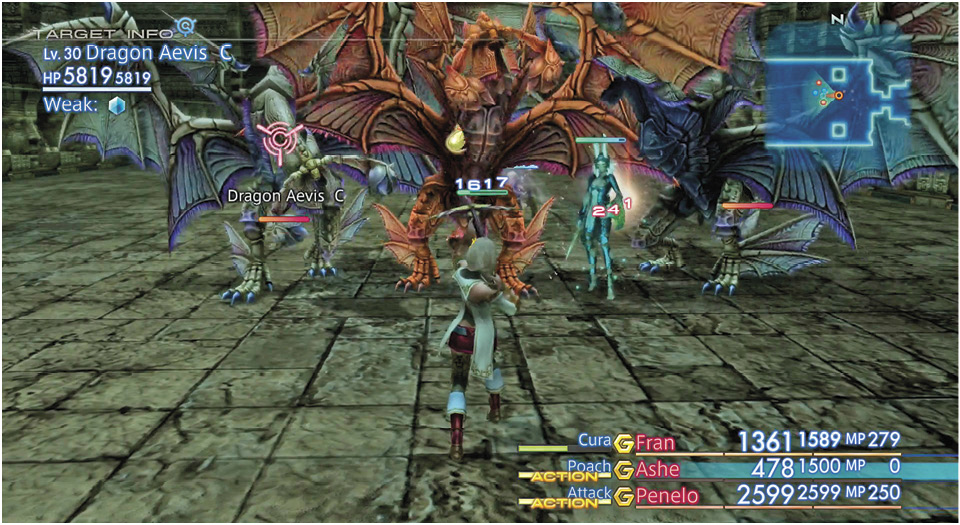
Even if you eliminate a couple of dragons with the Quickening chain, you may still need to flee. So if the situation gets desperate, just run due west past the two Miriam Facers at the doorway and escape into the next room, the Walk of Torn Illusion.
Climb the first staircase and defeat the Miriam Facer at the top. Then climb either set of side stairs and fight through Miriam Guardians to another Pedestal of the Dawn. As noted earlier, make sure your party leader is equipped with the Dawn Shard, then touch the pedestal to activate two hidden staircases back in the Ward of Velitation—yes, you must go back downstairs to the dragon room. When you arrive, go down either one of the newly opened stairs (there’s a staircase on either side of the room) to descend into the next room, the Walk of Revelation.
Tame the Crystalbug
This room features a tough, tricky crystal. The green “Life Crystal” in this room resembles a Save Crystal, but it’s actually a Crystalbug. After touching it, the Crystalbug will attack your party! Its magick attacks are brutal, so you may need to retreat and recharge your party at some point. The Crystalbug also uses Restore and regains some HP, which makes it harder to take down. Fortunately, the Crystalbug remains stationary, so you can quickly get out of its range. After defeating it, the Crystalbug turns into a blue Save Crystal. Use it and move on.
Go downstairs and enter the next room, the Ward of the Sword-King. As you move forward, two Blood Gigas guards step forward ready to fight. Defeat them and move down the hall to fend off another Miriam Guardian. If you have any Dark-type spells on hand, use them on the Blood Gigas guards. One Darkra takes out more than half of one guard's HP! You can’t go north yet, since the ancient door is locked. Therefore, fight your way south to the massive stone Sword of Judgement that blocks the path. Examine it to open the north passage to a Way Stone. Go north to the Way Stone and touch it to teleport to the Ward of Measure, which takes you back to where you started.
The doors in the northwest corner are unlocked. The doors in the northeast are still locked. Go to the northwest corner of the room and head down the west stairs. Open the now unlocked door and enter Cold Distance.
Rotate the Three Statues
The party’s next task is to find the three Stone Brave statues and rotate them to face the center of the Stilshrine. From Cold Distance, go down the corridor and take the first right into the next room, Walk of Prescience.
West Statue
Turn right and go to the northernmost aisle, turn left, and head west to the wall. Fight through Balloons (weakness: Water), Facers (weakness: Wind), and Zombie Warriors (weakness: Cure) to reach a statue called a Stone Brave. Rotate it to face toward the center of the shrine. To do so, select “Examine the Statue” and then “Rotate the Statue” so it faces east.
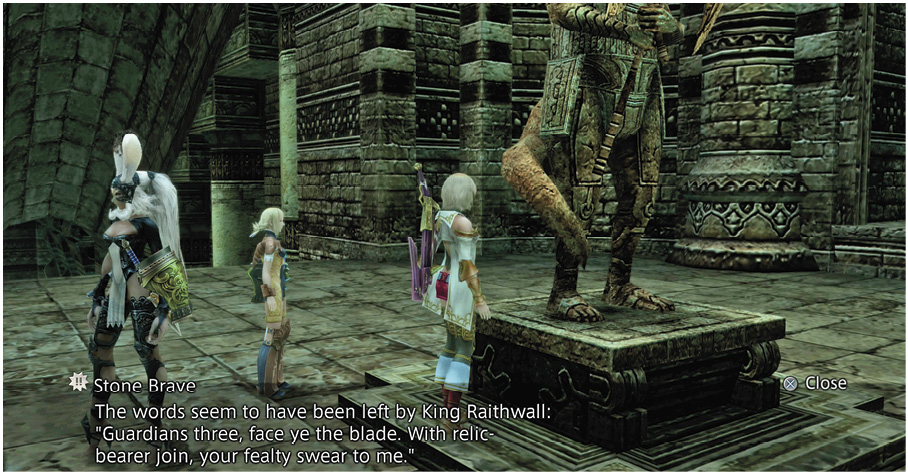
Head south and go downstairs into the next room, called Walk of Reason. This is a huge, maze-like area with treasure tucked into several corners. You may want to spend some time here, exploring and racking up undead KOs. You can put together quite a Battle Chain in this area, what with all the Zombies, Ghasts, and Ghouls about.
Refer to the map for this section to find the statue in the south. (It is a maze, sort of, so check the map.) When you finally reach the Stone Brave statue, rotate it so that it faces north toward the center of the shrine.
Go Save Your Game!
A boss stands between the party and the last Stone Brave statue, so now would be a good time to return to a Save Crystal, heal up, and save your game. From the statue go east, then north to head into the next area, Cold Distance. From here you can go north through the ancient door into the Ward of Measure, then climb the stairs and exit the shrine north via the main door to save at the orange Save Crystal.
Retrace your route back down the east side of the shrine to Cold Distance and take the east exit into the Ward of Steel and go downstairs. Before you go through the door at the bottom, though, here’s a tip. The next room holds a boss and a magnetic field that makes everyone wearing metal equipment suffer from the Slow effect. Before engaging this boss, make sure that your active party members are wearing light or mystic armor.
Vinuskar
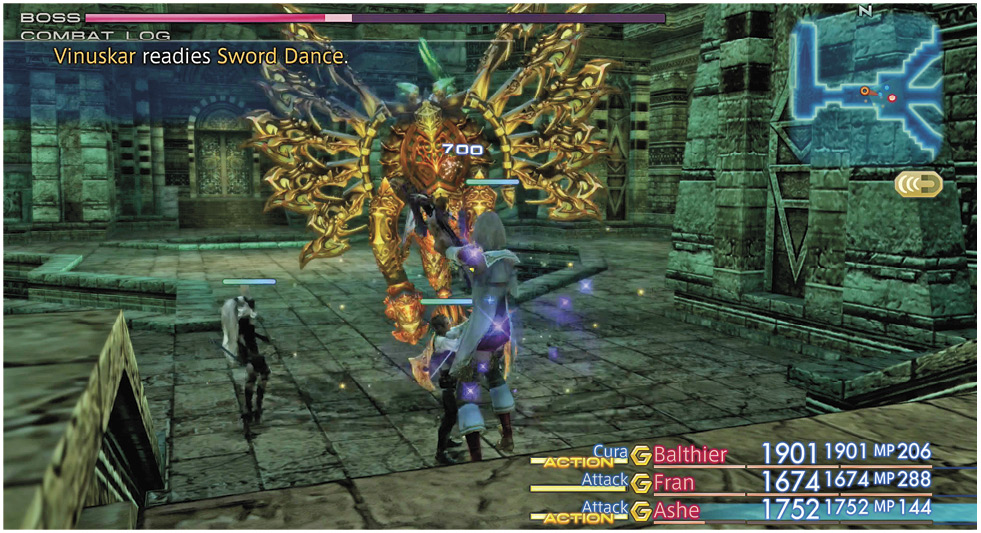
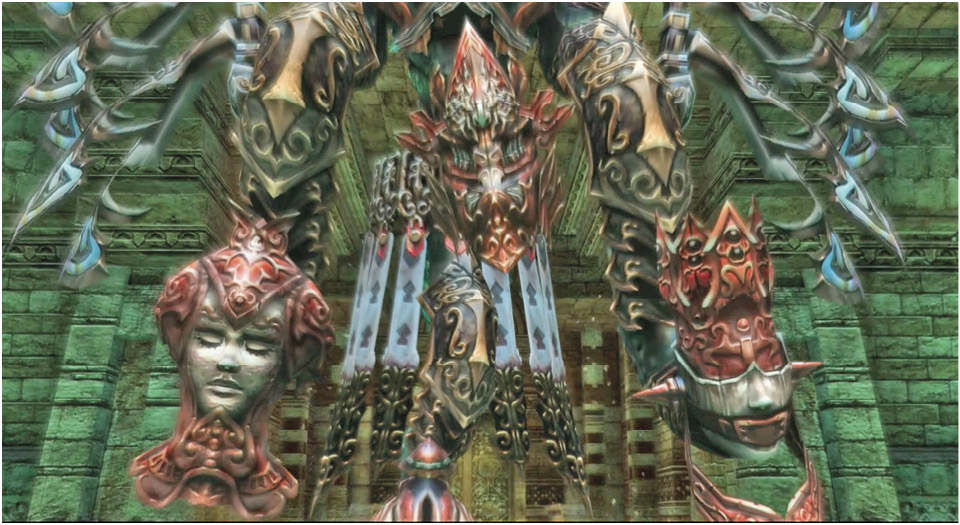
This boss fight is tough enough without a magnetic field adding an extra challenge. Any metal–wearing party members will be sluggish to start and then Vinuskar will cast Slow, making some of your characters excruciatingly slow. The good news is that Vinuskar isn’t particularly speedy. You should be able to inflict damage to this boss with strong physical attacks. This fight will seem like it’s in slow motion at times, so make sure your status-healing gambits are in good shape, because Vinuskar will toss other spells at the party as well. Every once in a while it will also prepare to launch Sword Dance, its multi-sword super attack. One tactic to try is to hold allies with Quickenings in reserve. When Vinuskar’s health bar drops to about 50 percent, or if your frontline fighters are worn down, swap in the entire reserve party and launch a Quickening mist chain. If you put together a good chain, you can knock out Vinuskar in one shot. |

There’s also a Map Urn here containing a map of the Stilshrine of Miriam. You’ve been almost everywhere, so it doesn’t reveal too much, but you can see two areas way down on the southern end of the shrine, south of the Sword of Justice that was blocking the hall earlier. It’s time to check out those areas. Before you go, don't miss the treasure chest containing the Sage's Ring, which is a huge upgrade for the heaviest magick user in your party.
After Vinuskar falls, proceed to the ancient door behind it and enter the back room. Here you find the last of the three Stone Brave statues. Rotate it until it faces west. After doing so, a message indicates that the “Colossus” (the huge statue in the center of the shrine) has undergone some change.
Find the Sword of Kings
Upon exiting the Ward of Steel, a brief event shows the Colossus raise its massive stone sword, thus unblocking the passage down south in the Ward of the Sword-King.
Go north into the Ward of Measure and use the Way Stone to teleport down to the Ward of the Sword-King. Then take the first left and go upstairs to use the Save Crystal in the Walk of Revelation. Finally, turn around and go back west to the Ward of the Sword-King and head down to the door at the south end of the corridor.
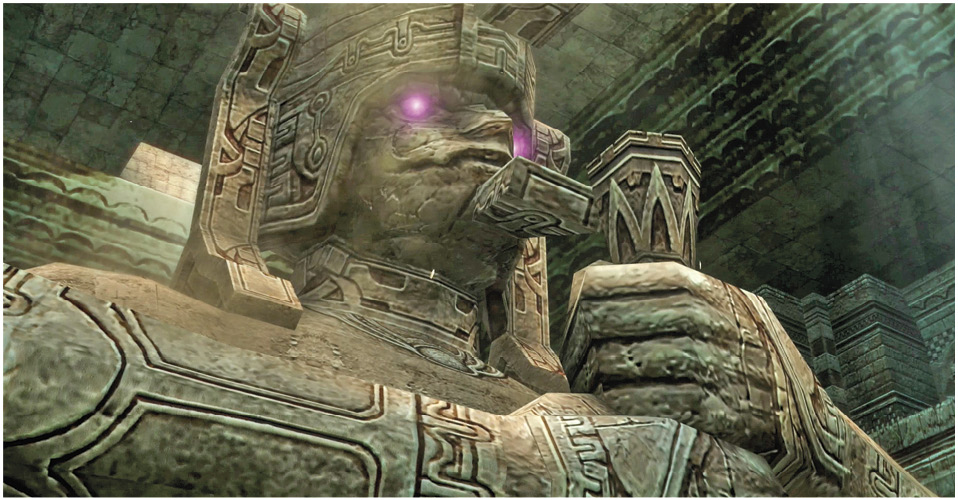
Mateus
This boss battle really starts off in a frenzy of fighting. The first goal, as in most boss fights, is to eliminate any lesser enemies supporting the boss. Mateus immediately casts Reflect on himself and spawns six swarming Ice Azers that are difficult to beat in their own right. A powerful opening strategy to use is to launch a Quickening attack immediately on an Ice Azer in the middle of the swarm. A good Mist chain will eliminate or seriously debilitate the minions of Mateus. If you don’t have any Quickening spells at your party’s disposal, then try Lightning magic; Thunder and Thundara can also cause serious damage to Ice Azers. Be careful about casting magic that might hit Mateus, as it will be reflected back to the party. 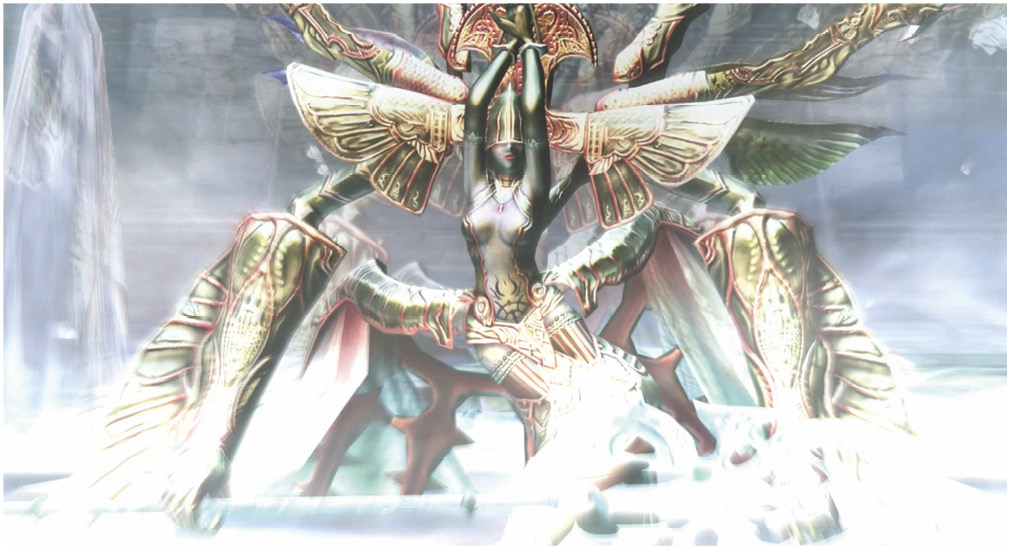
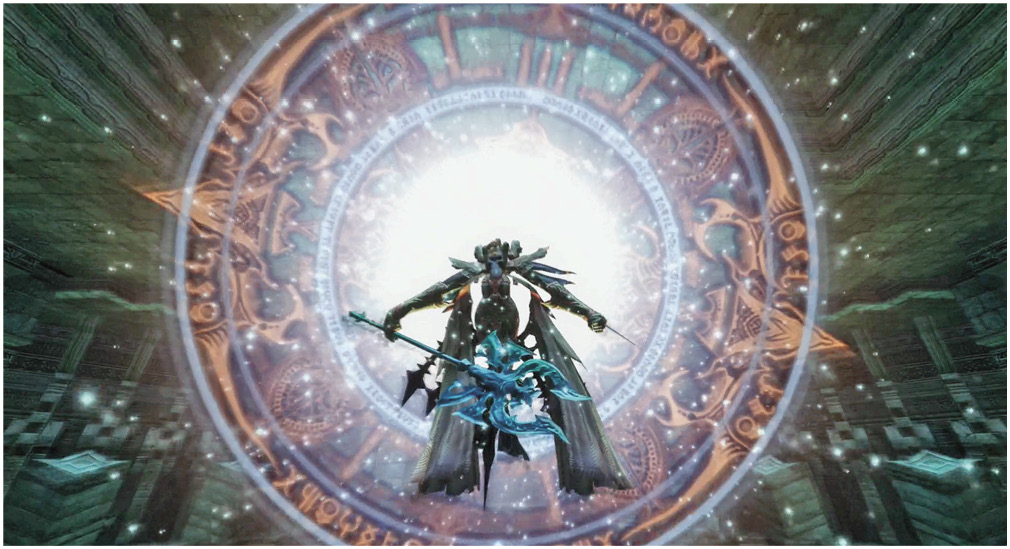
Once the Azers are melted down into puddles of cold water, unleash your party’s weapons on Mateus. Don’t use magick attacks; keep MP for healing. Mateus likes to cast spells that Sap, so make sure you’re ready to remove it with Regen or Esuna, whether in a gambit or manually. Just keep hammering away and keep healing! A gambit that casts Cura when one ally’s HP gets low (say, down to 40 percent) keeps everybody healthy. Aside from his huge Blizzaja attacks, Mateus doesn’t strike with any real power. One tactic is to give your party leader a ranged weapon like a gun or bow. Then just keep them running in circles at a distance around Mateus, stopping only when it is time to attack or cast a healing spell. The constant movement is a way to boost the leader’s MP without consuming precious Ethers. Another tactic is to assign party leadership to the character currently bearing the brunt of the foe’s attention, then have that character run away from Mateus. Running away not only builds MP but also delays the enemy’s attacks as the foe is forced to give chase. “Spreading the field” like this can also cause multiple-target enemy attacks like White Breath or Blizzaga to hit only one or two characters. |

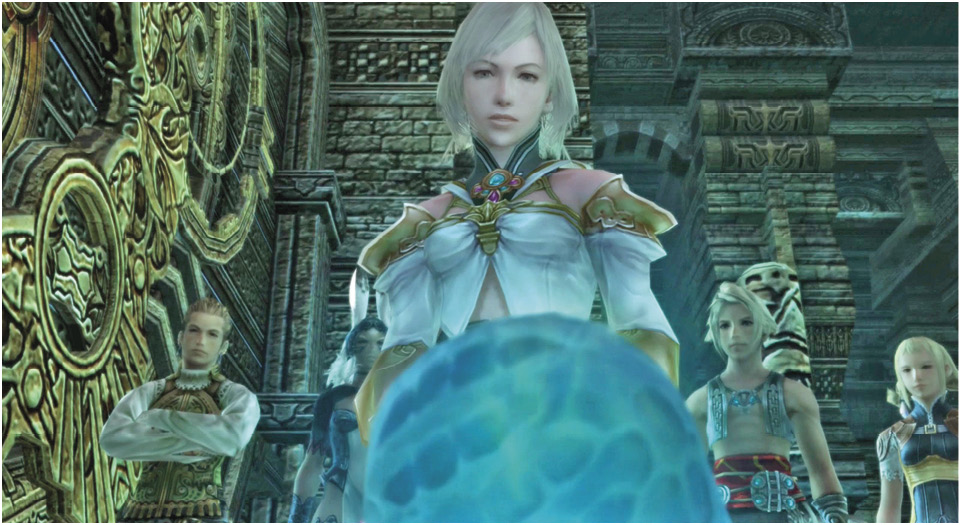
Defeating the Esper Mateus reveals it on all Job license boards. This is one of the easiest Esper assignments in the game—if you have a Knight character, they should get Mateus. This gives them access to licenses for Regen, Curaga, Esuna, and Cleanse, basically upgrading them into fully fledged "paladins," FFXI-style. No other Job's Mateus-locked licenses compare to this utility, it's not even close. After your victory, continue south through the door into the Vault of the Champion. Walk forward to the spinning gear mechanism to trigger an event in which Ashe seizes the Sword of Kings at last. The sword appears in your weapon inventory, but we don’t recommend that you use it. It certainly has its special uses, but fighting isn’t one of them. Beyond the storyline and aesthetic purposes, it is mostly notable for being the first Greatsword you’re likely to happen upon, as well as one of the few pieces of gear that doesn’t require a license to use!
Return to Mt Bur-Omisace
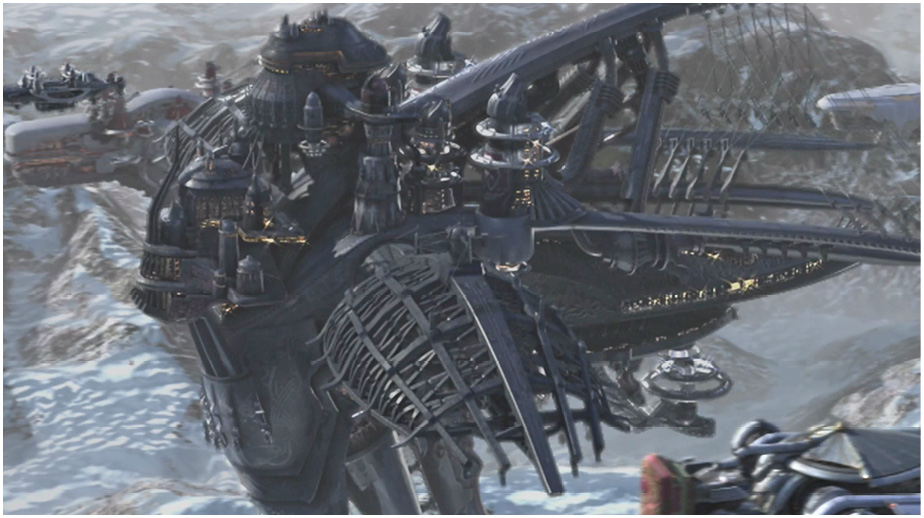
After the event, head north to the Way Stone. Use it to return to the Ward of Measure, then exit the shrine. Next, head for the Save Crystal to trigger another chilling event. The Imperial fleet passes overhead yet again, but they don’t stop this time. Looks like their business is finished.

What was it? And what’s that smoke ahead in the distance? Go to the Save Crystal and use it to teleport back to Mt Bur-Omisace.
Mt Bur-Omisace
Action Checklist
1. Find the Gran Kiltias Anastasis.
2. Defeat Judge Bergan.
3. Get to Nalbina Fortress.
Stock Up and Upgrade
Yes, your primary objective is complete, but there is one last boss to face before you can move on to the next objective. It’s raining here, and if you talk to some of the wounded Kiltias, you learn that Imperial forces have desecrated the holy mountain.
Before you investigate, visit the traveling merchants and upgrade everything. The most noteworthy addition you can pick up here is the black magick attack Bio, which gives Black Mages a non-elemental area-of-effect nuke that also might inflict Sap on targets. You should have a lot of loot to sell and plenty of LP to license new gear, so do it now. Save your game again and head north into the temple to trigger a particularly grim event.
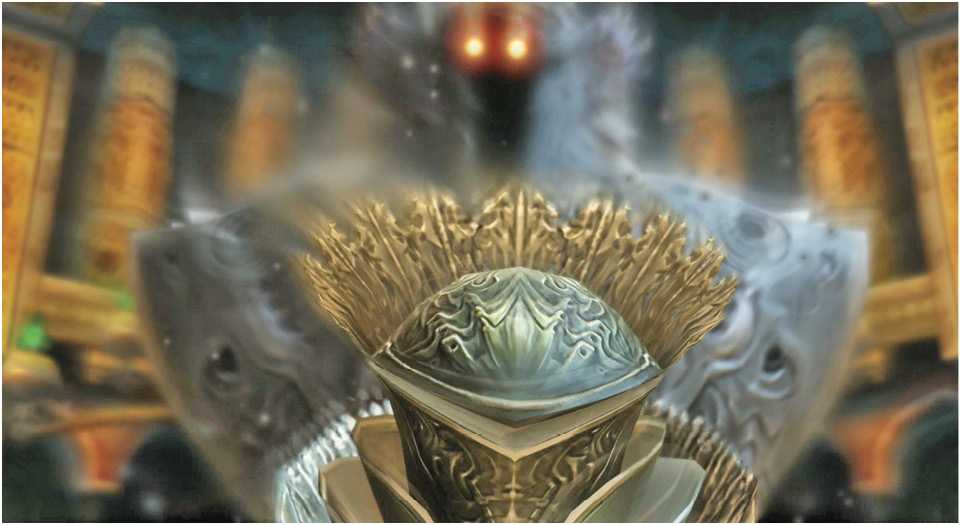
Judge Bergan
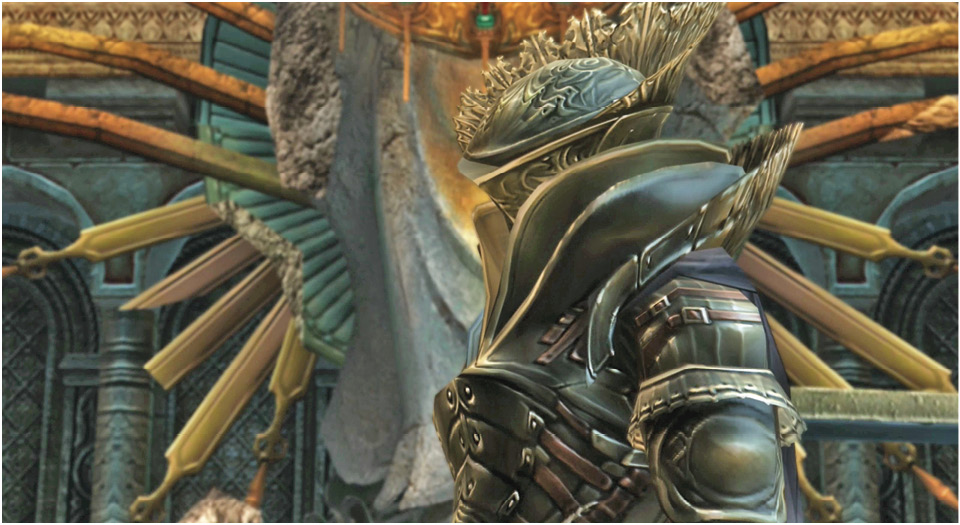
As usual, eliminate the minions first. In this case, three minor Judges assist Judge Bergan; they’re right behind the party at the start of the fight. Let them catch up with Bergan; you want them all as close together as possible. Once they reach Bergan, nail the boss with a Quickening chain of at least three hits to trigger an Inferno or Cataclysm while his three minions are nearby. This can hurt Judge Bergan and wipe out his minions at the same time. 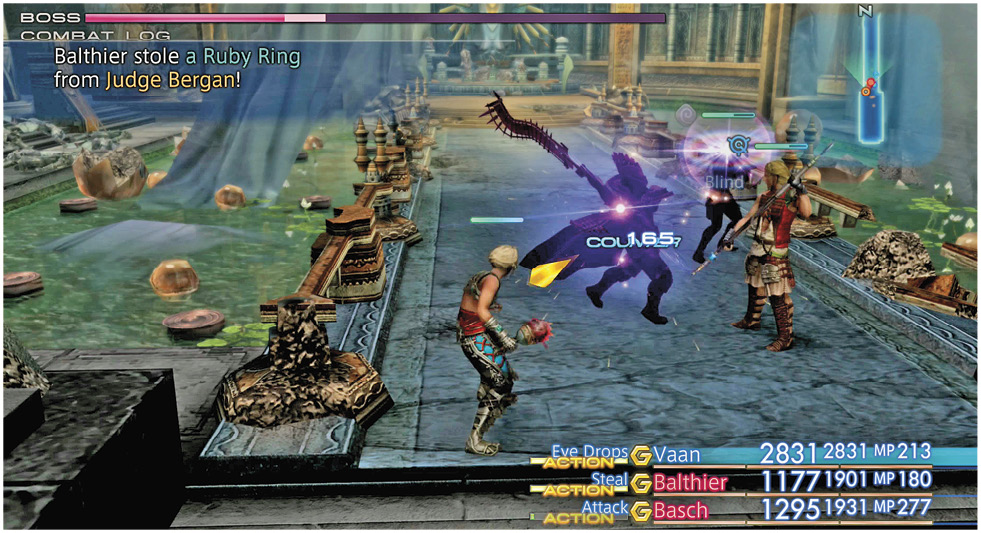
Bergan will cast random Dark, Water, and Aero spells at the party. However, he lacks a super attack (unlike most other bosses) that can wipe out your characters in a single hit. He does have vicious combo attacks that get faster and deadlier as his HP drops to critical levels. One tip is to send in two strong, well-armored melee sluggers with big hitting weapons, but make your party leader a ranged fighter with good healing gambits. You could also summon an Esper and just let it take the hits. At any rate, keep the party leader as far away from Judge Bergan’s blades as possible. The temple path is narrow but long, so you can run your healer up and down the path to keep building MP while staying clear of Bergan. As mentioned earlier, the Judge goes nuts with combo attacks as his HP dwindles lower. When this occurs, you may want to have only one character, your strongest fighter, trading blows with Bergan while keeping your other two characters slinging health spells and potions at their ally. A shield is essential for this type of role, which still works out nicely for a heavy damage dealer as one-handed weapons like axes and hammers are potentially excellent damage-dealing options. A good shield, especially with the Gauntlets accessory equipped, often reduces previously difficult adversaries to helpless targets. |

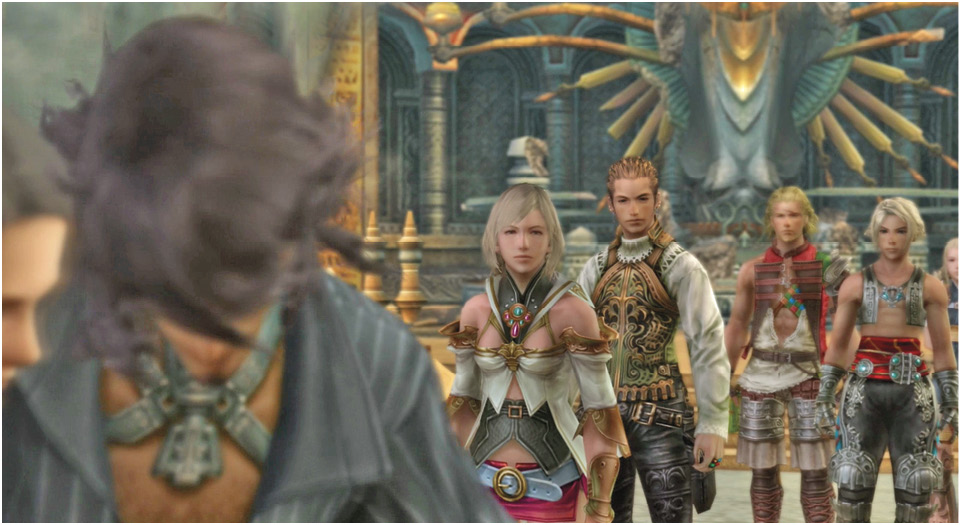
After the battle, watch the next event to see the fate of the Gran Kiltias and learn what happened to young Lord Larsa. Al-Cid appears and Lady Ashe makes a fateful decision about the Sword of Kings and the Dusk Shard. Balthier then points you toward your next destination: the Draklor Laboratory, where, as he puts it, “the Empire’s weapon research begins and ends.”
Before you exit the temple area, talk to the “Acolyte” pacing at the bottom of the temple staircase. He will hand over an artifact called the Stone of the Condemner. You can use this inside the Stilshrine to find an optional hidden Esper! (For more on this, see the “Side Quests” chapter in this guide. This unique battle against Zeromus prevents the use of magicks, and attempting it isn’t really reasonable until your party is at least Level 35.) Return to the Save Crystal in the Sand-Strewn Pass. Use the crystal to teleport to Nalbina Fortress if you’ve already been there and activated its crystal. If not, teleport to Rabanastre and exit the city via Eastgate into the Dalmasca Estersand. Proceed northeast through The Stepping and Outpost into Yardang Labyrinth. From there, exit east to Nalbina Fortress.