Final Fantasy XII: The Zodiac Age Guide Walkthrough Part 1
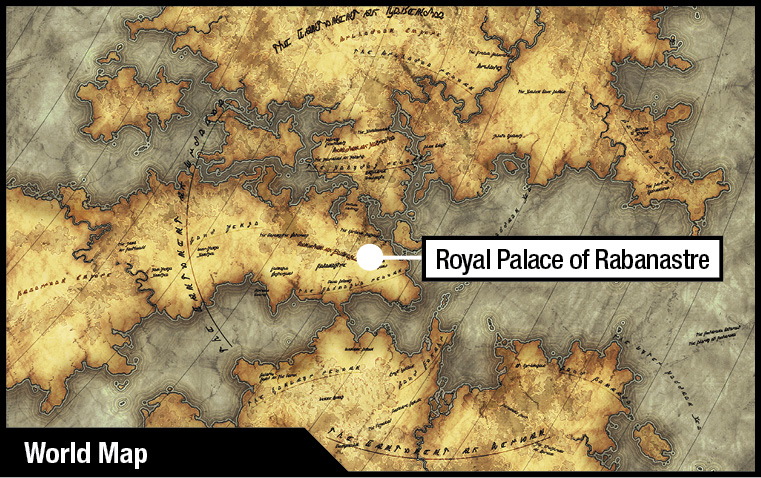
Royal Palace of Rabanastre
OBJECTIVE
Burgle the Palace Treasury
Your goal here is to break into the Treasury and “take back what’s yours”… for Dalmasca, of course. Unfortunately, Imperial guards are everywhere, so you must use your wiles to sneak past them.
Action Checklist
1. Sneak past the guard out of the palace cellars.
2. Maneuver past the maze of Imperial guards in the lower hallway.
3. Use the Crescent Stone on the signet tile.
4. Steal something valuable from the Treasury, then escape from the palace.
| Pop odds | If pop, Gil odds & Amt | Normal Loot | w/Diamond Armlet | ||||
|---|---|---|---|---|---|---|---|
|
# |
App. % |
Gil % |
Amt. if Gil |
50% |
50% |
90% |
10% |
|
1 |
100% |
0% |
— |
Elixir |
Elixir |
Elixir |
Elixir |
|
2 |
100% |
0% |
— |
Antidote |
Antidote |
Antidote |
Antidote |
|
3 |
100% |
0% |
— |
Remedy |
Remedy |
Remedy |
Remedy |
|
4 |
100% |
0% |
— |
Ether |
Ether |
Ether |
Ether |
|
5 |
100% |
0% |
— |
Phoenix Down |
Phoenix Down |
PhoenixDown |
Phoenix Down |
|
6 |
100% |
0% |
— |
Potion |
Potion |
Potion |
Potion |
|
7 |
100% |
0% |
— |
Orrachea Armlet |
Orrachea Armlet |
Orrachea Armlet |
Orrachea Armlet |
Sneak Out of the Cellars
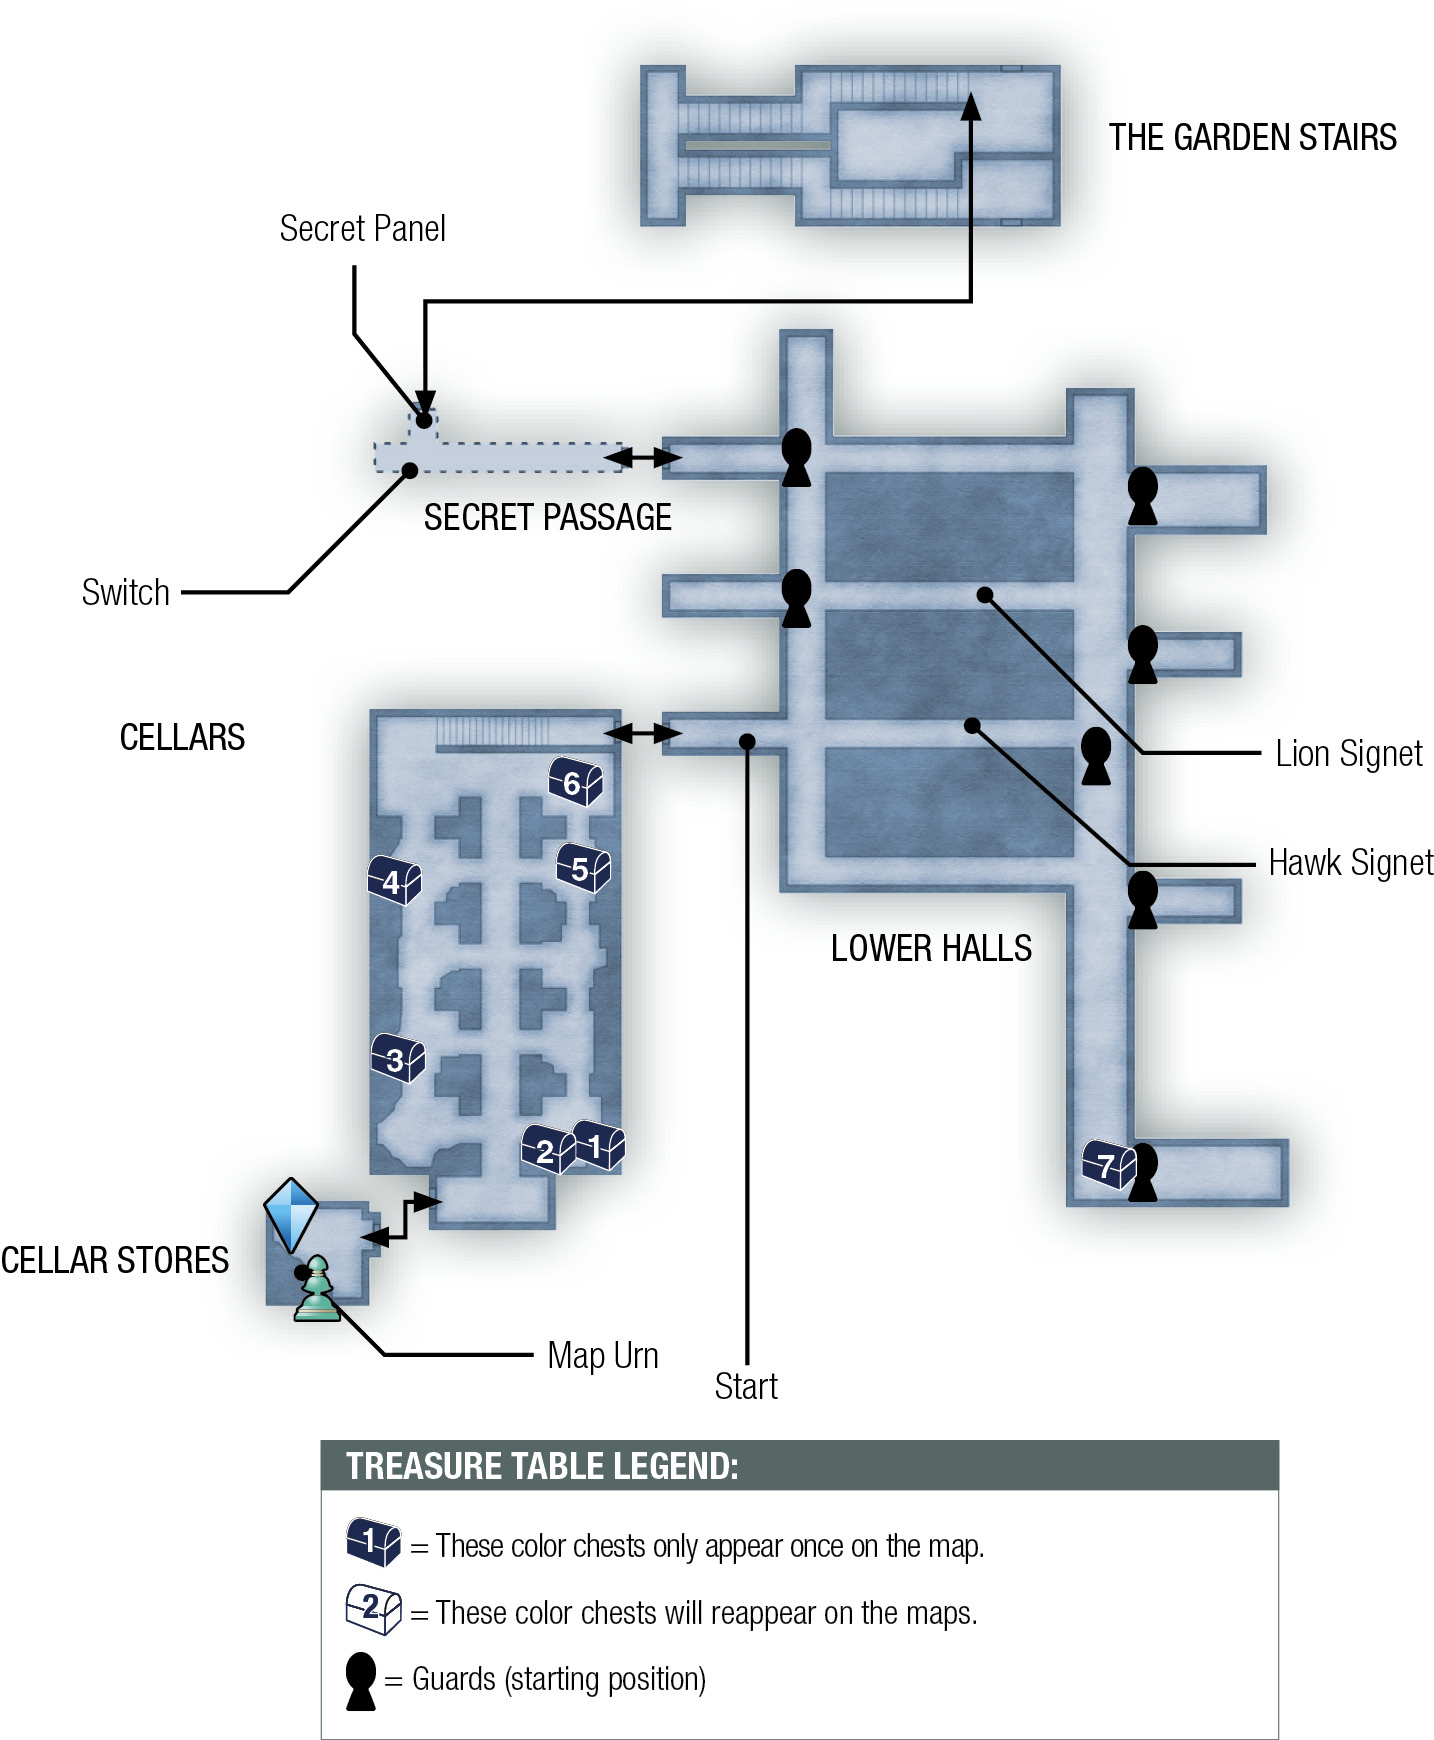
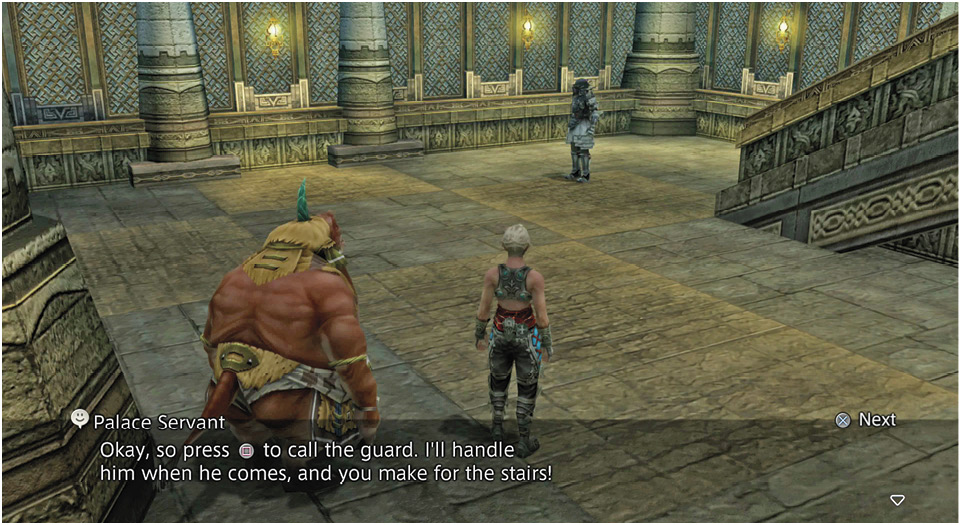
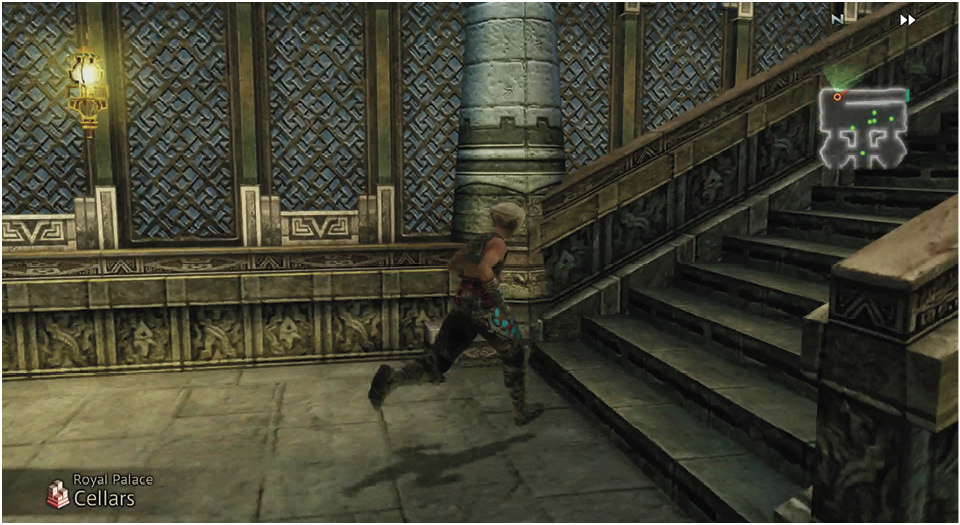
Open the nearby Map Urn to obtain a full map of the Palace, then save your game at the Save Crystal. Exit the room via the east doors to enter the Cellars, where you find palace workers scurrying about preparing for the fete. When you reach the north end of the room, two Imperials give harsh orders to the work crew, threatening to punish anyone who leaves the cellar too soon. Try to go upstairs and a guard will stop Vaan, but a seeq servant notices the attempt. Go talk to him; he kindly offers to help out. When prompted, press the button to shout at a guard. When the guard reaches the seeq and starts talking, rush behind him along the wall and follow it to the staircase, then hurry upstairs to the next area.
Find the Signet Tile and Maneuver Past the Hallway Guards
To find the signet and use the Crescent Stone while eluding the Imperial guards, you need to move very precisely. One wrong turn and you could get caught, and have to start over.
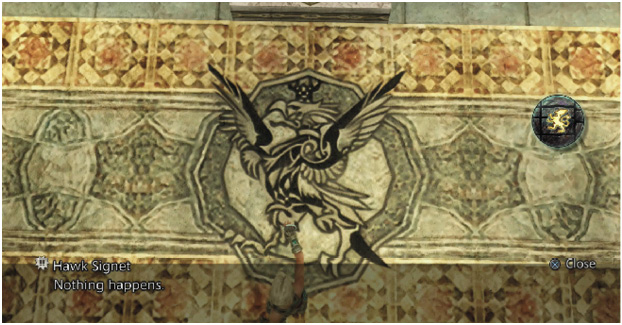
From the starting point, walk directly east until you reach the Hawk Signet on the floor. Note that a pair of guards stands further down this corridor. Press  to examine the signet, then try to use the Crescent Stone. Nothing happens.
Take a few more steps toward the two guards and press  to call them “bucket heads.” Then quickly turn and run back west; turn left at the intersection, heading south. The guards leave their post and give chase as far as the intersection, but then halt and stay put. Turn left again at the next corner, heading east, and left again at the next corner to head north.
Stay on the left side of the hall while running north to the second left turn. Take it and go halfway up the hall until you reach the Lion Signet on the floor. Note the three guards at the far end of this corridor. Use the Crescent Stone here and it flashes light to a secret passage at the far end of this corridor. Aha!
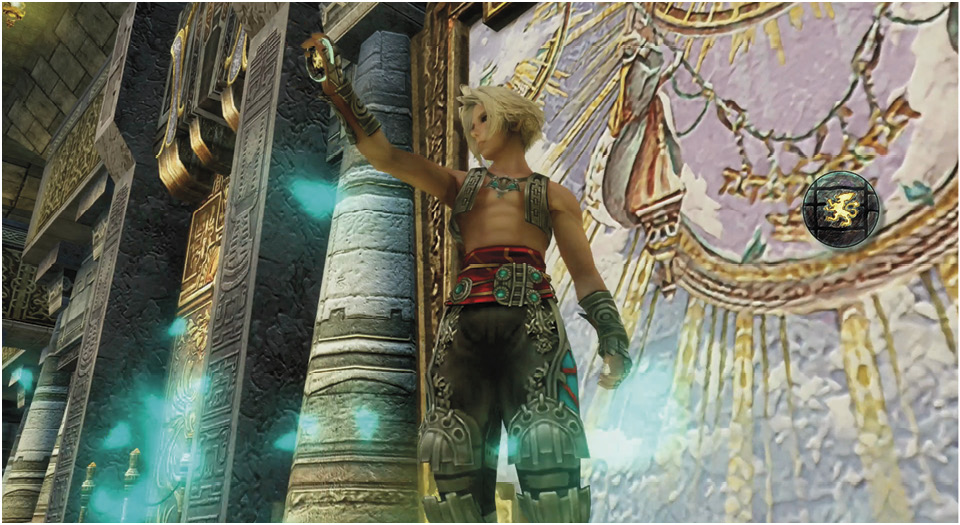
Turn around and go back to the intersection, then turn left and head north. At the last corner, turn left again to see the single guard at the far end. Go a little past halfway down the corridor, press  to call the guard, then turn around and sprint away. Remember: Don’t get too close to the Imperials!
Turn right at the corner and take the next right to return to the Lion Signet on the floor. Walk west past it a few steps and call the three guards. Turn and run away again by sprinting to the corner, turning right, and heading south.
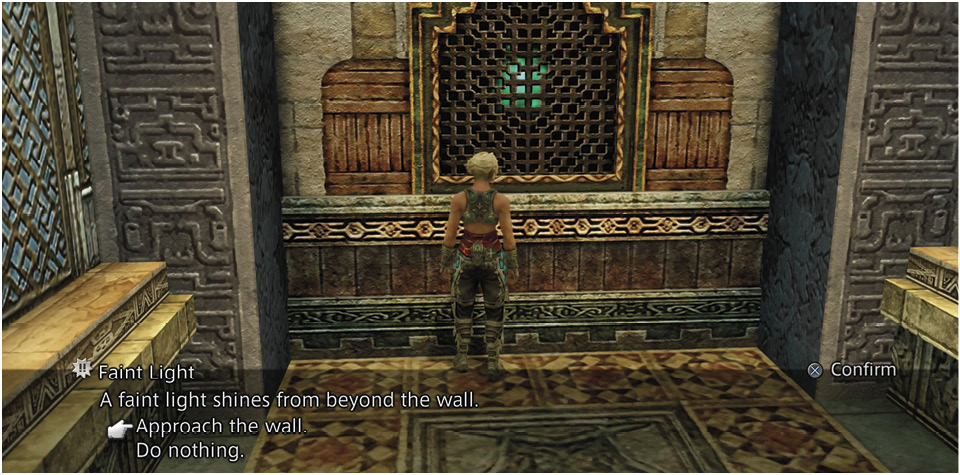
Take the next right to move up the corridor past the Hawk Signet and call to the guards at the far end of the hall and run away. The coast is clear to your final destination! Turn right at the next three corners to reach the long hallway running north and south up the west side of the hall. Follow it to the last corner and turn left.
Examine the “Faint Light” in the grating, then select “Approach the wall” to enter the secret passage. Oops— the passage door slides shut behind Vaan, locking him in.
Find the Treasury
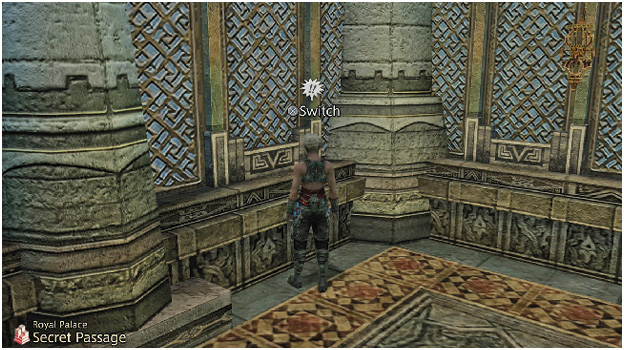
Go to the end of the hall and examine the wall on the left (south) side. A switch! Use the switch to unlock the “Suspicious-looking wall” on the opposite side of the hall. Examine the wall to open a secret panel and enter. This triggers an event in which Vaan browses through the Treasury and discovers a gem-like stone.
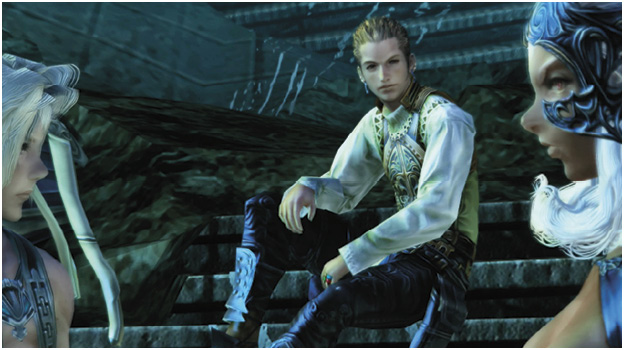
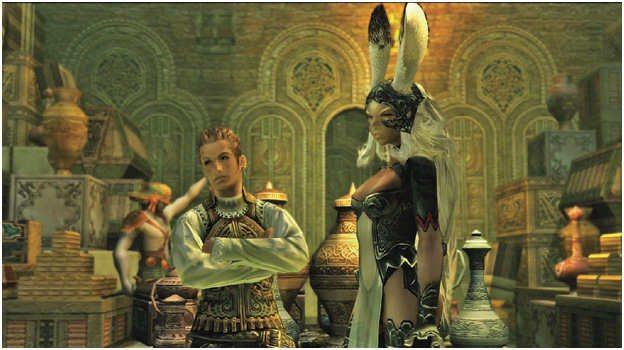
The two characters introduced earlier, Balthier and Fran, burst in and demand the stone. Vaan refuses to hand it over: “I found it! It’s mine!” (Good logic.) It looks like a classic standoff between thieves, Vaan breaks it up with the crafty move of simply running away mid-conversation.
Escape the Palace via the Waterway
After an event, Vaan ends up at the foot of the Garden Stairs. Climb the stairs to trigger a wild event. A pitched battle is being fought outside! Vaan ends up “escaping” on a hover bike with Balthier and Fran, but they don’t get far; the bike breaks down.

Balthier comments again on the presence of the powerful Imperial airship, the Ifrit. He decides you need to escape “the old-fashioned way,” on foot through the waterway. Thus Balthier, a hume sky pirate, and Fran, a viera, now join your party.