Final Fantasy XII: The Zodiac Age Guide Walkthrough Part 2
Nam-Yensa Sandsea
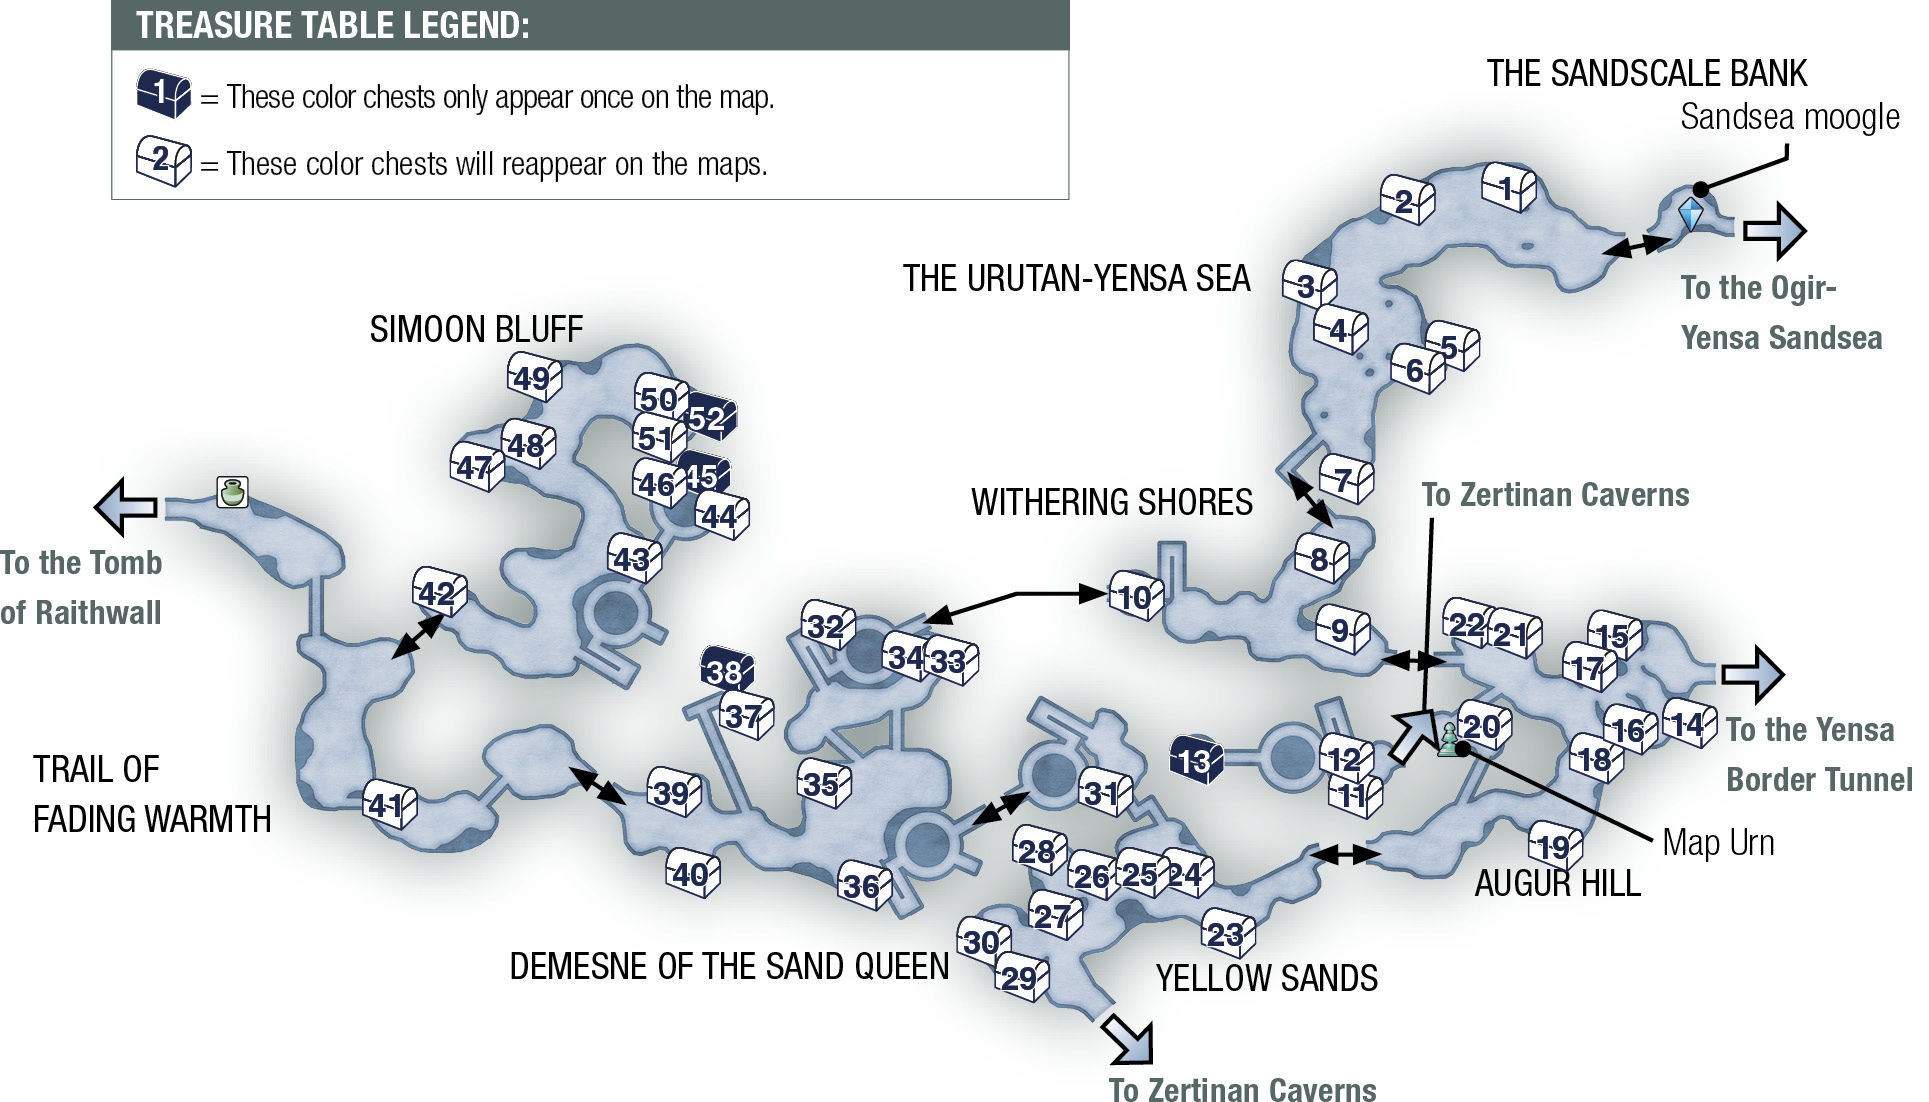
| Pop odds | If pop, Gil odds & Amt | Normal Loot | w/Diamond Armlet | ||||
|---|---|---|---|---|---|---|---|
|
# |
App. % |
Gil % |
Amt. if Gil |
50% |
50% |
90% |
10% |
|
1 |
80% |
50% |
~250 |
Hi-Potion |
Ether |
Knot of Rust |
Meteorite (A) |
|
2 |
80% |
50% |
~250 |
Hi-Potion |
Chronos Tear |
Knot of Rust |
Meteorite (A) |
|
3 |
80% |
50% |
~250 |
Hi-Potion |
Phoenix Down |
Knot of Rust |
Meteorite (A) |
|
4 |
80% |
50% |
~250 |
Potion |
Phoenix Down |
Knot of Rust |
Meteorite (B) |
|
5 |
20% |
60% |
~1500 |
Hi-Potion |
Heavy Lance |
Knot of Rust |
Meteorite (A) |
|
6 |
80% |
50% |
~250 |
Potion |
Ether |
Knot of Rust |
Meteorite (A) |
|
7 |
80% |
50% |
~250 |
Potion |
Chronos Tear |
Knot of Rust |
Meteorite (A) |
|
8 |
70% |
50% |
~200 |
Potion |
Phoenix Down |
Knot of Rust |
Meteorite (B) |
|
9 |
70% |
50% |
~230 |
Ether |
Phoenix Down |
Knot of Rust |
Meteorite (A) |
|
10 |
70% |
50% |
~160 |
Ether |
Phoenix Down |
Knot of Rust |
Meteorite (A) |
|
# |
App. % |
Gil % |
Amt. if Gil |
50% |
50% |
90% |
10% |
|
11 |
70% |
55% |
~500 |
Hi-Ether |
Winged Helm |
Knot of Rust |
Meteorite (A) |
|
12 |
70% |
55% |
~600 |
Hi-Ether |
Chainmail |
Knot of Rust |
Meteorite (A) |
|
13 |
100% |
0% |
— |
Turtleshell Choker |
Turtleshell Choker |
Turtleshell Choker |
Turtleshell Choker |
|
14 |
75% |
45% |
~300 |
Ether |
Potion |
Knot of Rust |
Meteorite (A) |
|
15 |
75% |
45% |
~300 |
Ether |
Phoenix Down |
Knot of Rust |
Meteorite (A) |
|
16 |
75% |
45% |
~300 |
Phoenix Down |
Phoenix Down |
Knot of Rust |
Meteorite (A) |
|
17 |
75% |
45% |
~300 |
Phoenix Down |
Ether |
Knot of Rust |
Meteorite (A) |
|
18 |
60% |
45% |
~300 |
Ether |
Cura Mote |
Knot of Rust |
Meteorite (A) |
|
19 |
75% |
45% |
~300 |
Potion |
Phoenix Down |
Knot of Rust |
Meteorite (A) |
|
20 |
75% |
45% |
~300 |
Ether |
Ether |
Knot of Rust |
Meteorite (A) |
|
21 |
75% |
45% |
~300 |
Phoenix Down |
Potion |
Knot of Rust |
Meteorite (A) |
|
22 |
75% |
45% |
~300 |
Potion |
Phoenix Down |
Knot of Rust |
Meteorite (B) |
|
23 |
70% |
60% |
~290 |
Antidote |
Hi-Potion |
Knot of Rust |
Meteorite (A) |
|
24 |
70% |
60% |
~290 |
Potion |
Soleil Fang |
Knot of Rust |
Meteorite (A) |
|
25 |
70% |
60% |
~290 |
Potion |
Ether |
Knot of Rust |
Meteorite (A) |
|
26 |
70% |
60% |
~290 |
Potion |
Hi-Potion |
Knot of Rust |
Meteorite (A) |
|
27 |
70% |
60% |
~290 |
Hi-Potion |
Ether |
Knot of Rust |
Meteorite (B) |
|
28 |
70% |
60% |
~290 |
Antidote |
Hi-Potion |
Knot of Rust |
Meteorite (C) |
|
29 |
70% |
60% |
~290 |
Potion |
Ether |
Knot of Rust |
Meteorite (A) |
|
30 |
70% |
60% |
~290 |
Antidote |
Gold Needle |
Knot of Rust |
Meteorite (A) |
|
31 |
70% |
60% |
~290 |
Hi-Potion |
Hi-Potion |
Knot of Rust |
Meteorite (A) |
|
32 |
75% |
50% |
~280 |
Potion |
Hi-Potion |
Knot of Rust |
Meteorite (B) |
|
33 |
75% |
50% |
~180 |
Potion |
Balaclava |
Knot of Rust |
Meteorite (A) |
|
34 |
75% |
50% |
~180 |
Potion |
Hi-Potion |
Knot of Rust |
Meteorite (A) |
|
35 |
75% |
50% |
~180 |
Potion |
Hi-Potion |
Knot of Rust |
Meteorite (A) |
|
36 |
75% |
50% |
~280 |
Potion |
Gold Needle |
Knot of Rust |
Meteorite (A) |
|
37 |
75% |
50% |
~300 |
Potion |
Hi-Potion |
Knot of Rust |
Meteorite (A) |
|
38 |
100% |
0% |
— |
Balance |
Balance |
Balance |
Balance |
|
39 |
75% |
50% |
~280 |
Ether |
Potion |
Knot of Rust |
Meteorite (A) |
|
40 |
75% |
50% |
~280 |
Gold Needle |
Wizard’s Hat |
Knot of Rust |
Meteorite (A) |
|
41 |
10% |
10% |
~11000 |
Knot of Rust |
Knot of Rust |
Knot of Rust |
Meteorite (B) |
|
42 |
75% |
10% |
~800 |
Potion |
Ether |
Knot of Rust |
Meteorite (A) |
|
43 |
75% |
10% |
~900 |
Potion |
Ether |
Knot of Rust |
Meteorite (A) |
|
44 |
75% |
30% |
~600 |
Remed |
Lohengrin |
Knot of Rust |
Meteorite (A) |
|
45 |
100% |
0% |
— |
Embroidered Tippet |
Embroidered Tippet |
Embroidered Tippet |
Embroidered Tippet |
|
46 |
75% |
30% |
~600 |
Remedy |
Chopper |
Knot of Rust |
Meteorite (A) |
|
47 |
75% |
30% |
~300 |
Gold Needle |
Soldier’s Cap |
Knot of Rust |
Meteorite (A) |
|
48 |
75% |
30% |
~300 |
Hi-Potion |
Chanter’s Djellaba |
Knot of Rust |
Meteorite (B) |
|
49 |
70% |
50% |
~250 |
Potion |
Sirius |
Knot of Rust |
Meteorite (C) |
|
50 |
75% |
30% |
~300 |
Hi-Ether |
Lambent Hat |
Knot of Rust |
Meteorite (A) |
|
51 |
75% |
30% |
~300 |
Ether |
Heavy Coat |
Knot of Rust |
Meteorite (A) |
|
52 |
100% |
100% |
2918 |
— |
— |
— |
— |
Find the Giant Tortoise
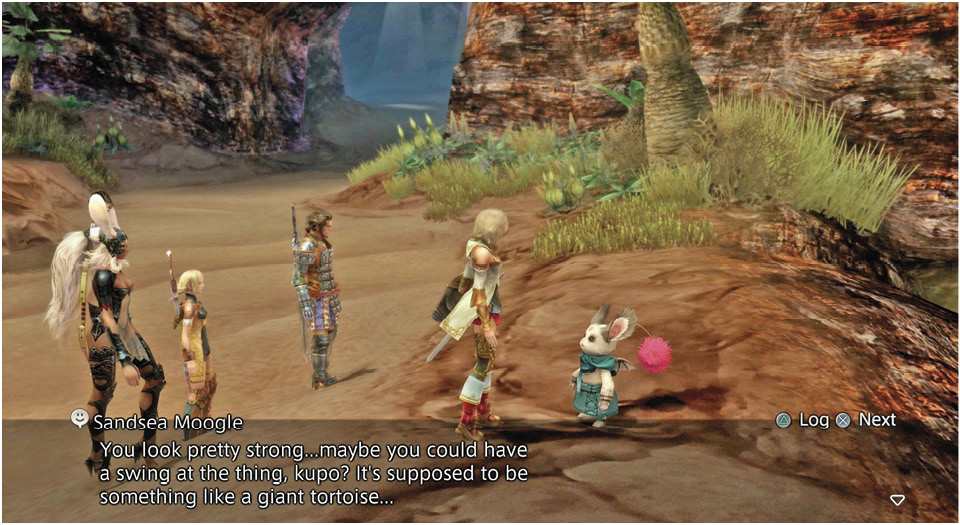
Halfway there! Use the Save Crystal at the Sandscale Bank, then approach the Sandsea moogle standing nearby. He states that an Urutan-Yensa warrior just asked him for help. Select “Tell me” to hear about a giant Emeralditan tortoise in Nam-Yensa that is terrorizing the local population. He mentions a possible reward. How could you pass that up?
Exit west into the Urutan-Yensa Sea. Fight your way through a number of hostile Urutan-Yensa tribesmen and cross the walk-bridge into the Withering Shores area.
Defeat the Urutan-Eater
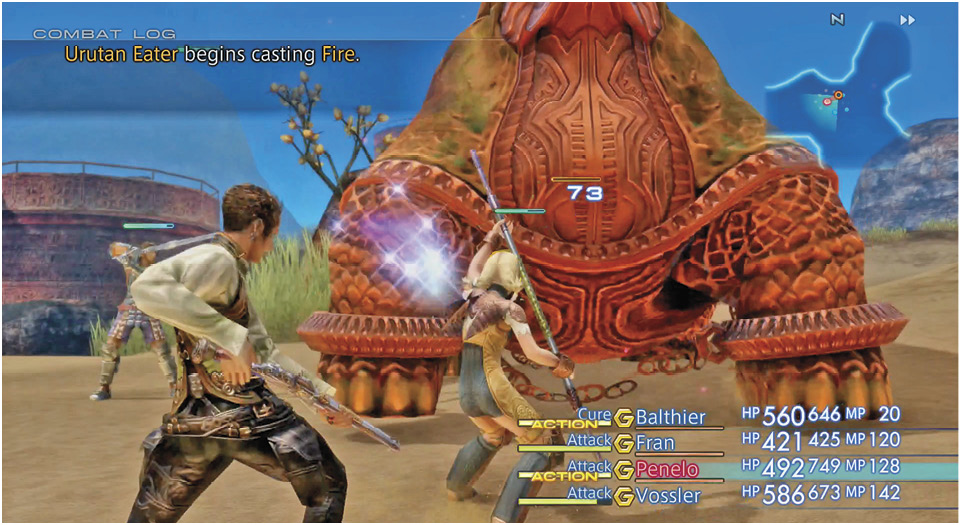
Up ahead, you should spot the giant tortoise mentioned by the moogle. The mighty Emeralditan is named “Urutan Eater,” and it battles a handful of Urutan-Yensa warriors. Help them defeat the big beast.
Note that the Urutan Eater is weak against Wind magick. If your gambits are well-organized, it’s possible to take him down in just minutes. Remember to swap KO’d party members with new, fresh backups to keep the pressure on the tortoise. When the hard-shelled beast finally falls, return to the Sandscale Bank.
Talk to the Sandsea moogle. He mentions that the Urutan-Yensa warrior who asked for help just went by, headed east back into the Ogir-Yensa Sandsea. Exit east to return to the Platform 2 - Refinery area and climb the refinery ramp to trigger an event.
The moogle talks to the tribesman about the “treasure of the sandsea”… and suddenly the tribesman runs west, back through the tunnel to the Sandscale Bank! Follow him to see a rare gathering of the Urutan-Yensa. The poor tribesman is punished by the Urutan Queen for his plea for help outside the clan. When the dust settles, all that’s left is a Rogue Urutan Flower in the sand.
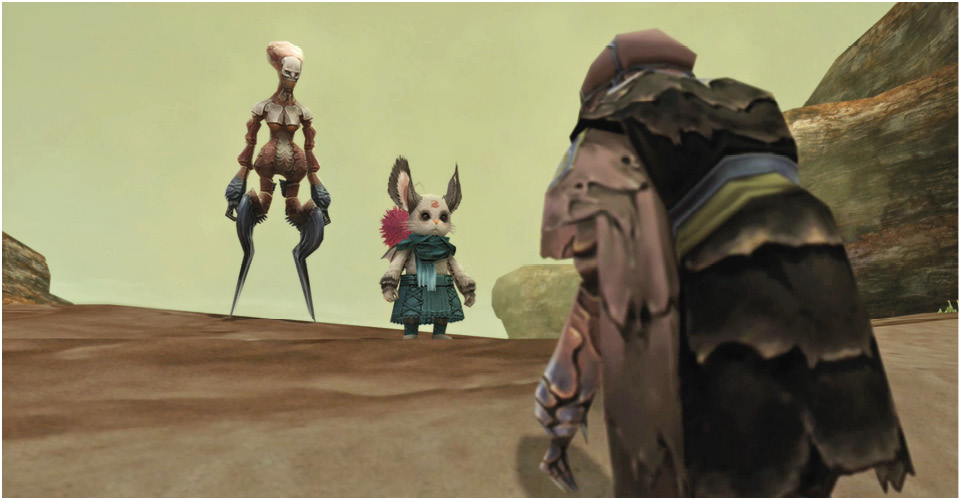
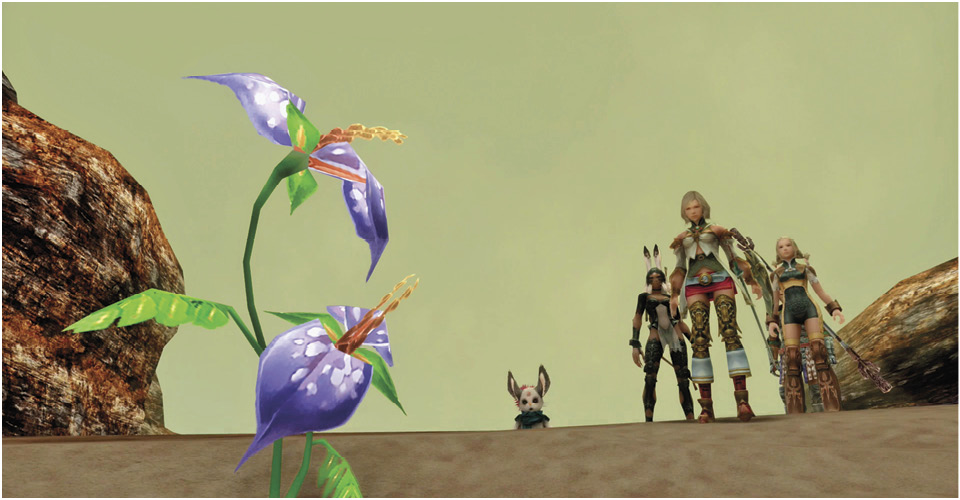
After you regain control, talk to the moogle. Talk to him again to learn about a powerful avion known as the Garuda that hates the scent of this particular flower. Approach the flower and pick its berries to add Eksir Berries to the Items list in your inventory.
Head back through the Urutan-Yensa Sea into the Withering Shores and head to the east to reach Augur Hill. Once there, cross the bridge on the right to find a Map Urn. Now cross the next bridge and make your way to the southwest exit, which leads to Yellow Sands. (Or, go back across the bridge and head east to the Yensa Border Tunnel to find a merchant and a Save Crystal, and then return; see the tip on this page.)
Yellow Sands has two exits. The southern exit leads into the dangerous Zertinan Caverns, which may be too deadly at this stage. (Two lethal Speartongue toads lurk just inside the entrance!) Instead, go north to the storage tank and exit that way into the Demesne of the Sandqueen. From there, head west across the sands to the Trail of Fading Warmth.
Follow the trail to the northwest, crossing a set of bridges in the process. If you want, you can detour through the tunnel-bridge (guarded by four explosive traps!) up to Simoon Bluff and scour that area for treasure and obtain EXP/LP from combat.
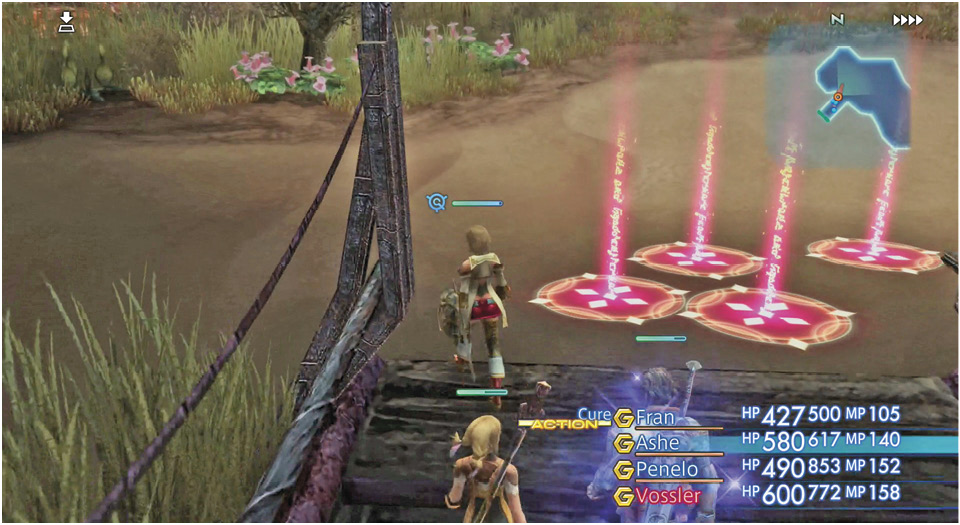
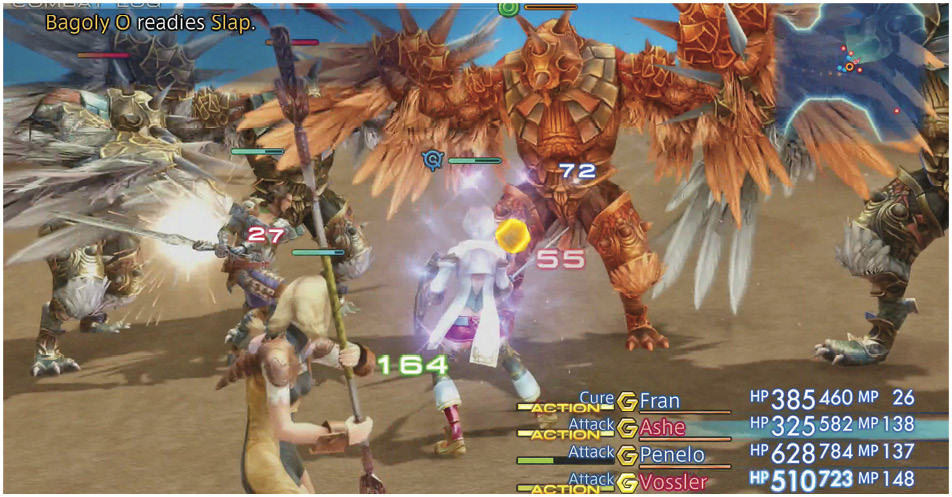
It’s tough up there, though; near the top, a flock of six Bagolys jealously guards some treasure, plus a massive flying Wyvern flaps around nearby. Sling an Aqua spell at the Wyvern to exploit its weakness, and use party members equipped with ranged weapons.
Now take the Trail of Fading Warmth west to run into Dyce, the traveling merchant. (Even if you met him before back at the Yensa Border Tunnel, he will still be here now.) Stock up if you need to, then exit west to the next area. Here, the game gives you a single opportunity to save your game. Take it, then move on into the Tomb of Raithwall.