
Final Fantasy XII: The Zodiac Age Guide Walkthrough Part 1
Fire Up the Power Relay and Open the Gate
OBJECTIVE
Navigate the Barheim Passage
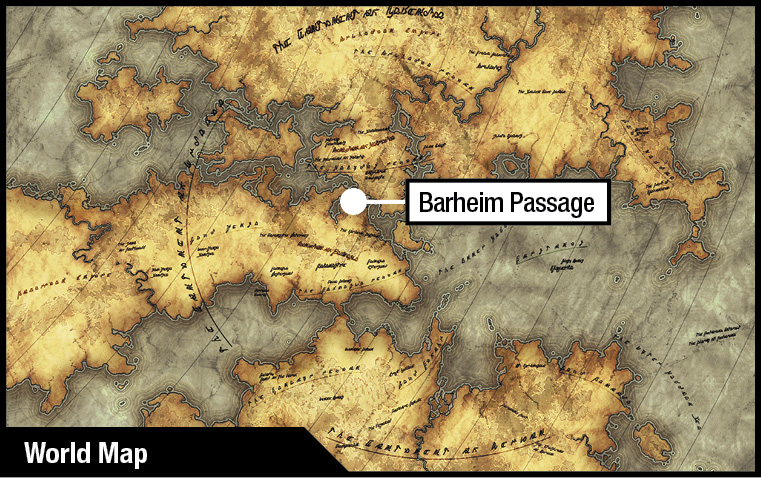
Use the tunnels of the Barheim Passage to escape from Nalbina Fortress out into the Estersand.
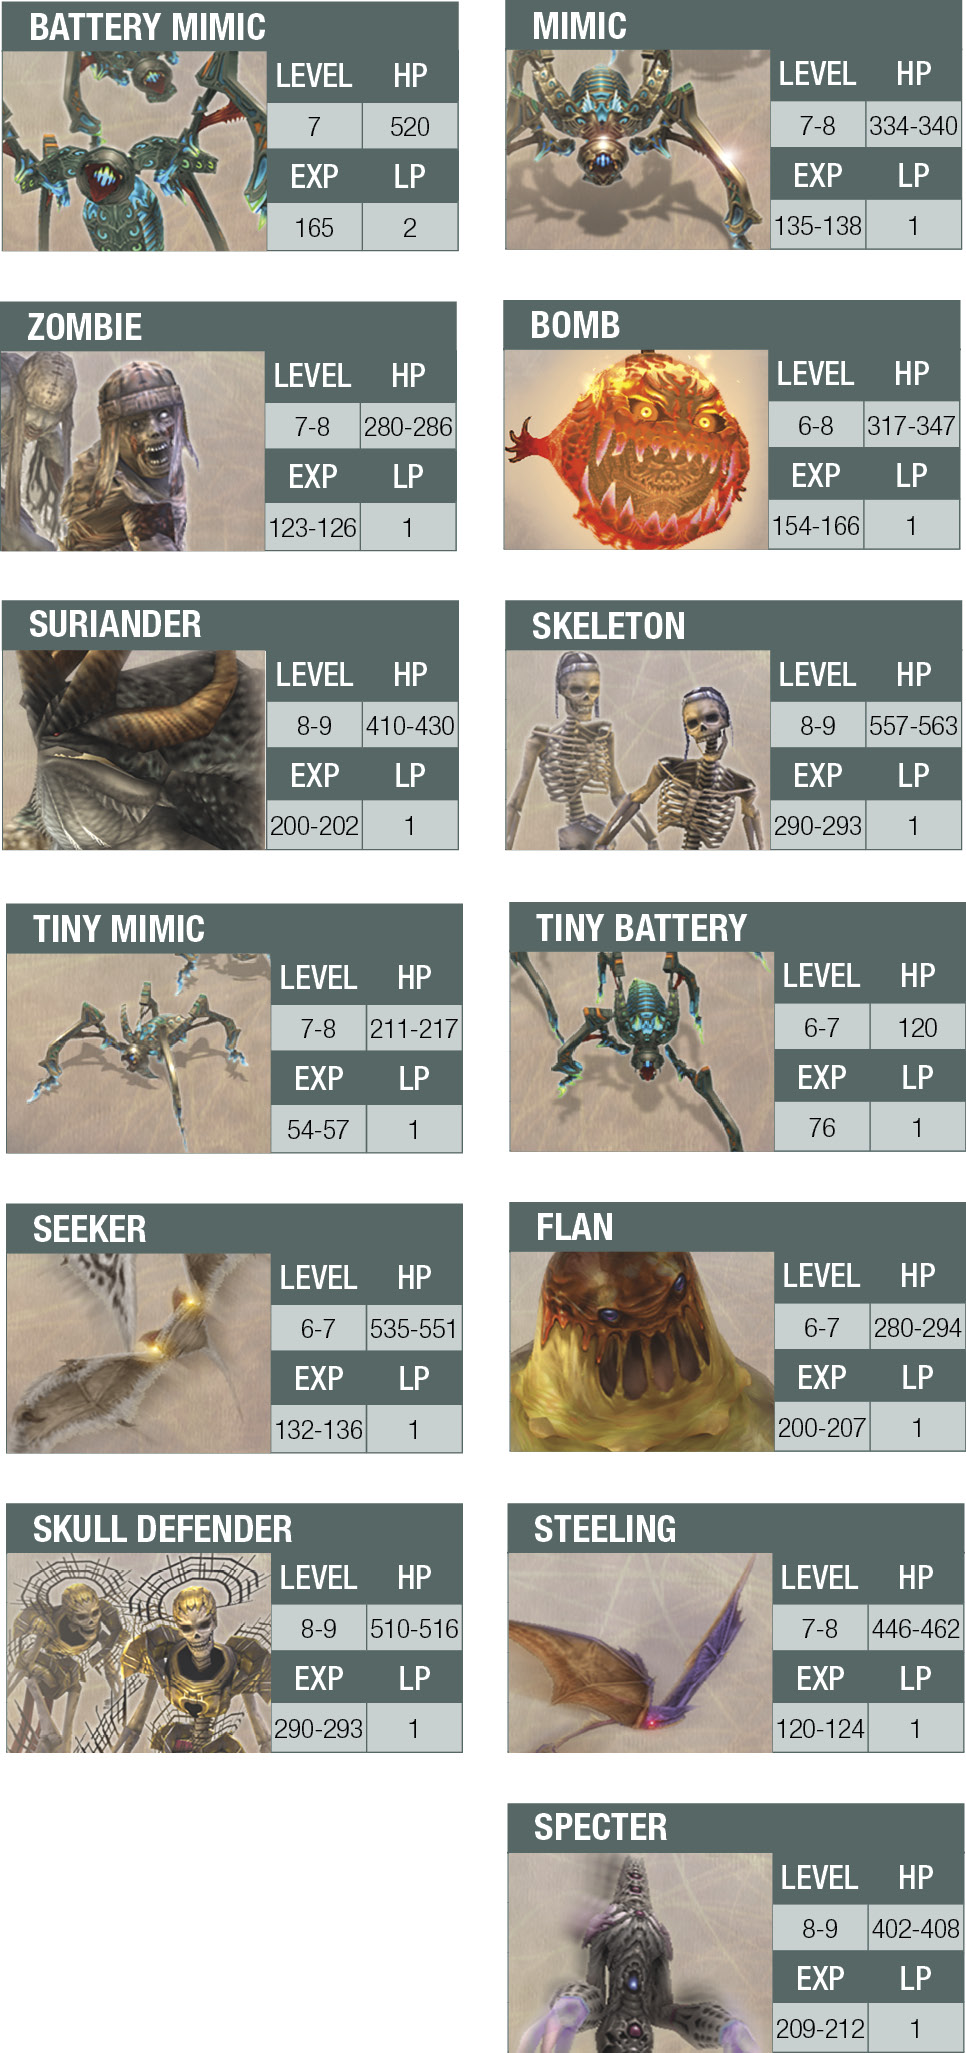
Action Checklist
1. Find a way into the Barheim Passage tunnels.
2. Eliminate all of the Battery Mimics trying to drain the power conduits.
3. Open the locked gate halfway down the passage.
4. Defeat the Mimic Queen.
| Pop odds | If pop, Gil odds & Amt | Normal Loot | w/Diamond Armlet | ||||
|---|---|---|---|---|---|---|---|
|
# |
App. % |
Gil % |
Amt. if Gil |
50% |
50% |
90% |
10% |
|
1 |
100% |
100% |
2510 |
— |
— |
— |
— |
|
2 |
40% |
55% |
~100 |
Potion |
Potion |
Knot of Rust |
Meteorite (A) |
|
3 |
40% |
55% |
~100 |
Balance Mote |
Balance Mote |
Knot of Rust |
Meteorite (B) |
|
4 |
75% |
40% |
~130 |
Potion |
Pointy Hat |
Knot of Rust |
Meteorite (A) |
|
5 |
80% |
25% |
~150 |
Potion |
Potion |
Knot of Rust |
Meteorite (A) |
|
6 |
80% |
40% |
~150 |
Phoenix Down |
Phoenix Down |
Knot of Rust |
Meteorite (B) |
|
7 |
70% |
35% |
~100 |
Potion |
Antidote |
Knot of Rust |
Meteorite (A) |
|
8 |
70% |
45% |
~130 |
Hi-Potion |
Bronze Armor |
Knot of Rust |
Meteorite (A) |
|
9 |
70% |
30% |
~150 |
Potion |
Antidote |
Knot of Rust |
Meteorite (B) |
|
10 |
70% |
35% |
~110 |
Potion |
Phoenix Down |
Knot of Rust |
Meteorite (A) |
|
11 |
70% |
30% |
~100 |
Potion |
Antidote |
Knot of Rust |
Meteorite (A) |
|
12 |
70% |
35% |
~100 |
Potion |
Ether |
Knot of Rust |
Meteorite (A) |
|
13 |
70% |
35% |
~100 |
Potion |
Phoenix Down |
Knot of Rust |
Meteorite (C) |
|
14 |
75% |
30% |
~135 |
Phoenix Down |
Buckler |
Knot of Rust |
Meteorite (B) |
|
15 |
75% |
30% |
~120 |
Ether |
Rod |
Knot of Rust |
Meteorite (A) |
|
16 |
100% |
0% |
— |
Battle Harness |
Battle Harness |
Battle Harness |
Battle Harness |
|
17 |
80% |
30% |
~200 |
Potion |
Aero Mote |
Knot of Rust |
Meteorite (A) |
|
18 |
75% |
30% |
~130 |
Potion |
Headguard |
Knot of Rust |
Meteorite (A) |
|
19 |
80% |
30% |
~120 |
Antidote |
Antidote |
Knot of Rust |
Meteorite (B) |
|
20 |
80% |
30% |
~130 |
Potion |
Oak Staff |
Knot of Rust |
Meteorite (A) |
|
21 |
70% |
30% |
~140 |
Ether |
Ether |
Knot of Rust |
Meteorite (A) |
|
22 |
80% |
30% |
~190 |
Potion |
Pointy Hat |
Knot of Rust |
Meteorite (B) |
|
23 |
80% |
30% |
~150 |
Potion |
Buckler |
Knot of Rust |
Meteorite (A) |
|
24 |
85% |
25% |
~350 |
Hi-Potion |
Mage Masher |
Knot of Rust |
Meteorite (A) |
|
25 |
70% |
30% |
~200 |
Potion |
Echo Herbs |
Knot of Rust |
Meteorite (A) |
|
26 |
80% |
45% |
~200 |
Potion |
Onion Shot |
Knot of Rust |
Meteorite (A) |
|
27 |
80% |
30% |
~200 |
Potion |
Antidote |
Knot of Rust |
Meteorite (A) |
|
28 |
80% |
30% |
~200 |
Ether |
Antidote |
Knot of Rust |
Meteorite (B) |
|
29 |
75% |
35% |
~180 |
Potion |
Aqua Mote |
Knot of Rust |
Meteorite (A) |
|
30 |
75% |
30% |
~150 |
Antidote |
Ether |
Knot of Rust |
Meteorite (A) |
|
31 |
75% |
40% |
~180 |
Potion |
Cypress Pole |
Knot of Rust |
Meteorite (A) |
|
32 |
75% |
40% |
~180 |
Hi-Potion |
Iron Hammer |
Knot of Rust |
Meteorite (A) |
|
33 |
75% |
35% |
~200 |
Potion |
Lightning Fang |
Knot of Rust |
Meteorite (A) |
|
34 |
75% |
35% |
~200 |
Potion |
Balance Mote |
Knot of Rust |
Meteorite (C) |
|
35 |
75% |
35% |
~200 |
Phoenix Down |
Cherry Staff |
Knot of Rust |
Meteorite (B) |
|
36 |
75% |
40% |
~300 |
Potion |
Capella |
Knot of Rust |
Meteorite (A) |
|
37 |
75% |
35% |
~180 |
Potion |
Dark Mote |
Knot of Rust |
Meteorite (A) |
|
38 |
90% |
50% |
~400 |
Chronos Tear |
Hi-Potion |
Knot of Rust |
Meteorite (A) |
|
39 |
90% |
50% |
~400 |
Hi-Potion |
Soleil Fang |
Knot of Rust |
Meteorite (B) |
|
40 |
90% |
50% |
~400 |
Dispel Mote |
Thorned Mace |
Knot of Rust |
Meteorite (A) |
|
41 |
90% |
50% |
~400 |
Dispel Mote |
Enchanter’s Habit |
Knot of Rust |
Meteorite (C) |
|
42 |
90% |
50% |
~400 |
Echo Herbs |
Diamond Shield |
Knot of Rust |
Meteorite (A) |
|
43 |
90% |
50% |
~400 |
Dark Mote |
Headband |
Knot of Rust |
Meteorite (A) |
|
44 |
90% |
50% |
~400 |
Aero Mote |
Glacial Staff |
Knot of Rust |
Meteorite (A) |
|
45 |
100% |
0% |
— |
Arc Scale |
Arc Scale |
Arc Scale |
Arc Scale |
|
46 |
90% |
50% |
~360 |
Bio Mote |
Gladius |
Knot of Rust |
Meteorite (A) |
|
47 |
90% |
50% |
~360 |
Hi-Potion |
Float Mote |
Knot of Rust |
Meteorite (A) |
|
48 |
100% |
0% |
— |
Toxify |
Toxify |
Toxify |
Toxify |
|
49 |
90% |
50% |
~360 |
Fiery Arrows |
Jujitsu Gi |
Knot of Rust |
Meteorite (A) |
|
50 |
90% |
50% |
~360 |
Ether |
Remedy |
Knot of Rust |
Meteorite (B) |
|
51 |
90% |
50% |
~400 |
Hi-Potion |
Bubble Mote |
Knot of Rust |
Meteorite (A) |
|
52 |
90% |
50% |
~400 |
Ether |
Icebrand |
Knot of Rust |
Meteorite (A) |
|
53 |
90% |
50% |
~400 |
Ether |
Phoenix Down |
Knot of Rust |
Meteorite (A) |
|
54 |
90% |
50% |
~400 |
Phoenix Down |
Cura Mote |
Knot of Rust |
Meteorite (C) |
|
55 |
90% |
50% |
~400 |
Hi-Potion |
Sledgehammer |
Knot of Rust |
Meteorite (A) |
|
56 |
90% |
50% |
~400 |
Chronos Tear |
Cura Mote |
Knot of Rust |
Meteorite (B) |
|
57 |
90% |
50% |
~400 |
Ether |
Lamia’s Tiara |
Knot of Rust |
Meteorite (A) |
|
58 |
100% |
0% |
— |
Scathe Mote |
Scathe Mote |
Scathe Mote |
Scathe Mote |
|
59 |
90% |
50% |
~400 |
Hi-Potion |
Close Helmet |
Knot of Rust |
Meteorite (A) |
|
60 |
100% |
0% |
— |
Kagenui |
Kagenui |
Kagenui |
Kagenui |
|
61 |
90% |
50% |
~400 |
Ether |
Demon Mail |
Knot of Rust |
Meteorite (A) |
|
62 |
100% |
0% |
— |
Shear |
Shear |
Shear |
Shear |
|
63 |
90% |
50% |
~450 |
Dark Mote |
Warp Mote |
Knot of Rust |
Meteorite (A) |
|
64 |
90% |
50% |
~450 |
Aero Mote |
Domaine Calvados |
Knot of Rust |
Meteorite (A) |
|
65 |
90% |
50% |
~450 |
Soleil Fang |
Murasame |
Knot of Rust |
Meteorite (C) |
|
66 |
100% |
0% |
— |
Fumarole |
Fumarole |
Fumarole |
Fumarole |
|
67 |
90% |
50% |
~450 |
Potion |
Potion |
Knot of Rust |
Meteorite (B) |
|
68 |
90% |
50% |
~450 |
Soleil Fang |
Bacchus’ Wine |
Knot of Rust |
Meteorite (A) |
|
69 |
90% |
50% |
~450 |
Reflectga Mote |
Fuzzy Miter |
Knot of Rust |
Meteorite (A) |
|
70 |
90% |
50% |
~450 |
Dispel Mote |
Remedy |
Knot of Rust |
Meteorite (A) |
|
71 |
90% |
50% |
~450 |
Dark Mote |
Six-fluted Pole |
Knot of Rust |
Meteorite (A) |
|
72 |
90% |
50% |
~450 |
Aero Mote |
Power Armlet |
Knot of Rust |
Meteorite (A) |
|
73 |
5% |
40% |
~450 |
Dispel Mote |
Nu Khai Sand |
Knot of Rust |
Meteorite (D) |
|
74 |
90% |
50% |
~450 |
Soleil Fang |
Bowline Sash |
Knot of Rust |
Meteorite (A) |
|
75 |
90% |
50% |
~450 |
Dispel Mote |
Agate Ring |
Knot of Rust |
Meteorite (A) |
|
76 |
25% |
0% |
— |
Cameo Belt |
Cameo Belt |
Cameo Belt |
Cameo Belt |
|
77 |
100% |
0% |
— |
Reverse Mote |
Reverse Mote |
Reverse Mote |
Reverse Mote |
|
78 |
100% |
0% |
— |
Elixir |
Elixir |
Elixir |
Elixir |
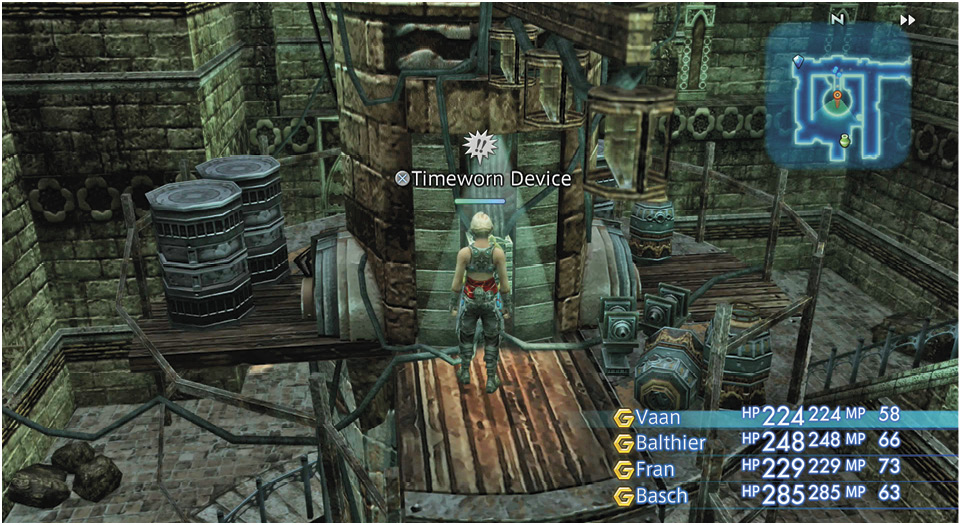
Things start out in the Lightworks. Go down the first flight of stairs and turn right into an alcove with up to three treasure coffers. Continue down the next flight of stairs and turn left onto the short ramp that leads to the center column. There, press the switch located on the “Timeworn Device.” Nothing happens and Balthier speculates that the fuse must be blown on this central power relay.
Continue downstairs. Go past the Save Crystal for now and talk to Burrogh, the bangaa sitting by the gate. He states that the collapsed cage (the one your party caused) blocked the easy way out of this passage. The only way out now is via the old Barheim tunnels, which are currently blocked off by a giant gate. However, Burrogh does have something for the power relay; he hands over a “Tube Fuse.”
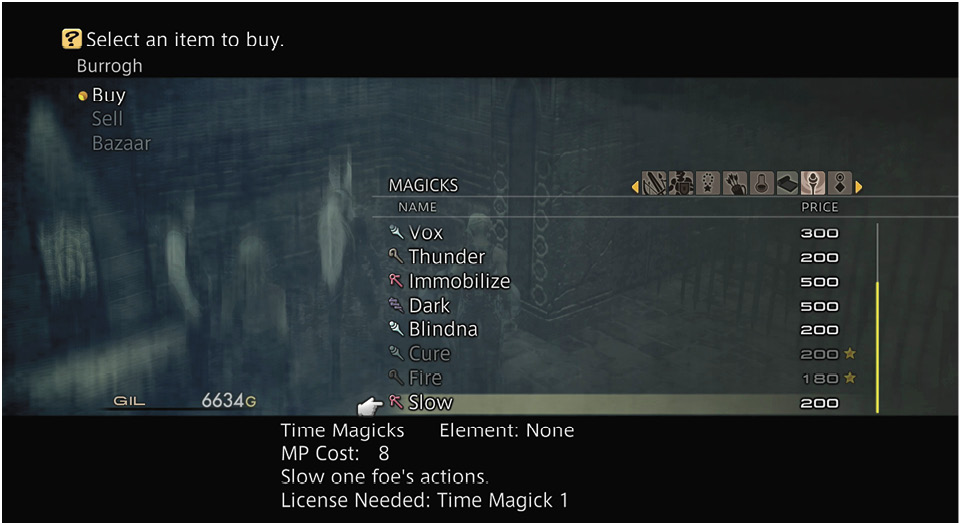
Burrogh also happens to run a little side business, so sell him all your loot (except Teleport Stones), then check out his wares and upgrade if possible. Don’t forget that you need a license to equip any weapons and armor you purchase.
When you’re finished with business, go back upstairs and install the Tube Fuse in the power relay. A gauge appears in the right-hand corner of the screen indicating how much of the charge remains. Right now it’s at 100 percent. Now save your game at the Save Crystal.
Go down and try the Gate Switchboard on the wall next to Burrogh. If you replaced the fuse in the power relay, the gate opens and the charge drops to 70 percent. (If you didn’t replace the fuse, the gate doesn’t work.) Pay very close attention to what Burrogh says next. He explains that as long as the lights are on, the Barheim Passage isn’t so bad. If the charge drops below 30 percent, though, “fierce beasts start comin’ out in the dark.” Also, if the power drops below 50%, Zombies and Skeletons will appear. If it drops below 30%, Specters and Skull Defenders will emerge. There’s even a chance that the Battle Mimics will respawn if the gauge is between 31-50%.
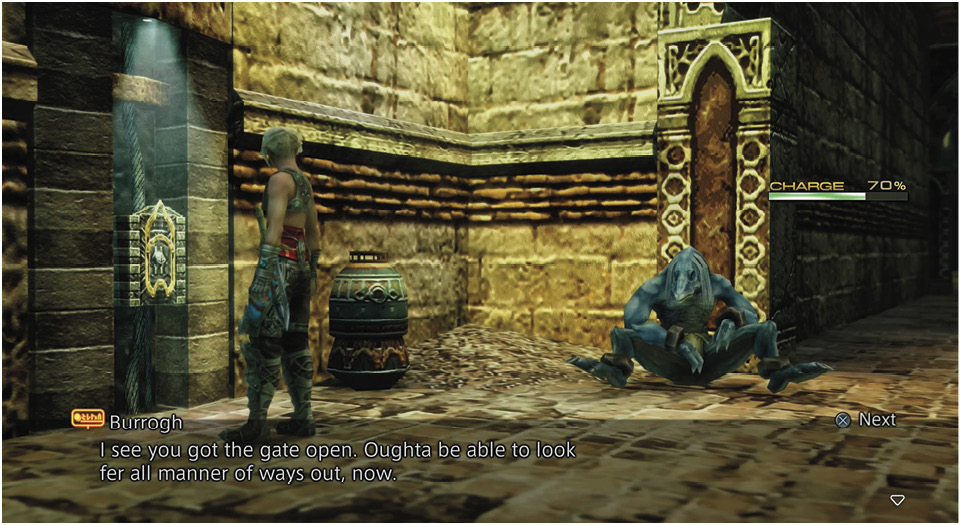
Unfortunately, annoying spiderlike creatures known as Battery Mimics roam the passages, feeding on energy conduits and draining power from the system. The party’s next task is to eliminate these pests to keep the charge above 30 percent. To get started, head through the gate into Op Sector 29.
Stop the Mimics from DrainingPower in Northern Barheim
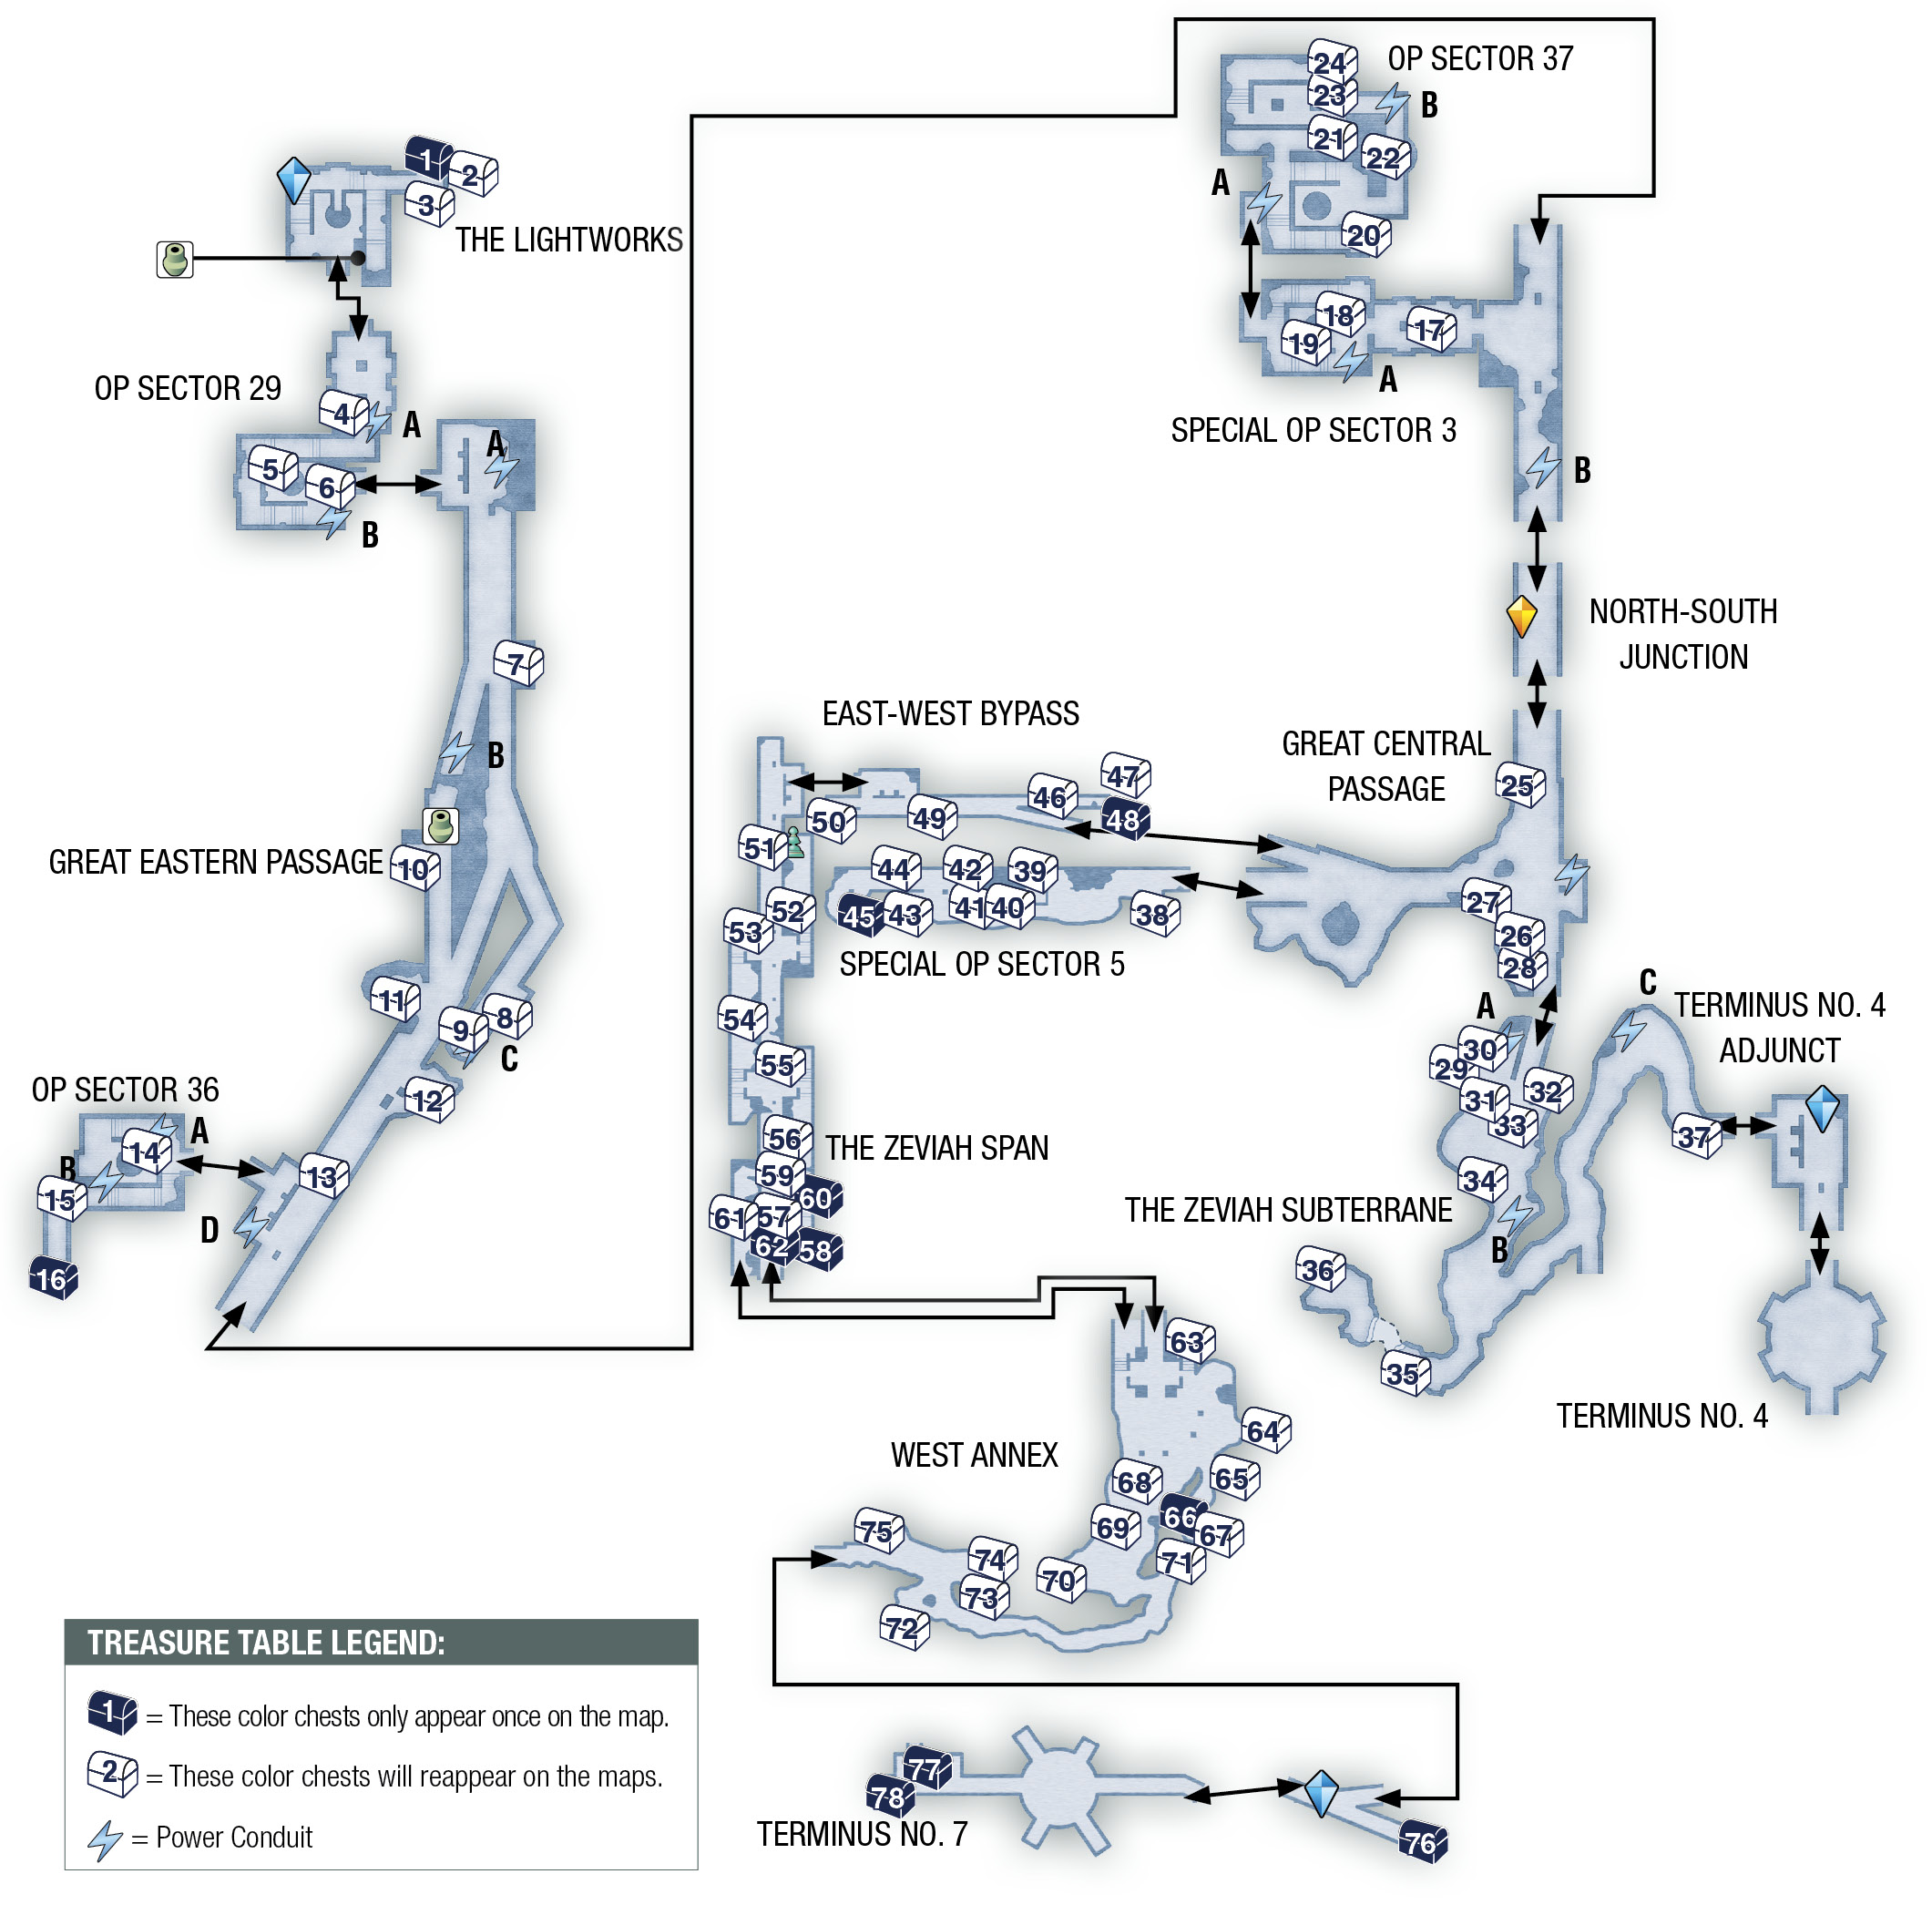
Two shimmering Battery Mimics lurk in the next area. Balthier provides a quick lesson on the creatures and warns you to stop them from feeding on the power conduits. There are two conduits in Op Sector 29. Refer to the map in this section for their locations, or locate the flashing icons on the area map.
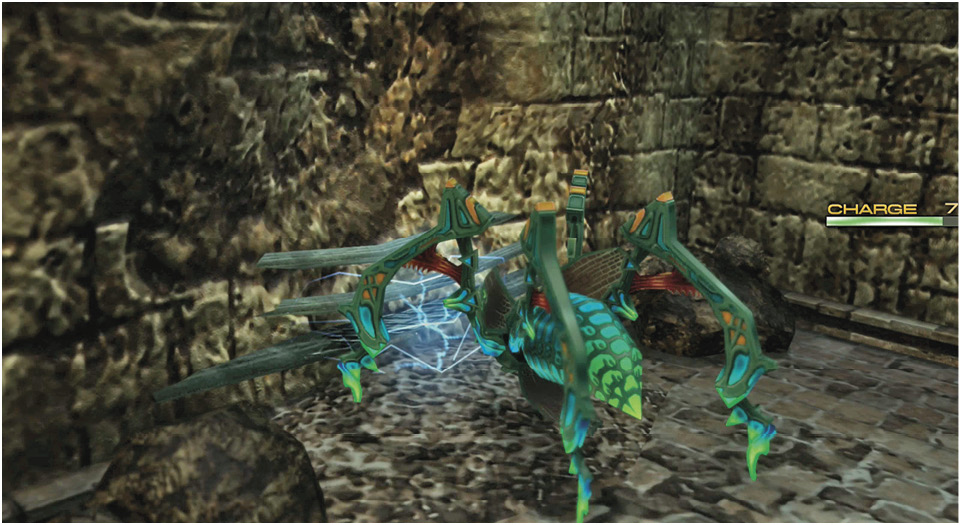
Rush to attack Battery Mimic A, which is feeding on the conduit (see callout “A”) just ahead. A second one, Battery Mimic B, scurries away as you attack. It is heading for another conduit downstairs, but let it go for now. Instead, focus your attention on the first Battery Mimic. A Zombie staggers into the fray, but remain focused on the task at hand.
As soon as the first Mimic gets knocked out, press and hold the R2 button and hurry through the doorway. Sprint downstairs, ignoring any other creature that approaches along the way. Battery Mimic B is greedily draining energy from another conduit (see callout “B”), so you need to stop it fast. When you reach the foe, hit it with Blizzard. Once Battery Mimic B goes down, the power charge will stabilize and you can take a bit of time to mop up Op Sector 29.
After eliminating all of the monsters and finding the treasures, move into the next section, the Great Eastern Passage. Check the area map to see the four power conduits located in this long sector. Two more Battery Mimics hunker just ahead; as you approach them, one feeds on the nearby conduit (see callout “A”) while the other hurries off down the tunnel.
As before, eliminate Battery Mimic A, then press and hold the R2 button and “flee” down the long passage looking for Battery Mimic B, ignoring other creatures for now. When you arrive at the fork in the tunnel, veer up the right fork to find Battery Mimic B gorging on yet another power conduit (callout “B”). After you knock out this mimic, note that a Map Urn rests just below the party, cut off by the break in the tracks.
Retrace your path to the tunnel fork, find the treasure chest in the nearby alcove, then take the other (left) fork in the path. (Or go back north up the tracks and dispose of all the baddies you ignored earlier.) At the next split, take the right fork; you run smack into Battery Mimic C. After hitting Mimic C, it runs past and down the left fork to another dead-end power conduit (see callout “C”). Chase it down, once you knock it out, return to the split and take a hard left to go southwest.
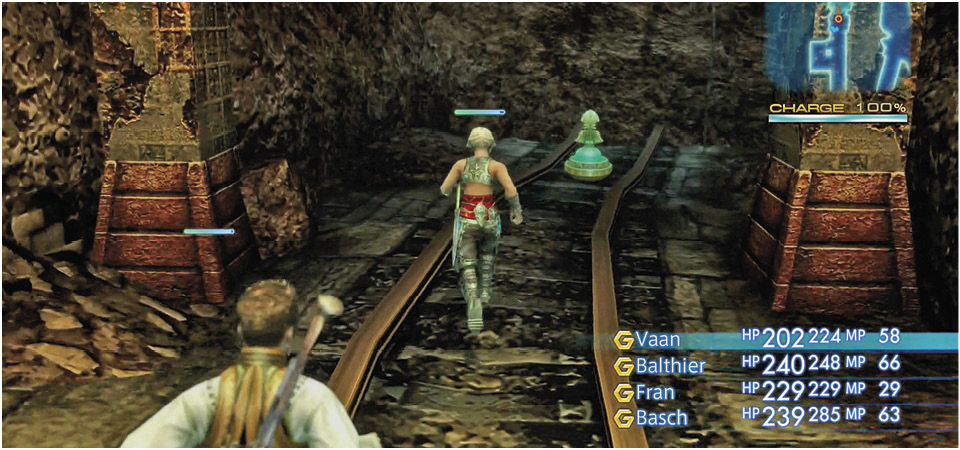
Continue until you can curve around a corner to the right and head northeast. This leads back to the Map Urn, plus another treasure hidden in an alcove. At last, a full map of the area! The map reveals one more conduit (see callout “D”) here in the Great Eastern Passage, so head down the tracks toward it. Find and defeat Battery Mimic D to wrap up this area.
A door next to the conduit leads west to Op Sector 36. This area is optional, actually; you can skip it if you want, but why would you pass up a chance to knock around more Mimics? There are two more Battery Mimics here feeding at two more conduits—one upstairs (see callout “A”) and one downstairs (see callout “B”). Nail them both, mop up the little spiders, and return to the Great Eastern Passage. Finally, continue south into Special Op Sector 3.
Open the Gate in Central Barheim
You must still find and squash hungry Battery Mimics in the central part of Barheim Passage, so don’t forget about that. But you also find a locked gate barring southern passage through Special Op Sector 3. Battery Mimic B will meander to the conduit to the south (see callout “B”), so quickly destroy it.
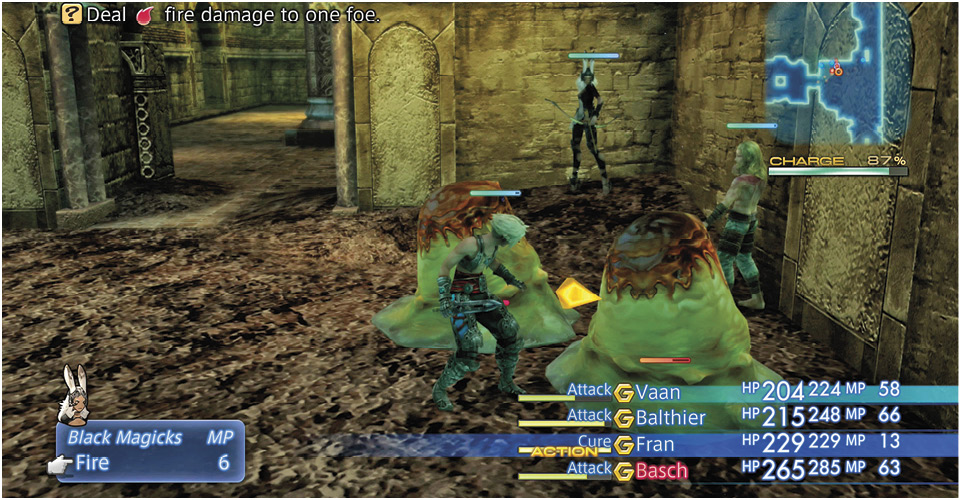
Hurry west toward the next room. Two creepy Flan foes drop into your path; flame-broil them with Fire spells. (Just two shots of Fire should be enough to melt each one.) Then continue downstairs. Another Flan drops in, so dispose of it, then find Battery Mimic A munching away on the electric grid. Eliminate this fellow. When he drops, explore the area for treasure chests.
Now climb the stairs (watch out for another Flan!) to another doorway that leads to a new area called Op Sector 37. You’re looking for a Gate Switch to open that big southern gate, but two more Battery Mimics are feeding in here. One is just inside the entryway to the left (see callout “A” on the Op Sector 37 map) but the other one is downstairs, and another Flan drops from the ceiling to block your path. Fry him quickly and then move through the back hallway to find and eliminate Battery Mimic A.
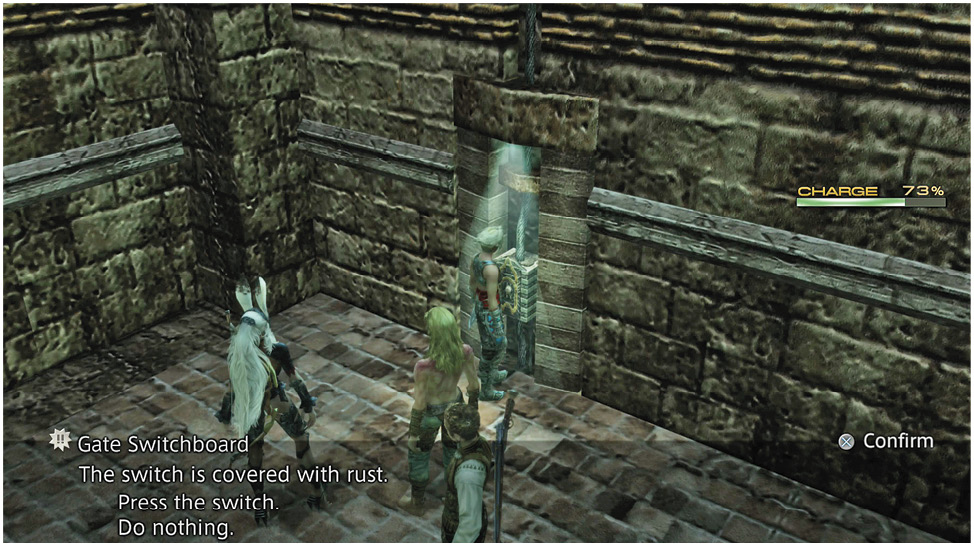
After this beast falls, go around the corner heading west and climb up to the Gate Switchboard, burning the pair of Flans that drop in your path. Press the switch to open the gate back in Special Op Sector 3. Nab the treasure just down the corridor, then return to Special Op Sector 3 and move south (through the now-open gate) to the next area, the North-South Junction, to trigger a very interesting event.
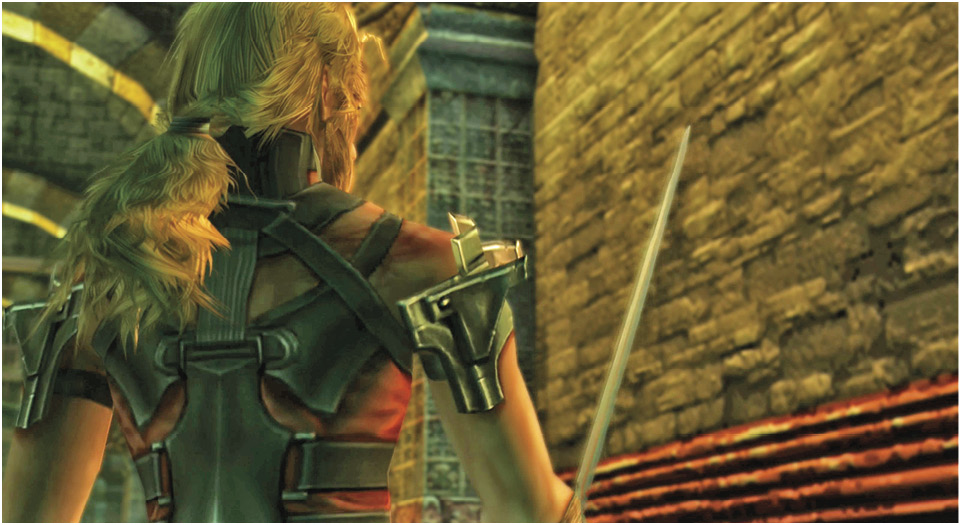
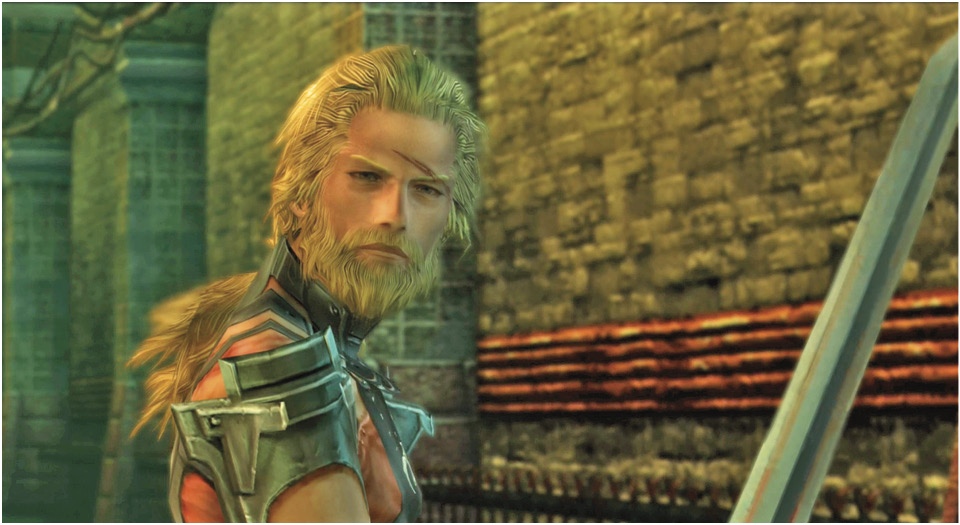
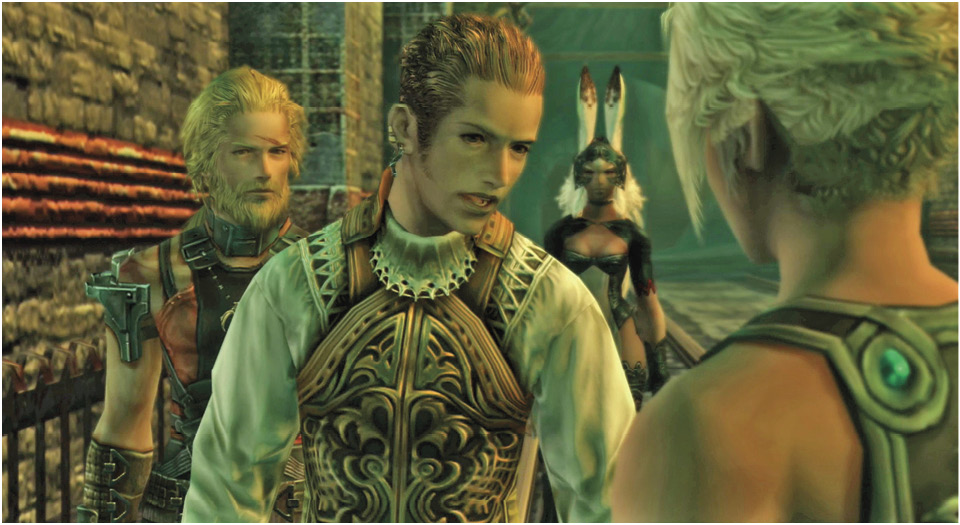
It’s time to move on and leave these dank, dangerous tunnels. However, there is some good news for the team: Basch has picked up a sword and now deals more damage than before.
Before you take a step further, use the Save Crystal in the North-South Junction, then continue south into the next area, the Great Central Passage.
Stop the Mimics in Southern Barheim
Yes, more hungry Battery Mimics lurk in the southernmost four areas of the Barheim Passage. But only one feeds on power in the Great Central Passage; it’s just up ahead on the left. Nail him immediately.
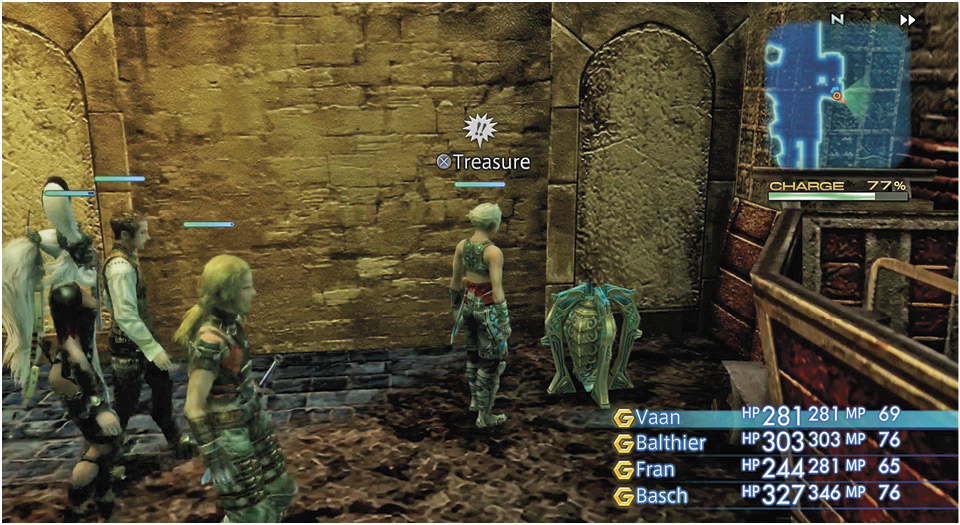
Beware of any treasure you find in this area, though. Some Mimics disguise themselves as treasure coffers. It doesn’t get any lower than that, so make them pay.
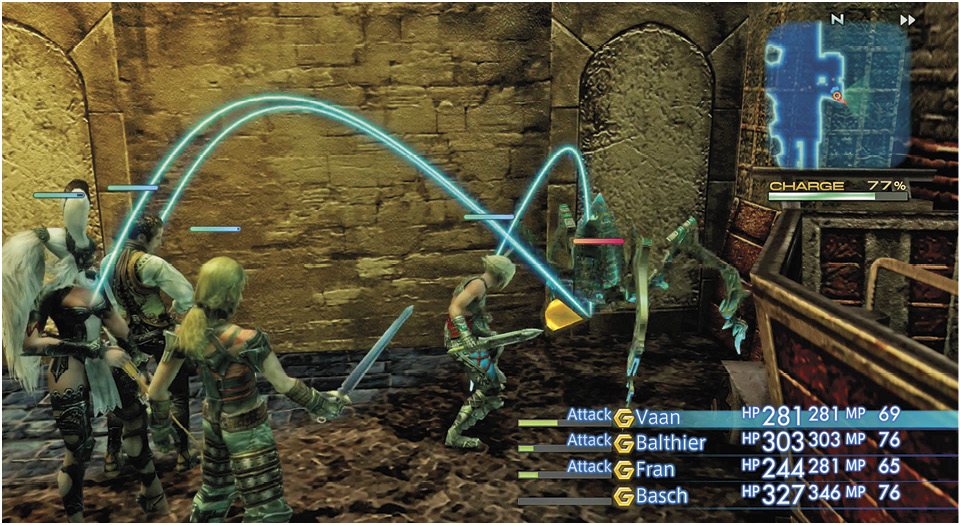
You can’t get through the locked gate to the west right now, so continue south down the passage to the next area, the Zeviah Subterrane.
Side Quest: West Gate to ZaleraThe locked gate on the west wall of the Great Central Passage leads to the Esper Zalera later in the game. It’s the final portion of a very long side quest. You can’t reach this area until the party obtains the Barheim Key and finds the secret entrance in the Dalmasca Estersand’s Murmuring Defile area. For more on this, see the Zalera section in our “Side Quests” chapter. |
The Zeviah Subterrane is a large area with three power conduits, each with a power-draining Battery Mimic. More of those annoying Tiny Mimics harass the party, as well as Surianders, huge toad-like creatures. Don’t get distracted from your primary task, though. If you let even one Battery Mimic drain the power gauge below 50 percent, Skeletons and Skull Defenders will rise in pairs from the ground. Stay completely focused on finding the three feeding Mimics.
Battery Mimic A lunges at the party the moment they enter the Zeviah Subterrane, so this one should be easy to knock out quickly. The next one, Battery Mimic B, feeds on a conduit just ahead to the left. But the third Battery Mimic is a bit further away, up the tunnel to the northeast (see callout “C” on the Zeviah Subterrane map).
After eliminating all three Battery Mimics, retrace your route through the area, clear out any enemies and take any treasure. Then return to the northeast passage and proceed into the Terminus No. 4 Adjunct to find a Save Crystal. Prepare for a boss fight! When you’re ready, save your game and rush into the next area, Terminus No. 4.
Mimic Queen
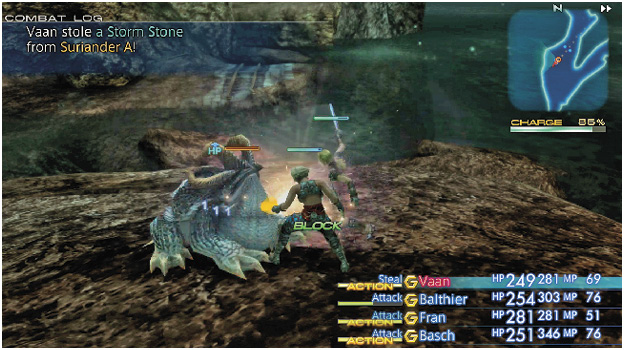
During this battle, it’s best to ignore the smaller Tiny Batteries and focus solely on the queen (A simple way to guarantee this is to change offensive gambit conditions to "Foe: highest max HP."). Her minions will feed on power and the charge will drop. Don’t worry about that, though; the moment the Mimic Queen falls in defeat, the battle ends, so keep your attacks concentrated on her. 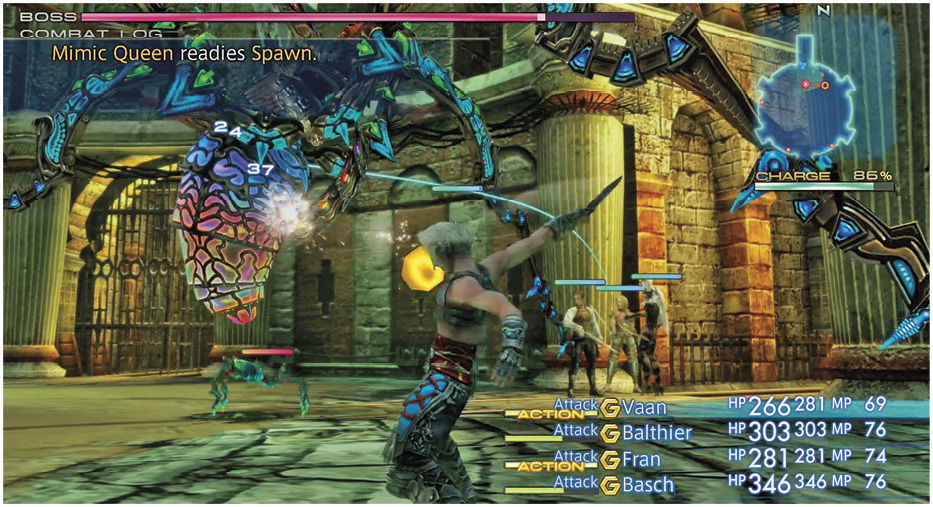
The Mimic Queen thrives on electricity, so do not cast Thunder spells as she absorbs lightning. Watch out for the Queen's Shockstorm attack, which deals heavy damage to anyone in front of her. 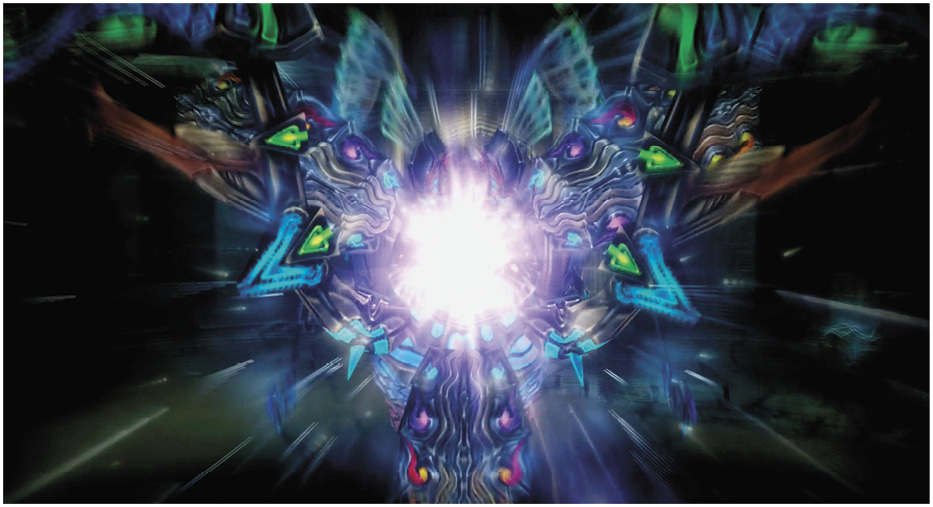
Regular attacks work quite well, but make sure at least two of your three party characters (preferably those with ranged weapons) prioritize gambits that heal anyone with HP dwindling to less than half with their attack gambits slotted second. Basch, your guest character, is very effective during this fight, so keep him healed up. When you finally destroy the Mimic Queen, your party automatically escapes from the Barheim Passage out into the Dalmasca Estersand. |
