
Prima Games eGuides
primagames.com Browse Redeem a code Help
Final Fantasy XII: The Zodiac Age eGuide
Sign in My Guides

Sign in or create an account

We'll email you a link. No password needed, and if you don't have an account yet, the link makes one.

By creating an account or signing in, you agree to our Terms of Service and Privacy Policy.

Have a password?

Had an account on the old eGuides site, or a code from a printed guide? Help and troubleshooting

Sign in with a password

By signing in, you agree to our Terms of Service and Privacy Policy.

Check your email

A sign-in link is on its way. It works once and expires in 15 minutes. Open it and you're in, with an account if you didn't already have one.

Contents

  • Changelog
    • Updates
  • Foreword
    • Foreword
  • Getting Started
    • Return to Ivalice
    • Character Relationships
  • Treasure Chest System
    • Treasure Chest System
  • Battle System
    • Battle System
  • Gambits
    • Gambits
  • Zodiac Job System
    • Zodiac Job System
    • Party Composition
    • Jobs
    • Archer
    • Black Mage
    • Bushi
    • Foebreaker
    • Knight
    • Machinist
    • Monk
    • Red Battlemage
    • Shikari
    • Time Battlemage
    • Uhlan
    • White Mage
  • Espers and Quickenings
    • Espers
    • Quickenings
  • Trophies
    • Trophies
  • Walkthrough Part 1
    • Introduction
    • The Story Begins
    • Nalbina Fortress
    • Rabanastre 1
    • Dalmasca Estersand (The Stepping)
    • Lowtown 1
    • Giza Plains (Dry)
    • Garamsythe Waterway 1
    • Royal Palace of Rabanastre
    • Garamsythe Waterway 2
    • Nalbina Dungeons
    • Fire Up the Power Relay and Open the Gate
    • Dalmasca Estersand
  • Walkthrough Part 2
    • Rabanastre 2
    • Lowtown 2
    • Back to Rabanastre
    • Bhujerba 1
    • Lhusu Mines
    • Bhujerba 2
    • The Dreadnought Leviathan
    • Ogir-Yensa Sandsea
    • Nam-Yensa Sandsea
    • Tomb of Raithwall
    • Giza Plains (The Rains)
    • Ozmone Plain
    • Jahara—Land of the Garif
    • Golmore Jungle 1
    • Eruyt Village
    • Golmore Jungle/Ozmone Plain
    • The Henne Mines
    • Golmore Jungle 2
    • Paramina Rift 1
    • Mt Bur-Omisace
    • Paramina Rift 2
  • Walkthrough Part 3
    • Stilshrine of Miriam
    • Nalbina Town
    • Mosphoran Highwaste
    • The Salikawood
    • The Phon Coast
    • Tchita Uplands
    • Sochen Cave Palace
    • Sochen Cave Palace (Main)
    • Old Archades
    • The Imperial City of Archades
    • Draklor Laboratory
  • Walkthrough Part 4
    • Balfonheim Port 1
    • Golmore Jungle
    • The Feywood
    • The Feywood (South)
    • The Ancient City of Giruvegan
    • Balfonheim Port 2
    • Ridorana Cataract
    • First Ascent: Horizon of First
    • Second Ascent: Reach of Diamond Law
    • Third Ascent: Mete of Dynasty
    • Balfonheim Port 3
    • Sky Fortress Bahamut
  • Side Events
    • Side Events Part 1
    • Side Events Part 2
    • Side Events Part 3
    • Side Events Part 4
    • Side Events Part 5
    • Other Stuff
  • Weapons, Armor, and Accessories
    • One-Handed Weapons
    • Two-Handed Weapons
    • Ranged Weapons
    • Shields & Armor
    • Accessories
  • Items
    • Items
  • Technicks and Magicks
    • Technicks and Magicks
  • The Bazaar
    • The Bazaar
  • Bestiary
    • Overview Enemies
    • The Dalmasca Sands Enemies
    • Giza Plains Enemies
    • The Garamsythe Waterway Enemies
    • The Barheim Passage Enemies
    • The Lhusu Mines Enemies
    • The Yensan Sandsea Enemies
    • The Tomb of Raithwall Enemies
    • Ozmone Plain Enemies
    • Golmore Jungle Enemies
    • The Henne Mines Enemies
    • Paramina Rift Enemies
    • The Stilshrine of Miriam Enemies
    • The Mosphoran Highwaste Enemies
    • The Salikawood Enemies
    • Phon Coast Enemies
    • Tchita Uplands Enemies
    • The Sochen Cave Palace Enemies
    • The Feywood Enemies
    • The Ancient City of Giruvegan Enemies
    • The Ridorana Cataract Enemies
    • The Pharos Enemies
    • Zertinan Caverns Enemies
    • Cerobi Steppe Enemies
    • The Nabreus Deadlands Enemies
    • The Necrohol of Nabudis Enemies
    • Marks
    • Elite Marks Enemies
    • Espers Enemies
    • Bosses
    • Rare Game Enemies
    • Humanoid Enemies
    • The Archadian Empire Enemies
  • Trial Mode
    • Trial Mode

Final Fantasy XII: The Zodiac Age Guide › Walkthrough Part 2

Rabanastre 2

OBJECTIVE

Make the City Rounds

Vaan wants to show Penelo and Old Dalan the glowing stone he pilfered from the Treasury. But Penelo is missing and Old Dalan sends Vaan on a mysterious errand that leads to a “reunion party.”
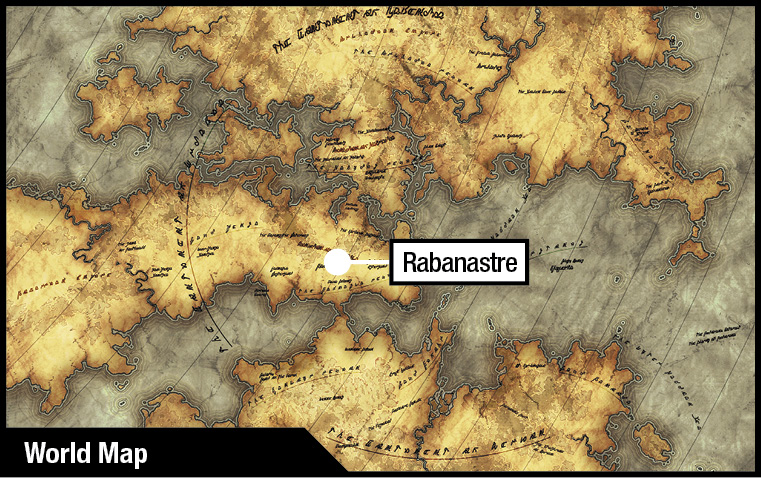
Action Checklist

1. Visit Migelo’s.

2. Visit Old Dalan and make a delivery for him.

3. Find Balthier and Fran.

4. Go to the Aerodrome.

Visit Migelo’s and the Clan Hall
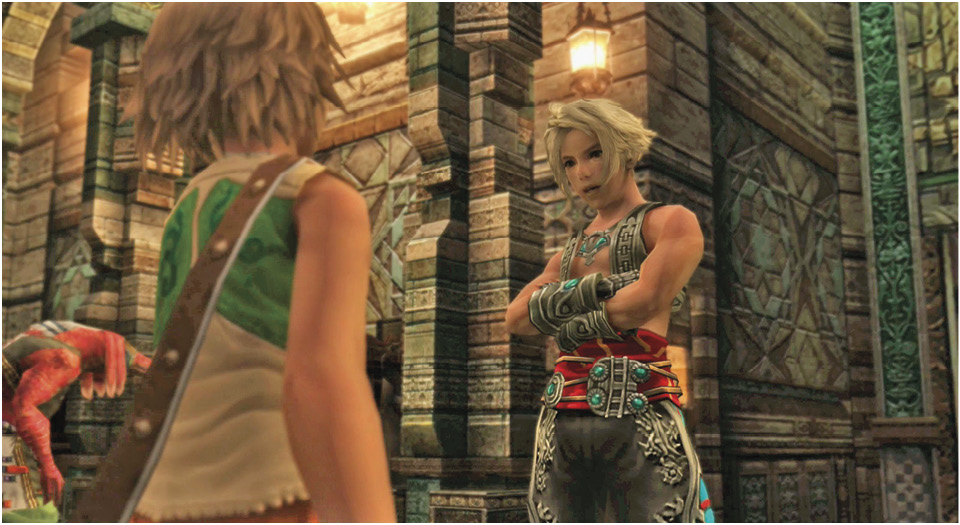
Kytes hasn’t seen Penelo, but he says Old Dalan needs errands run. Vaan offers to go see the old man.

The party has disbanded, leaving Vaan all alone. Head up to East End and drop into Migelo’s Sundries to trigger an event. Kytes tells Vaan that neither Penelo nor Migelo are around; he also says Old Dalan has an errand to run. Vaan volunteers to run the errand for Kytes, marking a new destination on the area map: Old Dalan’s place in Lowtown.
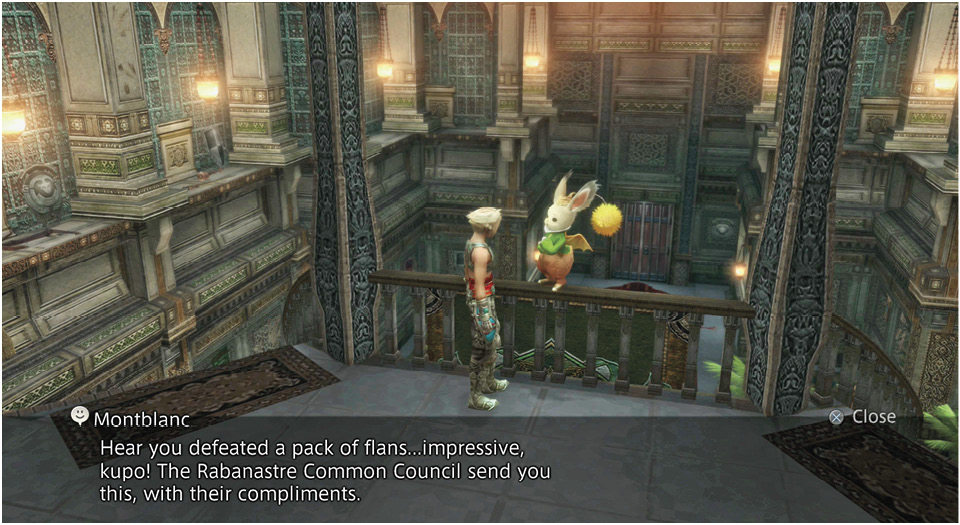
Visit Montblanc at the Clan Hall to receive rewards for defeating the pack of Flans, Firemane, and the Mimic Queen.

Before you go, sell any loot that you’ve accumulated and stock up on items that are low in your inventory. Make sure to build a small stock of the new items available (Echo Herbs [to remove Silence status] and Gold Needles [to remove Stone/Petrify status]).

Exit and visit Montblanc in the Clan Hall on the North End to receive rewards for any recent bosses you’ve defeated. Lastly, go visit other local merchants to see what they have for sale now.

Keep reading with a free account

The first 3 sections of Final Fantasy XII: The Zodiac Age are open to everyone. An account opens the rest of it, and every other guide in the archive. It's free, and there's nothing to buy.

Bought guides on the old Prima Games site? Your account and every guide you own moved here, so there's nothing to buy again. Sign in.

Create a free account Or browse our free guides

PreviousDalmasca Estersand NextLowtown 2