
Final Fantasy XII: The Zodiac Age Guide Walkthrough Part 4
Second Ascent: Reach of Diamond Law
Action Checklist
1. Reach Floor 65F with a gameplay ability disabled!
2. Defeat Fenrir.
3. Teleport to the Third Ascent.
| Pop odds | If pop, Gil odds & Amt | Normal Loot | w/Diamond Armlet | ||||
|---|---|---|---|---|---|---|---|
|
# |
App. % |
Gil % |
Amt. if Gil |
50% |
50% |
95% |
5% |
|
1 |
75% |
40% |
~500 |
X-Potion |
Fuzzy Miter |
Knot of Rust |
Meteorite (A) |
|
2 |
100% |
0% |
— |
Opal Ring |
Opal Ring |
Opal Ring |
Opal Ring |
|
3 |
75% |
40% |
~500 |
X-Potion |
Serum |
Knot of Rust |
Meteorite (C) |
|
4 |
100% |
0% |
— |
Quasimodo Boots |
Quasimodo Boots |
Quasimodo Boots |
Quasimodo Boots |
|
5 |
75% |
40% |
~500 |
Hi-Potion |
Rose Corsage |
Knot of Rust |
Meteorite (A) |
|
6 |
75% |
40% |
~500 |
X-Potion |
Remedy |
Knot of Rust |
Meteorite (B) |
|
7 |
75% |
40% |
~500 |
Hi-Potion |
Domaine Calvados |
Knot of Rust |
Meteorite (A) |
|
8 |
75% |
40% |
~500 |
Hi-Potion |
Bowline Sash |
Knot of Rust |
Meteorite (A) |
|
9 |
100% |
0% |
— |
Minerva Bustier |
Minerva Bustier |
Minerva Bustier |
Minerva Bustier |
|
10 |
100% |
0% |
— |
Zeus Mace |
Zeus Mace |
Zeus Mace |
Zeus Mace |
|
11 |
75% |
40% |
~500 |
X-Potion |
Nu Khai Sand |
Knot of Rust |
Meteorite (A) |
|
12 |
75% |
40% |
~500 |
Hi-Potion |
Tourmaline Ring |
Knot of Rust |
Meteorite (A) |
|
13 |
75% |
40% |
~500 |
Hi-Potion |
Lead Bolts |
Knot of Rust |
Meteorite (A) |
|
14 |
75% |
40% |
~500 |
Hi-Potion |
Agate Ring |
Knot of Rust |
Meteorite (A) |
|
15 |
75% |
40% |
~500 |
X-Potion |
Chronos Tear |
Knot of Rust |
Meteorite (B) |
|
16 |
100% |
0% |
— |
Tula |
Tula |
Tula |
Tula |
|
17 |
100% |
0% |
— |
Dragon Mail |
Dragon Mail |
Dragon Mail |
Dragon Mail |
|
18 |
75% |
40% |
~500 |
Hi-Potion |
Black Belt |
Knot of Rust |
Meteorite (A) |
|
19 |
75% |
40% |
~500 |
X-Potion |
Balance Mote |
Knot of Rust |
Meteorite (A) |
|
20 |
100% |
0% |
— |
Gil Toss |
Gil Toss |
Gil Toss |
Gil Toss |
|
21 |
75% |
40% |
~500 |
X-Potion |
Bubble Mote |
Knot of Rust |
Meteorite (B) |
|
22 |
75% |
40% |
~500 |
Hi-Potion |
Oil Bombs |
Knot of Rust |
Meteorite (A) |
|
23 |
100% |
0% |
— |
Sash |
Sash |
Sash |
Sash |
|
24 |
75% |
40% |
~500 |
Hi-Potion |
Bamboo Arrows |
Knot of Rust |
Meteorite (A) |
|
25 |
75% |
40% |
~500 |
X-Potion |
Bacchus’s Wine |
Knot of Rust |
Meteorite (A) |
|
26 |
75% |
40% |
~500 |
X-Potion |
Prince’s Kiss |
Knot of Rust |
Meteorite (C) |
|
27 |
100% |
0% |
— |
Muramasa |
Muramasa |
Muramasa |
Muramasa |
|
28 |
100% |
0% |
— |
Hastega Mote |
Hastega Mote |
Hastega Mote |
Hastega Mote |
|
29 |
75% |
40% |
~100 |
Hi-Ether |
X-Potion |
Knot of Rust |
Meteorite (B) |
|
30 |
75% |
40% |
~100 |
Hi-Ether |
X-Potion |
Knot of Rust |
Meteorite (A) |
|
31 |
100% |
0% |
— |
Cura Mote |
Cura Mote |
Cura Mote |
Cura Mote |
|
32 |
100% |
0% |
— |
X-Potion |
X-Potion |
X-Potion |
X-Potion |
|
33 |
100% |
0% |
— |
Phoenix Down |
Phoenix Down |
Phoenix Down |
Phoenix Down |
|
34 |
100% |
0% |
— |
Elixir |
Elixir |
Elixir |
Elixir |
Choose Your Route—and Your Poison
The party arrives in an area called The Reach, another circular corridor around the mist-filled core. Go to the Save Crystal on the west side of the circle and save your game. Now it’s time to make a choice. There are four different exits, each of which leads up to the next floor. Each exit removes a different gameplay tool when you pass through the threshold.
Pick your exit based on the following preferences:
Threshold of Wealth
- If you choose this route, the party goes to the Third Ascent without the use of items.
- Threshold of Steel
- If you choose this route, the party travels to the Third Ascent without the use of weapons.
- Threshold of Magicks
- If you select this route, the party goes to the Third Ascent without the use of magicks.
- Threshold of Knowledge
- If you select this route, the party travels to the Third Ascent without the use of the game’s Mini-Map.
Base your decision about the Threshold you choose and the gameplay tool you elect to forego upon your particular style of play. Some players will rarely use magick and will rely on physical combat and technicks to fight while consuming items to heal. Others will use magick quite often whether it’s for combat, combat enhancement, or healing. Give up the thing you use the least.
You may want to consider giving up the Mini-Map. Although it is a great orientation tool, when you pass through the Threshold of Knowledge (the southeast exit), you do not lose the game’s Area Map. If you happen to get disoriented, just press the Touchpad button to get your bearings straight. You can even still pull up the map overlay by pushing in the left stick (the L3 button), making the Threshold of Knowledge the easiest option.
60F: Unseal the Door!
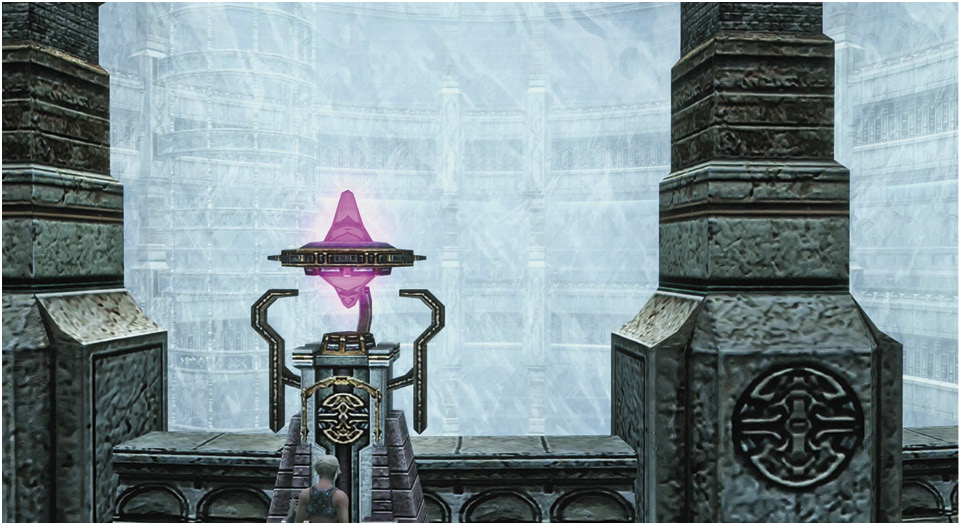
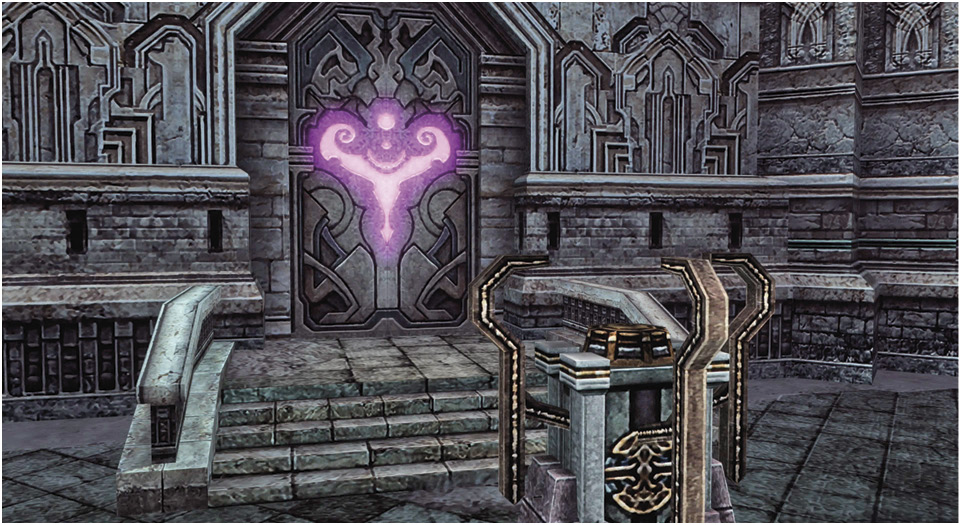
This walkthrough now leads you to the southeast exit from The Reach. First, activate the Altar of Knowledge by selecting “Touch the altar” to unseal the Knowledge door (this makes you lose the Mini-Map). Next, go through the door and climb from 60F to 61F. Once on 61F, the actual route upward becomes the same regardless of which choice you made.
61F: Station of Banishment
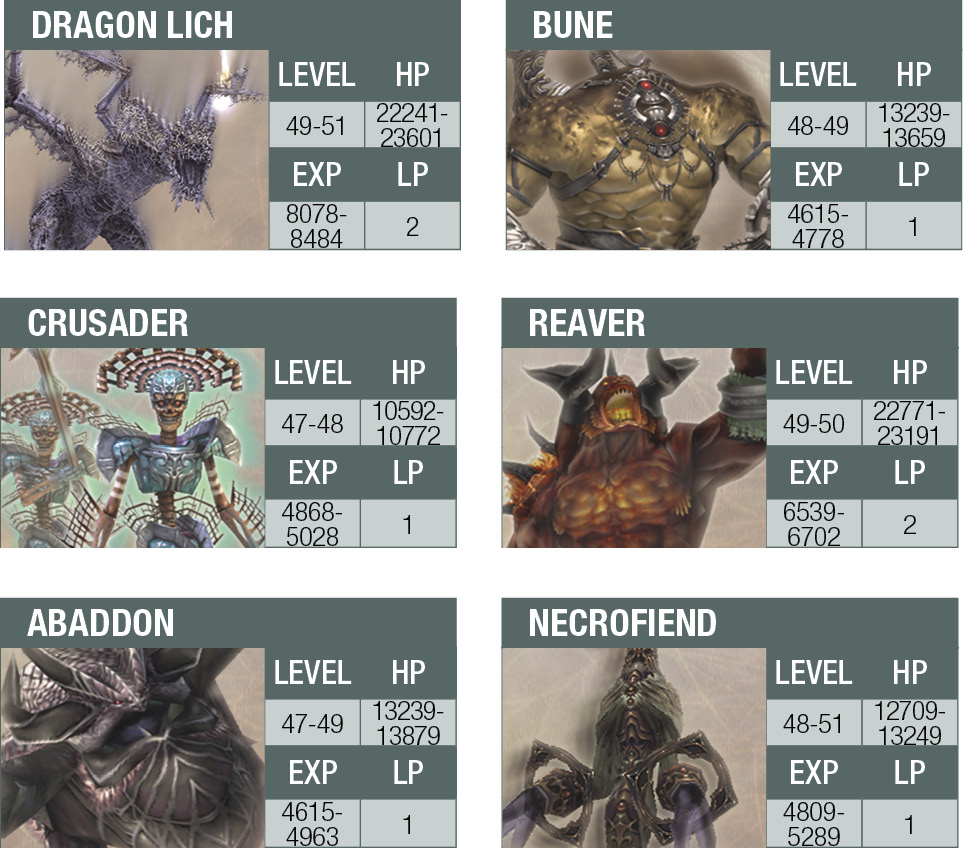
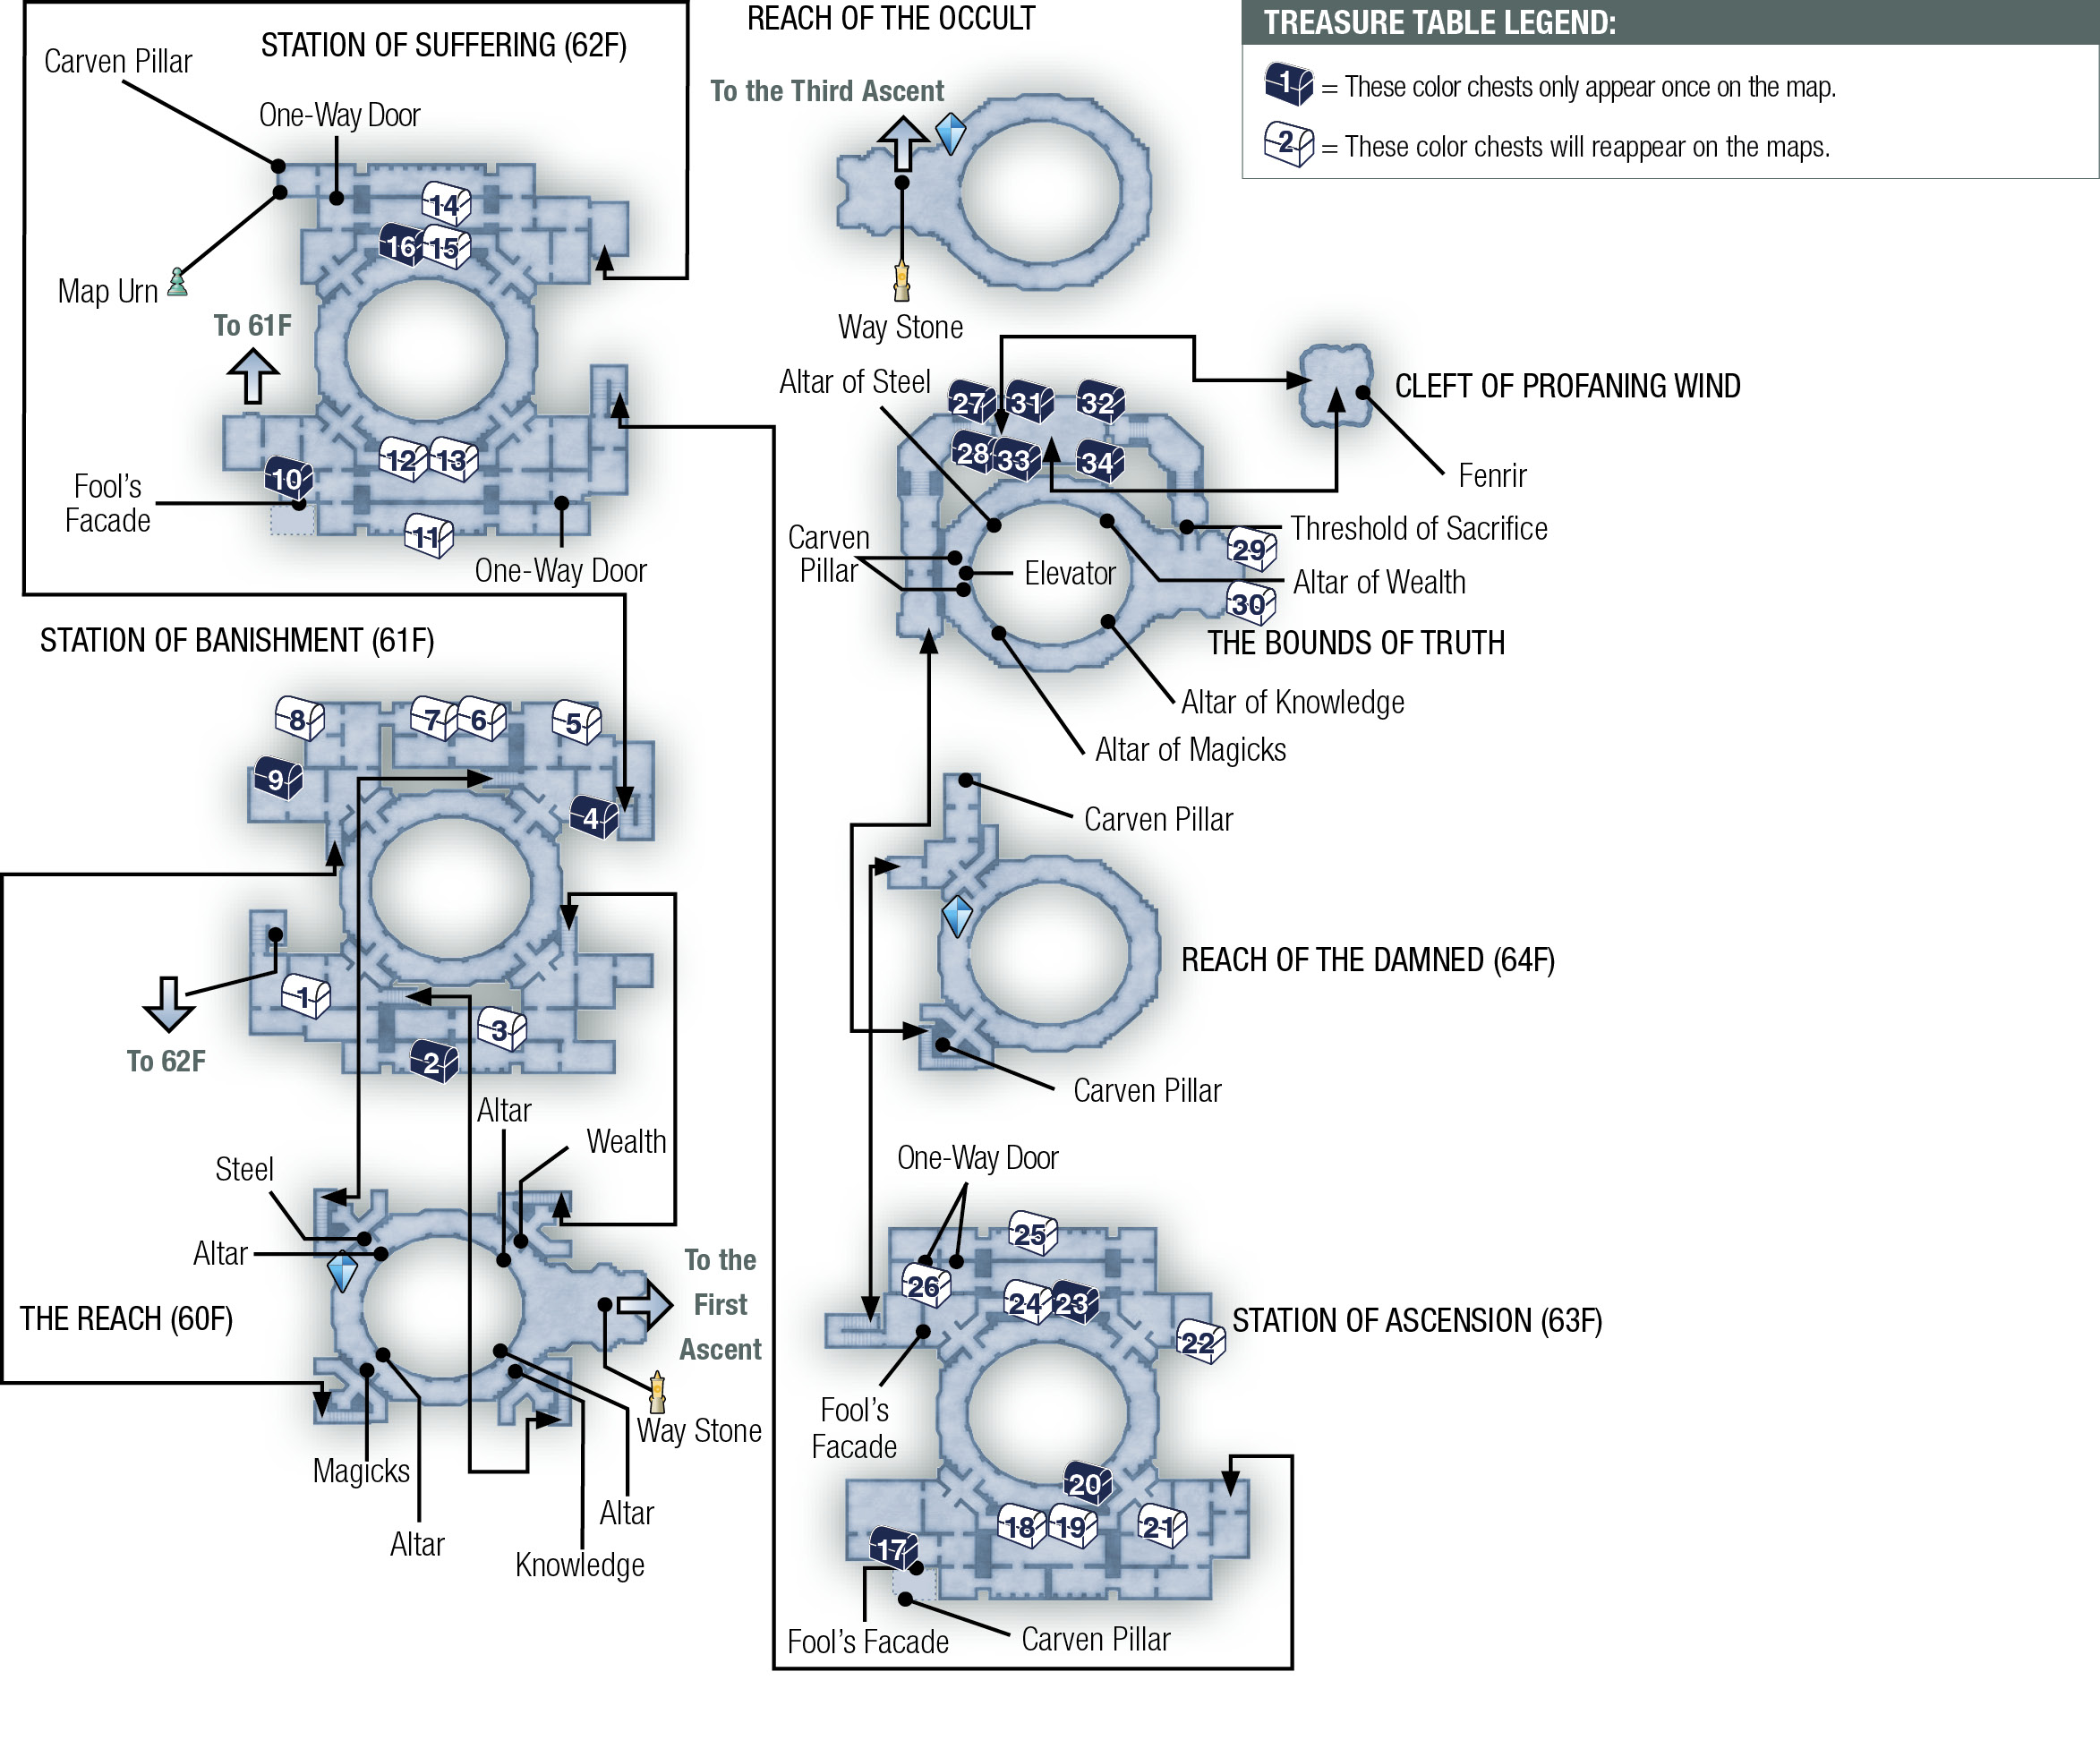
Your next goal from all four arrival points is to reach one of the two staircases that lead up to 62F. One is in the northeast corner of this floor, while the other is in the southwest corner. (See the map in this section for exact locations.) You will encounter some nasty new enemies along the way, including ghostly Crusaders, Bunes, powerful Reavers, and the immense Abaddon toads.
62F: Station of Suffering
Your destination here is the staircase in the southeast corner that leads up to 63F. Watch out for a brutal four-foe ambush when the party arrives! Before that occurrence, though, you may want to venture up to the northwest corner and find the map of Pharos Second Ascent. There is also a secret room in the southwest corner, which is only accessible by bashing through a Fool’s Facade. The rewards aren’t great, though, as all you’ll find is three angry Crusaders.
63F: Station of Ascension
Your goal here is to reach the staircase in the northwest corner that leads up to 64F by going through a hallway from the northeast corner. Of the two hallways in that corner, take the northern most route leading west towards the northwest corner. There’s a secret room behind a Fool’s Facade in the southwest with a nice Rejuvenation trap that heals all nearby allies when it is triggered. Watch out for the powerful Necrofiends near the exit.
64F: Reach of the Damned
Finally, a Save Crystal! Save your game and head for the only other exit from this area, which is located to the southwest.
65F: The Bounds of Truth
Follow the corridor up to the ancient door and read the inscription. Uh oh, looks like another “watcher” lies in wait up ahead. Select the “Open the door” option. This leads the party right into the clutches of Fenrir.
Fenrir
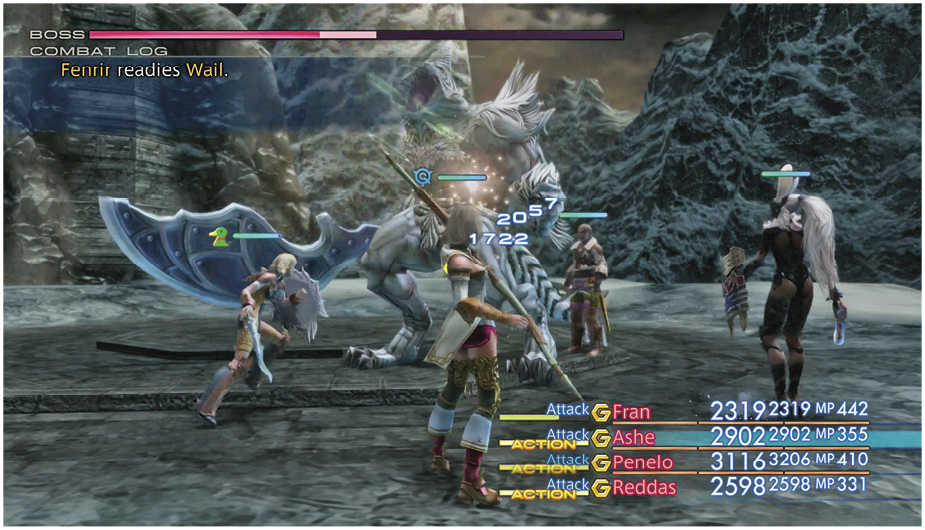
Fenrir is quite powerful. A good first move to use against this boss, as always, is to cast Dispel to knock off any status enhancers. In this fight, Fenrir starts out with Haste and Protect. After disabling his status effects, cast Haste and Protect on your party and start hammering away at this feline foe. It’s important to equip a good shield on your front-line melee allies. An Earth-element enhanced weapon also helps, since Fenrir is weak versus that element. In general, though, hit Fenrir hard with your best weapons and keep your attackers (including Reddas) healed, Hasted, and Protected. Note that Fenrir hits your allies with Blind on occasion, so compensate for that in your gambits. |

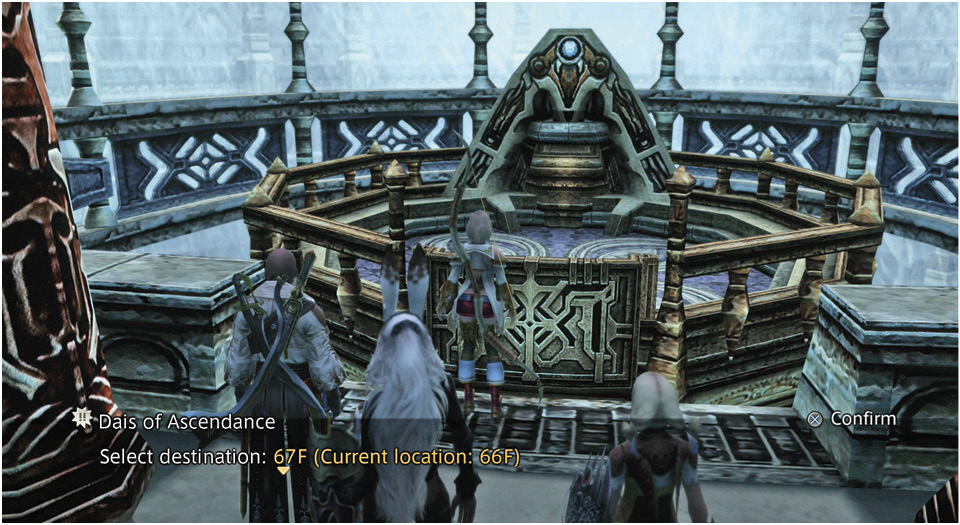
After the fight, the party returns to the Bounds of Truth area on 65F. Open the door to the east and follow the big hallway to the next door, the Threshold of Sacrifice. When the party steps through this door, you find four altars that match the four down in The Reach (60F) where you selected the ability to sacrifice. Now you can get that ability back!
Touch the altar that corresponds to that ability you relinquished (Wealth is items; Magicks is magicks; Steel is weapons; and Knowledge is the Mini-Map) to regain that lost ability. This triggers the arrival of an elevator called the Dais of Ascendance. Step aboard and select “67F” as your destination.
67F: Reach of the Occult
Save your game at the Save Crystal, then use the Way Stone to teleport to the Pharos Third Ascent.