Final Fantasy XII: The Zodiac Age Guide Walkthrough Part 1
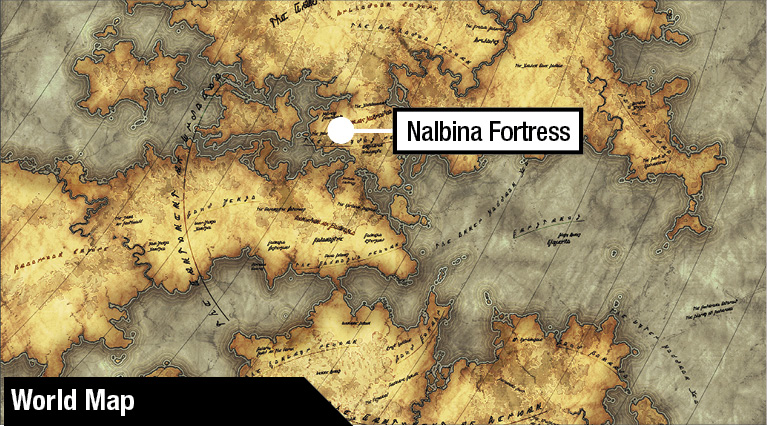
Nalbina Fortress
OBJECTIVE
Reach the King Before He Signs the Treaty!
After completing a few quick tutorials on game basics, fight your way up the Nalbina Fortress to the Highhall where King Raminas is scheduled to sign the peace agreement with Archadia.
Action Checklist
1. Complete the basic tutorials.
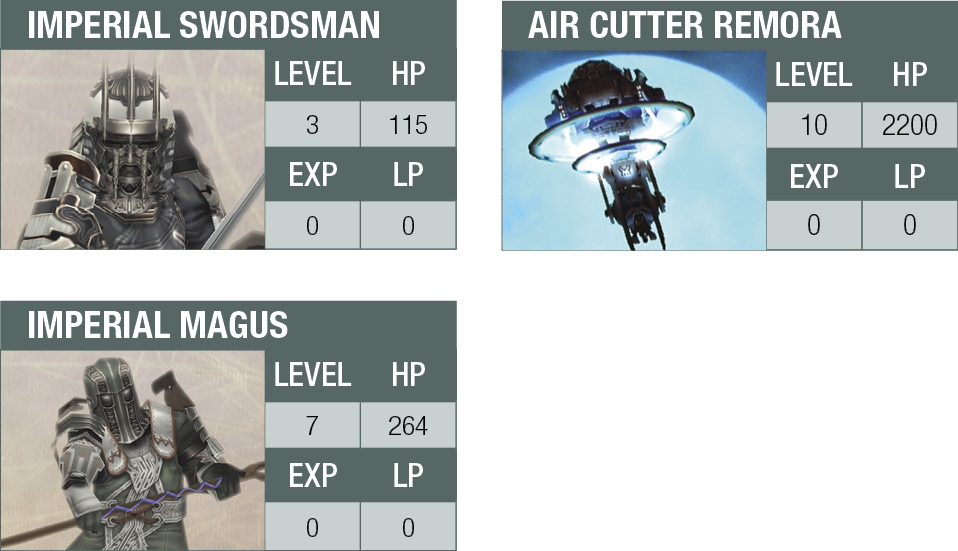
2. Defeat the Air Cutter Remora.
3. Fight your way to the King.
| Pop odds | If pop, Gil odds & Amt | Normal Loot | w/Diamond Armlet | ||||
|---|---|---|---|---|---|---|---|
|
# |
App. % |
Gil % |
Amt. if Gil |
50% |
50% |
90% |
10% |
|
1 |
100% |
0% |
— |
Potion |
Potion |
— |
— |
|
2 |
100% |
0% |
— |
Potion |
Potion |
— |
— |
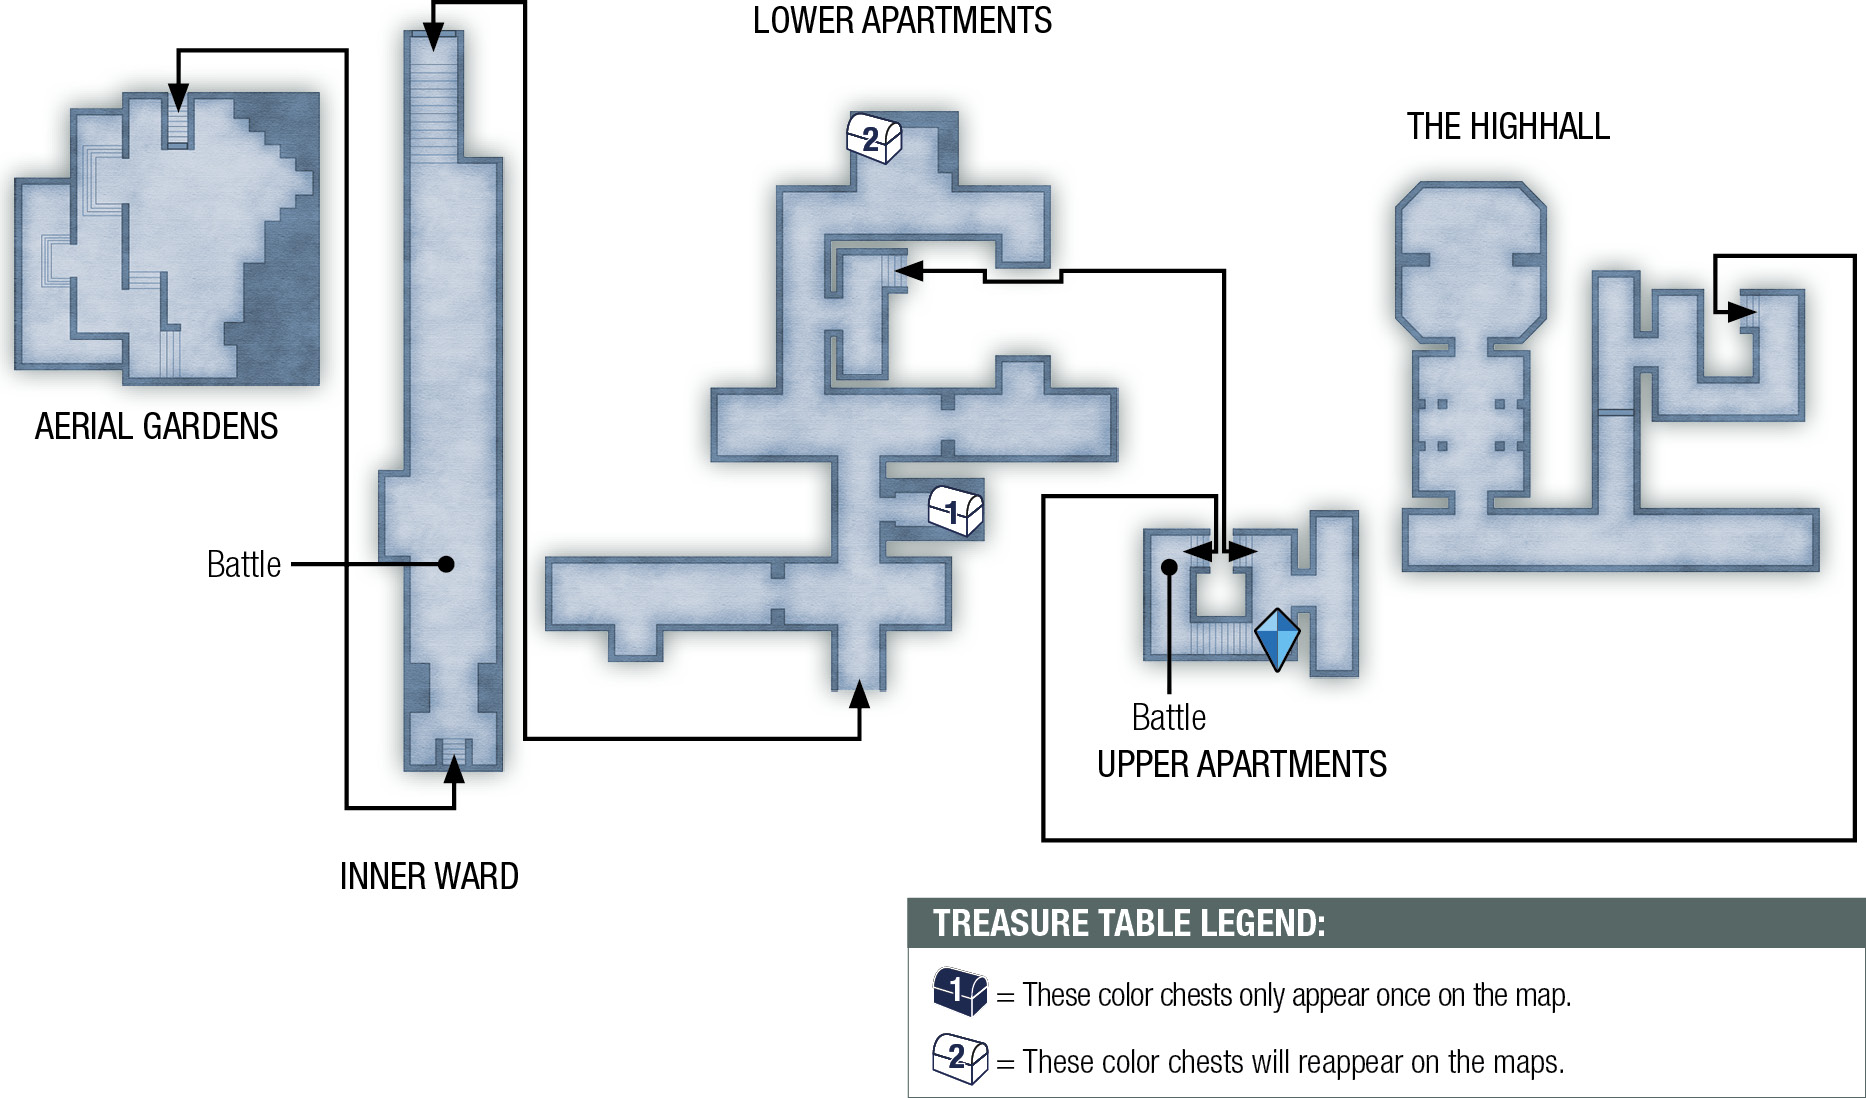
Use the information above to determine the contents of the chests. The legend to the right is valid for every map in this walkthrough.
Learn the Basic Game Controls
As the story begins, you lay unconscious in the Aerial Gardens of the Nalbina Fortress. You are a Dalmascan soldier named Reks, 17, a mere boy orphaned by the war. Your captain, Basch, revives you and checks your condition. Your team includes several soldiers and Vossler Azelas, another esteemed member of the Order of the Knights of Dalmasca.
Note that Reks speaks of his younger brother back in Rabanastre; we’ll meet him soon enough. For now, watch Basch decimate a squad of Imperial Swordsmen—he’s quite an accomplished warrior—and then follow his directions as you take control of Reks.
Move the right stick to move the camera view around, then use the left stick to walk toward Basch. After that, you learn about the Talk Icon. Walk to the Dalmascan soldier posted at the nearby gate and talk to him. Approach the iron gate to learn about the Action Icon, then press  to open the gate.
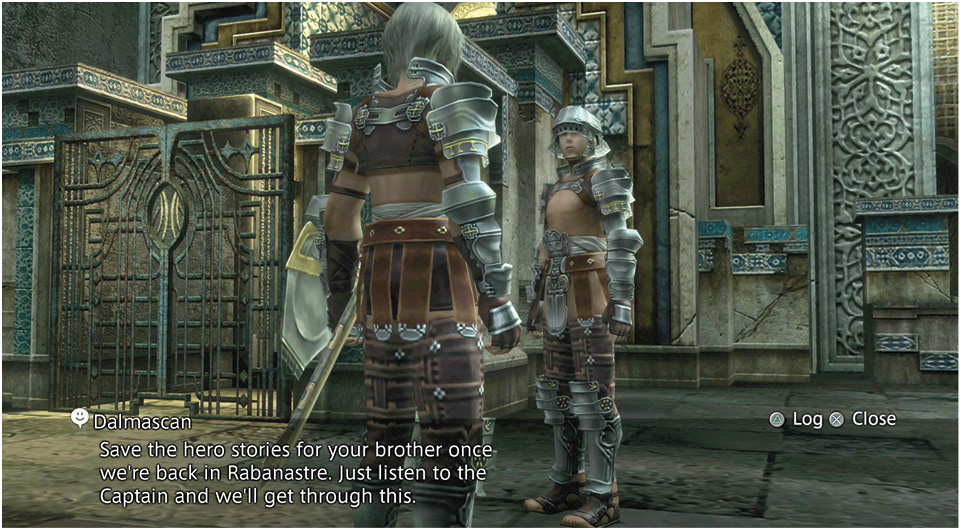
After Reks and Basch climb the stairs to enter the next area, the Inner Ward, you learn about the Party Menu where you can examine your equipment and inventory. Then, prepare for the game’s first fight! Basch points out the hostile red Target Line, which indicates that you’re being targeted by an attacking enemy—in this case, an Imperial Swordsman.
Press  to open the Battle Menu. The menu cursor already points to Attack, so just press
  to select that action. There is only one target choice, Imperial Swordsman A; the menu cursor already points to that selection, so just press
  again. Move Reks toward the enemy guard to initiate the attack and watch the action unfold.
Basch and his squad of Dalmascan soldiers quickly join in and make instant mincemeat of the poor Imperial. Now move forward across the bridge to trigger a quick event showing an approaching airship.
Beat the (Almost) BossThe Air Cutter Remora is a boss… sort of. Note its red boss health bar across the top of the screen. When you fight any boss-type enemy, a similar bar appears. When you score hits, draining the boss’s HP, the health bar drops. Open the Battle Menu and attack the airship. 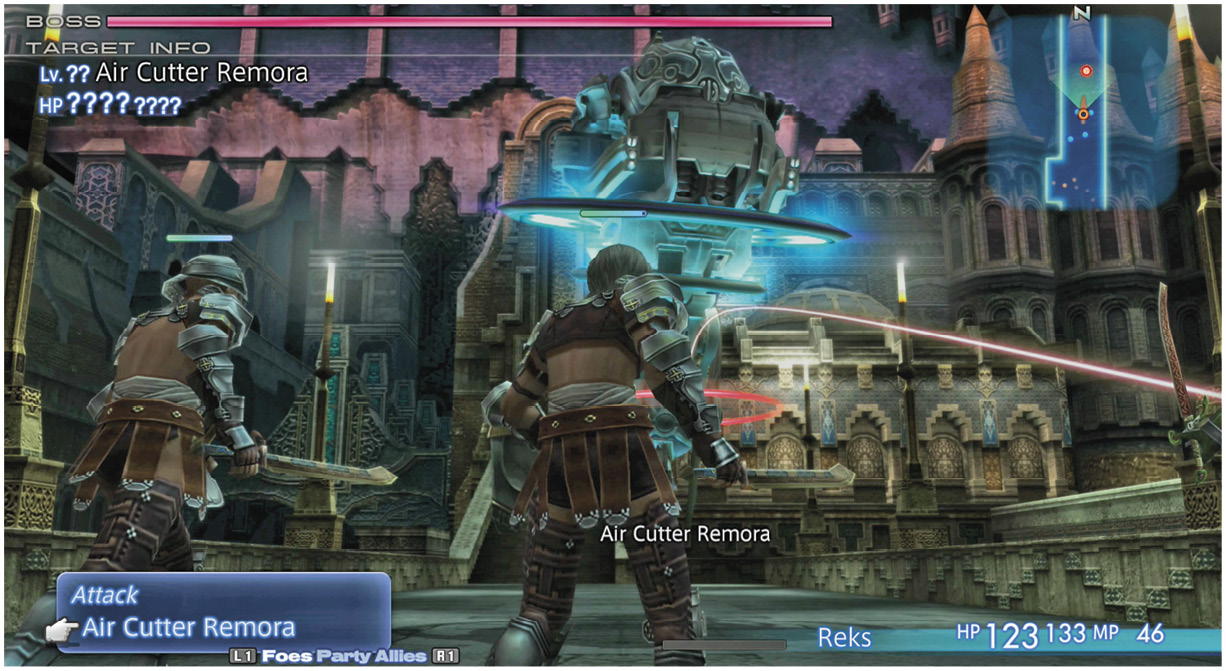 Of course, this is a tougher fight, so keep an eye on the HP counter next to Reks’s name in the lower-right corner. In the unlikely event that it drops below 50 or so, you can replenish HP with a Potion or use a Cure magick spell. To Drink a Potion
The Air Cutter Remora hovers low enough that regular sword attacks can strike it (this isn’t always true of flying foes, but you’ll learn more about that later). But you can also sling a magick attack at the craft. Select Black Magicks from the Battle Menu, then select Thunder. Next, select your target, the Air Cutter Remora. Now watch Reks fire a nasty bolt of lightning at the airship. Once the Remora’s health bar drops to about the halfway mark, Basch unleashes a blistering special attack that knocks it silly. (Note: This is a Quickening. You’ll get to use these powerful attacks later in the game.) Watch as the Air Cutter Remora disengages and runs. Then prepare for another assault. |
Climb Through the Fortress
More Imperial Swordsmen descend the stairs directly ahead and attack the group. Your party makes quick work of them with or without your help, but you might as well get in a few good licks for the fun of it. If you exit to the south and reenter the Inner Ward, a few more enemy swordsmen will rush downstairs. You can wait here and practice your combat, if you want; otherwise, ascend the staircase to the next area.
As you reach the area boundary (the dotted blue line across the doorway), Basch gives another tutorial. This time he points out the Minimap and then explains how to access the fuller picture of the Location Map by pressing the touch pad. Try it just for practice. Use the left stick to scroll the map, and press the L2 or R2 buttons to zoom in or out. You can also bring up an overlay of the map while moving around by pressing in the left stick, the L3 button.
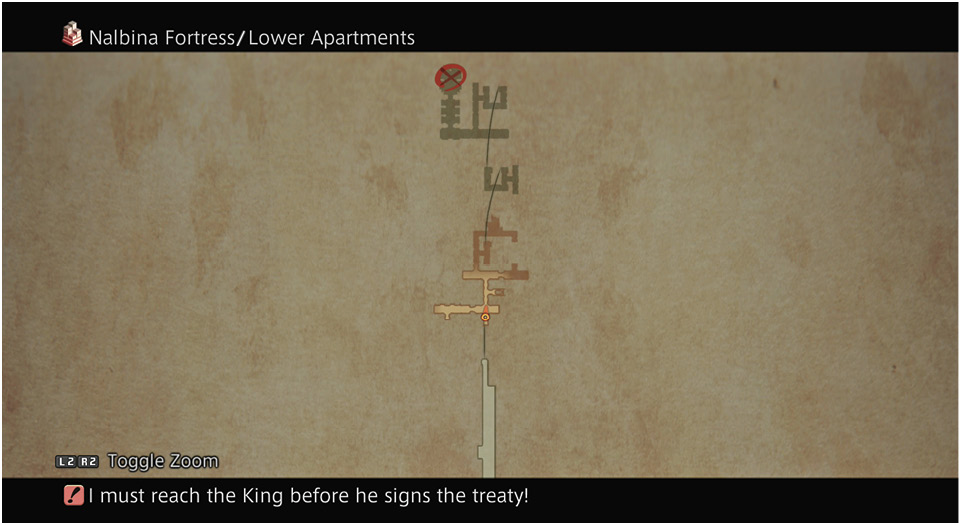
Note that your destination is marked by a red ‘X’ on the map. Also note that your current objective is described just below the map. In this case, it reads: “I must reach the King before he signs the treaty!”
Now move into the next area, the Lower Apartments. This triggers a short event where Basch talks about Vossler and their mission to get the King to safety. He believes that King Raminas is safe until he puts his royal seal to the treaty. Better hurry!
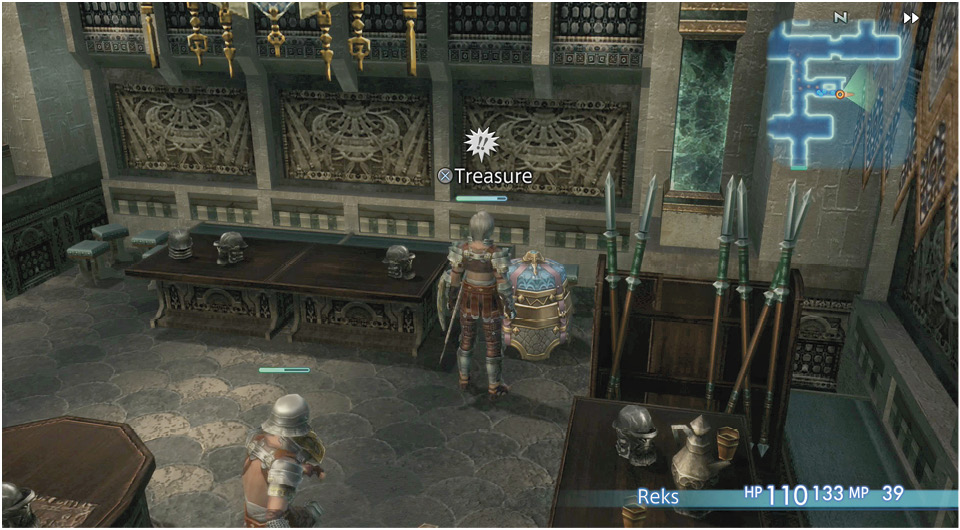
Head north from where you start this area until Basch advises, “Ofttimes retreat is the wiser course.” To disengage from a battle and flee, press and hold the R2 button and run away. After you press  to end this conversation, more Imperial Swordsmen will attack from the north and south. Dispatch them and head into the small supply alcove to the east filled with helmets and spears and other equipment. A treasure chest sits in the back corner. Find and open it to obtain a useful item.
Exit the alcove and go north, west, and north again, keeping an eye out for more imperial attackers. Don’t miss a second treasure in the far north hall tucked behind some crates and barrels. Then return south and veer east to a grand staircase. Turn left and take the staircase leading up to the next level, the Upper Apartments.
Save Your Game!
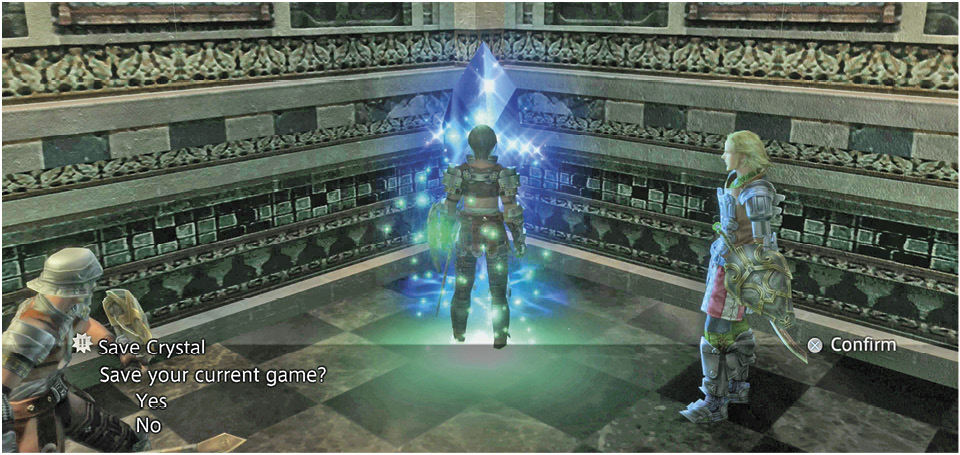
Turn right and walk up toward the glowing blue Save Crystal in the corner. After Basch explains how it works, approach it and press  to fully restore your HP and MP, then select “Yes” to save your current game. After doing so, turn and climb the stairs to trigger another event.
Fight to the Highhall
More guards spot the party on the staircase. Reks bravely sends Basch and the others ahead to save the King and turns to fight against the imperial pursuers. Here’s your first solo fight.
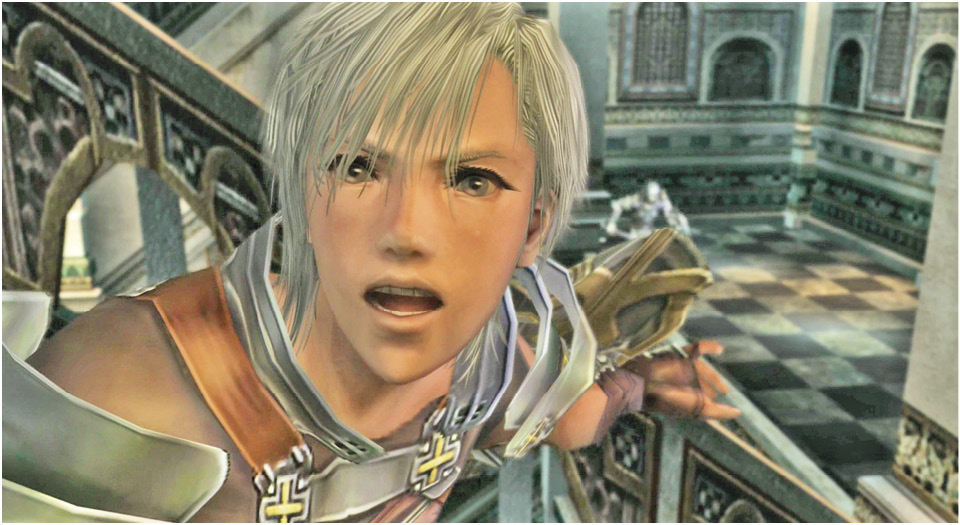
Just use the tactics you learned before. Nobody will automatically heal Reks now, so keep a close eye on his HP and be ready to use Potions or Cure spells. You should be strong enough to take on the first three Imperial Swordsmen without having to resort to health restoratives.
After the fight, follow the hall west and south to the big Passage Door. Press  to open the door and continue south. Follow the corridor around the corner to another closed door. As you approach it, you trigger a final, disturbing scene as Reks enters the hall.