
Final Fantasy XII: The Zodiac Age Guide Side Events
Side Events Part 2
Clan Centurio
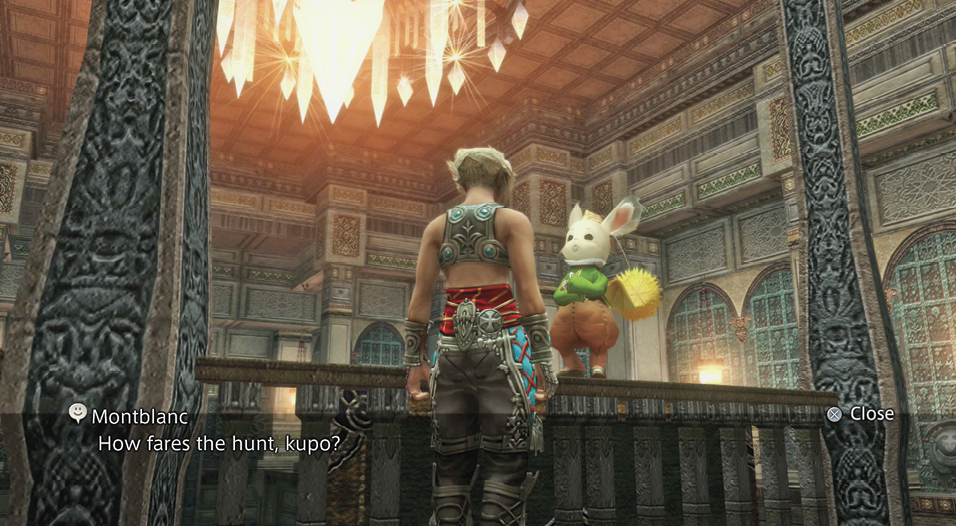
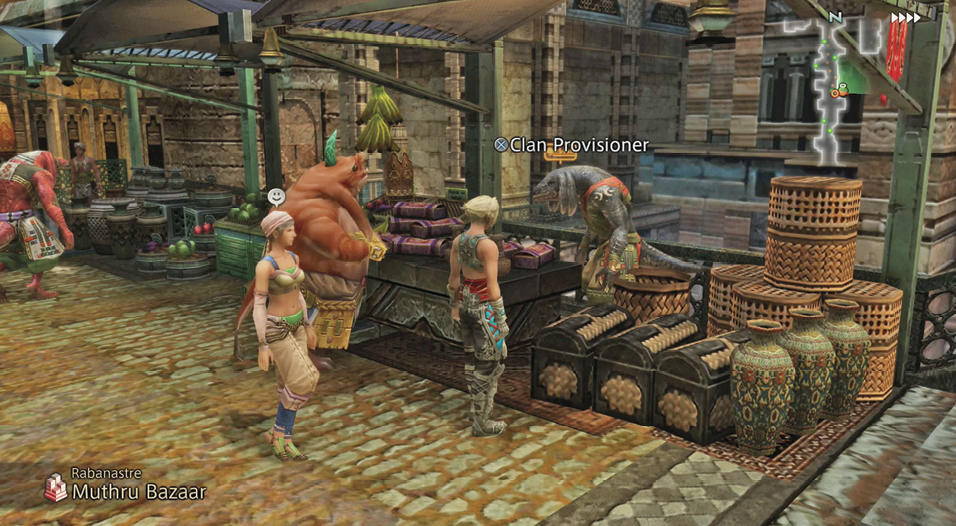
Vaan has the chance to join a secretive club known as Clan Centurio. Their base, The Clan Hall, is located on the west side of Rabanastre’s North End. Take a moment to visit once the party has received an introduction early in the game. The leader of this group is Montblanc. This high-class moogle provides rewards to outstanding members of the clan and also shares information on elite marks. Visit him often to see what’s really going on in Ivalice.
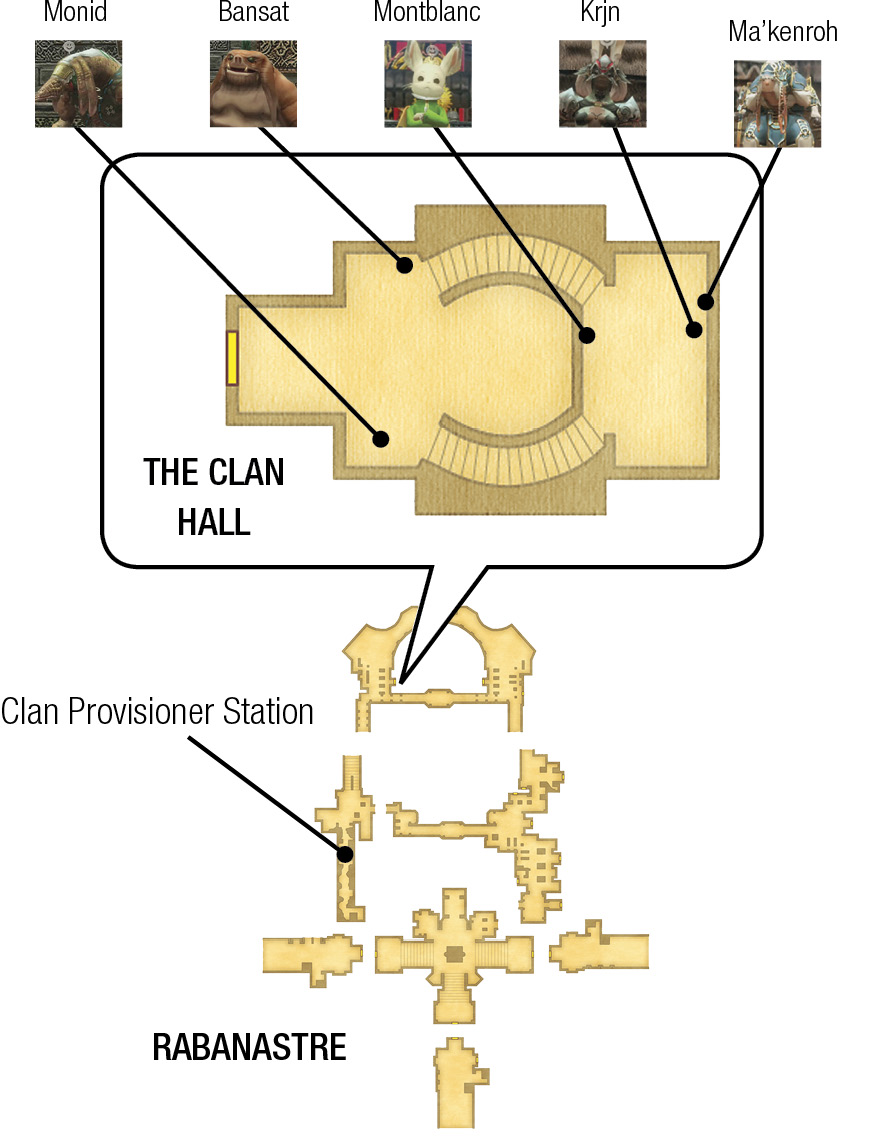
Members of Clan Centurio receive a rank. You can view your current rank at any time by accessing the Clan Primer. Ranks are based on points earned and hunts completed. You receive points for every defeated monster, completed hunt, and every esper that you acquired. Each new rank comes with its rewards. Montblanc always has a nice gift waiting and the Clan Provisioner’s stock in the Muthru Bazaar may change.
Clan Centurio Ranks
| Rank | Marks | Points | Reward |
|---|---|---|---|
|
Moppet |
0 |
0 |
Potion x3 |
|
Hedge Knight |
2 |
700 |
Warp Mote x2, Teleport Stone x2 |
|
Rear Guard |
4 |
8000 |
Remedy x3, Teleport Stone x2 |
|
Vanguard |
8 |
20000 |
Hi-Potions x3, Teleport Stone x2 |
|
Headhunter |
10 |
30000 |
Ether x2, Teleport Stone x2 |
|
Ward of Justice |
12 |
40000 |
X-Potion x2, Teleport Stone x2 |
|
Brave Companion |
14 |
100000 |
Hi-Ether x2, Teleport Stone x3 |
|
Riskbreaker |
16 |
200000 |
Elixir x2, Teleport Stone x3 |
|
Paragon of Justice |
24 |
250000 |
High Arcana, Teleport Stones x3 |
|
High Guardian |
28 |
300000 |
Empyreal Soul, Teleport Stone x3 |
|
Knight of the Round |
32 |
500000 |
Megalixir x2, Teleport Stone x3 |
|
*Order of Ambrosia |
45 |
1000000 |
Centurio Hero’s Badge, Teleport Stone x3 |
*The requirements for Order of Ambrosia are: complete all hunts, attain 1 million clan points, and acquire every system trophy.
In addition to the bonuses Montblanc provides for new ranks, he also has rewards from third parties when the party achieves certain tasks. The achievements are focused on defeating bosses or obtaining Espers. Here is a list of the specific achievements and rewards.
Montblanc’s Event-Based Rewards
| Achievement | Reward |
|---|---|
|
Defeat Flans |
150 gil |
|
Defeat Firemane |
200 gil |
|
Defeat Mimic Queen |
300 gil |
|
Defeat Demon Wall |
600 gil & Warp Mote |
|
Defeat 2nd Demon Wall |
1200 gil & Electrum |
|
Defeat Earth Tyrant |
1200 gil |
|
Defeat King Bomb |
1300 gil & Mallet |
|
Defeat Ahriman |
1600 gil |
|
Defeat Mandragoras |
1600 gil |
|
Defeat Rafflesia |
1800 gil |
|
Defeat Daedalus |
1900 gil |
|
Defeat Tyrant |
1900 gil |
|
Defeat Hydro |
2000 gil |
|
Defeat Humbaba Mistant |
2100 gil |
|
Defeat Fury |
2100 gil & Bacchus’s Wine |
|
Defeat Hell Wyrm |
50000 gil |
|
Control One Esper |
Arcana x2 & Teleport Stone x2 |
|
Control Four Espers |
High Arcana & Teleport Stone x2 |
|
Control Eight Espers |
Gemsteel & Teleport Stone x2 |
|
Control Thirteen Espers |
Serpentarius & Teleport Stone x2 |
Patient in the Desert
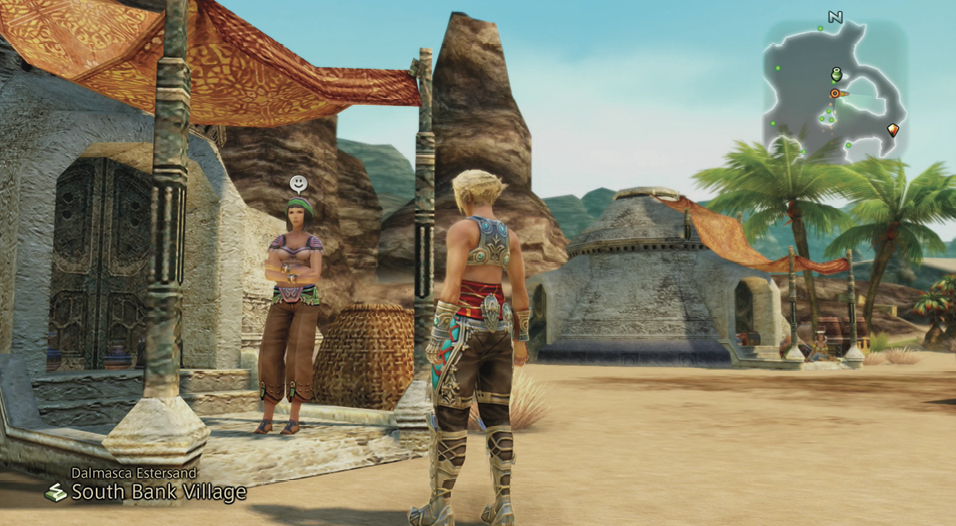
Complete the Dalmasca’s Desert Bloom hunt to begin this event. Speak to Dantro again after acquiring the hunt reward and he asks the party to take a Cactus Flower to his wife in the village to the north (Dalmasca Estersand/South Bank Village).
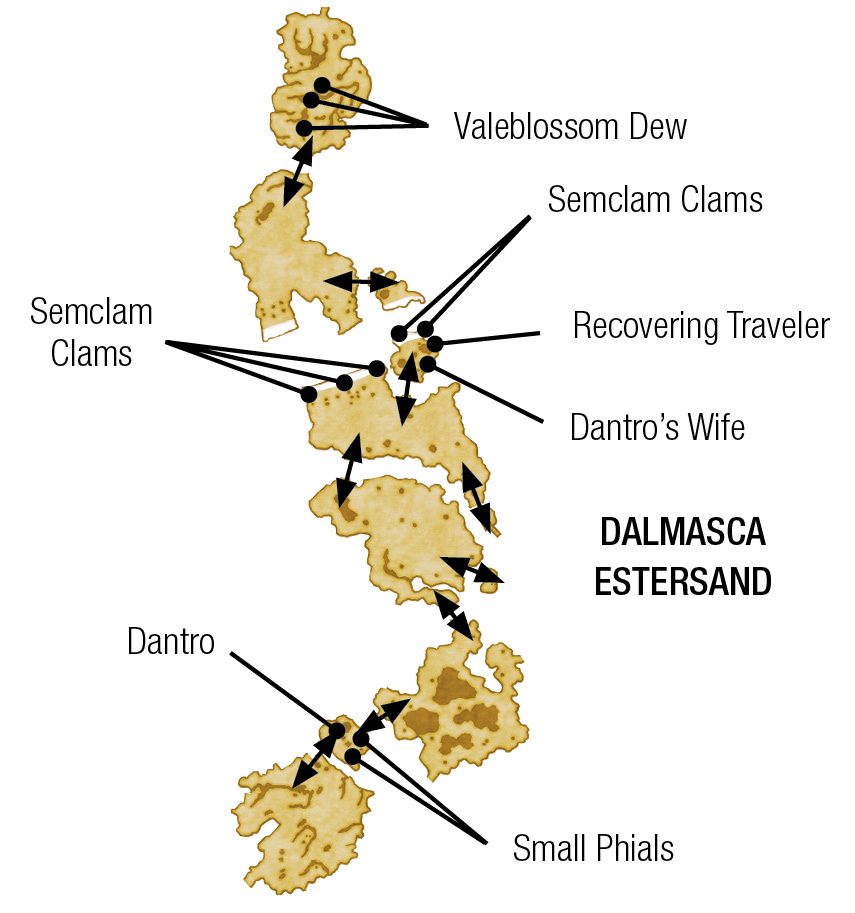
Dantro’s Wife rewards the party with a Bundle of Needles for bringing her the Cactus Flower. Exit and reenter the village and speak to her again. She asks for Semclam Shells, which are found along the banks of the river. Search the beach in the village for Mysterious Glints, which are actually Semclam Shells. There are two of them on the shore inside the South Bank Village, and another three are on the shore in the Banks of the Nebra area. You can move along the event with only one of them, but the more you collect, the better the reward at the end of the event. Return the shells to Dantro’s Wife.
She then asks for Nebralim, which Dantro should have. Hike back to Dantro’s village to the south (Outpost). Speak to Dantro, then check the supplies scattered around to find two Small Phials that contain Nebralim. Return the items to Dantro’s Wife.
Something else is needed for the poison in the patient’s system. The party must find Valeblossom Dew, which is only found along the cliffs in the Broken Sands area. Note that you must complete this part later in the game (during The Rains) when the ferry is operational. (See the “Bhujerban Madhu” side quest with the Missing Ferryman.)
Upon gaining access to the northern area, search the Broken Sands section for flowering plants in the ravine. The party can extract a Drop of Valeblossom Dew from each of the three trees. Getting into Broken Sands isn’t easy, as the area is full of Level 25 Worgen foes and a Wild Saurian blocks the path to Broken Sands from The Yoma.
Return the three Drops of Valeblossom Dew to Dantro’s Wife in South Bank Village. Next on the list is a Great Serpentskin, which is a reward from the “Marauder in the Mines” hunt. Complete the hunt and give the skin to Dantro’s Wife. The traveler then needs rest.
Later in the game, return to the village and speak to Dantro’s Wife. She indicates that the patient is fully recovered, so speak to the Recovering Traveler behind the house. It turns out the person is a treasure hunter who has found a great treasure in Barheim Passage. The treasure hunter gives the party the Barheim Key and mentions an entrance to Barheim in the Estersand. In addition, the treasure hunter hands the party a reward (Balance Mote, Magick Gloves, or Golden Amulet) depending on how many items Dantro’s Wife received from the player.
The secret entrance is located at the Murmuring Defile in the Dalmasca Estersand. The Bandit Chief, formerly the recovering patient, is waiting there. The bandit chief mentions the treasure is past Terminus No. 7. Use the Barheim Key to unlock the Weather-beaten Door near them. The passage leads to the Esper Zalera.
Jovy the Hero
The petitioners for five hunts are on the streets of Nalbina. Whenever the party reports back to the petitioner after one of these hunts, a seeq named Jovy makes a rather curious appearance. His intentions are very unclear. Complete the following hunts:
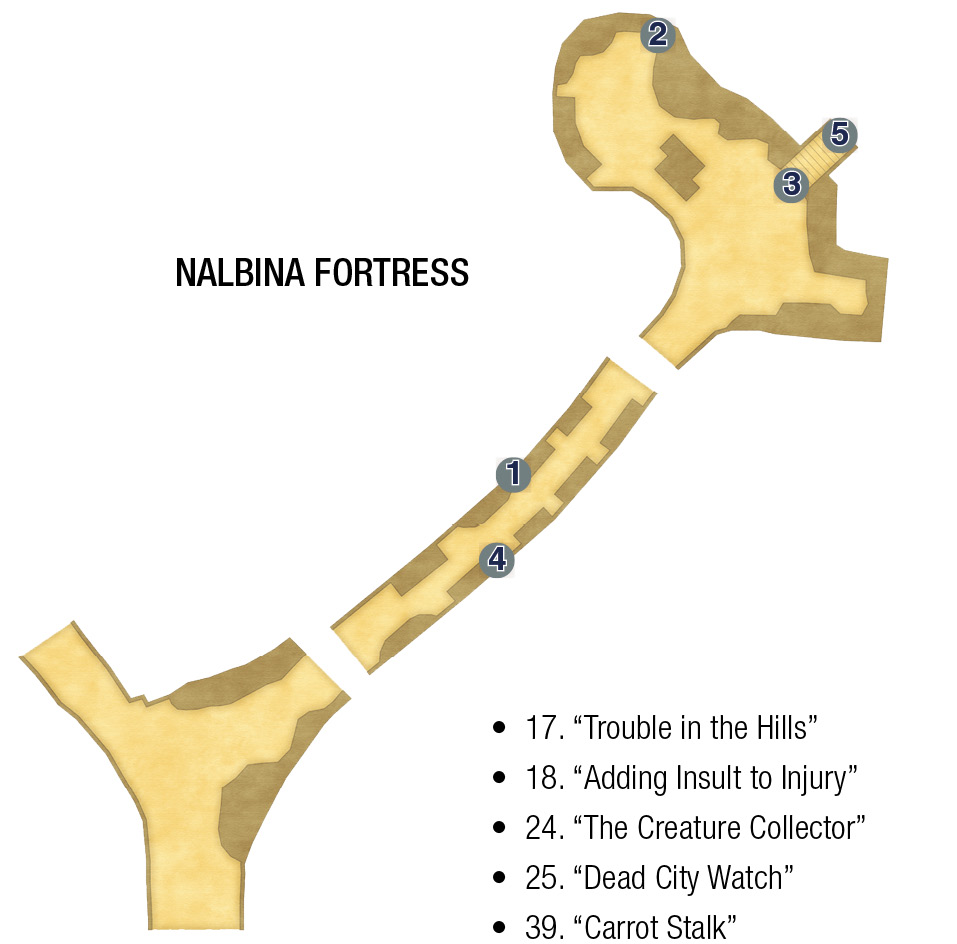
After completing these hunts, track down Jovy in Nalbina Town’s West Ward. He’s always on the move, which can make it a little difficult to find him. Speak to him to learn about his new hero and to receive an Elixir and a Knot of Rust.
Ktjn’s Road to Improvement
This event will take place after the party returns to Rabanastre from Barheim Passage.
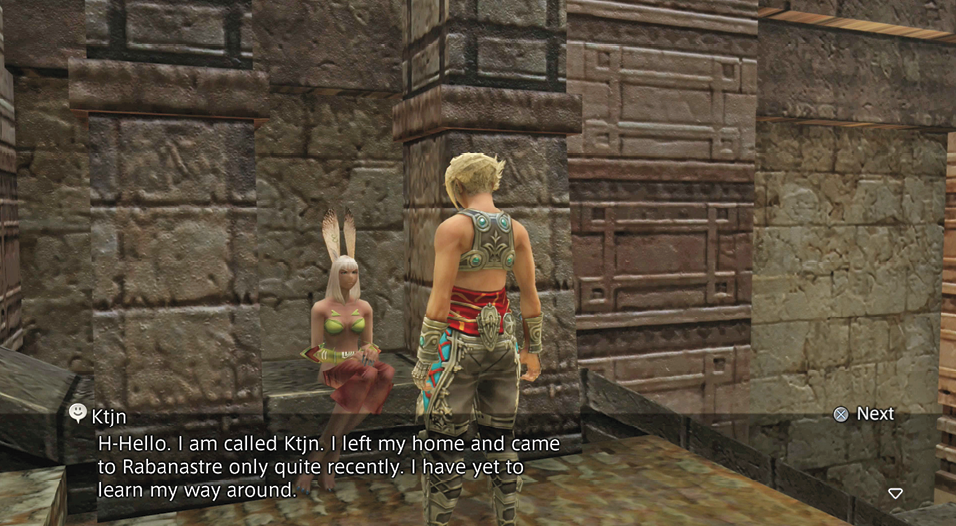
Ktjn the Viera is sitting mid-way on the stairway leading to the northern part of the city, in the Muthru Bazaar area. She will start asking questions as soon as the party talks to her. Note that there is a parameter set involved in this conversation. Her questions are given once per scenario block. If the party fails to answer every question after receiving the Treaty-Blade, she will ask the next question every 15 minutes. The questions and parameter points follow:
QUESTION 1
Is the city not wonderful? I still lose my way on occasion, but I have come to know some of her walks and alleyways.But the land, I cannot hear it… Should this not trouble me as a viera?
A: Yes, you should be ashamed. (+1)A: No, don’t be silly. (-1)
QUESTION 2
I knew my choice would bring hardship, yet…
A: You should’ve thought it through. (+1)A: Things will get better. (-1)
QUESTION 3
All this time my sister has been making her way through the world, while I lived in the sheltered peace of the Wood.I would be as she is. Do you think it possible?
A: Sure, if you put your mind to it. (-1)A: I don’t know your sister. (0)A: It’ll never happen. (+1)
QUESTION 4Perhaps it would be best if I, too, became a warrior like my sister. What do you think?
A: I think it’s a good idea. (+1)A: I am not sure. (-1)
After the fourth question, she thanks the party and leaves
Ktjn’s Path
| Points | KTJN'S Location | Reward |
|---|---|---|
|
+4 |
Training at the bottom of the stairs of the Clan Headquarters. |
Platinum Sword |
|
+3 |
Doorkeeper in front of the Clan Headquarters. |
Paramina Crossbow |
|
-4 |
Shopkeeper in Migelo’s shop. |
Firefly |
|
-3 |
Barker for Migelo’s shop. |
Fuzzy Miter |
|
-2 to +2 |
A. Northern Part of the city, opposite of the Gambit shop.B. Bazaar, sitting.C. Northern part of the city, outward exit from the bazaar.D. Airship terminal, chatting with the bangaas. |
Ether, Hi-Potion x3 |
Ktjn randomly appears in these locations and will remain in the same area while the party stays in Rabanastre. When the party exits Rabanastre, Ktjn will appear in either of the four locations. Loading your game will refresh Ktjn’s location. Ktjn will give the party a reward according to the path.
The Seven Sisters
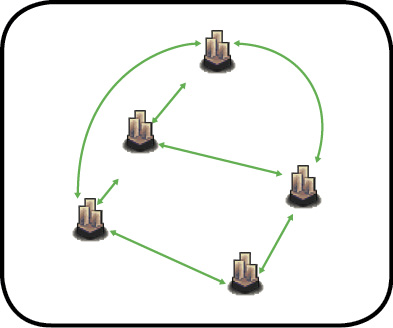
Speak to the Chief Steward while traveling between cities by way of "leisure craft" class aboard the Skyferry. Ann and Rande are deep in conversation when Vaan interrupts. Ask about Rande when prompted. A conversation begins that leads to a challenge. Rande proposes that Ann and her sisters collect flowers for mother’s name day and she wants Vaan to inform the other sisters of the conditions. He then promises to leave her and her sisters alone if Vaan can deliver the message to all of her sisters. There are seven ships and seven sisters split between them. The chief steward gives Vaan Ann’s Letter.
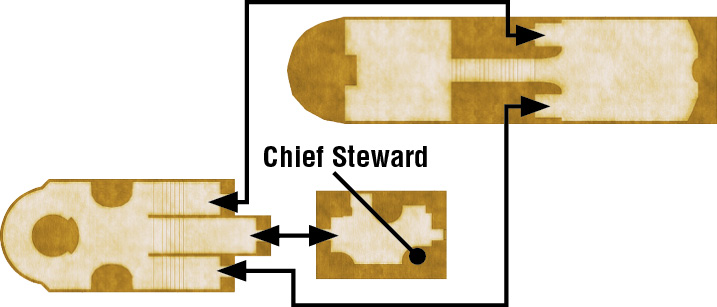
To complete this quest, you must book flights choosing the leisure craft option. Each sister is on a different route. The order doesn’t matter, since the next sister in line always appears on the new route as long as Vaan hasn’t already delivered a letter on that route. Deliver all of the messages to the sisters to receive a Ring of Renewal. The seven flight paths are:
1. Bhujerba to Balfonheim
2. Bhujerba to Rabanastre
3. Balfonheim to Archades
4. Balfonheim to Nalbina
5. Archades to Nalbina
6. Archades to Rabanastre
7. Nalbina to Rabanastre
Pilika’s Errand
Complete “The Cry of its Power” hunt for Pilika in Bhujerba’s Khus Skygrounds, then talk to her again after getting the reward. It seems that she has forgotten her diary on the second floor of Clio’s Technicks (south end of the city). She then gives the party a Merchant’s Armband, which must be worn to enter the shop’s second floor.
Enter the shop and search the raised floor on the left to find Pilika’s Diary in the large bookcase on the wall. You may then opt to read the diary. Reading the diary reveals a second pet that is loose in the store. Return the diary to Pilika and she asks if you read it or not. Choosing the “Read it” option causes Pilika to reward the party with a Bangle. If the player answers “I’ve done nothing” after reading the diary, Pilika rewards the party with a Jade Collar. Whether or not the player has read the diary has no bearing on the outcome —you can lie to Pilika, if it suits you!
Making Sunstones
Masyua needs help making Sunstones in Giza Plains’ Nomad Village. Visit her and inquire about the stones to receive a Shadestone.
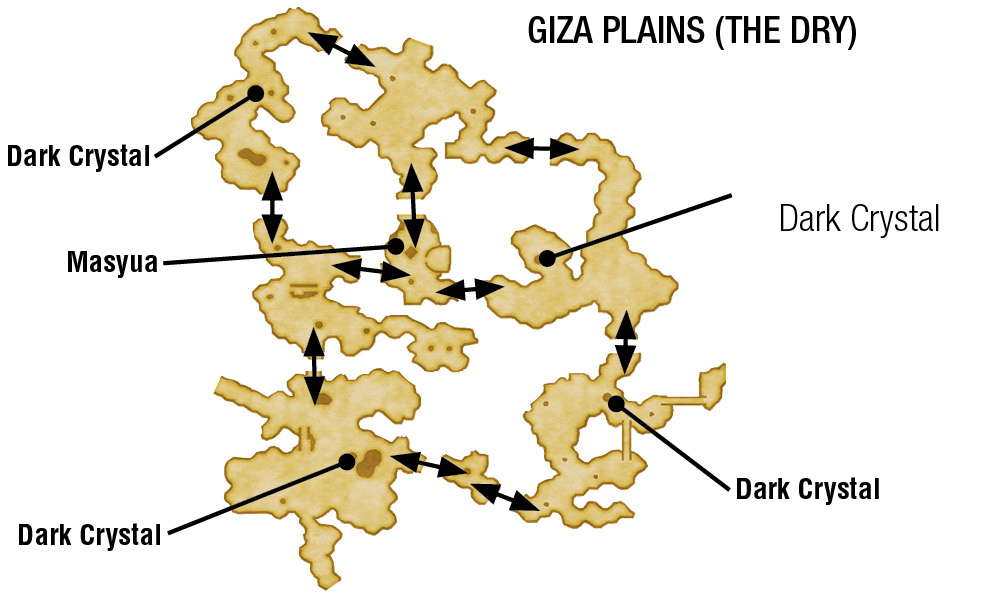
Check the map of Giza Plains. Exclamation points indicate the locations of Dark Crystals that have enough energy to be harvested. Find them and hold the Shadestone up to the Dark Crystals to fill it with energy. Keep visiting Dark Crystals until the Shadestone transforms into a Sunstone. Return the completed Sunstone to Masyua for a reward, the faster the better. High-grade Sunstones are worth 200 gil, two Potions, and a Holy Stone. If you take seven minutes or longer to complete the task, the reward will get worse and worse. Taking longer than a half-hour to turn over a Sunstone will only net you 50 gil.
Hidden Espers
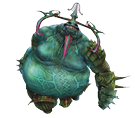
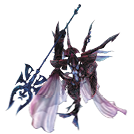
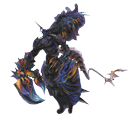
There are 13 Espers scattered throughout FINAL FANTASY XII. You can find five of them in the main storyline, but it takes a little extra work to find the other eight Espers.
Esper Calendar
| Timing: Game Start | |
|---|---|
|
|
BeliasStory |
| Timing: After receiving the Dawn Shard | |
|
|
AdrammelechOptional |
|
|
CúchulainnOptional |
|
|
ZaleraOptional |
|
|
MateusStory |
| Timing: After Judge Bergan has fallen | |
|
|
ZeromusOptional |
| Timing: After the Salikawood Gate is fixed | |
|
|
ExodusOptional |
| Timing: After visiting Archades | |
|
|
ChaosOptional |
|
|
ShemhazaiStory |
| Timing: After receiving the Treaty-Blade | |
|
|
HashmalStory |
|
|
FamfritStory |
|
|
UltimaOptional |
|
|
ZodiarkOptional |
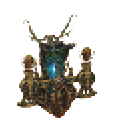

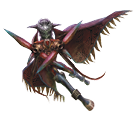
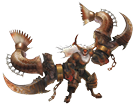
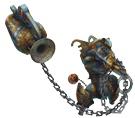
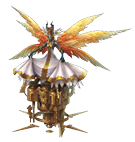
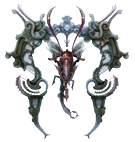
Adrammelech, the Wroth
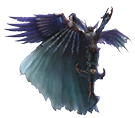
Adrammelech is the easiest of the optional Espers to obtain. Its lair, Athroza Quicksands, is within the Zertinan Caverns and it is accessible from Ozmone Plain.
|
Level |
39 |
EXP |
0 |
Steal |
Pebble, Capricorn Gem, High Arcana |
|
HP |
39630 |
LP |
42 |
Adrammelech is a flying creature, so come equipped with ranged weapons and magick. Ice is particularly effective. The boss is not alone, though, as Shambling Corpses appear throughout the fight. Let them appear and use either Blizzara or Blizzaga to damage the boss and hopefully eliminate the lesser enemies in the process. Adrammelech uses a Thundaja attack that occasionally causes the Stop affliction. Make sure the party has plenty of Chronos Tears or Remedies (with the Remedy Lore 3 license). Keep Shell up to reduce magick damage and bombard the boss with Ice while trying to keep the Shambling Corpses under control. Try to keep at least one person focused on inflicting damage to Adrammelech, while the others handle the Shambling Corpses. Keep the lesser enemies in check; don’t hesitate to use a Quickening if the first group gets wiped out.
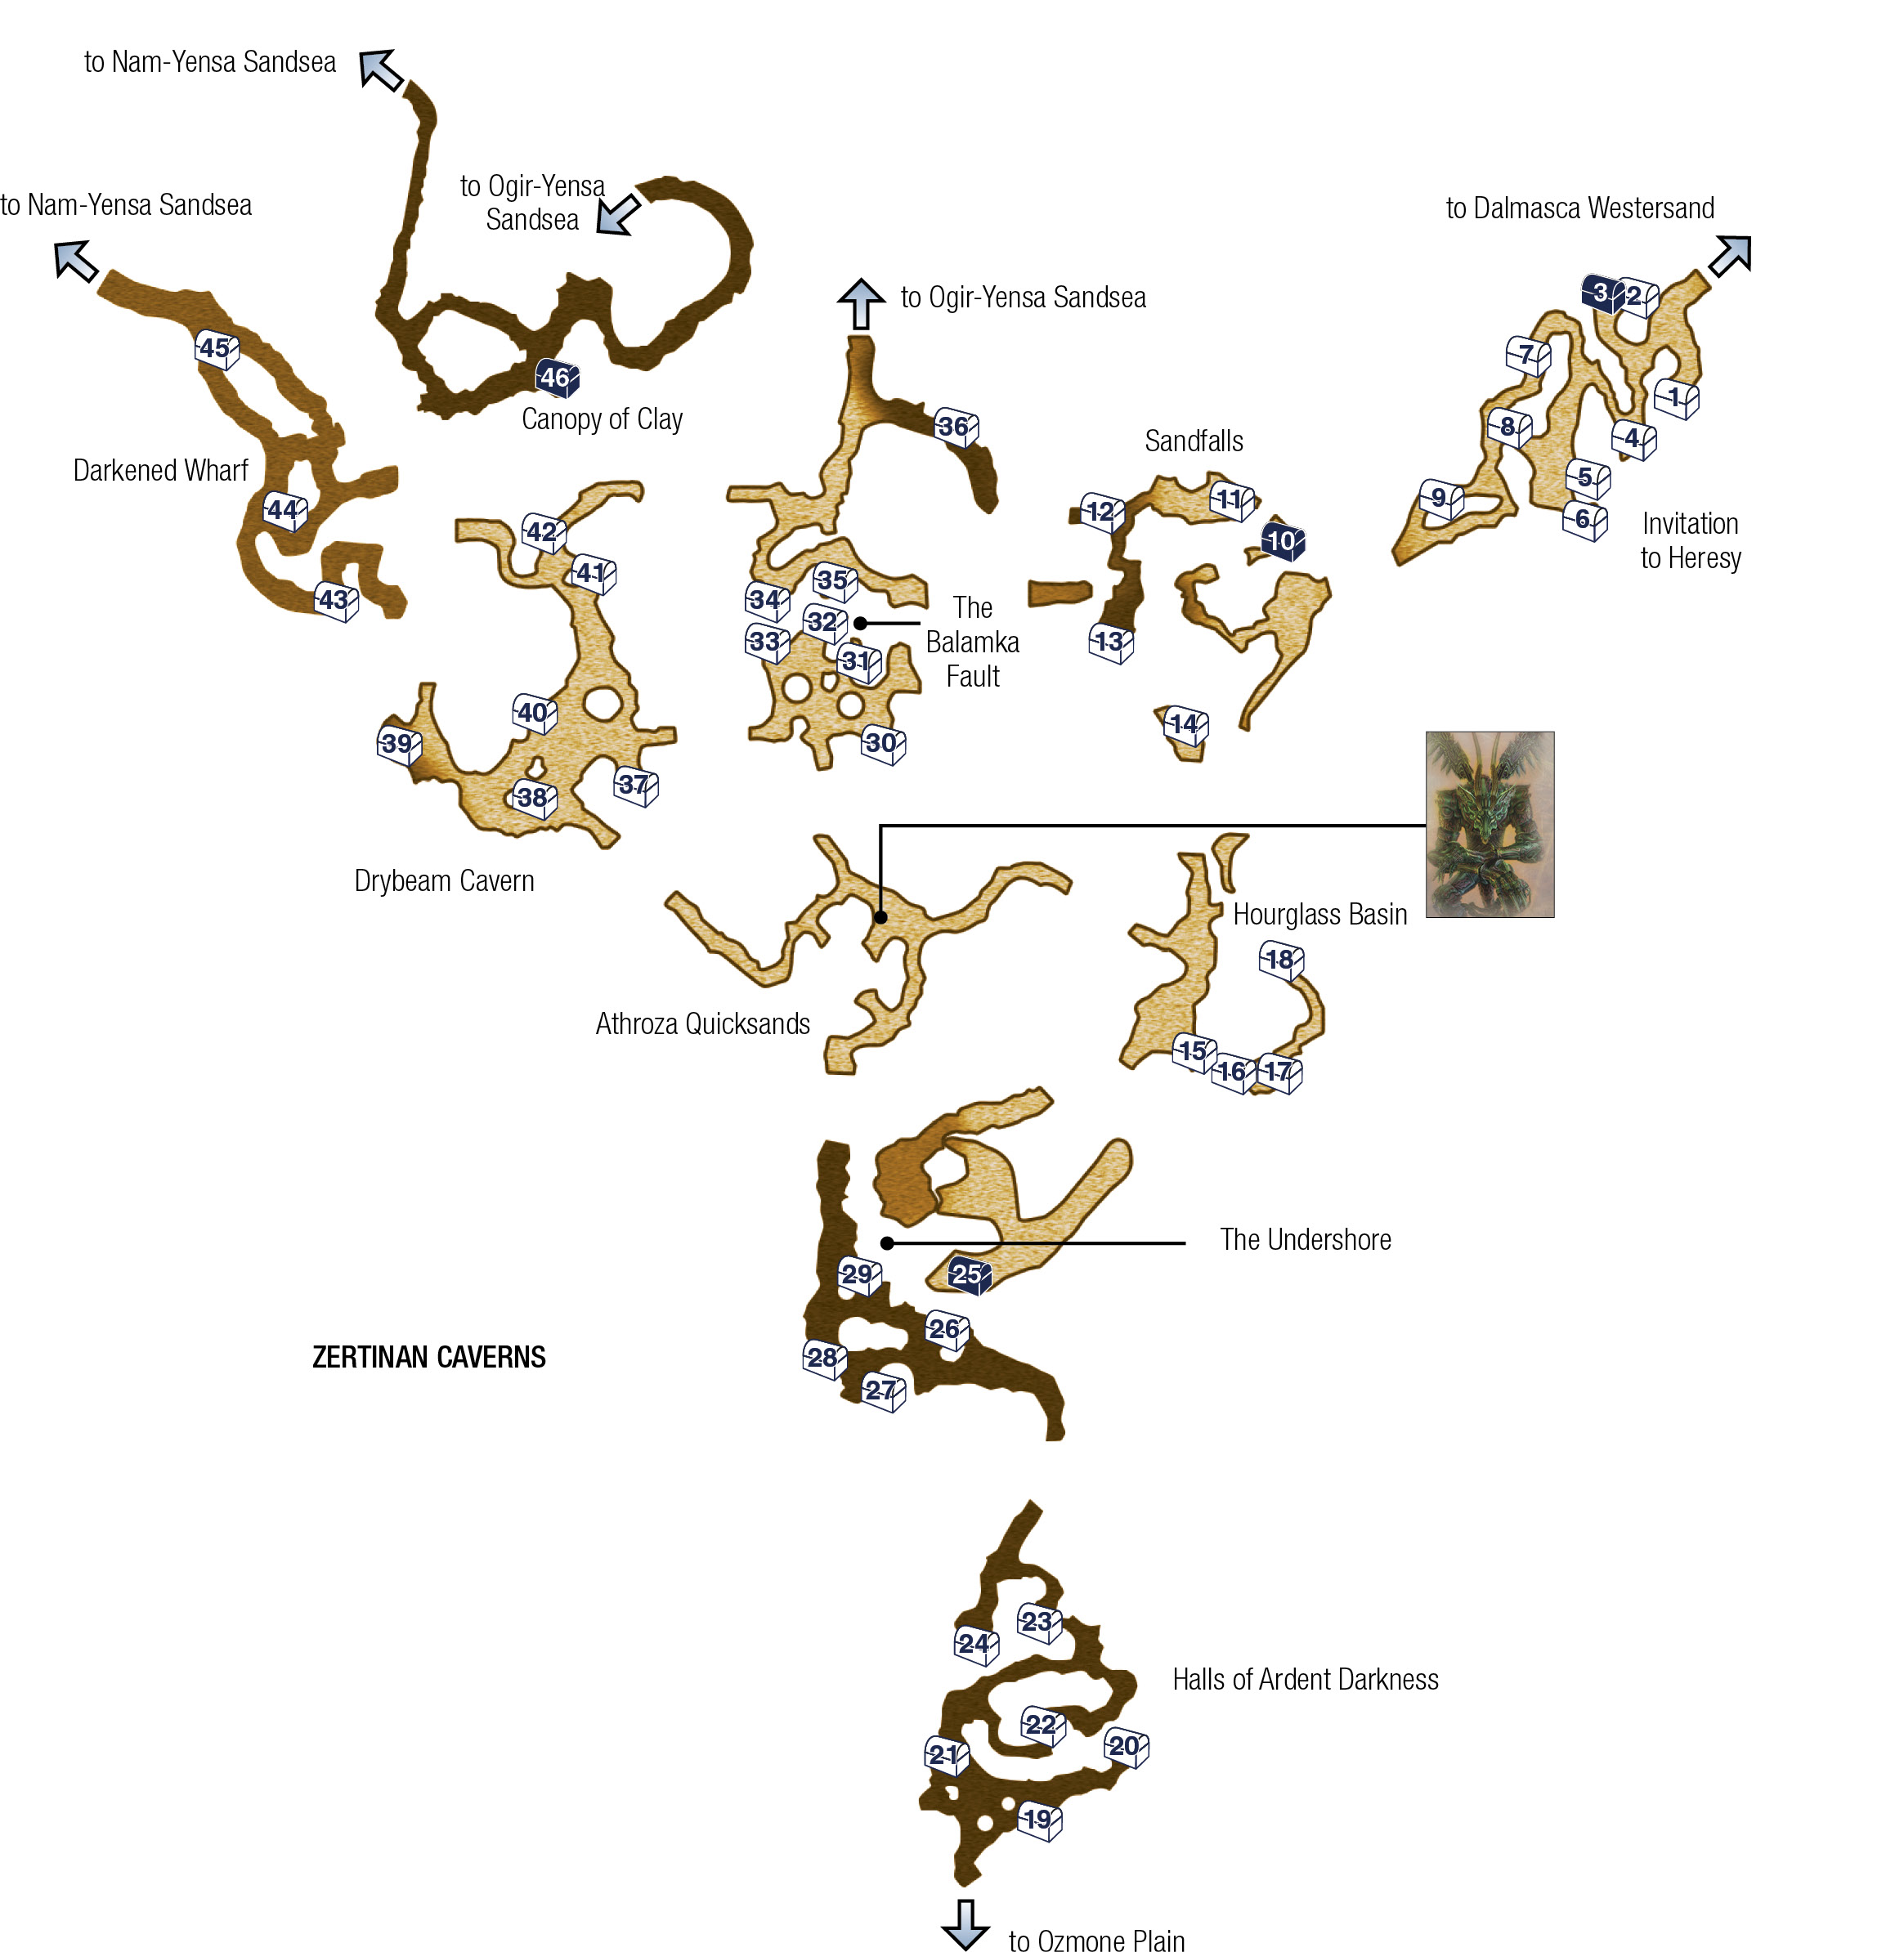
| Pop odds | If pop, Gil odds & Amt | Normal Loot | w/Diamond Armlet | ||||
|---|---|---|---|---|---|---|---|
|
OG # |
App. % |
Gil % |
Amt. if Gil |
50% |
50% |
95% |
5% |
|
1 |
80% |
50% |
~160 |
Potion |
Nu Khai Sand |
Knot of Rust |
Meteorite (A) |
|
2 |
80% |
50% |
~160 |
Potion |
Ether |
Knot of Rust |
Meteorite (A) |
|
3 |
100% |
0% |
— |
Firefly |
Firefly |
Firefly |
Firefly |
|
4 |
80% |
50% |
~160 |
Potion |
Ether |
Knot of Rust |
Meteorite (A) |
|
5 |
80% |
50% |
~180 |
Potion |
Remedy |
Knot of Rust |
Meteorite (A) |
|
6 |
80% |
50% |
~160 |
Potion |
Gold Needle |
Knot of Rust |
Meteorite (A) |
|
7 |
80% |
50% |
~180 |
Potion |
Phoenix Down |
Knot of Rust |
Meteorite (B) |
|
8 |
80% |
30% |
~250 |
Potion |
Antidote |
Knot of Rust |
Meteorite (C) |
|
9 |
80% |
50% |
~170 |
Potion |
Echo Herbs |
Knot of Rust |
Meteorite (A) |
|
10 |
100% |
0% |
— |
Diamond Armlet |
Diamond Armlet |
Diamond Armlet |
Diamond Armlet |
|
11 |
90% |
30% |
~300 |
Hi-Potion |
Cura Mote |
Knot of Rust |
Meteorite (A) |
|
12 |
80% |
40% |
~200 |
Potion |
Hi-Potion |
Knot of Rust |
Meteorite (A) |
|
13 |
80% |
40% |
~200 |
Potion |
Nu Khai Sand |
Knot of Rust |
Meteorite (A) |
|
14 |
90% |
50% |
~400 |
Remedy |
Chanter’s Djellaba |
Knot of Rust |
Meteorite (B) |
|
15 |
80% |
80% |
~150 |
Potion |
Remedy |
Knot of Rust |
Meteorite (B) |
|
16 |
90% |
15% |
~500 |
Bio Mote |
Miter |
Knot of Rust |
Meteorite (A) |
|
17 |
90% |
15% |
~500 |
Hi-Potion |
Chainmail |
Knot of Rust |
Meteorite (A) |
|
18 |
90% |
15% |
~500 |
Hi-Potion |
Slasher |
Knot of Rust |
Meteorite (A) |
|
19 |
50% |
50% |
~250 |
Hi-Potion |
Miter |
Knot of Rust |
Meteorite (A) |
|
20 |
50% |
50% |
~250 |
Remedy |
Iron Pole |
Knot of Rust |
Meteorite (C) |
|
21 |
50% |
50% |
~250 |
Gold Needle |
Magoroku |
Knot of Rust |
Meteorite (A) |
|
22 |
50% |
50% |
~250 |
Hi-Ether |
Slasher |
Knot of Rust |
Meteorite (B) |
|
23 |
50% |
50% |
~250 |
Hi-Potion |
Main Gauche |
Knot of Rust |
Meteorite (A) |
|
24 |
50% |
50% |
~250 |
Hi-Potion |
Flametongue |
Knot of Rust |
Meteorite (A) |
|
25 |
25% |
0% |
— |
Thief’s Cuffs |
Thief’s Cuffs |
Thief’s Cuffs |
Thief’s Cuffs |
|
26 |
90% |
50% |
~120 |
Ether |
Aero Mote |
Knot of Rust |
Meteorite (B) |
|
27 |
90% |
50% |
~100 |
Ether |
Aeroga Mote |
Knot of Rust |
Meteorite (A) |
|
28 |
90% |
50% |
~100 |
Potion |
Balance Mote |
Knot of Rust |
Meteorite (A) |
|
29 |
90% |
50% |
~100 |
Hi-Potion |
Aqua Mote |
Knot of Rust |
Meteorite (A) |
|
30 |
50% |
20% |
~440 |
Lightning Fang |
Ether |
Knot of Rust |
Meteorite (A) |
|
31 |
50% |
20% |
~440 |
Aero Mote |
Gold Needle |
Knot of Rust |
Meteorite (A) |
|
32 |
50% |
20% |
~440 |
Potion |
Potion |
Knot of Rust |
Meteorite (A) |
|
33 |
50% |
20% |
~440 |
Potion |
Ether |
Knot of Rust |
Meteorite (C) |
|
34 |
50% |
20% |
~440 |
Aero Mote |
Gold Needle |
Knot of Rust |
Meteorite (B) |
|
35 |
50% |
20% |
~440 |
Balance Mote |
Ether |
Knot of Rust |
Meteorite (A) |
|
36 |
50% |
20% |
~440 |
Soleil Fang |
Gold Needle |
Knot of Rust |
Meteorite (A) |
|
37 |
80% |
45% |
~210 |
Potion |
Ether |
Knot of Rust |
Meteorite (A) |
|
38 |
80% |
45% |
~210 |
Nu Khai Sand |
Antidote |
Knot of Rust |
Meteorite (A) |
|
39 |
80% |
45% |
~210 |
Potion |
Ether |
Knot of Rust |
Meteorite (A) |
|
40 |
80% |
45% |
~210 |
Chronos Tear |
Ether |
Knot of Rust |
Meteorite (B) |
|
41 |
80% |
45% |
~210 |
Potion |
Ether |
Knot of Rust |
Meteorite (A) |
|
42 |
80% |
45% |
~210 |
Chronos Tear |
Antidote |
Knot of Rust |
Meteorite (C) |
|
43 |
80% |
50% |
~240 |
Rime Fang |
Ether |
Knot of Rust |
Meteorite (A) |
|
44 |
80% |
50% |
~240 |
Potion |
Balance Mote |
Knot of Rust |
Meteorite (A) |
|
45 |
80% |
50% |
~240 |
Hi-Potion |
Phoenix Down |
Knot of Rust |
Meteorite (B) |
|
46 |
100% |
0% |
— |
Sight Unseeing |
Sight Unseeing |
Sight Unseeing |
Sight Unseeing |