Final Fantasy XII: The Zodiac Age Guide Walkthrough Part 3
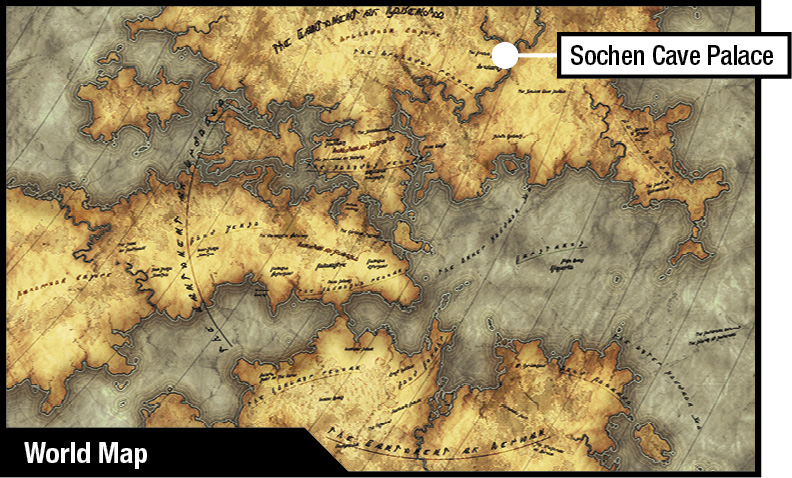
Sochen Cave Palace
OBJECTIVE
Use the Sochen Cave Palace to Sneak into Archades
Action Checklist
1. Use the Soul Ward Key to enter the boss chamber.
2. Defeat the five bosses.
3. Optional! Return to the wayfarers in the Tchita Uplands for a reward.
4. Defeat the Crystalbug.
| Pop odds | If pop, Gil odds & Amt | Normal Loot | w/Diamond Armlet | ||||
|---|---|---|---|---|---|---|---|
|
# |
App. % |
Gil % |
Amt. if Gil |
50% |
50% |
90% |
10% |
|
1 |
70% |
45% |
~400 |
Hi-Potion |
Dispel Mote |
Knot of Rust |
Meteorite (A) |
|
2 |
70% |
45% |
~400 |
Hi-Potion |
Ether |
Knot of Rust |
Meteorite (A) |
|
3 |
70% |
45% |
~400 |
Hi-Potion |
Ether |
Knot of Rust |
Meteorite (B) |
|
4 |
70% |
45% |
~400 |
Hi-Potion |
Handkerchief |
Knot of Rust |
Meteorite (A) |
|
5 |
70% |
45% |
~400 |
Hi-Potion |
Dispel Mote |
Knot of Rust |
Meteorite (A) |
|
6 |
70% |
45% |
~400 |
Hi-Potion |
Prince’s Kiss |
Knot of Rust |
Meteorite (A) |
|
7 |
70% |
45% |
~400 |
Hi-Potion |
Ether |
Knot of Rust |
Meteorite (A) |
|
8 |
70% |
45% |
~400 |
Hi-Potion |
Ether |
Knot of Rust |
Meteorite (A) |
|
9 |
70% |
45% |
~400 |
Hi-Potion |
Handkerchief |
Knot of Rust |
Meteorite (C) |
|
10 |
75% |
45% |
~400 |
Hi-Potion |
Ether |
Knot of Rust |
Meteorite (A) |
|
11 |
75% |
45% |
~400 |
Hi-Potion |
Dispel Mote |
Knot of Rust |
Meteorite (B) |
|
12 |
75% |
45% |
~400 |
Hi-Potion |
Ether |
Knot of Rust |
Meteorite (A) |
|
13 |
75% |
45% |
~400 |
Hi-Potion |
Balance Mote |
Knot of Rust |
Meteorite (A) |
|
14 |
100% |
100% |
4936 |
— |
— |
Hi-Potion |
— |
|
15 |
100% |
0% |
— |
Hastega Mote |
Hastega Mote |
Hastega Mote |
Hastega Mote |
|
16 |
70% |
50% |
~450 |
Hi-Potion |
Ether |
Knot of Rust |
Meteorite (B) |
|
17 |
70% |
50% |
~450 |
Hi-Potion |
Dispel Mote |
Knot of Rust |
Meteorite (A) |
|
18 |
70% |
50% |
~450 |
Hi-Potion |
Ether |
Knot of Rust |
Meteorite (A) |
|
19 |
100% |
0% |
— |
Shock Mote |
Shock Mote |
Shock Mote |
Shock Mote |
|
20 |
70% |
50% |
~450 |
Hi-Potion |
Chronos Tear |
Knot of Rust |
Meteorite (A) |
|
21 |
70% |
50% |
~450 |
Hi-Potion |
Aero Mote |
Knot of Rust |
Meteorite (A) |
|
22 |
70% |
50% |
~450 |
Hi-Potion |
Ether |
Knot of Rust |
Meteorite (A) |
|
23 |
100% |
0% |
— |
Megalixir |
Megalixir |
Megalixir |
Megalixir |
|
24 |
70% |
45% |
~480 |
Hi-Potion |
Hi-Potion |
Knot of Rust |
Meteorite (A) |
|
25 |
70% |
45% |
~480 |
Hi-Potion |
Nu Khai Sand |
Knot of Rust |
Meteorite (A) |
|
26 |
70% |
45% |
~480 |
Hi-Potion |
Nu Khai Sand |
Knot of Rust |
Meteorite (A) |
|
27 |
70% |
45% |
~480 |
Hi-Potion |
Phoenix Down |
Knot of Rust |
Meteorite (C) |
|
28 |
100% |
0% |
— |
Sakura-saezuri |
Sakura-saezuri |
Sakura-saezuri |
Sakura-saezuri |
|
29 |
100% |
0% |
— |
1000 Needles |
1001 Needles |
1002 Needles |
1003 Needles |
|
30 |
70% |
45% |
~480 |
Hi-Potion |
Hi-Potion |
Knot of Rust |
Meteorite (B) |
|
31 |
70% |
45% |
~480 |
Hi-Potion |
Chronos Tear |
Knot of Rust |
Meteorite (A) |
|
32 |
70% |
45% |
~460 |
Hi-Potion |
Antidote |
Knot of Rust |
Meteorite (B) |
|
33 |
70% |
45% |
~460 |
Hi-Potion |
Antidote |
Knot of Rust |
Meteorite (A) |
|
34 |
70% |
45% |
~460 |
Hi-Potion |
Chronos Tear |
Knot of Rust |
Meteorite (A) |
|
35 |
70% |
45% |
~460 |
Hi-Potion |
Antidote |
Knot of Rust |
Meteorite (A) |
|
36 |
70% |
45% |
~460 |
Hi-Potion |
Hi-Potion |
Knot of Rust |
Meteorite (A) |
|
37 |
70% |
45% |
~460 |
Hi-Potion |
Chronos Tear |
Knot of Rust |
Meteorite (A) |
|
38 |
70% |
45% |
~460 |
Hi-Potion |
Hi-Potion |
Knot of Rust |
Meteorite (A) |
|
39 |
100% |
0% |
— |
Phoenix Down |
Phoenix Down |
Phoenix Down |
Phoenix Down |
|
40 |
100% |
0% |
— |
Cura Mote |
Cura Mote |
Cura Mote |
Cura Mote |
|
41 |
100% |
0% |
— |
Elixir |
Elixir |
Elixir |
Elixir |
|
42 |
100% |
0% |
— |
Bubble Mote |
Bubble Mote |
Bubble Mote |
Bubble Mote |
|
43 |
100% |
0% |
— |
X-Potion |
X-Potion |
X-Potion |
X-Potion |
|
44 |
70% |
45% |
~420 |
Hi-Potion |
Remedy |
Knot of Rust |
Meteorite (B) |
|
45 |
75% |
45% |
~420 |
Hi-Potion |
Phoenix Down |
Knot of Rust |
Meteorite (A) |
|
46 |
75% |
45% |
~420 |
Hi-Potion |
Antidote |
Knot of Rust |
Meteorite (A) |
|
47 |
75% |
45% |
~420 |
Hi-Potion |
Ether |
Knot of Rust |
Meteorite (A) |
|
48 |
100% |
0% |
— |
Reverse Mote |
Reverse Mote |
Reverse Mote |
Reverse Mote |
|
49 |
100% |
0% |
— |
Hastega Mote |
Hastega Mote |
Hastega Mote |
Hastega Mote |
|
50 |
100% |
0% |
— |
Bubble Mote |
Bubble Mote |
Bubble Mote |
Bubble Mote |
|
51 |
1% |
0% |
— |
Zodiac Escutcheon |
Zodiac Escutcheon |
Zodiac Escutcheon |
Zodiac Escutcheon |
Reach the Palace Gate
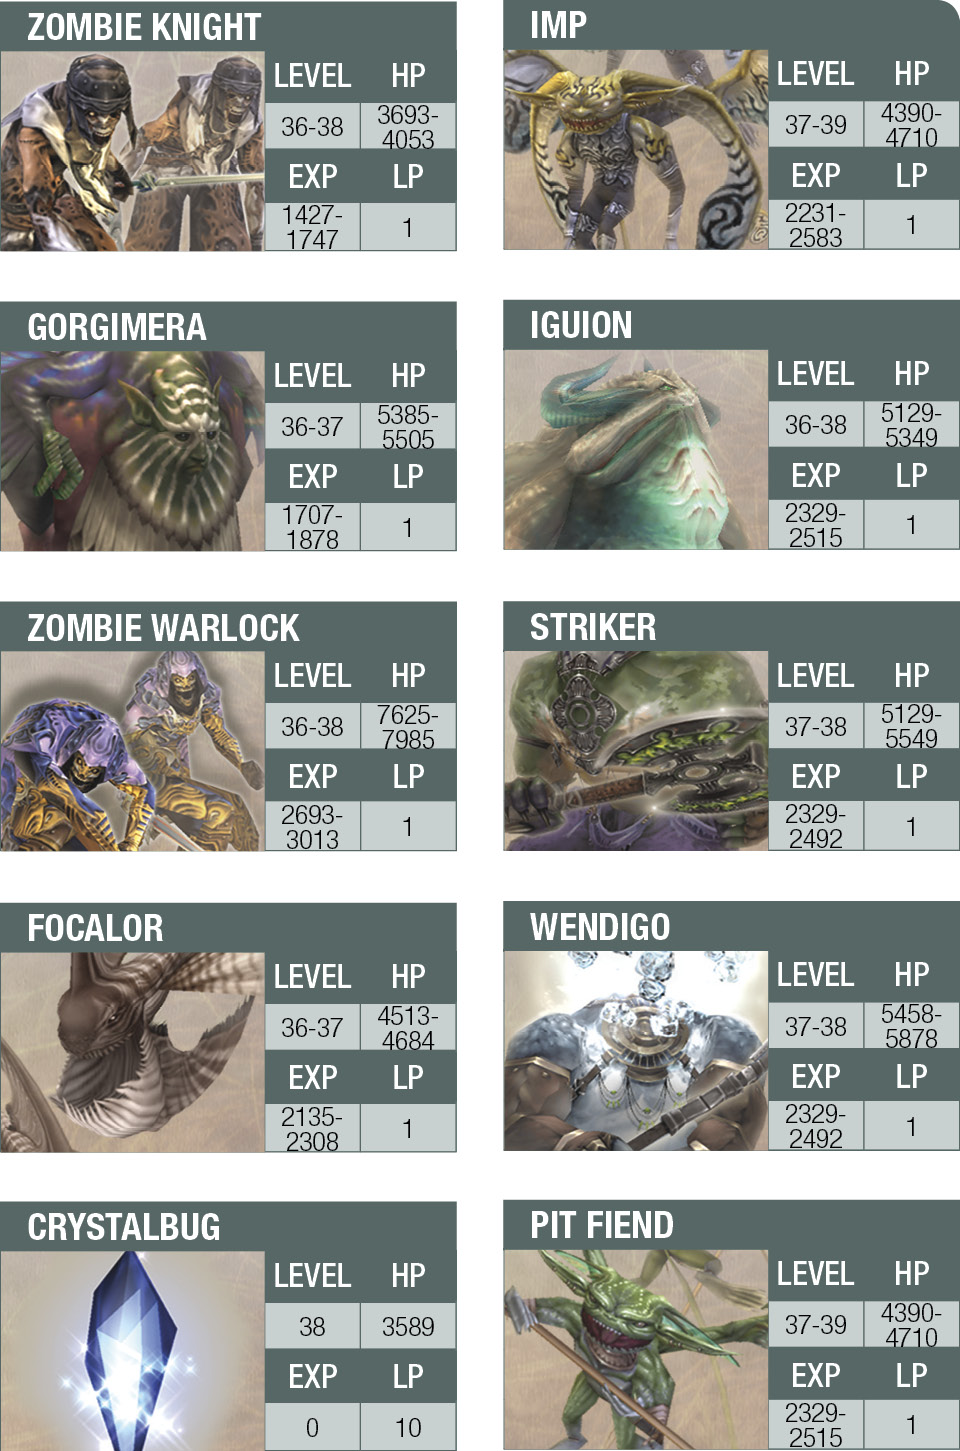
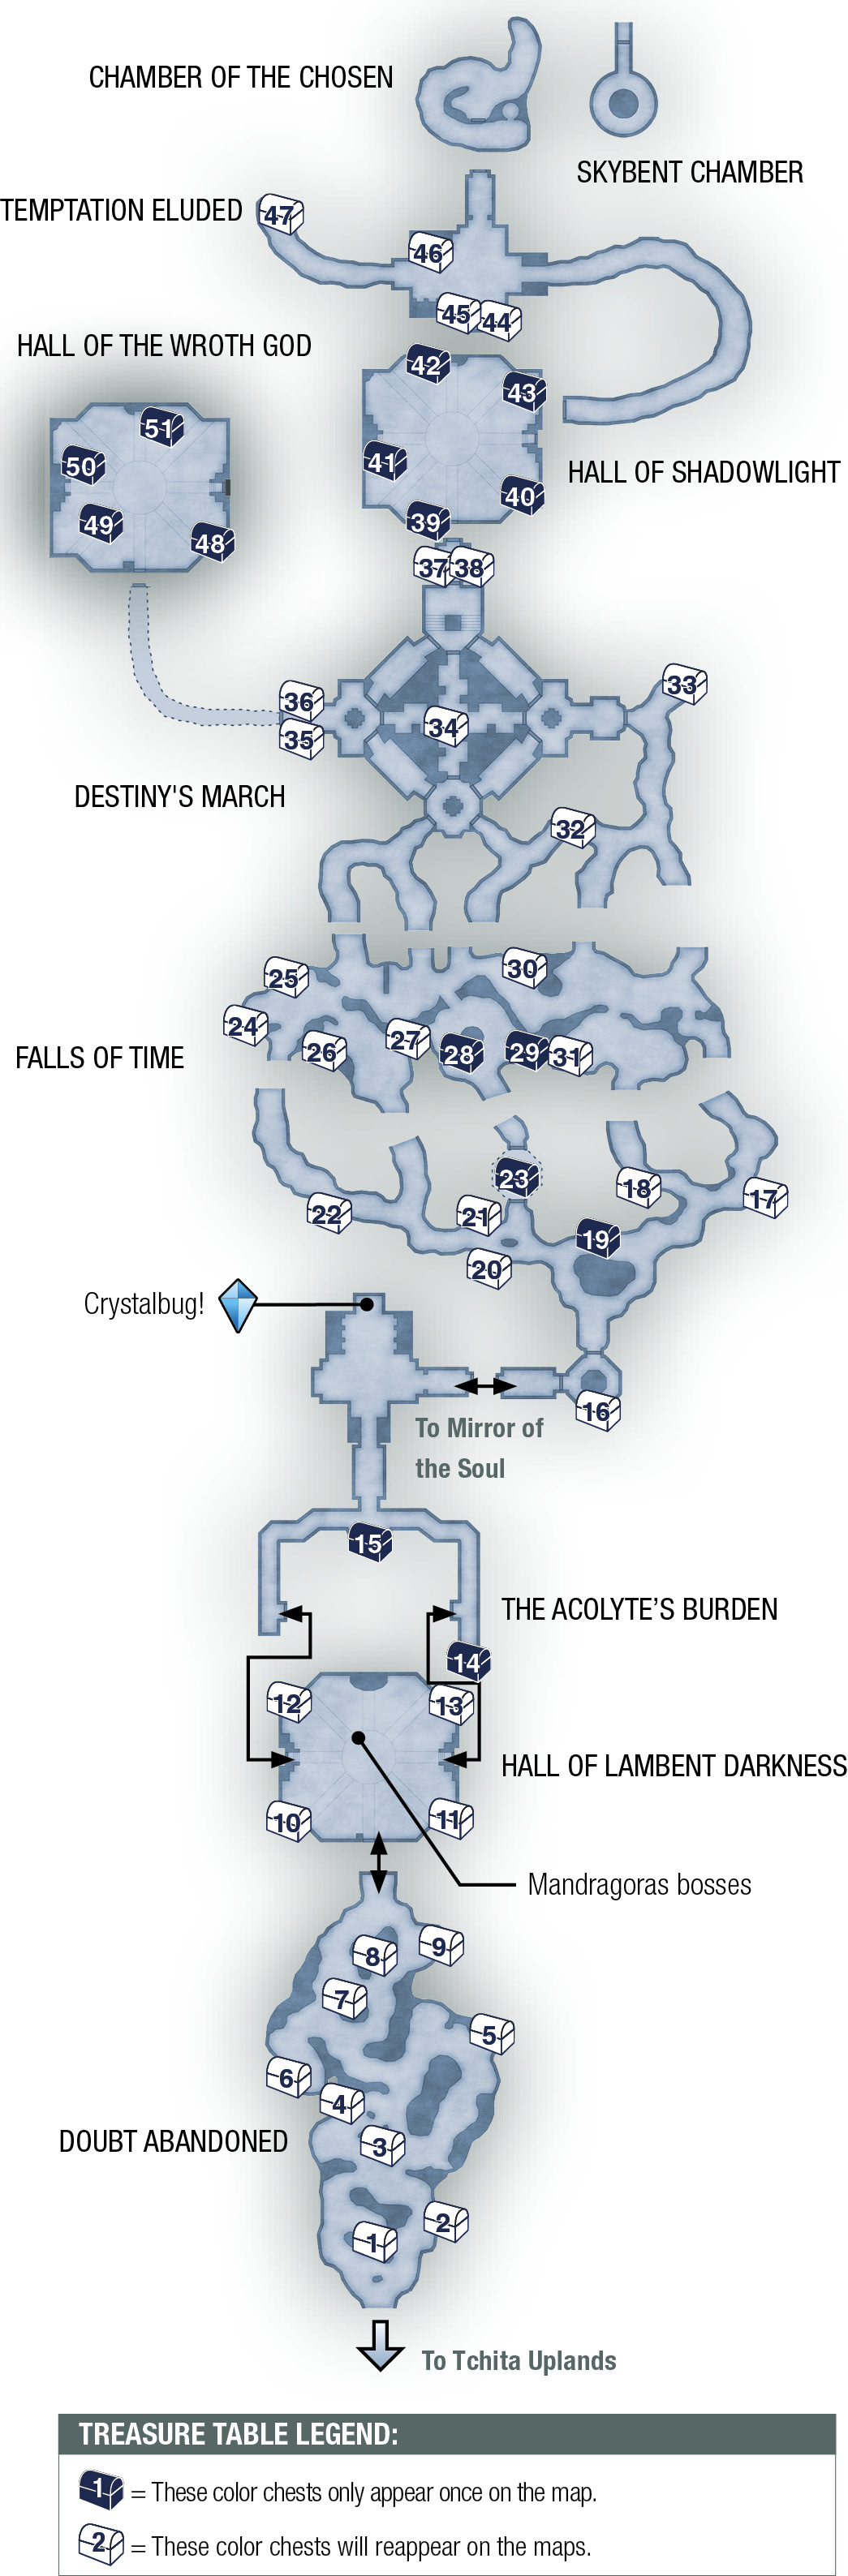
The cave antechamber, called Doubt Abandoned, isn’t actually part of the palace. Fight past the Zombie Warriors and floating Imps while descending the slope. Upon reaching the Gate of the Soul Ward at the north end of the cavern, use the Soul Ward Key to open it. (This is the key you received from the Archadian wayfarer back at the Save Crystal.) Now prepare for a wild boss fight!
The Mandragoras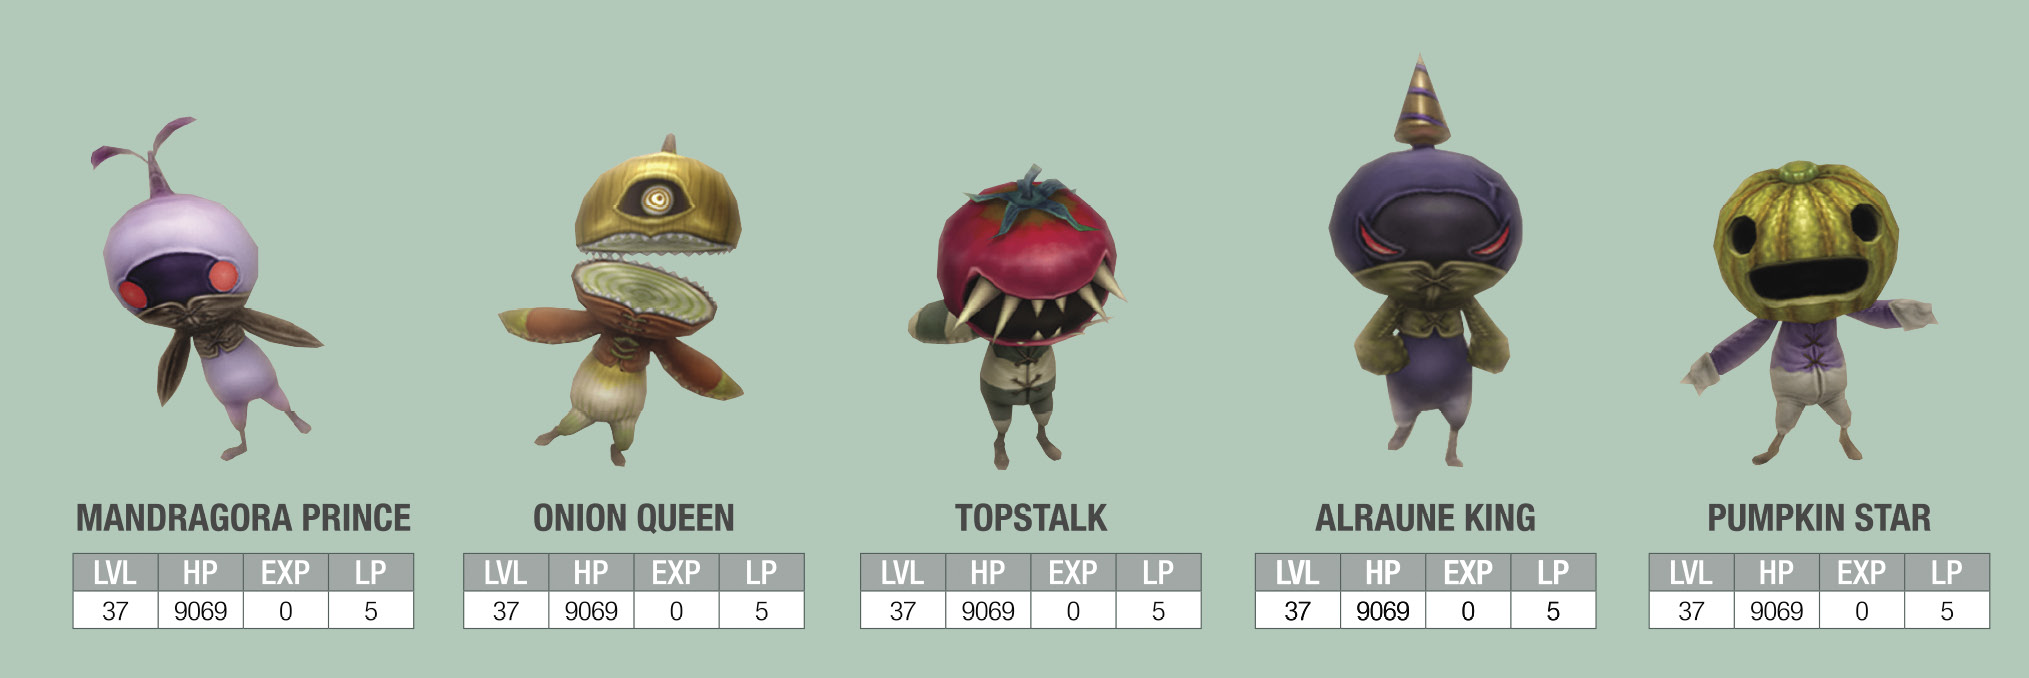
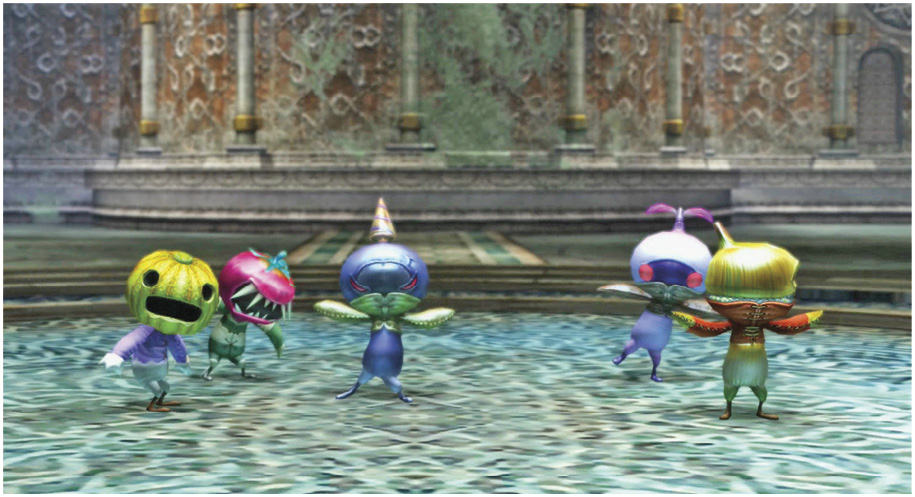
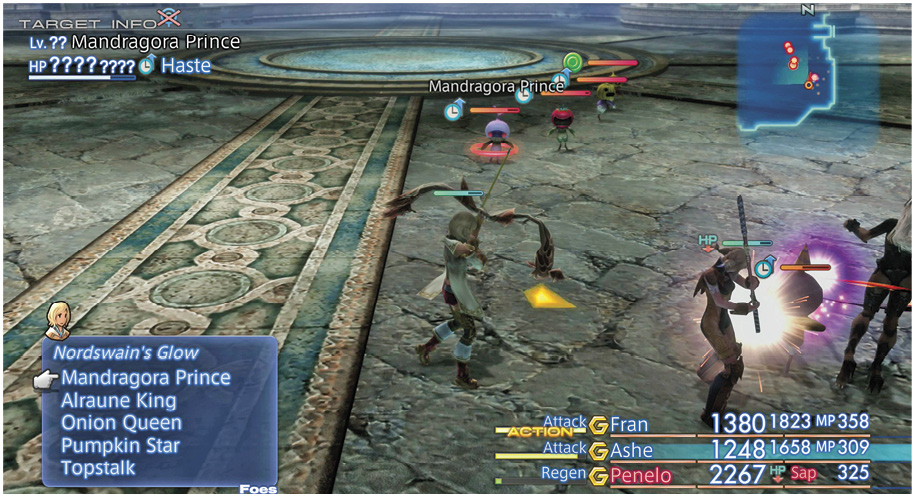
When the fight begins, the little bosses scatter in all directions. They have Haste cast on themselves, making them very speedy and difficult to target and counter. If you have active characters without Quickening spells available, use them to cast Dispel on the five foes. Otherwise, hold the R2 button and run around until the Mandragoras re-gather and start chasing the party. The bosses will form a tight line as they give chase, so this is the moment to trigger a Quickening, targeting the centermost member of the enemy party. As always, try to string together a good Mist chain so you trigger the follow-up Concurrence attack that can damage the entire enemy party. As the fight continues, the Mandragoras follow a pattern. They all attack at once, then when they take damage, they all scatter in multiple directions to regenerate and heal. If your Quickenings didn’t wipe them out, cast Dispel on any survivors and wipe them out one by one. You may need to chase the targets a bit, especially when they run off to heal. When this occurs, stay close to them until you can hit them with a series of physical hits. Overall, the key is to avoid fighting all five Mandragoras at once. Their combined attacks can decimate your party quickly. |
Remember, the Mandragora bosses were a mark for a hunt you agreed to do. Return to the Archadian Wayfarer in the Chosen Path of the Tchita Uplands to receive a reward: 1000 gil and three Remedies! Heal and save at the crystal, then return to the Hall of Lambent Darkness (where you fought the Mandragora bosses) in the Sochen Cave Palace.
Defeat the Crystalbug
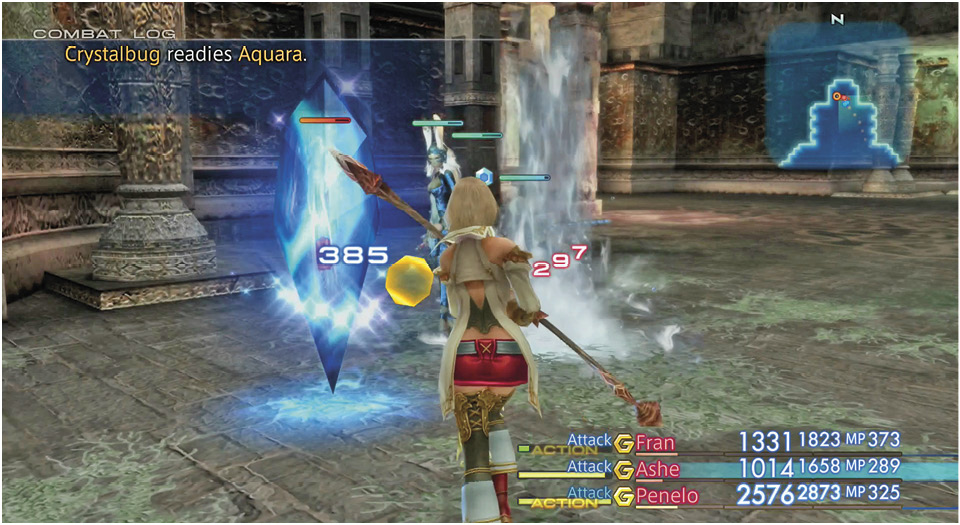
Exit the Hall of Lambent Darkness via either side door (east or west) into the Acolyte’s Burden area. Follow the corridors north to the Save Crystal… except, it isn’t a Save Crystal! Yes, another sneaky Crystalbug starts slinging Water attacks at the party. If you came here directly from the boss battle, your party may be depleted, so fight carefully. You may want to return to the hall and run around to rebuild MP levels before you battle the bug.
Actually, you can skip the Crystalbug fight if you want and proceed directly east into the main part of the palace. However, this is the last Save Crystal you’ll see for a long time, so it’s best that you hammer the bug into submission.