
Final Fantasy XII: The Zodiac Age Guide Walkthrough Part 4
The Ancient City of Giruvegan
OBJECTIVE
Seek Dr. Cid in the Ancient City
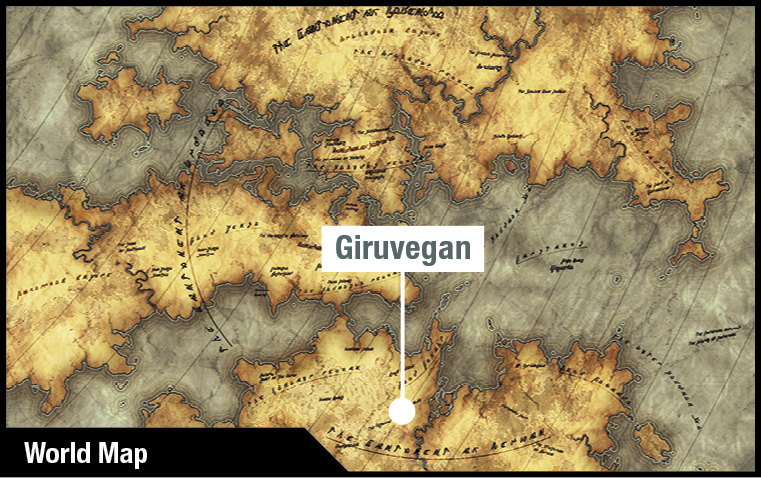
Dr. Cid has the nethicite shard, and he has said that he’s off to Giruvegan, an ancient city that lies deep within the dense mist of the Jagd Difohr. Answers lie within the Great Crystal, a nethicite motherlode at the heart of Giruvegan.
Action Checklist
1. Defeat Daedalus.
2. Use the correct switches to get through the gate seals in the water-steps.
3. Defeat Tyrant.
4. Navigate through the Great Crystal.
5. Defeat Shemhazai.
| Pop odds | If pop,Gil odds & Amt | Normal Loot | w/Diamond Armlet | ||||
|---|---|---|---|---|---|---|---|
|
# |
App. % |
Gil % |
Amt. if Gil |
50% |
50% |
95% |
5% |
|
1 |
75% |
0% |
— |
Ether |
Hi-Ether |
Knot of Rust |
Meteorite (A) |
|
2 |
100% |
0% |
— |
Sash |
Sash |
Sash |
Sash |
|
3 |
75% |
0% |
— |
Ether |
Hi-Ether |
Knot of Rust |
Meteorite (A) |
|
4 |
75% |
0% |
— |
Ether |
Hi-Ether |
Knot of Rust |
Meteorite (B) |
|
5 |
75% |
0% |
— |
Ether |
Hi-Ether |
Knot of Rust |
Meteorite (B) |
|
6 |
80% |
0% |
— |
Ether |
Hi-Ether |
Knot of Rust |
Meteorite (B) |
|
7 |
100% |
0% |
— |
Aegis Shield |
Aegis Shield |
Aegis Shield |
Aegis Shield |
|
8 |
80% |
0% |
— |
Ether |
Hi-Ether |
Knot of Rust |
Meteorite (A) |
|
9 |
100% |
0% |
— |
Sleepga |
Sleepga |
Sleepga |
Sleepga |
|
10 |
100% |
0% |
— |
Domaine Calvados |
Domaine Calvados |
Domaine Calvados |
Domaine Calvados |
|
11 |
100% |
0% |
— |
Elixir |
Elixir |
Elixir |
Elixir |
|
12 |
100% |
0% |
— |
Amber Armlet |
Amber Armlet |
Amber Armlet |
Amber Armlet |
|
13 |
100% |
0% |
— |
Hastega Mote |
Hastega Mote |
Hastega Mote |
Hastega Mote |
|
14 |
100% |
0% |
— |
Reverse Mote |
Reverse Mote |
Reverse Mote |
Reverse Mote |
THE GREAT CRYSTAL
| Pop odds | If pop, Gil odds & Amt | Normal Loot | w/Diamond Armlet | ||||
|---|---|---|---|---|---|---|---|
|
# |
App. % |
Gil % |
Amt. if Gil |
50% |
50% |
95% |
5% |
|
1 |
100% |
0% |
— |
Cloud Staff |
Cloud Staff |
Cloud Staff |
Cloud Staff |
|
2 |
100% |
0% |
— |
Thief’s Cap |
Thief’s Cap |
Thief’s Cap |
Thief’s Cap |
|
3 |
100% |
0% |
— |
Holy Rod |
Holy Rod |
Holy Rod |
Holy Rod |
|
4 |
100% |
0% |
— |
Gold Hairpin |
Gold Hairpin |
Gold Hairpin |
Gold Hairpin |
|
5 |
100% |
0% |
— |
Ninja Gear |
Ninja Gear |
Ninja Gear |
Ninja Gear |
|
6 |
100% |
0% |
— |
Gaia Gear |
Gaia Gear |
Gaia Gear |
Gaia Gear |
|
7 |
100% |
0% |
— |
Caldera |
Caldera |
Caldera |
Caldera |
|
8 |
5% |
10% |
~2000 |
Meteorite (B) |
Meteorite (C) |
Meteorite (A) |
Meteorite (D) |
|
9 |
100% |
0% |
— |
Caliper |
Caliper |
Caliper |
Caliper |
|
10 |
5% |
10% |
~2000 |
Meteorite (B) |
Meteorite (C) |
Meteorite (A) |
Meteorite (D) |
|
11 |
25% |
0% |
— |
Staff of the Magi |
Staff of the Magi |
Staff of the Magi |
Staff of the Magi |
|
12 |
5% |
10% |
~2000 |
Meteorite (B) |
Meteorite (C) |
Meteorite (A) |
Meteorite (D) |
|
13 |
100% |
0% |
— |
Rubber Suit |
Rubber Suit |
Rubber Suit |
Rubber Suit |
|
14 |
5% |
10% |
~2000 |
Meteorite (B) |
Meteorite (C) |
Meteorite (A) |
Meteorite (D) |
|
15 |
100% |
0% |
— |
Shellga |
Shellga |
Shellga |
Shellga |
|
16 |
5% |
10% |
~2000 |
Meteorite (B) |
Meteorite (C) |
Meteorite (A) |
Meteorite (D) |
|
17 |
100% |
0% |
— |
Crown of Laurels |
Crown of Laurels |
Crown of Laurels |
Crown of Laurels |
|
18 |
5% |
10% |
~2000 |
Meteorite (B) |
Meteorite (C) |
Meteorite (A) |
Meteorite (D) |
|
19 |
25% |
0% |
— |
Yagyu Darkblade |
Yagyu Darkblade |
Yagyu Darkblade |
Yagyu Darkblade |
|
20 |
5% |
10% |
~2000 |
Meteorite (B) |
Meteorite (C) |
Meteorite (A) |
Meteorite (D) |
|
21 |
100% |
0% |
— |
Ring of Renewal |
Ring of Renewal |
Ring of Renewal |
Ring of Renewal |
|
22 |
5% |
10% |
~2000 |
Meteorite (B) |
Meteorite (C) |
Meteorite (A) |
Meteorite (D) |
|
23 |
100% |
0% |
— |
Hastega |
Hastega |
Hastega |
Hastega |
|
24 |
5% |
10% |
~2000 |
Meteorite (B) |
Meteorite (C) |
Meteorite (A) |
Meteorite (D) |
|
25 |
100% |
0% |
— |
Artemis Bow |
Artemis Bow |
Artemis Bow |
Artemis Bow |
|
26 |
5% |
10% |
~2000 |
Meteorite (B) |
Meteorite (C) |
Meteorite (A) |
Meteorite (D) |
|
27 |
100% |
0% |
— |
Excalibur |
Excalibur |
Excalibur |
Excalibur |
|
28 |
1% |
20% |
~1000 |
Meteorite (B) |
Meteorite (B) |
Meteorite (A) |
Gendarme |
Get Past the City Guardian
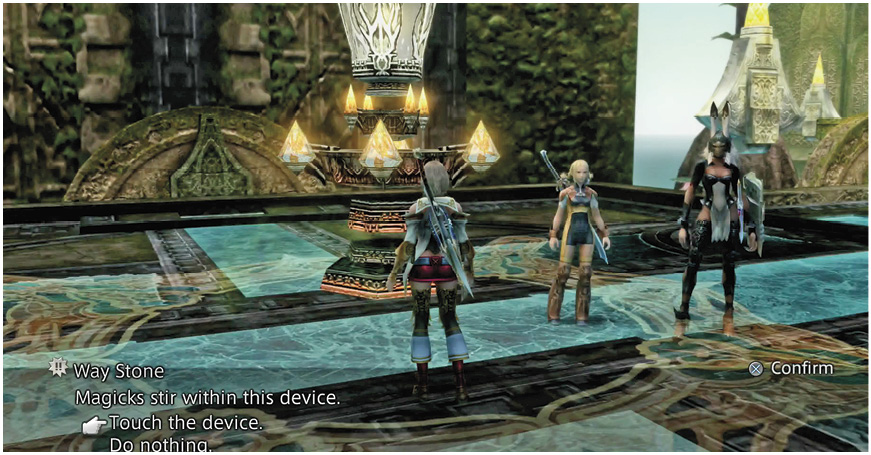
Head west from the Save Crystal to the Way Stone and touch it to teleport across to the Gate of Water. Guess what? You start right off with a boss fight—Daedalus. Proceed west down the walkway to start the battle.
Daedalus The key here is who’s faster, you or him? Haste magick is very important in this battle and Protect helps, too. Daedalus starts by casting Haste on himself, so immediately cast Dispel on him. In fact, it’s best if you set up your support characters with a gambit that automatically casts Dispel on any foe with Haste or Protect. This goes a long way toward making this fight easier. 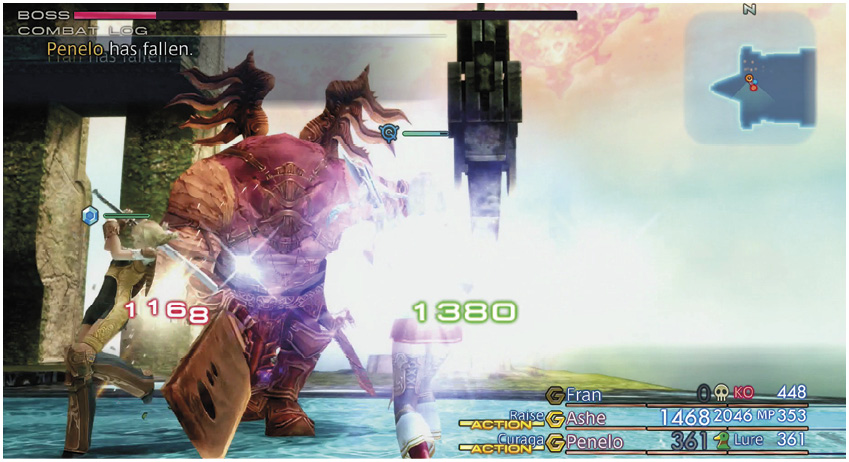 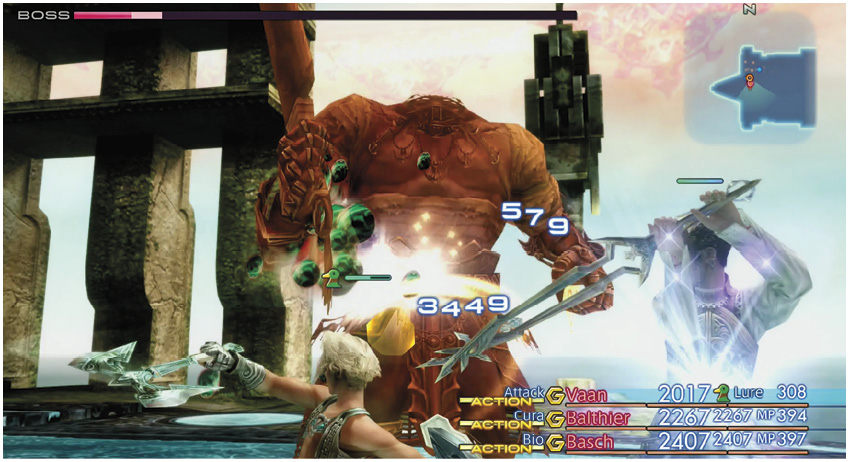 Overall, the basic tactic here is to send in one mauler equipped with good armor to hammer away at Daedalus using physical attacks while your other two allies focus on healing and support. Again, since Daedalus relies heavily on fast-hitting combos, always make sure to dispel his Haste. His combos get faster when his HP drops low, so be ready to switch in a fresh party of reserves. Of course, when you bring in the second string, have them lead off with a powerful chain of Quickening attacks. This may be enough to knock Daedalus down for the count, especially if his HP is below 20 percent or so when the Quickening begins. |

After the fight, a new Way Stone appears that can take the party deeper into the holy city. First, you may want to head back east to the last Way Stone. Use it to teleport back to Gate of Earth and use the Save Crystal. Then return to the platform where you just fought Daedalus and use the new Way Stone to teleport into the odd interior of the city.
Work Your Way Down the Water-Steps
Trimahla Water-Steps
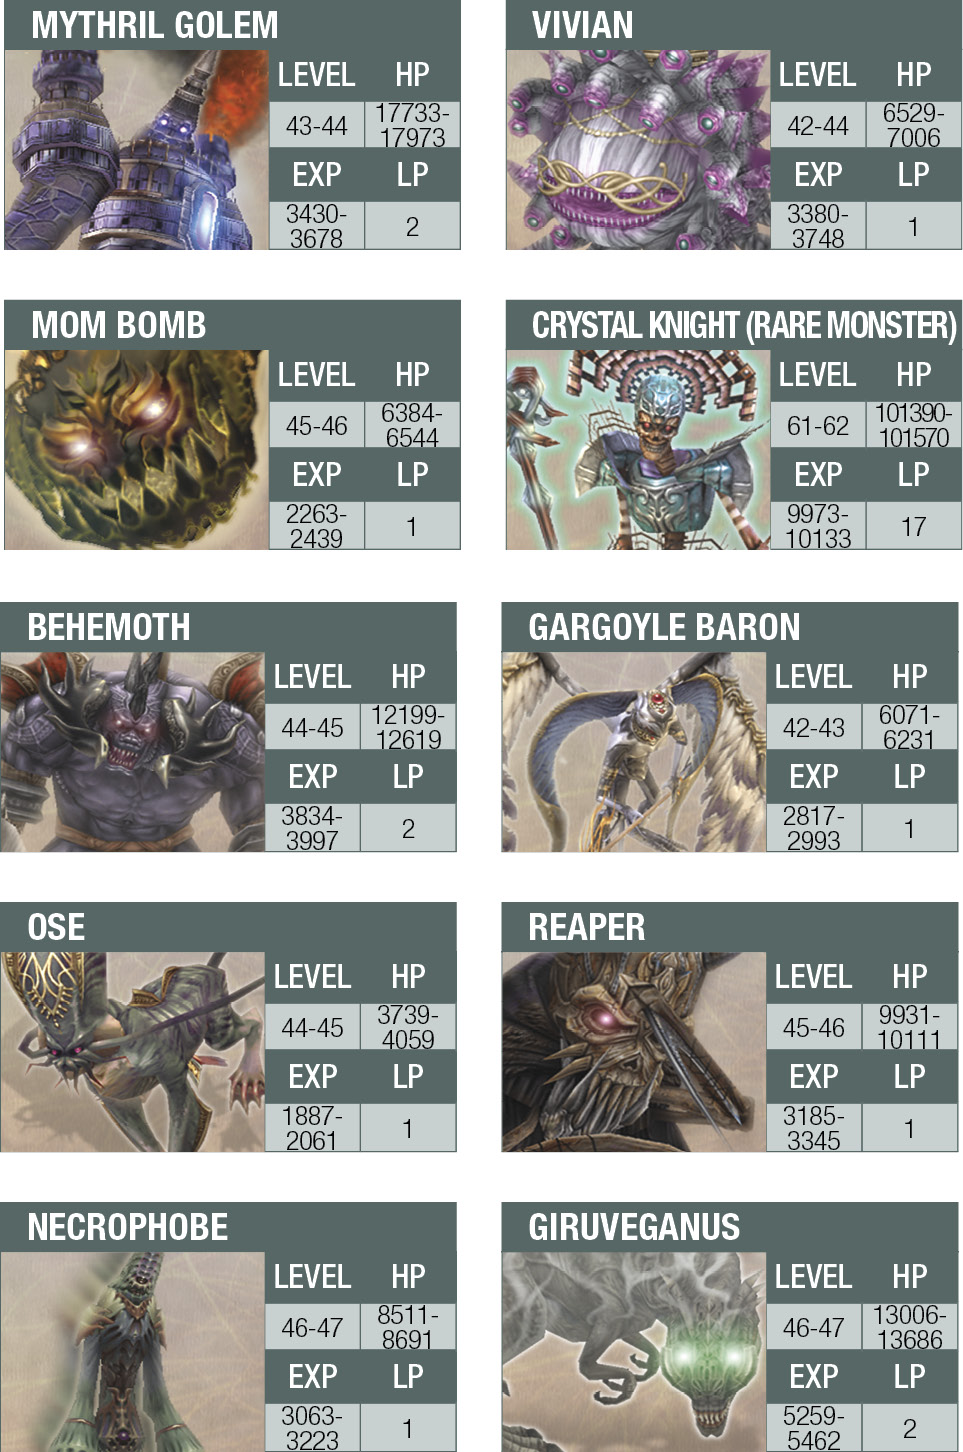
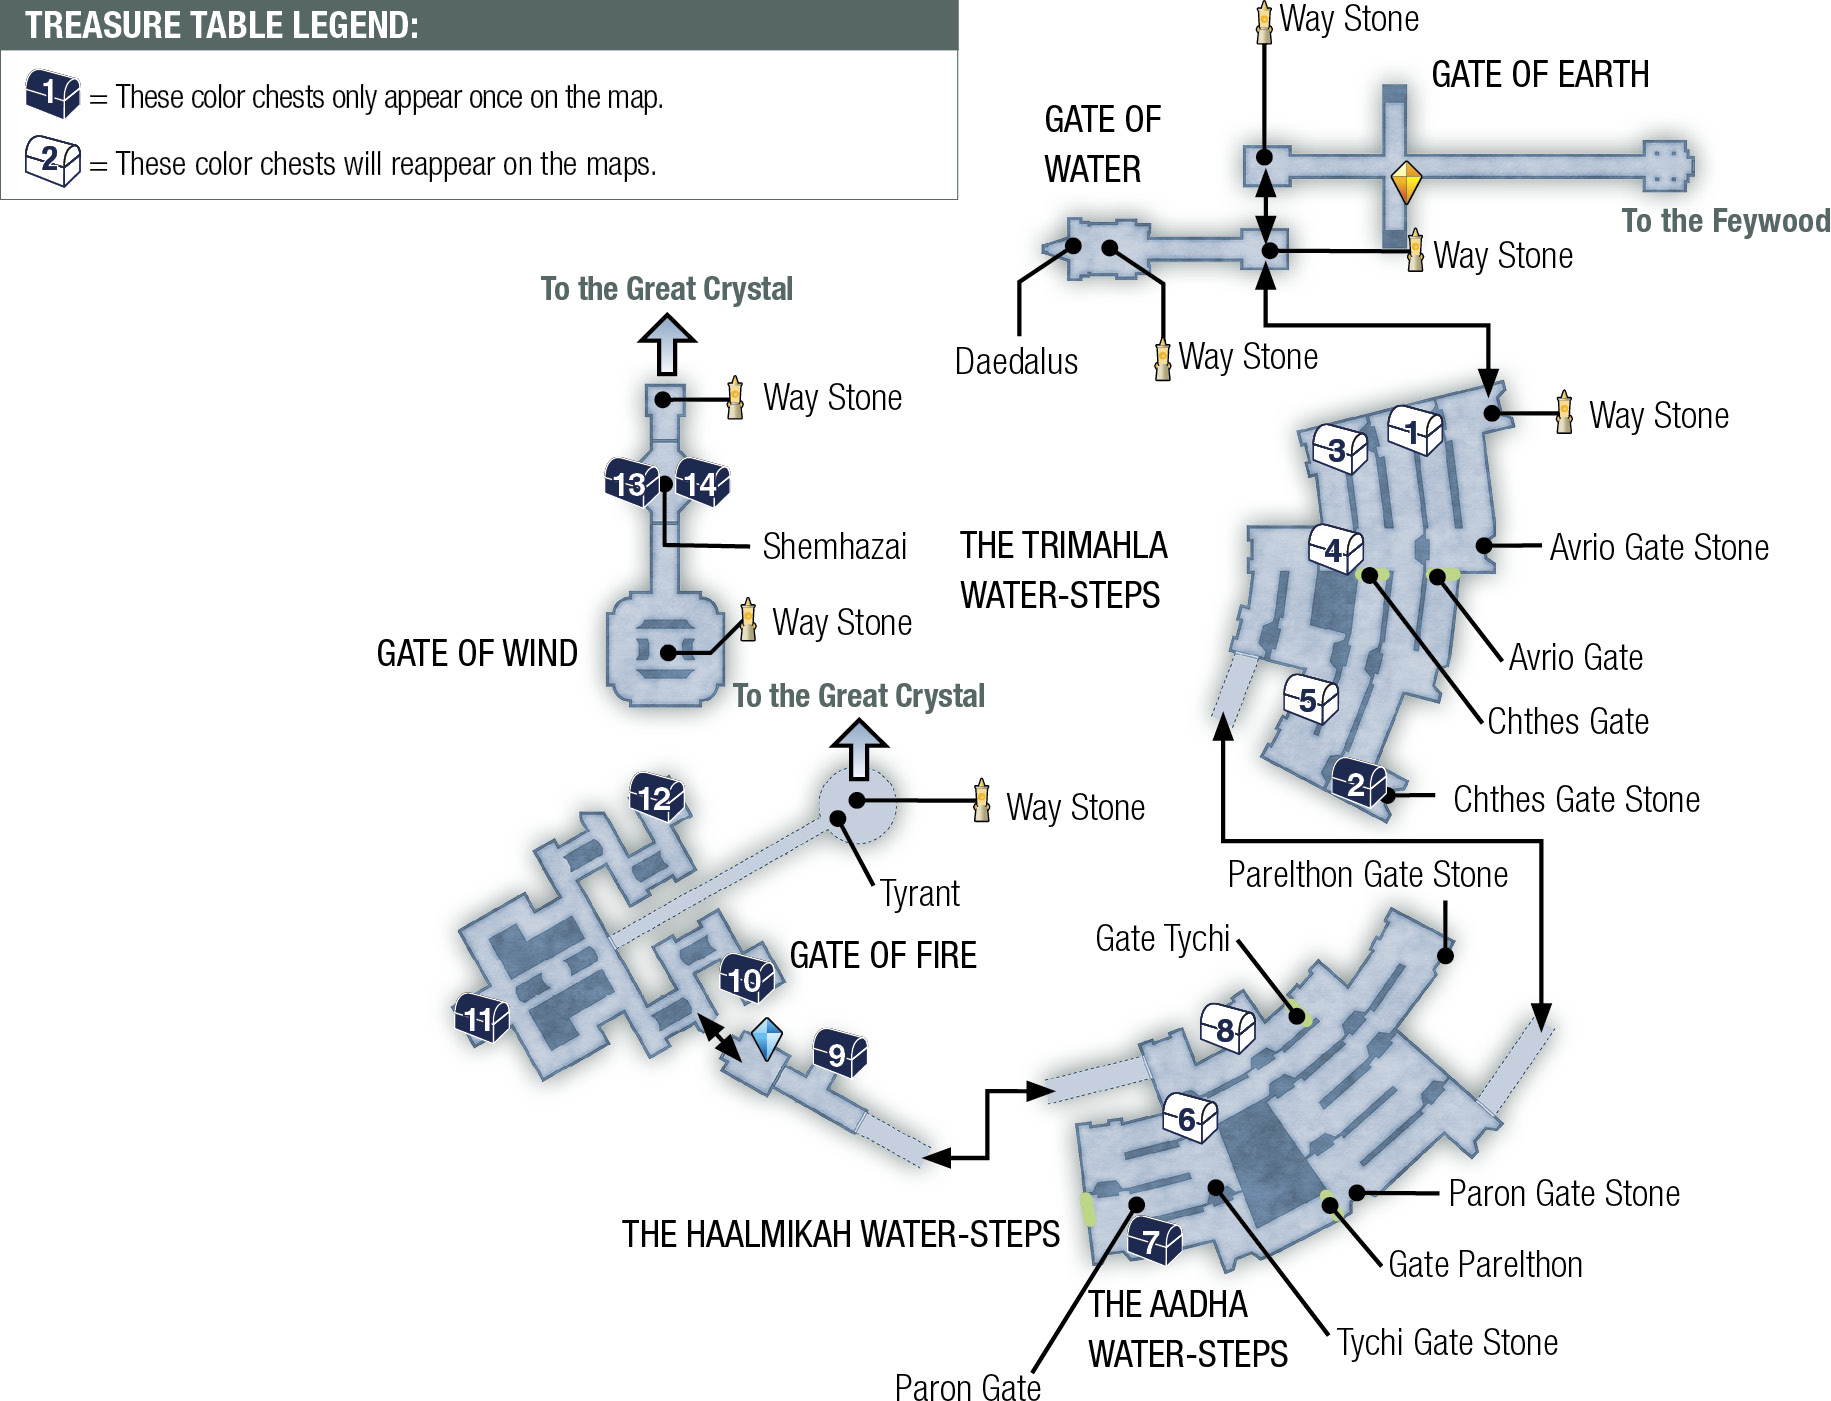
The party arrives in an area called the Trimahla Water-Steps, a series of descending ramps guarded by rugged Behemoths. Some of the ramps are blocked by green magickal barriers that can be turned on and off at switches called gate stones. Fight down the first ramp to reach the first barrier, Gate Avrio. It is controlled by the nearby Avrio Gate Stone.
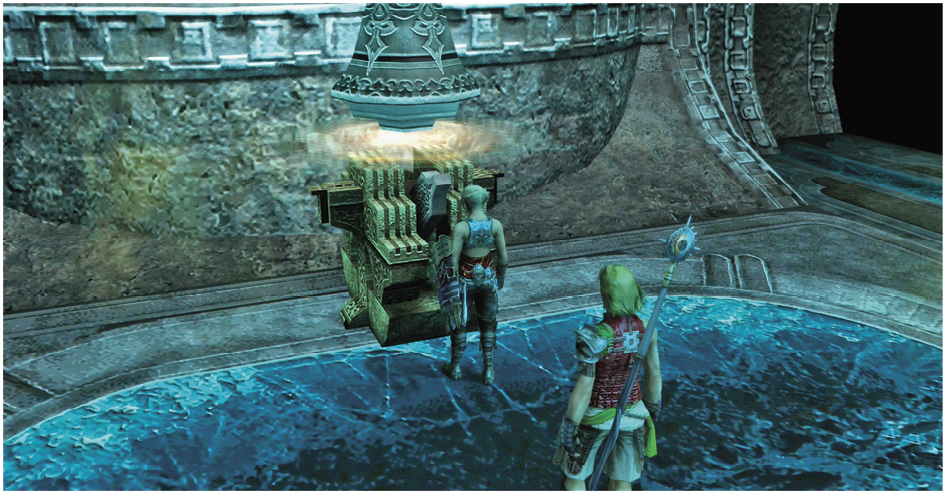
Touch the Avrio Gate Stone to deactivate the Gate Avrio barrier. Next, go south down that ramp and then south again down the next one. Fight through a pair of Mythril Golems and use the Chthes Gate Stone to open the next gate on the ramp system. Go north and climb back up one ramp, then turn left and descend the other side.
Continue working your way down the ramps until you reach what seems like the end of the final platform. Defeat the two Mythril Golems stationed there, then simply walk off the south edge of the platform. Upon doing so, a green walkway appears beneath the party. Follow it over to the next set of ramps, the Aadha Water-Steps.
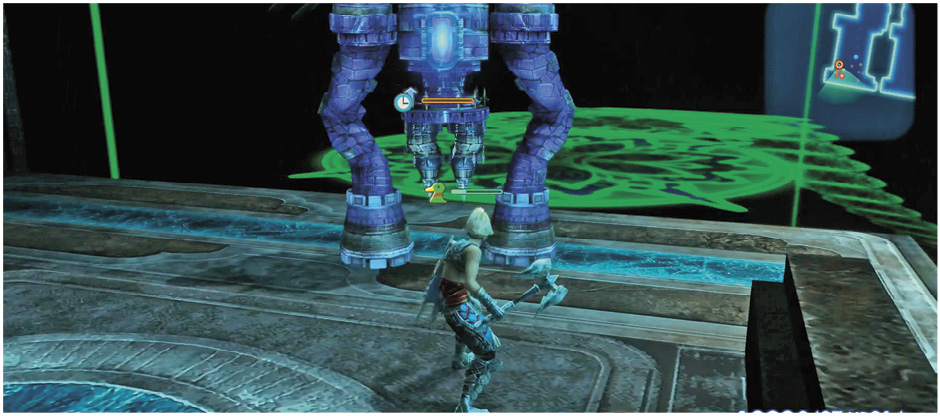
Aadha Water-Steps
This area is similar to the last area, with magick gates to deactivate, but the Gate Stones are more scattered this time. There are three Gate Stones, but you only need to deactivate one unless you want the treasure in the upper west area.
Fight your way down the first ramp to the Paron Gate Stone, which is protected by two more Mythril Golems. Gate Paron itself is not the nearby gate, but rather the gate down below to the west. Use the Paron Gate Stone to open the Gate Paron and eventually gain access to the treasure. Descend the ramp heading northeast.
Work your way back and forth down the ramps to the next Golem-guarded switch, the Parelthon Gate Stone. You can switch this one off or not; it opens the gate back up at the top of the area. Continue down the ramp to see the last gate in the area, Gate Tychi. This is the only gate you must open to move onward. Its gate stone is located up the next set of ramps.
Fight your way up to the Tychi Gate Stone and touch it to switch off the gate. If you opened the Gate Paron earlier, you can continue up the ramp to the treasure crystal, then return to the Gate Tychi (now deactivated) and go on through. Upon reaching the end of the last platform, step off again to trigger a green floating walkway. Follow it downward to trigger a short event in which the team considers their ultimate destination in the city as they gaze across the chasm at the Great Crystal.
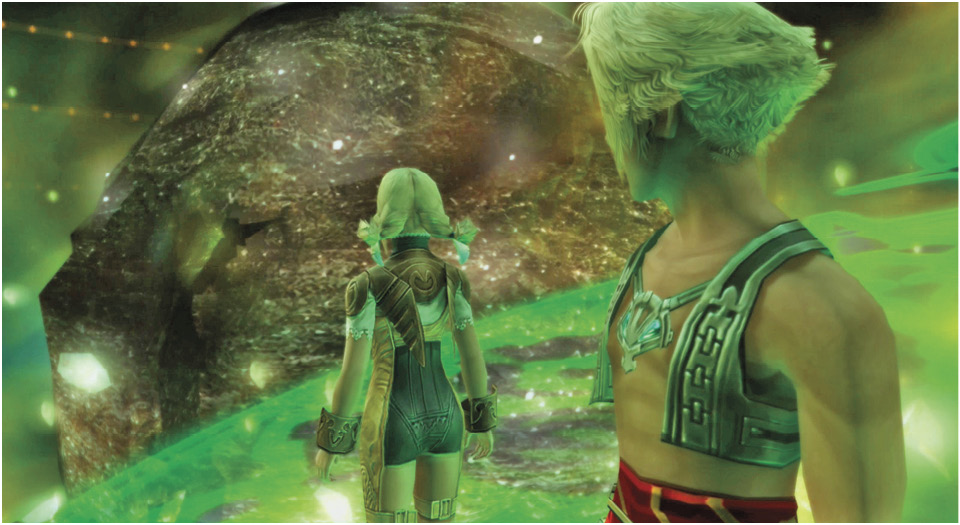
The next area, the Haalmikah Water-Steps, features a much-needed Save Crystal. Go through the Bulwark Chronos, use the crystal, and open the Bulwark Hemera to enter the next area, called Gate of Fire.
Find the Hidden Ramp
The Gate of Fire area seems like a tricky maze, but there’s actually a very simple solution to it. The secret is to trigger another green walkway that leads to a Way Stone. (A quick peek at the maps in this section will save you a lot of time wandering around.) To find it, climb up the second narrow ramp on the left after your arrival in the area, then turn right at the top.
Stay close to the right-hand railing until you reach a section where there’s no railing. Doing so triggers the extension of another floating green ramp. It extends to the northeast, toward the Great Crystal.
What comes next isn’t so easy. It’s another boss battle! Cross the green walkway to a large floating platform, and prepare to meet the Tyrant. He dissolves the walkway while swooping in, leaving the party no choice but to fight.
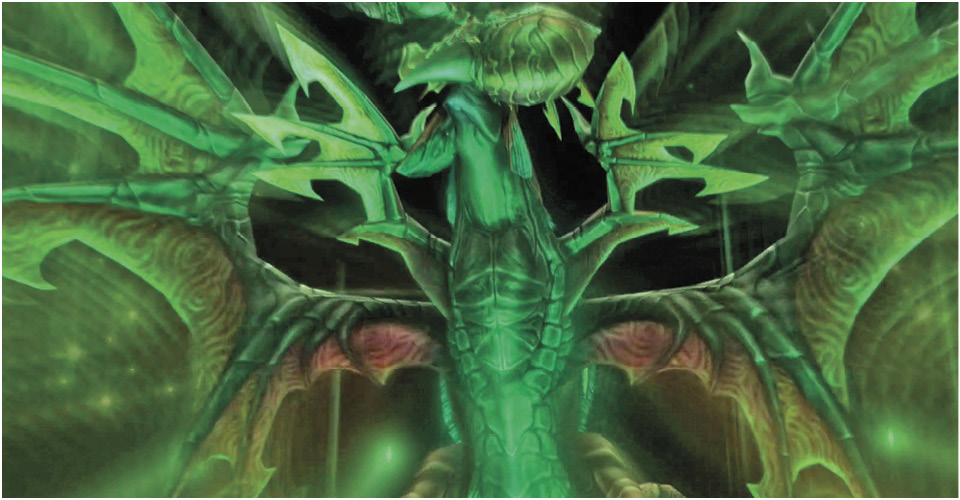
Tyrant Of the utmost importance is the fact that a magick field has negated the use of any technicks! So if you regularly use Charge or some other technick, kiss it goodbye for now. Hopefully, you just saved your game at the Haalmikah Water-Steps so your team should be fully charged. However, Tyrant is a particularly durable boss and it takes a long time to wear him down. Try to rely on movement and license upgrades like Martyr and Inquisitor to boost your MP as the fight wears on. 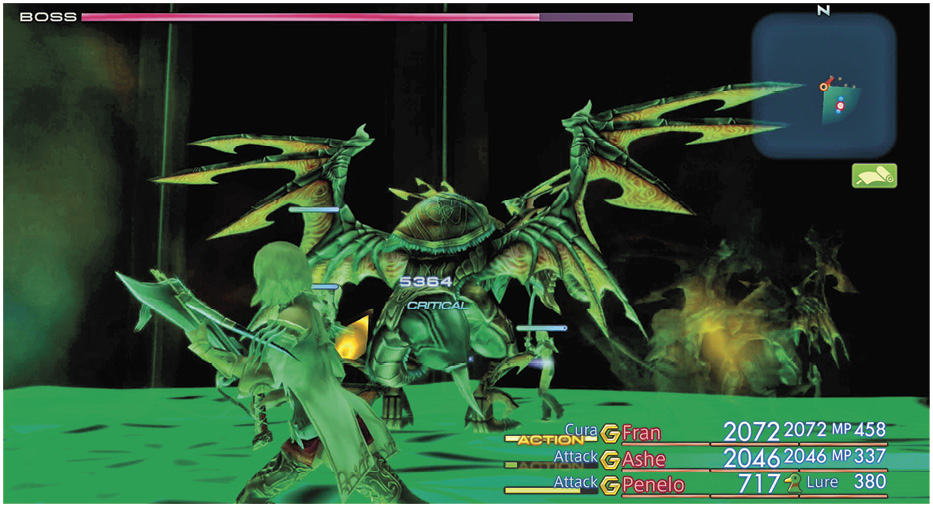 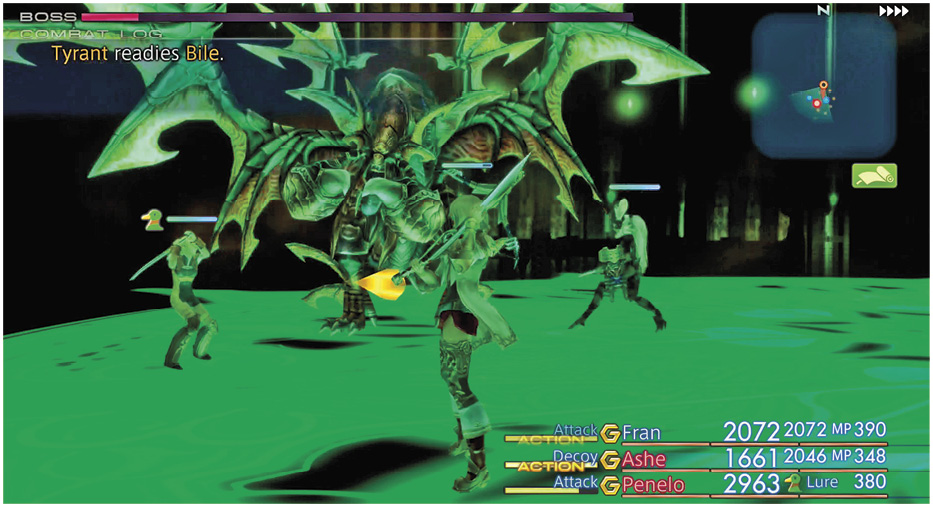 Start by casting Dispel on Tyrant, then just go into your regular attack patterns. This fight requires patience and careful attention to health bars. Send in one hard-hitting melee fighter and support him with two casters who keep everyone healed and imbued with Haste and Protect. (Or, you can try two melee fighters and one support character, which is riskier but considerably quicker.) Blizzaga attacks are very effective against Tyrant, because of his weakness to the Ice element. Unlike the last boss fight, you won’t see many status ailments. Watch out for Sap and be ready with Regen. As always, if you can manage to hold a party in reserve with Quickenings and multiple Mist Charges, you can bring them in when the Tyrant’s HP drops below 20 percent. A good Quickening chain at that point can wipe out his health in one fell swoop. |

A Way Stone appears on the platform after Tyrant finally falls. As after the last boss fight, you should backtrack to the last Save Crystal to heal up and save your game. After doing so, return to the new Way Stone and use it to teleport to the next area, the Great Crystal.
Navigate the Great Crystal Maze
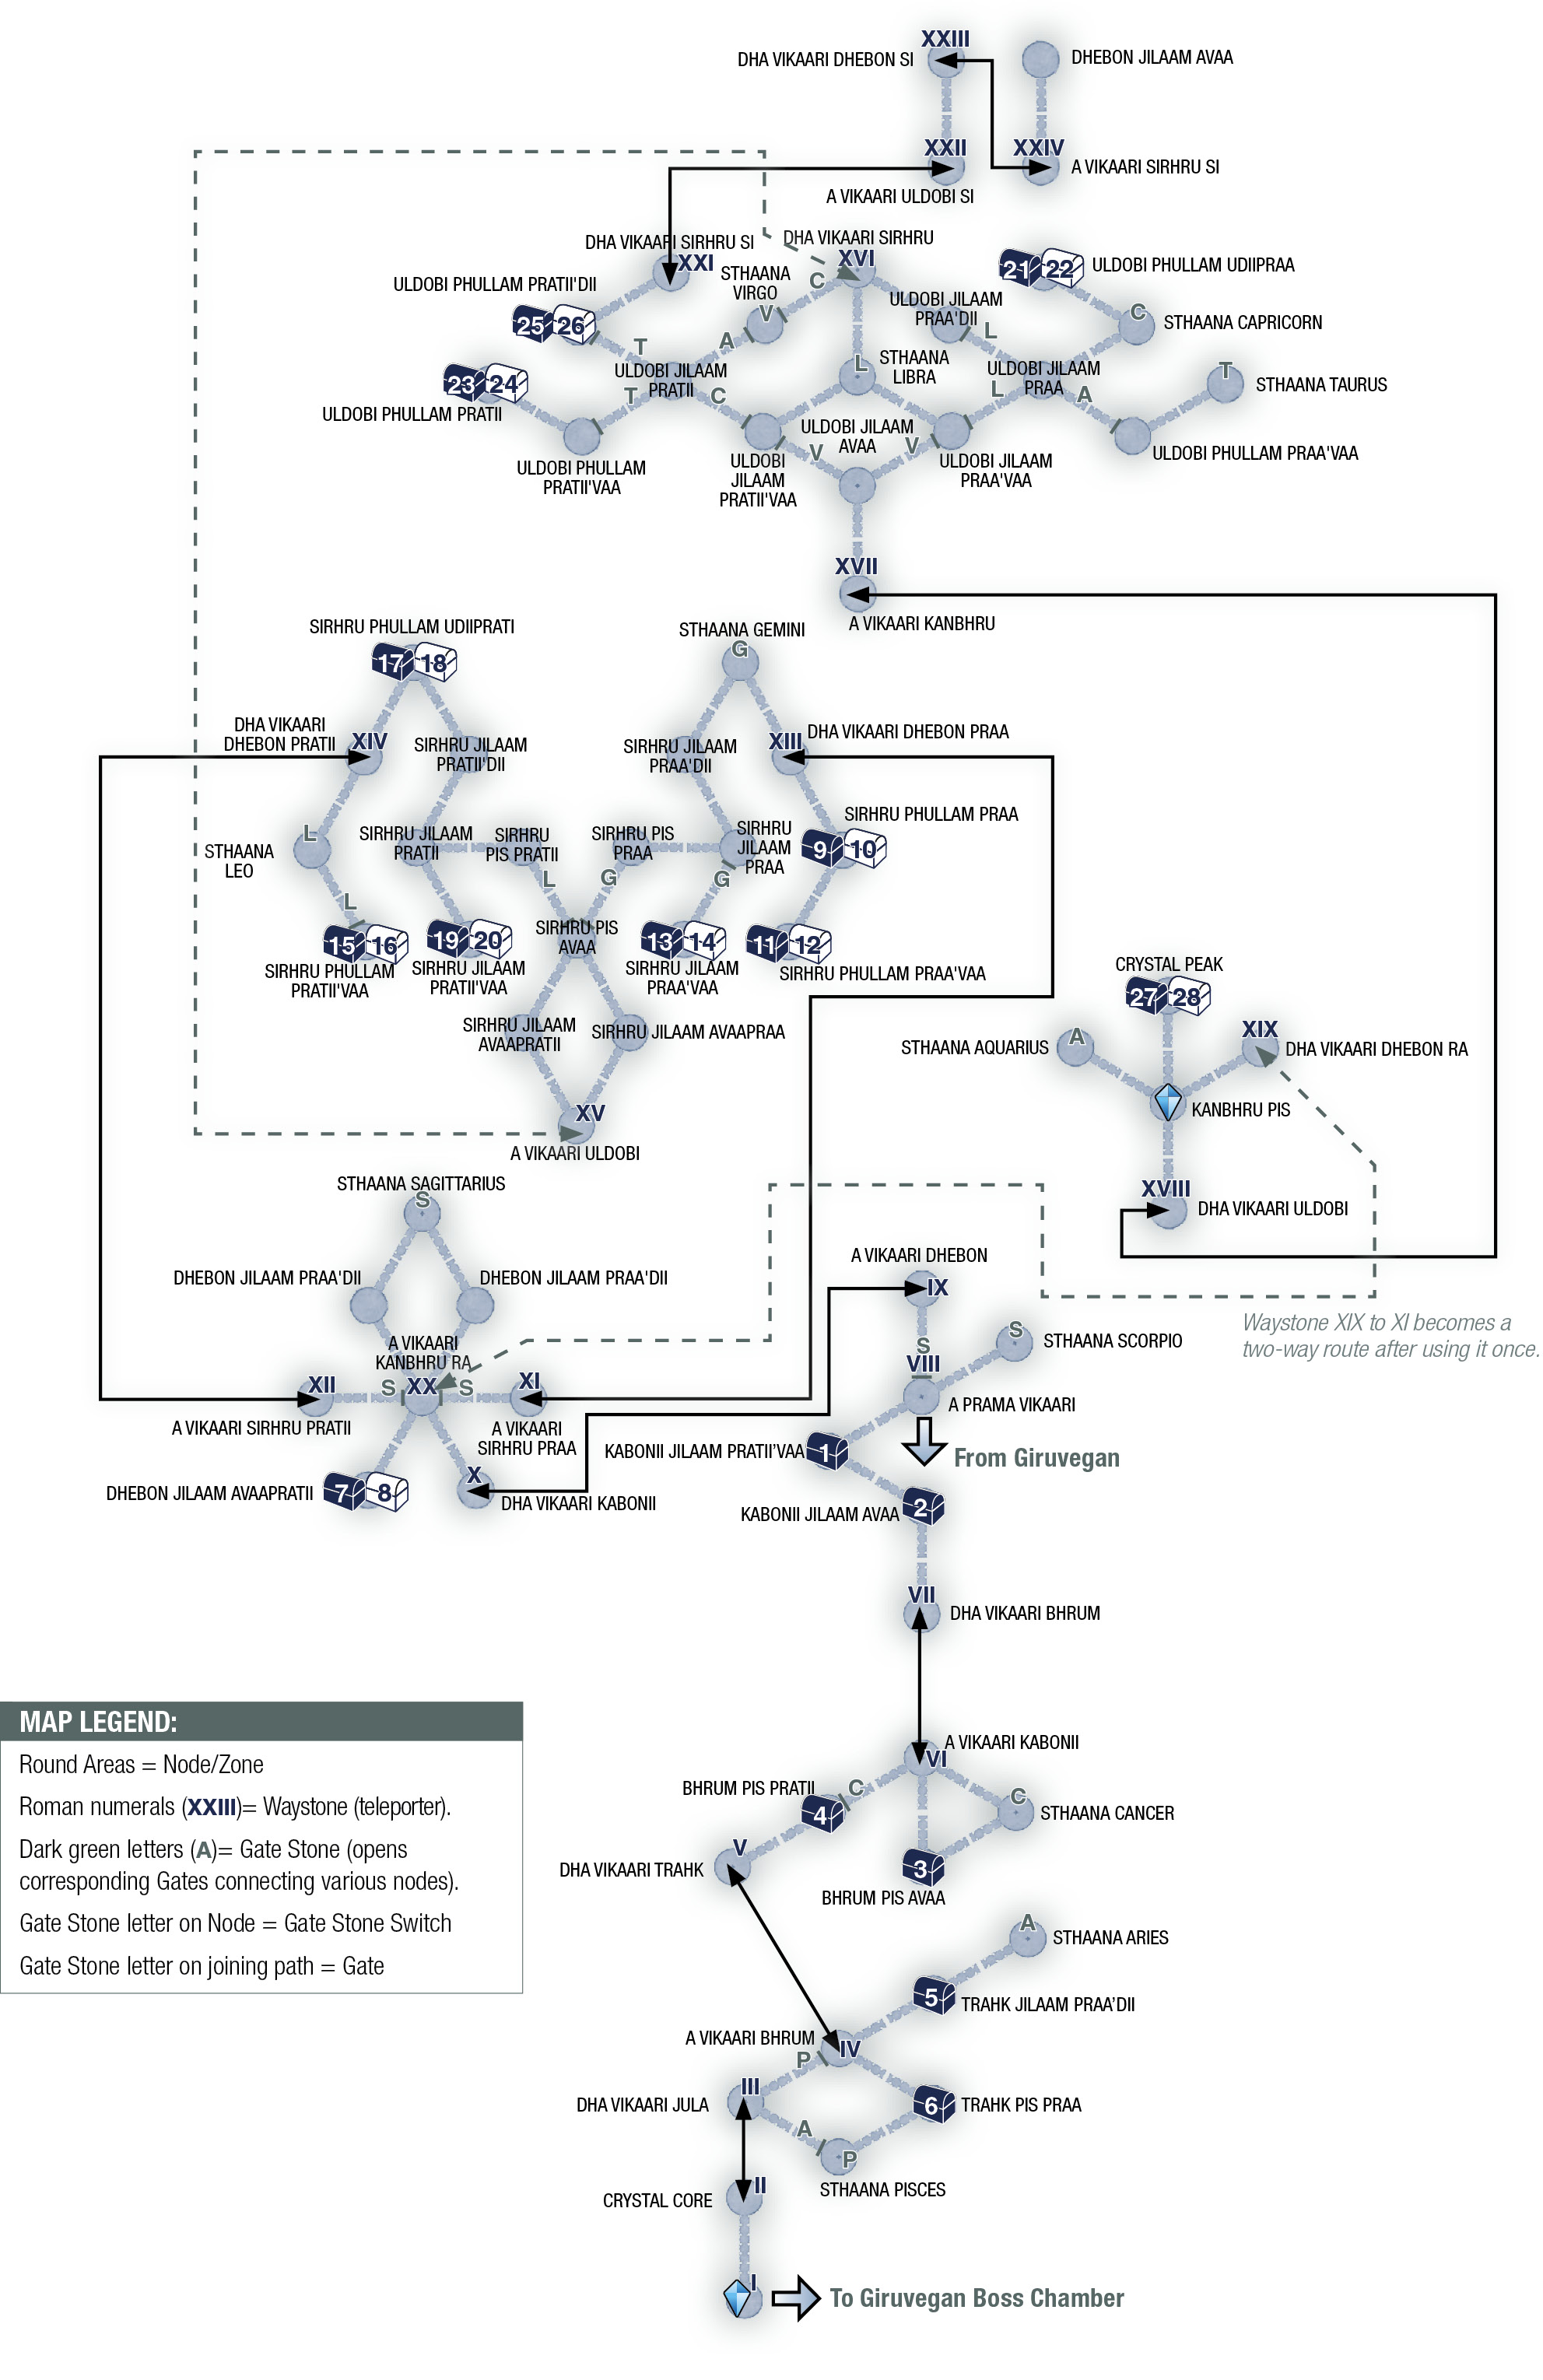
The party arrives at a place called “A Prama Vikaari.” The Way Stone here is numbered VIII. Also note that the Mini-Map disappears and your Location Map displays only a vague image of the Great Crystal! But don’t despair, as you can always refer to this area’s maps in this guide. The party arrives in the Great Crystal without maps. The first goal is to switch off Gate Scorpio.
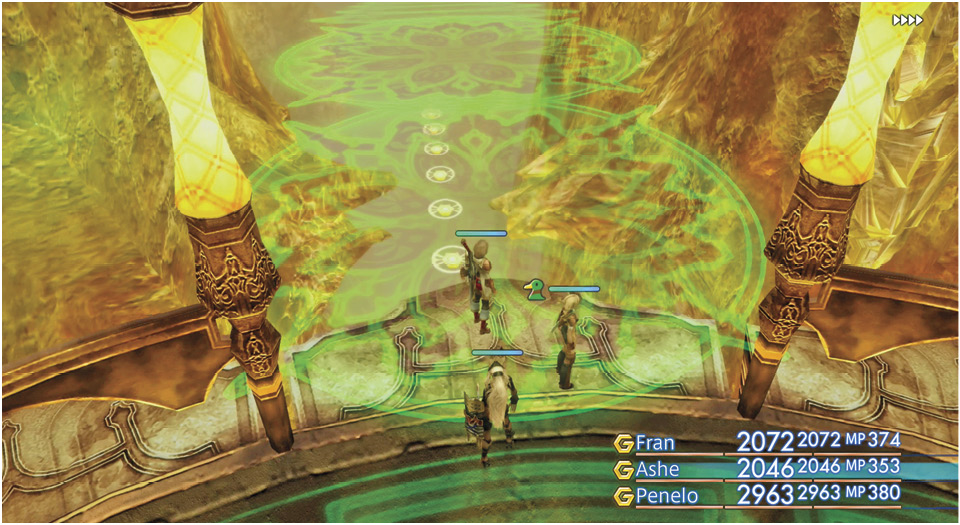
Now complete the following steps:
- Start by facing the barrier (called Gate Scorpio), then turn left and walk through the gap in the railing to trigger a magick walkway leading down. (The other opening in the platform triggers a walkway leading up; don’t take that one.) Continue down the walkway to the next area, the melodiously named Kabonii Jilaam Pratii’vaa.
- Defeat the Ose pair and grab the crystal treasure. You will likely set off explosive traps (or cast Float to avoid the traps), but the treasure is well worth it. Exit via the only other gap, heading down to the next area, Kabonii Jilaam Avaa.
- There’s nothing in this area but a couple of more Oses. Take the only other exit down to the next area, Dha Vikaari Bhrum.
- Use Way Stone VII to teleport to the next area, A Vikaari Kabonii. This takes the party to Way Stone VI. There are three openings on one side of the platform. The right path leads down to a closed barrier, Gate Cancer. So take the left path, which leads down to an area called Sthaana Cancer.
- In Sthaana Cancer, defeat the two Mythril Golems and use the Cancer Gate Stone to open Gate Cancer. Go back up the way you just came, returning to A Vikaari Kabonii. Watch out for a lone Reaper on the way.
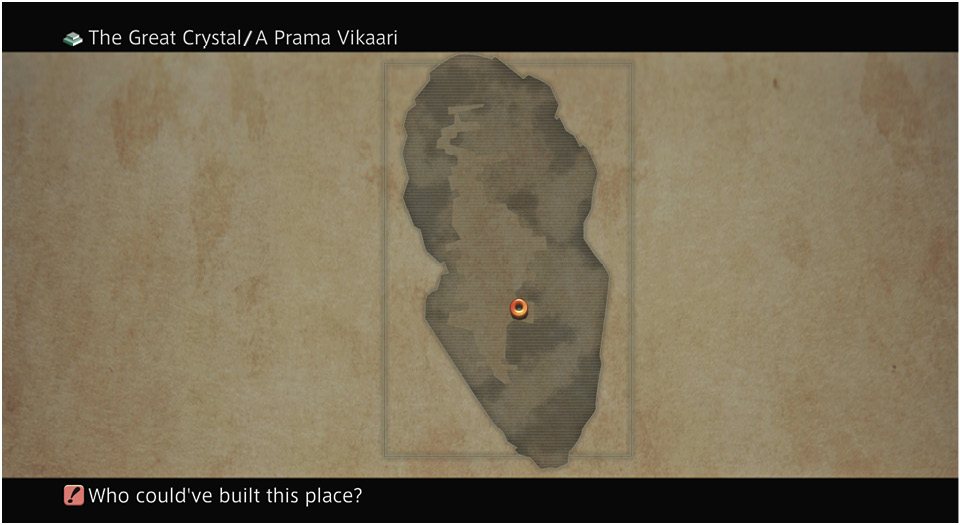
- Take the other downward path to Bhrum Pis Pratii. Gate Cancer has been switched off, so you can enter the platform. Go straight across and exit the other side, heading downward to Dha Vikaari Trahk.
- Use Way Stone V to teleport to Way Stone IV in the A Vikaari Bhrum area.
- You should see a gate barrier called Gate Pisces. You need to deactivate this gate. Exit via the path that leads down (not up), as it descends to the Trahk Pis Praa.
- Take the only other exit here, leading down to Sthaana Pisces and a gate stone.
- Use the Pisces Gate Stone to deactivate Gate Pisces.
- Now backtrack up to Trahk Pis Praa, then up to A Vikaari Bhrum (where you arrived at Way Stone IV) and turn left. Gate Pisces is gone, so take that exit down to the next area, Dha Vikaari Jula.
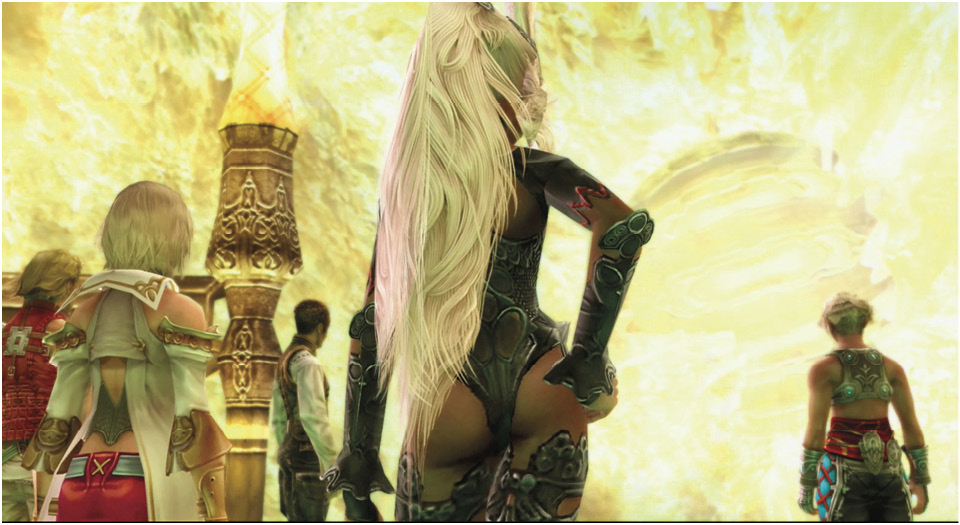
- Use Way Stone III to teleport to Way Stone II in the Crystal Core and watch a brief event as the party views the nethicite in the crystal.
- Take the only exit down to the platform with the Save Crystal and save your game. After doing so, use Way Stone I to teleport out of the Great Crystal to a new Giruvegan location, the Gate of Wind. (You’ll find this location on the first Giruvegan map in this section.)
- Walk forward and open the gate named Bulwark Minas and say hello to the Esper Shemhazai.
Shemhazai, The Whisperer
The important thing to know in this fight is that, after using the Mana Spring ability, Shemhazai is weak against one element but can absorb all other elements, turning them directly into HP. The problem is that her element of weakness is random. If you tend to focus on physical attacks, this is no problem; just swap out element-imbued weapons, and do not use elemental attack spells (Fire, Water, Wind, etc). 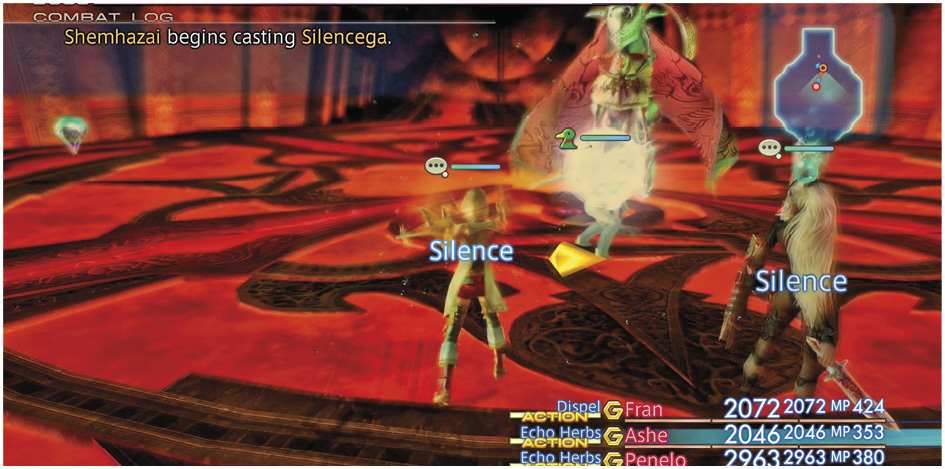 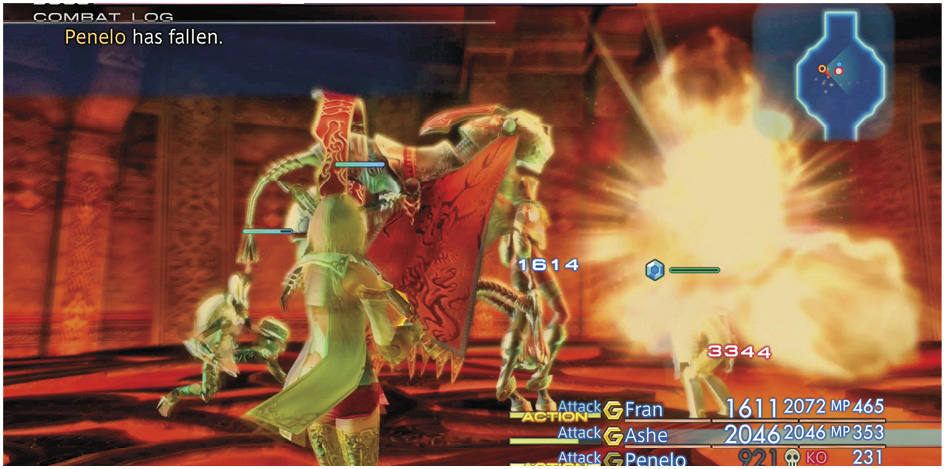 If you want to cast spells, use Green or Time magicks. A good Quickening chain works wonders, too, especially when Shemhazai is running low on HP. By all means, open with a quick cast of Dispel to knock off her Haste. Watch out for her regular attempts to Silence your party. Make sure everyone has a Vox or Echo Herbs gambit set above their attack gambits. Her durability is good but not great, so if you keep up solid attacks and heal properly, this battle can proceed with no major surprises. When Shemhazai’s HP drops to critical ranges, she’ll cast Silencega, in addition to causing the Disease status with her regular attacks. Be ready to distribute Echo Herbs to at least one ally so he/she can un-Silence the others. A Cleanse/Serum gambit is very important for this fight, so set one up. |

When you emerge victorious, you gain the ability to summon Shemhazai after you unlock her square on the license board. Proceed south to the Bulwark Aeon and open it. Continue on to the Empyrean Way Stone and read its inscription, then touch the device to trigger a long series of events.
Pay close attention as several deeper truths are revealed to Lady Ashe for the first time in a meeting with the true movers of recent events. Ashe is given the Treaty-Blade, which now appears in your inventory. Lastly, you learn more about Venat, Dr. Cid’s “ghostly mentor.”
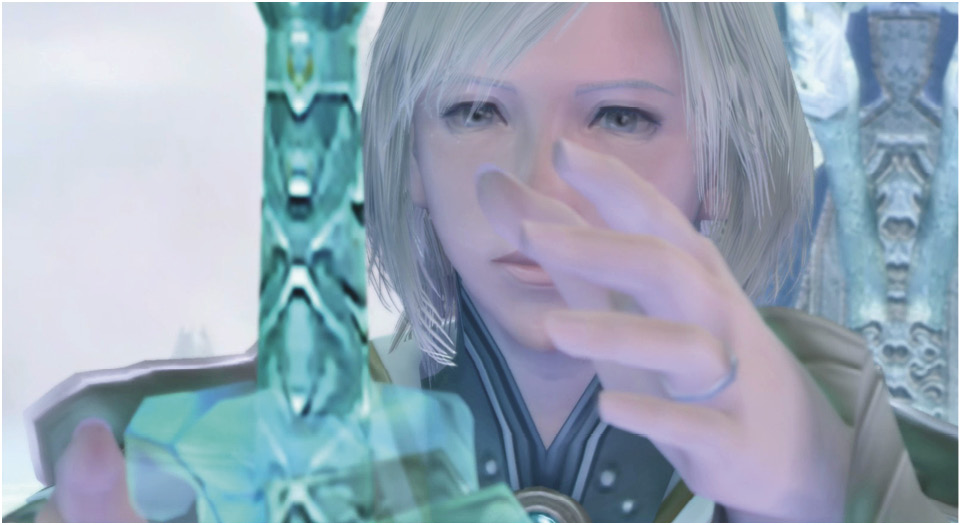
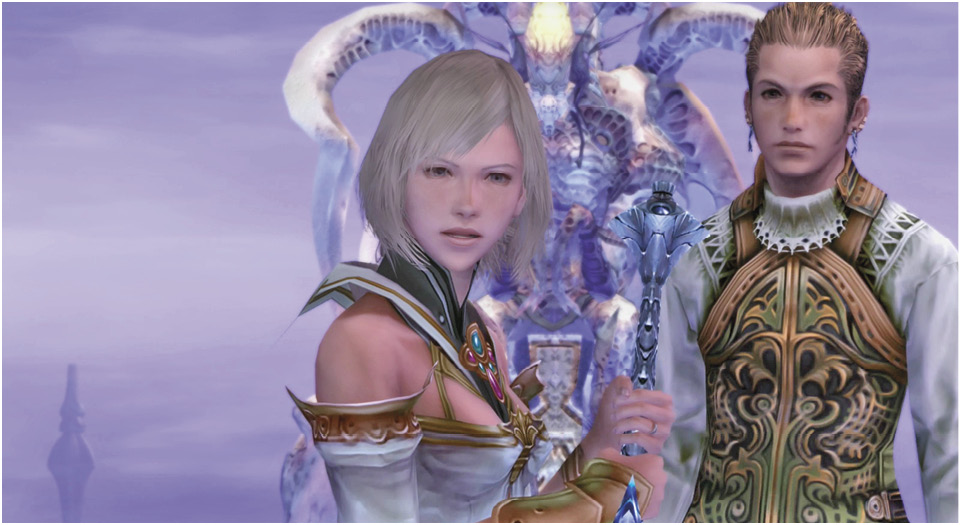
After the event, your next task is to seek a powerful stone called the Sun-Cryst, the mother of all nethicite, source of the Dynast-King’s shards. The clue to its whereabouts is simply: “In tower on distant shore it dreams.”
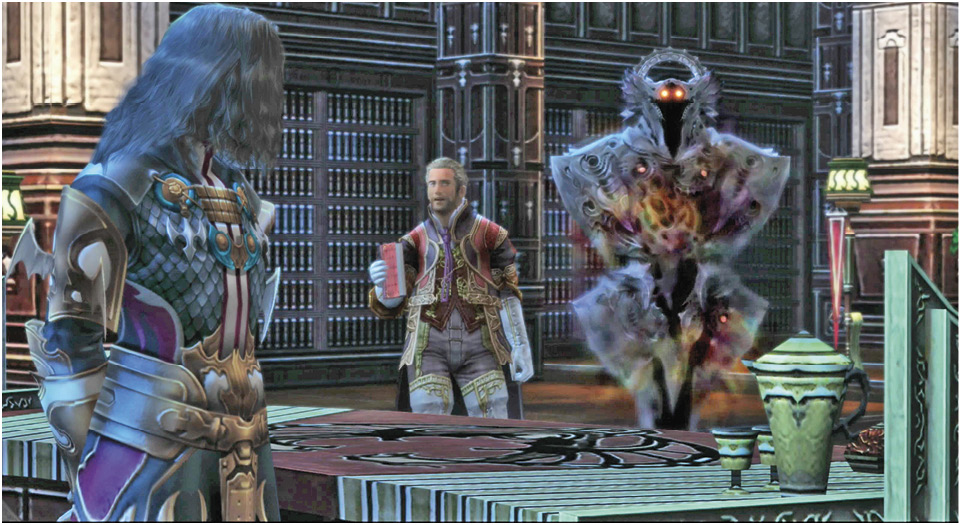
Then you see another event in the Imperial City of Archades with two brothers, Judge Gabranth, the good Dr. Cid, and his “spiritual advisor.” Now you know who the main players are in this tale and how much is at stake.
Return to Balfonheim
When control returns to you, use the Way Stone to teleport back to the Gate of Earth outside Giruvegan. Walk to the orange Save Crystal and teleport back to the Port of Balfonheim.