
Mass Effect 3 Guide Walkthrough Side Missions
Tuchanka: Bomb
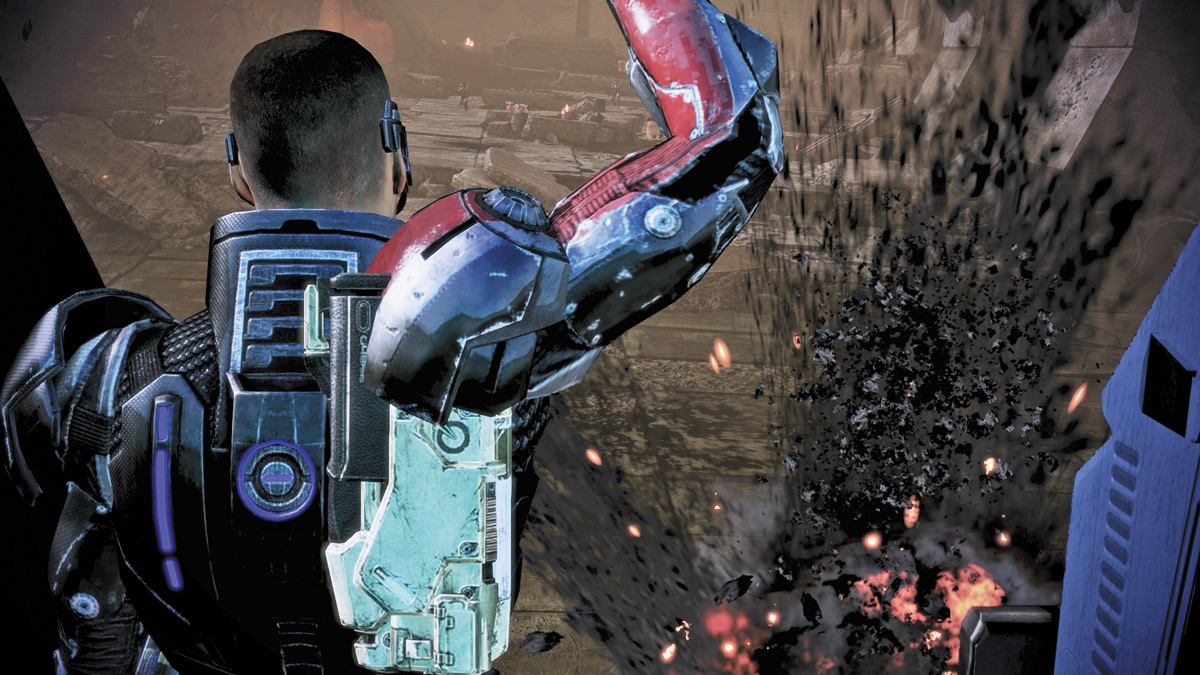
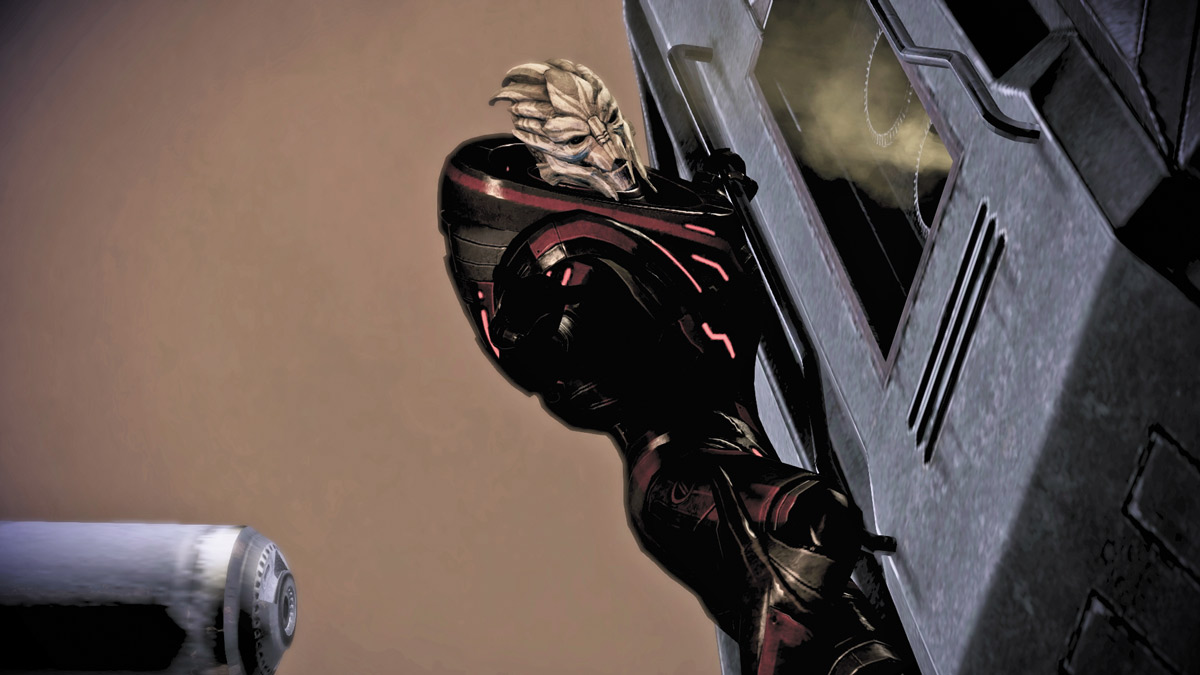
In the aftermath of rescuing Primarch Victus’s son and his platoon from a hairy situation on Tuchanka, the team moves on to attempt defusing the Cerberus bomb on the planet.
It is revealed that this bomb is no Cerberus creation, but rather it is turian by design. A relic of the Krogan Rebellions from centuries before, the bomb was intended as a safeguard against another rebellion.
If it goes off, the already shaky prospects of bringing the krogan into the war effort will suffer a major setback, damaging Earth’s chances of survival.
HOT LANDING
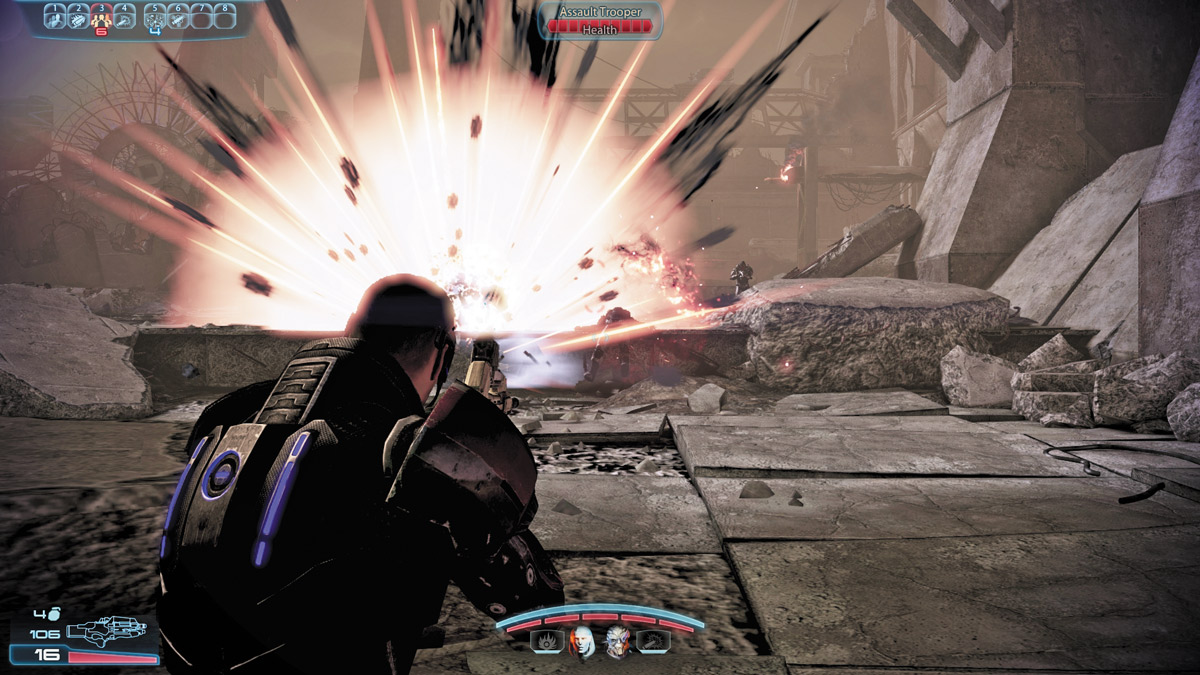
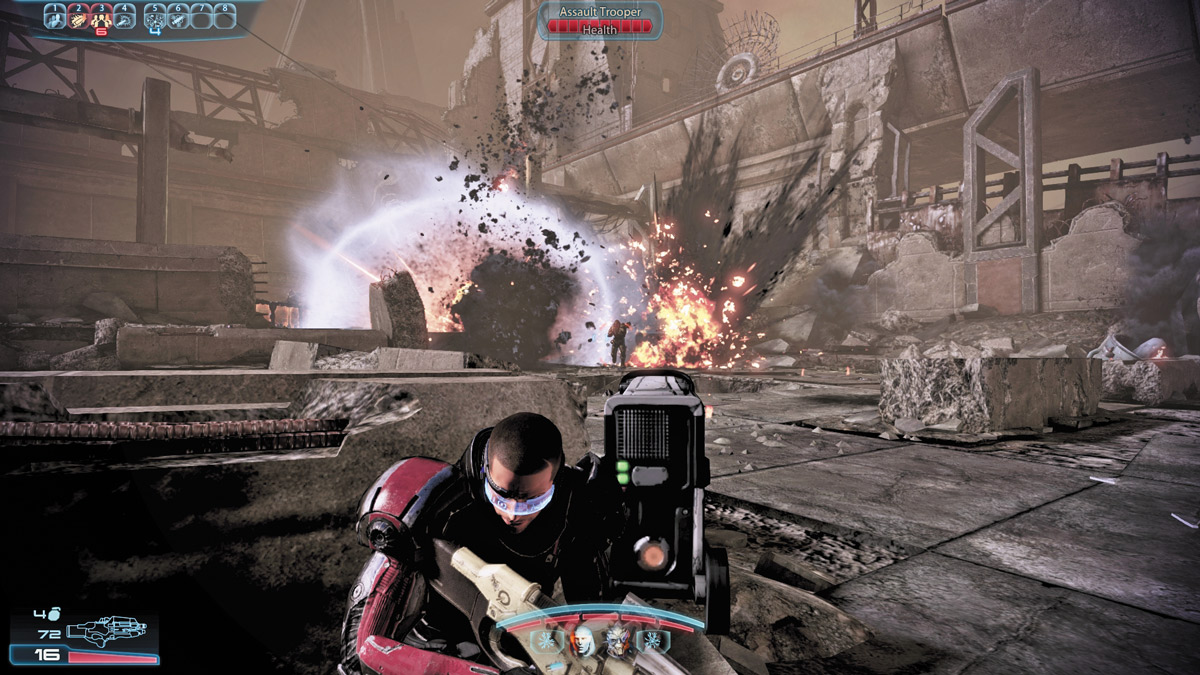
Under the cover of an artillery barrage, your team is inserted into a courtyard filled with low cover. Cerberus troops advance quickly on your position to suppress you.
Don’t let the explosions from the artillery scare you, as you can storm through them without serious harm.
The blasts do make it difficult to determine enemy positions, so take the time to scan the area before making another advance; you could be missing hostiles at your flank.
Once you eliminate all Cerberus, the artillery fire will cease. Gather up ammo as needed, then advance up the ramp at the courtyard’s far end.
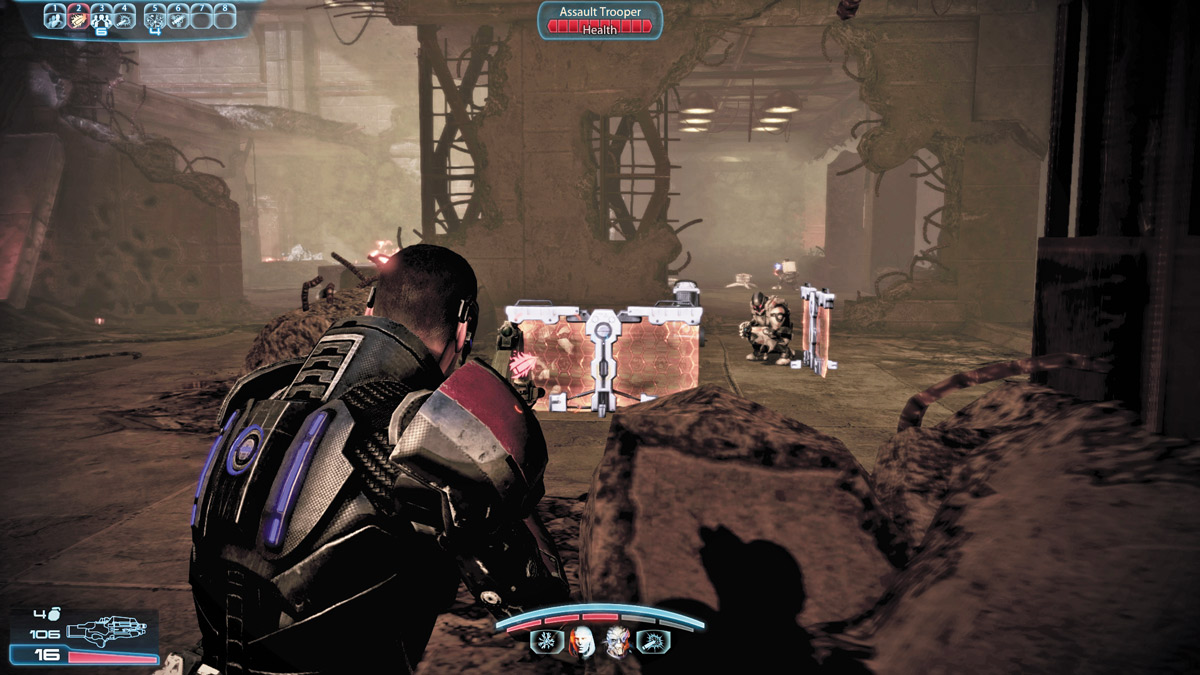
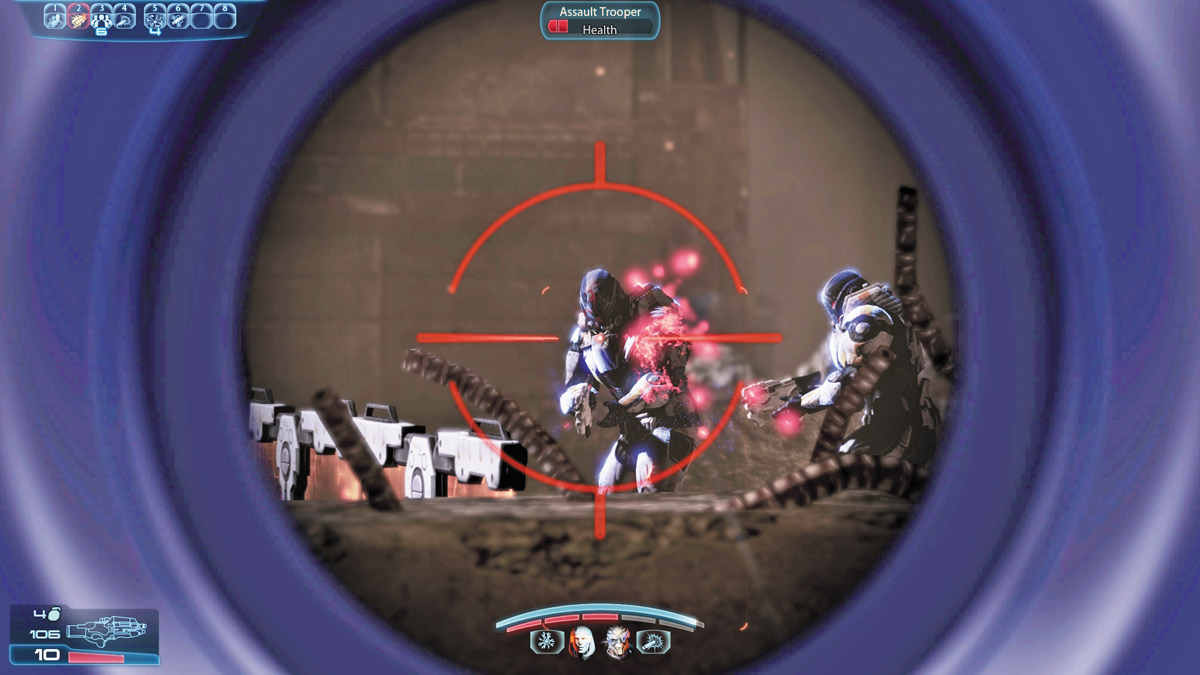
To the right of the weapon mod is another corridor, split into two distinct paths. Cerberus will try to set up overlapping fields of fire from cover strewn throughout.
The right passage typically starts with a Combat Engineer with a turret at the far end.
Despite their distance, make them priority targets for your squad while you thin out the resistance much closer to you.
Remember that you can take out the deployable defense shields Cerberus is using for cover by disabling the generators.
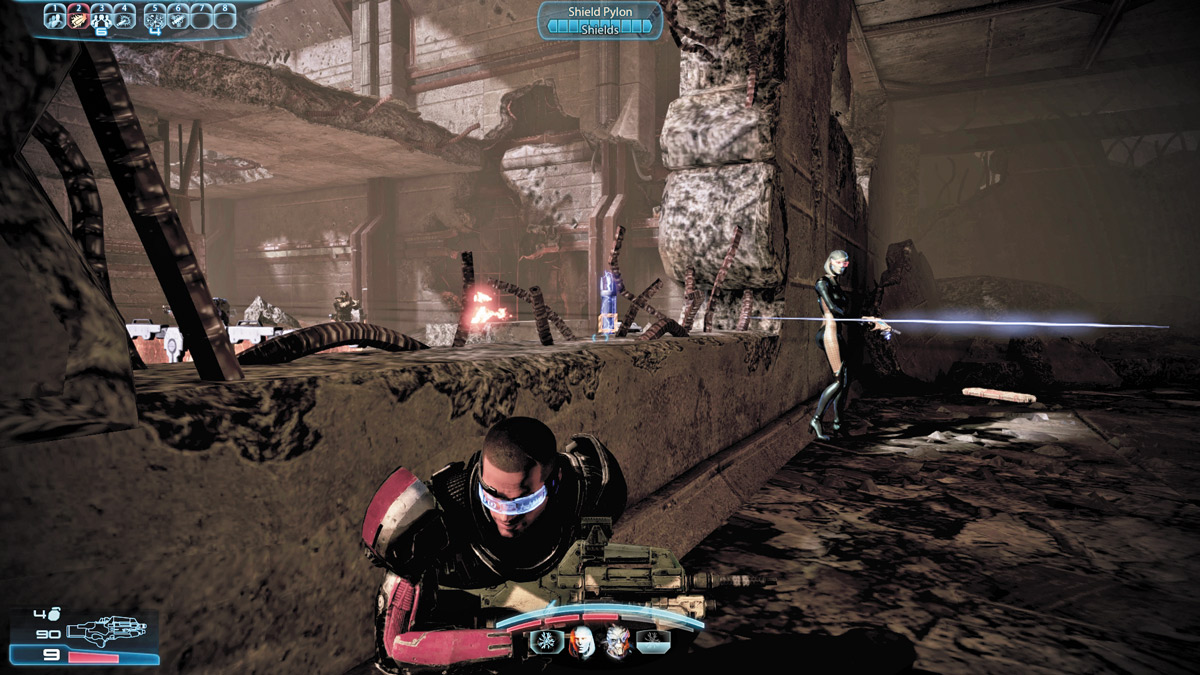
Securing the right side gives a strong flanking opportunity on the left side passage, as the enemy cannot safely dislodge you from your safe spot.
Take out the shield generator to deny incoming reinforcements the extra protection in grants.
If you’re particularly aggressive, you could charge straight in and make a stand at the generator yourself, taking advantage of the rapid shield regeneration.
PRESSING ON
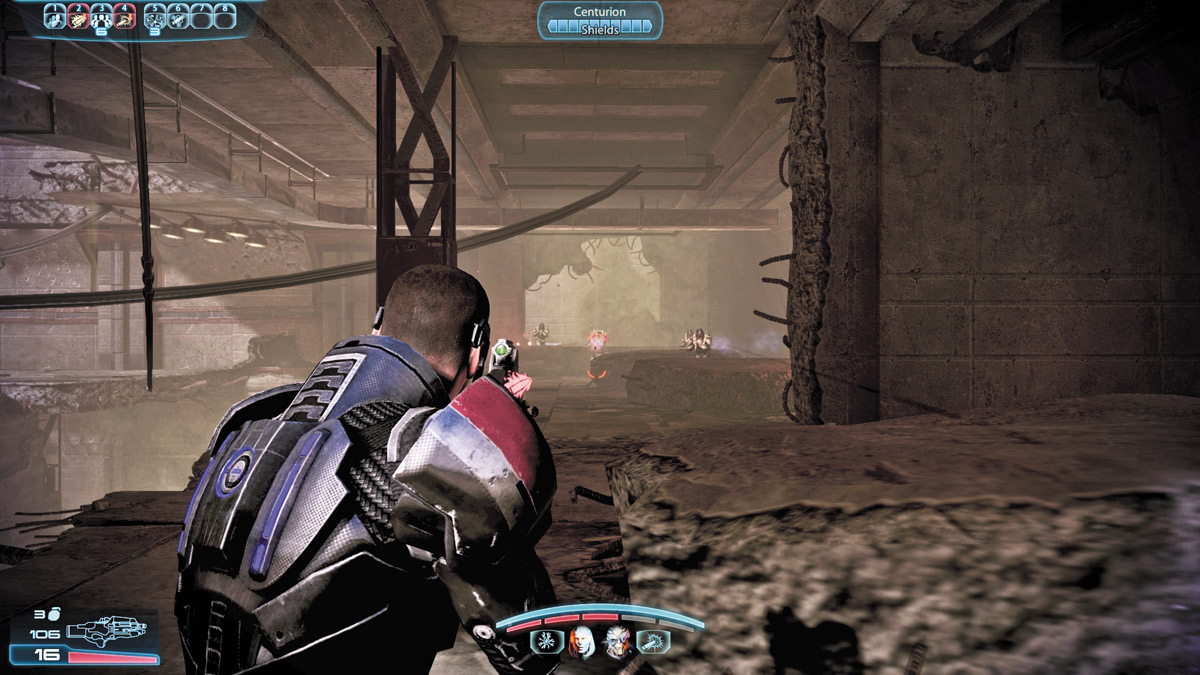
After you find the SMG mod, another group of Cerberus troops stands in your path, off to the left.
As you take them down, you overhear a Cerberus officer order his men to delay you as long as possible while the bulk of the force retreats.
You can catch a team of Cerberus attempting to evacuate in a shuttle as you drop to a lower level. Pick them off, then move toward the Shield Pylon that was giving them protection.
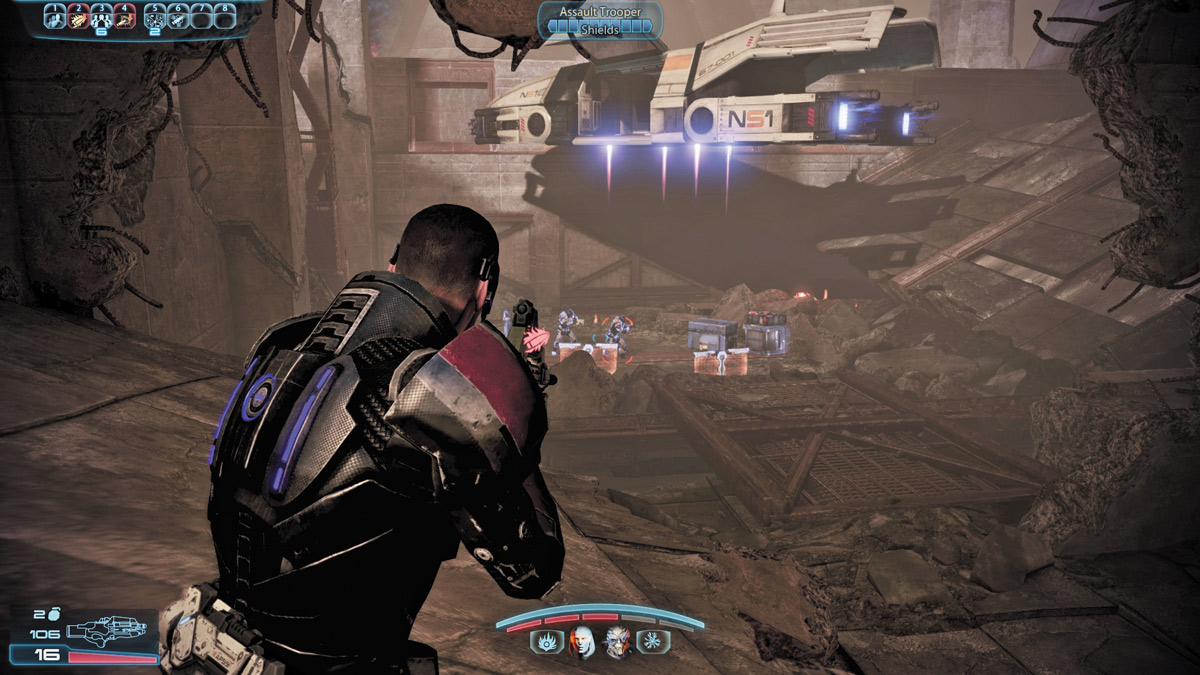
A datapad nearby grants you another 5,000 credits, and an ammo crate helps restore any thermal clips or grenades you might be missing.
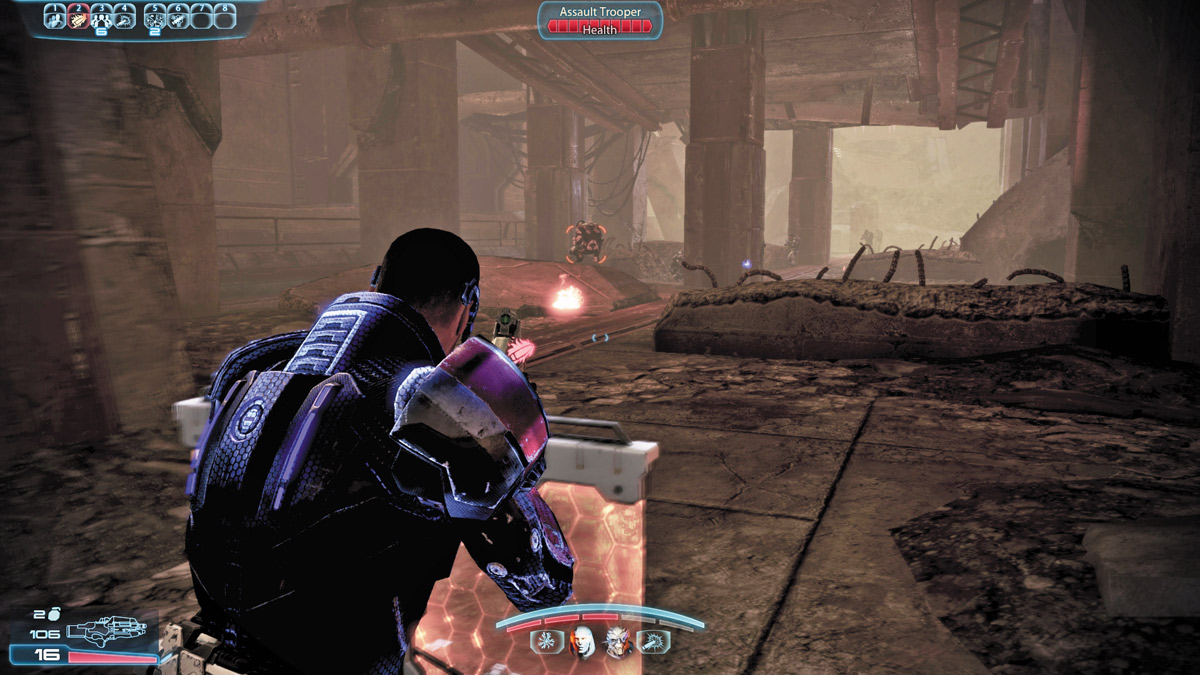
The Cerberus retreat continues. Some of them fall back in the distance and head toward a waiting shuttle, while others continue to fight a delaying action against you.
It’s relatively safe to ignore the retreating hostiles, but if you’re trying to gun down everything in your path, don’t ignore the troops closest to you. There’s enough cover for them to use to flank you.
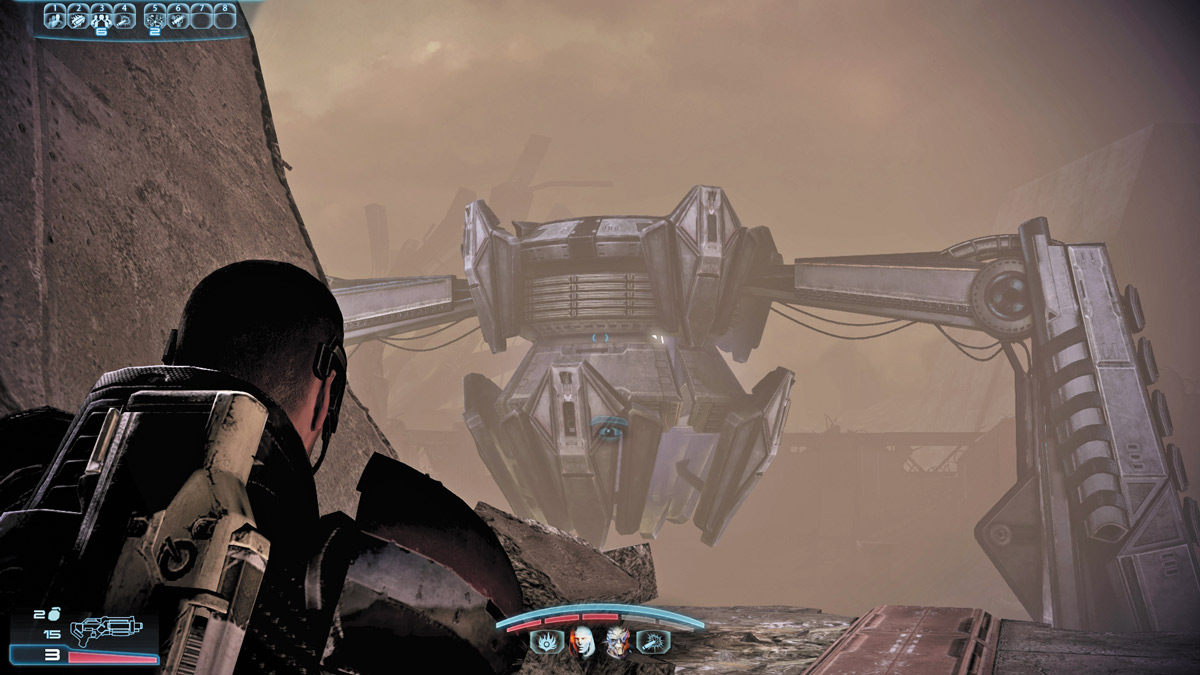
Once they are down, advance forward, just as a Cerberus shuttle clears the area with any survivors you may have left.
You can get your first look at the bomb here. Take the ladder to your right to keep moving forward.
After the pistol mod, follow the path leading down to another corridor where Cerberus troops are hastily abandoning their posts.
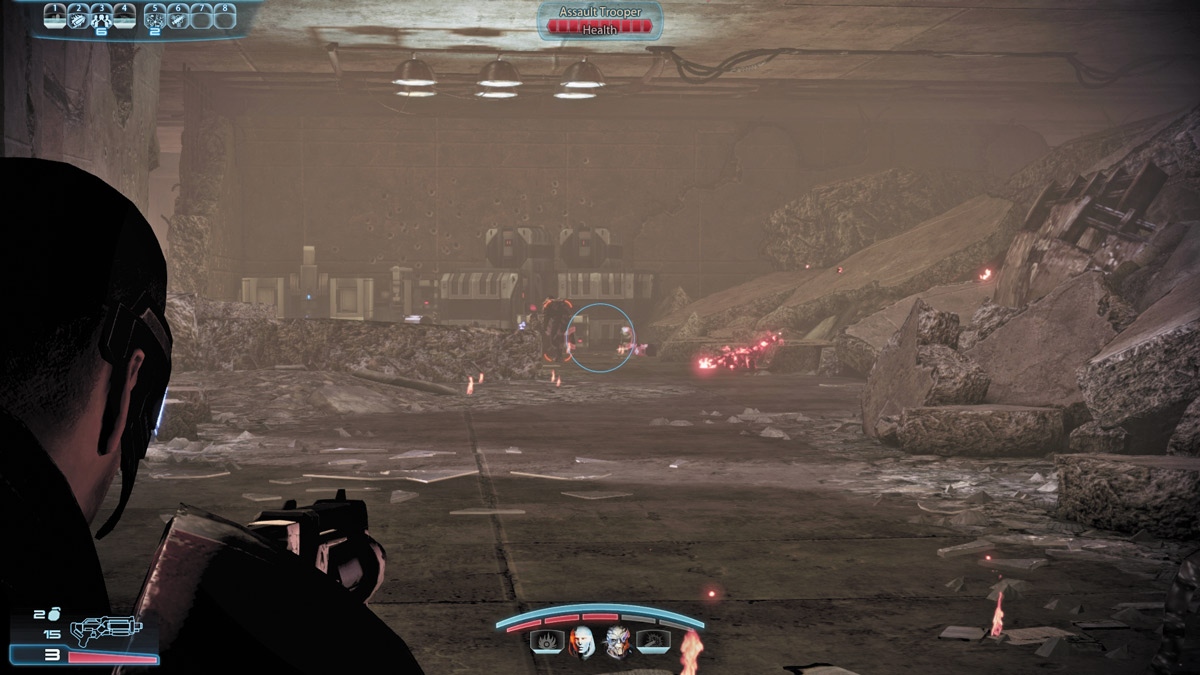
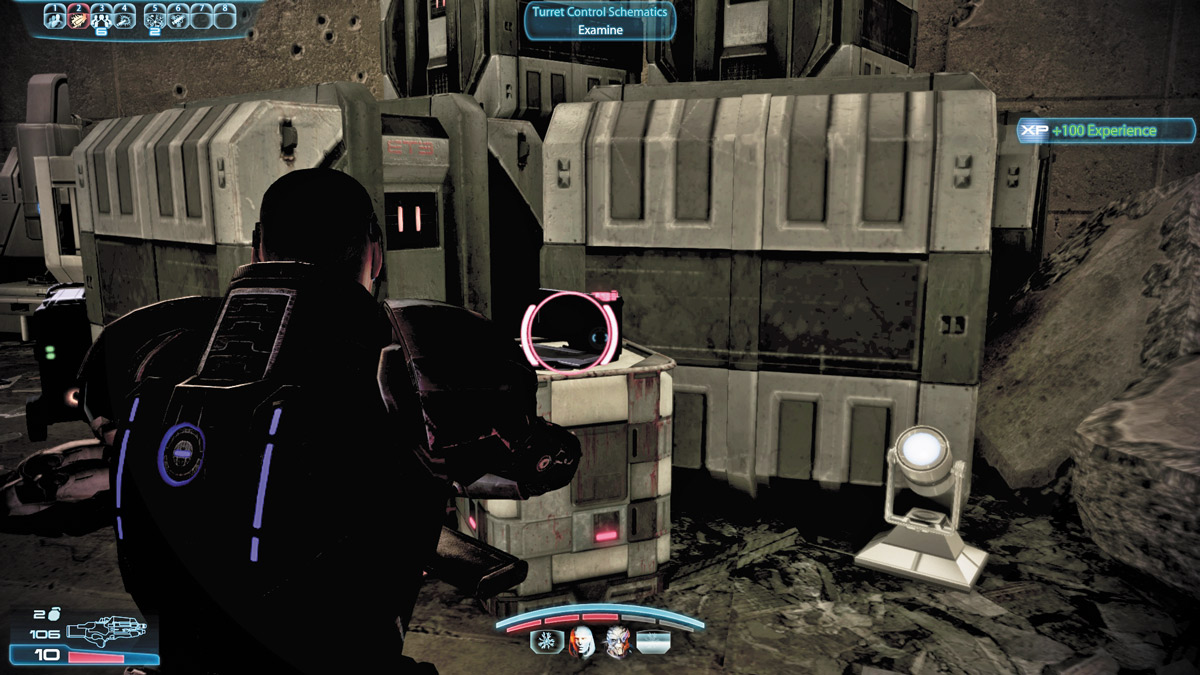
Don’t get too eager to rush forward: A Combat Engineer has dropped a turret to catch reckless players off guard.
After dealing with this threat, collect the Med Kit and a set of Turret Control Schematics that you’ll use for a side quest available on the Citadel later in the game.
(see “Citadel: Cerberus Automated Turret Schematics”)
DEFUSING THE SITUATION
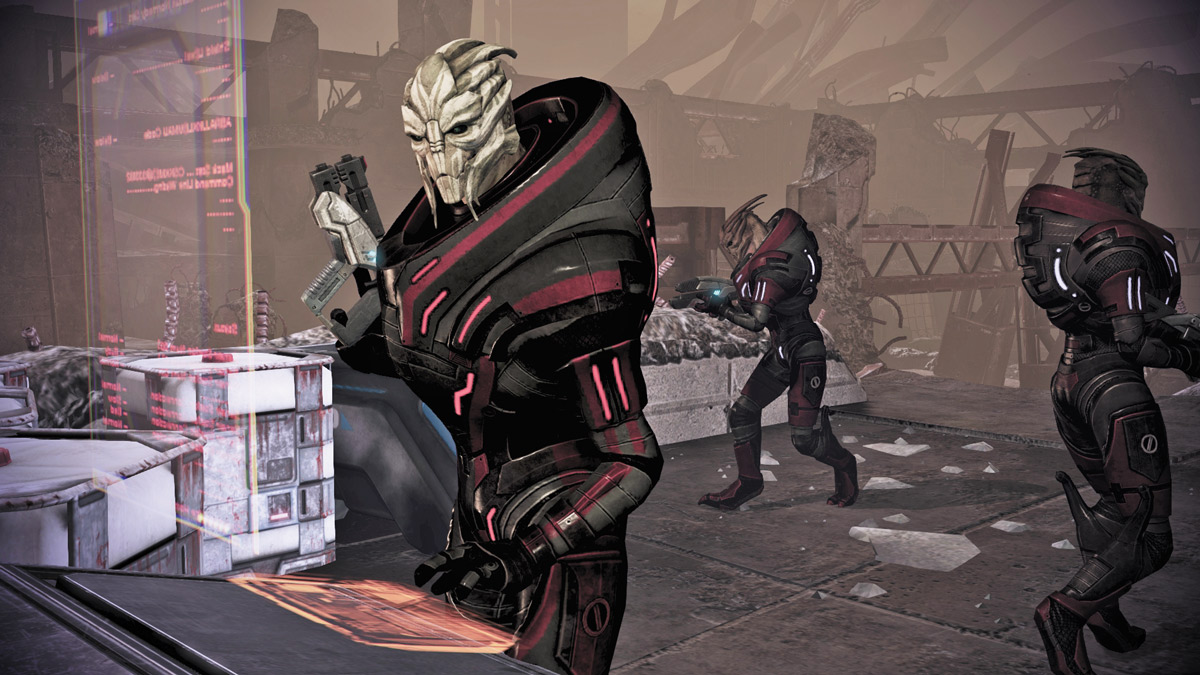
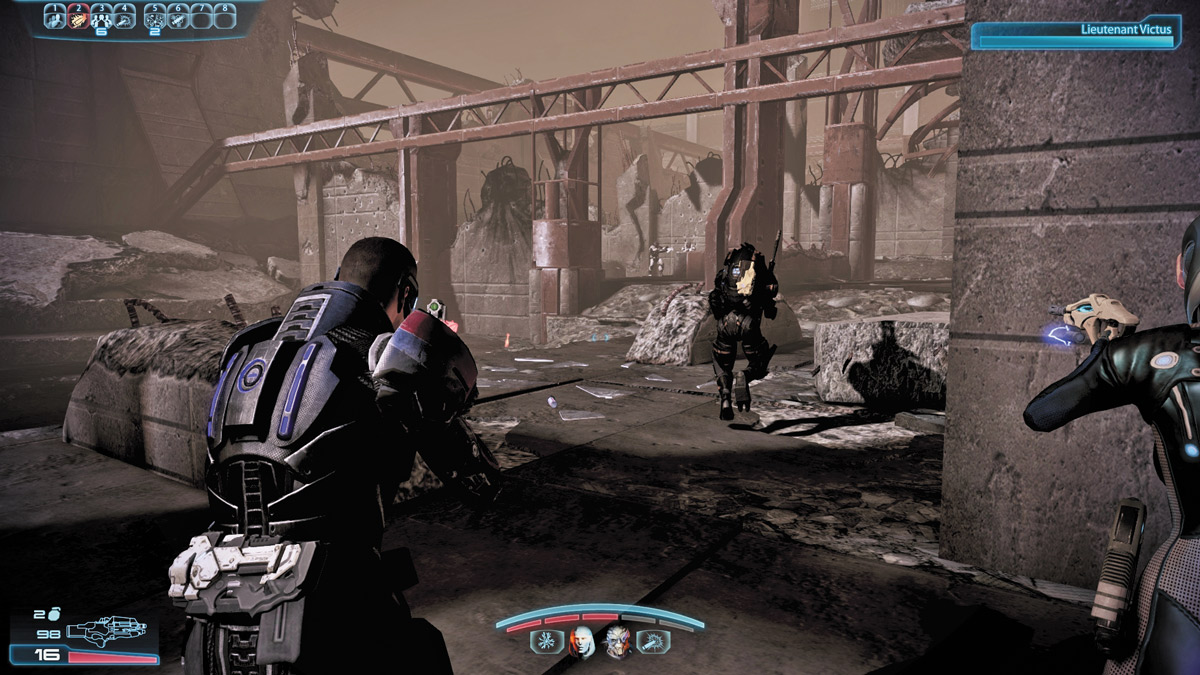
You’ve finally reached the bomb site, and Lieutenant Victus is attempting to disarm the weapon.
His guards are taken down by sniper fire, and your squad of three is the only thing standing between Cerberus and him. It’s time for a last stand.
The courtyard you fight in has three distinct drop zones that Cerberus shuttles will try to use to deploy troops to overwhelm you.
If you have grenades or any other area-of-effect powers, now is the time to use them. Try to catch the enemy just as the shuttle doors open with a grenade, or set up power combos with your squadmates.
The weaker they are upon landing to fight means the quicker your team can clean them up.
Victus is extremely vulnerable while defusing the bomb, and it only takes a few seconds of sustained enemy fire to kill him.
Keep constantly scanning for stragglers who may have slipped past your kill zones, and pay attention to Victus’s health bar.
If it starts to fall, quickly seek out his assailants and prioritize them over everything else; if Victus dies, the mission fails.
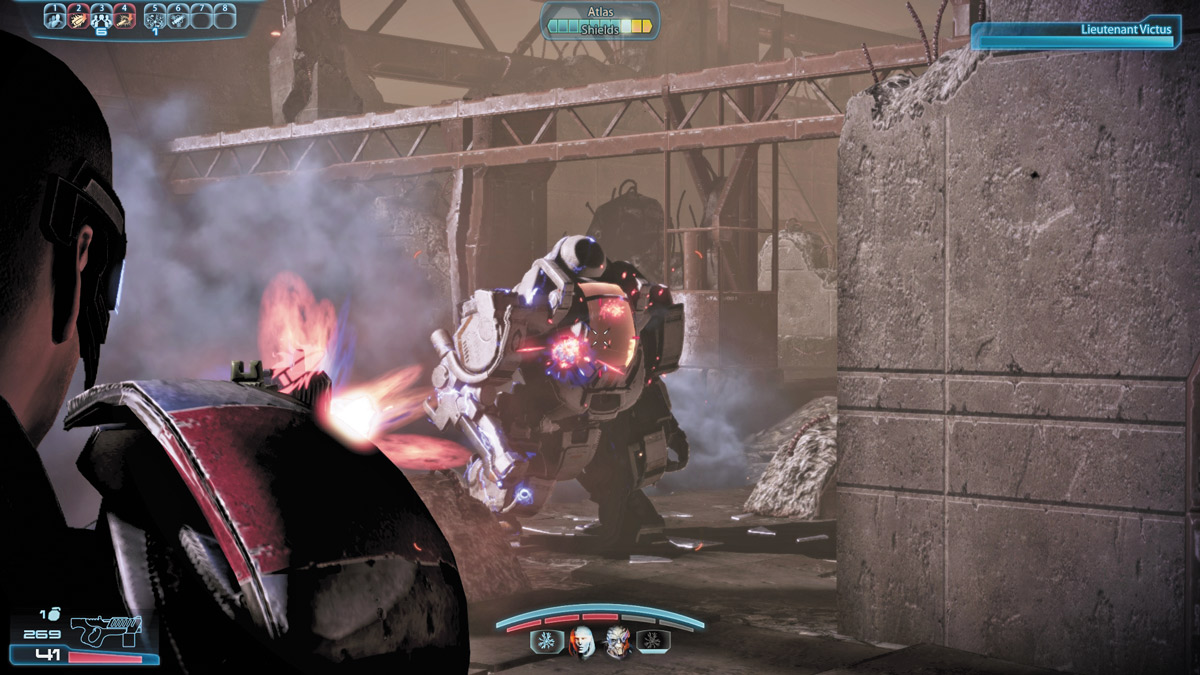
Eventually, an Atlas joins the fray, and this marks the last push by Cerberus.
Your squad must keep the mech occupied at all costs, as it will attempt to snipe at Victus with its cannon, causing grievous damage to him.
The Atlas will receive more ground troop reinforcements, but until it’s dead, try to keep the pressure on it alone. Once you destroy it, kill off the remaining soldiers, and Victus will be safe.
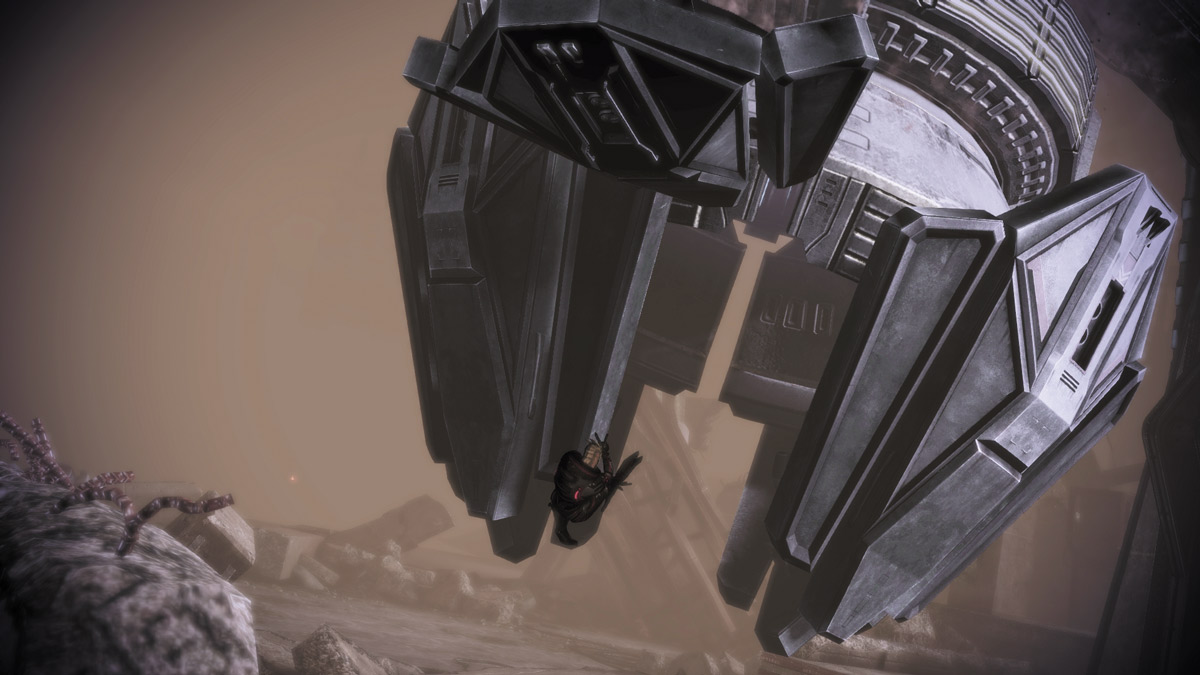
Unfortunately, the bomb defusing does not go as planned, and the young turian must make a tough decision to ensure the device is incapable of detonating.
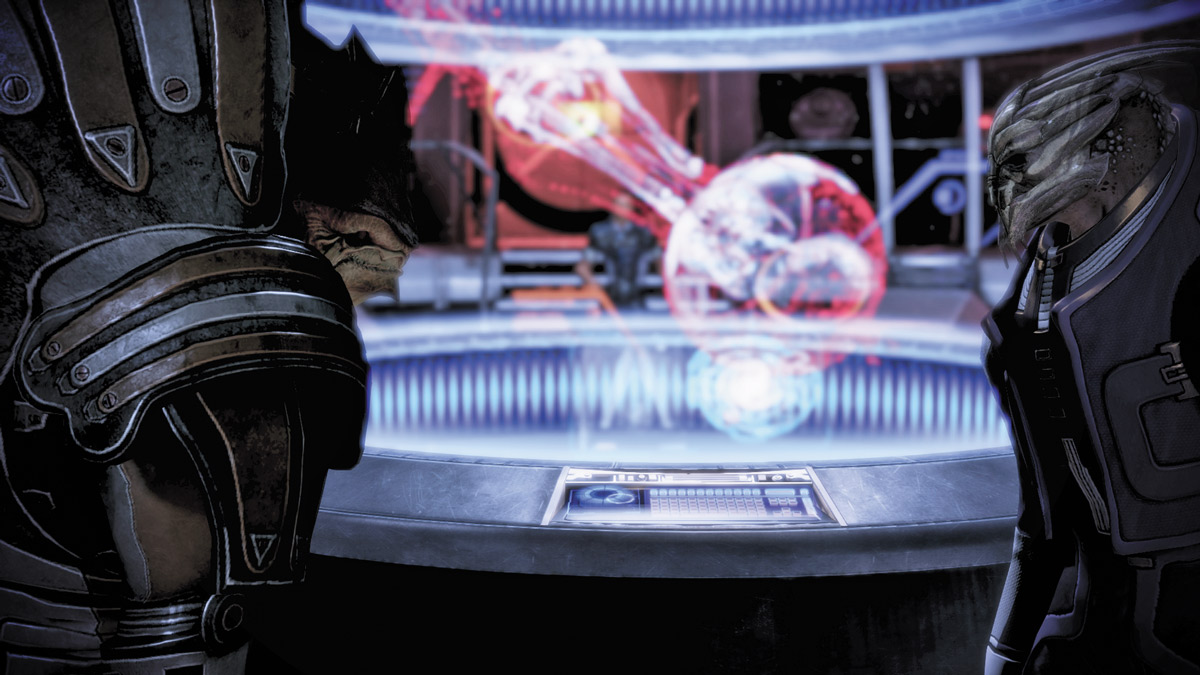
Following the successful but costly mission, Primarch Victus and Urdnot Wreav have a confrontation in the Normandy’s War Room.
You’re able to choose how to settle it, gaining Paragon or Renegade points in the process.
Regardless of your choices, Primarch Victus admits that he has just learned the harshest lesson a father could regarding war and sacrifice.