
Mass Effect 3 Guide Walkthrough Act 2
Disable the Dreadnought
.jpg)
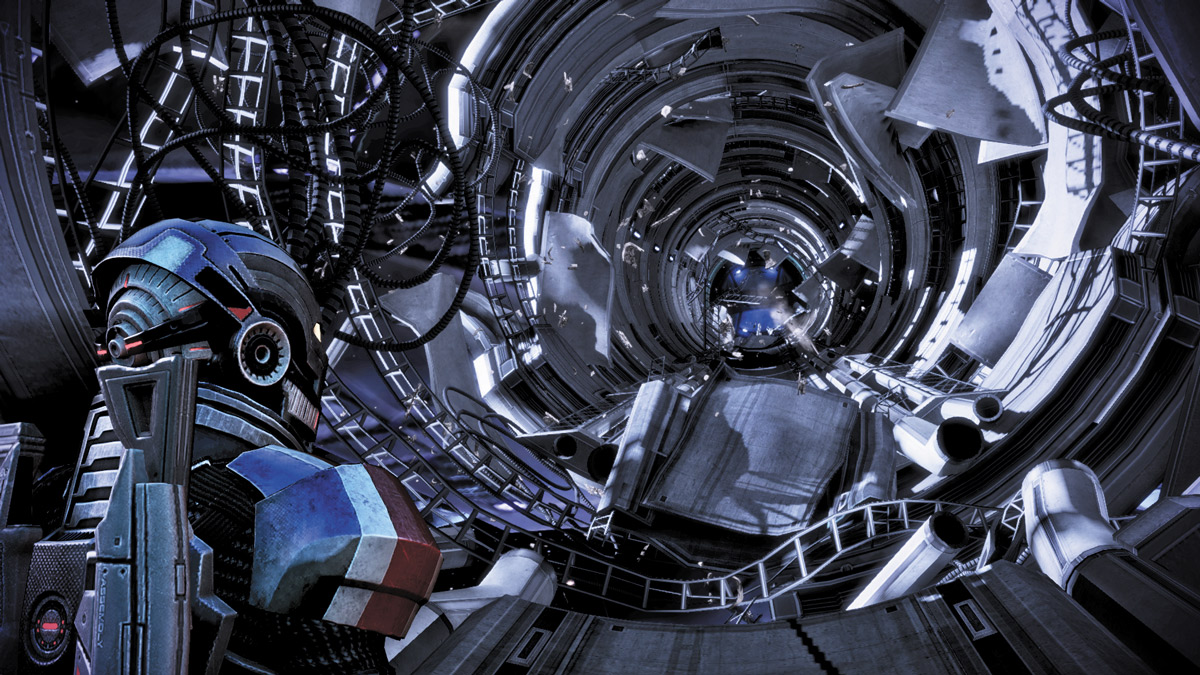
When you’re ready to help the quarians, fly to the geth Dreadnought and dock. As you approach, you find that there are hundreds of ships engaged in battle near the Dreadnought.
Despite that, Joker manages to dock you safely, but the docking area is not quite safe yet.
Before your squad can join you, venture out the long docking tube and cross it until you get into the geth ship. Once inside, you can secure other docking procedures for your two crewmates.
The long tube isn’t dangerous, really, but it is dark and creepy.
Walk left and right, around the inside of the tube (you’re in a zero-gravity environment, after all), until you reach the parts of the tube that will let you advance.
If you reach a gap, walk left or right again until you find a place without a gap. The easiest way to cross is to keep your eye on the lights on the inside of the tube and follow them.
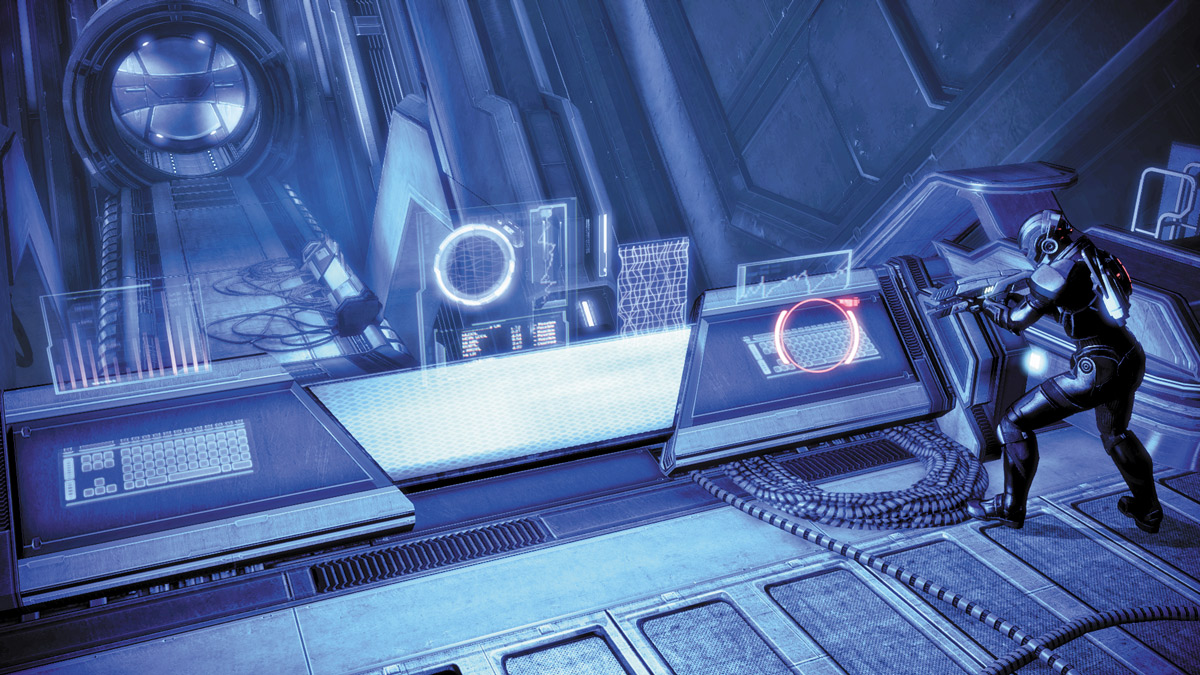
Inside the geth ship, drop to the lower area and edge around the right side of the debris-filled room. Hop on top of the metal beam and follow it to its end.
There you’ll find a ladder leading up to a door on the right. Go inside to find another airlock, then climb the ladder on the right to find the docking control.
Prior to activating the docking controls, there is a Geth Data pickup on the console standing on the catwalk leading to the docking bay air lock. Activate them and let the rest of your squad into the geth Dreadnought.
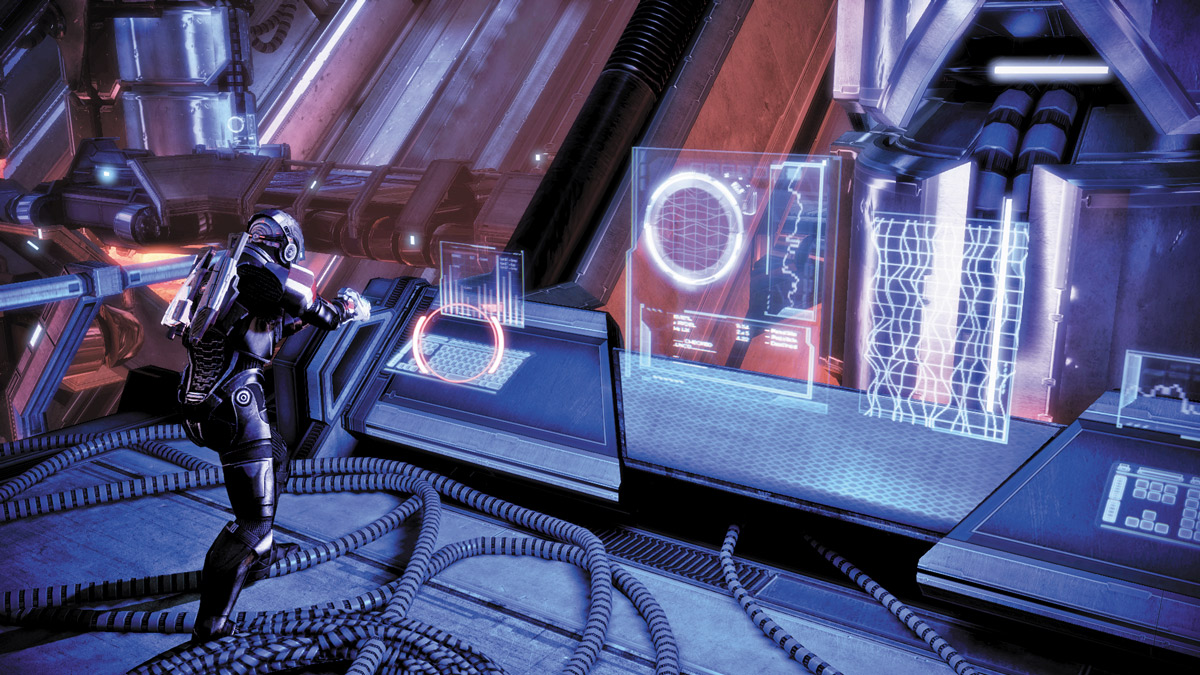
Activate the GUARDIAN Battery computer on the left, then follow the walkway right, to the bridge controls. Activate them as well before you run into a group of well-armed geth.
.jpg)
Immediately take cover and wait for the geth to reveal themselves on the walkway’s other side. If you or your squad has Disrupter Ammo, equip it now.
When the geth Rocket Trooper comes up to shoot, use powers like Overload or Singularity to disable it. If you don’t have those powers available, open fire and then quickly take cover again.
The geth Rocket Trooper fires very dangerous and speedy rockets that can instantly deplete your shields if you’re not careful.
Take out the first few geth, then head down the walkway. Make a right and open fire on the next geth group before they attack.
Always focus on the geth Rocket Troopers first, since they pose the most danger, then sweep the area for the regular geth Troopers.
Engage the geth Troopers in melee combat; it’s not one of their strengths, so make it one of yours.
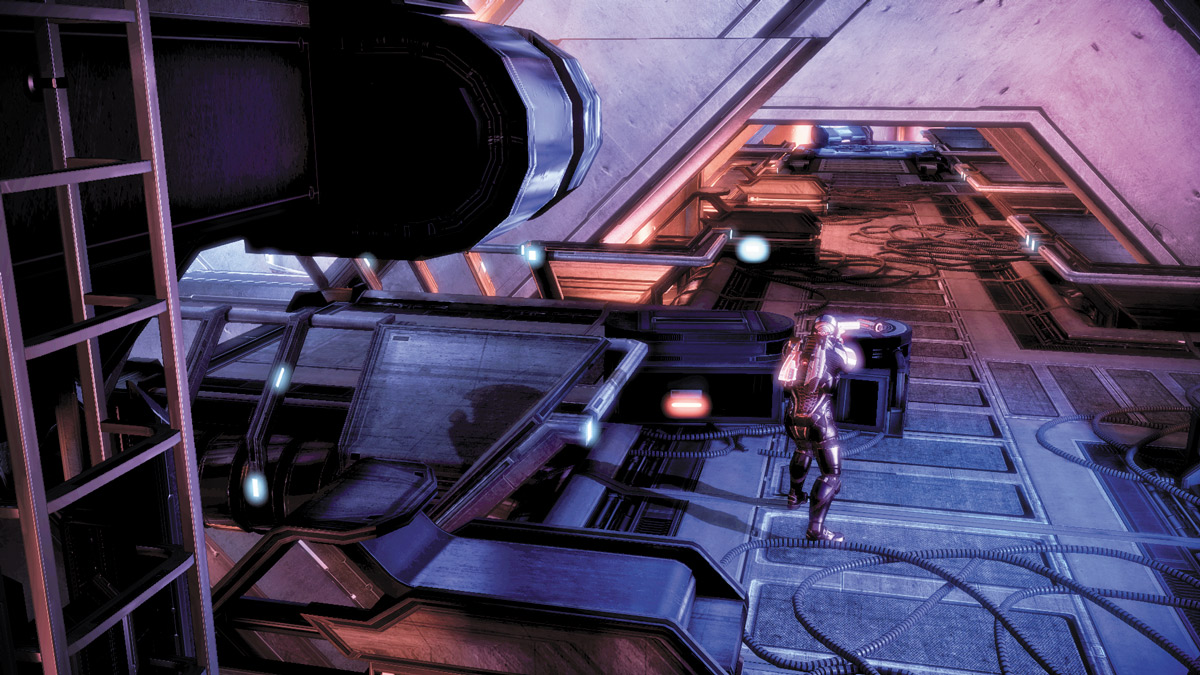
Drop down the ladder on the walkway’s right side and you’ll land a few yards behind another geth Trooper.
Melee combatants like Sentinels, Soldiers, and Vanguards can make very short work of this unsuspecting foe, while other classes can easily take aim and fire at the back of its head to drop it quickly.
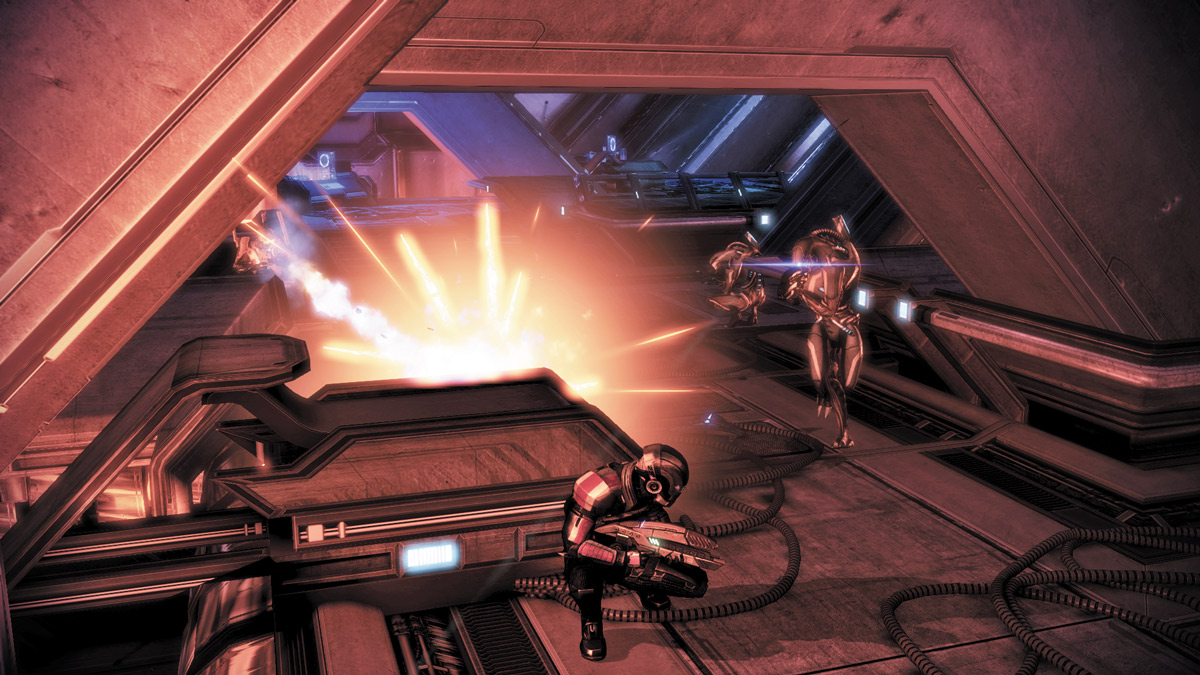
As soon as you do, you’ll alert the other geth nearby. Take cover near the railing and send your squad ahead of you, farther down the hall.
If you’ve brought EDI along, use her Overload ability to temporarily stun the geth Rocket Trooper and unload on it first while its shields are down.
Otherwise, powers like Singularity and Shockwave will help too.
Lay down a constant stream of pressure on the geth and keep them suppressed as much as possible to allow your squadmates to inflict some punishment on them as well.
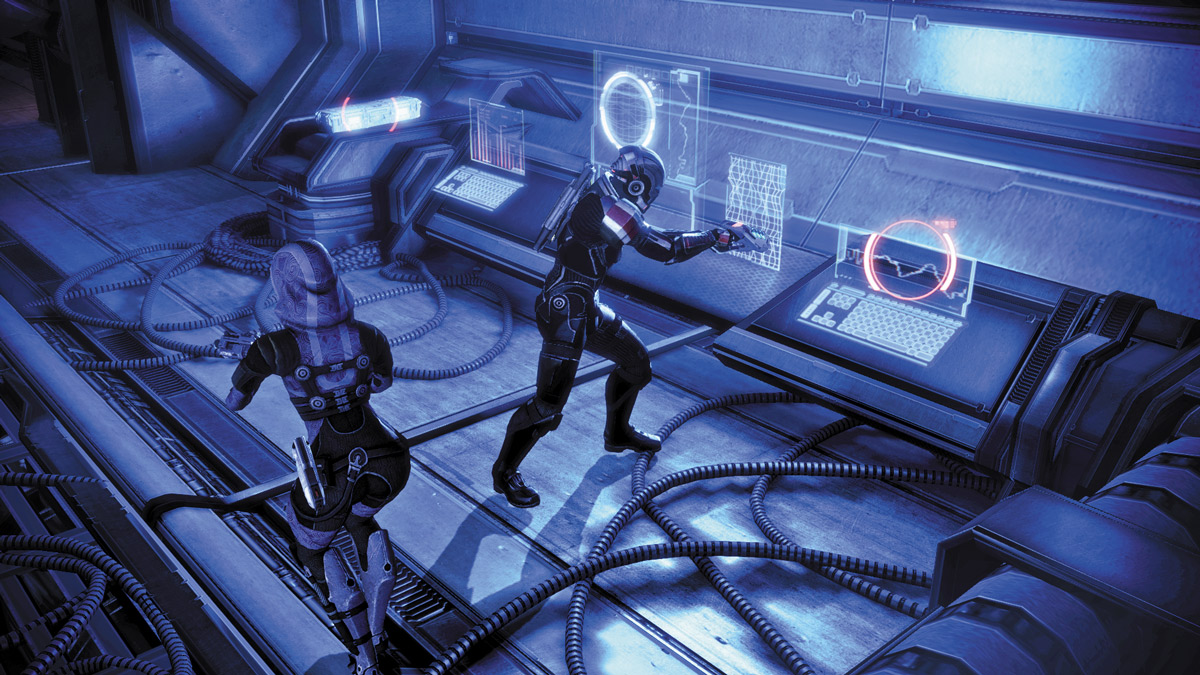
Examine the signal console along the right wall to learn more about how the Reapers are controlling the geth. There is also a sensor console on the left wall that may provide some valuable information.
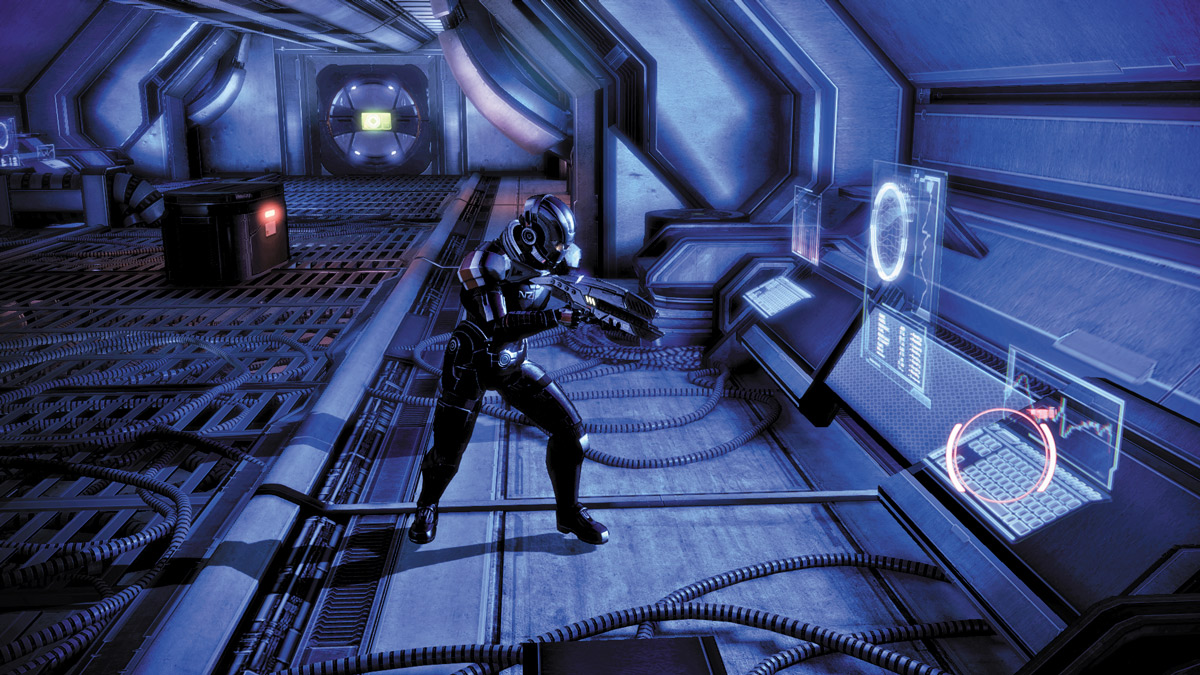
The next room has a network console that you can examine.
DREADNOUGHT OPERATION CENTER
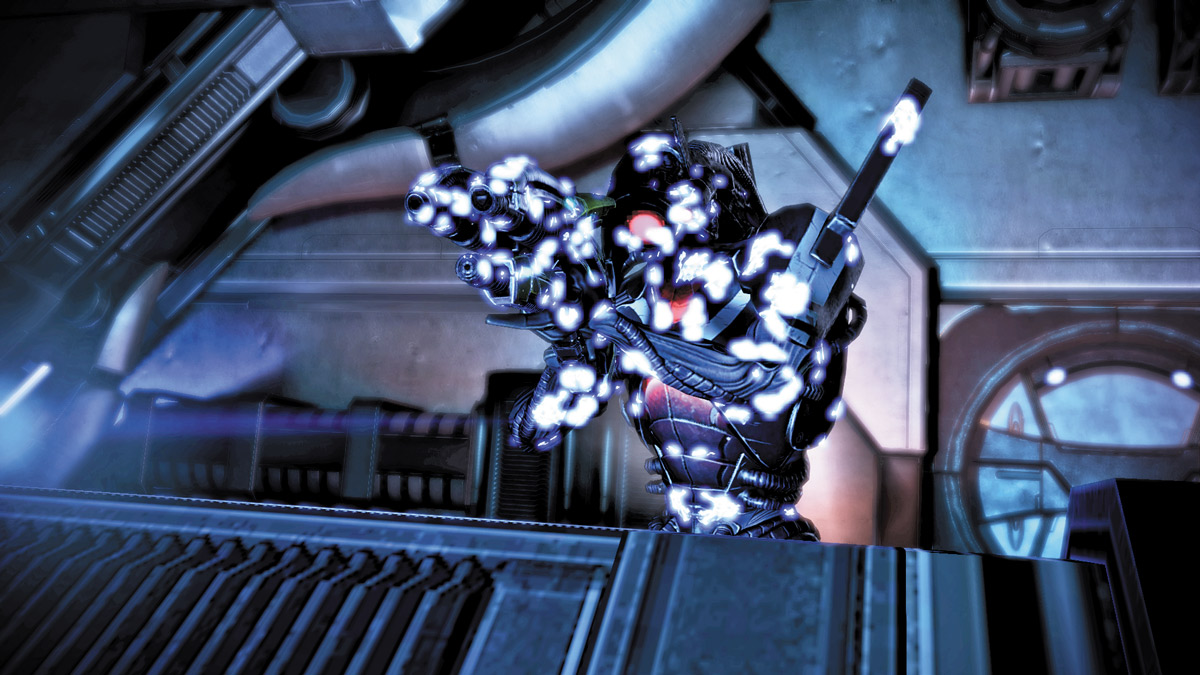
Enter the next room, the Dreadnought Operation Center, to find a cloaked geth accessing a computer terminal at the far end.
Its cloaking device flickers for a bit, but before you can reach it, the geth disappears again somewhere into the room. At that point, the other geth turn their attention to you.
APPROACH 1: SPREAD THE SQUAD
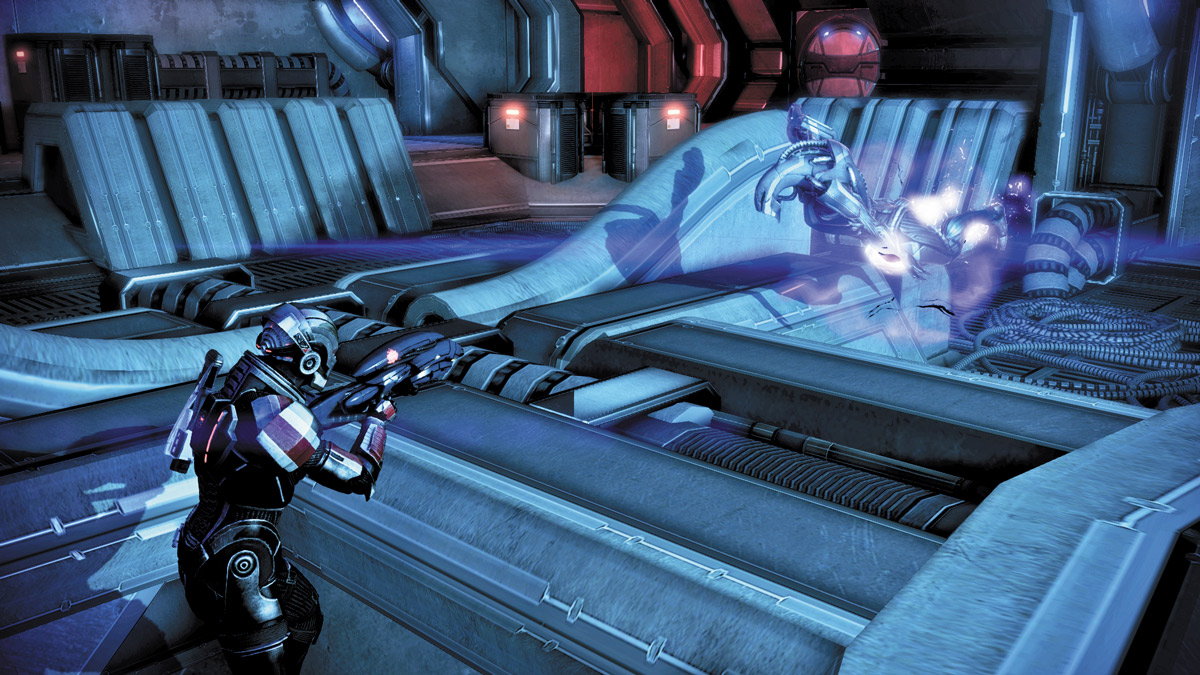
As soon as the geth notice you, they immediately begin rushing you and your squad.
Spread out your squad along the back end of the operation center and maximize your team’s firepower. Use grenades and other explosive power combinations to take out the geth Troopers.
Keep your eyes peeled for visual distortions to give away the position of geth Hunters as they fearlessly approach you, then hit them with a projectile to reveal their position.
As soon as you temporarily disable their ability to cloak, focus all of your team’s powers and firepower on the Hunter to quickly overwhelm it.
If you have grenades, use them near other geth soldiers to inflict some damage. The concussive sphere of the explosion can also help reveal nearby Hunters.
Vanguard players can use Nova as well if a geth Hunter is approaching; the radial shock wave will instantly knock back and reveal the cloaked enemy for others to fire upon.
By keeping your squad stationed together, near the rear of the room, you can anticipate the geth’s approach from the room’s opposite side.
This will also cause the geth to use the side halls to attempt flanking maneuvers where you can ambush them with power combos and explosives.
APPROACH 2: WORK THE PERIMETER
An alternate approach is to lead your squad around the room’s perimeter.
As you round the room, use powers and grenades to redirect and funnel the geth away from you while your team depletes their health. As you move around the perimeter, you force the geth to redirect and chase you.
Staying on the move gives you more time to inflict damage and gives them less opportunity to rush you as they are wont to do.
Keep moving around the room’s perimeter, staying behind cover as much as possible, and carefully pick off the geth as they give chase.
Engineer players can complicate things even more for the geth by unleashing combat drones to distract them as you skirt the room. If you brought EDI, her Decoy power can also distract enemies.
As you work the room’s perimeter, keep your eyes trained on the center of the room in case you manage to funnel the majority of enemies out into the open.
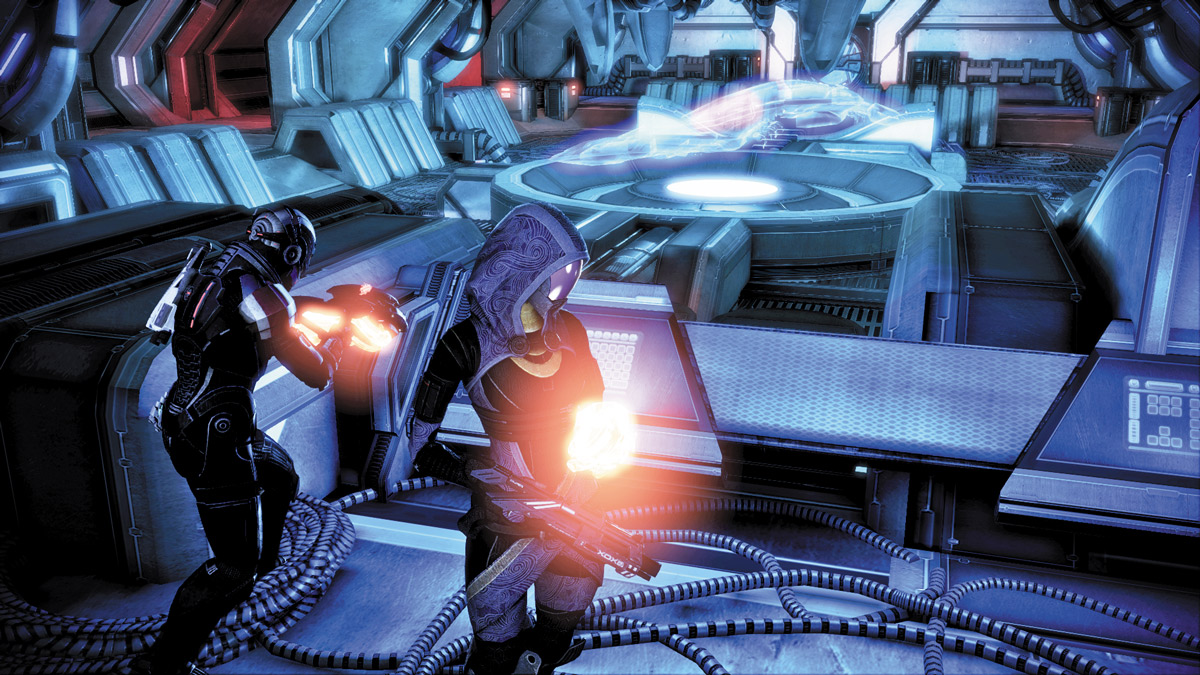
Once the room is clear, examine the data console near the room’s center, by the entrance, then activate the Operation Center console near the room’s far end.
The console brings up the ship’s schematics and allows Tali to plan the team’s next attack. She tricks the ship into thinking there is a thermal warning and unlocks all of the doors to the room, clearing a path to your next stop.
Before you can go, though, you must contend with the geth waiting on the door’s other side. When the doors open, the geth pour in from the room’s opposite side and the ceiling.
Once again, take cover and prepare for battle.
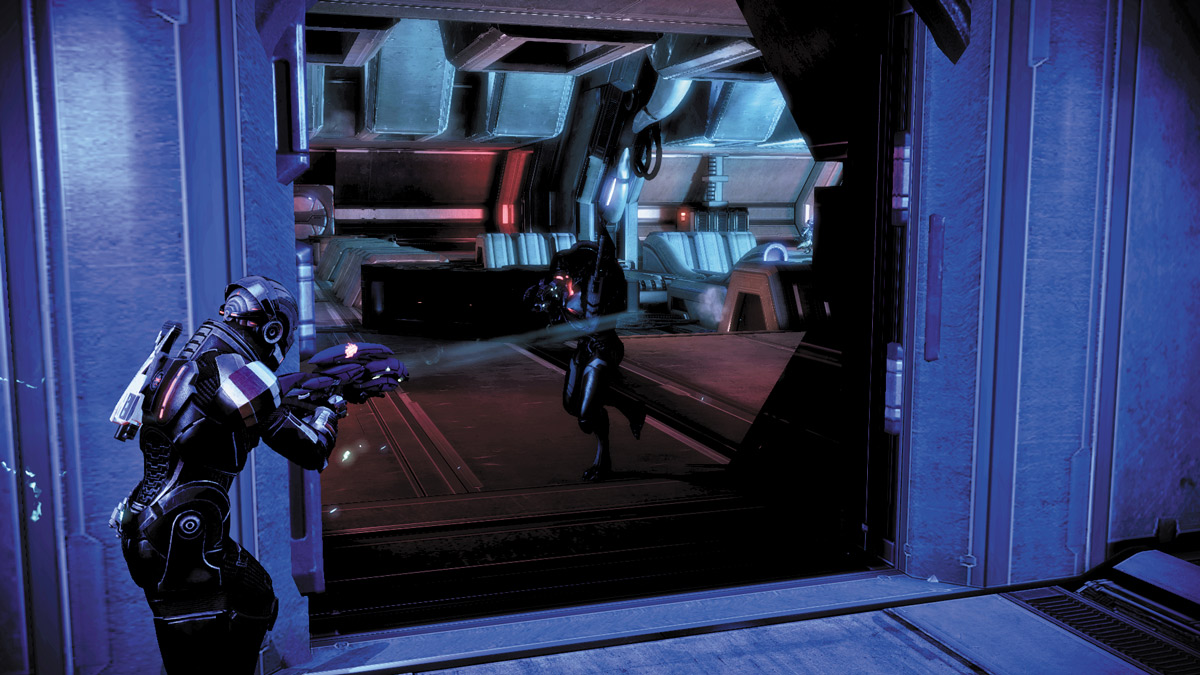
As soon as the geth rush into the room, begin directing your squad toward the far left corner, where the now-open door provides an exit.
Use similar tactics during your escape as you would in Approach 2 and keep the geth moving. The only difference now is that as you move, you’ll encounter geth directly in your way, as opposed to behind you.
If you send your team ahead of you, hang back a bit and wait for the geth to open fire on your squad.
Surprise the geth with fire of your own and shred them quickly.
If you’re an Adept player, use power combos on multiple enemies at a time and maximize your damage output.
.jpg)
If you’ve equipped the Arc Pistol, this is the perfect time to familiarize yourself with it.
Charge shots as the geth take cover and release the trigger when you’ve got them trained in your sights.
Open the second door in the room’s far left and enter the next room. Follow the catwalk around the left until you find a ladder, then drop to the next level.
Continue dropping down until you reach the bottom floor, then enter the next room, the Main Gun Battery.
Enter the room and make a left. Follow the walkway down and around to a long hall that acts as a charged firing tube.
MAIN GUN BATTERY: ENTRANCE HALL
.jpg)
The entrance to the Main Gun Battery is a long hall that constantly fires a dangerous, highly charged electric field.
If you or your squad get caught in the blast, it’ll obliterate your shields. To make matters worse, the entire length of the hall is swarming with geth Troopers and geth Rocket Troopers.
Your shields will deplete with a hit of the electric field, but theirs won’t.
APPROACH 1: SNIPE
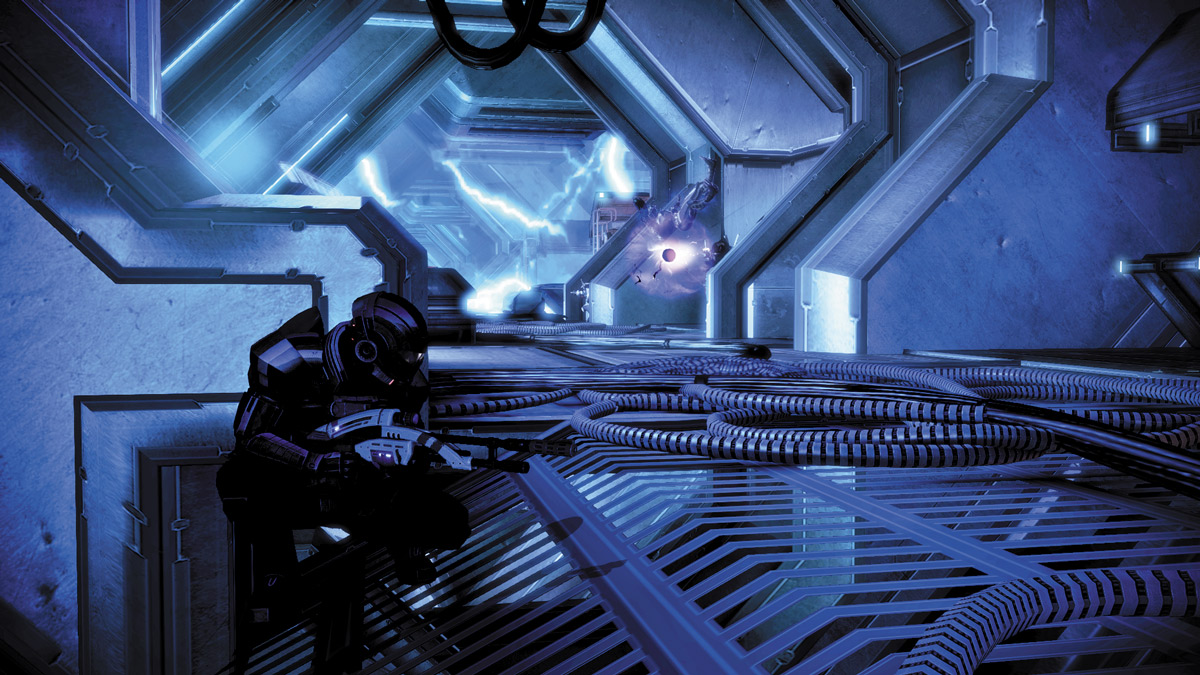
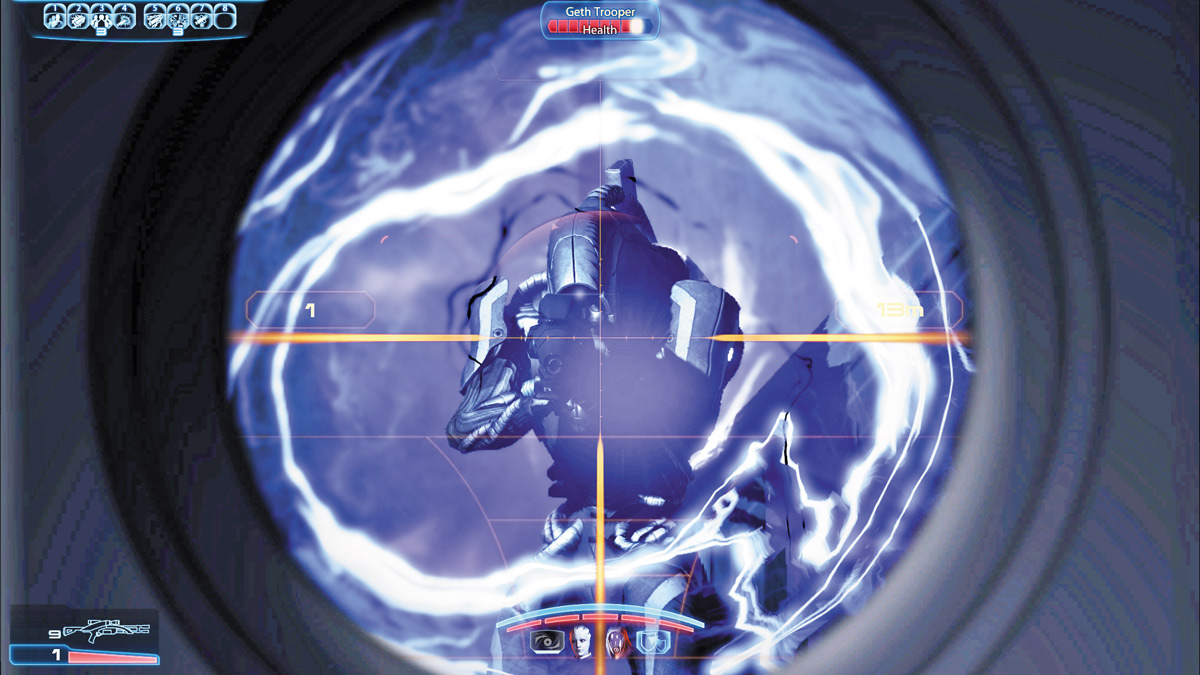
As with most long hallways, sniping from a distance is one of the best approaches available. Equip your best long-range weapon and wait for the enemy to show its face.
When it does, take aim and open fire. In this hall, things become a bit more complicated due to the short window between shock waves.
You’ll have to fire between shock waves from the main battery, so you’ll have to pop out of cover, spot the enemy, zoom in, and pick your shot all in the matter of a few very short seconds.
Use yours or your squad’s powers to distract or stun the target before firing; then maximize your fire by concentrating on one target at a time.
Look for the ripples in a Hunter’s cloak when it is affected by the shock wave, and always make them first priority when you spot them. The Hunters won’t stop coming until you make them stop.
If you hang back with the sniper rifle, send your squad slightly ahead of you to cover on the other side of the hall from you.
That way, the geth will attempt to reach them first and your squad will weaken the enemy with their fire, leaving you to finish them off from afar.
APPROACH 2: RUSH
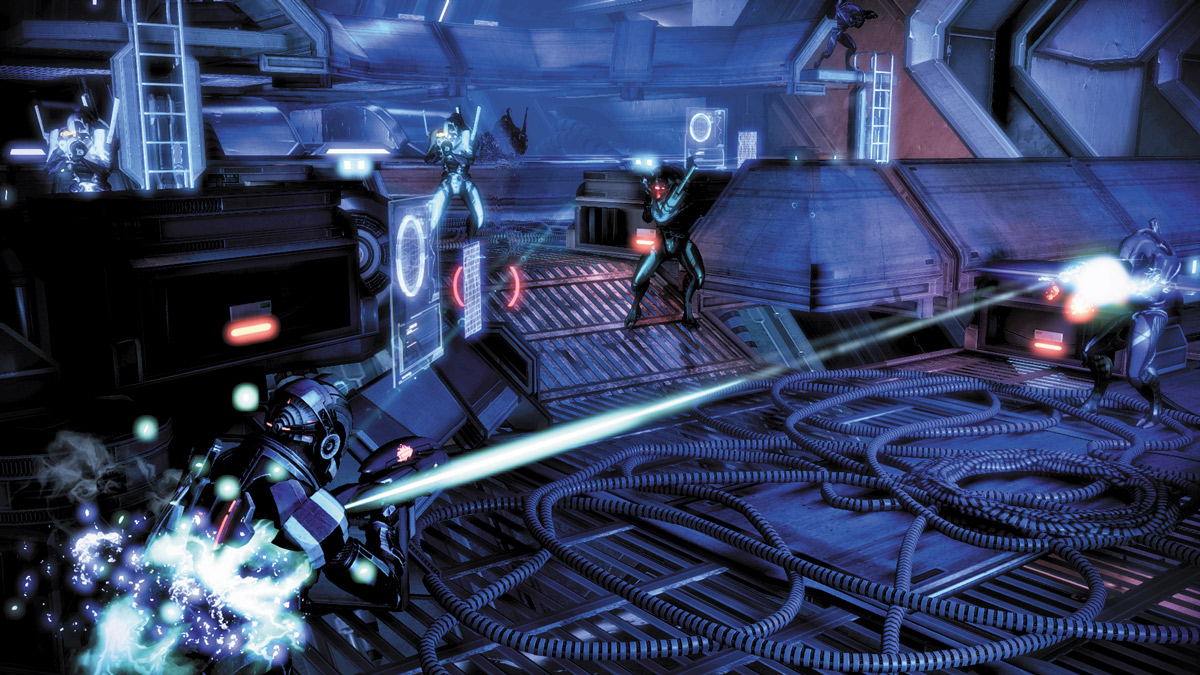
Another tactic is to take a complete opposite approach: Instead of hanging back with a sniper, time your movements carefully and rush ahead with a strong close-quarter weapon, like the ultrapowerful Claymore shotgun.
With this approach, the key is to use powers like Singularity, Stasis, and Overload to slow enemies (or Adrenaline to slow down time), then wait for the shock wave to pass you by.
When it does, leave cover and rush the nearest enemy.
Hit it with a direct shot from your weapon, then either follow up with a charged melee blow or a second blast to finish it off. As soon as it is down, take cover, reload, and spot your next target.
This approach is especially suited for Vanguard-class players who enjoy using the Biotic Charge, Nova, melee combo to wipe out enemies quickly.
APPROACH 3: FLANK
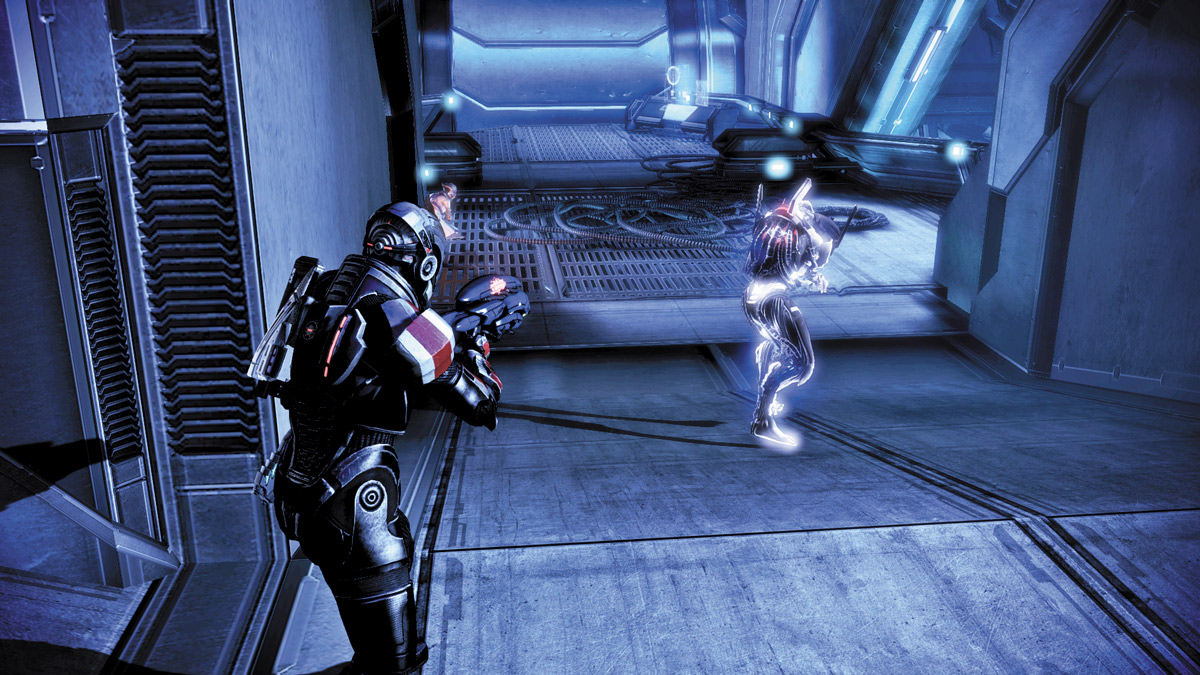
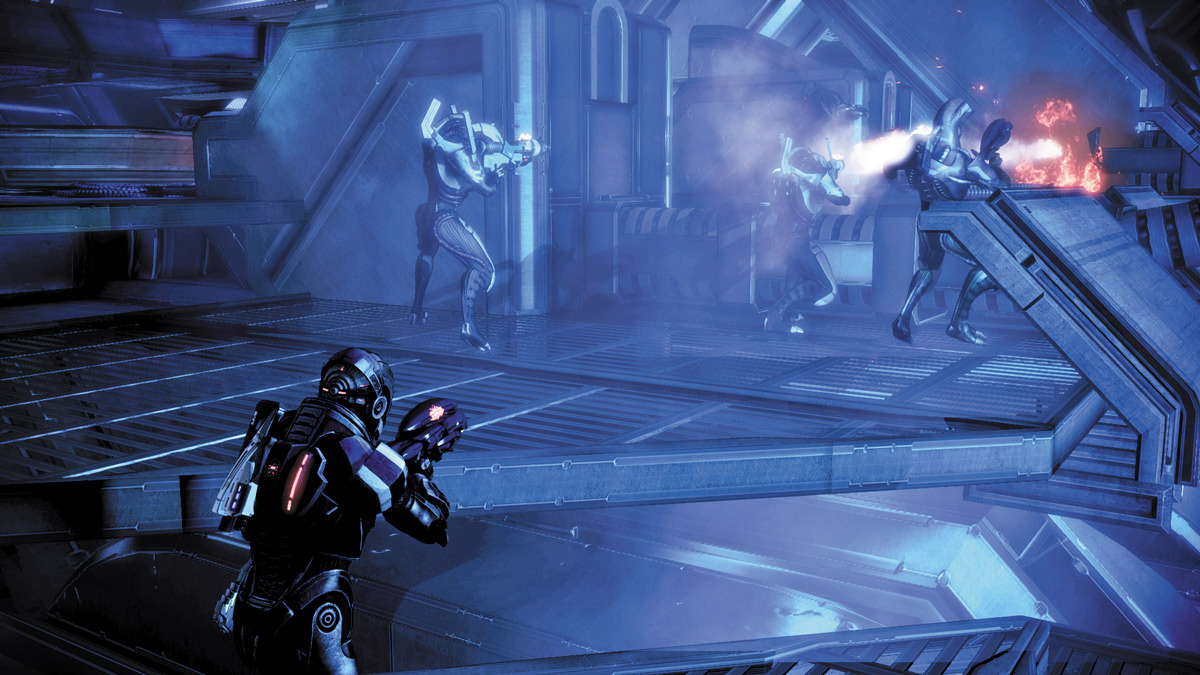
If you prefer using more traditional tactics, you can also rush from your cover into some of the winding hall sections that flank the main hall.
Rush into the side section on the right or left, and mow down any geth stationed in the U-shaped hall.
Use a combination of weapons fire and melee attacks to clear the hall, then aim back down on the main hallway to get the jump on the enemies engaging your squad.
If you press the action all the way around the U-shaped hall, you can also flank the enemies in the main hall or pop out from behind them and pinch them between you and your squad.
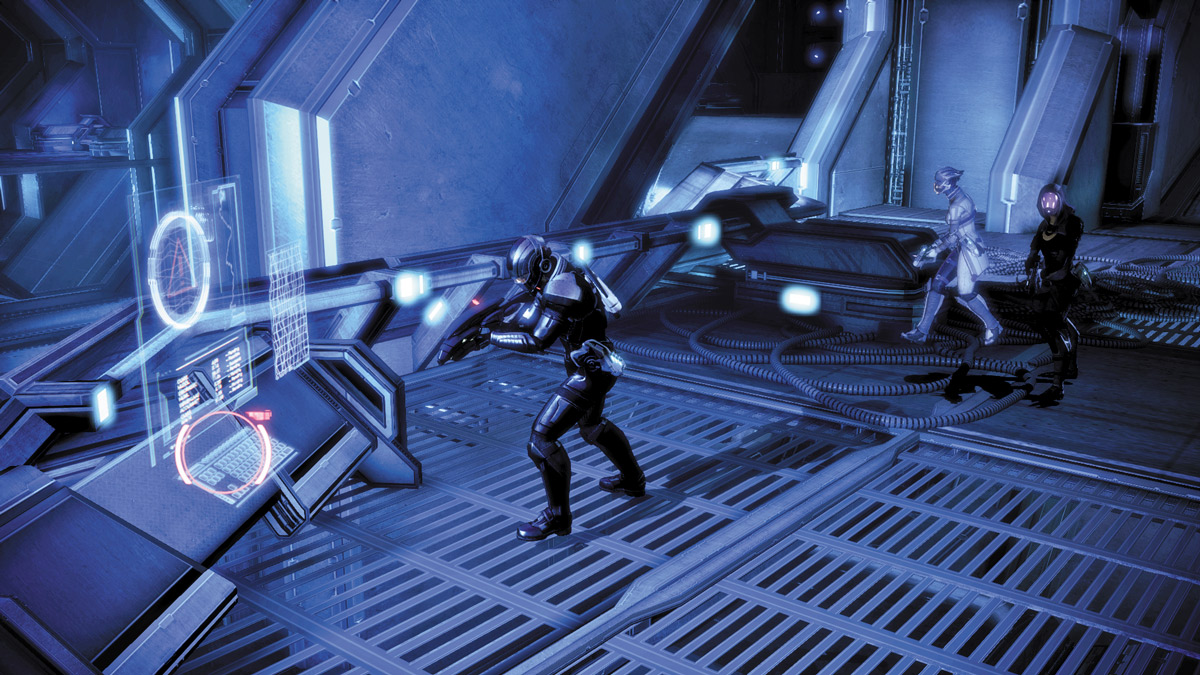
Clear a path to the hall’s far end and make a left. Hit the Maintenance Override switch to gain access into a short firing conduit leading to the Core and go inside.
Sprint across the tube and reach the other side before it charges to completion and fries you.
MAIN GUN BATTERY: EXIT HALL
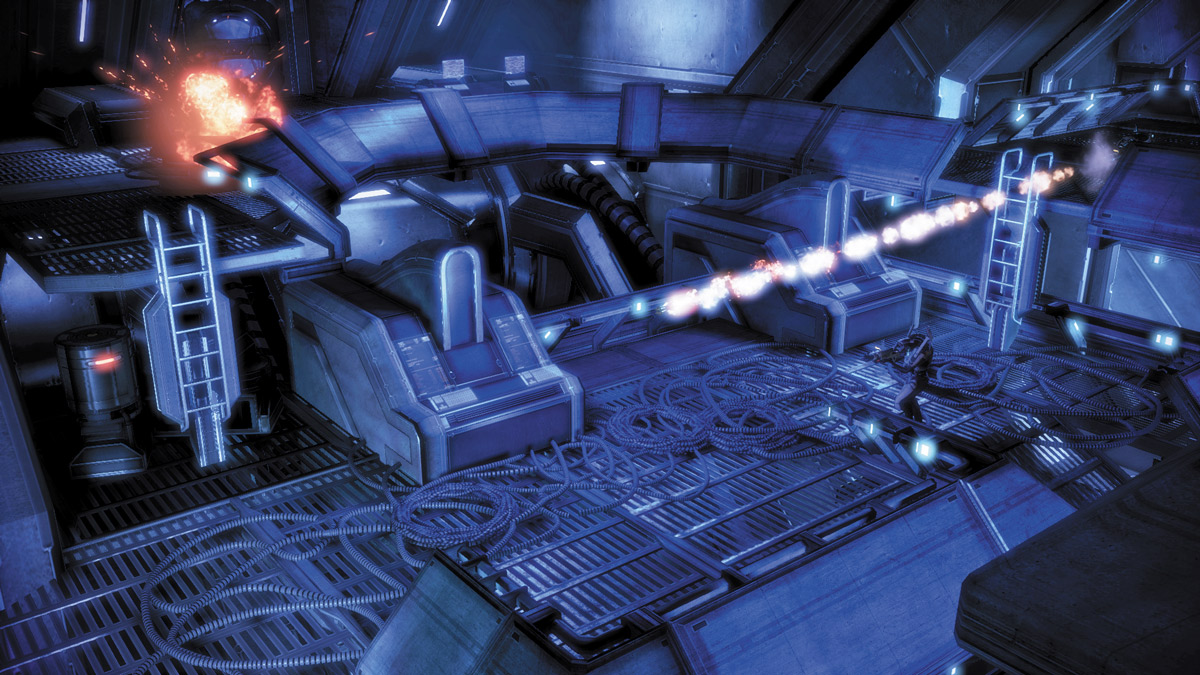
This section of the main gun battery, which leads to the Core, is very similar to the previous hall you traversed. It also has a dangerous firing pattern, but has a raised platform crossing over the walkway where enemies like geth Rocket Troopers can perch.
APPROACH 1: UP THE MIDDLE
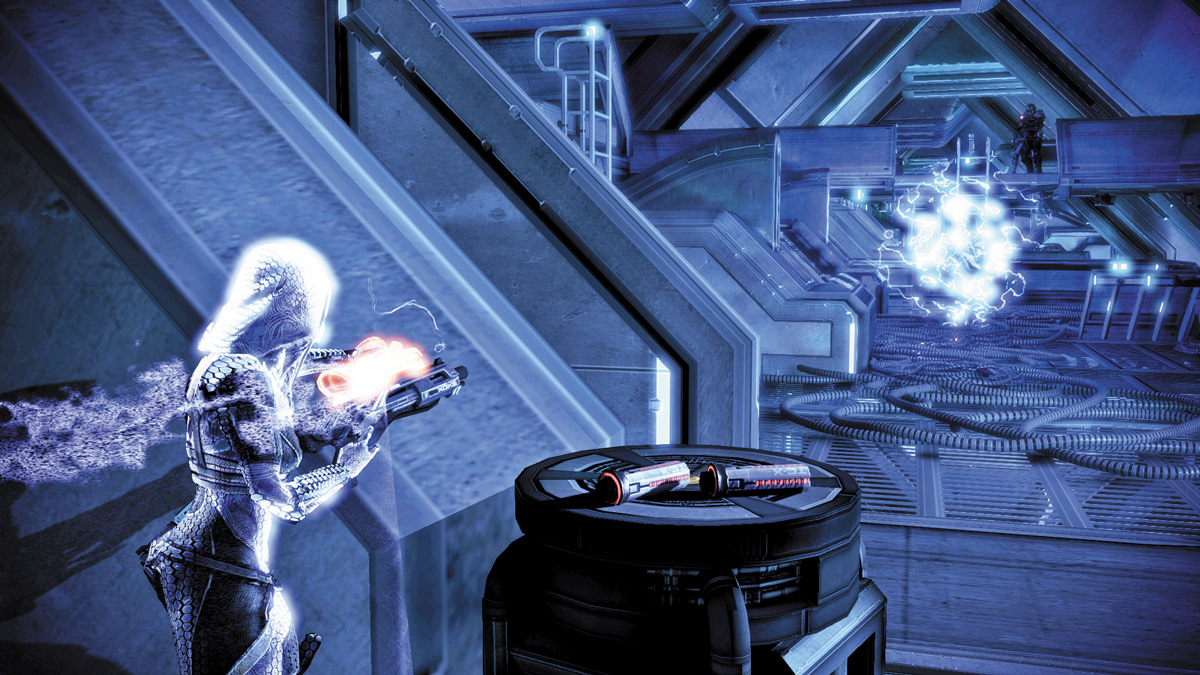
Since this long passage has side passages along both sides, plenty of cover in the main walkway, and a platform crossing over the top of the main catwalk, the approach up the catwalk can be a treacherous one.
Instead of splitting up the squad across all of the different possible routes, take a more direct, head-on approach to the main hall.
Carefully direct your squad from cover to cover, up the main walkway.
When you encounter an enemy on the walkway above, make it your first priority and concentrate all powers and weapons fire on it before proceeding up the catwalk.
Stay behind cover and use covert takedowns whenever possible.
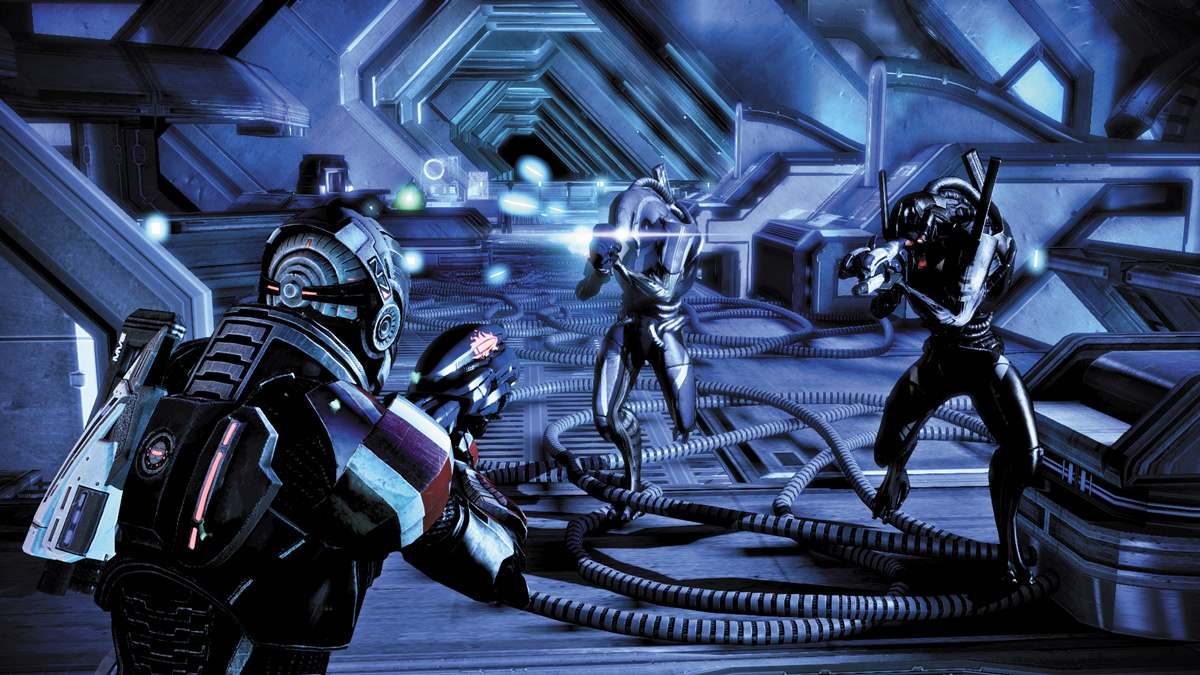
The geth will approach your position, so you will have plenty of opportunities to reach over your cover spot, grab your enemy, and put them away with one melee blow.
When you reach the platforms in your way, wait for the shock wave to pass you, then climb up the ladders and quickly take cover again before the next shock wave.
Don’t climb any platforms if there is more than one enemy still perched there.
You can overwhelm one foe, but multiple foes, especially if one is a Hunter or Rocket Trooper, can make things much more difficult.
Both Hunters and Rocket Troopers can deplete your shield quickly, allowing the shock wave to finish you off.
APPROACH 2: SIDE AISLES
If you don’t want to take a direct approach, you can also utilize the short U-shaped sections flanking the left and right sides of the main walkway.
Direct your squad into the hall’s far left side as soon as you enter the main walkway and follow them in.
Lead the squad around the bend and carefully approach the top of the platform that crosses over the walkway.
You’ll be safe from the shock wave, but you’ll have to engage every enemy in close-quarters combat as you reach the top of the catwalk.
Switch to a close-range weapon like a shotgun and use powers like Throw, Shockwave, or even Pull to manipulate your enemies nearby.
If there are a lot of enemies on the catwalk, Singularity or Lift Grenade can lift the bunch off the ground and turn the situation in your favor.
Wipe out all foes from the catwalk, then drop down to the main walkway’s other side.
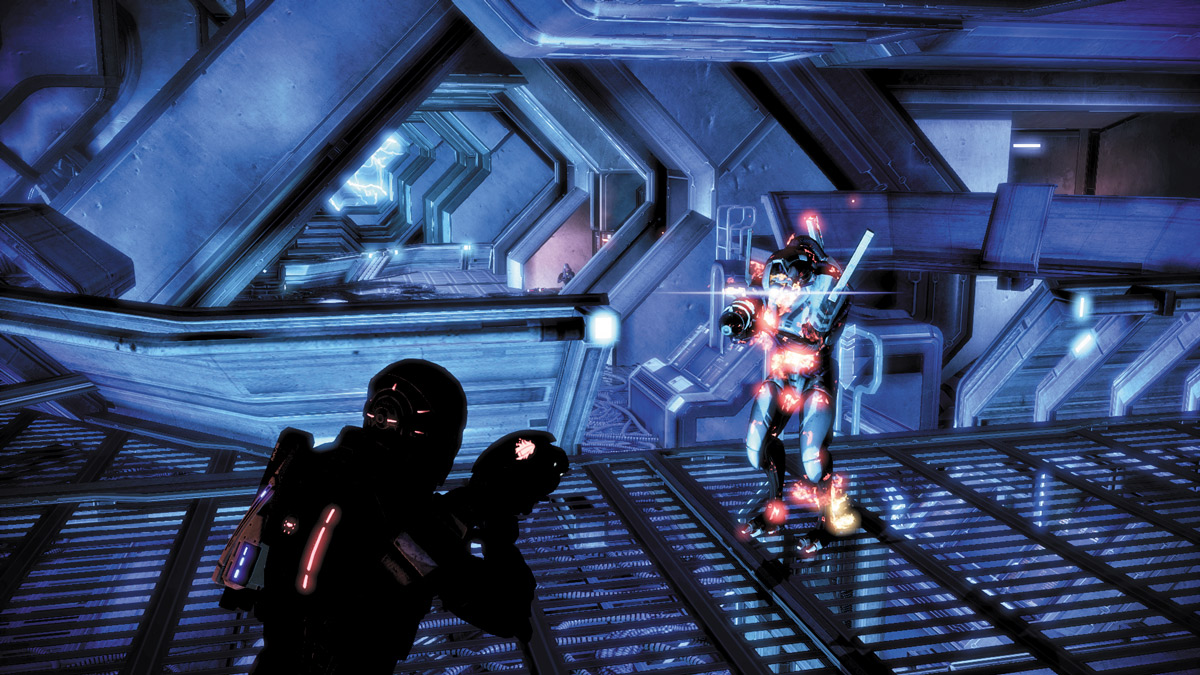
From here, you can use the side passages on the right to flank the enemy to rush them and engage in close-quarters combat.
Lead with direct shotgun blasts or disruptive powers. If you’ve brought EDI along, use Decoy to distract your foes, or, if you’re an Engineer, activate a Drone to help ease the pressure a bit.
.jpg)
Make a left when you reach the hall’s end and follow the path up and around. A door on your right side will lead to the next area. Go through the small passage and enter a room with an elevator platform inside.
.jpg)
Activate the platform controls and ride the lift up. Before it can go far, a pair of geth Rocket Troopers blasts your platform and knocks it off its support.
Quickly sprint toward Tali on the upper level before your platform gives way and you go down with it. Once you’re back on your feet, take the ladder up to the level above you.
CENTRAL CORE
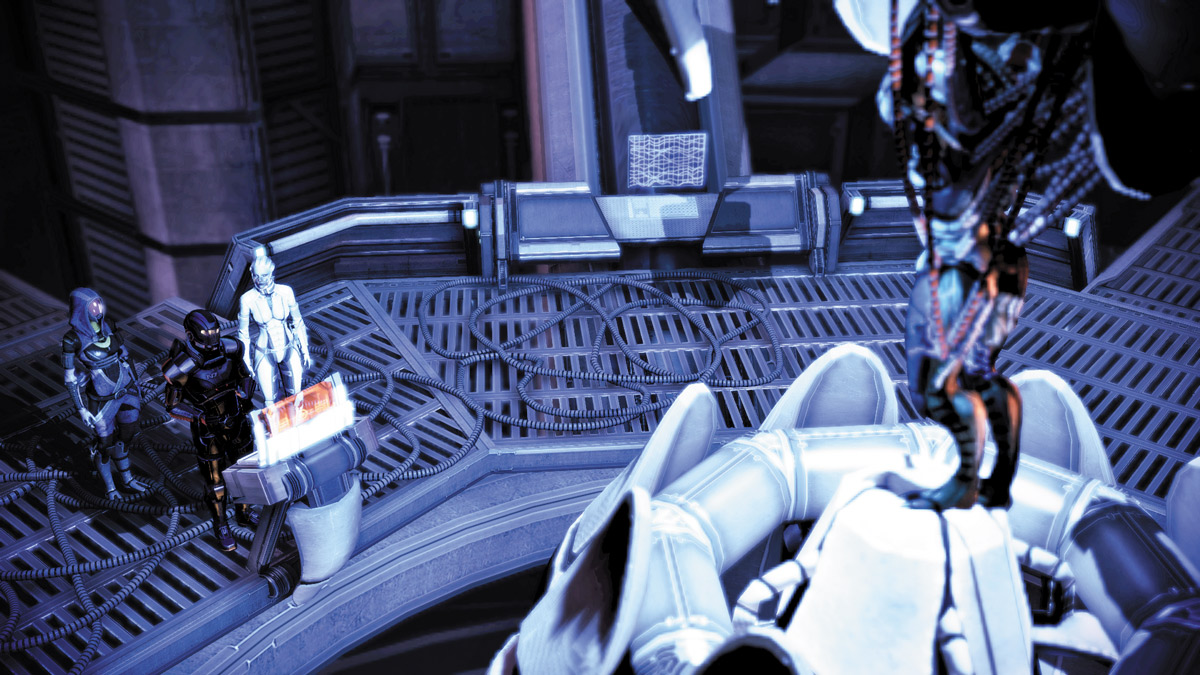
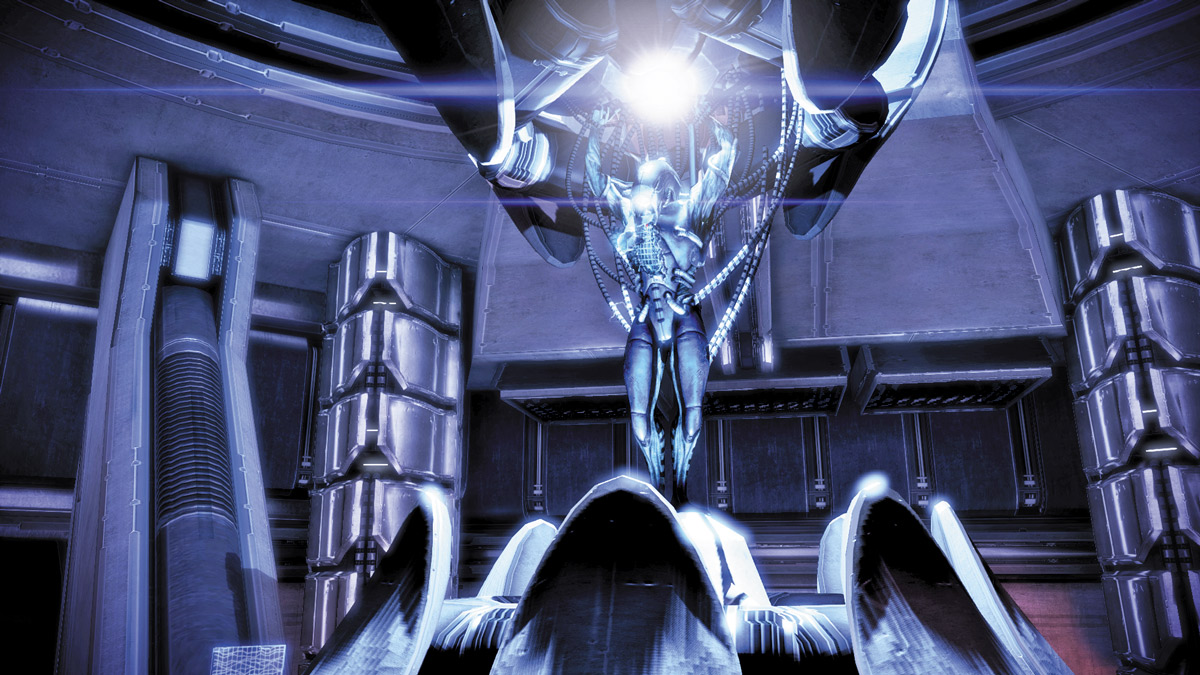
When you finally reach the Central Core, you find a large, spherical containment unit near the center of the room.
It is clearly made out of Reaper technology, but it’s hard to see what is inside. When you deactivate it, the containment unit retracts to reveal a trapped geth unit.
The geth unit explains that it was created to research the Reapers, but when the Reapers took over the ship, they imprisoned this unit due to its unique and complex architecture.
Your responses to the imprisoned geth will determine whether you accrue Paragon or Renegade points, so respond according to your leaning.
If you’re quick to trust the geth, you’ll gain Paragon points; your skepticism will gain you Renegade points.
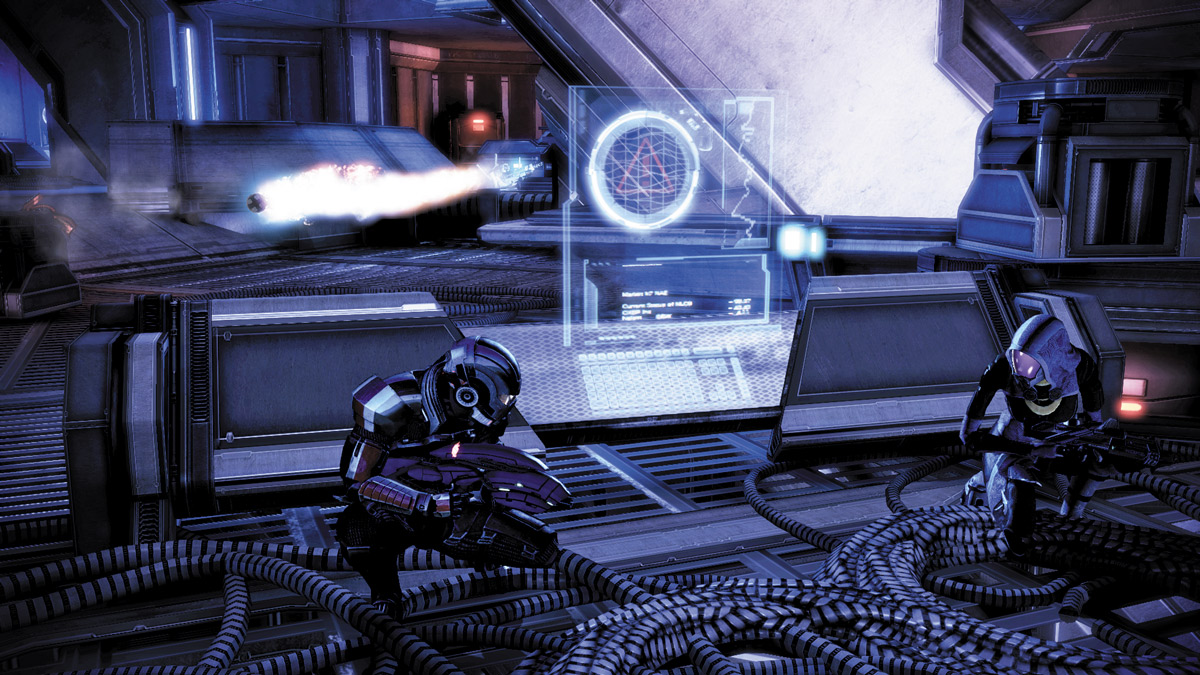
Go up the ladder to the level above and walk left, all the way around the circular platform to a computer console.
Activate the Data Core Override console and free the trapped geth. As a gesture of cooperation, the geth disables the Dreadnought’s drive core.
This, of course, alerts the geth still under Reaper control, and they immediately attack.
APPROACH 1: OUTSIDE EDGE
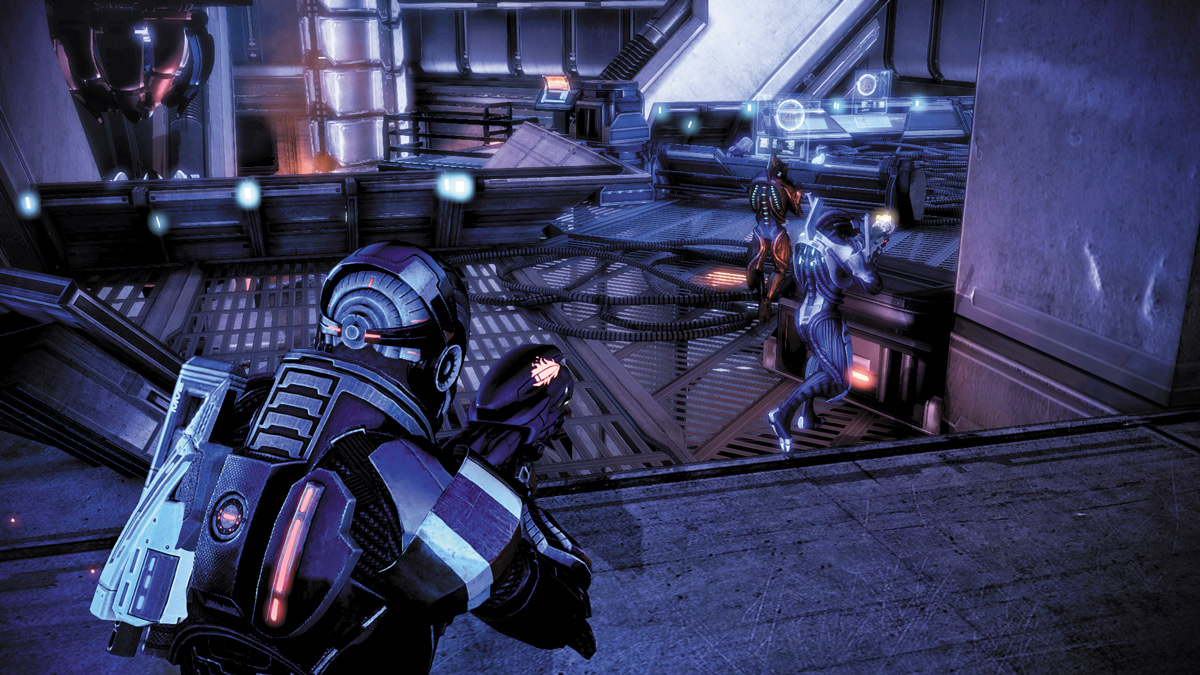
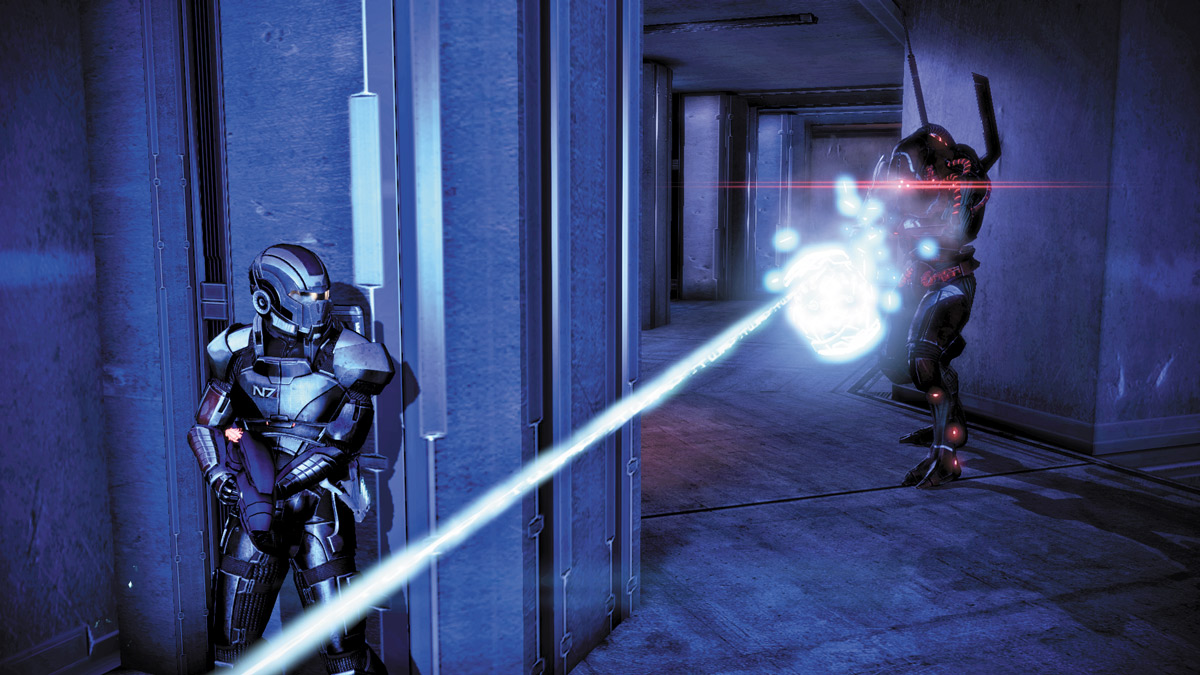
As soon as the geth attack, take cover behind one of the nearby pillars. Direct your squad to take cover behind the consoles on the platform’s right inside edge, and aim down the circular walkway.
The geth Troopers will probably try approaching you using the outside edge of the platform, so shift left behind cover and get a good view of the outside edge.
Use powers like Concussive Shot, Shockwave, or Nova to knock enemies away and keep a safe distance.
Leave your squad to cover the inner edge, and engage the geth from that angle. Leave your cover and begin slowly moving along the platform’s outside edge.
Carefully pick off the geth Troopers and Rocket Troopers, leaving only the geth Prime in your way.
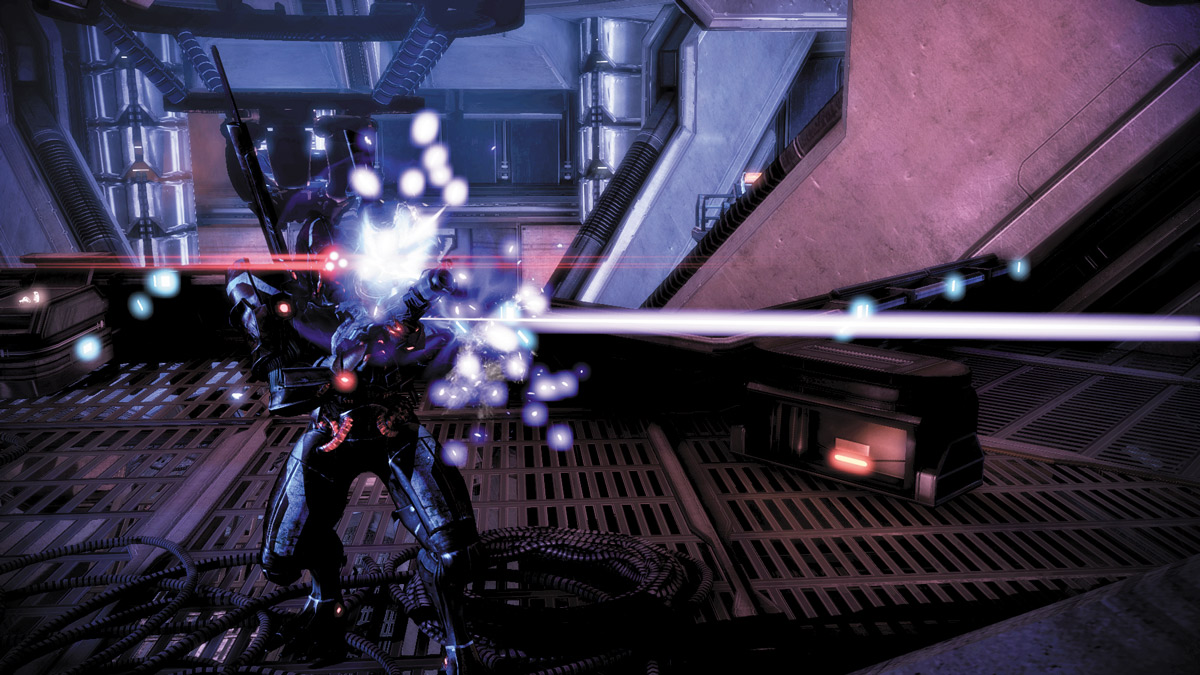
Once the geth Prime is the final enemy, move your squad into position and focus their powers on the Prime.
Use Overload, Warp, and other disruptive powers to get its attention, while you follow up with carefully aimed headshots.
A second wave will arrive after you take down the first geth Prime. Approach it the same way as you did the first, leaving the second Geth Prime for last, then clear the room of all enemies.
APPROACH 2: INSIDE EDGE
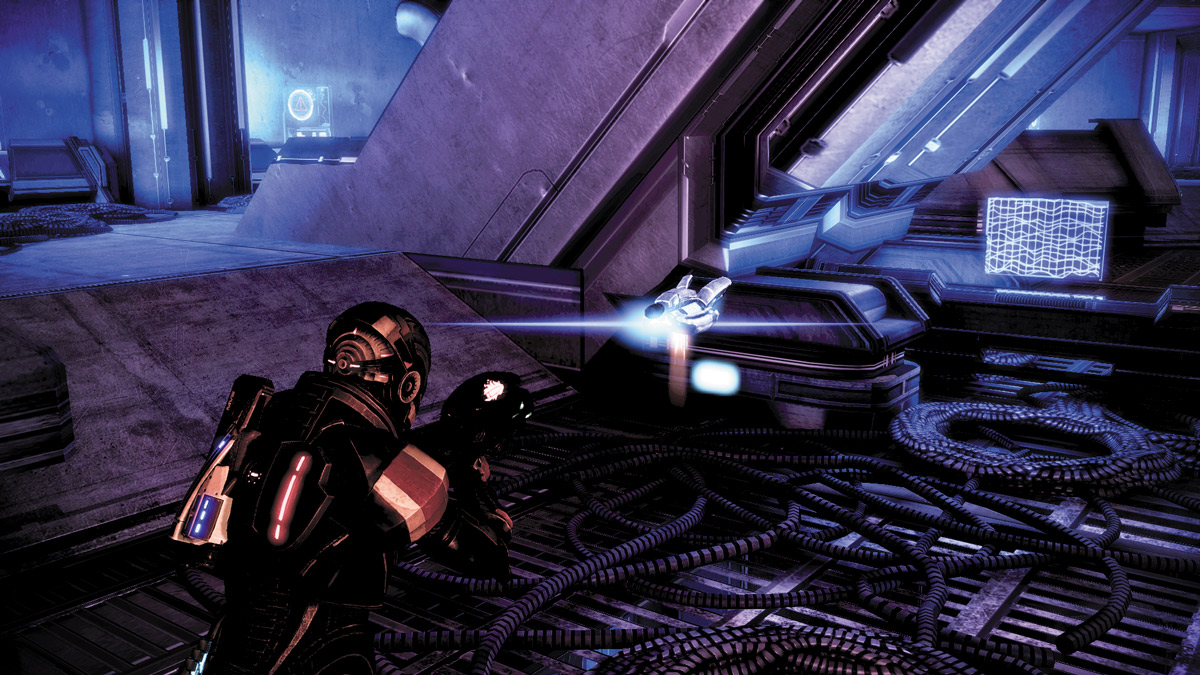
If you lead your squad around the inside edge of the circular platform, you’ll have plenty more cover, but you’ll be forced to keep an eye on your surroundings a bit more carefully.
Since the geth can use the platform’s outside edge, they’ll be able to move through it freely and get much closer to you before firing.
Avoid getting ambushed by funneling enemies out of the outer edge and into your line of fire.
Use combat drones, Singularity fields, or grenades to make the outer edge a less hospitable place for your foe.
When they come into view near the platform’s inside edge, open fire and take them down. You may even be able to use covert takedowns if they attempt to take cover directly across from you.
Once the Geth Prime is by itself, you’ll have to rely on well-placed long-range shots to take it down, since it’ll probably stay behind cover on the room’s outside edge.
Once again, use a combination of disruptive powers and weapons fire to take it down and usher in the next wave of geth attackers.
Stay behind cover and use the same tactics on the second wave that you used on the first, then clear the room.
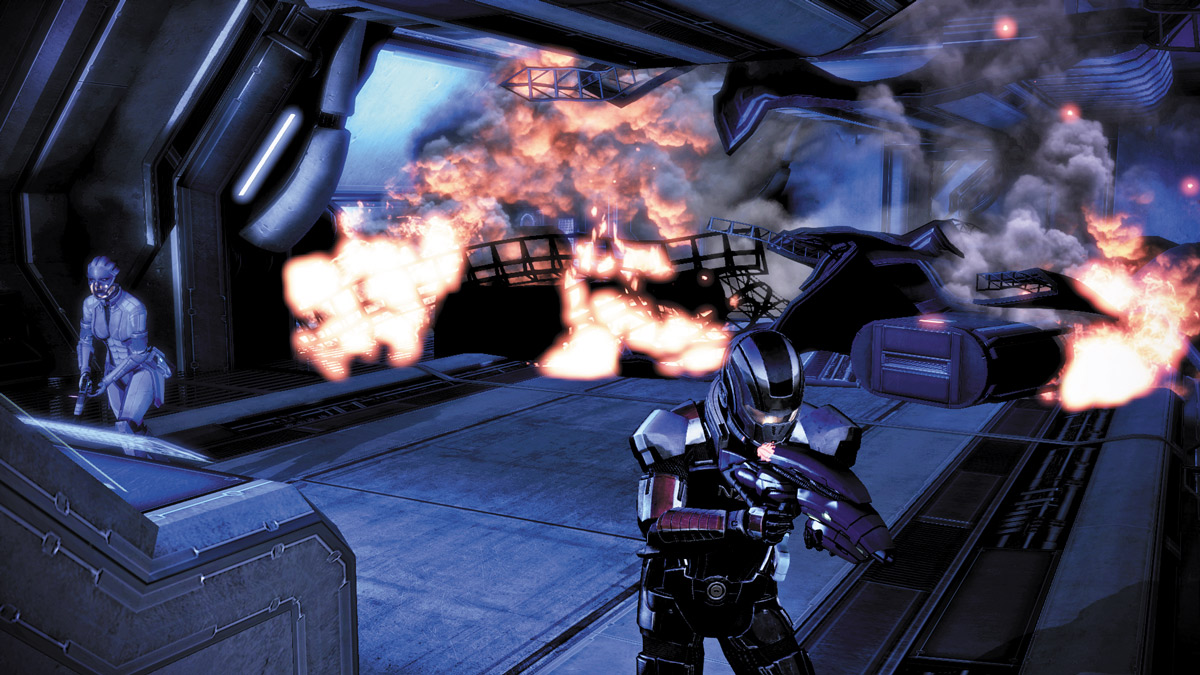
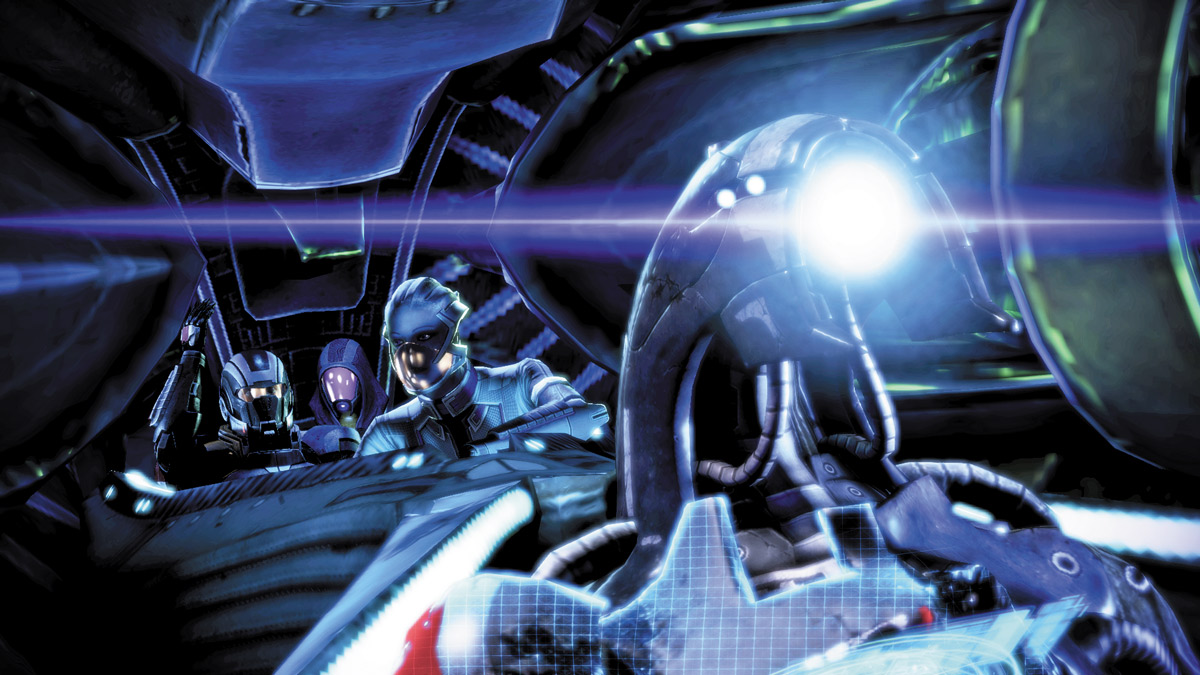
The Dreadnought begins to come undone under the quarian fleet’s fire, but you’ve freed the geth, so your mission here is complete.
Since the geth don’t use escape pods, your only chance to escape the ship before it crashes down around you is to sprint to the hangar and board a fighter ship.
Go down the ladder and sprint toward the door on the left side. Rush out of the exploding ship and keep running no matter what.
As the ship explodes, potential pathways will close before you reach them, leaving only one path for escape.
When you reach the long walkway, it’ll give out underneath you and send you tumbling down to the lower level.
Get up, make a right, and follow the walkway back up to the top level where you’ll meet with Geth VI, your new geth ally you just liberated.
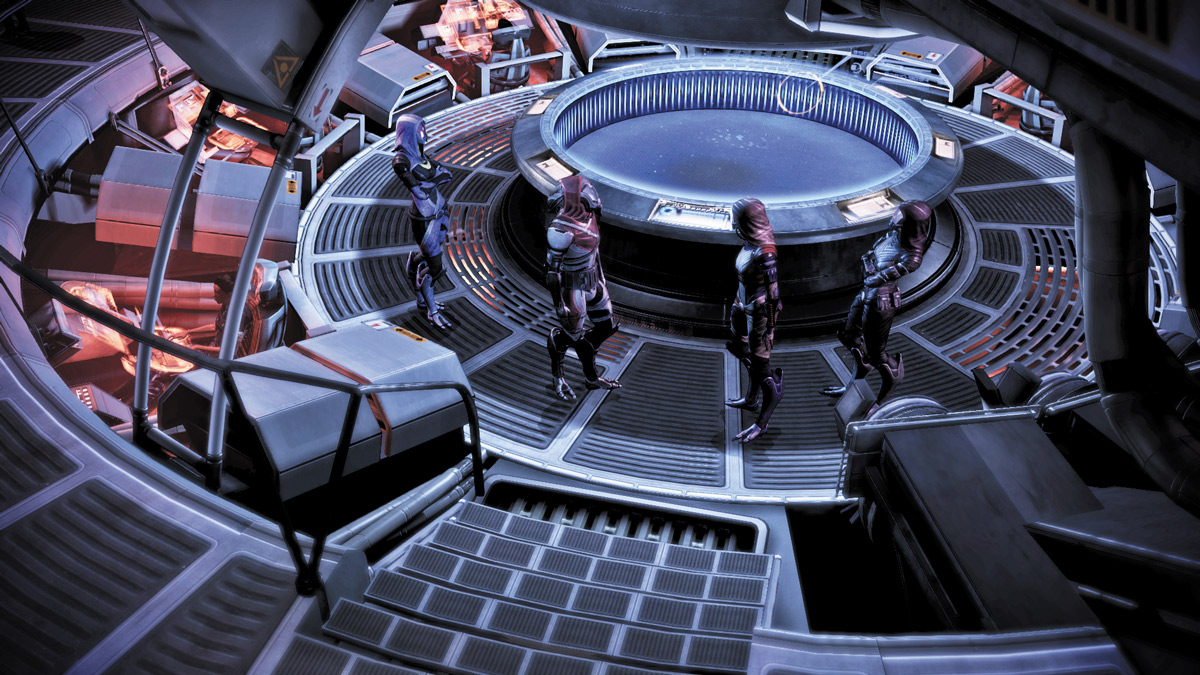
Back on the Normandy, the quarians are at each others’ throats again.
Prior to speaking with them, Admiral Hackett reminds you that the war needs the quarian fleet, so you’ll have to do what is needed to secure their help.
When you encounter the quarreling quarians, you can either escalate the argument and gain some Renegade points, or play nice and earn Paragon points.
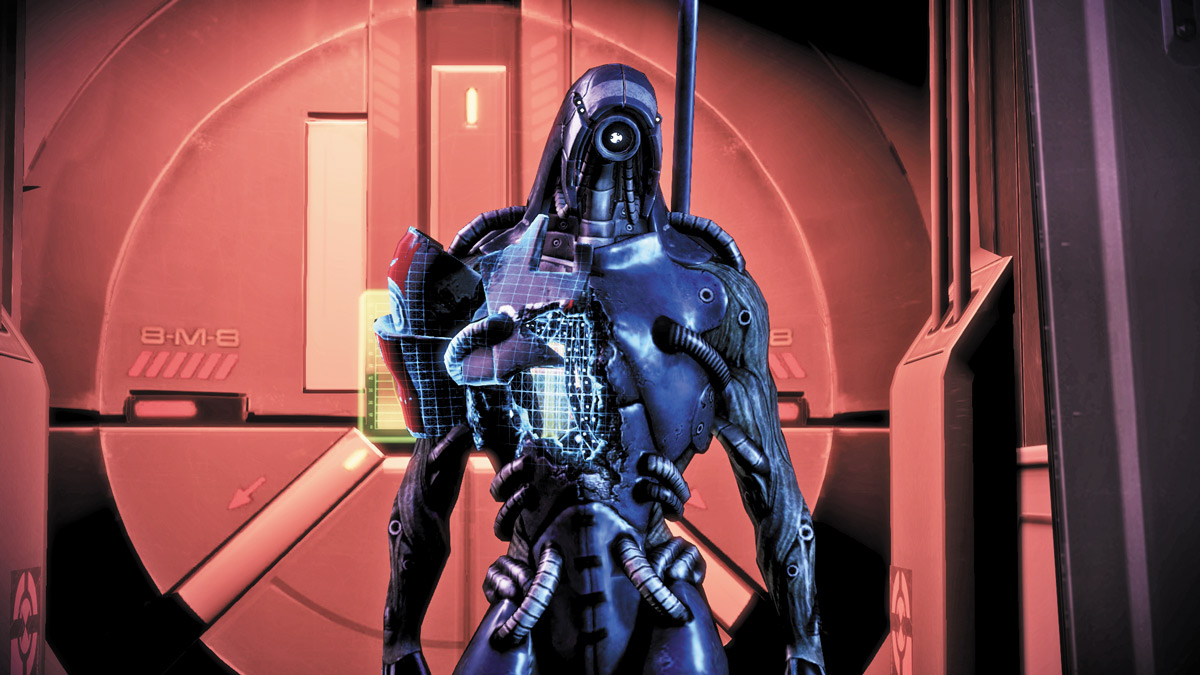
When the quarians see the Geth VI, they immediately begin making plans to dismantle and study it. Your response will give you another chance at Paragon or Renegade points.