
Mass Effect 3 Guide Walkthrough Side Missions
Arrae: Ex-Cerberus Scientists


Commander Shepard is not the only ex-Cerberus employee angered by the organization’s turn to brutality.
Shepard’s old squadmate with Cerberus, Jacob Taylor, has helped a cadre of like-minded scientists led by Dr. Brynn Cole break free of the organization and go into hiding on the planet Gellix.
They have offered Alliance command their services in exchange for their safety. Unfortunately for these scientists, Cerberus is on to them and has sent forces to intercept them before you arrive.
BREAKING THE SIEGE
On the flight in, Lieutenant Cortez informs your squad that Cerberus is not only at the facility, but also that heavy reinforcements are expected to arrive within minutes.
The situation on the ground is growing desperate for the scientists, and for Jacob Taylor.
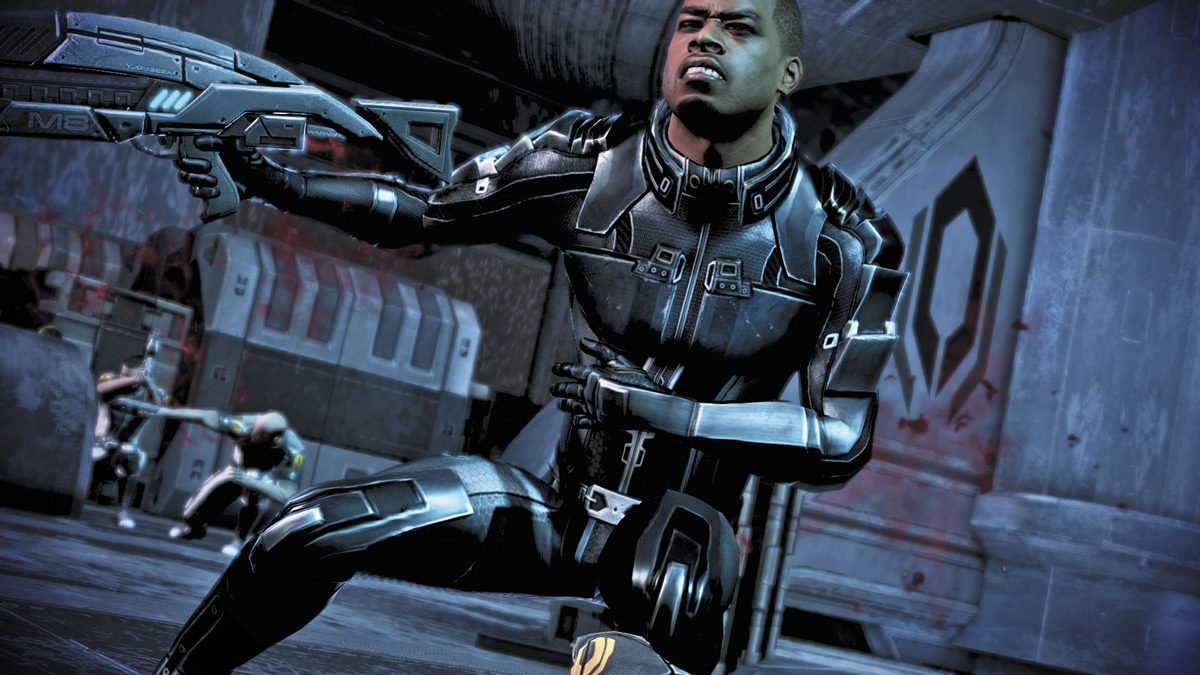
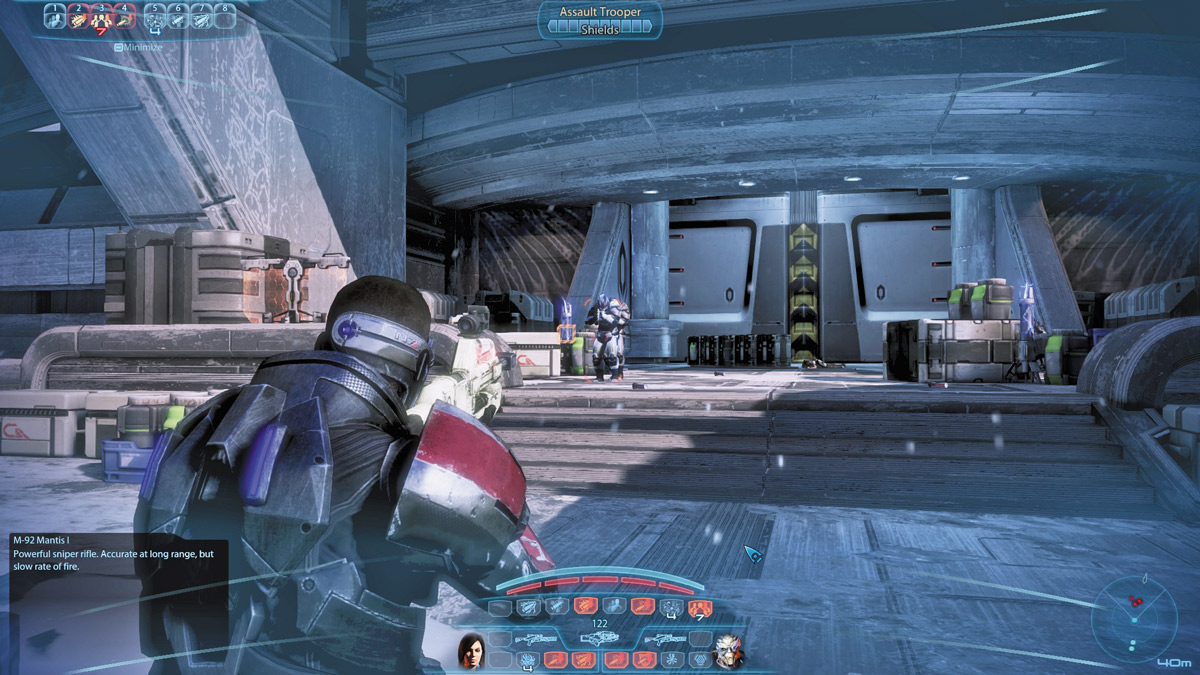
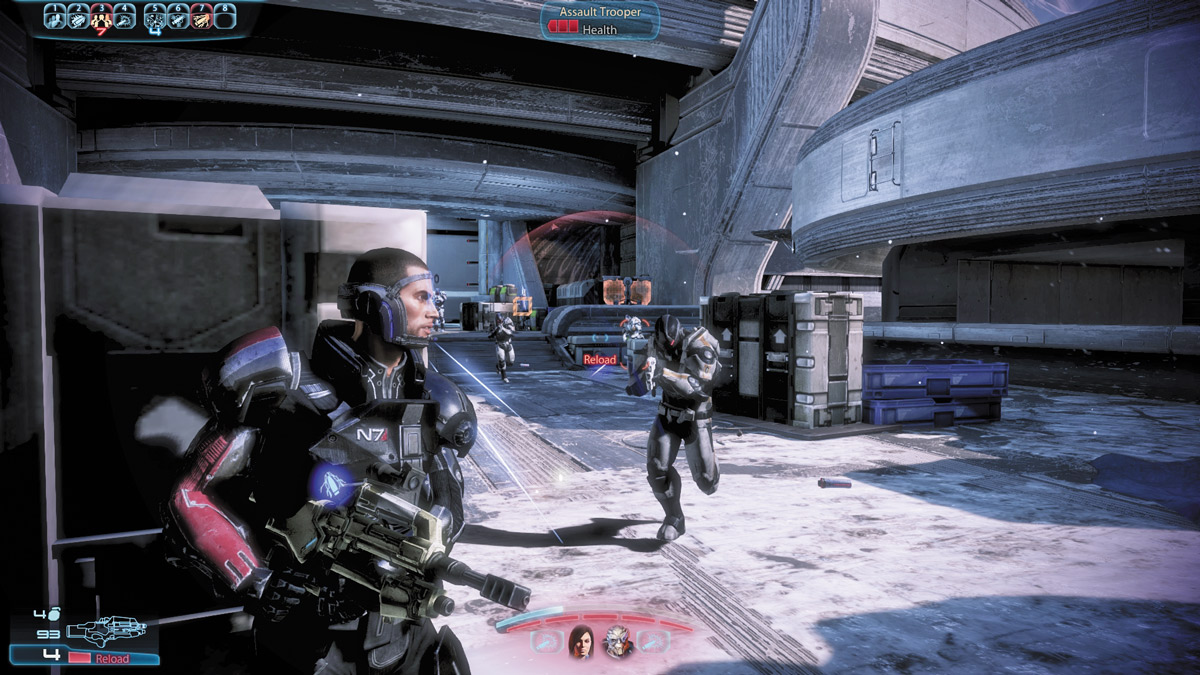
The firefight at the facility’s gates is made more complex by the fact that the Cerberus troops have a pair of shield pylons providing additional protection to them.
Take them out of the picture, then go to work on the troops. Alternatively, you can charge straight into the pylon’s area of effect and use them to stand your ground while going toe-to-toe with Cerberus.
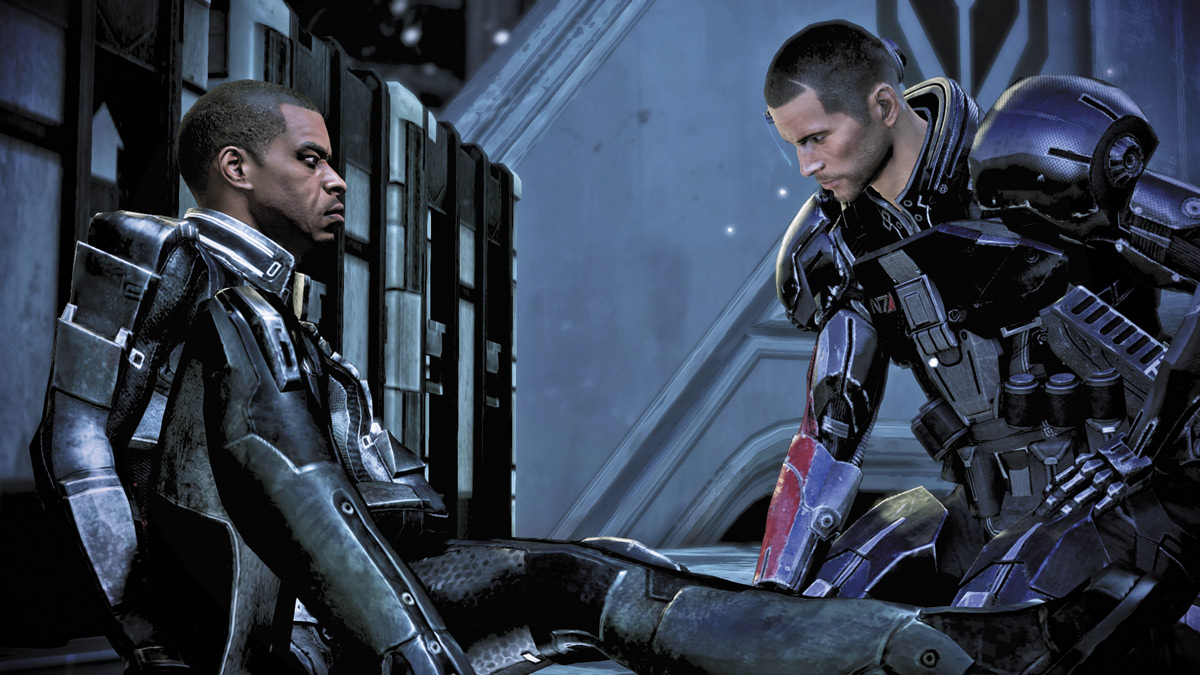
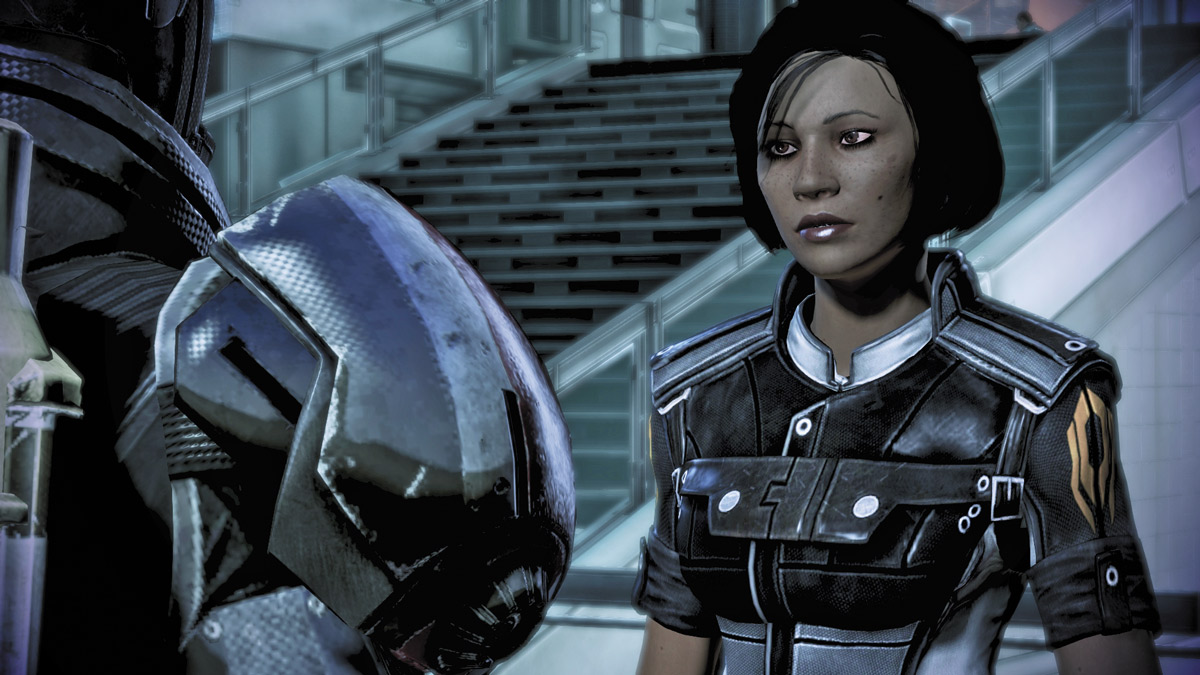
After beating back the attack, speak with Jacob to get the front gate open, where you meet with Dr. Brynn Cole. She informs you that her group split from Cerberus when it became obvious that they were being killed off after their usefulness to the organization had dried up.
Explosions begin to rock the facility, and Jacob informs you that the anti-aircraft guns on the roof are disabled and need to be back online if the evacuation is to proceed.
GATHERING
In the first area of the base, talk to the various scientists to gain additional Reputation points and information about what is going on. After climbing the stairs, check the nearby tables for a datapad worth 2,500 credits.
As you talk with Dr. Cole and Jacob, it becomes clear that you’ll need to get to the roof to personally fix the guns. Before you leave, speak with both Dr. Cole and Jacob in the infirmary for extra information.
If players with a female Shepard romanced Jacob Taylor, you’ll find that things did not end up working out between the two. He’s moved on, with none other than Dr. Cole herself.
THE ROOFTOP
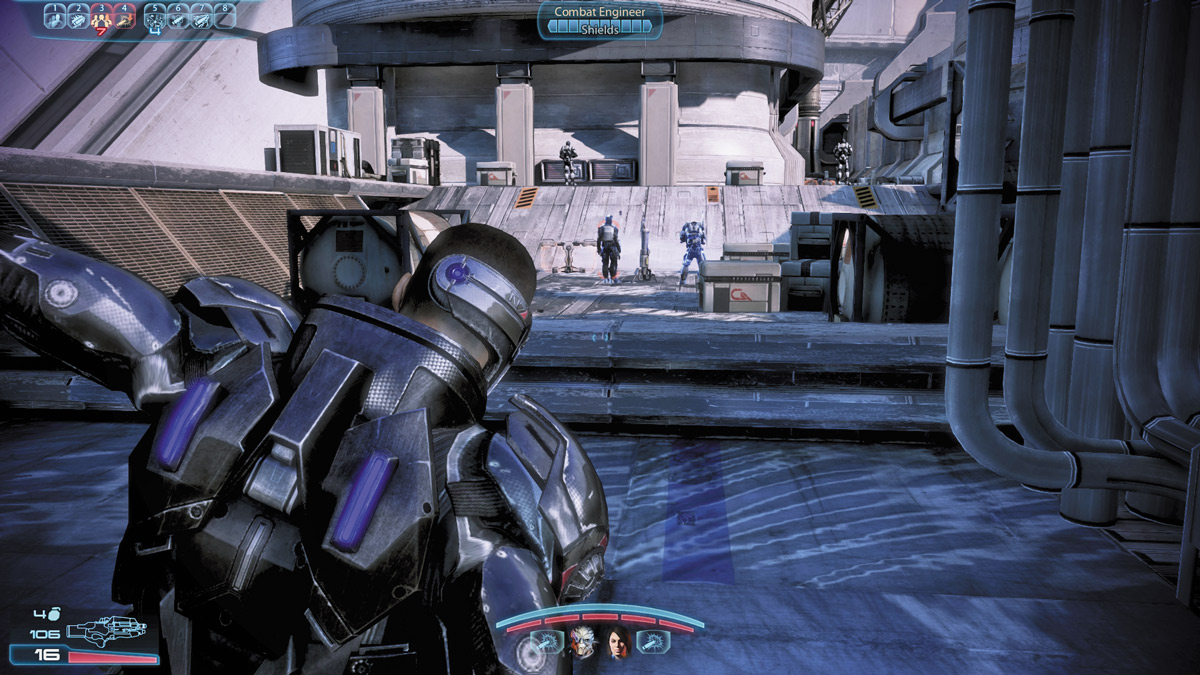
Your first set of enemies is already set up with a shield pylon, but they have their back turned to you. Take out the pylon and the nearby Combat Engineer first, then lay into the rest.
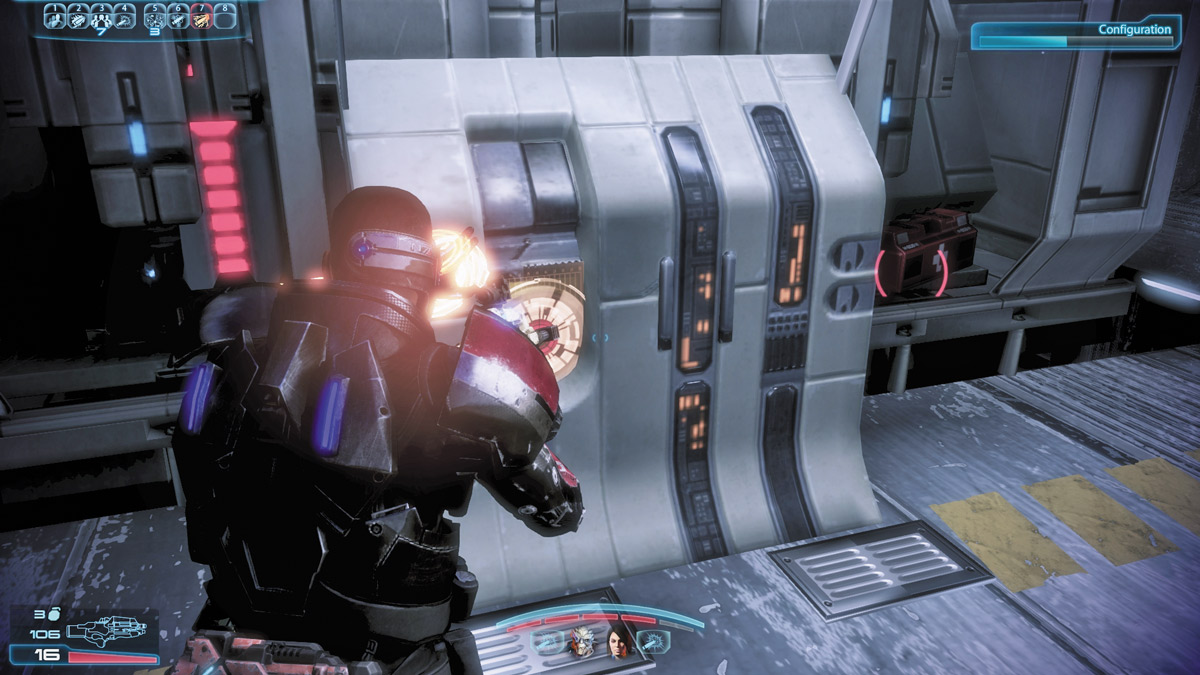
Your first real objective on the roof is to restore the satellite links to the base, and there’s a Cerberus team waiting for you.
Watch out for the Combat Engineer to try and sneak a turret into place atop the stairs. After you eliminate this team, move to the satellite uplink and begin the repair.
A Med Kit and a datapad worth 2,500 credits are also close by.
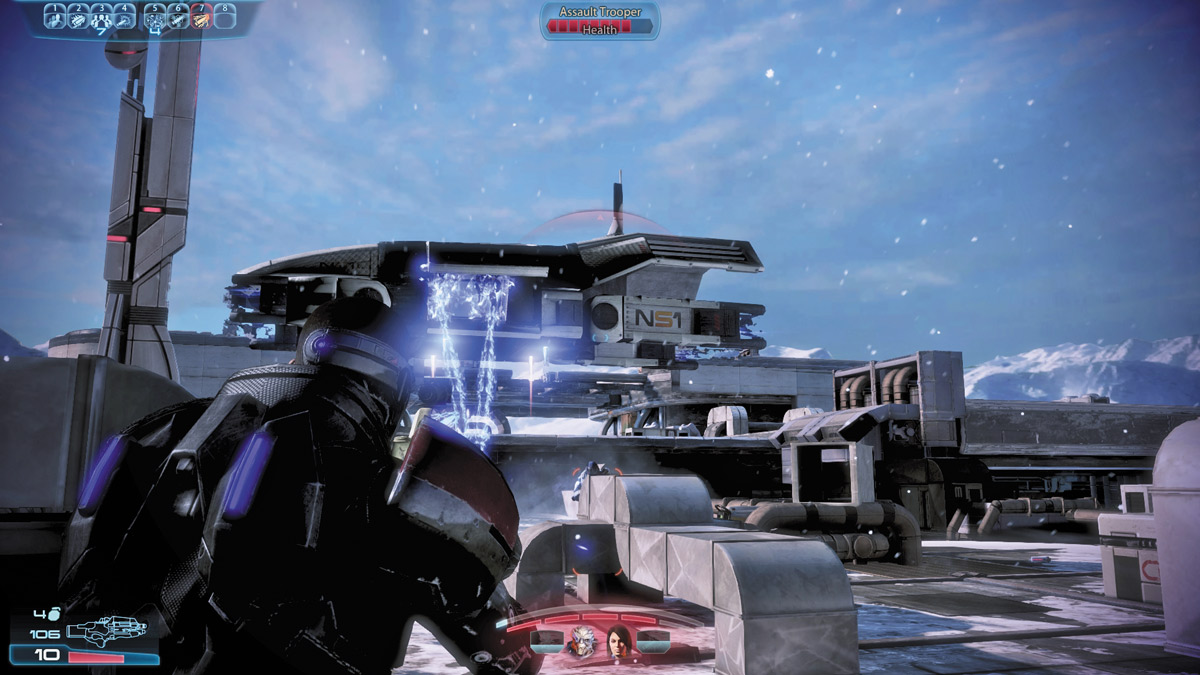
The uplink is restored, but now you must climb farther up the rooftop to reach the AA guns to manually restore their functionality.
Cerberus begins dropping in more troops; one lands directly next to a shield pylon. Try to hit them hard before they exit the shuttles.
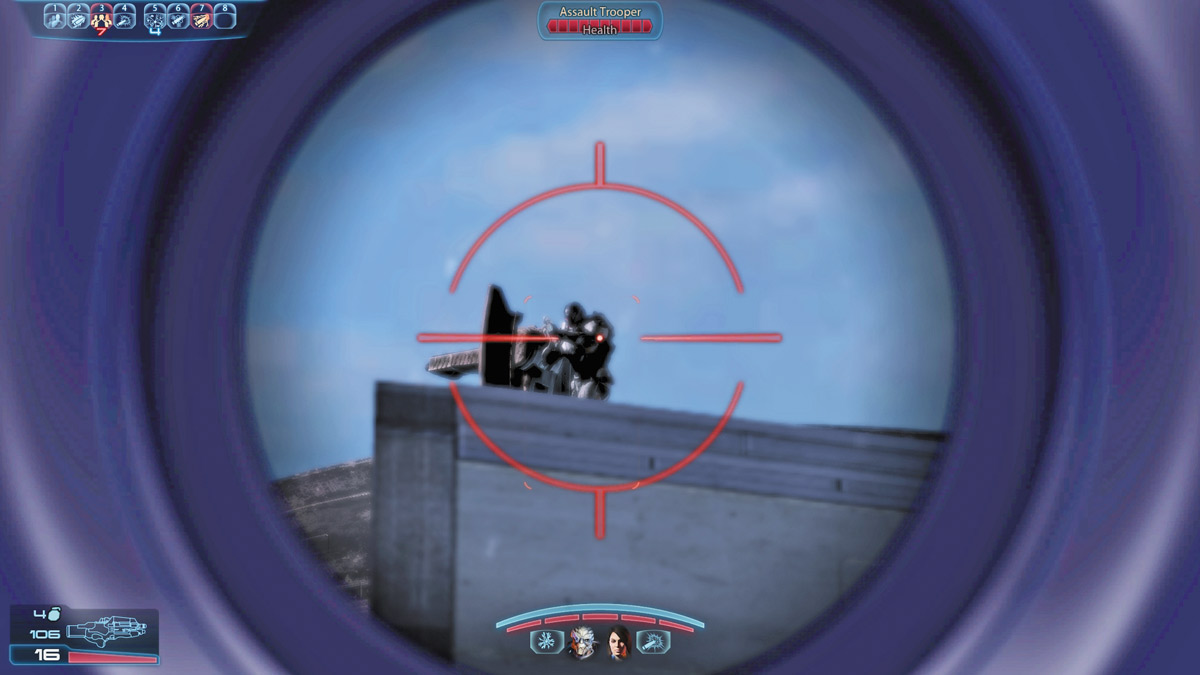
As you climb higher, an Assault Trooper takes up a mounted gun on an elevated section of the roof. The fire may not seem accurate at first, but do not tempt fate.
Once he draws a bead on you, the gun can shred your whole team in seconds. Another Med Kit is located on the final section of the roof before you climb up the gun towers.
ACTIVATING THE AA DEFENSES
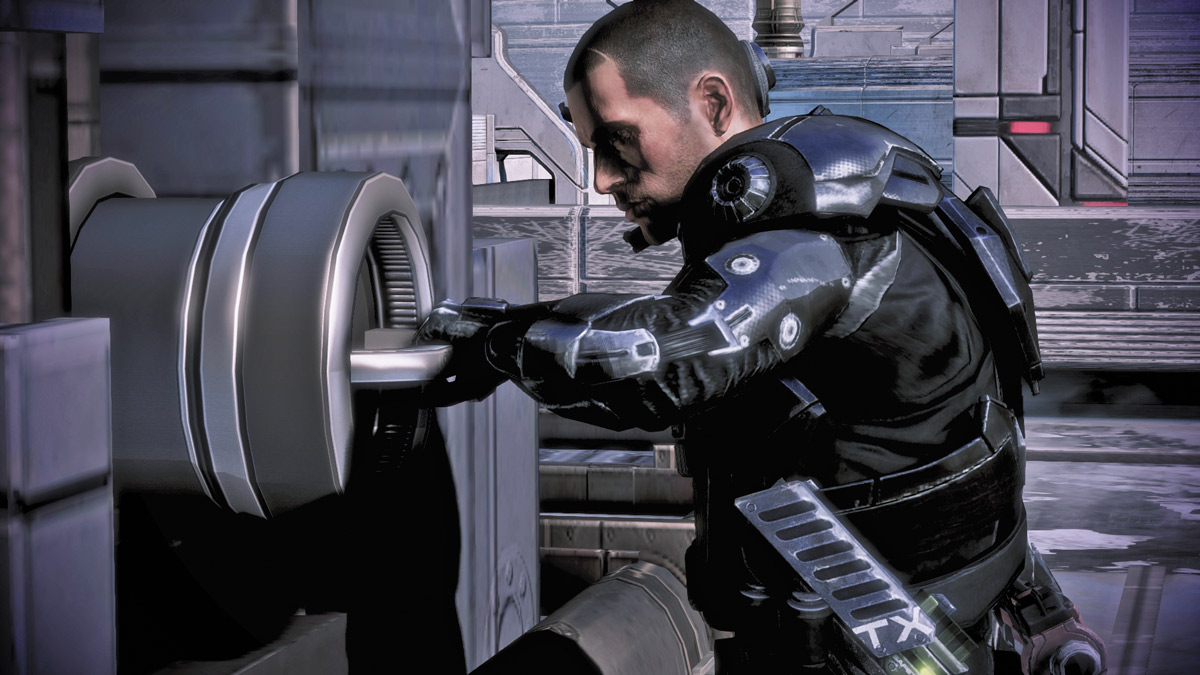
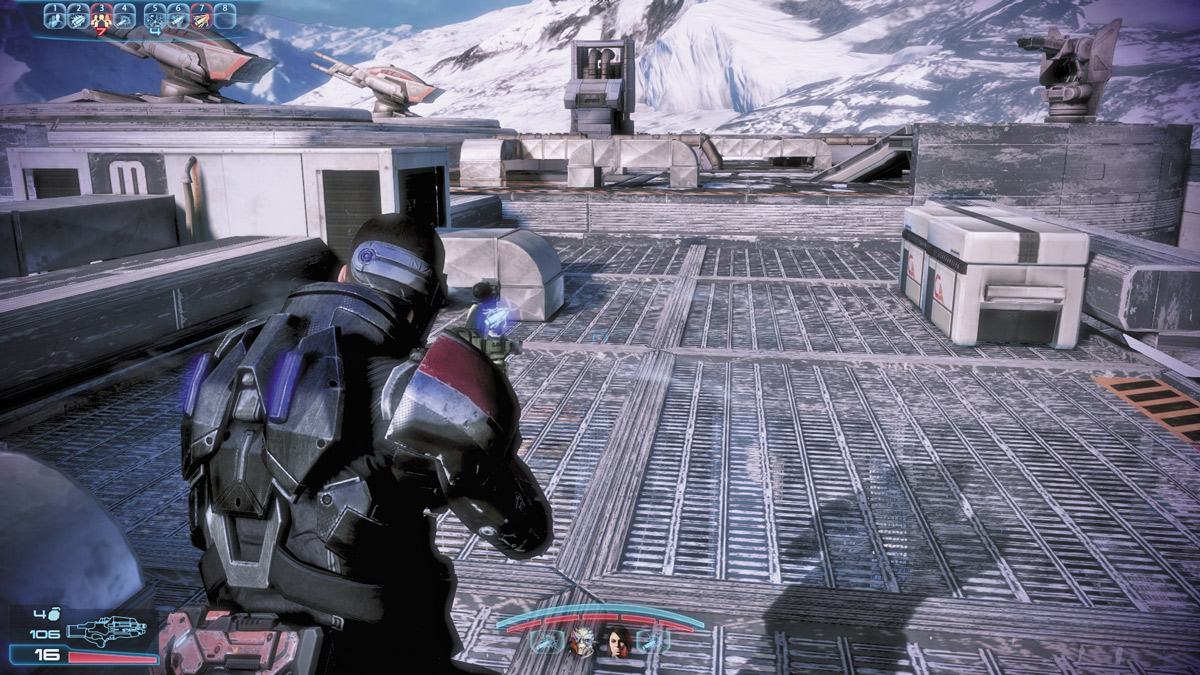
Climb up the undamaged ladder to the first AA gun and activate it. Cross the walkway connecting the two towers and head toward the second gun to restore it; then prepare for another fight.
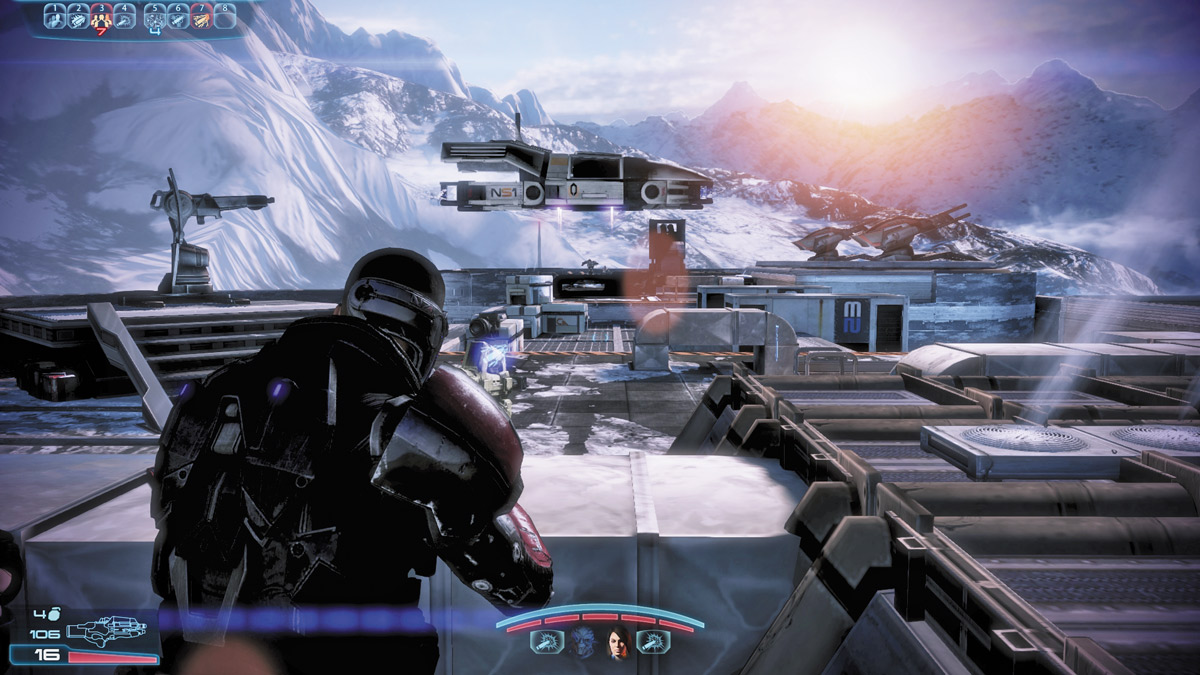
The second gun is seriously damaged, and one member of your squad will need to stay back to repair it while Cerberus sends in the cavalry to stop you.
Fortunately, you now have access to the same mounted gun that was used on you minutes before, and you will want to put it to work.
Cerberus Phantoms are among the units deployed here, and their instant-kill sword technique is not something you want to deal with.
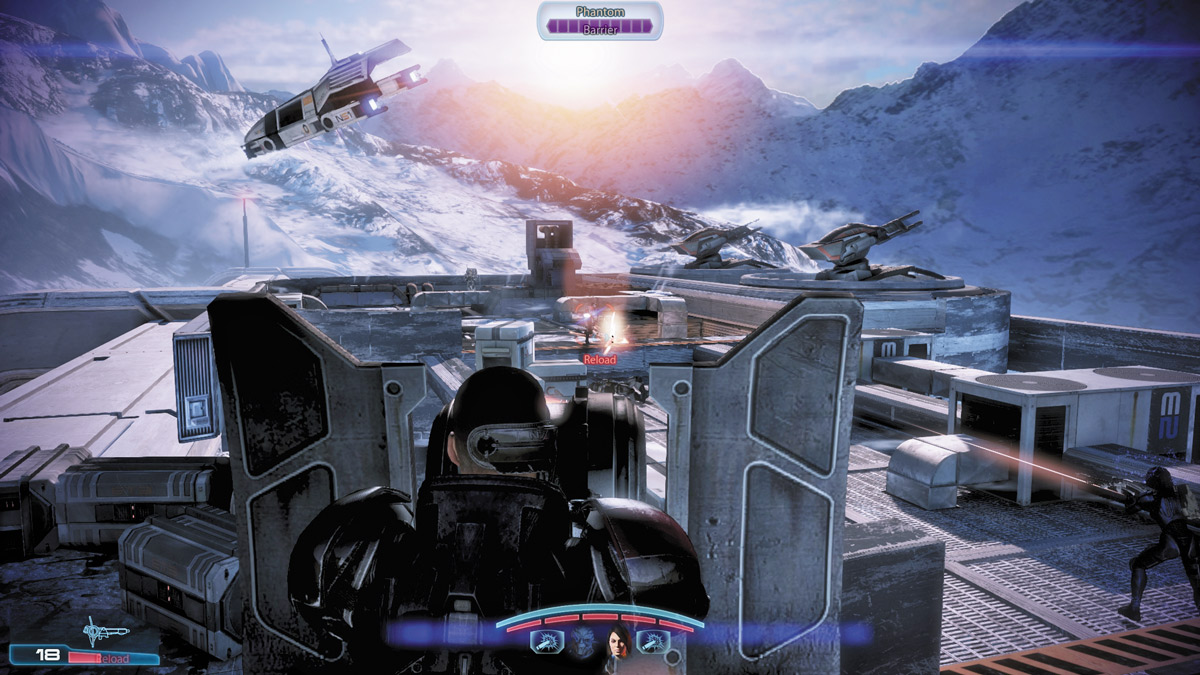
After several waves, the gun is repaired, and you need to go back and reactivate it. Once you do this, the mission automatically takes you back to the lab.
BREAKOUT
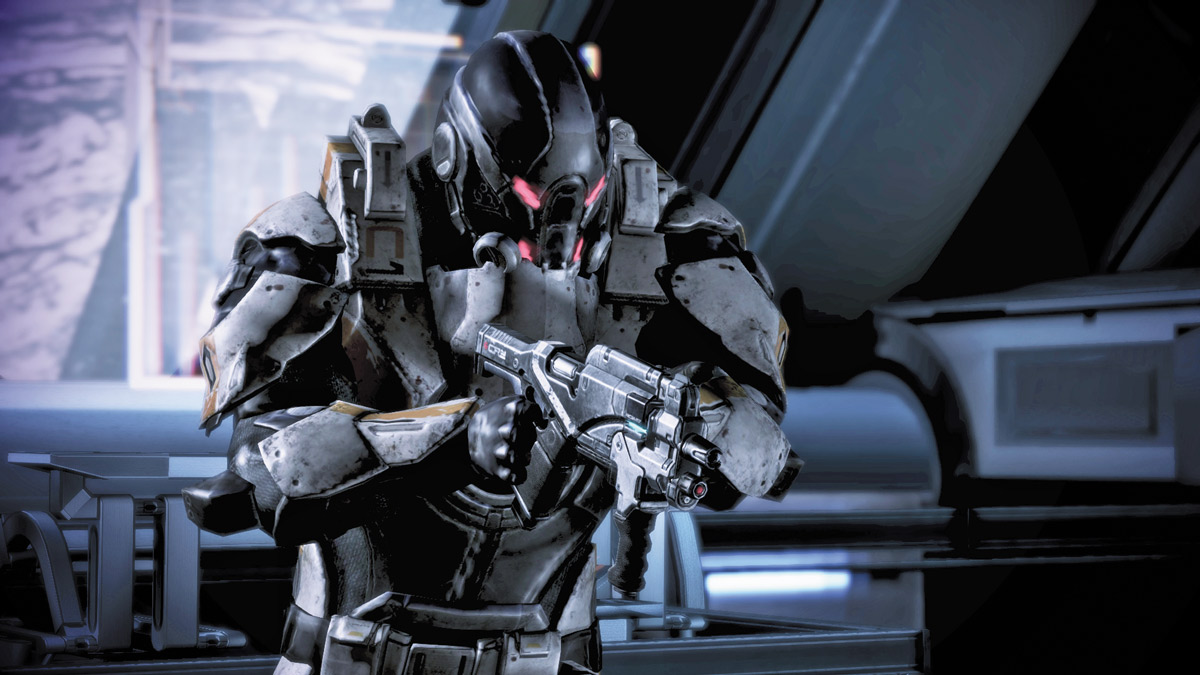
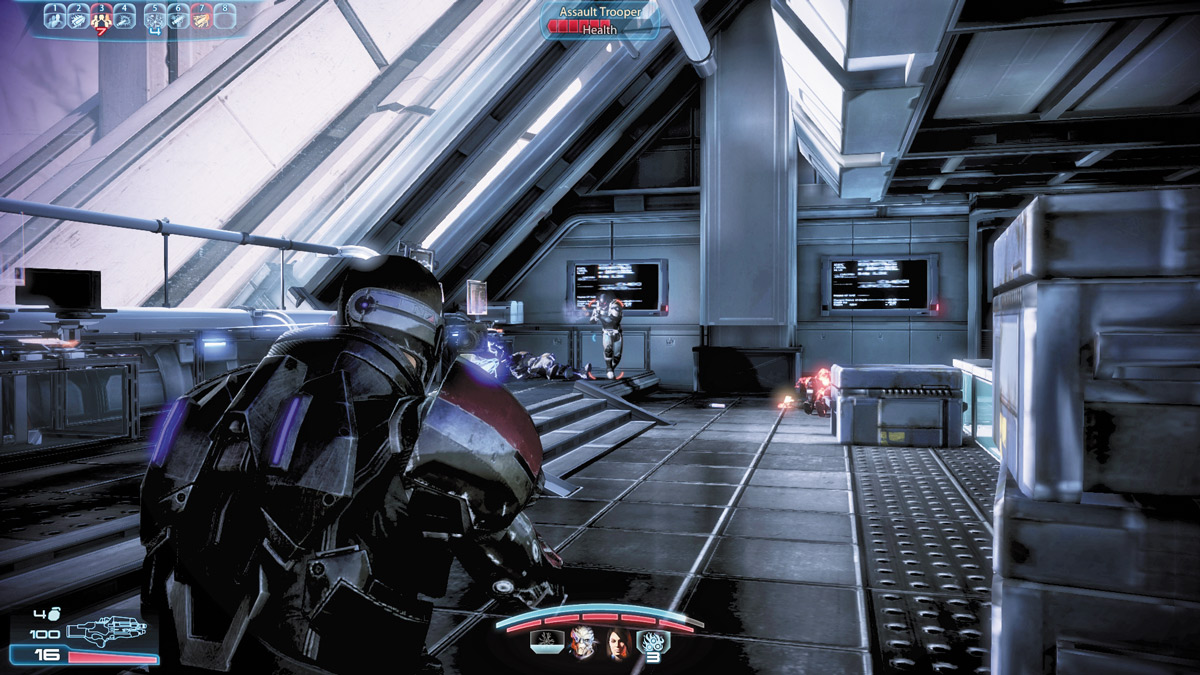
Once back in the lab, make a final sweep to ensure you’ve missed nothing, then activate the console pointed out by Dr. Cole to begin the evacuation.
Cheers of elation from the scientists become cries of fear as Cerberus Assault Troops break through the glass of the base and begin a direct assault on the lab.
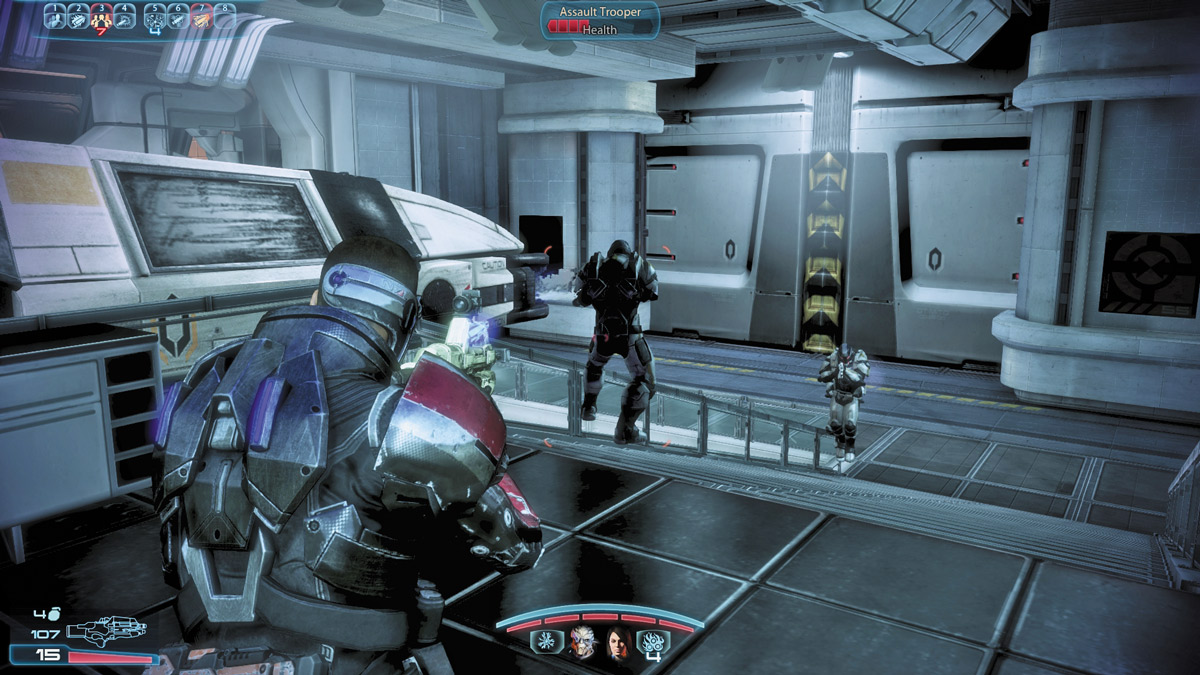
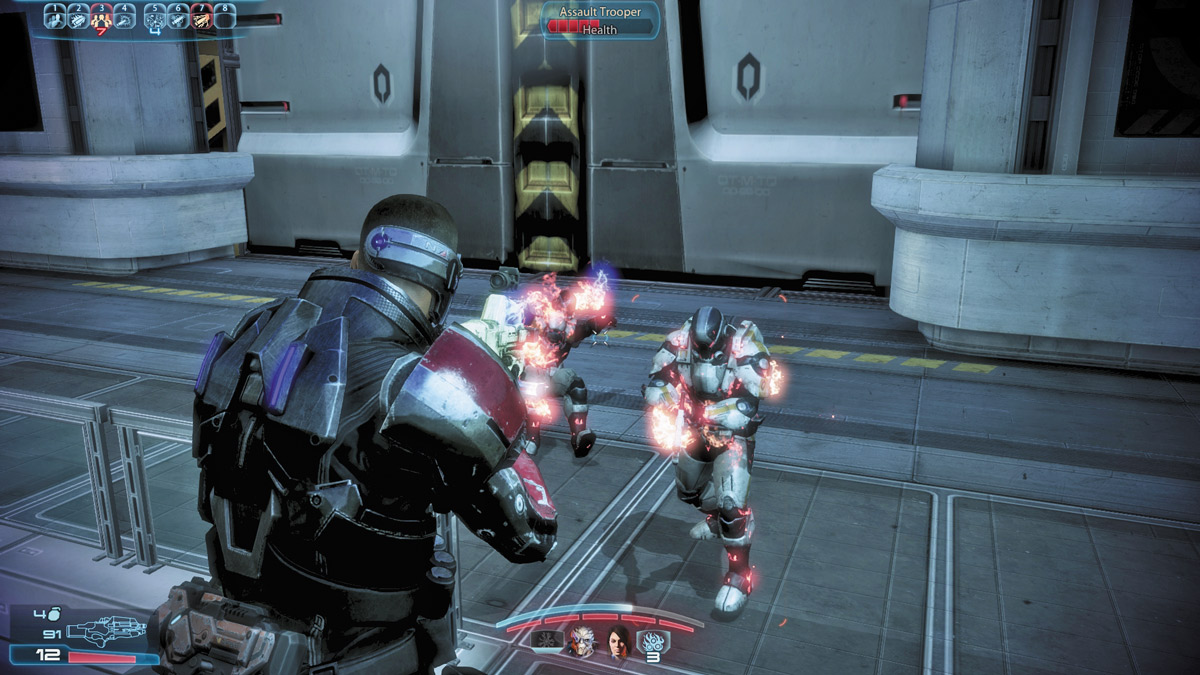
Once the lab is clear, get downstairs and help the scientists take out any Cerberus troops in the launch bay for the escape shuttles.
The bay doors will open, allowing your squad back outside to deal with the gathering Cerberus forces.
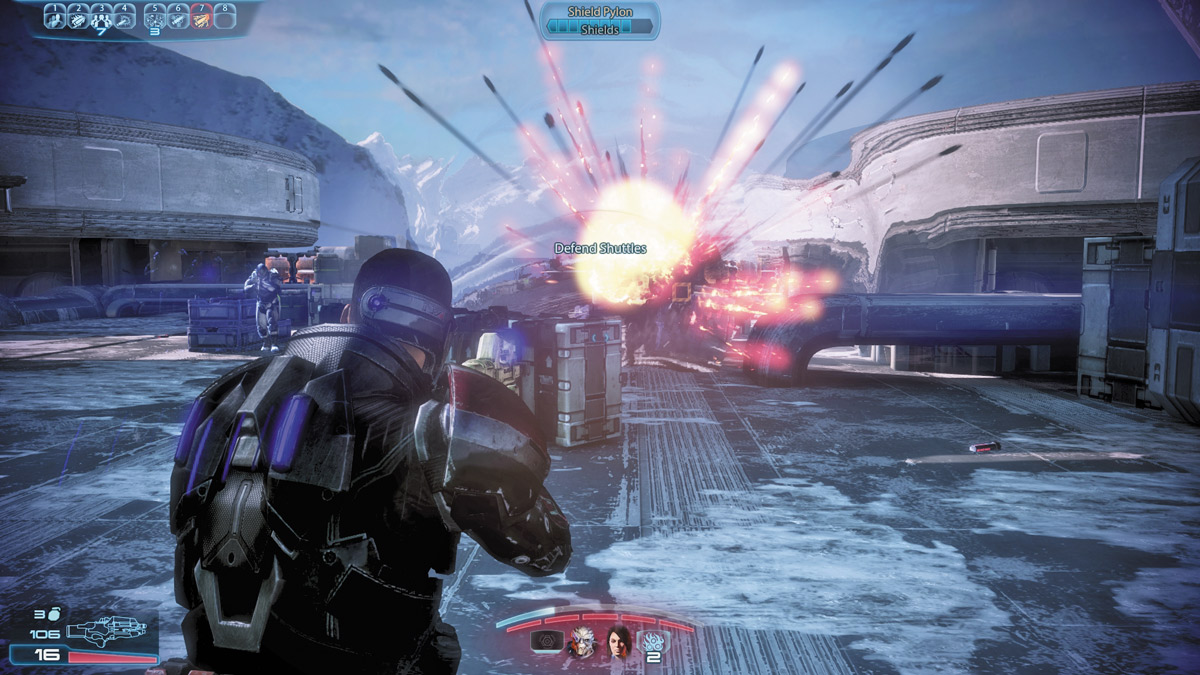
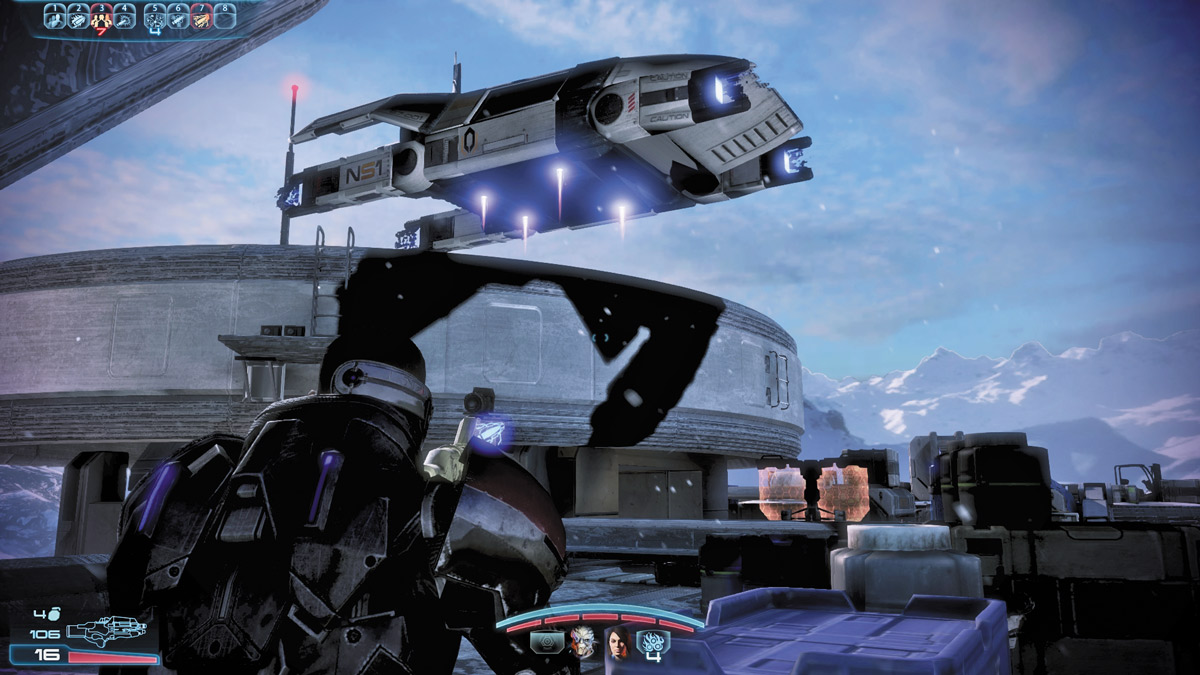
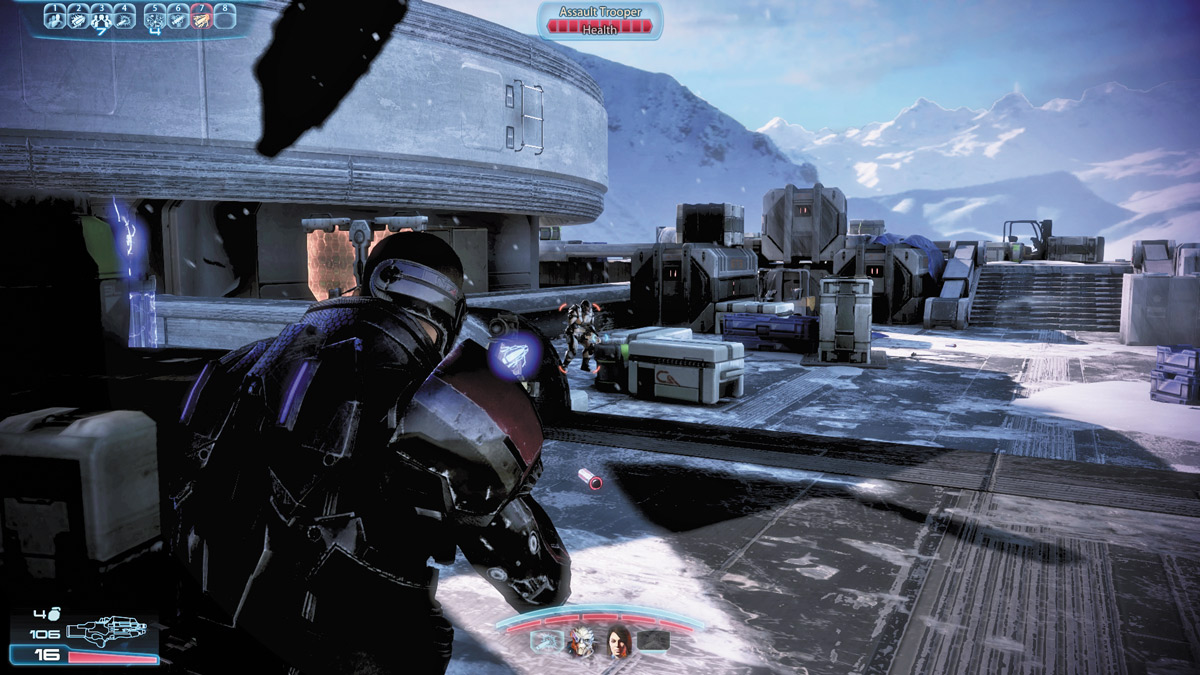
Expect very heavy resistance, with shuttles dropping off reinforcements directly in front of you and atop the two towers flanking the bridge that leads to the landing pad.
Try to use the shield pylons the enemy set up, but if you’re unable to safely push forward, it’s best to simply destroy them and deny them access to those bonuses.
Watch for Phantoms trying to stealth their way up close to your position while you are preoccupied with other threats.
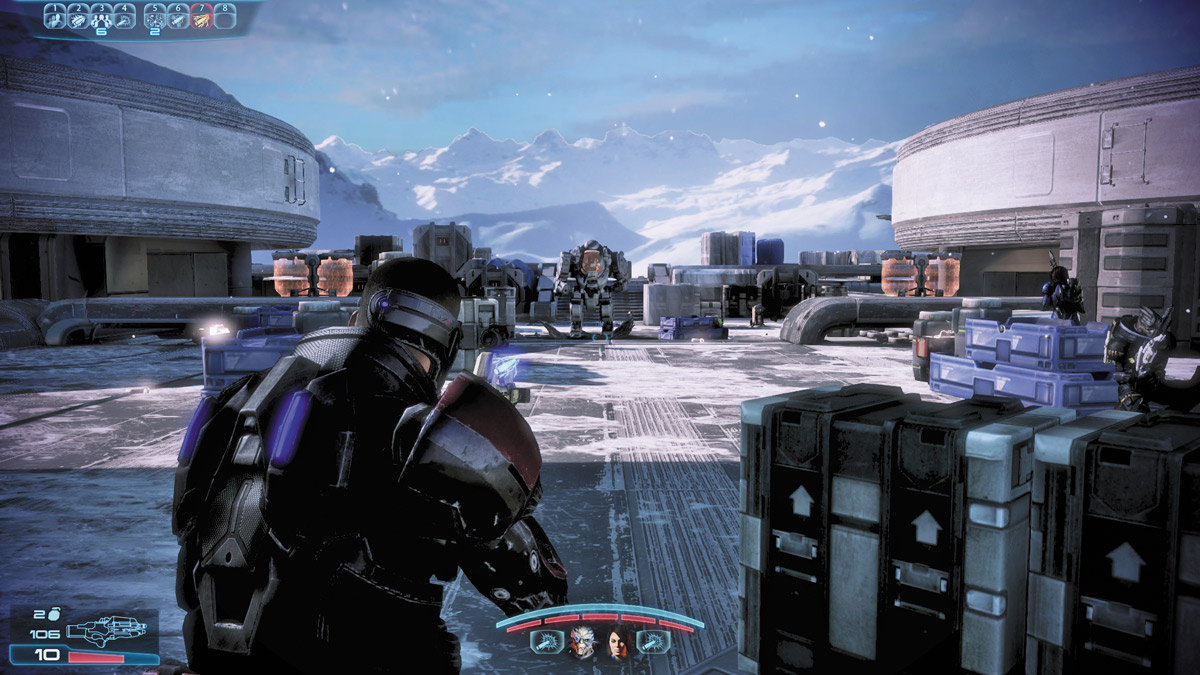
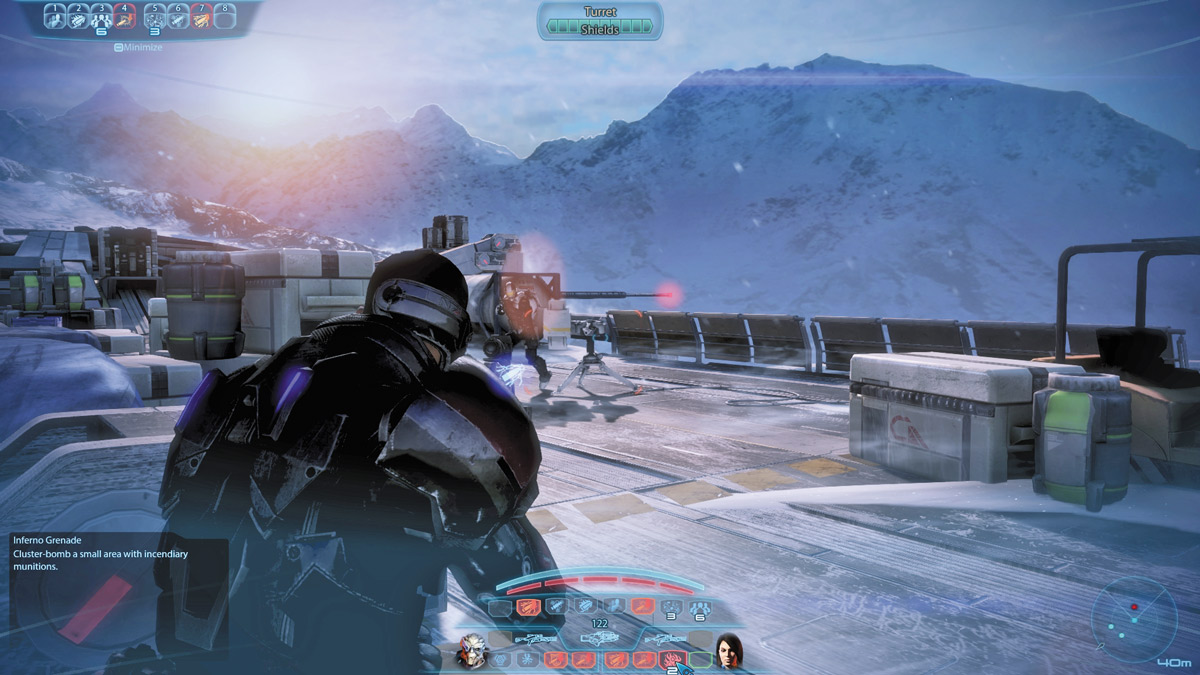
Capping off this massive assault is an Atlas, but you’re still not completely out of the woods yet. Rush toward the landing pad, but watch your left flank!
Occasionally, a Combat Engineer will try to ambush you with a turret that covers the entire run to the evac point.


Once you eliminate all hostile forces, the mission is complete. Your squad narrowly escapes an army of Cerberus troops, with some help from Jacob and Dr. Cole.
If there were any doubts regarding the value Cerberus had for these scientists before, there shouldn’t be any now.