
Mass Effect 3 Guide Walkthrough Act 2
Reaper Base
The Reaper base is heavily defended by geth still carrying Reaper code and enhancements, so you’re greeted by a large squad of geth guarding the entrance to the base. Take cover behind the small partition and order your squad to do the same. Leap over the wall into the next small section, clear out any geth in your way, and order your squad to advance.
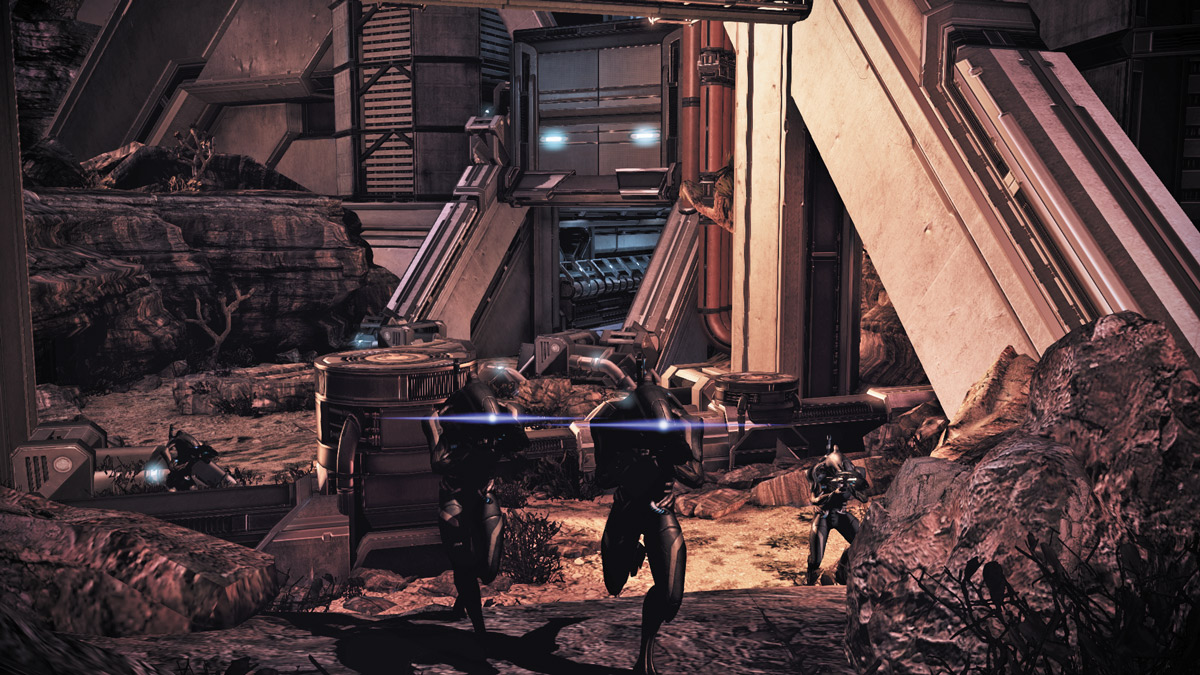
Spread your squad along the wall’s left section while you take the far right end for yourself. From here, you can get a clear view of the enemies’ left side while your squadmates engage them head-on. Use power combinations to weaken the geth’s numbers, then leap over the wall into the next section of the battlegrounds.
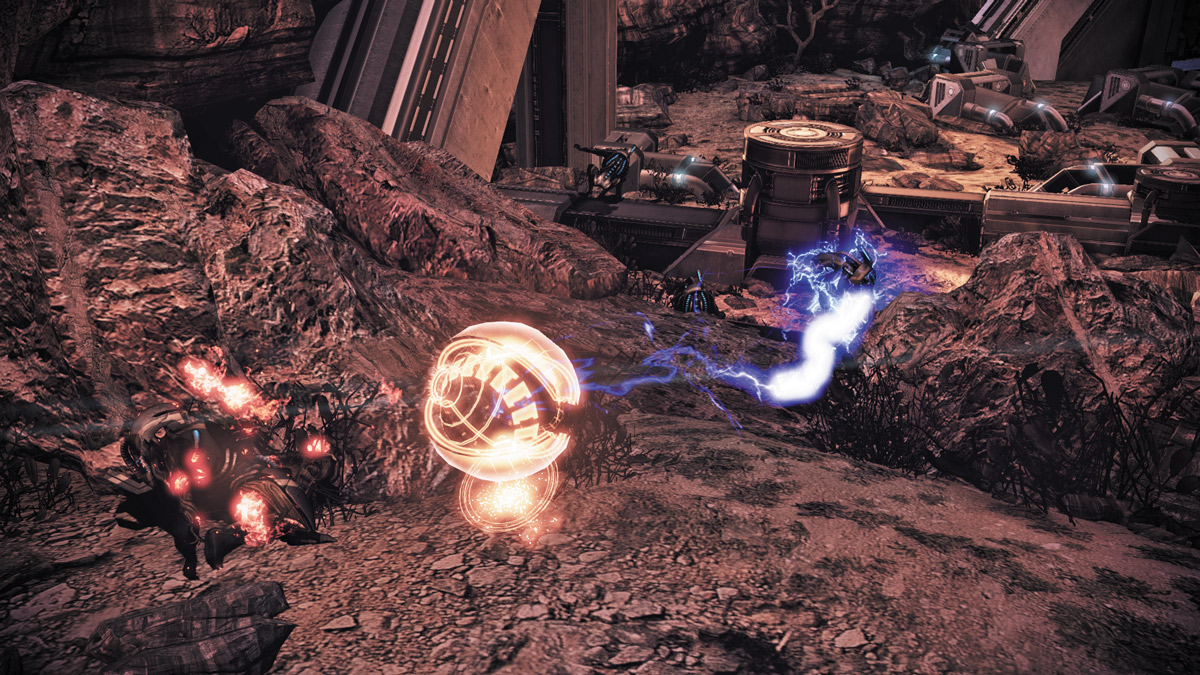
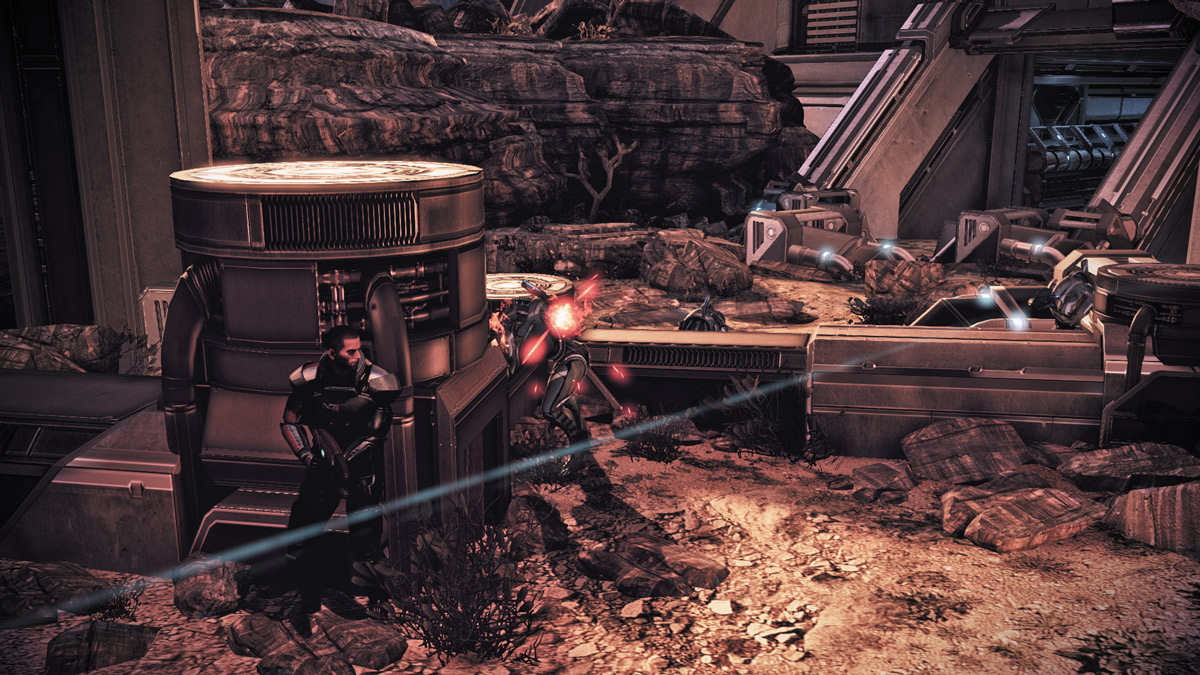
This time, you’ll come upon a large rock structure near the center where you can take cover.
Once again, reach cover and wait for the geth to give you a clear shot. From here, you can either continue to engage nearby enemies or equip a sniper rifle and start picking off the geth near the bottom of the battlegrounds area. As you eliminate enemy forces, more come charging in from the far lower end of the base’s entrance.
Use Tali’s drones to attack the geth and give them a fourth target. If you’ve brought EDI, activate her Decoy ability to increase your numbers.
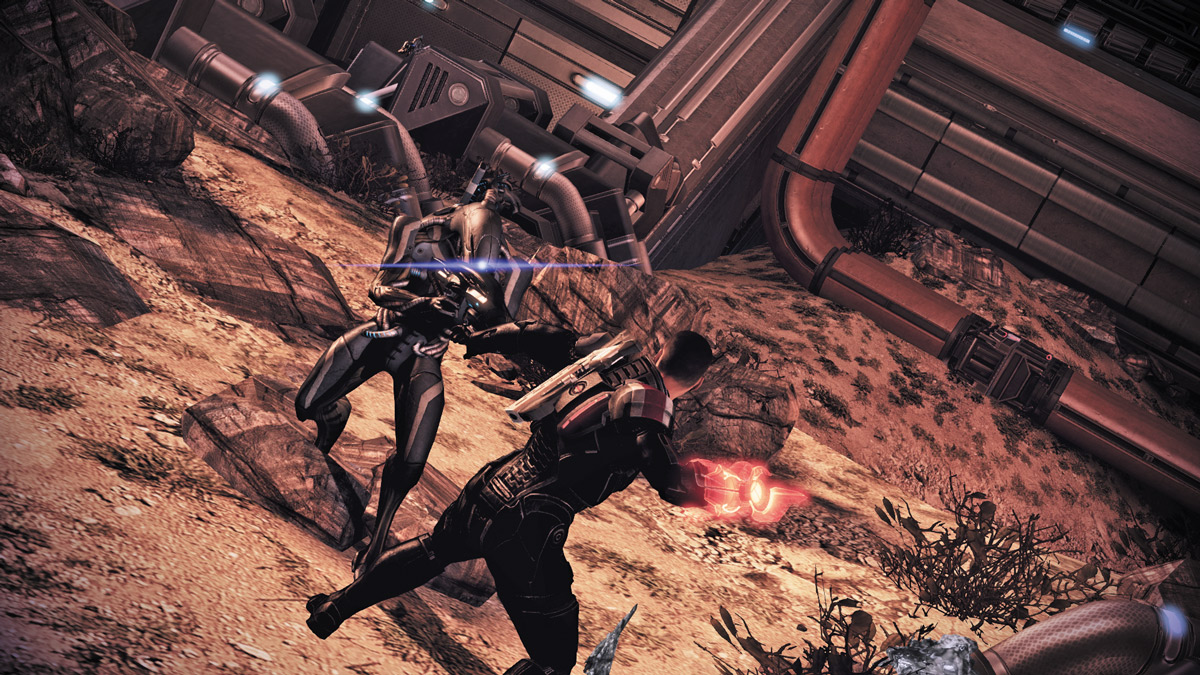
If you prefer close-quarters combat, leave your cover and descend to the lower area. Lead with a few well-tossed grenades or other explosive power combinations to whittle down their numbers, and switch to a good close- to medium-range weapon. Melee combatants can also rush down and engage the geth in melee combat. Vanguards and Sentinels will have the advantage in this area because there is little to get in their way as they rush from enemy to enemy.
SPLIT TOP LEVEL
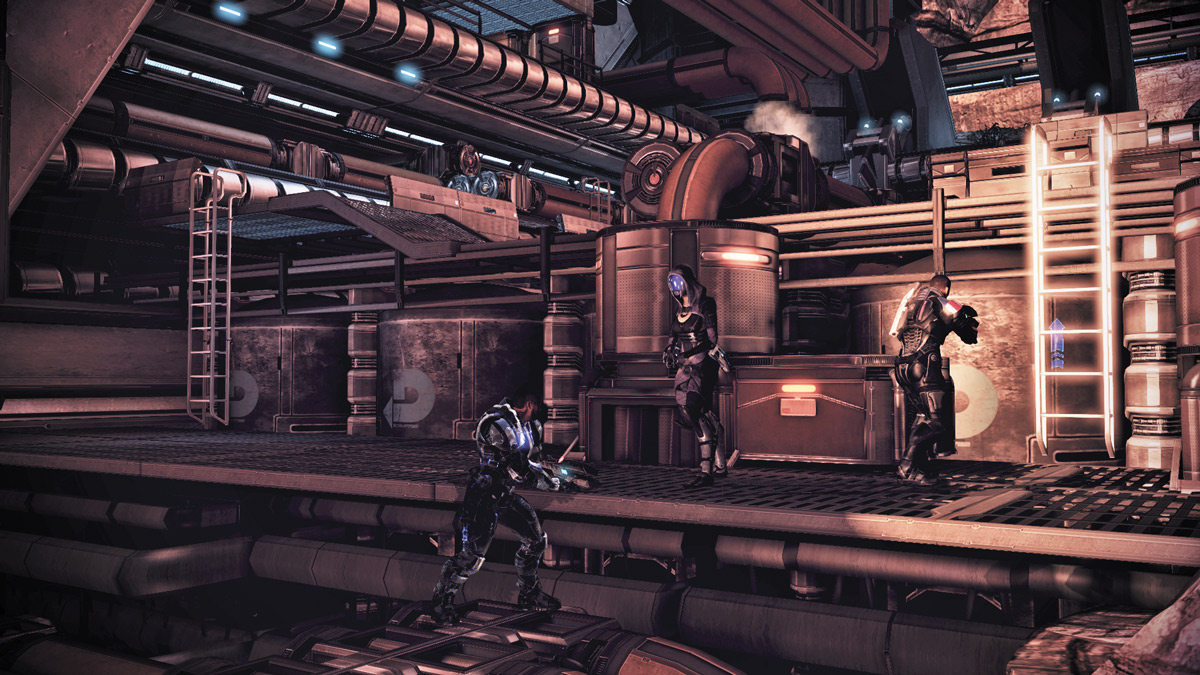
With the area below free of all geth, turn to the long pipes nearby and hop on top of them. Follow the pipes up to a raised platform on the right. This area has two ladders, each one reaching the top platform. Since the platform is split in the center you essentially have two short paths, one starting at the left ladder, another starting at the right ladder.
APPROACH 1: SPLIT UP
.jpg)
When you reach the ladders, go up the right one first and take cover. Order your squad to then go up the ladder on the left. You now have the entire top platform covered. Before you proceed, eliminate the nearest geth, then rush up the pipe on the left.
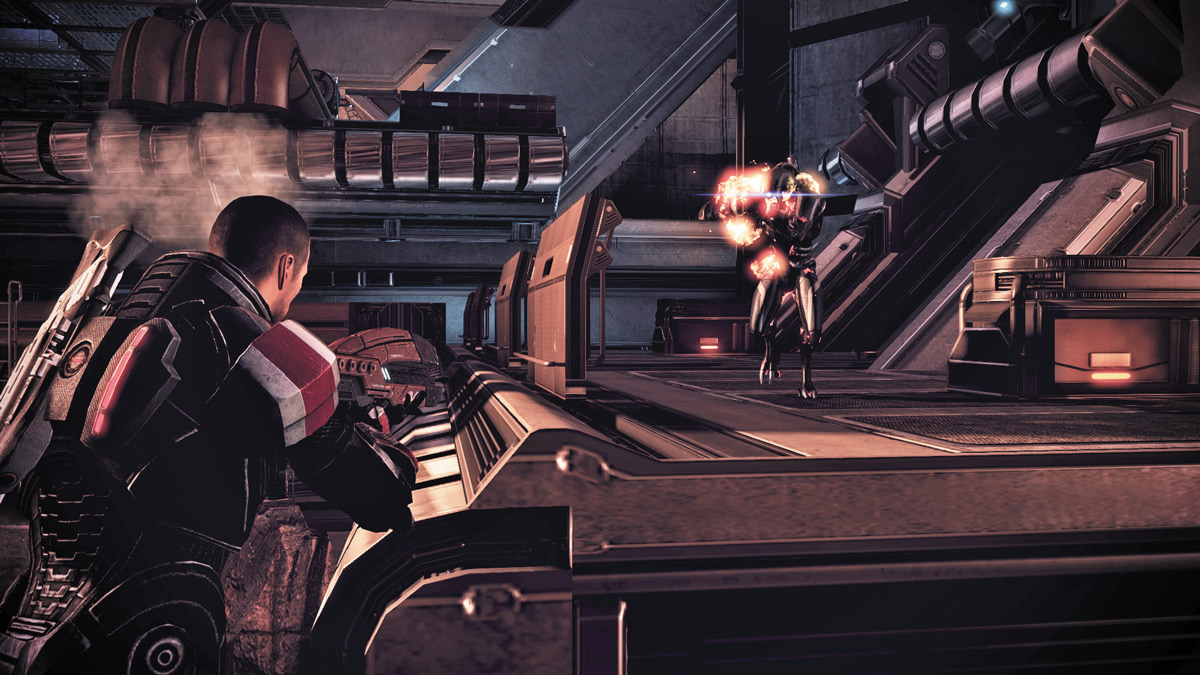
Follow the pipe up to the next section and press the action forward. There’s plenty of cover on this side of the platform, so don’t stay out in the open too long. Since your two squadmates are covering the far left side, order Tali to release a drone near your position to even up the numbers.
Stalk the geth near the platform’s far end, and move up the right platform at the same time that you move your squad up the left. Keep a slow, steady approach forward until you’ve cleared both sides of the platform.
APPROACH 2: STAY LEFT
.jpg)
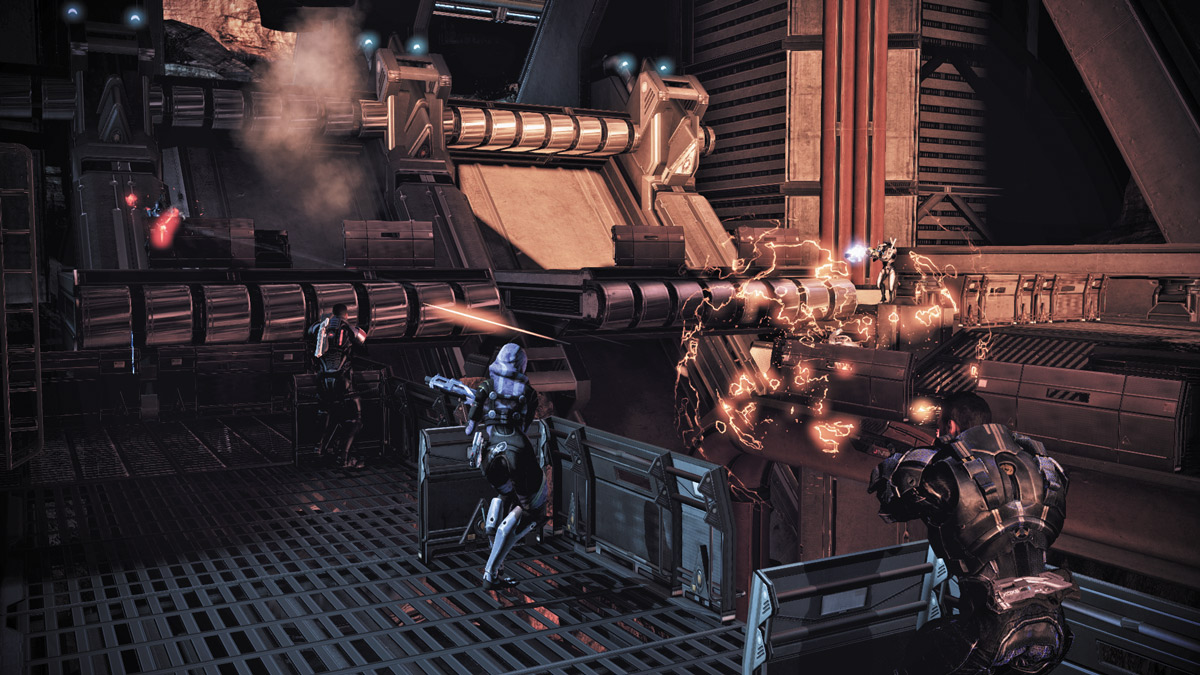
If you prefer to keep the squad together, stick to the left side, which has a long wall section running up its right side that has small intersecting partitions. Use these partitions as cover for yourself and the crew to leapfrog up the length of the platform.
Send drones or decoys ahead to slow and stun your enemies. If you brought Liara, this is a great time to unleash a Singularity field near the far end. Carefully move from cover to cover, picking off enemies as you go, and clear the entire area.
If you take too much incoming fire from the right side, order your squad to eliminate foes on the far end while you concentrate on clearing geth on the right platform.
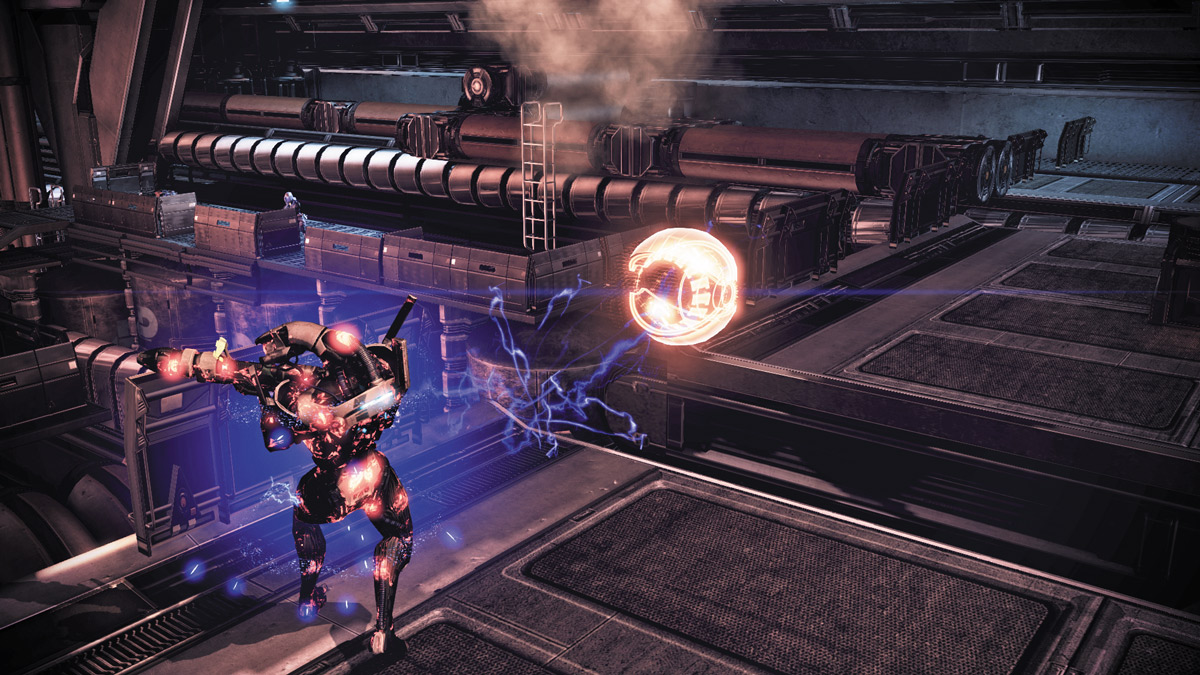
There is one geth Rocket Trooper perched on the catwalk above you, so eliminate it first, before going up the ladder at the far left end.
UPPER ENTRANCE APPROACH
.jpg)
After climbing the ladder, you reach a series of walkways that lead to the upper entrance. The walkway splits into two paths, one below and another along a series of pipes on the left side. However, you can approach this section of battle three different ways.
APPROACH 1: DEATH FROM ABOVE
.jpg)
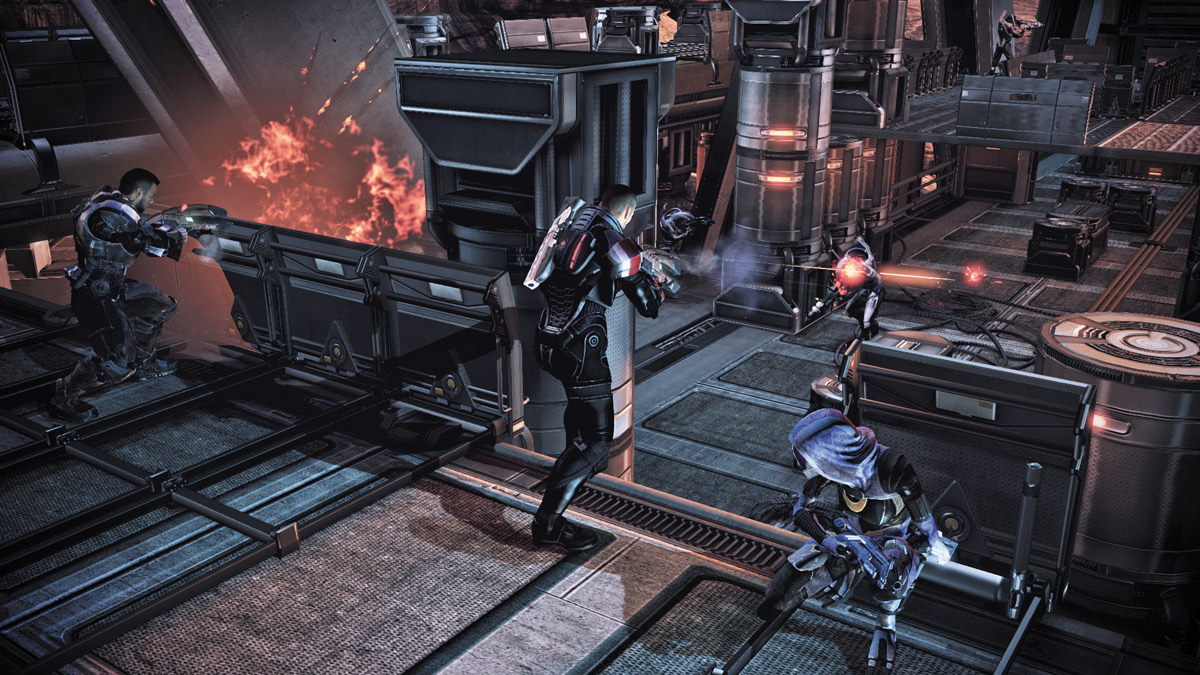
If you choose to stay high, you can hunker down against the wall directly in front of you. Order your squad to take position either to your left or right, while you rain down death on the geth below. The geth will try to scramble from cover to cover, but they can’t fight their nature. They’ll constantly try to advance on you and leave themselves open to attack.
If any geth attempt to attack from behind you or to circumvent your position, free up one of your squad members to deal with them. As always, Tali’s drones are perfect for keeping pressure on the geth below.
After destroying the first few geth near you, equip a medium- to long-range weapon and begin picking off the geth Rocket Troopers that attack from the far end. This approach is better suited for long-range fighters with sniper rifles. Adept players will also do well in this approach, since they can mix up powers both at a distance and close-range, if necessary.
APPROACH 2: LOWER LEVEL
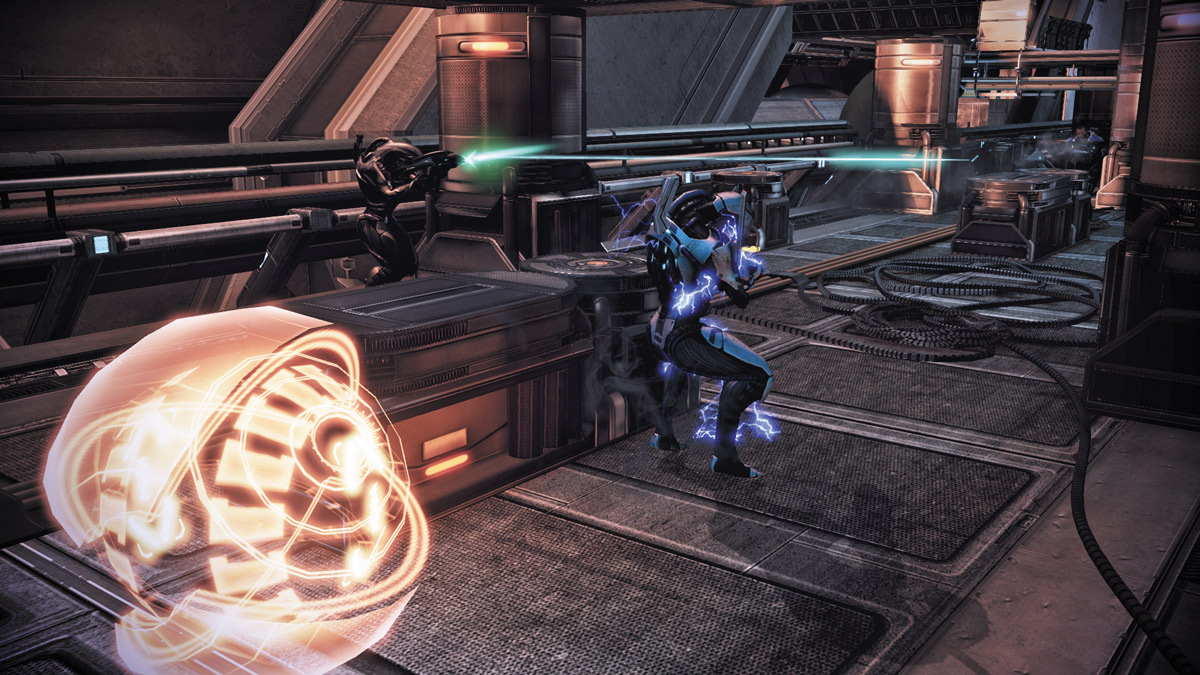
Players who prefer a more direct approach can drop directly to the lower level where all the geth are located. Equip a strong medium- to close-range weapon and slowly press the action up the lower level. The geth will attempt to take cover as you approach, but you can easily flush them out with powers like Singularity or Defensive Drones.
This approach is also well suited for Infiltrators specializing in melee combat, Vanguards, and Sentinels. With a shotgun in hand and little to get in your way, you can move quickly between enemies, blasting them up close and finishing them off with melee attacks.
When the geth Rocket Troopers are the only foes left, eliminate their ranged advantage by rushing them, and engage them in close-quarters combat. Use grenades if you have them; otherwise, stick to power combinations and heavy firepower.
APPROACH 3: RUN THE PIPES
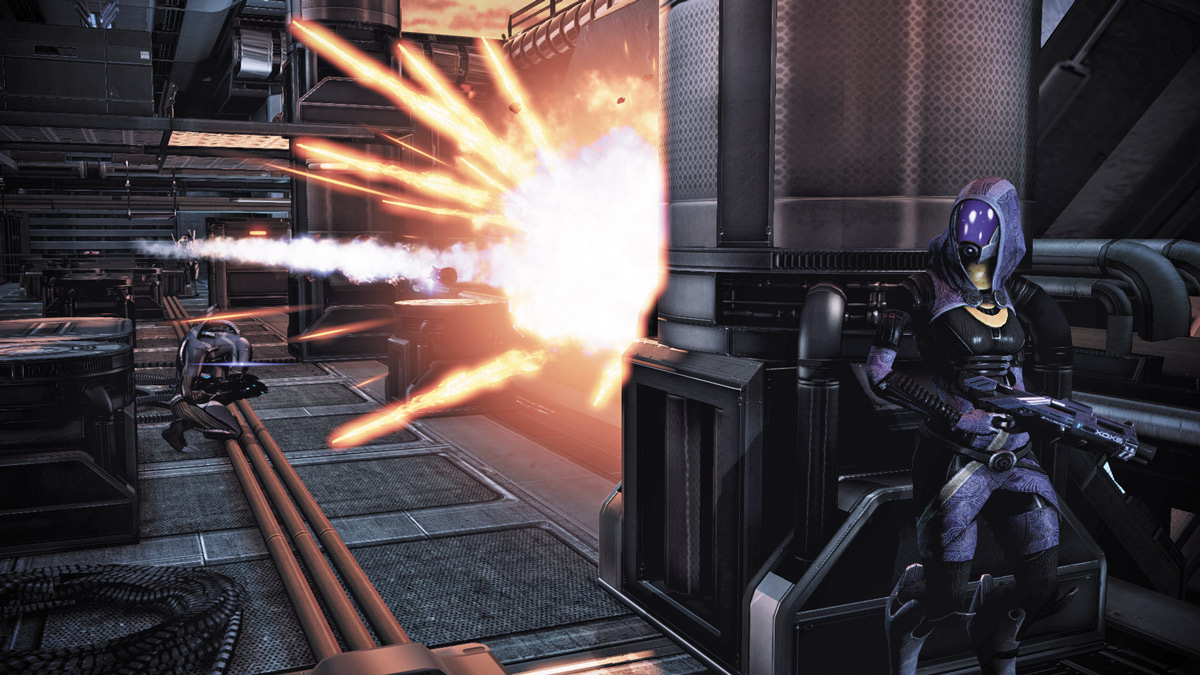
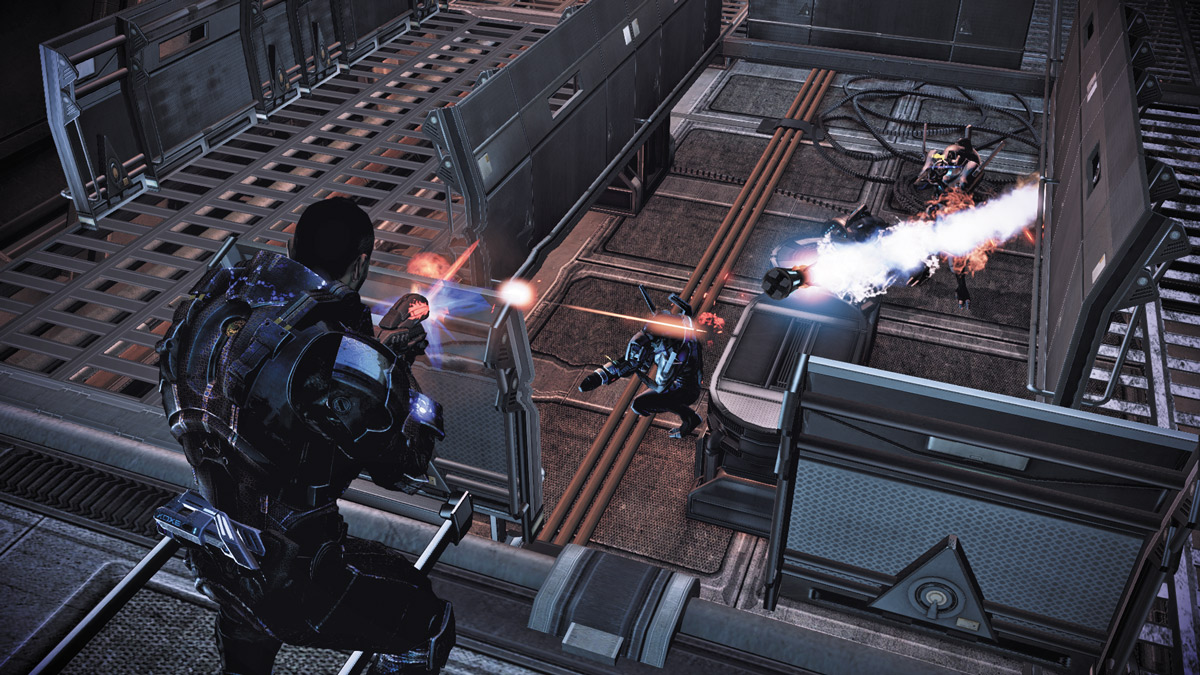
Players with a bit more versatility can use the pipes on the top level’s left side to reach the far end quickly. Leave your squad near the entrance (you can even order one squad member to take the lower level), while you rush across the pipes on the far left.
Open fire on enemies to your right as you go to weaken them and make them easy prey for your squad. When you reach the far end, either eliminate the geth Rocket Troopers from your elevated position or drop down and rush them up close. The goal is to clear the far end quickly, then turn around and face the length of the walkway to pinch any remaining enemies between you and your squad.
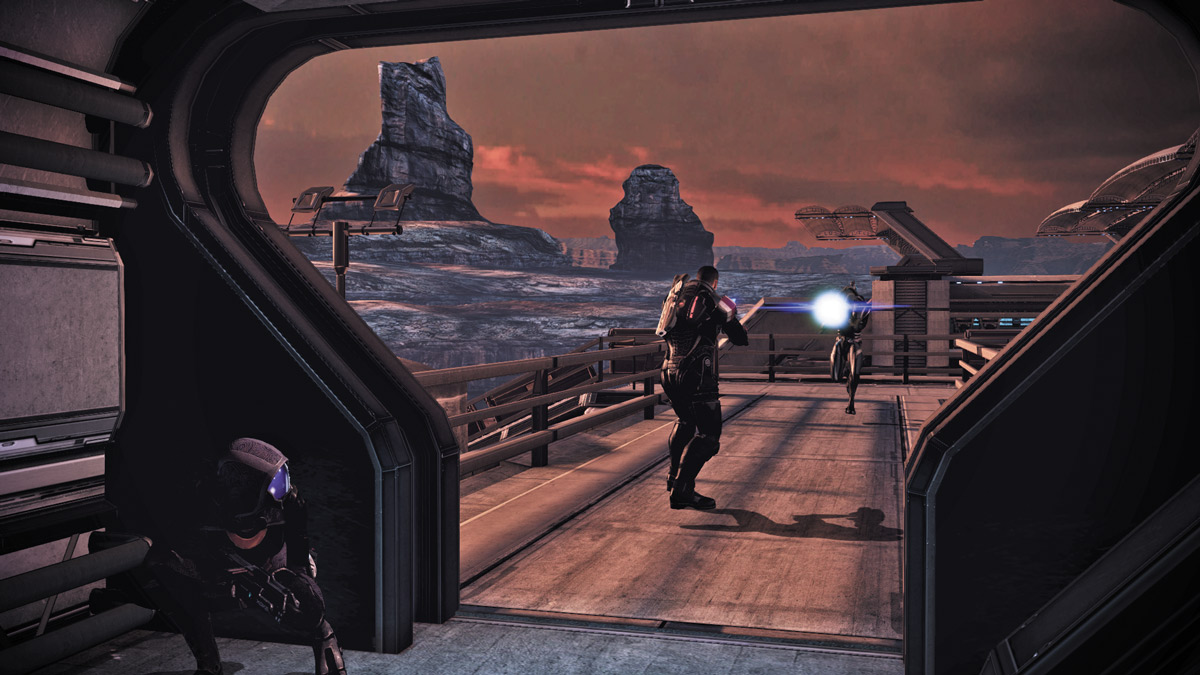
Once the area is clear, make a right into the small passageway leading into the facility. On the passage’s other side is a long Geth Trooper. Take it down quickly and exit the passage. By now the geth are aware of your plans to destroy the base, so they’ve closed the blast shield over the Reaper’s location.
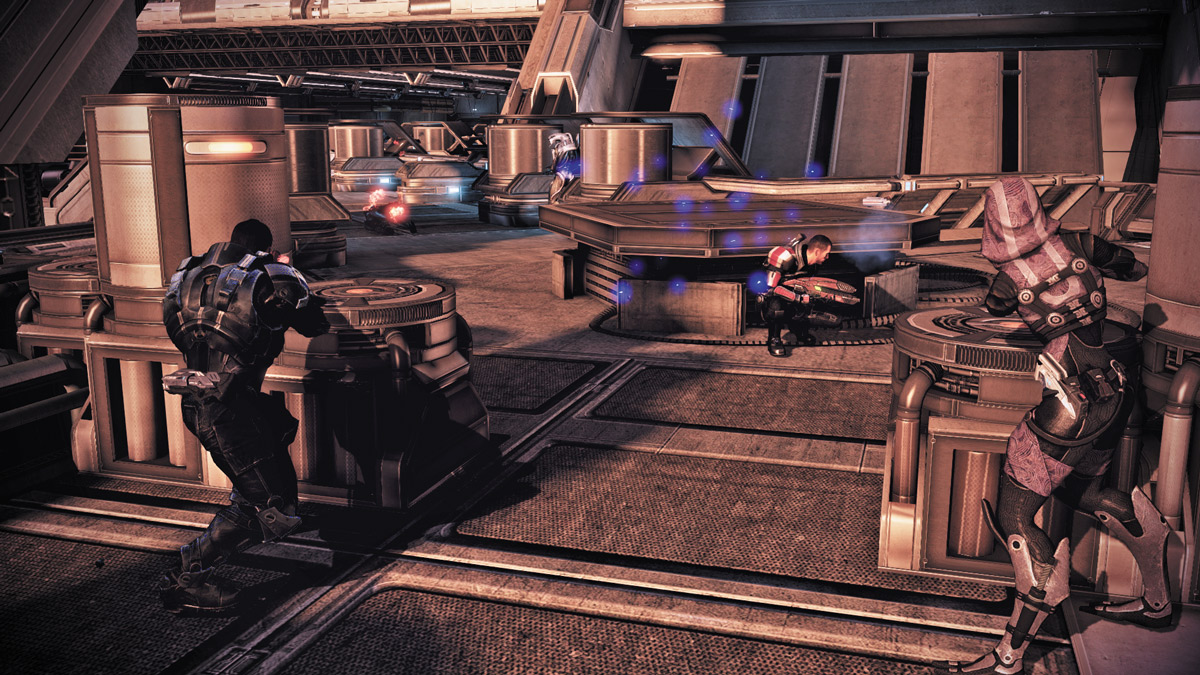
Make a right at the corner and follow the walkway down to a long catwalk. There are geth guarding the entire length of the walkway ahead, so take cover behind the tablelike structure at the walkway’s entrance and position your crew behind the left and right partitions jutting out of the sides of the walkway.
.jpg)
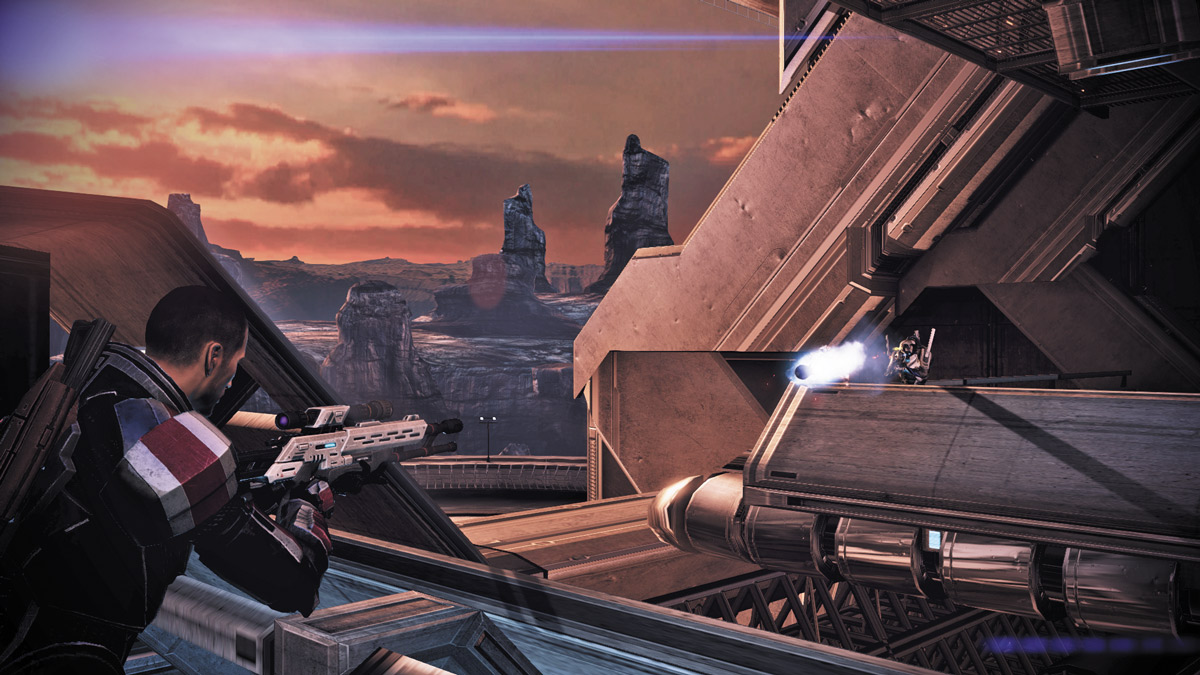
Wait for the geth to group up near the walkway’s center and toss a grenade ahead of your squad. If you don’t have grenades, use a disruptive power like Shockwave, or hit the group with Singularity. Send your crew down the hall to mow down the remaining geth, then rush down the walkway behind the cover of your crew.
Since the walkway has a series of partitions running down its sides, you can leapfrog your squad safely and easily. Stay behind cover as much as possible and lead with power combinations, grenades, or drones. EDI’s Decoy is also a great help as you rush down the walkway.
Reach the far end and turn your attention to the balcony on the left side. The geth in the balcony can’t leave their position, so use your best long-range attacks to take them out. If you have a sniper rifle, equip it now and string together a series of headshots to take them down from afar.
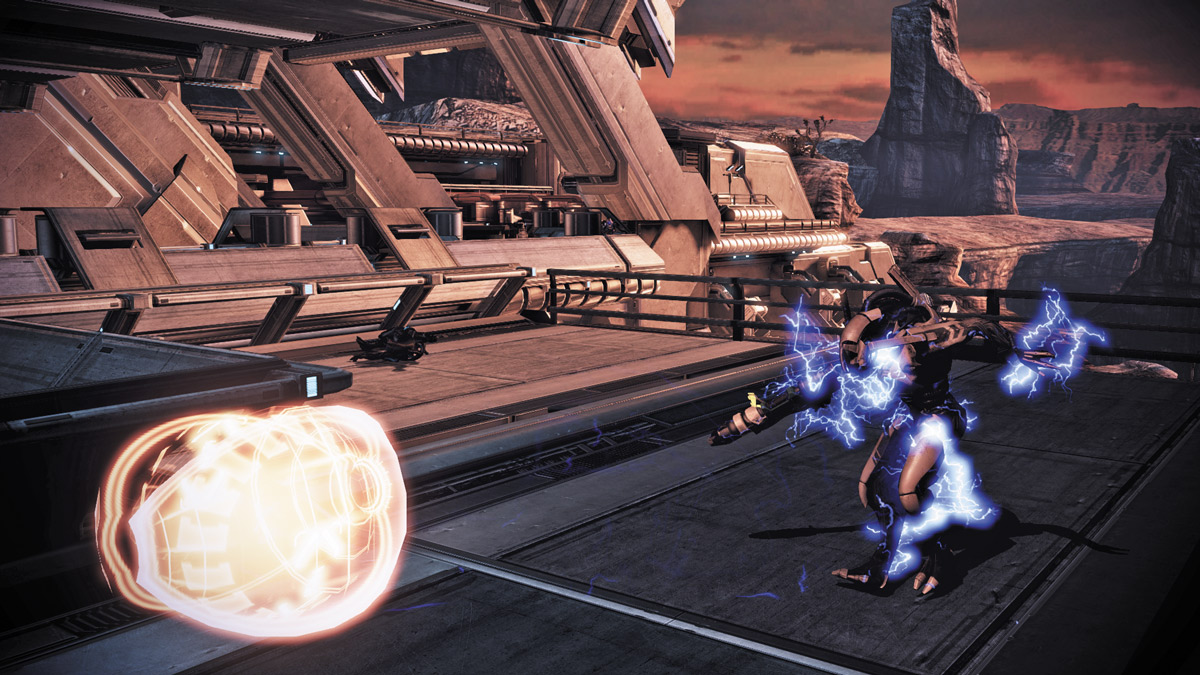
If you don’t have a sniper, rely on powers and a medium-ranged weapon to eliminate the enemies on the left balcony. Take out or distract the geth Rocket Trooper first, then eliminate the rest of the Troopers to clear it out.
.jpg)
Exit through the door on the right and follow the halls to the next section of the facility. In order to retract the blast shield, you’ll need to hit the override switch on the shield. Turn left as soon as you enter this area, and sprint to the override console near the far edge.
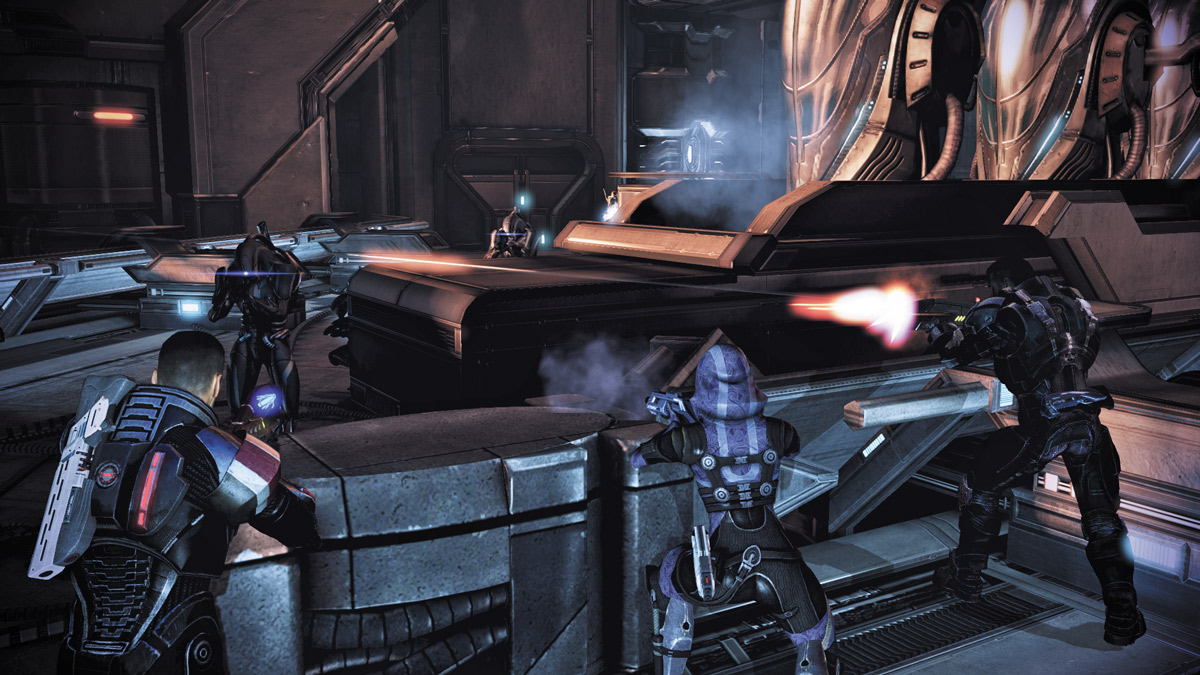
When you hit the override button, the area nearby begins to fill up with geth. The Geth VI needs you to buy some time while it bypasses the security systems. Retreat a bit to the area where you entered. It has only one point of entry, near the override console, and is very defensible. Station your two squadmates near the section of walkway by the console and begin fending off attacking geth.
They won’t all rush your position at once, so you can pick them off one by one, or even two at a time if they get too close. Send out decoys and drones to draw fire away from your position, and occasionally venture out of cover to blast nearby geth.
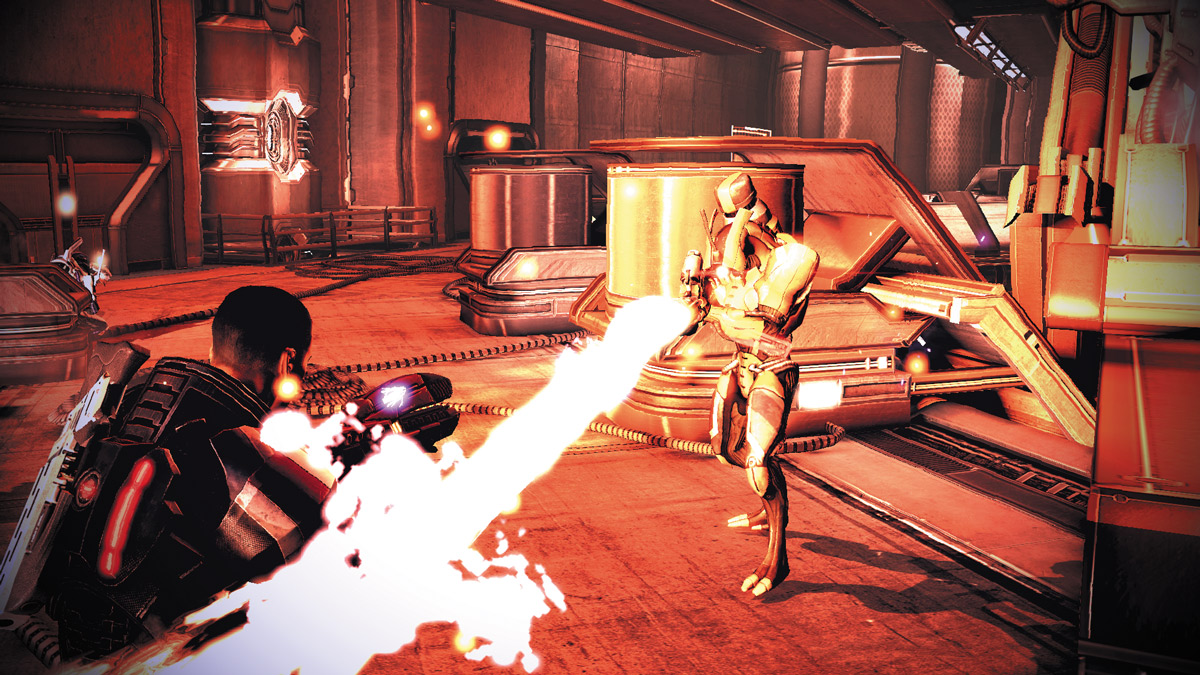
If you spy a geth Pyro approaching, meet it head-on. It’s better to localize its fire on only one of you than to let it get close to the entire squad and allow it to scorch you all at once. Rush the Pyro and quickly knock it off balance, then follow up with weapons fire to extinguish the fiery geth.
.jpg)
If you favor long-range attacks, leave your squad by the override console and back up to the area where you entered this section of the facility. Aim your weapon across the gap to the center walkway and open fire.
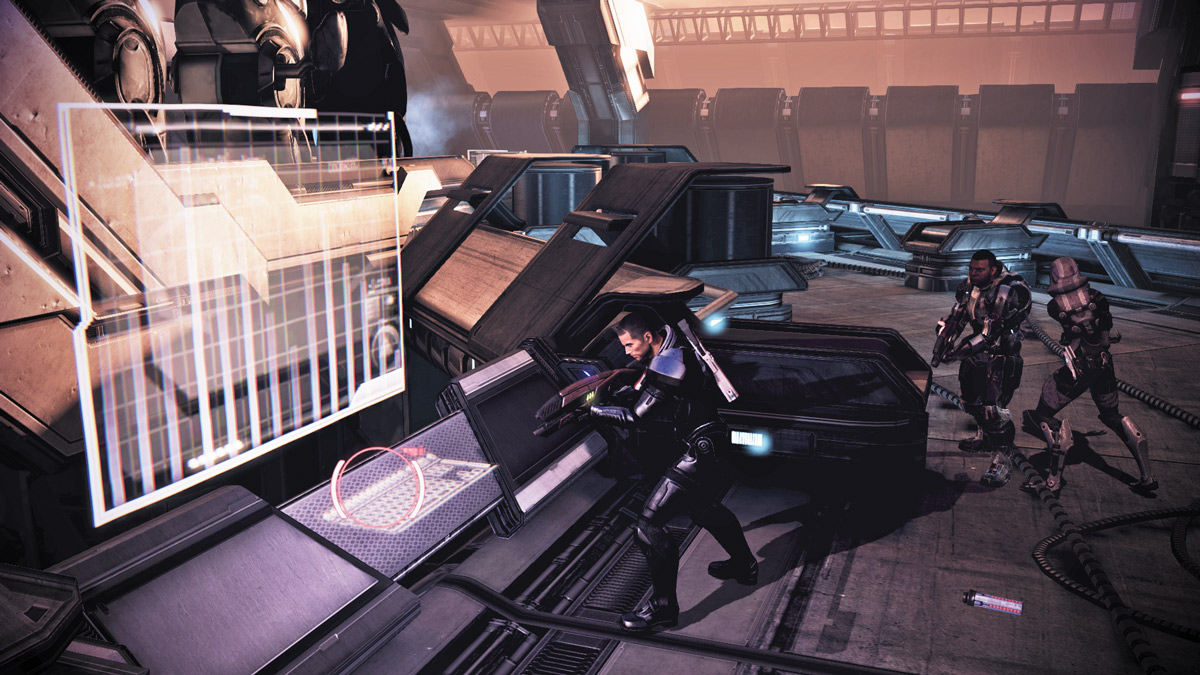
Eliminate all of the enemies and survive long enough for the Geth VI to bypass security on the second override console at the area’s far left side.
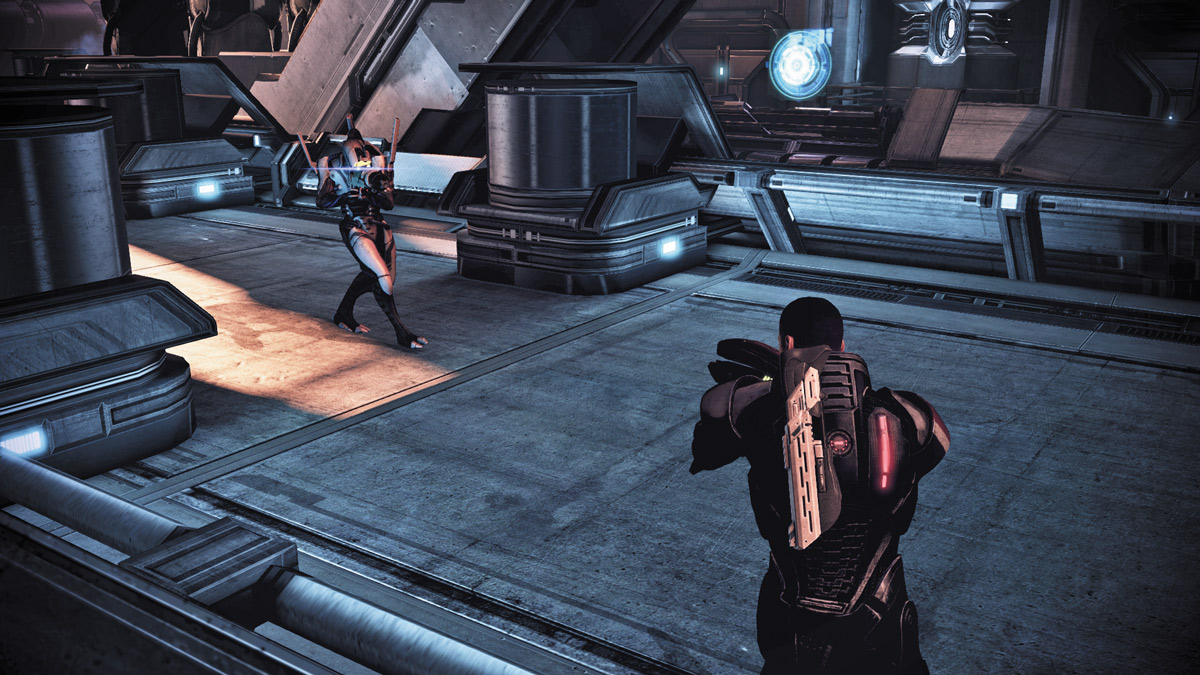
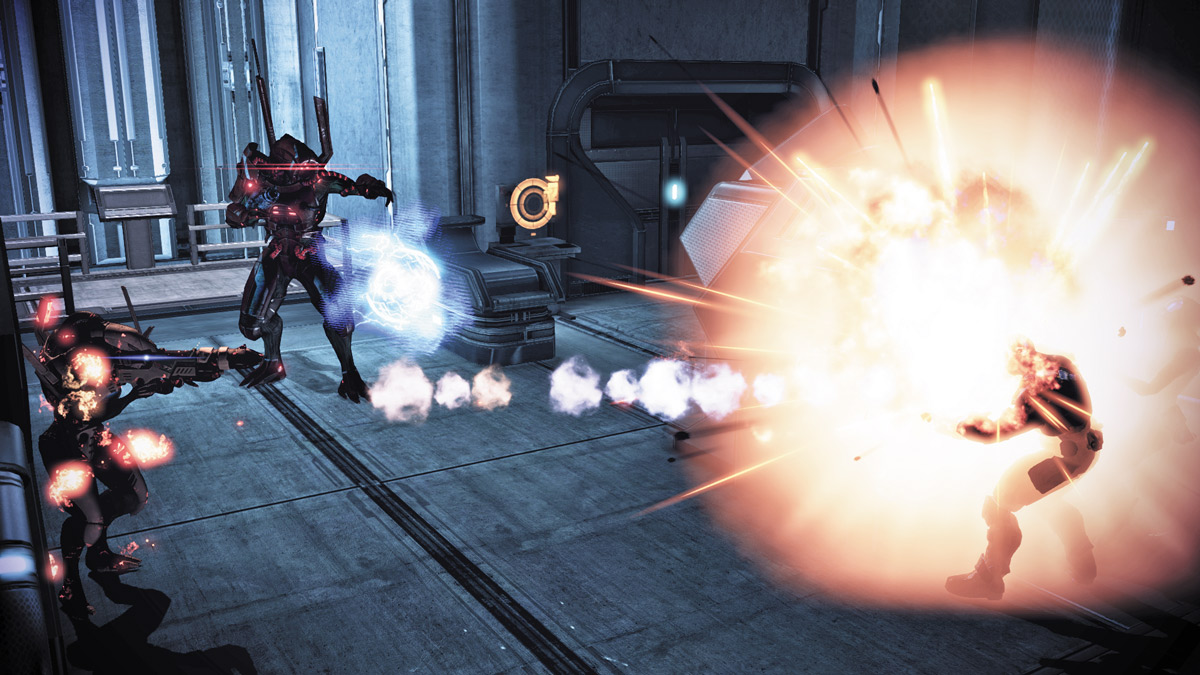
Activating the second override console gets the attention of a geth Prime and a pair of geth Rocket Troopers. Leave your squad members to guard the far left passage near the second override console, while you backtrack to the center lane and get a direct path straight to the elevator.
Pick apart the Rocket Trooper first, while your squad engages the Prime; then slowly press forward, toward the elevator and hit the Prime with everything you’ve got.
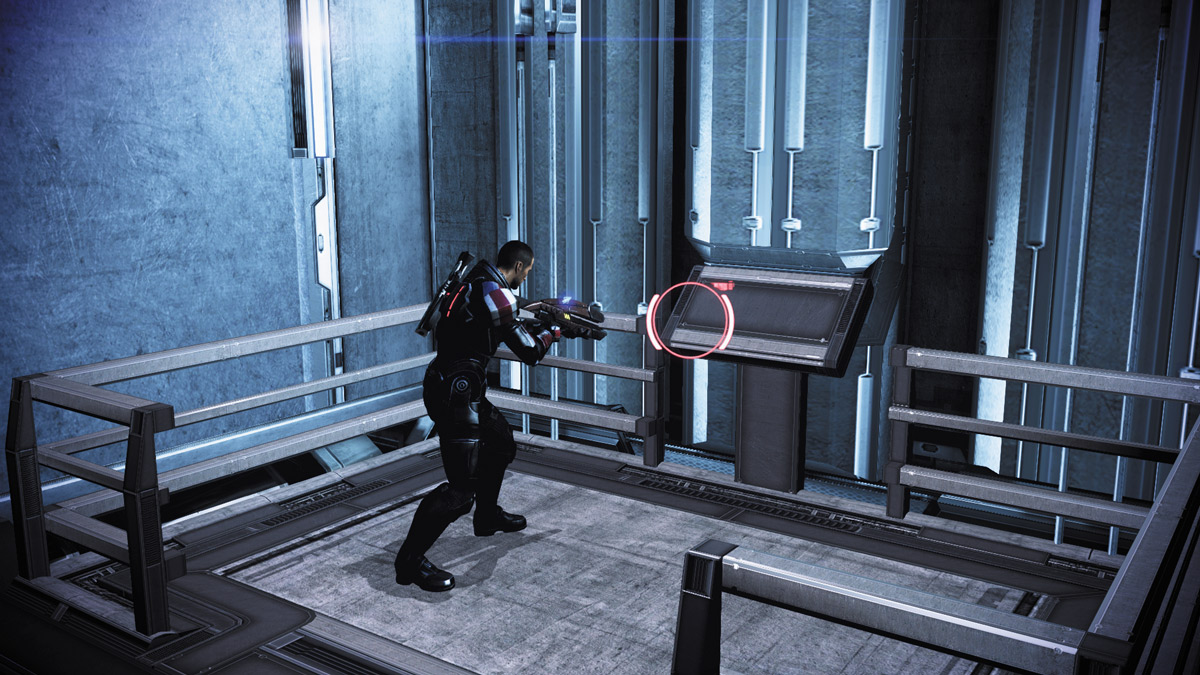
Keep your distance from the geth Prime. If you capture its attention from the center walkway, stay behind cover and keep it engaged. This will allow your crew to dish out major damage from close range. Again, if you can release a combat drone or a decoy, now is a good time.
Take the elevator to the level above you after destroying the geth Prime and quickly rush to cover as soon as you exit the elevator.
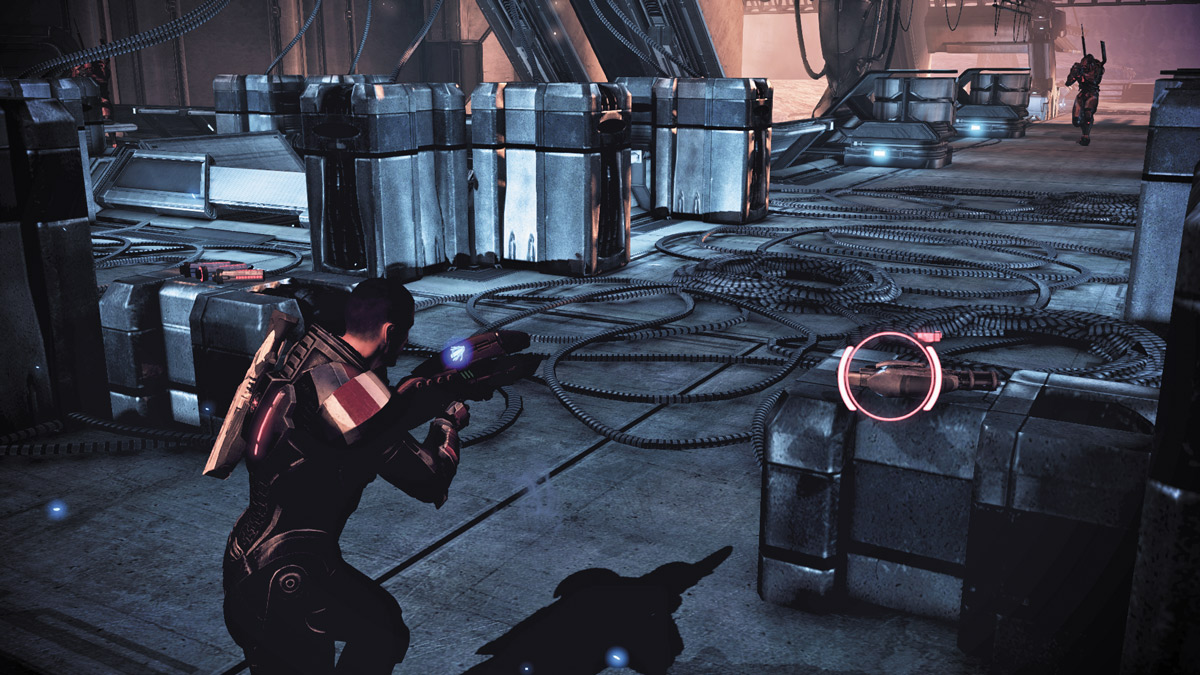
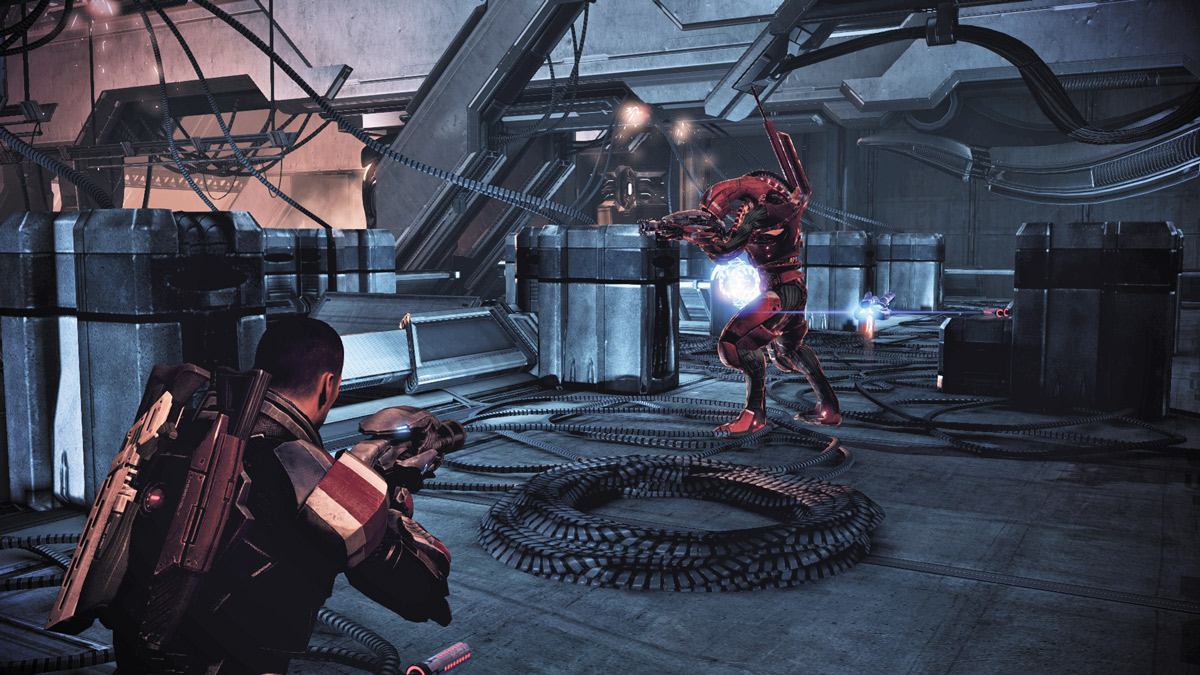
When you reach the top level, there is a Geth Spitfire sitting on the crate directly in front of you. Grab it first before getting the geth Prime’s attention near the far end. The Prime will notice you quickly when you pick up the Spitfire, so stay behind cover and sic your squad on the Prime to distract it.
Pop out of cover when the Prime engages your team, and lay it to waste with the Spitfire. You’ll face three geth Primes simultaneously, so take on one at a time, using the Spitfire to shred them quickly.
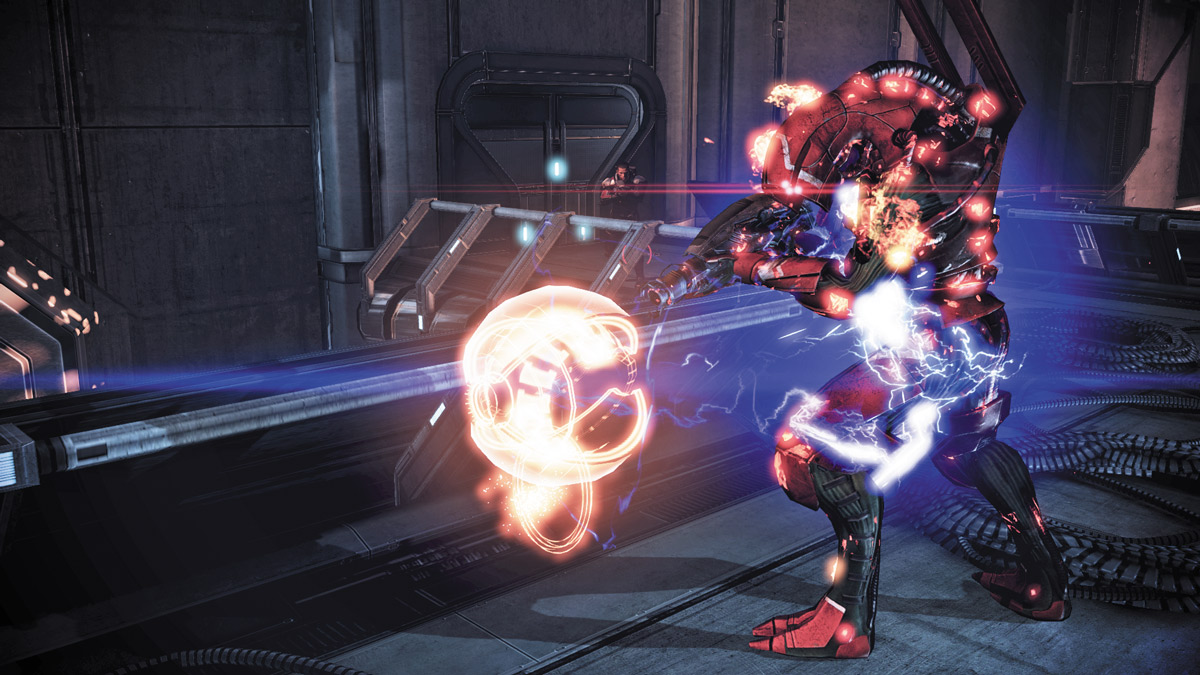
Drones and decoys work perfectly during this Prime encounter. Distract them with the drones while you blast them from behind with the Spitfire. Take down all three and the floor is yours.
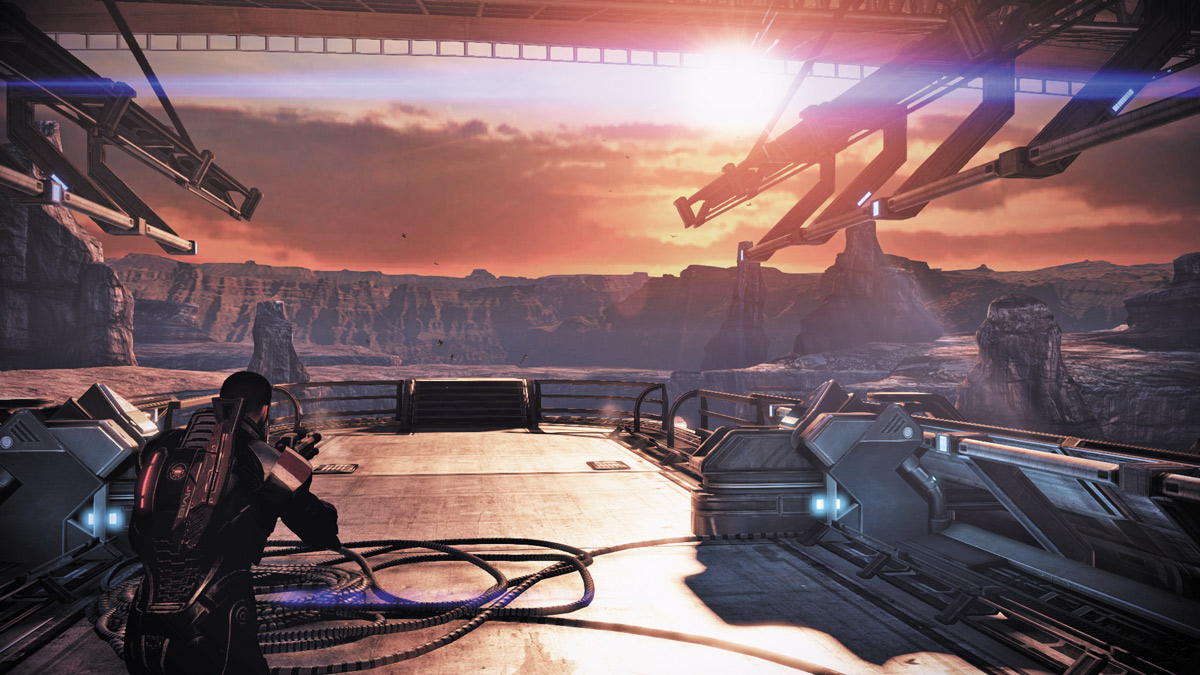
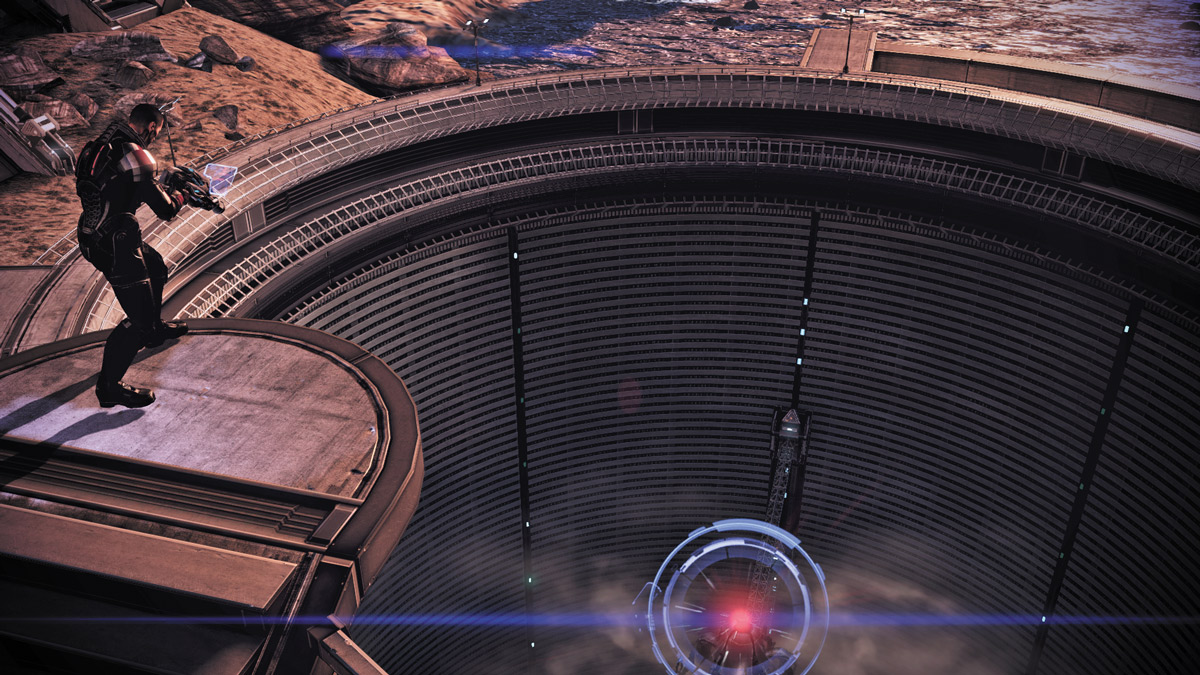
Walk up to the ledge at the far end of the center walkway and take out your targeting weapon. Aim it down at the Reaper station. Wait for it to lock onto the red node and the Normandy bombs the target. The destruction frees a Reaper hidden below the station, but it is too massive for you to engage on foot.
Sprint to the left, and make a beeline to the hovercraft where the Geth VI is waiting to rescue you and the squad. The massive Reaper machine begins to stomp after you as you get away in the hovercraft. One blast of its central cannon and it crashes your escape.
DON'T FEAR THE REAPER
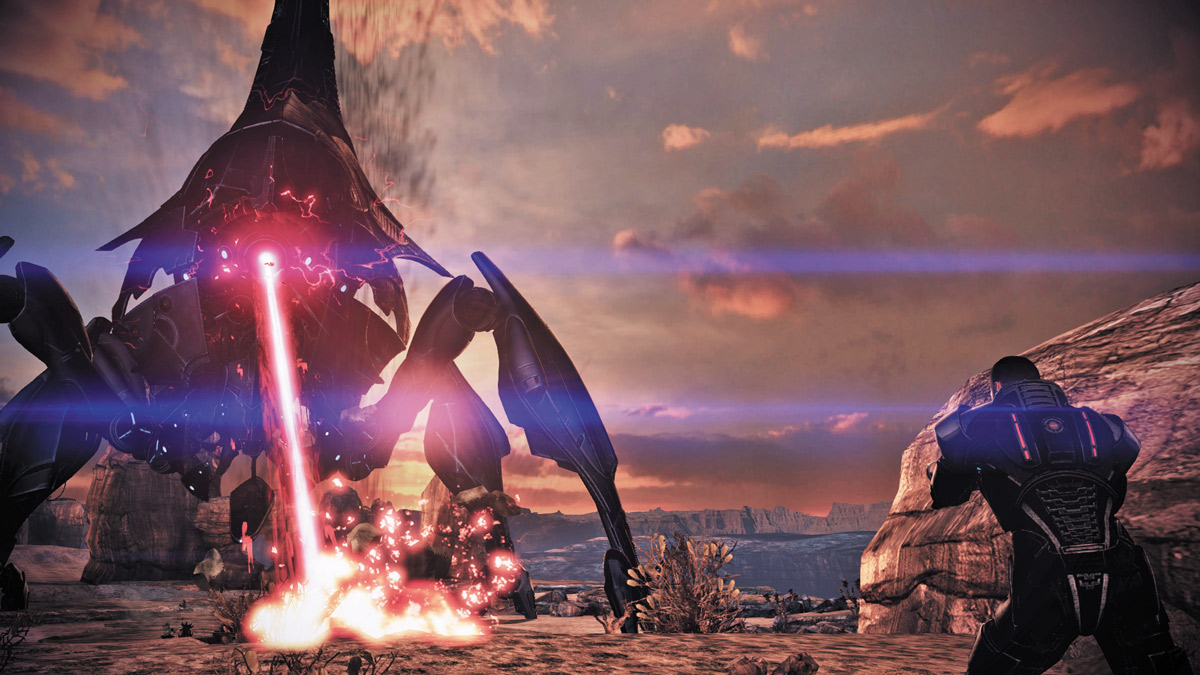
The Reaper prepares to fire and is caught by an orbital strike that knocks it down. The quarians must have hit a weak point, the targeting chamber, only visible as the Reaper prepares to fire. The admirals urge you to escape, but that will leave them to die at the hands of the geth. You get out of the hovercraft and sync the targeting laser to the entire quarian fleet. They prepare to fire while you paint the Reaper’s weak point.
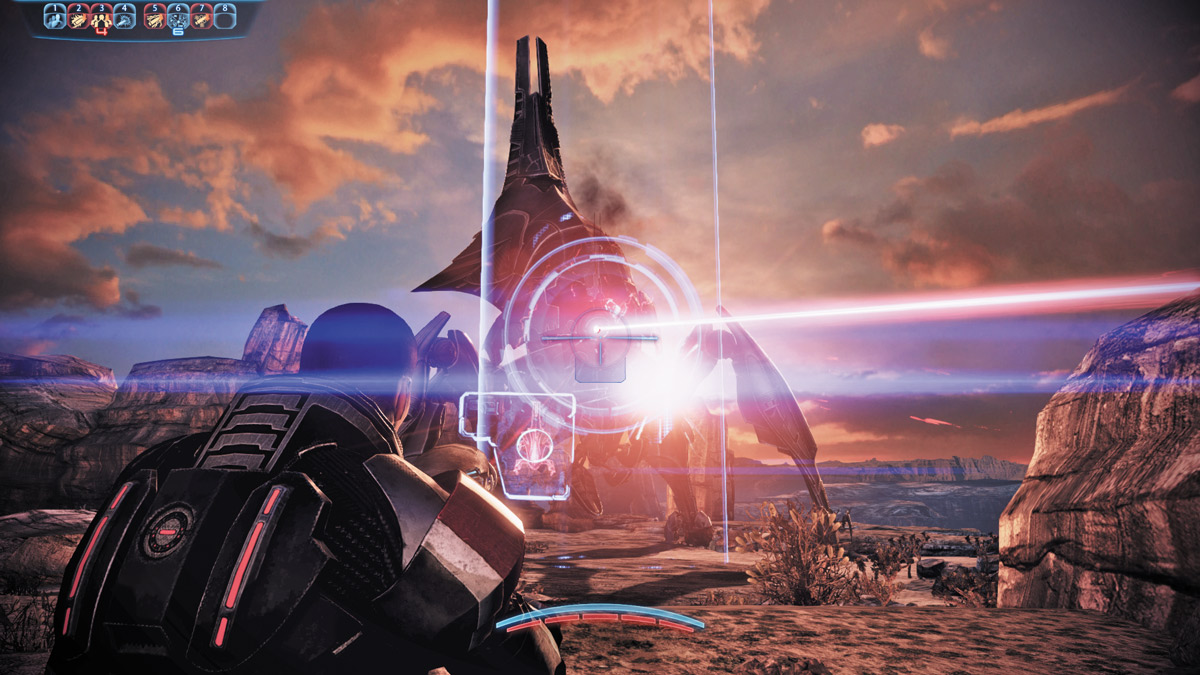
When the Reaper opens up to fire its main cannon, aim your targeting laser at the vulnerable pink spot and lock on. You’ll notice the blue radial light hone in on your target as the Reaper continues to charge. When the light completely locks on the target (the radial light will shrink to a pinpoint), the fleet fires on the Reaper and knocks it off balance.
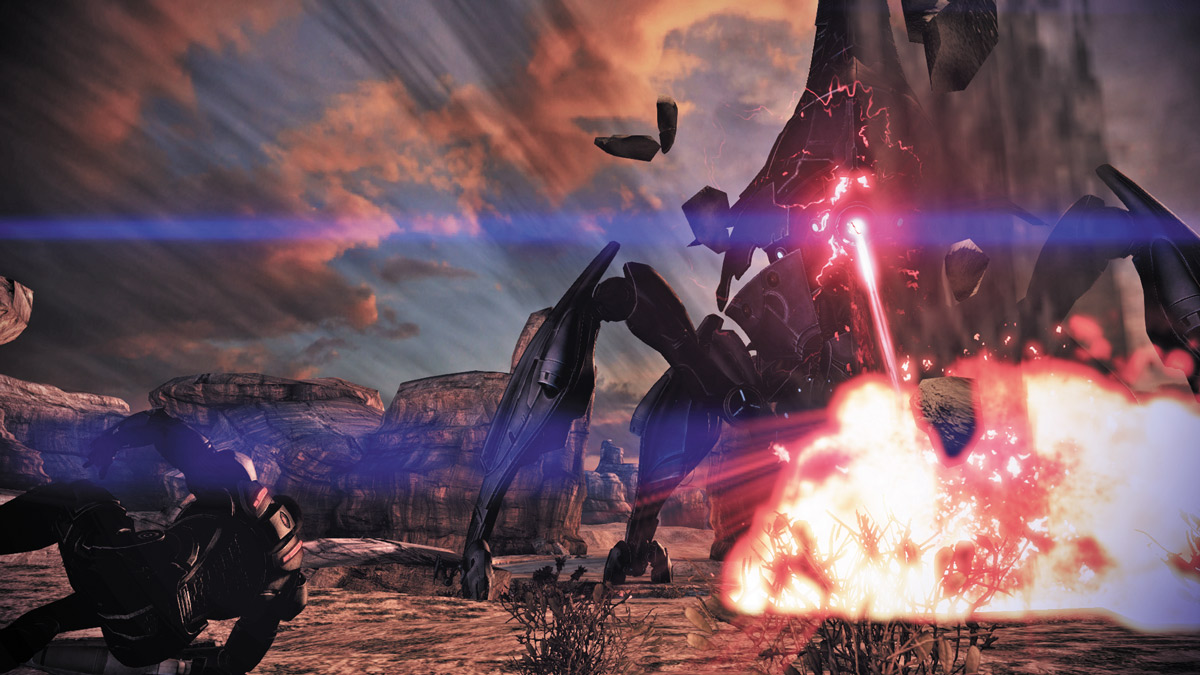
The first attack on the Reaper is a free shot. The massive machine was getting its bearings while you were free to zoom in and lock onto it. The Reaper’s next shot, however, will be aimed directly at you. Give yourself some space to maneuver by rushing to the right side of the ledge you’re standing on and turn to face the Reaper.
When it begins to charge again, lock onto the machine’s cannon. Let the Reaper fire its cannon, then execute an evasive roll to the left as the laser beam cuts a path toward you. Resume your targeting lock on the machine until the fleet can completely lock on and fire at it a second time.
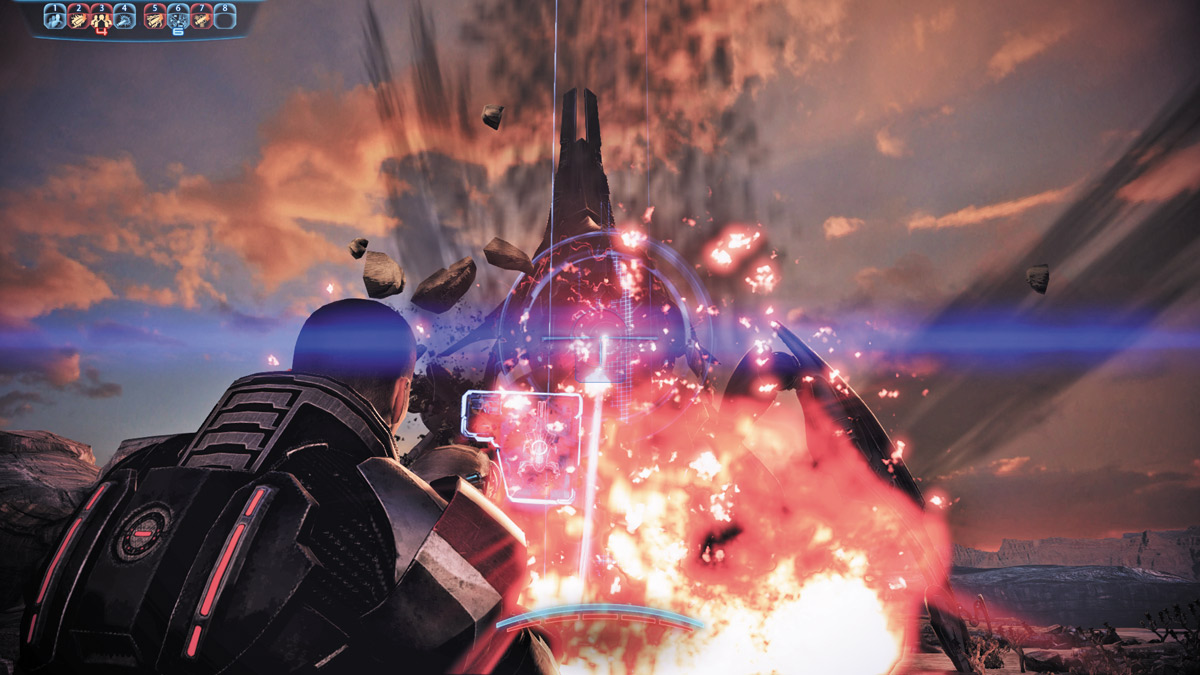
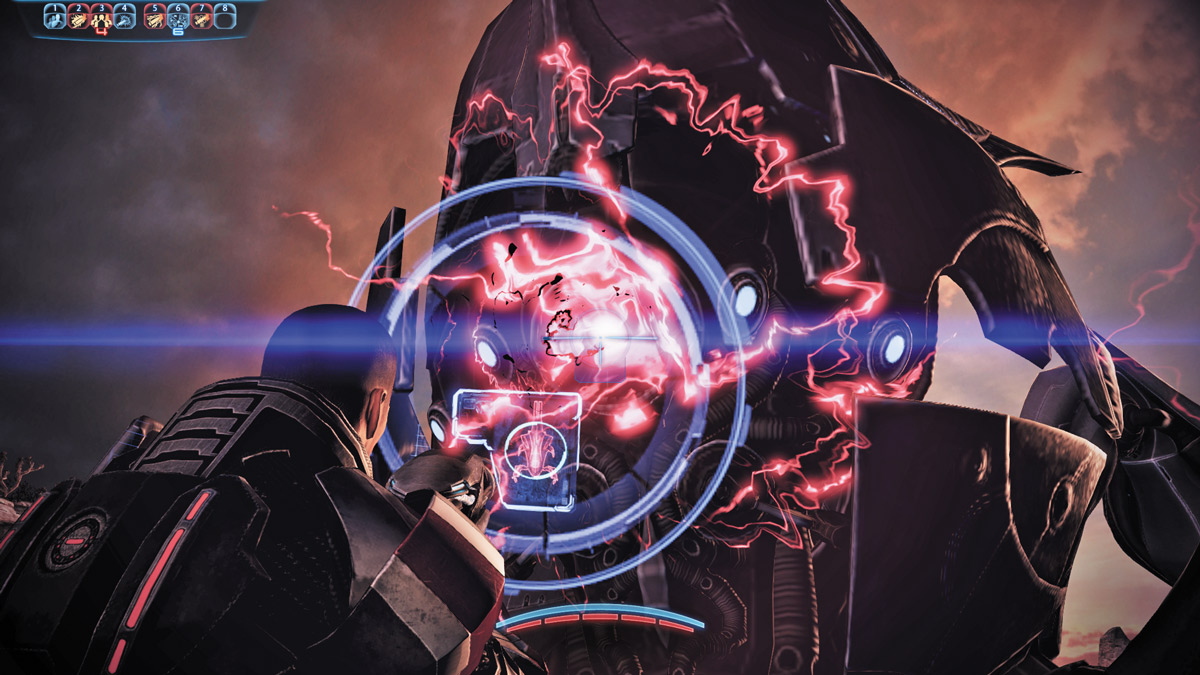
After taking a hit, the monster steps closer to you before attempting another shot. Continue edging to the right, rolling left evasively and painting the target until it’s taken two more shots from the fleet.
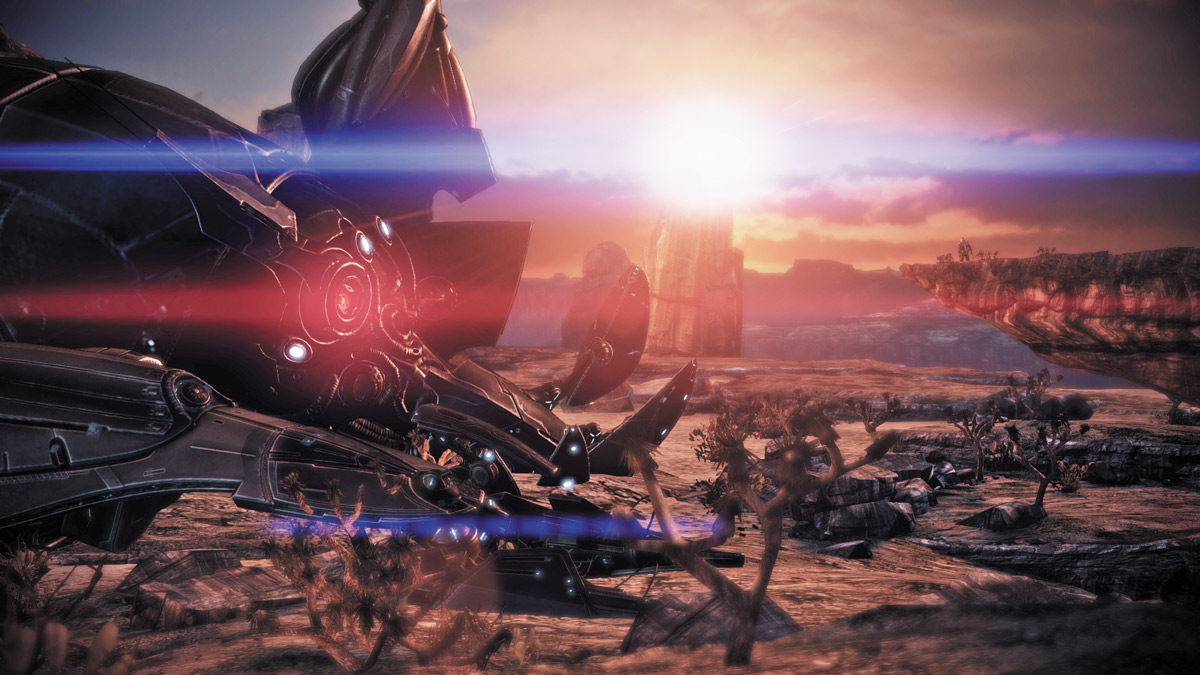
Eventually, the Reaper is directly on top of you, allowing you to get one final shot on its laser cannon. Lock on one last time and the fleet unloads everything on the Reaper, putting it down for good.
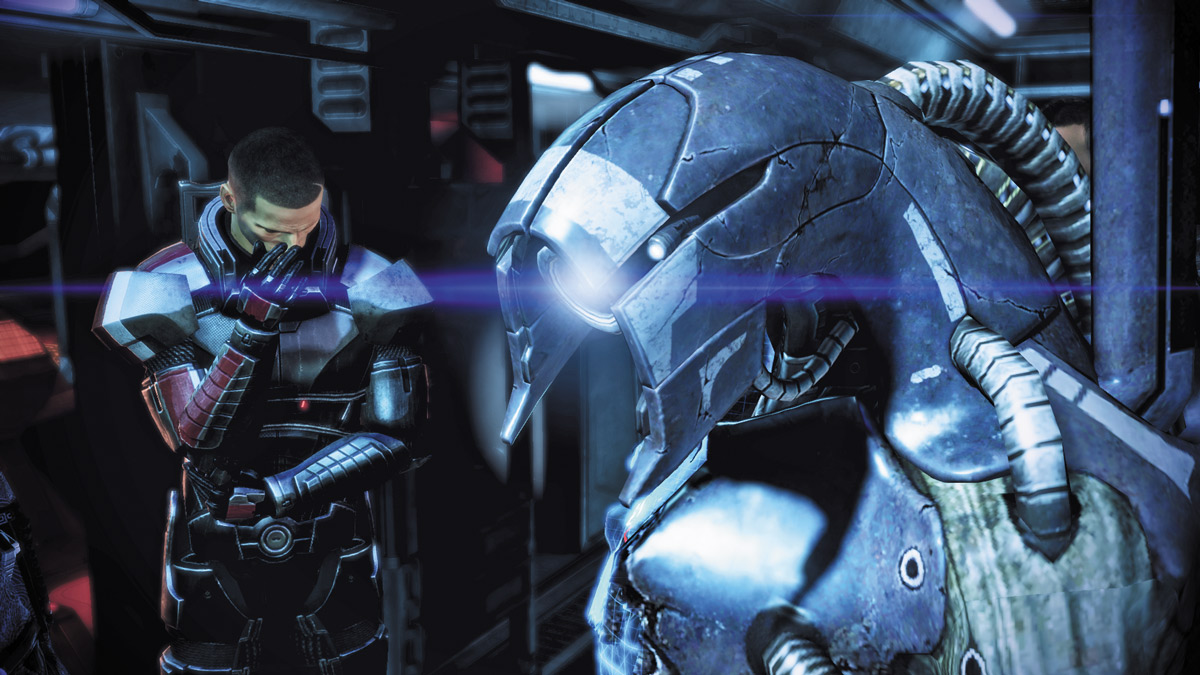
Even though it has fallen, the massive Reaper still insists you will be defeated. As you stand there, in front of the skyscraper-sized machine, you can engage it in a conversation. Attempt to reason with it for Paragon points or stand up to it for Renegade points.
Regardless of your response, the Reaper remains adamant that you and the rest of the organic creatures will be destroyed. If you chose the Renegade response at first, you’ll also get a chance to follow up with another Renegade response during the conversation.
STANDOFF: GETH VS. QUARIAN
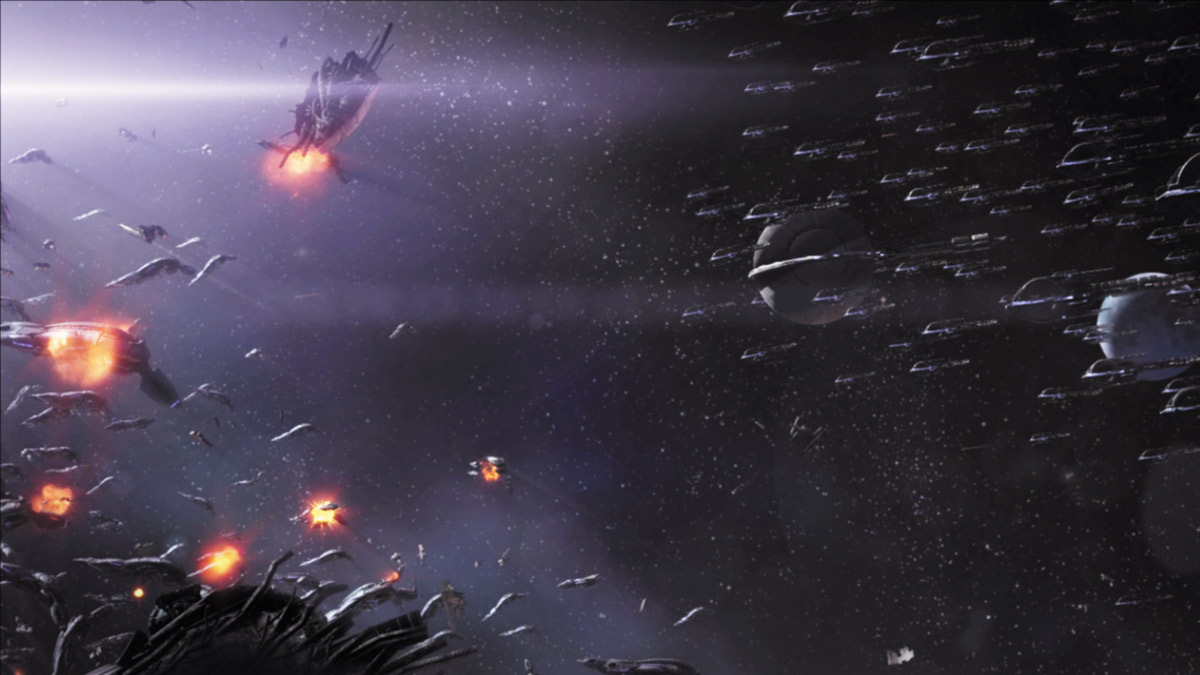
The Reaper is down, and the geth are no longer under their control. However, the Geth VI still has the Reaper code upgrades integrated into its system. With no puppeteer pulling their strings, the Geth VI suggests unloading the Reaper code to the remaining geth across the quarian system.
The upgrade would grant the geth true free will and make them capable of choosing sides against the Reapers. If you choose to upload the code, you’ll gain the geth and accept potential consequences. However, Tali insists that this is a bad idea. The new, upgraded geth could decimate the quarians! If you choose to listen to Tali’s pleas, you’ll let the geth die but will retain the quarian fleet’s support.
The choice is yours.