
Mass Effect 3 Guide Multiplayer The Battlefields
Location: Giant
.jpg)
.jpg)
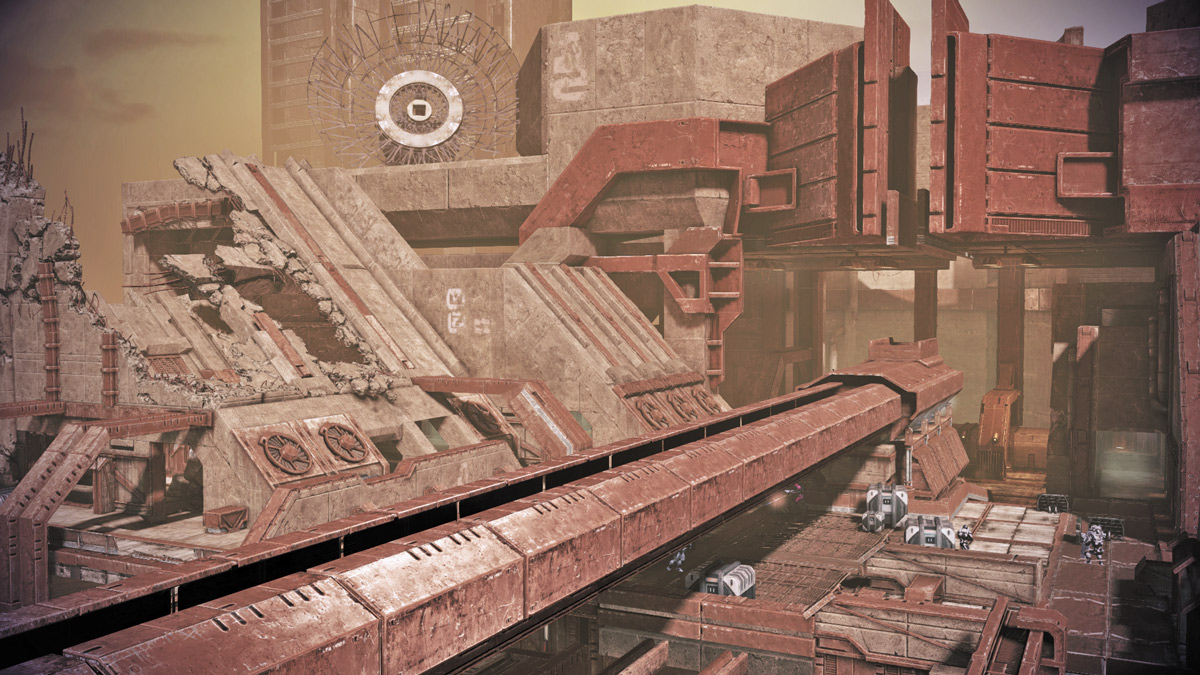
Located on the krogan homeworld of Tuchanka, Giant is another large map. Unlike Dagger, Giant is much less conducive to long-ranged sniping.
The terrain here is complex, filled with enough cover and flanking routes that even the more open areas can be daunting to hold down during objective modes.
Complicating things are the series of superguns that fire at regular intervals over the course of combat.
The sound can drown out other more important things you don’t want to miss, such as the approach of any hostiles.
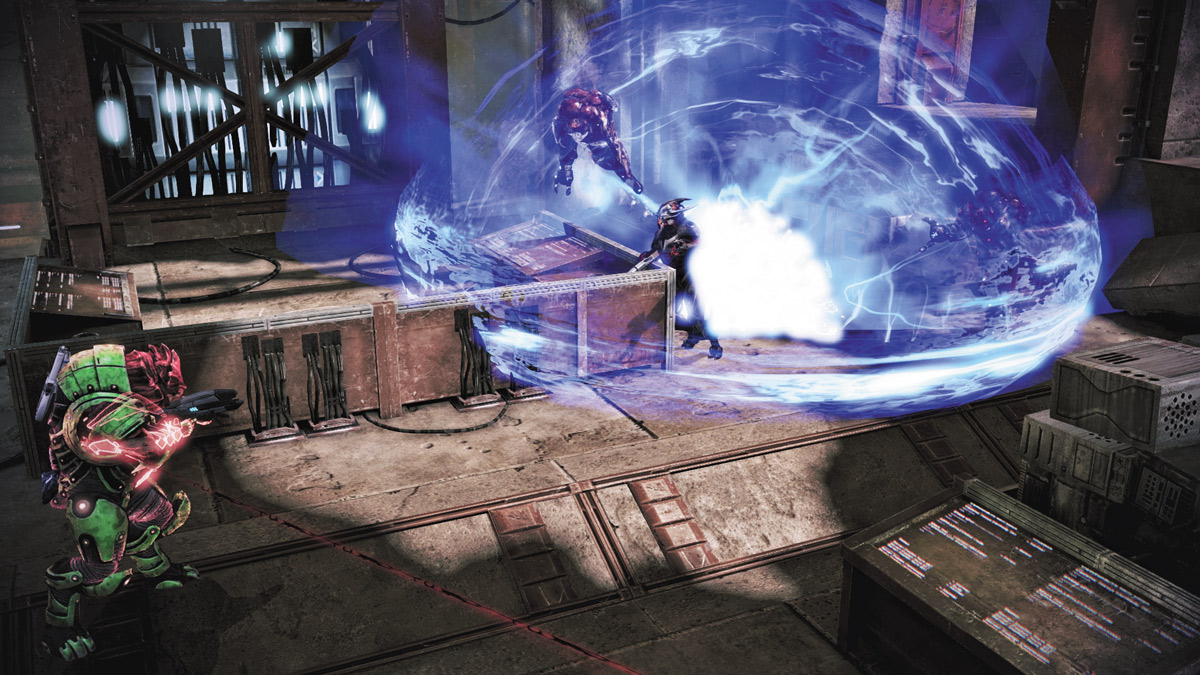
This level has an abundance of sniping positions that only the enemy can reach, which can lead to some serious headaches when fighting the jump-jet-equipped Cerberus here.
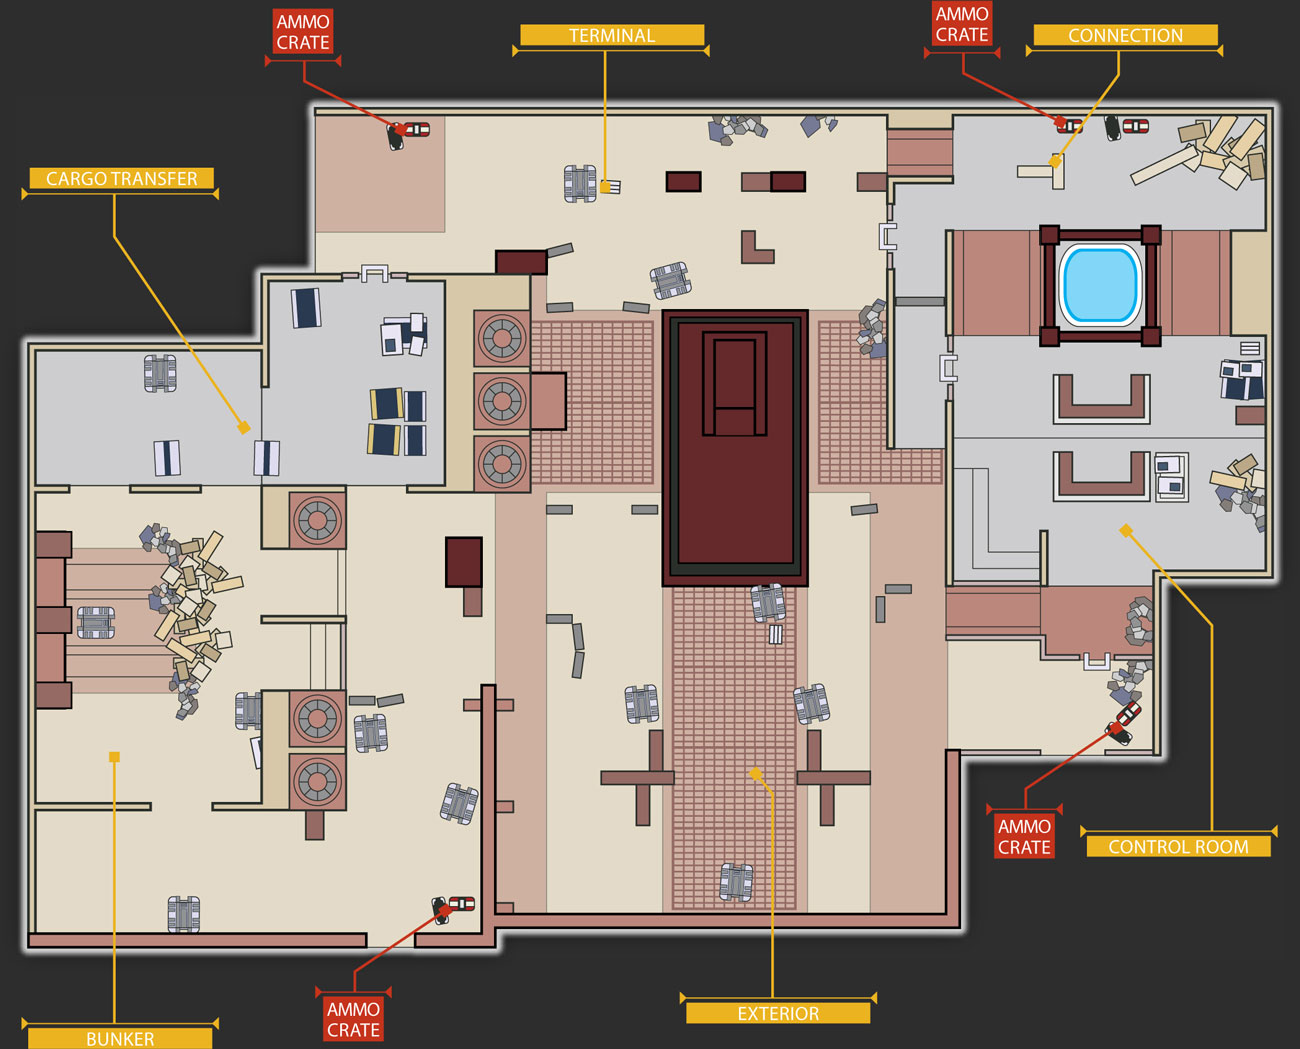
Giant has six sections: Bunker, Cargo Transfer, Connection, Control Room, Exterior, Terminal
Bunker
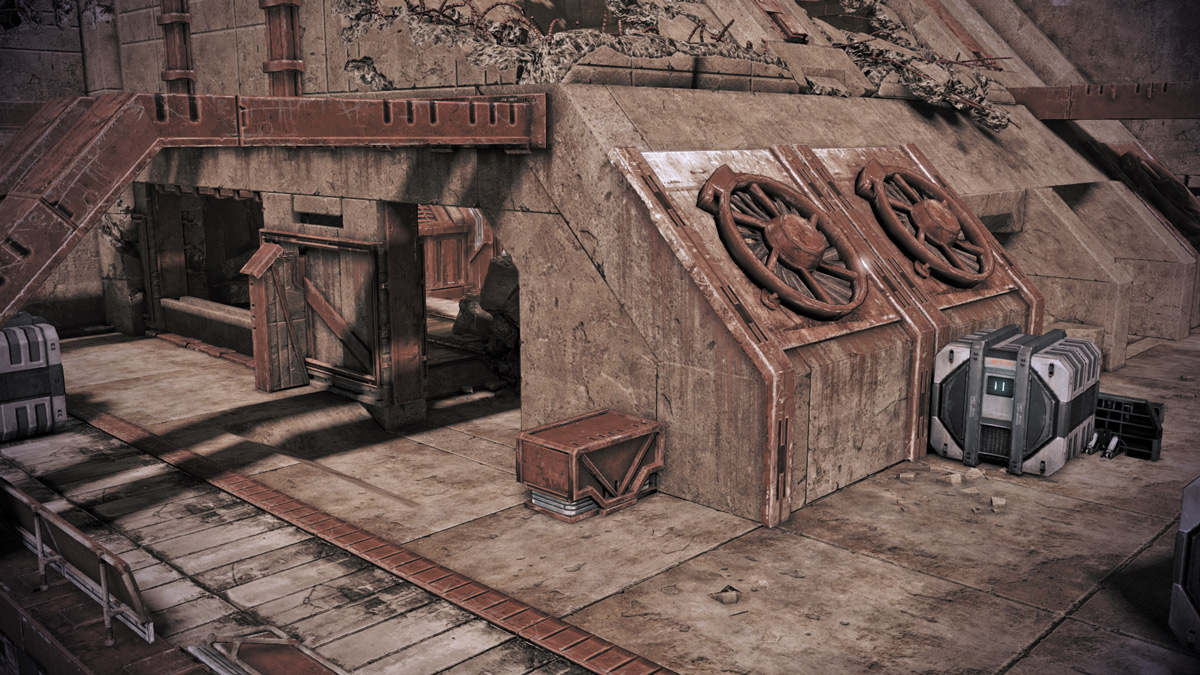
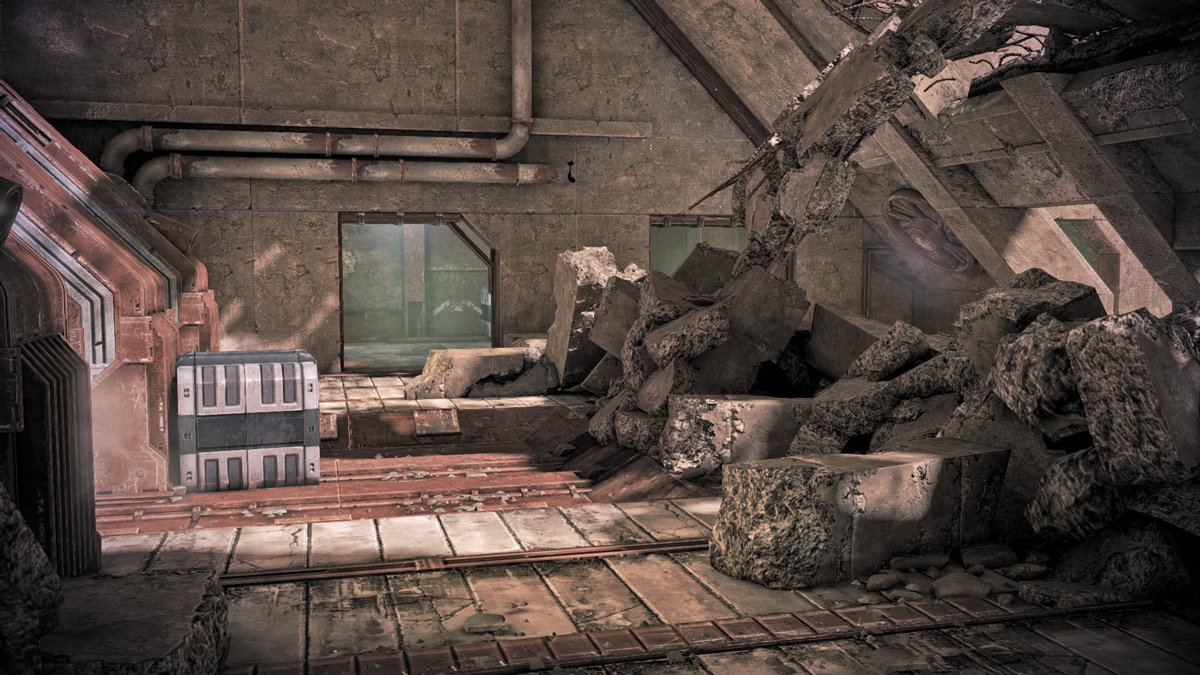
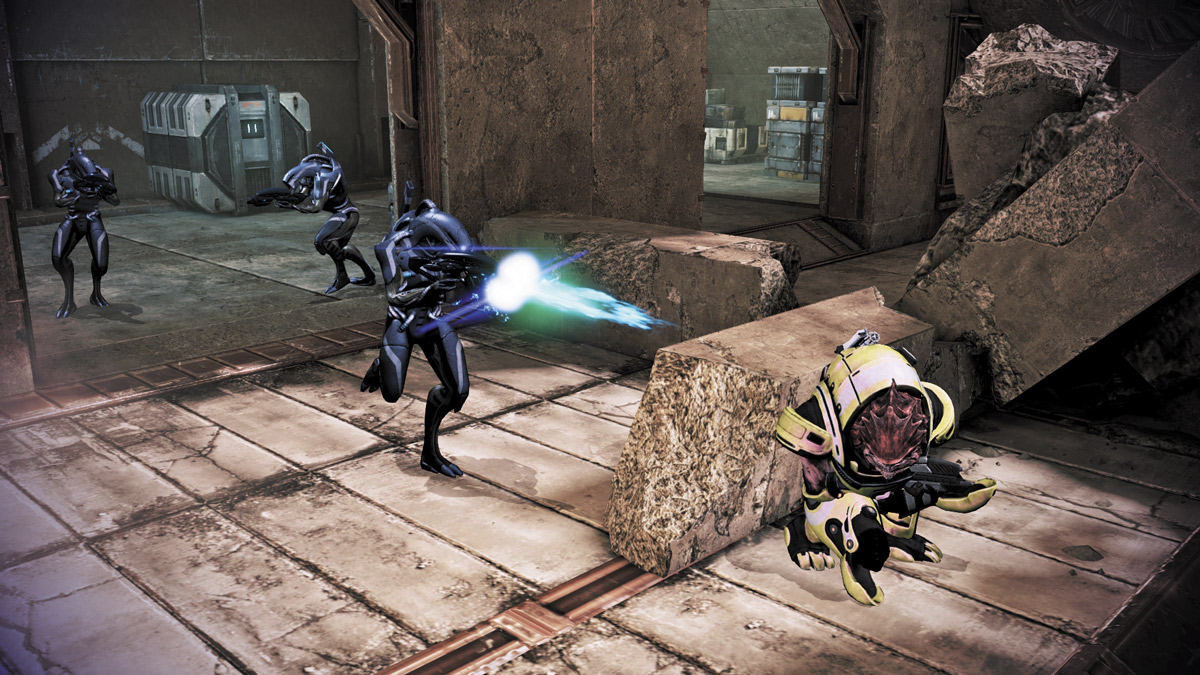
All missions on Giant begin just outside of the Bunker in the sprawling Exterior zone, and they all end in the same location.
The Bunker is dilapidated, its roof partially collapsed inward.
This makes the Bunker interior U-shaped and divides the two Cargo Transfer access points from each other.
While this is a somewhat solid defensive position, remember that the two exits leading to the Exterior will be the first places the enemy will go if the Cargo Transfer entrances are not accessible.
Likewise, players should remember this if an objective is located in the room but enemy presence is heavy.
Cargo Transfer
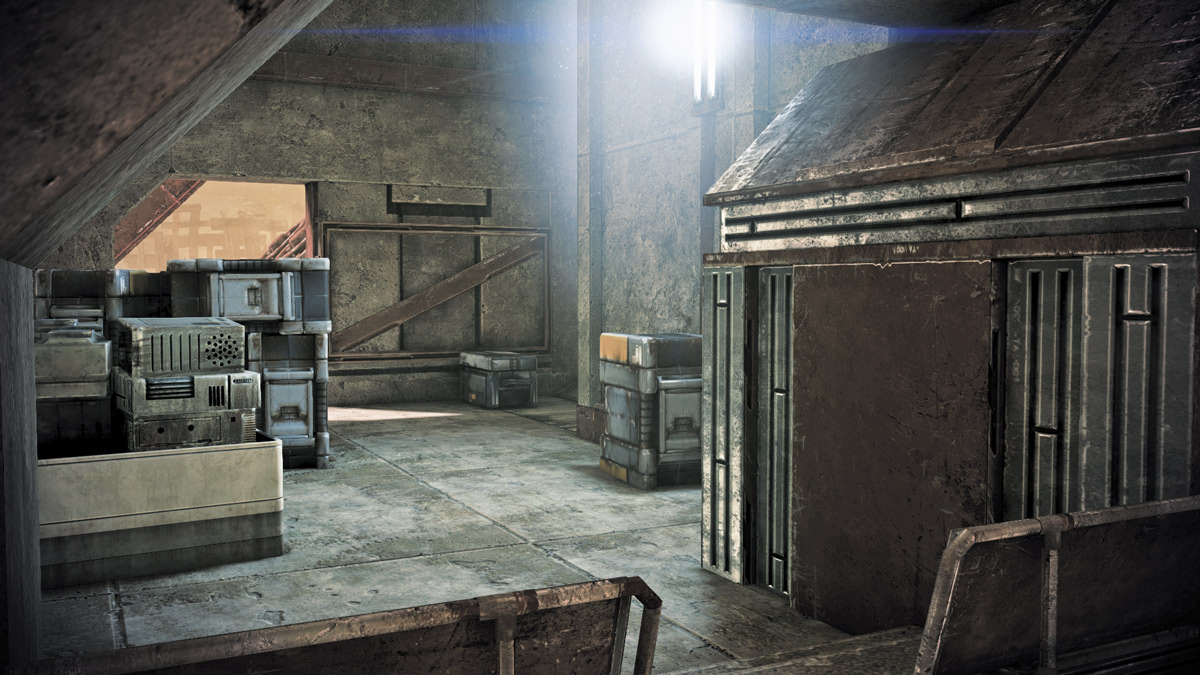
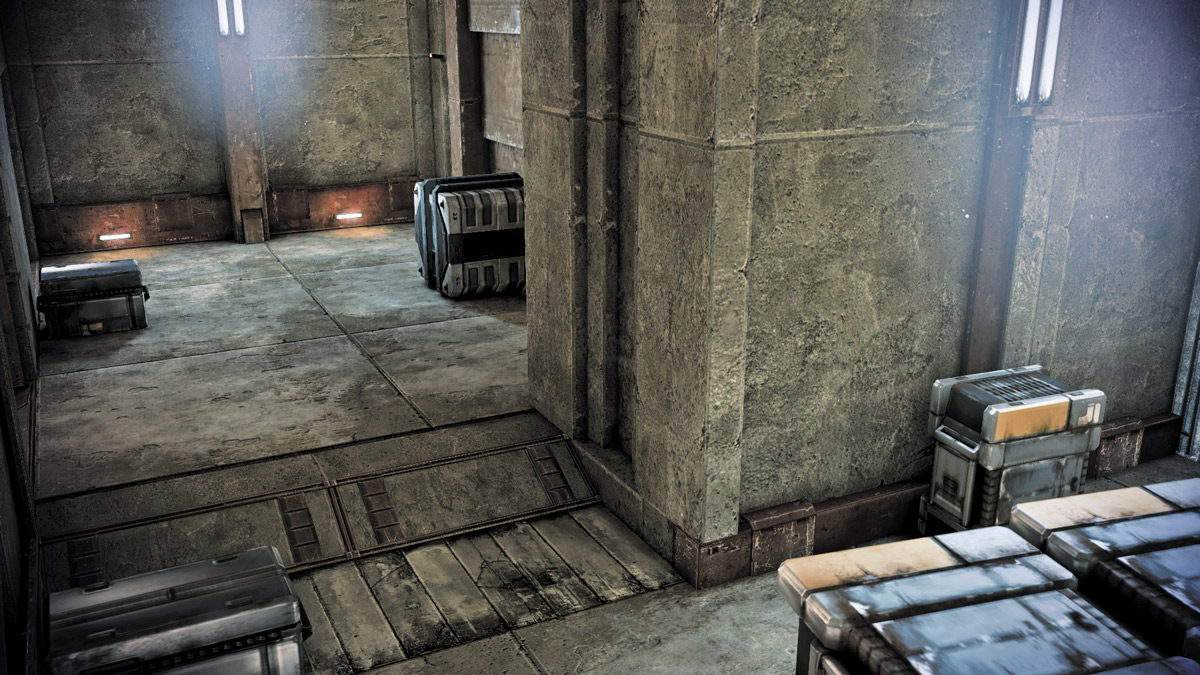
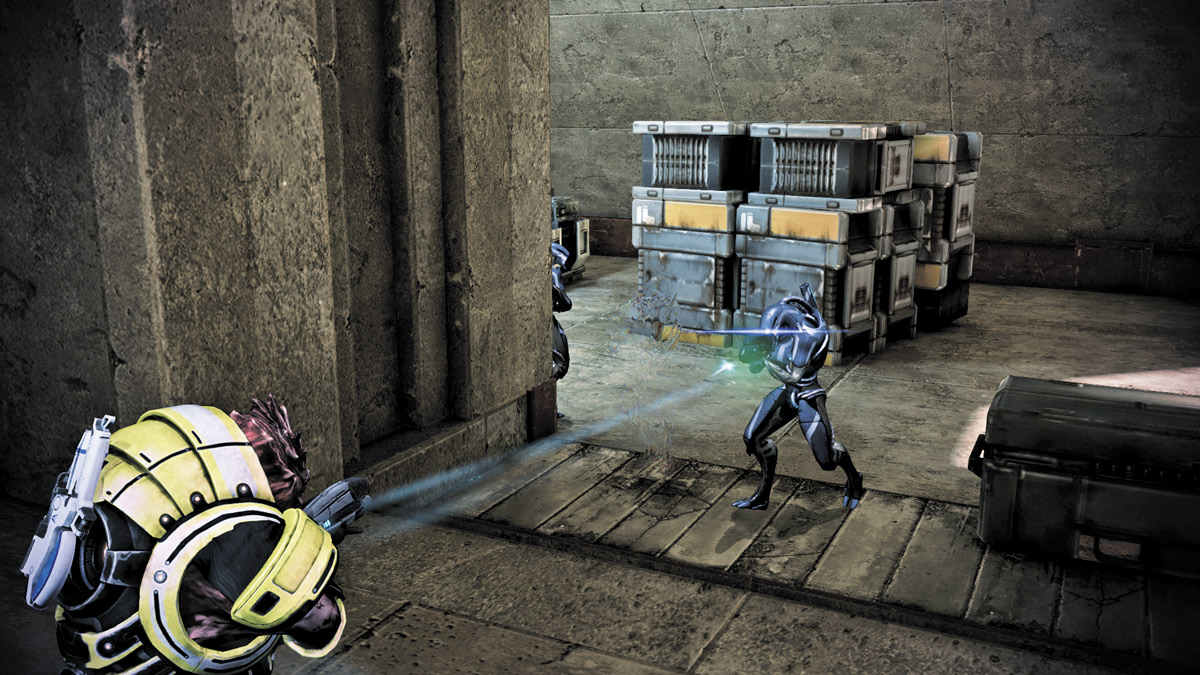
The Cargo Transfer is a small connecting corridor between Terminal, Exterior, and Bunker.
Maneuvering room is limited thanks to large shipping containers strewn throughout a part of this section.
Cargo Transfer is one of two small transitional areas on the map, but it occupies a certain amount of importance tactically.
You can use the ladder leading to the Terminal from this hallway to tangle up the flow of enemy reinforcements from Cargo.
Enterprising Engineers can also lay a Sentry Turret at the top of the ladder, giving it a great field of fire over a wide swath of the Terminal section.
Connection
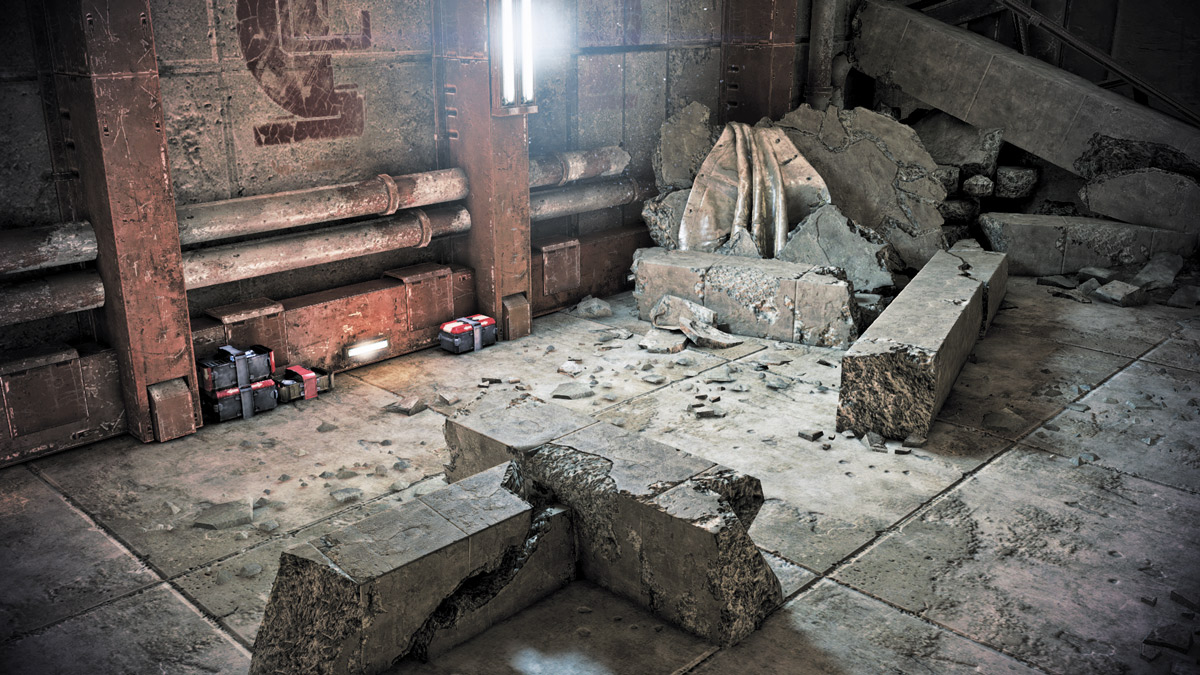
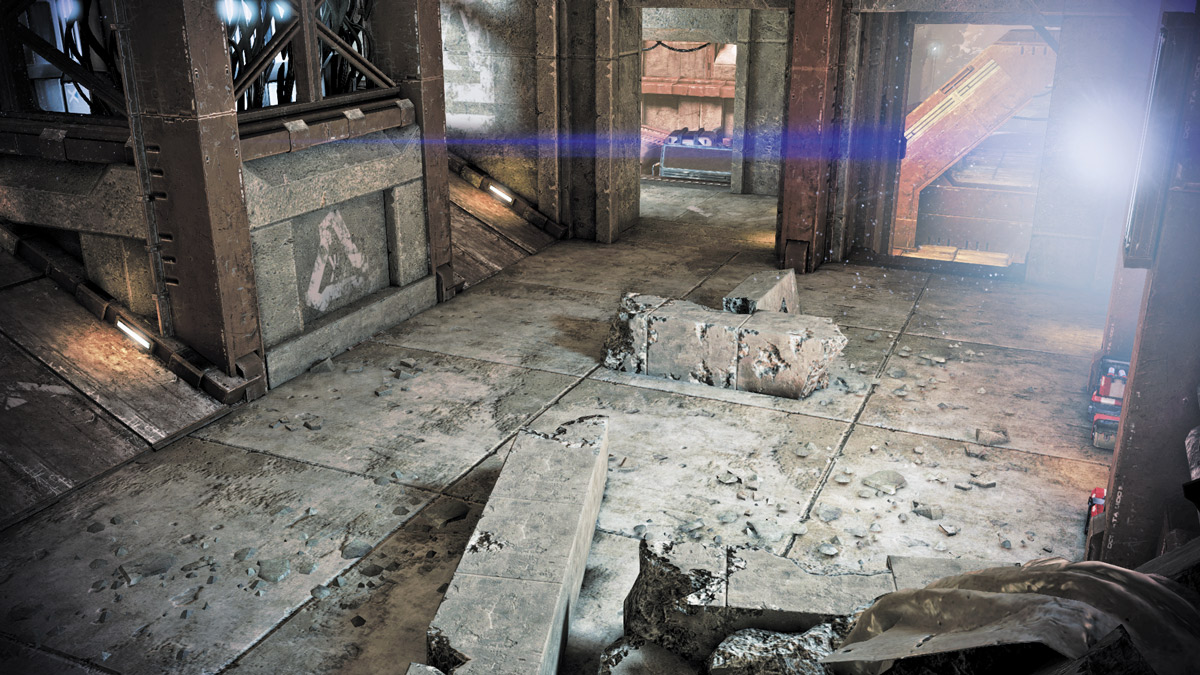
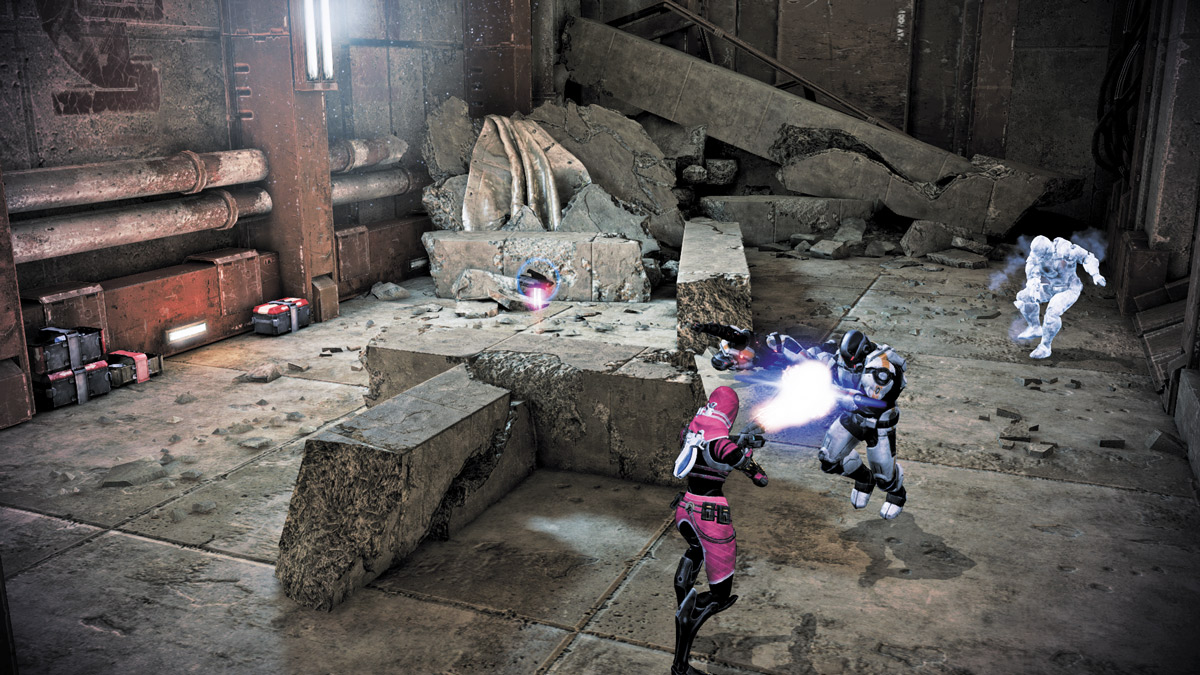
The other small-sized hubway of Giant, Connection feeds into the Control Room and the Terminal.
There is a small amount of cover in the main room of this section and a convenient ammunition supply that can be useful for any objectives that require a team to settle in for a fight.
However, this room’s small size can lead to some hairy moments when the more vicious short-range units inevitably chase the team down for some close-quarters combat.
A much smaller side passage is also part of Connection, allowing ladder access into the Control Room.
Control Room
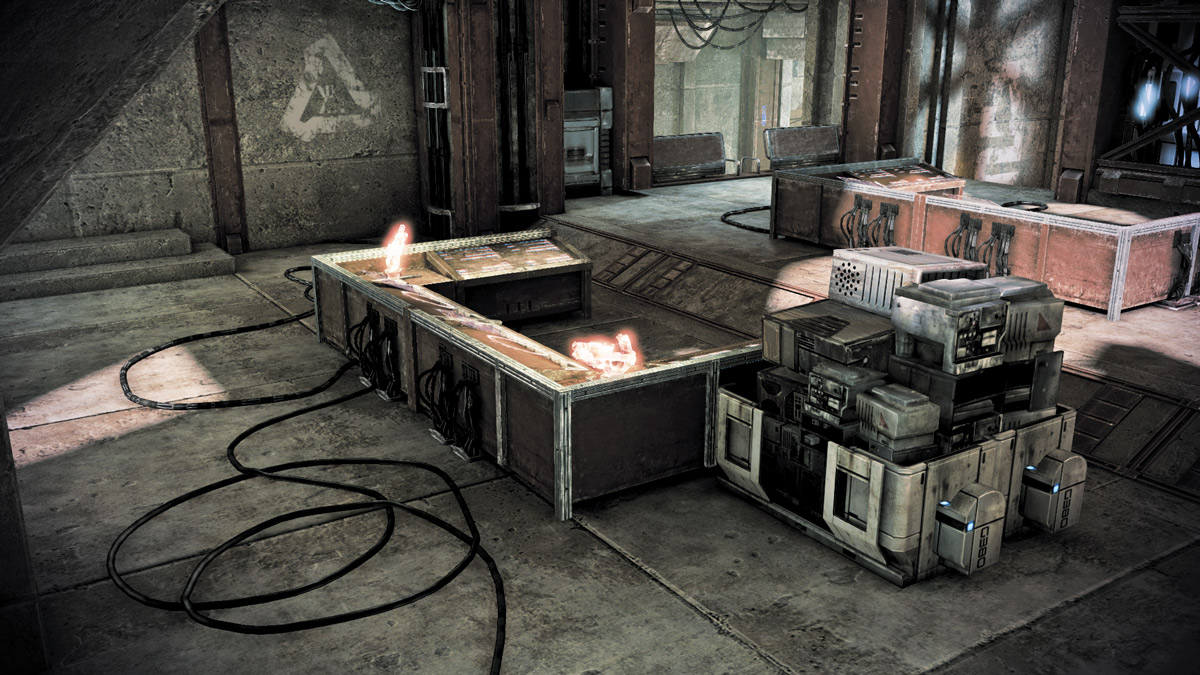
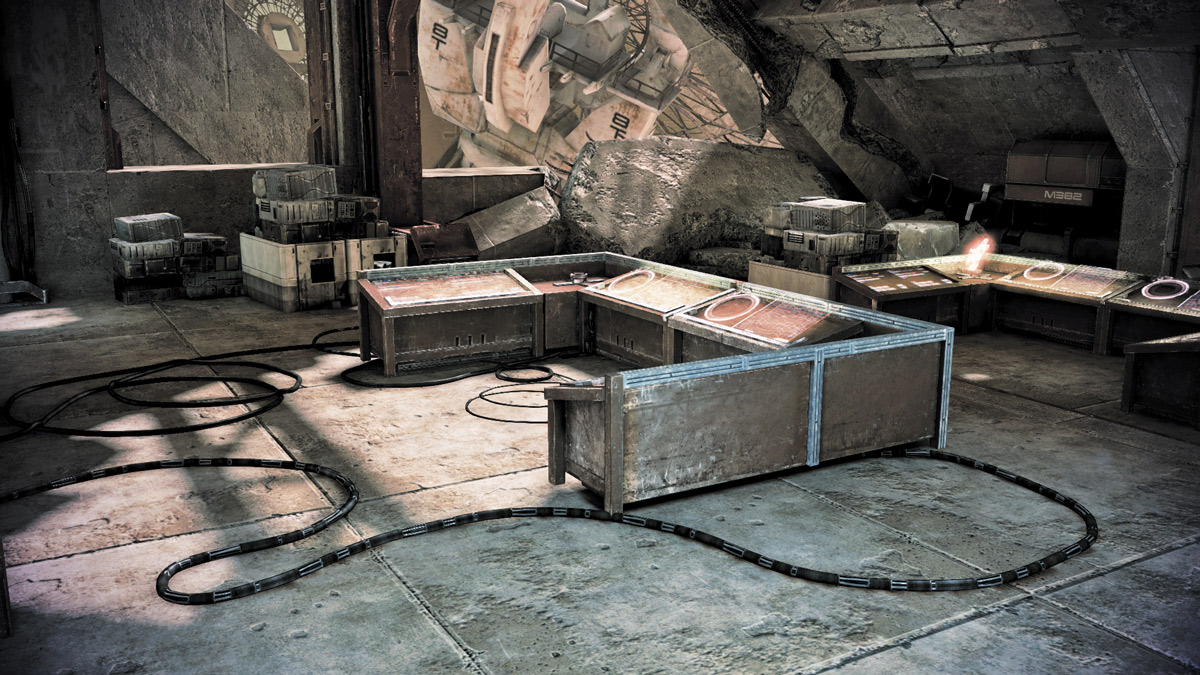
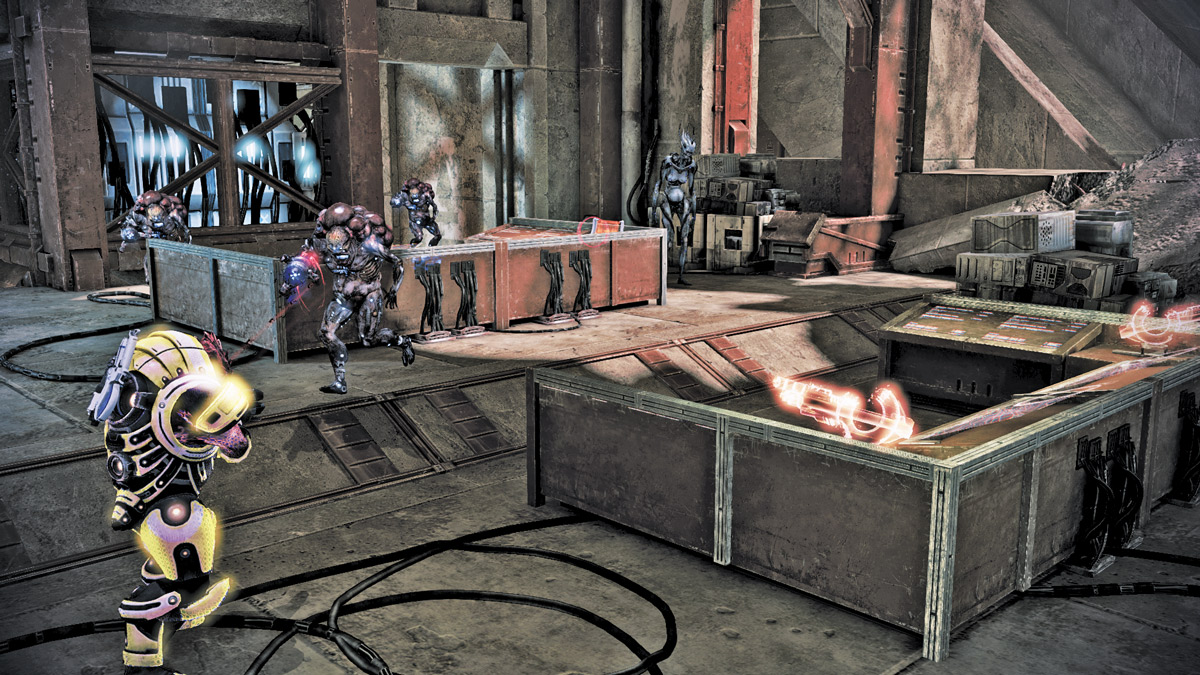
Two U-shaped control consoles are the centerpieces of the Control Room.
With three entrances feeding in from Connection and one leading to Exterior, there is the potential of being overwhelmed if the enemy does take all three entryways from Connection.
Solo players can find it hard to manage that. Harder still, spare ammo is not located within this room, so if your stay here is to be fairly lengthy, try to arrive stocked up first.
Exterior
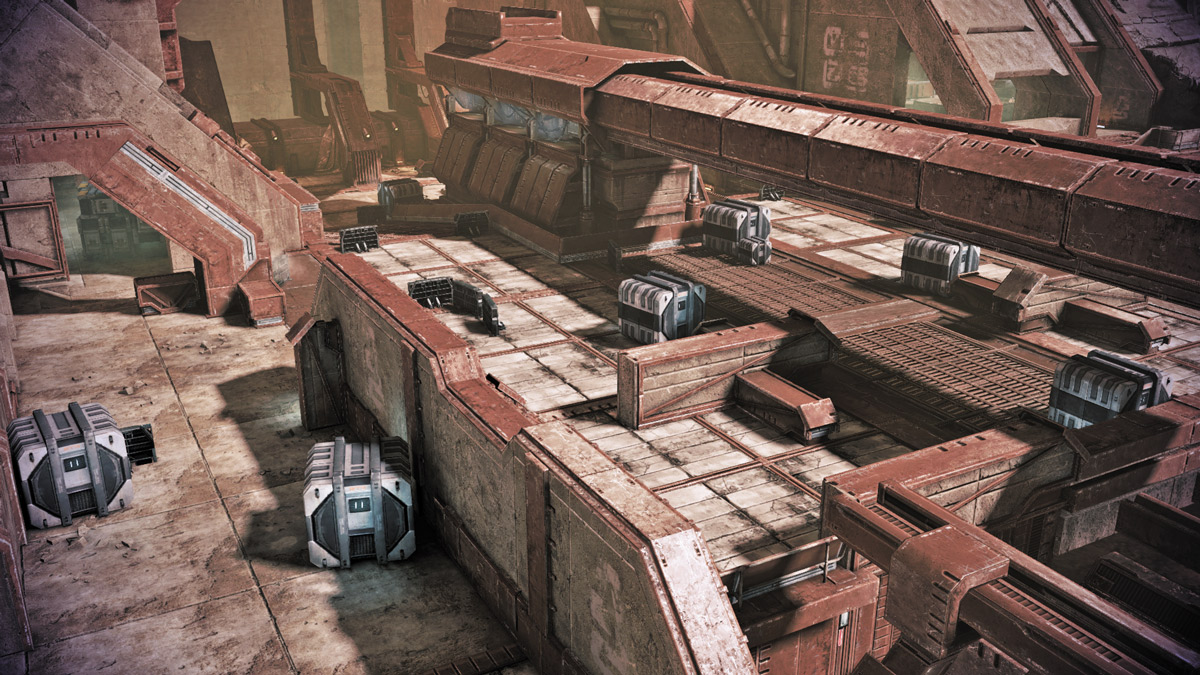
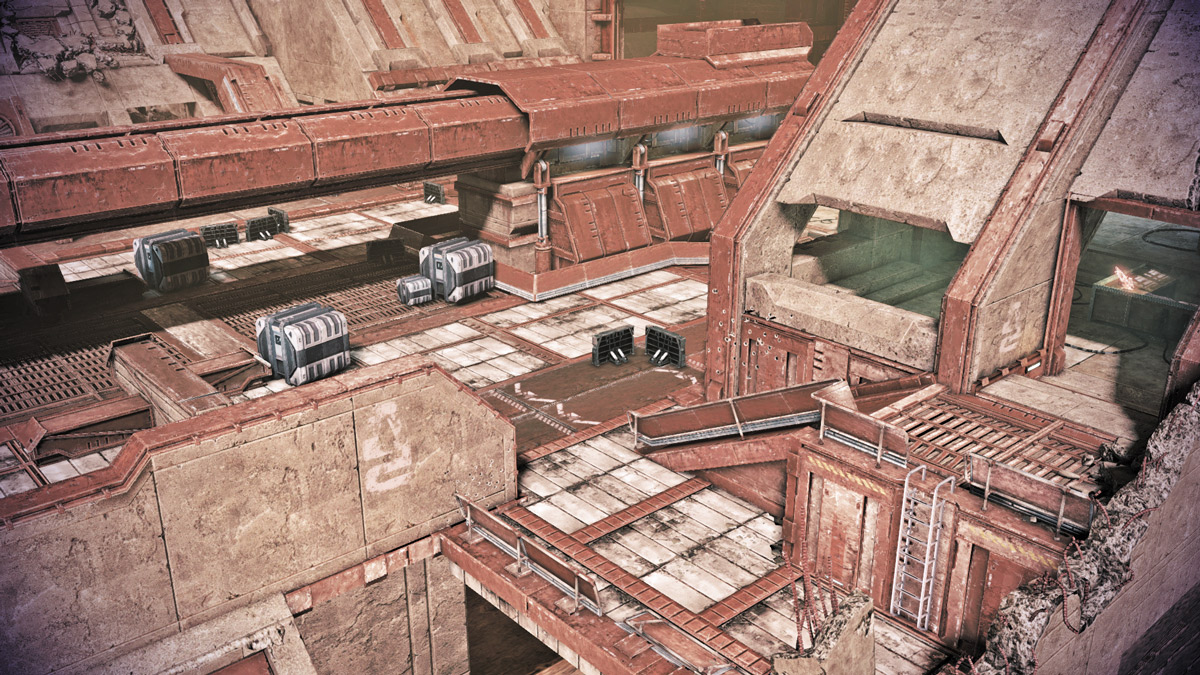
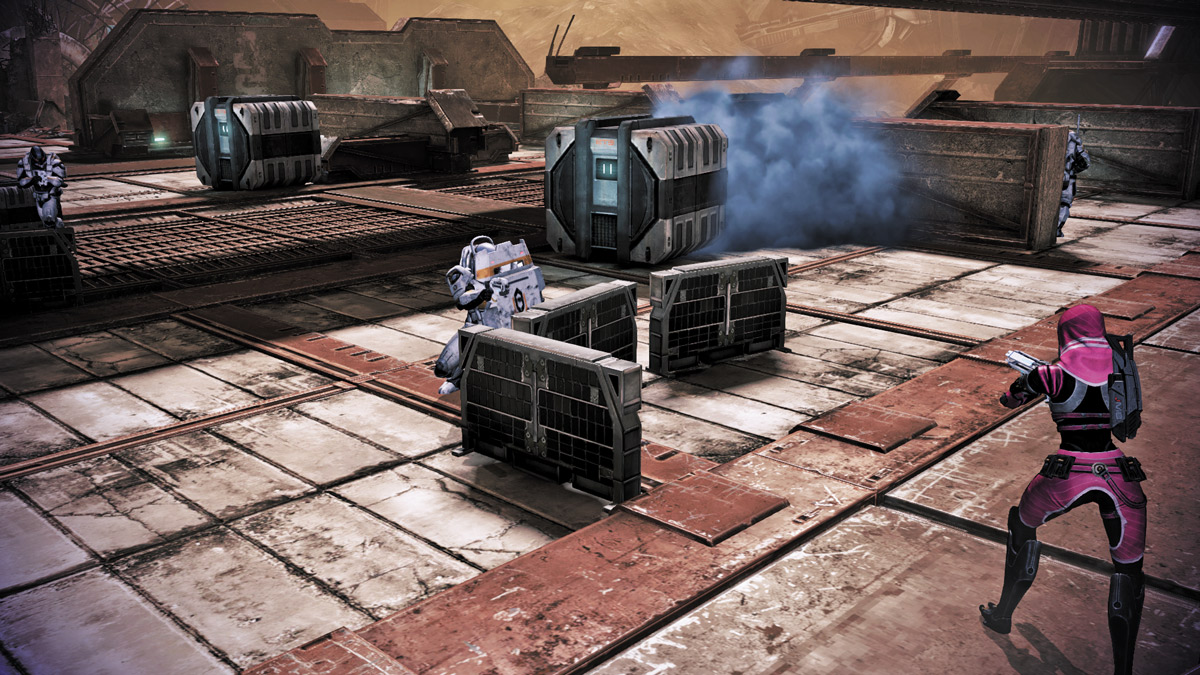
The Exterior of Giant is the largest section of the map.
Cargo containers and dividing walls litter this arena, making for tense games of hide-and-seek between players and hostiles alike; you can beat one ambush, only to round a piece of cover in the wrong direction and land face-first into another.
Splitting the map in half is a large set of piping suspended in midair by a set of support struts. It is from here that enemy reinforcements run onto the map.
Cerberus forces can freely jump to the top of this pipe to evade players and to take up sniping positions.
From the Exterior, players can access every other section on the map, with the largest access being a pair of large ramps that feed directly into the Terminal area.
There’s decent cover on the ramp, and the elevated position makes taking out threats inside the Terminal a little easier.
Terminal
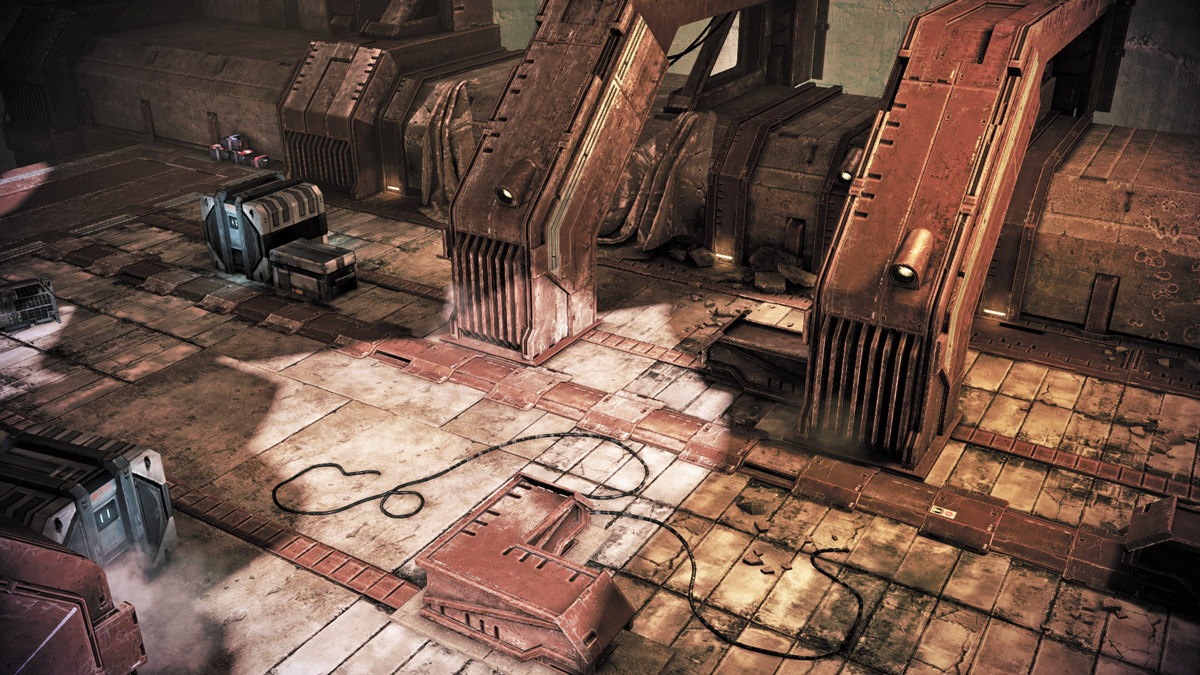
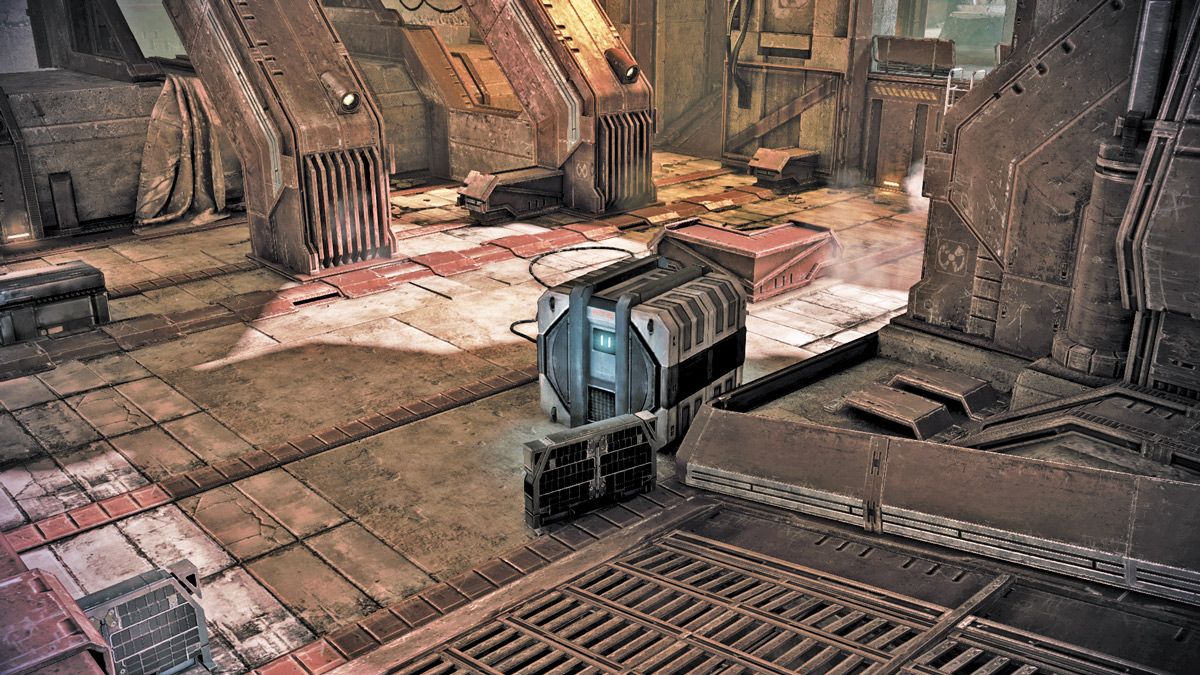
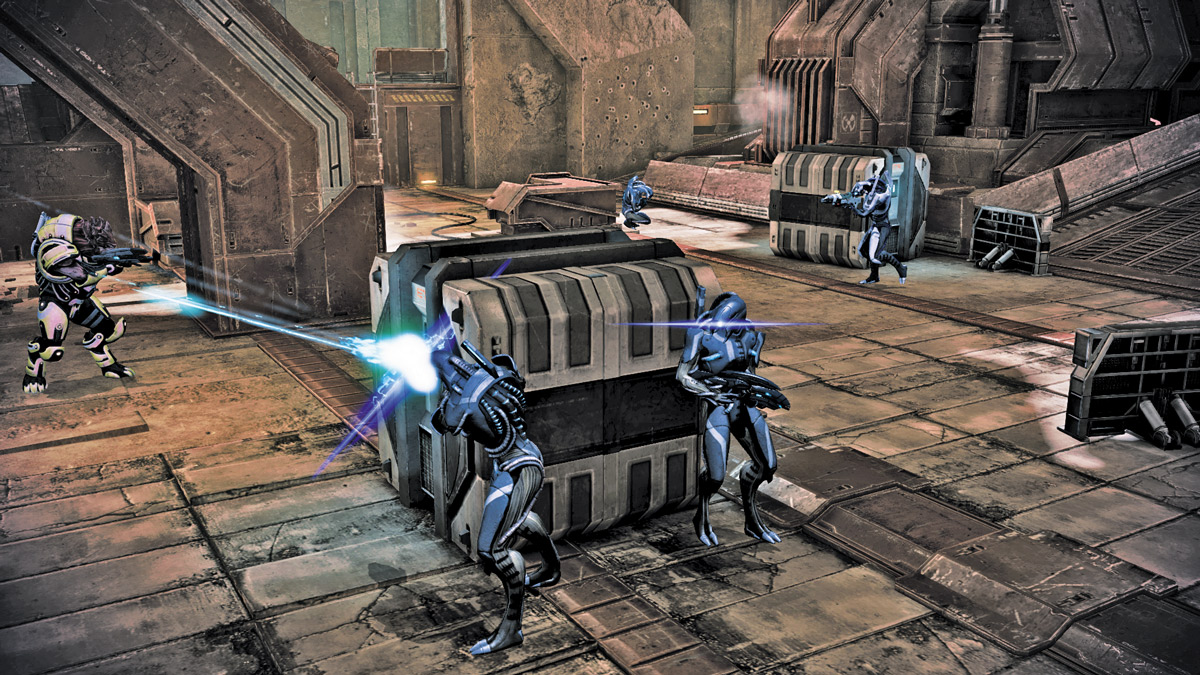
The second largest piece of real estate in Giant, the Terminal suffers from having two comparatively massive entryways.
This allows large rushes of enemies to approach a player squad attempting to accomplish objectives such as Hacking.
On higher difficulties, this can feel nearly insurmountable, forcing players to desperately fall back from positions closest to the ramps.
The ramps give hostiles from the Exterior the positional advantage and allows them to move in and spread out enough that they can avoid wide area-of-effect abilities.
Terminal is cluttered with various cargo containers and support struts that can be used for cover, but as it is with the Exterior, this can lead to players rounding certain corners directly into unpleasant surprises.
Engineers can help cover the flanks by setting up turrets or combat drones to harass the enemy as they pass through opens spaces, particularly the areas that feed into Connection and Cargo Transfer.