
Mass Effect 3 Guide Essentials Armaments and Armour
Powers
POWERS
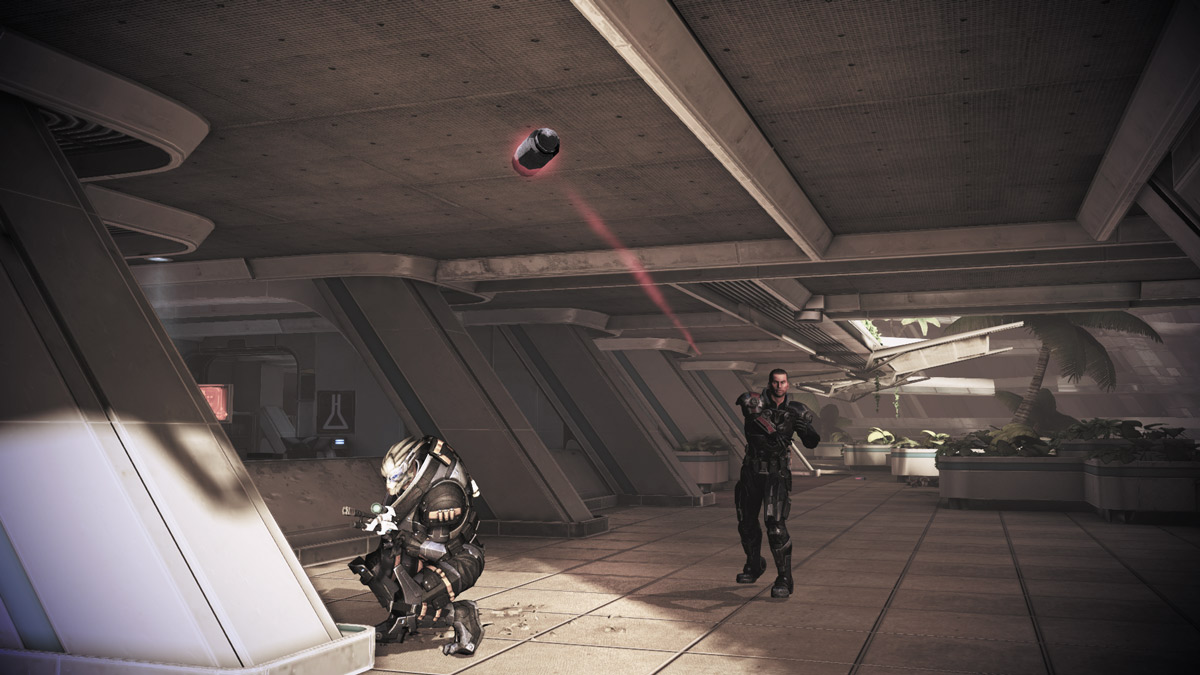
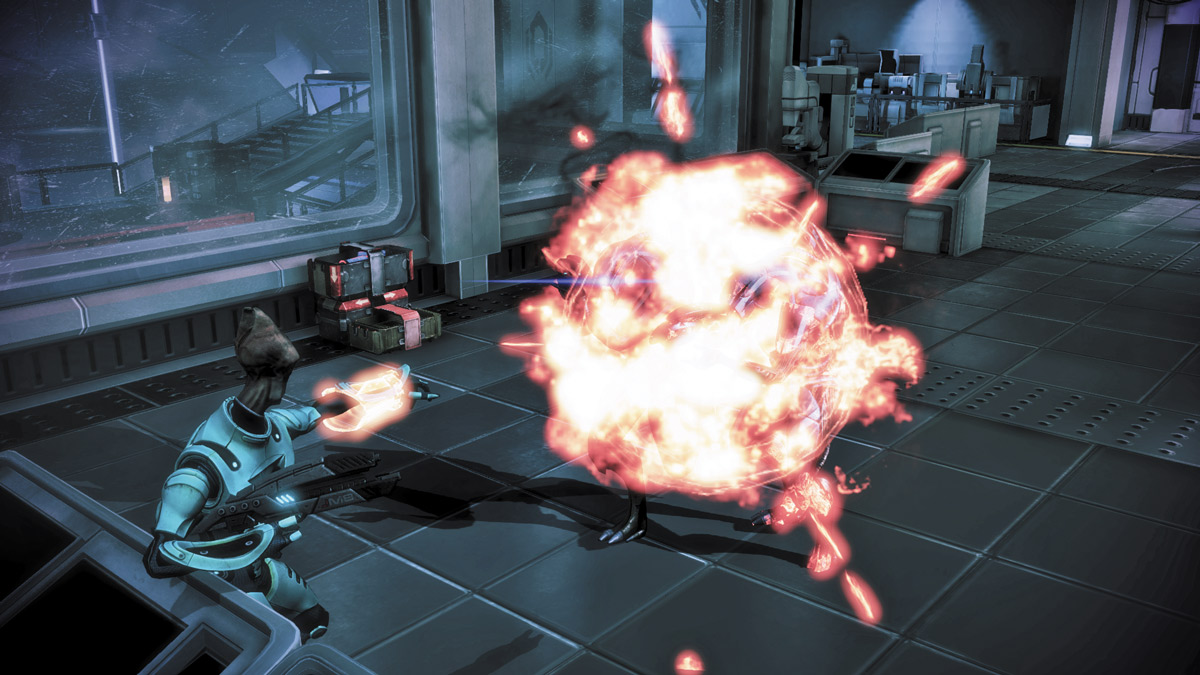
Each class has a variety of active combat abilities that can supplement a well-rounded arsenal or even supplant one.
Consisting of combat, Tech, Biotic, and ammunition, powers can cause different types of elemental damage, rip apart shields and barriers, and even rob enemies of their mobility.
Combat Powers
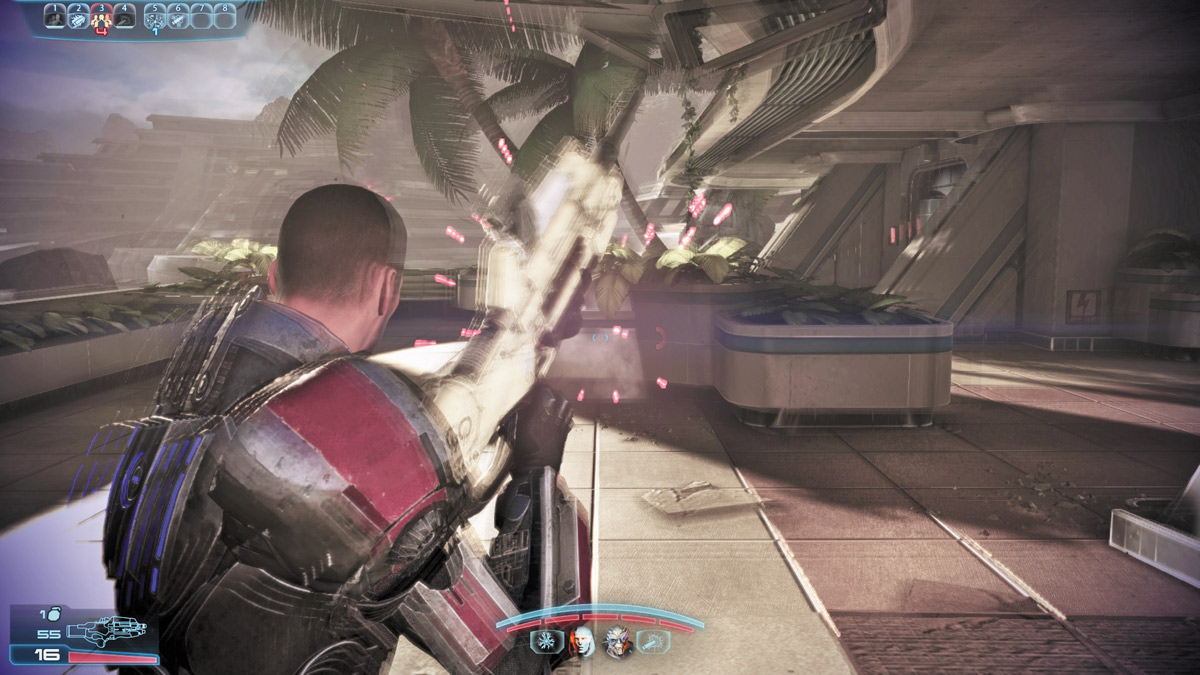
Example powers: Concussive Shot, Adrenaline Rush, Frag Grenade
Combat powers are designed to break through armor and cause heavy health damage to targets. With the new combo system, combat abilities often act as the “detonator” that sets off the combo explosion.
Others enhance player accuracy or survivability under fire. In the campaign and during multiplayer, it’s a good idea to choose a character who specializes in these abilities to help finish any combos.
New to Mass Effect 3 is the limited number of grenades available. Previously, it was possible to keep throwing Inferno Grenades indefinitely. Now grenades are powerful but limited in number.
Tech Powers
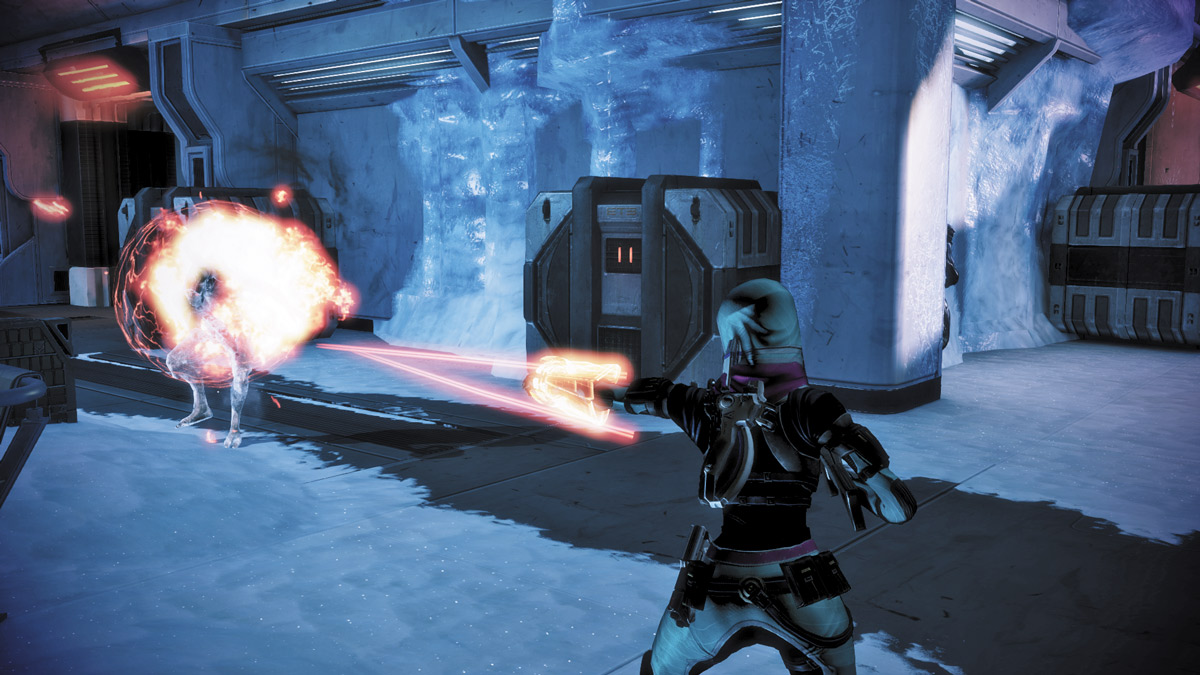
Example powers: Cryo Blast, Combat Drone, Tech Armor
Tech powers have some of the best utility values of all active powers. They can cause the largest number of effects on victims.
Many Tech powers specialize in breaking down enemy shields and armor, which is rather important for Biotic users whose best effects are available after a target is stripped of its defenses.
Other Tech powers specialize in defense, deploying defensive turrets, rendering players tougher to kill, or making them impossible to see.
Tech powers often serve as a primer in a power combo, as the lingering effects of the elemental damage allows Biotic or combat powers to detonate and cause heavy damage to surrounding targets.
Biotic Powers
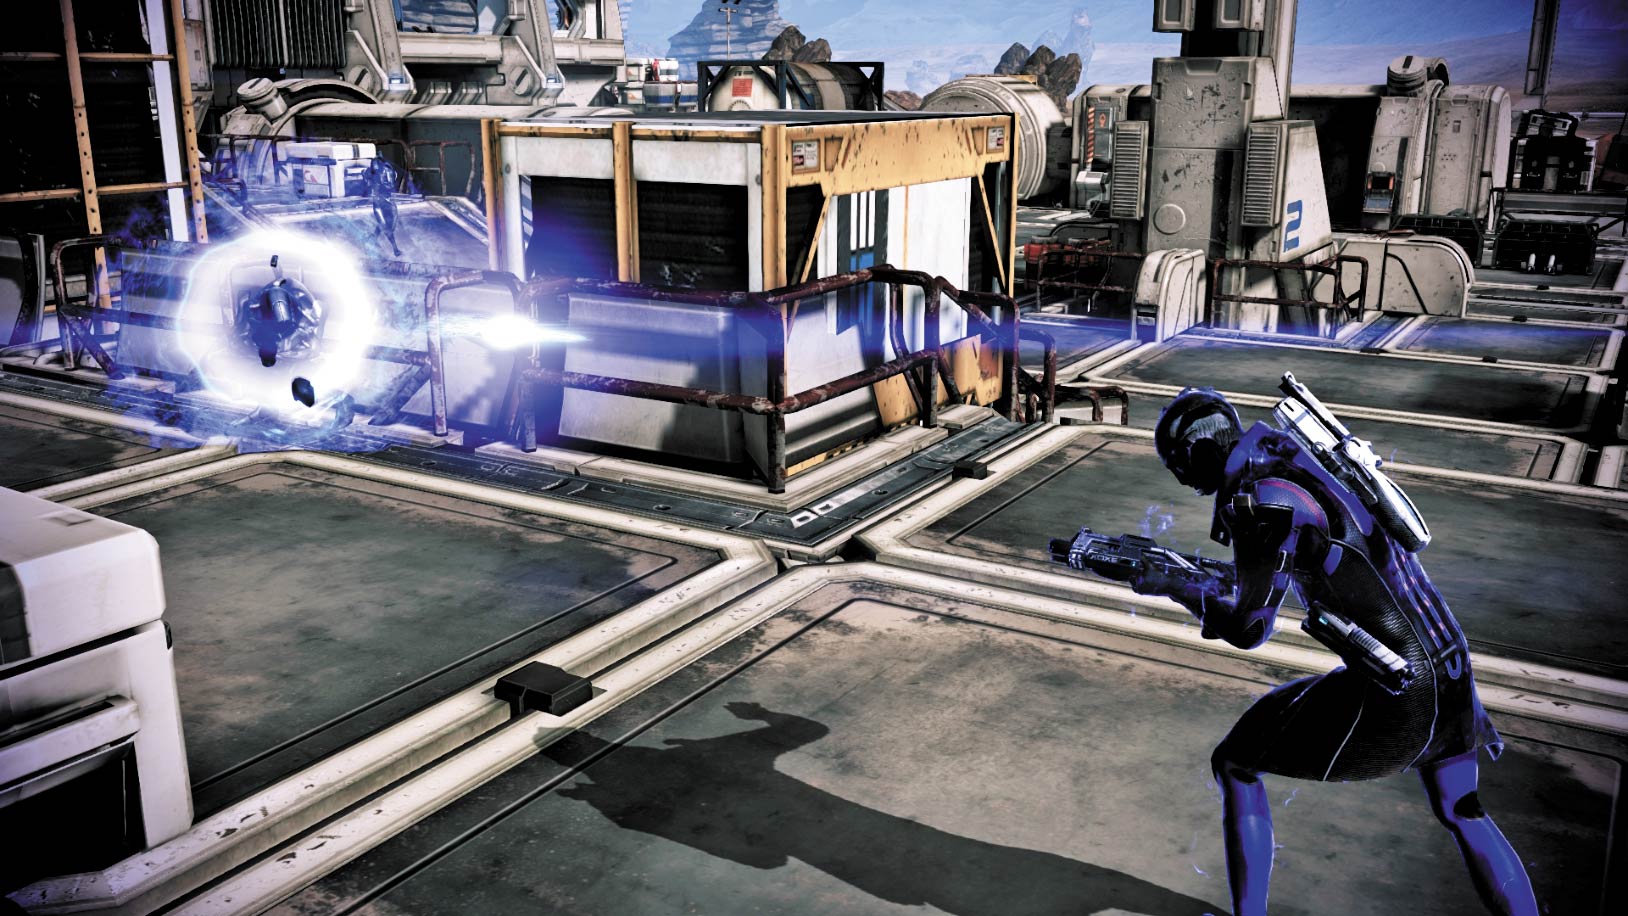
Example powers : Biotic Charge, Singularity, Stasis
Specializing primarily in breaking through barriers and the rules of physics, Biotic powers are powerful tools against unprotected targets but are stymied against shielded targets.
The best Biotic abilities render targets completely unable to fight back, as they are lifted into the air or flung about by a gravitational singularity.
However, Biotic powers need to have their targets stripped of special protection before they can go to work. Similar to combat powers, many Biotic powers serve as detonators in combos.
Many Biotic powers have lingering effects that make it easy to set up Biotic combos. A squad heavy on Biotics will certainly not be lacking in power.
New to the Biotic skill sets are specialized explosives: the Lift and Cluster Grenades. As with the combat grenades, these are limited in number, and therefore should be used judiciously.
Ammunition
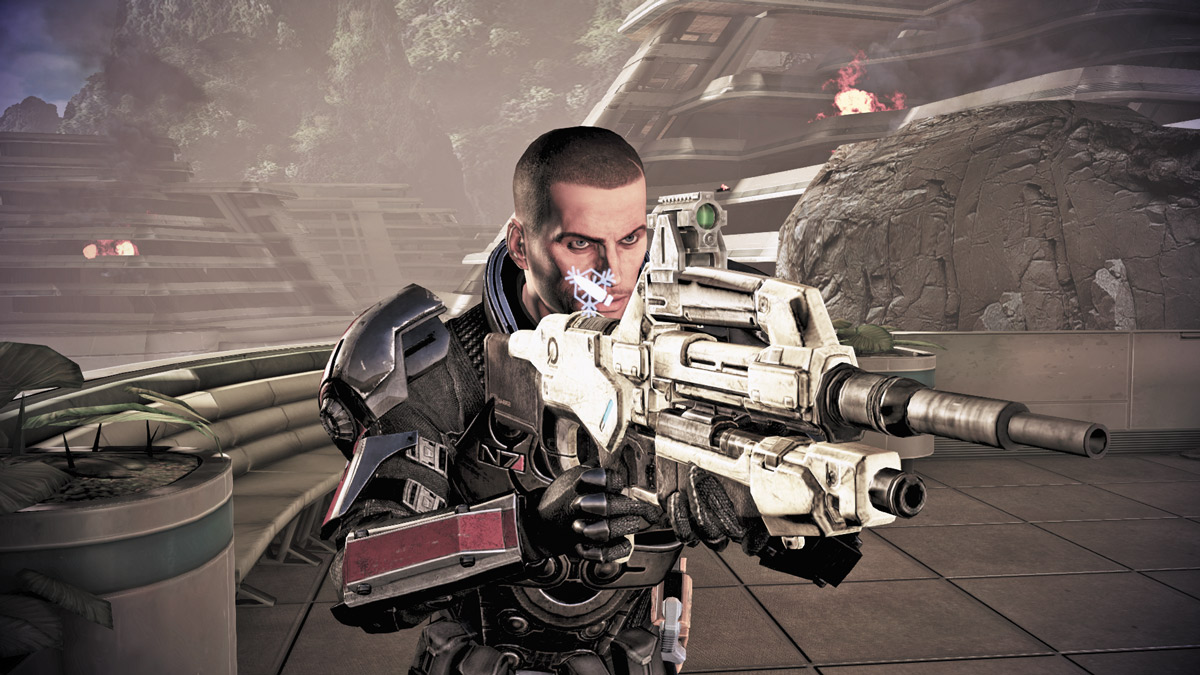
Example powers: Cryo Ammo, Incendiary Ammo, Warp Ammo
These abilities appear as powers only in single-player; in multiplayer they take the form of special equipment that lasts for the duration of a mission and cannot be switched out.
In both modes, ammunition enhancements are valuable skills in a fight. Not every class or character can use these powers, so their prevalence in a squad may not be very high.
Nonetheless, having at least one or two ammo specialists can help cut through a variety of defenses.
Interestingly enough, almost every ammo power, save for Armor Piercing, can contribute to power combos as “sources” due to their lingering effects on targets.
POWER COMBOS
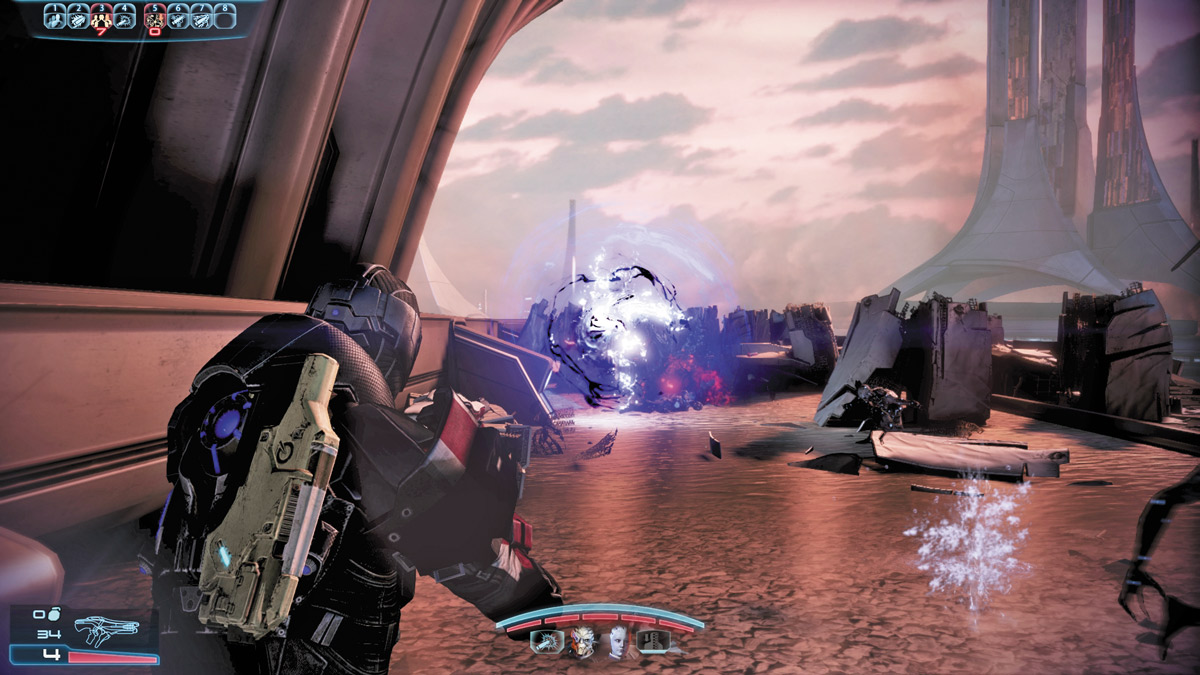
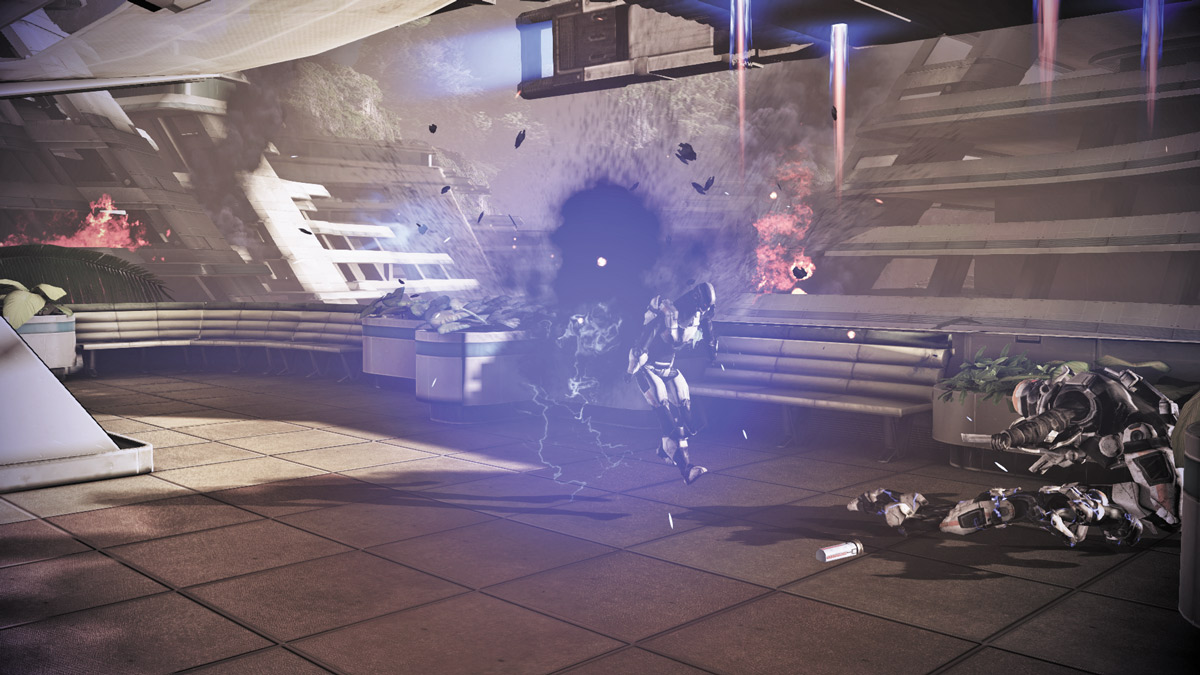
In Mass Effect 3 , powers can combo off of each other, leading to devastating explosions with large areas of effect.
In single- and multiplayer, this encourages teams with a variety of Tech, Biotic, and combo powers to increase damage output.
On harder difficulties, it’s almost a requirement that players use combos extensively in battle to help whittle down the larger health pools that enemies possess.
Every combo has two required elements: a source ability, and a detonator ability. These vary depending on the desired combo. There are four types of combos in the game, each with special side effects:
- Biotic Combo: Biotic combos have the benefit of being able to occur regardless of the health levels of the targeted enemy; many others trigger only if the two powers combined are the killing blow on the victim. Biotic users with light loadouts for reduced power cooldowns can trigger combos in rapid succession, devastating clustered groups of enemies. Effective against Biotic barriers and armor.
- Flame Explosion: This is a blast of flame that is highly effective against armor. It has the additional bonus of setting aflame any target within the blast radius, with a chance of causing panic on the victims. Panic is especially useful, as it keeps the enemy preoccupied. Any enemy caught in the blast now suffers from a fire damage-over-time effect.
- Electric Explosion: A burst of electricity that tears apart the shields of anything within range, with a high chance of stunning a target. One of the more effective combos in the game, especially against Mechs and geth platforms. Unfortunately, it isn’t always easy to have a group of shielded enemies fall within range of the explosion, but the chance to stun still makes it a choice combo to rely on. Like the Biotic combo, the electric explosion can be triggered without being the killing blow on a victim.
- Cryo Explosion: This ice blast has a chance to freeze any target within the vicinity, leaving them vulnerable to shattering. For armored or shielded targets, the partial freeze will slow them down. Against armor, those affected by this blast will take additional damage to the armor layer, making this particularly effective against Mechs like the Cerberus Atlas, armored Reaper Cannibals, and geth platforms.
|
Biotic Combo |
Flame Explosion |
Electric Explosion |
Cryo Explosion |
|||||
|---|---|---|---|---|---|---|---|---|
| Powers used in combos | Source | Detonator | Source | Detonator | Source | Detonator | Source | Detonator |
| Concussive Shot | X | X | X | |||||
| Inferno Grenade | X | |||||||
| Sticky Grenade | X | X | X | |||||
| Frag Grenade | X | X | X | |||||
| Proximity Mine | X | X | X | |||||
| Carnage | X | X | X | |||||
| Throw | X | X | X | X | ||||
| Pull | X | |||||||
| Singularity | X | |||||||
| Shockwave | X | X | X | X | ||||
| Warp | X | X | ||||||
| Biotic Charge | X | X | X | X | ||||
| Reave | X | X | ||||||
| Stasis | X | |||||||
| Slam | X | X | X | X | X | |||
| Dark Channel | X | |||||||
| Cluster Grenade | X | X | X | X | ||||
| Nova | X | X | X | X | ||||
| Lift Grenade | X | X | X | X | X | |||
| Incinerate | X | X | X | X | ||||
| Overload | X | X | X | |||||
| Cryo Blast | X | |||||||
| Combat Drone Death Explosion | X | X | X | |||||
| Sentry Turret Flamethrower | X | |||||||
| Decoy Death Explosion | X | X | X | |||||
| Incendiary Ammo | X | |||||||
| Disruptor Ammo | X | |||||||
| Cryo Ammo | X | |||||||
MELEE COMBAT
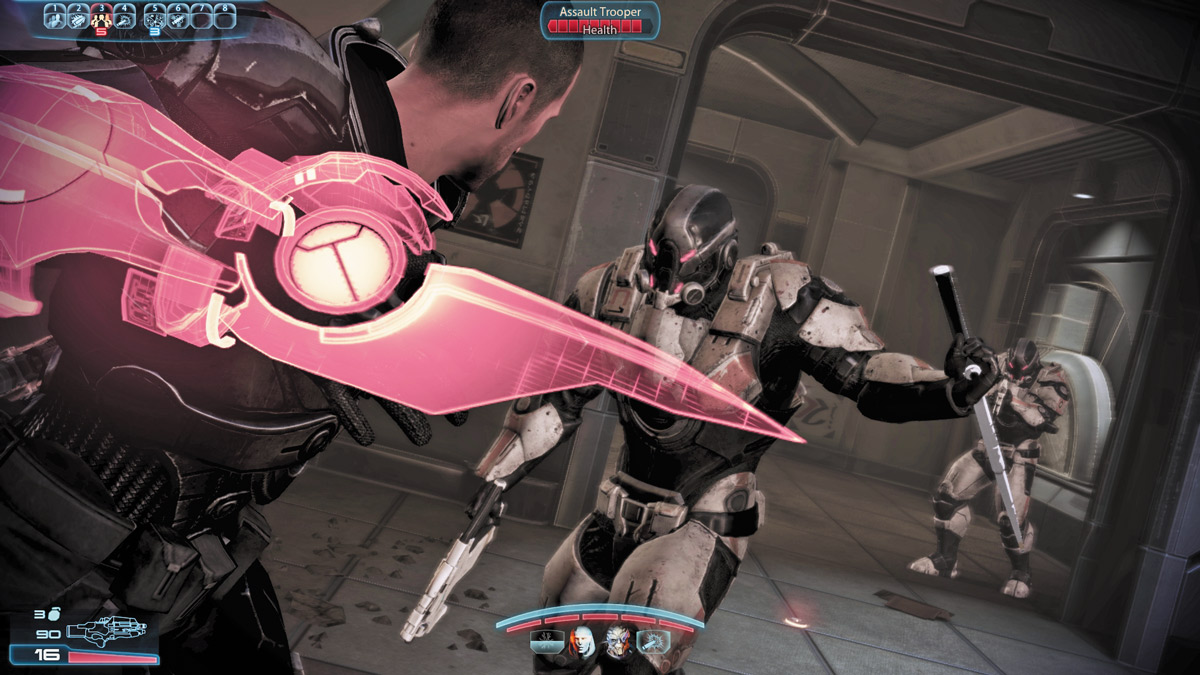
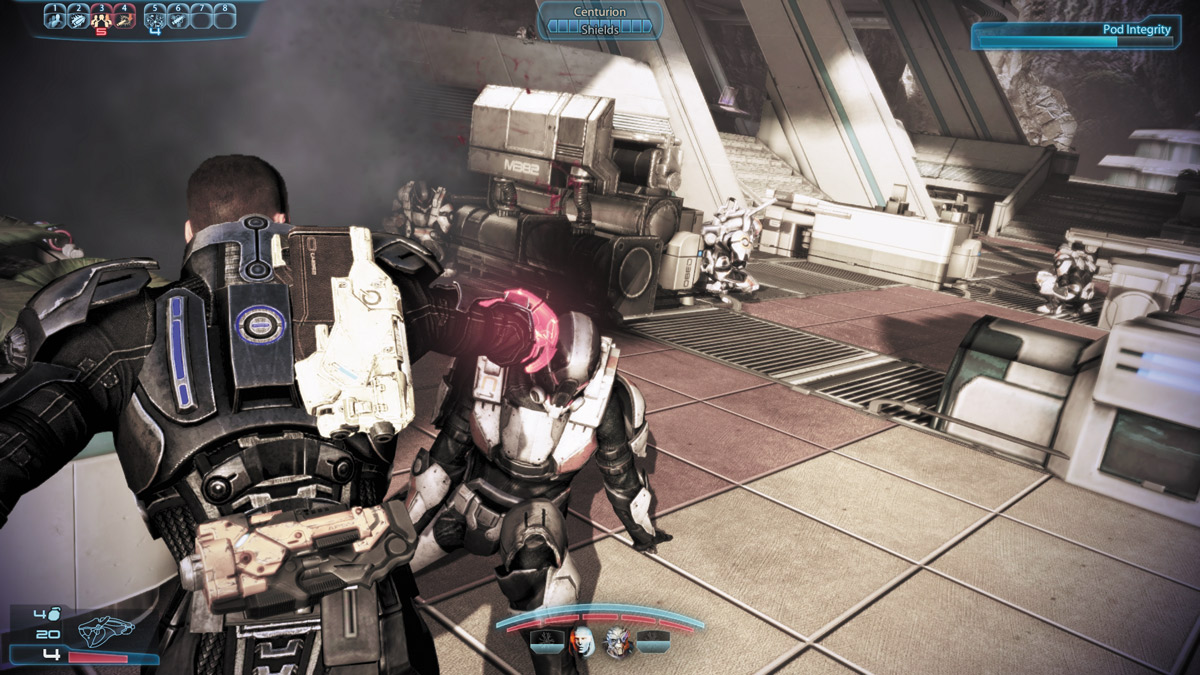
Inevitably, enemies will break through any carefully planned kill zones and positions you set up within, and they will be in your face, pounding you with their firepower or vicious melee attacks.
Fortunately, you’re not entirely helpless when they get this close. Mass Effect 3 ’s melee combat gives players more options that before, making a character of any class a serious threat beyond guns and powers.
Weapon Strikes
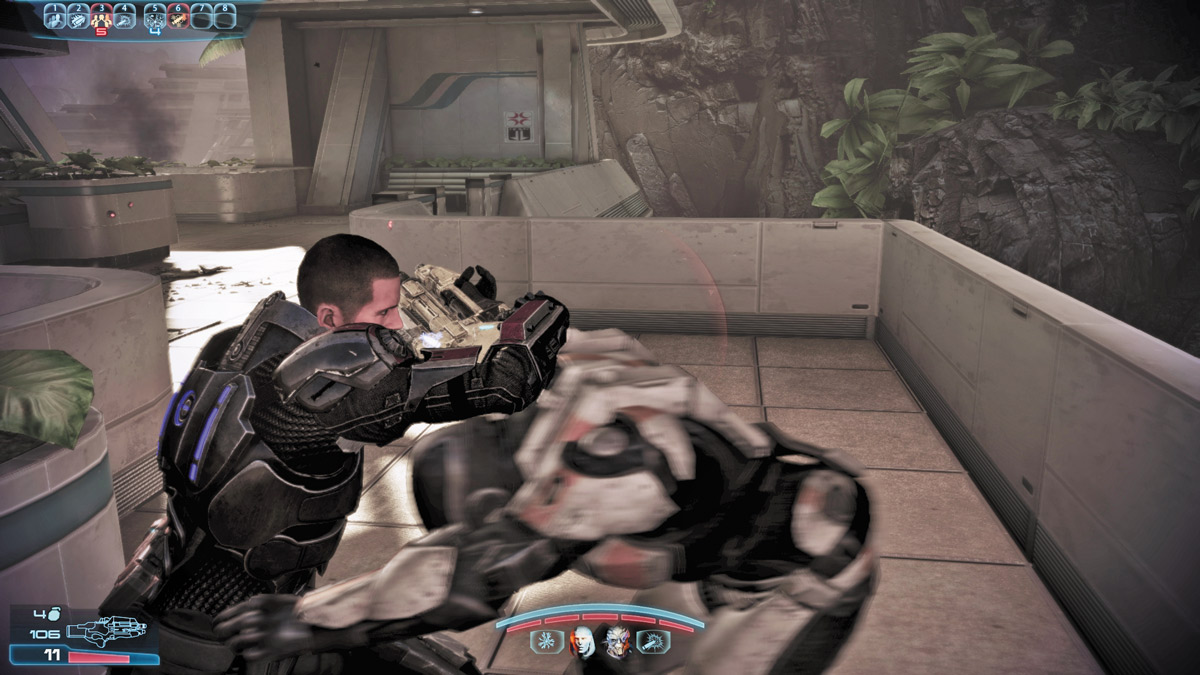
In previous games, Shepard was limited to single strikes with whatever firearm was equipped at the time. This is now a three-hit combo that can stagger foes of equal size.
Coupled with level boosts in the appropriate passive abilities, even this basic melee can be enough to flatten any basic foot soldier who gets too close.
Certain weapon mods further enhance your melee strikes. A pistol mod adds the chance of an electrical stun effect to each swing, while shotguns can be affixed with a bayonet that provides a good boost to overall melee damage.
Melee can now be performed from cover—players can swing at the closest enemy as they step away from their cover. Players can also perform these strikes from the edge of cover.
As useful as this is on single targets, it’s dangerous to rely on when multiple threats are in the area. Don’t get caught up in the moment and punch your way into an ambush.
Heavy Melee
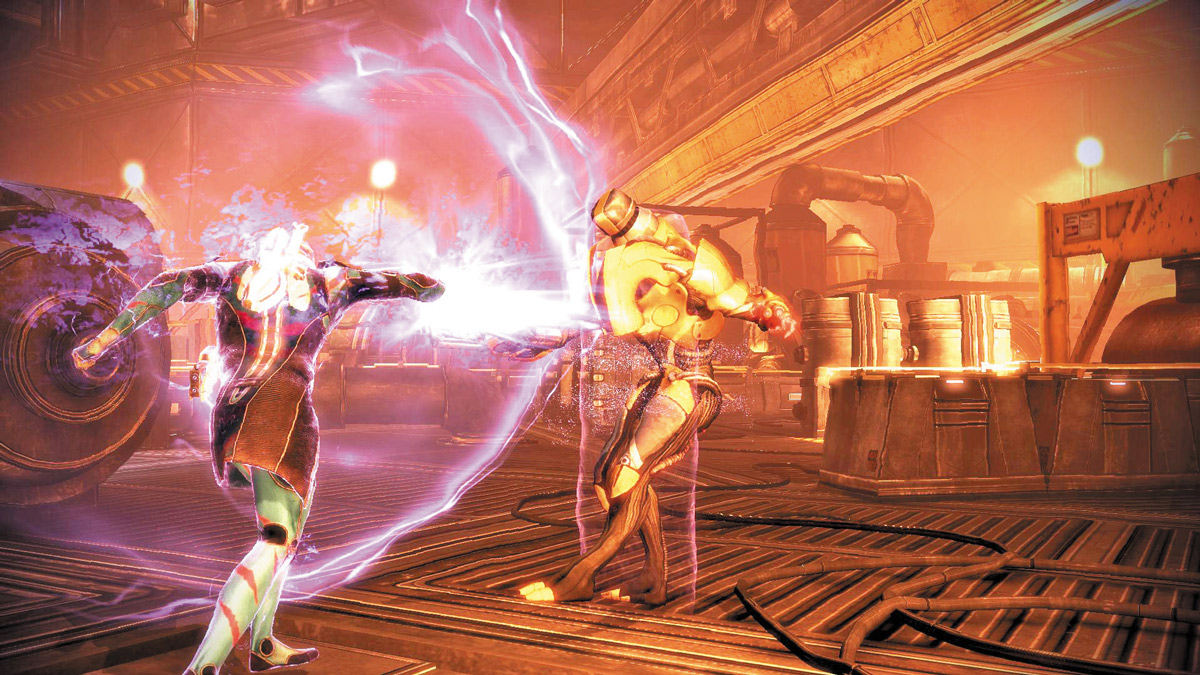
Performed by holding down the Melee button, these powerful blows actually change based on what class you play in both single- and multiplayer, but the end result is the same: a single, heavy damage strike that can kill a basic unshielded/unarmored enemy in one or two hits.
Nonbiotic users equip their omni-tool and form a disposable glowing blade that stabs straight into their victim or, in the case of Engineers, releases flame from the tool.
The speed and effect of the heavy melee changes between classes. Soldiers have the slowest heavy melee strike, but it is the most powerful. Infiltrators and Engineers have a slight area of effect.
The Vanguard heavy melee is the fastest but also the least powerful. Sentinel heavy melee strikes are slower but more powerful.
Adept heavy melee hits anything surrounding the user but leaves them momentarily vulnerable.
As powerful as the heavy melee is, the windup to the actual strike is enough that attentive foes can counter with their own melee strike.
At best, you’ll simply trade hits, but if the enemy is faster, they can stagger you out of the heavy melee, leaving you vulnerable to follow-up attacks!
Running Melee
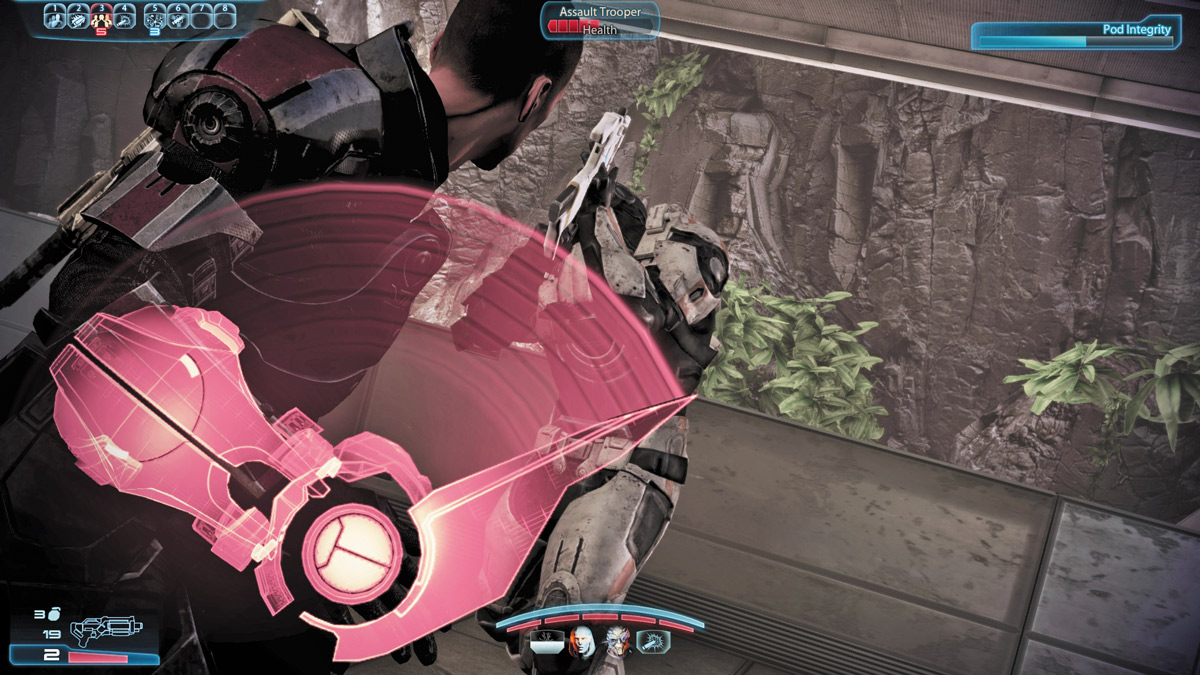
Holding down the Melee button while storming will cause you to use a heavy melee strike while on the move.
This ability works especially well for Vanguards with their unique storm punch melee attack, in conjunction with Biotic powers like Nova, Shockwave, and the Biotic Charge.
Grab
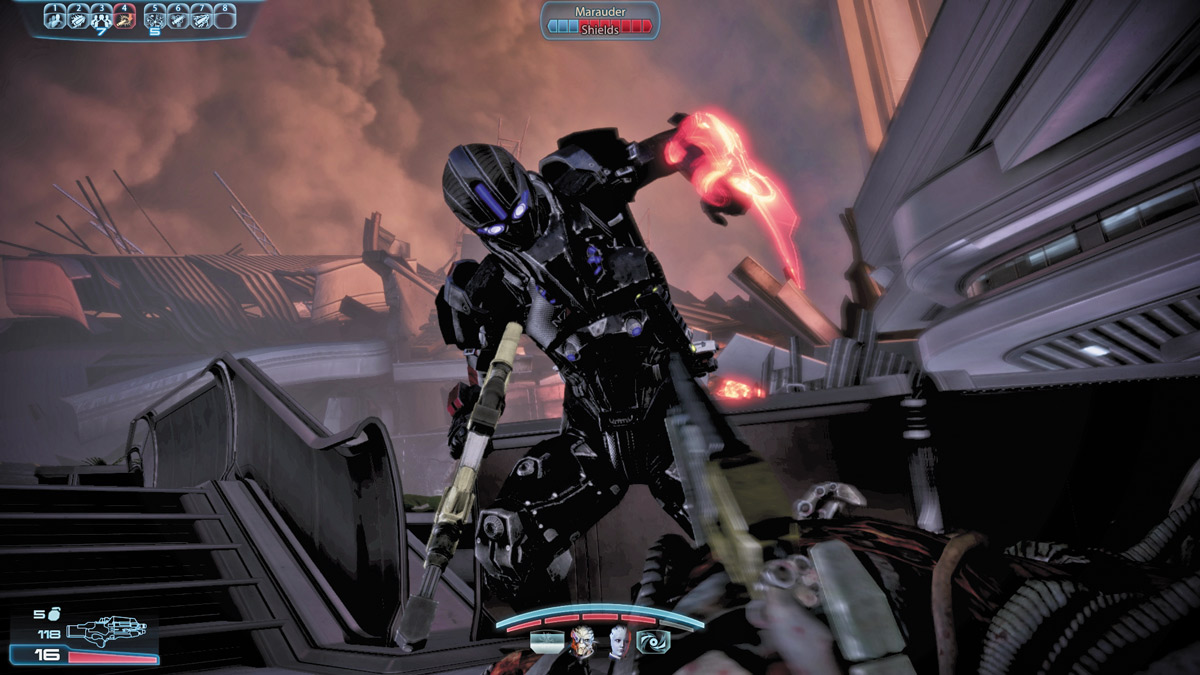
Arguably the most exciting addition to the melee combat, characters hiding behind low pieces of cover can actually reach across the cover, grab an unsuspecting enemy, pull them over, and finish them with a single decisive killing blow.
Enemies tend to back away from cover if you storm them, but keep your eyes open for the icon indicating a grab is possible. A free kill for no ammo cost or power cooldown is always welcome.
TACTICS
It’s one thing to know about all the tools at your disposal; it’s another to use them when it counts the most. The following battle tactics are mentioned often as potential approach methods to every major encounter in the game.
While not every approach is feasible for every firefight, these are generally good tactical concepts to keep in mind for both the main campaign and the online multiplayer.
Good use of these tactics can help maximize the effectiveness of your weapons and powers.
Cover, Fire, and Maneuver
This is maneuver warfare 101, an easy and relatively safe response to any ambush or major set piece.
It requires little direct intervention in what your squad does beyond any special abilities you wish for them to use; they will default to remaining close to you as you advance on the enemy.
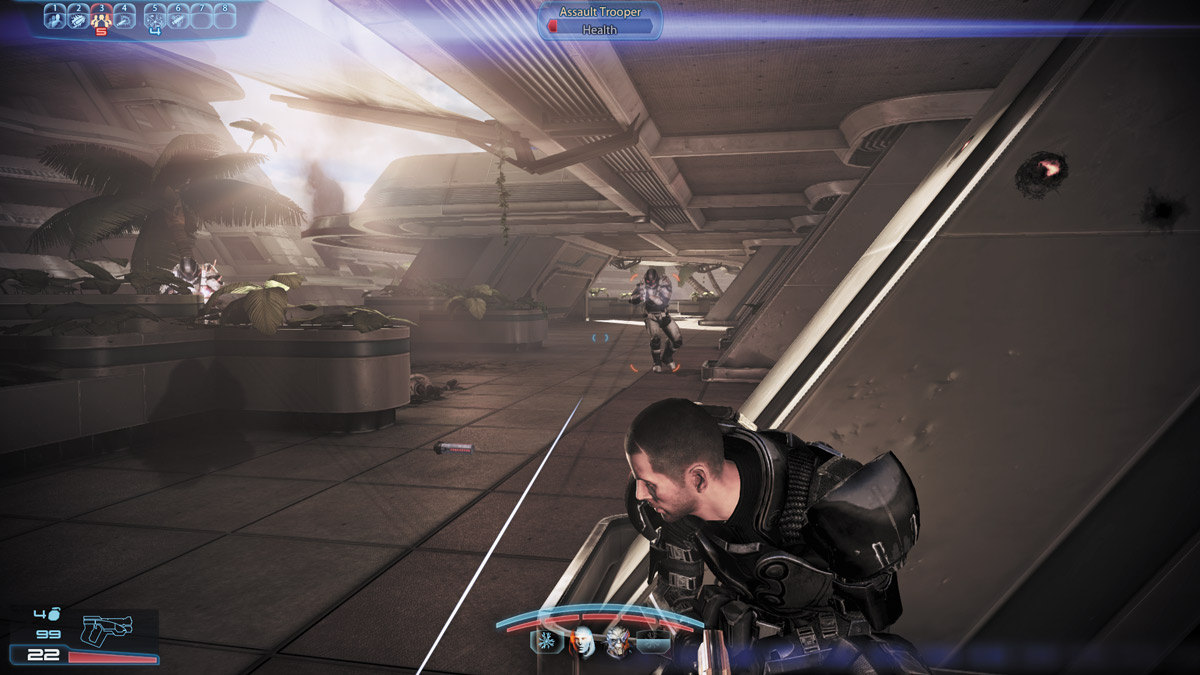
As soon as you make contact with the enemy, try to take cover.
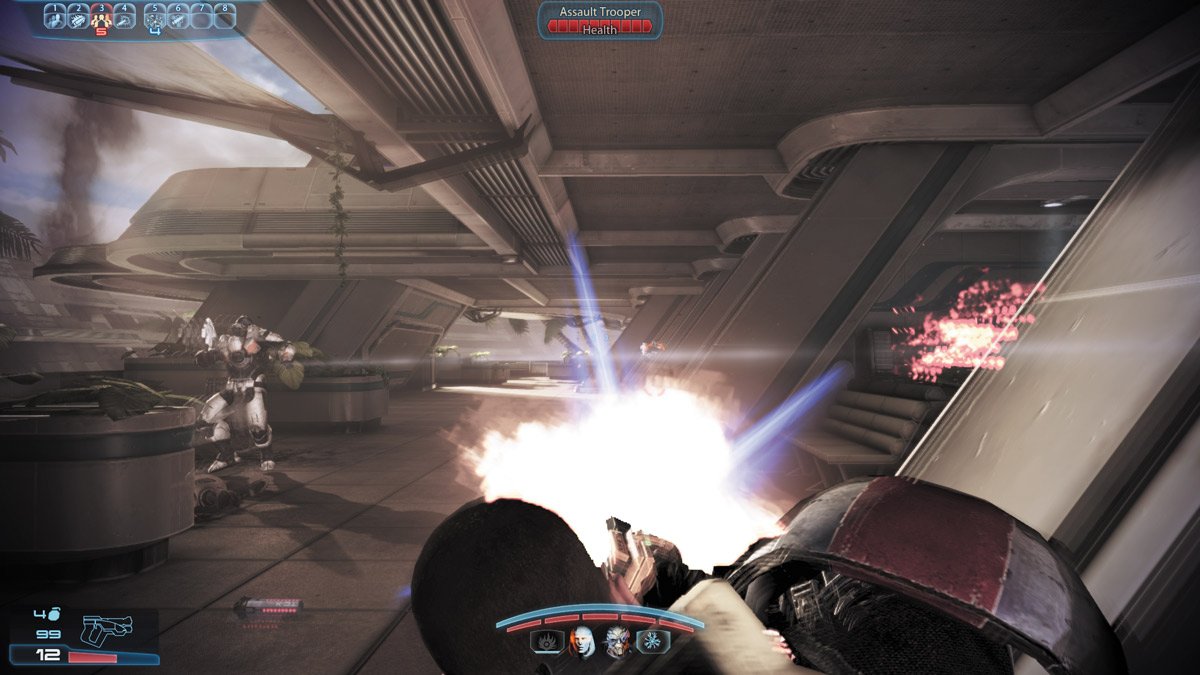
When it appears safe, pop up from cover and deal with what you can. Return to cover if enemy fire gets too hot.
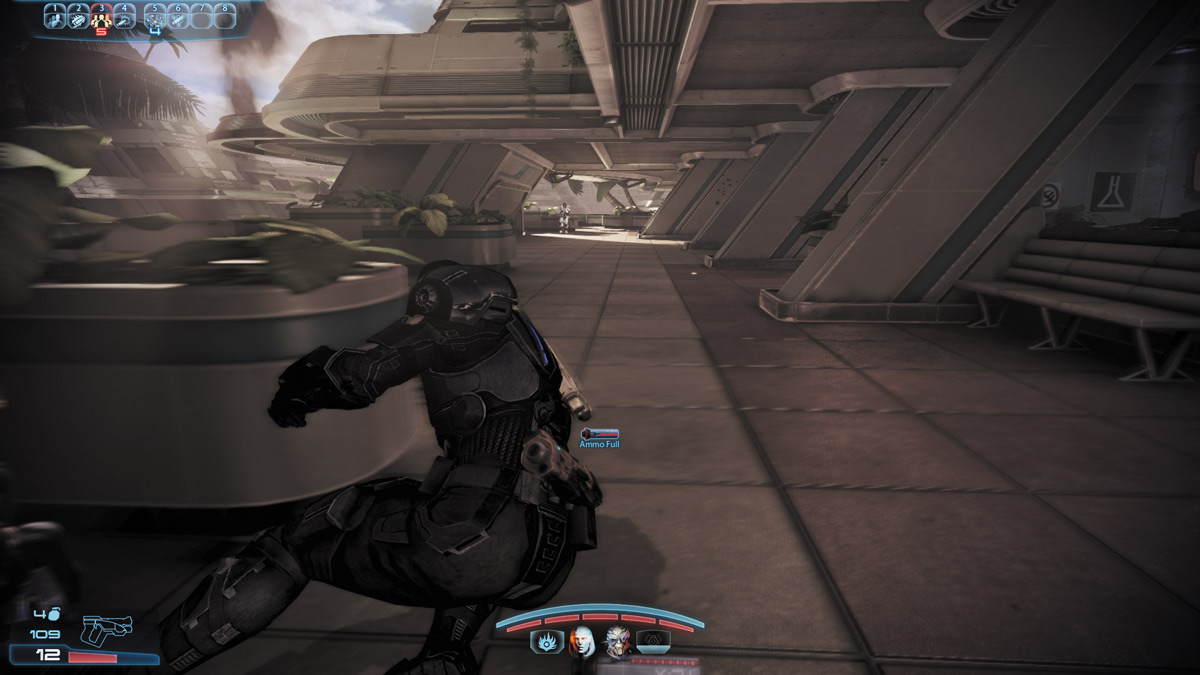
Move to new positions as necessary. This is simple. The real test is that of execution, and what powers are available to facilitate this approach.
Charge!
This variation of the above tactic favors highly aggressive Vanguard and Infiltrator classes. The goal of this tactic is to close range with the enemy as quickly as possible, by any means necessary.
Typically, it is best handled on lower combat difficulties, but it can still be fairly viable even on higher difficulties as long as the player is a proficient killer and the odds aren’t too big.
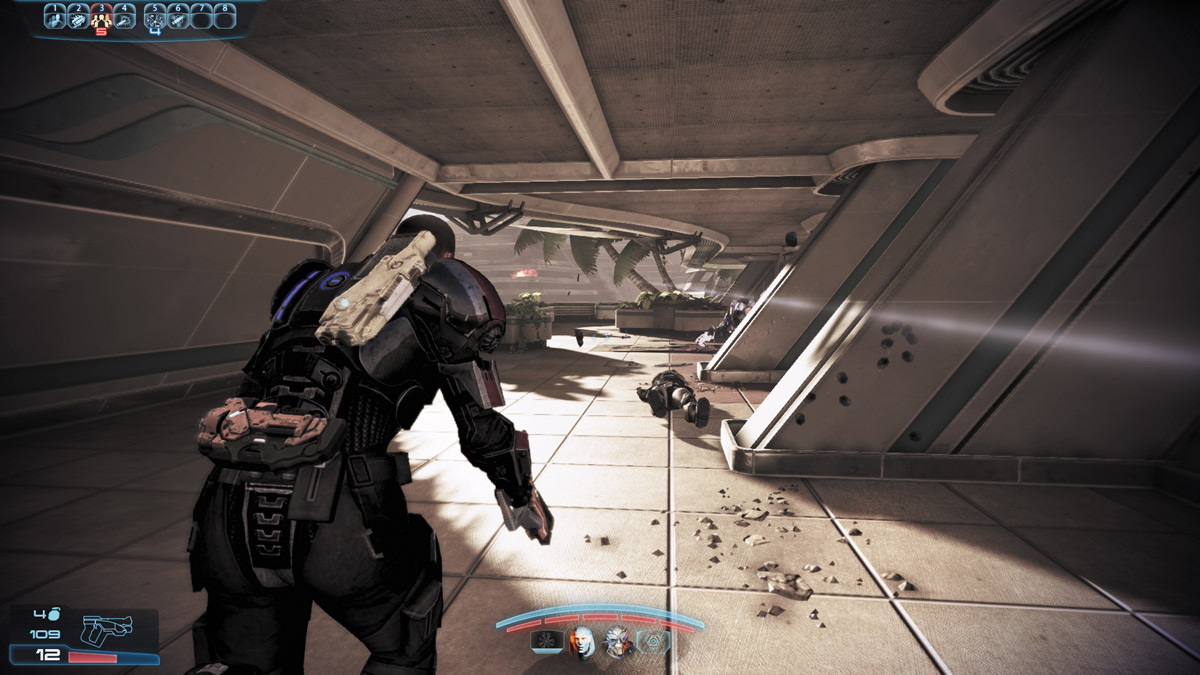
You need to close range with the enemy before they can set up a coordinated defense against your assault, catching them just as they arrive via shuttle or drop pod.
Shotguns, SMGs, and powerful pistols are the weapons of choice here; you can overwhelm enemy defenses with a combination of bullets, powers, and melee abilities.
Frequently pause the game to properly direct the use of your squad’s abilities; this helps your chances of survival.
In multiplayer, this tactic is much less useful, as you’re not as tough to kill and don’t have a convenient way to slow the action down to plan things out accordingly.
Leapfrogging
Similar to the first tactic, leapfrogging is something that is easier to coordinate in single-player, particularly when fighting toward a specific objective.
In multiplayer, you may not have the time to try something like this on the attack, but you can try something similar during a retreat.
In general, leapfrogging works best in corridors or otherwise narrow battlefields where there is not much room to maneuver to your enemy’s flanks.
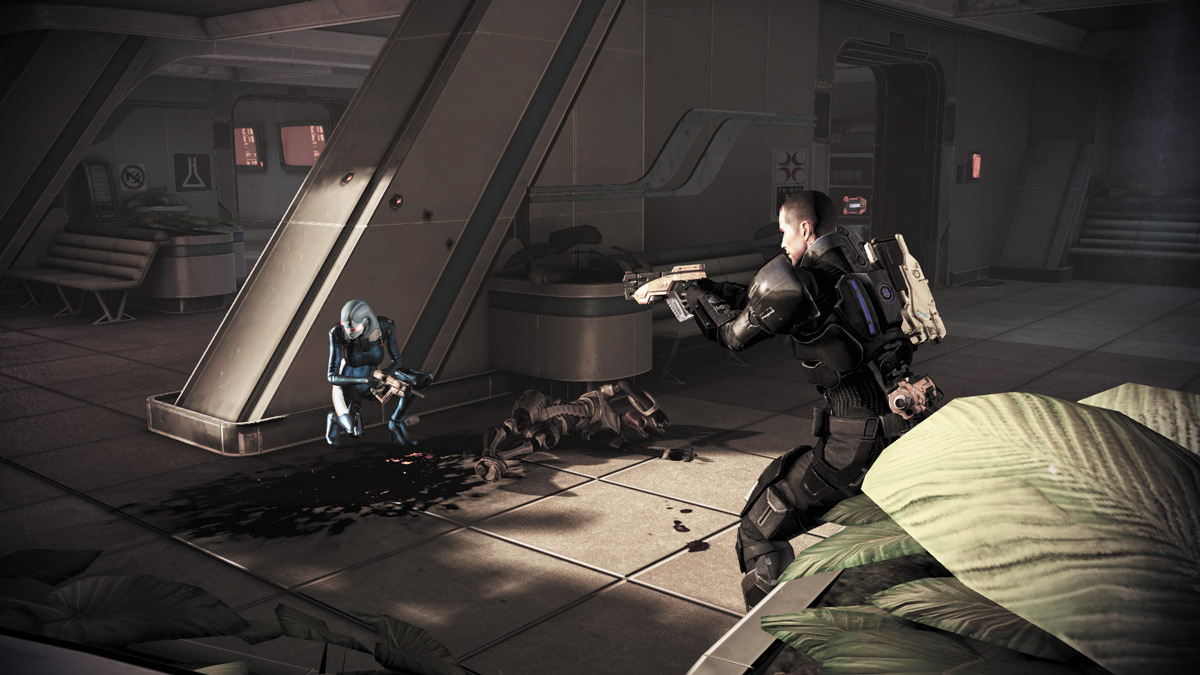
Send your squadmates to positions ahead of you. Cover them as they advance to make sure they don’t get held up or downed on the way to cover.
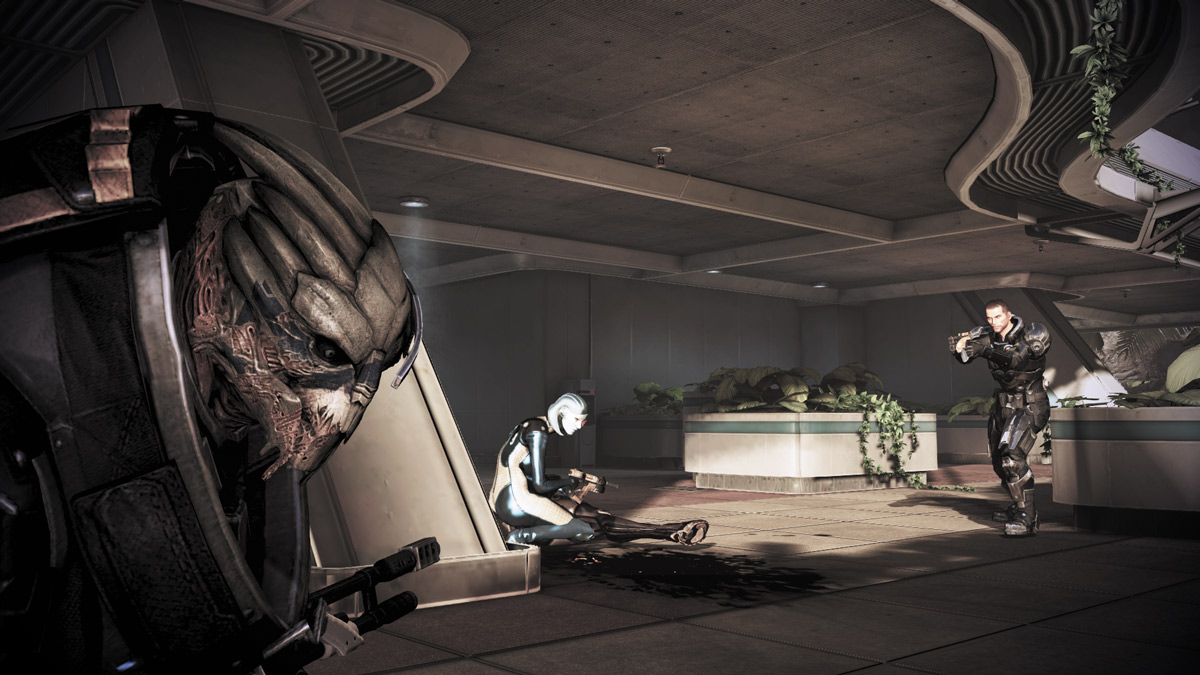
Once they are established in their new positions, wait until it’s safe and advance either to them or to a position farther ahead of them.
Your squadmates should continue to engage hostiles as they appear, hopefully distracting their attentions away from you. Repeat this until you’ve reached your objective or finished off the enemy.
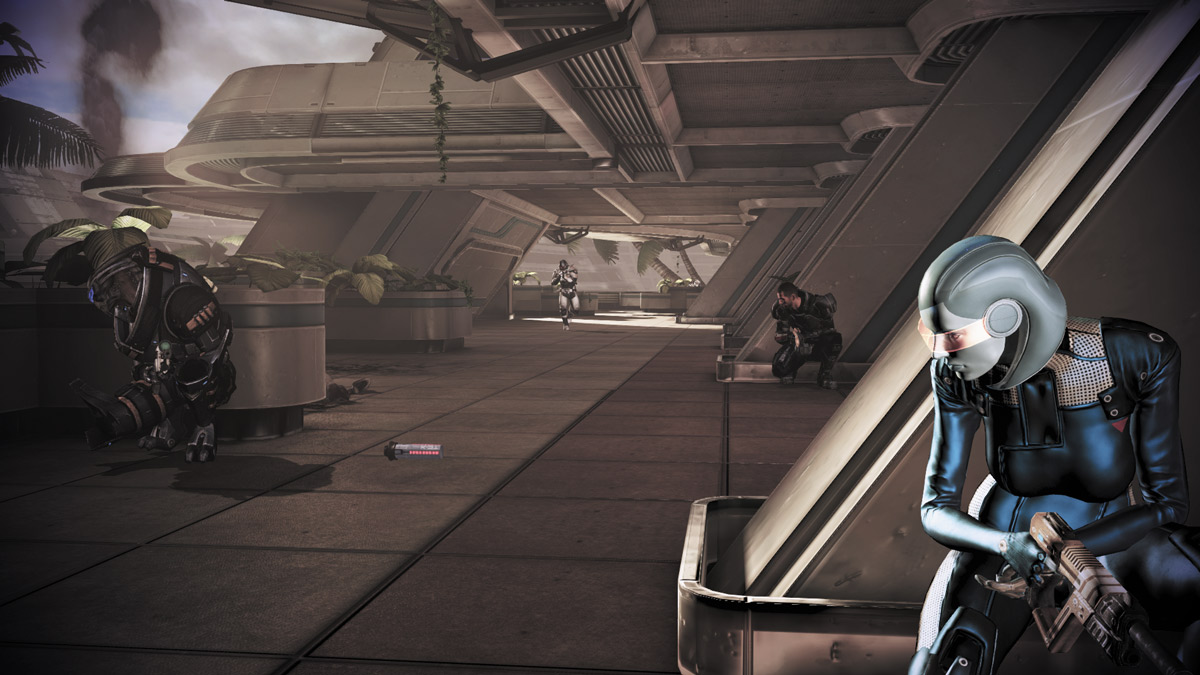
During multiplayer games, the AI outnumbers the player squads by a significant amount, and therefore you can expect to be making tactical retreats fairly often.
Similar to being on the offensive, the point of this is that nobody in the squad moves without being covered by others.
On the retreat, having the entire team turn its back to the enemy means that everyone is getting shot in the back uncontested. A little bit of discipline makes life easier for everyone!
Flanking
By far one of the most important tactics in combat is to strike the enemy’s flanks while their attention is directed elsewhere. You can accomplish this in many different ways.
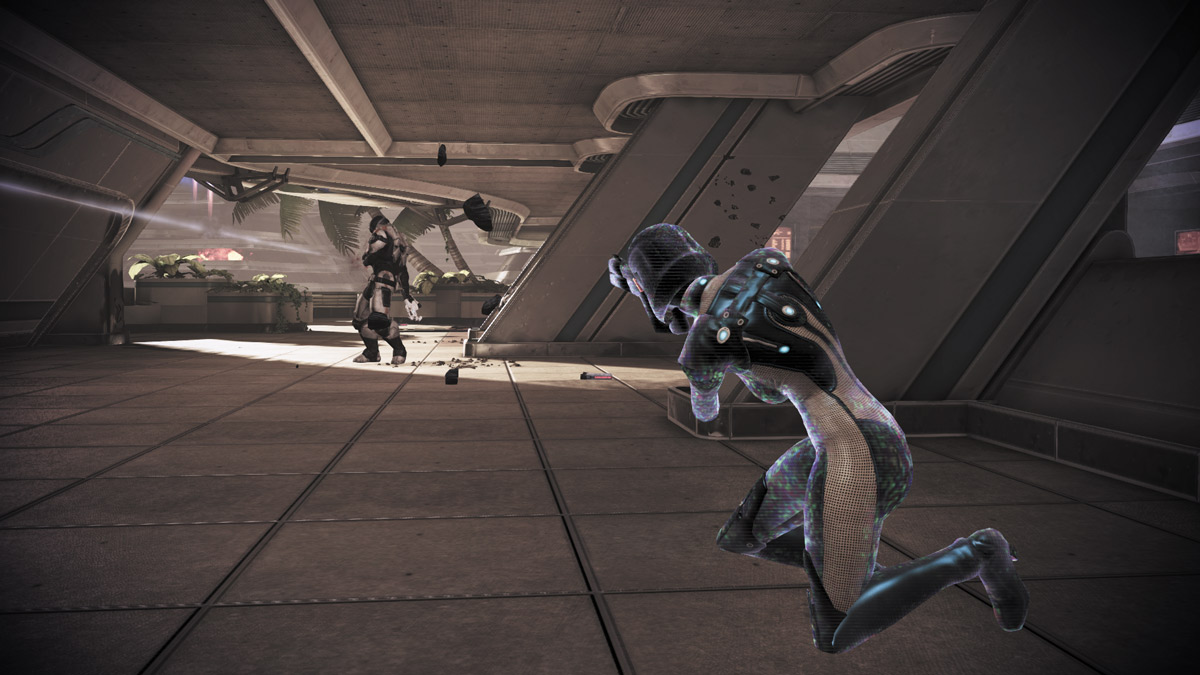
Basically, you want members of your squad in a static position, holding it and doing their best to maintain the enemy’s attention.
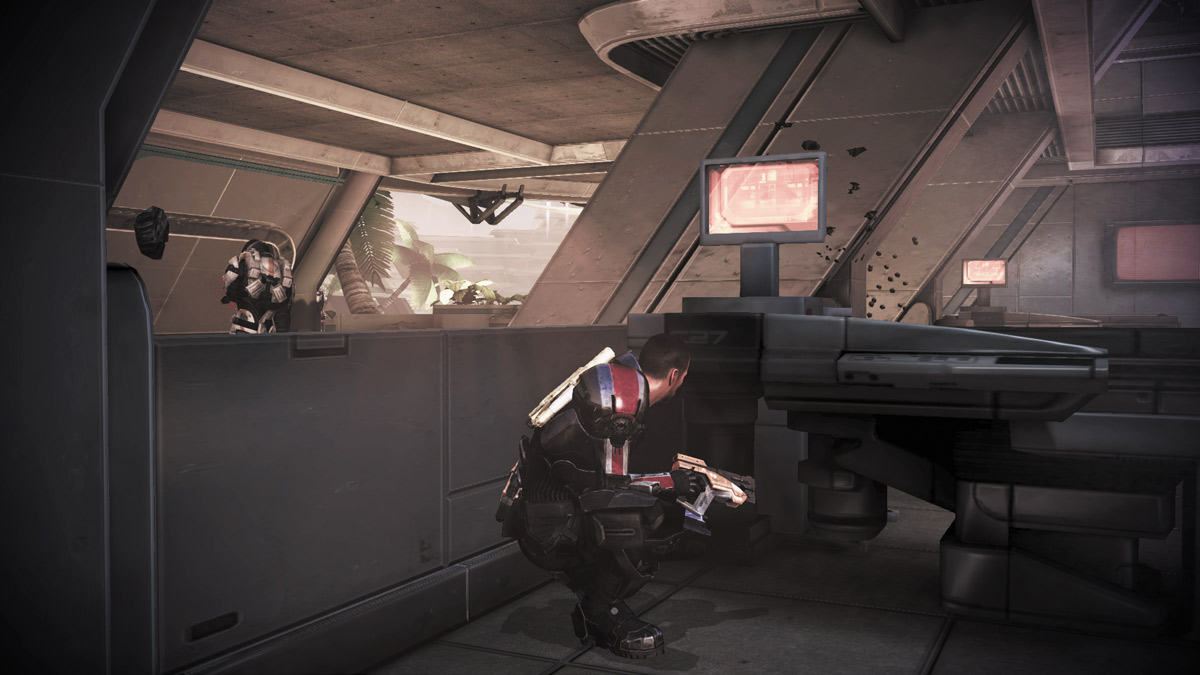
Any side routes the enemy isn’t covering are your flanking routes. Using cover, try to remain unnoticed for as long as possible before beginning your assault.
It’s an excellent way to score grab kills in both single- and multiplayer. This works especially well with Infiltrators, as their Tactical Cloak powers allow them to remain invisible as they rush to the enemy’s flank.
Other powers, like Decoy or Combat Drones, can further distract the enemy and keep their attention focused anywhere else but right behind them until it is too late.
Hold and Snipe
Essentially, once combat begins, ensure you’re in good cover and stay in place while taking shots at enemies as they break cover. Not the most glamorous method, but there’s still a lot you can do with this conservative approach.
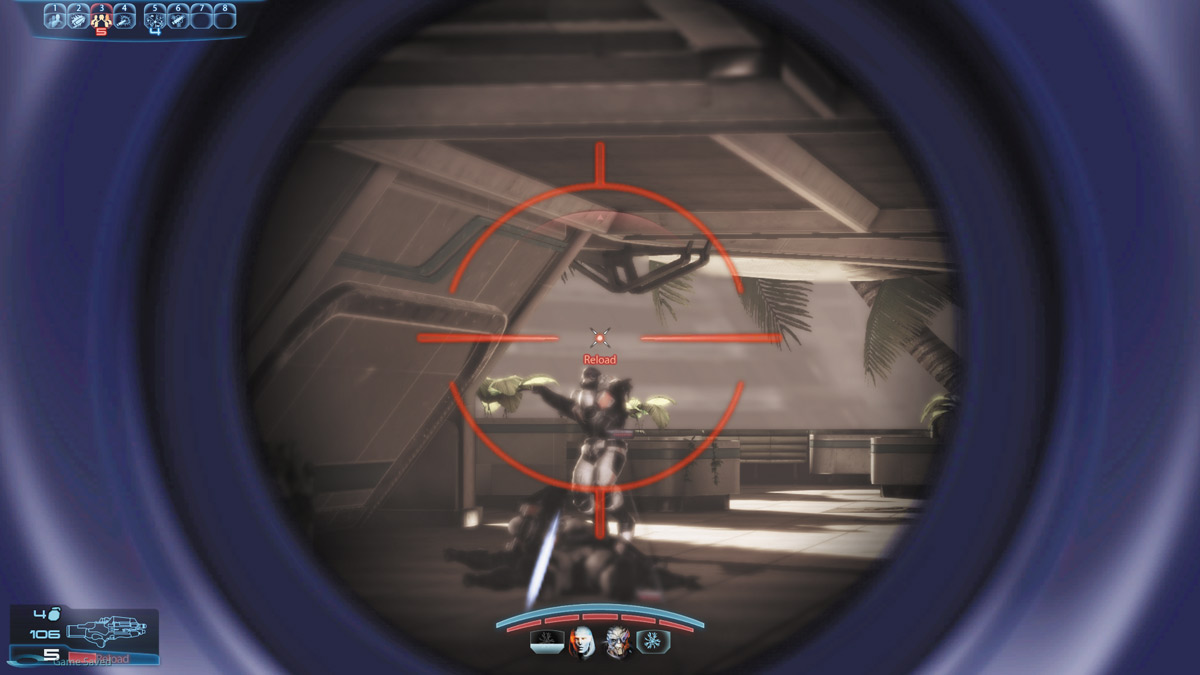
Setting up a kill zone means positioning the squad so that every person has good sight lines on positions the enemy must advance through to reach you.
In addition to this, it means that the squad can also cover potential flanking routes, meaning that nobody can get close to you without taking a few slugs first.
This can get much more difficult in multiplayer, where the objectives and enemy drop points are much more fluid.
This is a solid defensive tactic, but try not to get too comfy in one spot. Be ready and willing to shift to new positions when it’s called for.
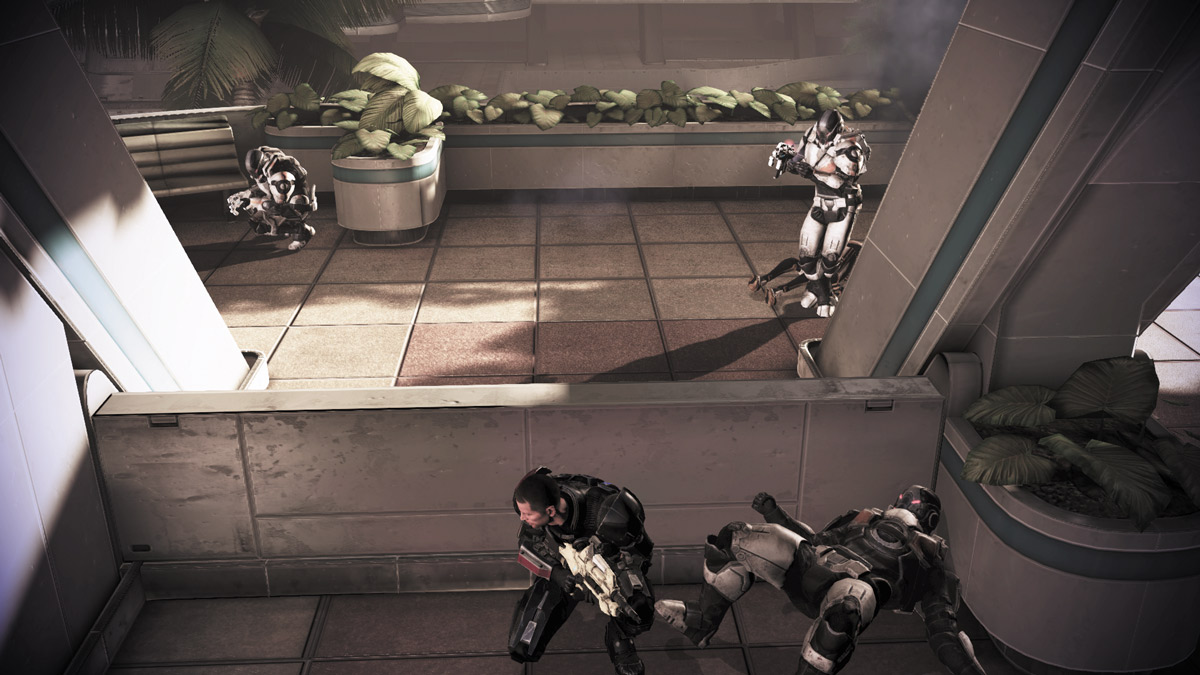
Flanking isn’t just about getting around to the side or behind the enemy; it’s about getting superior position in general.
For instance, if there is a high ground in any given battle, you must do what you can to take it for yourself, while denying the enemy access to it.
Having the high ground facilitates and guards against flanking maneuvers and allows you to chip away at enemies from on high, over the pieces of cover they are using below you.