
Mass Effect 3 Guide Multiplayer The Battlefields
Location: Reactor
.jpg)
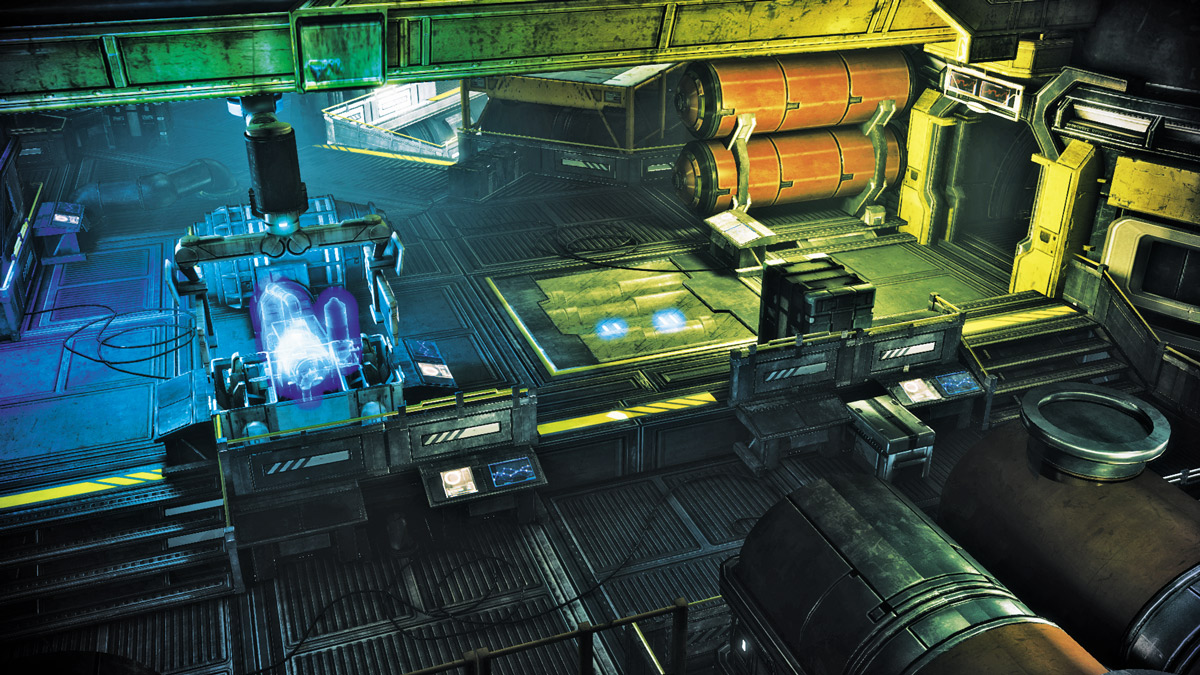
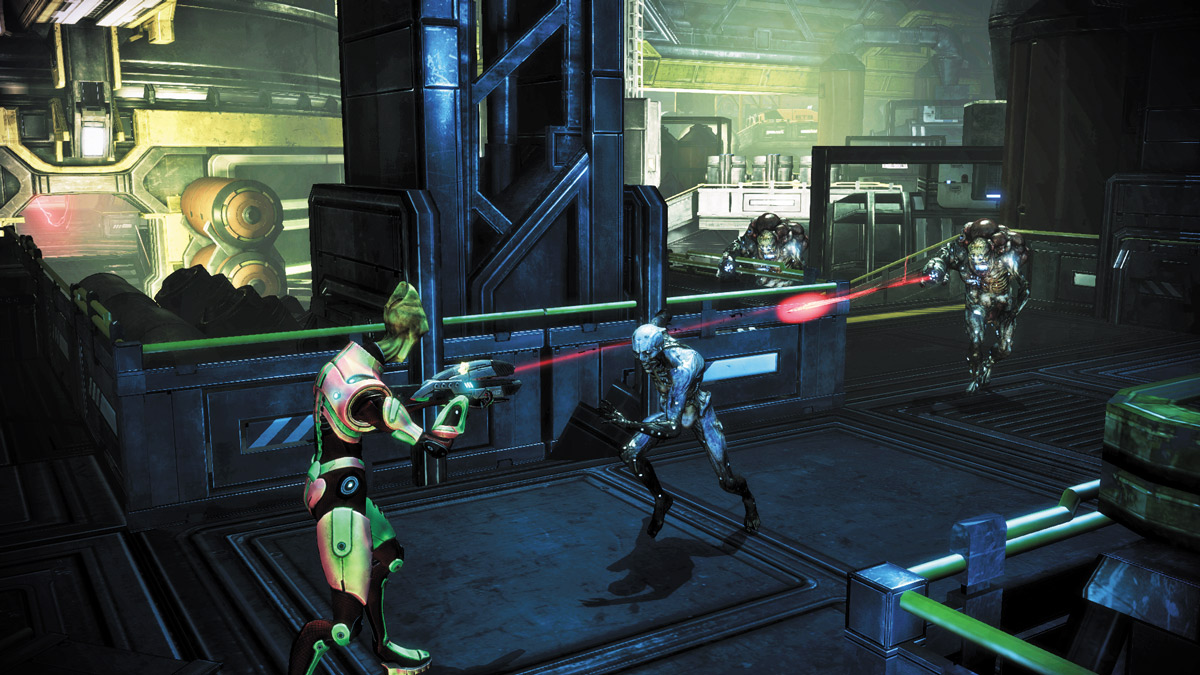
Circular in nature, Reactor can be a tough place to fight in, particularly on higher difficulties.
This arena consists of heavy cover and winding walkways, so players must remain wary of being blindsided by hostiles in cover on their flanks.
This fairly dark map gives cloaked units an edge for sneaking up on players.
Reactor is also home to arguably one of the hardest Hacking locations in the game—the central Reactor Core section—particularly on Gold difficulty.
Staying mobile is definitely encouraged. The circular design allows a four-man squad to divide up into pairs, allowing one team to ambush the enemy’s rear flank.
Of course, they are capable of doing the same.
Paradoxically, despite the sheer number of things that can be used as cover, the map design encourages players to work as a team and remain on the move for as much as possible in order to stay ahead of enemy reinforcements as they replace their dead.
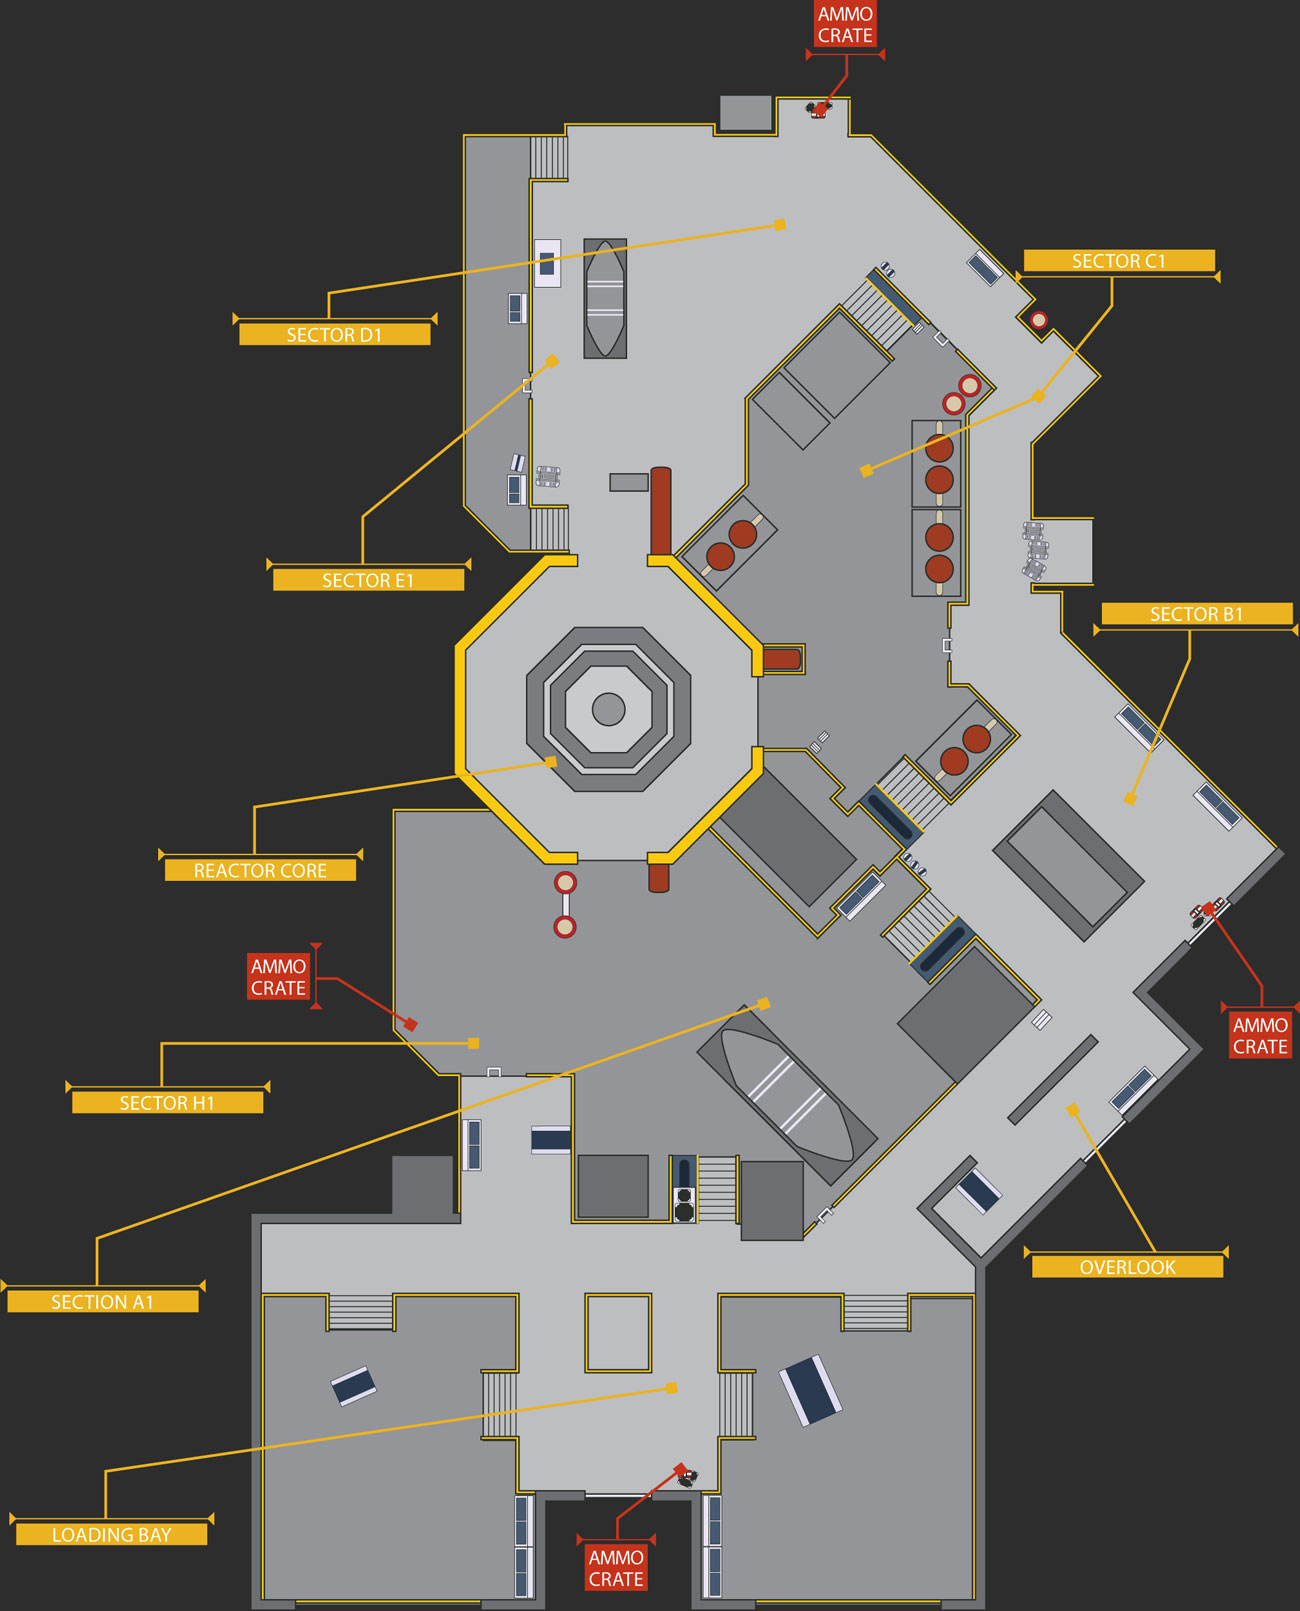
Reactor has nine sections: Loading Bay; Overlook; Reactor Core; and six Reactor Sectors—A1, B1, C1, D1, E1, and H1.
Loading Bay
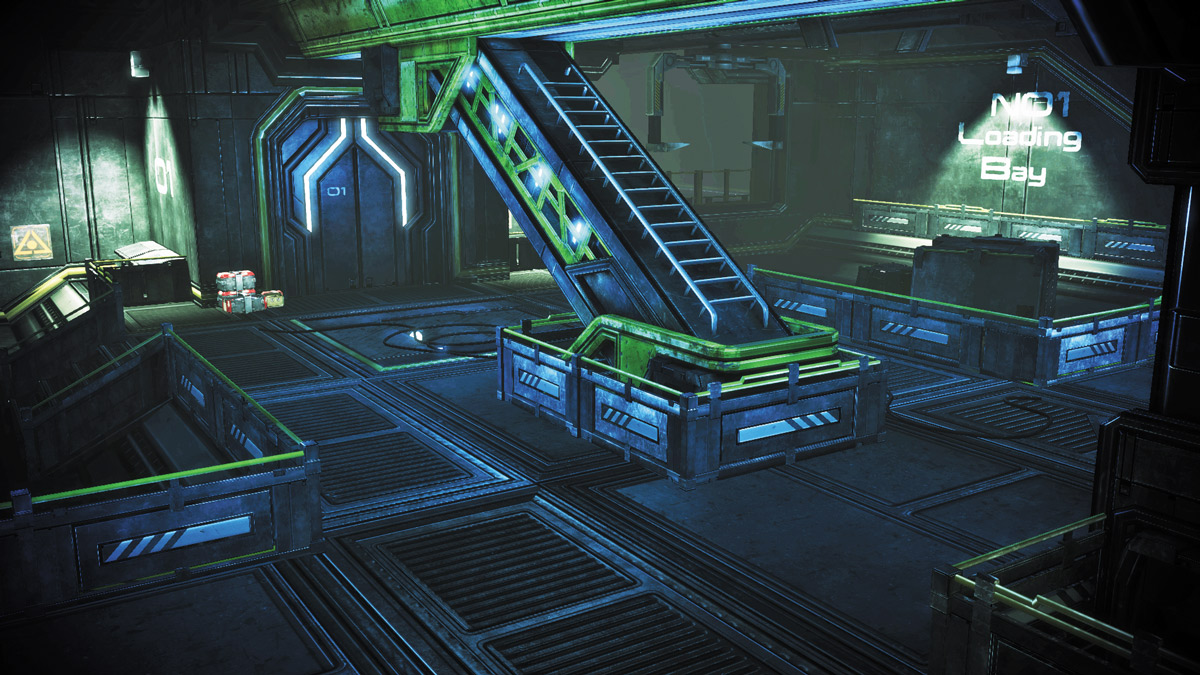
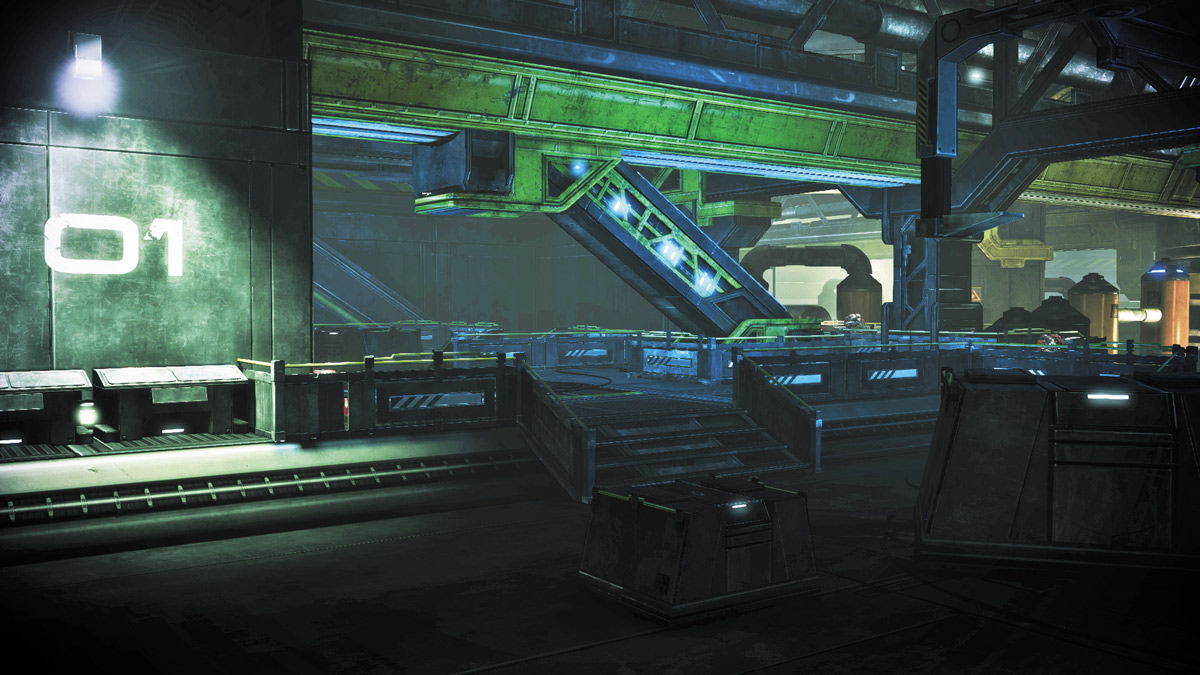
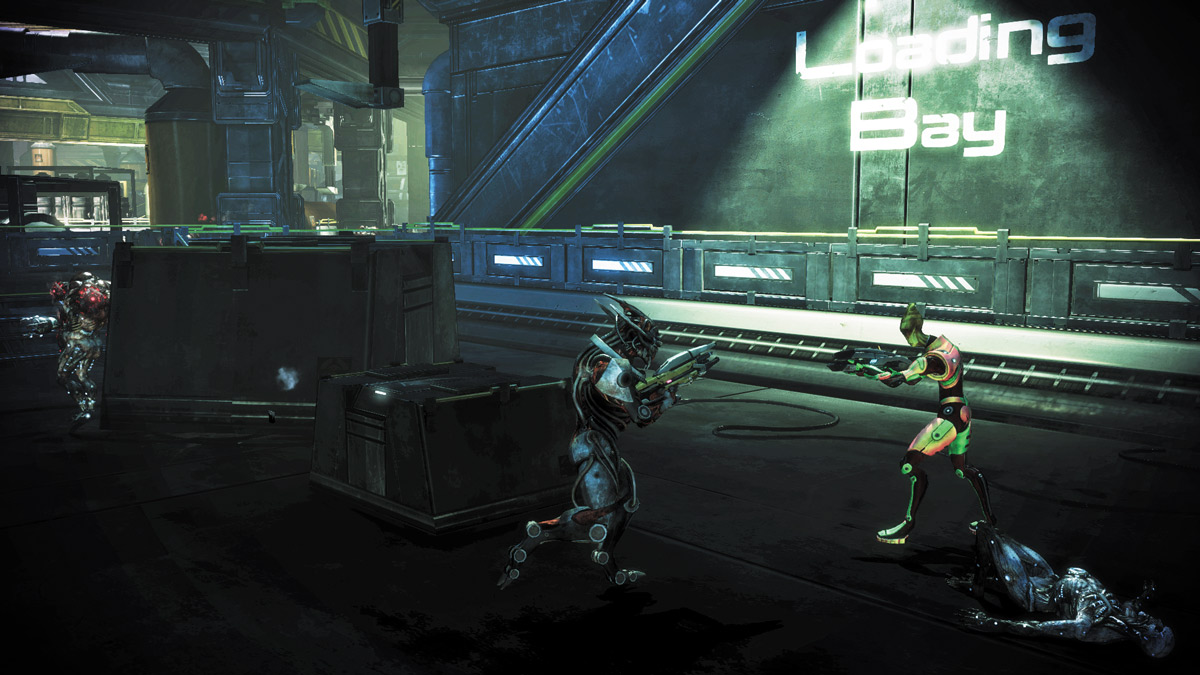
The center of the Loading Bay is where players start and where the extraction zone is located for Wave 11.
Flanking this area are two depressions with a set of walkways lining them; these lead toward other Reactor Sectors on this upper level.
The Loading Bay is surprisingly defensible, but its main problem is that the Reactor Sectors located nearby have large paths for access, meaning the enemy forces can quickly open up a broad front that becomes difficult for a fire team to manage.
During extraction, it is almost better to start that final wave elsewhere and arrive during the last minute or so.
Overlook
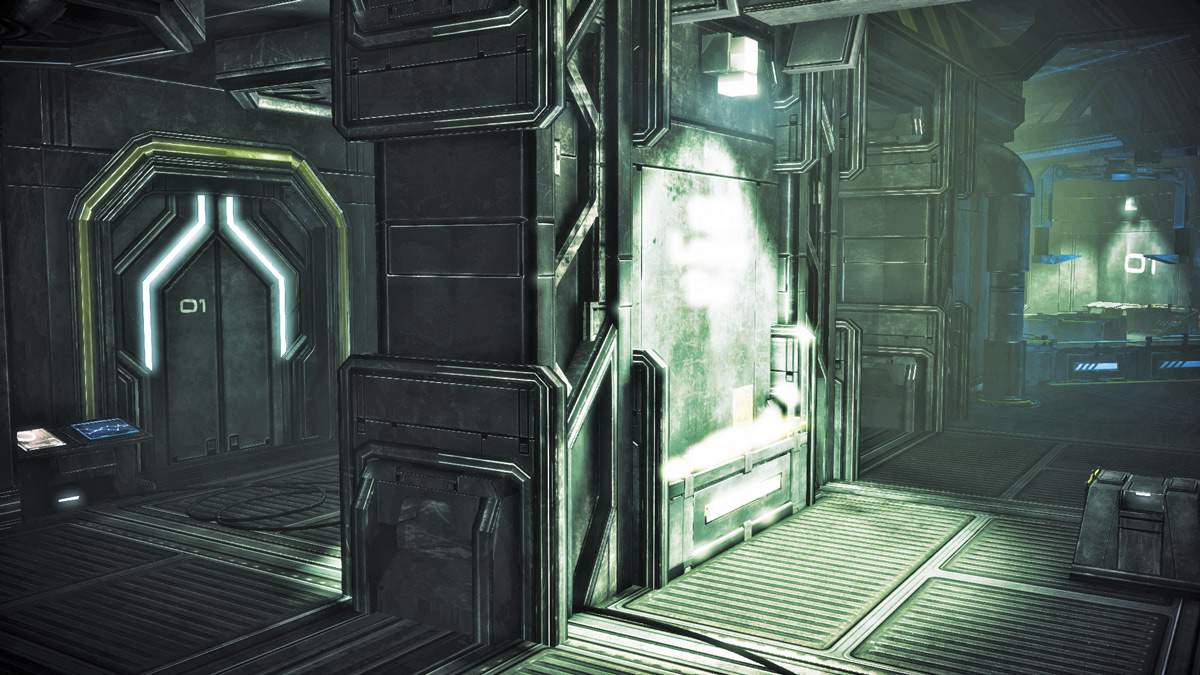
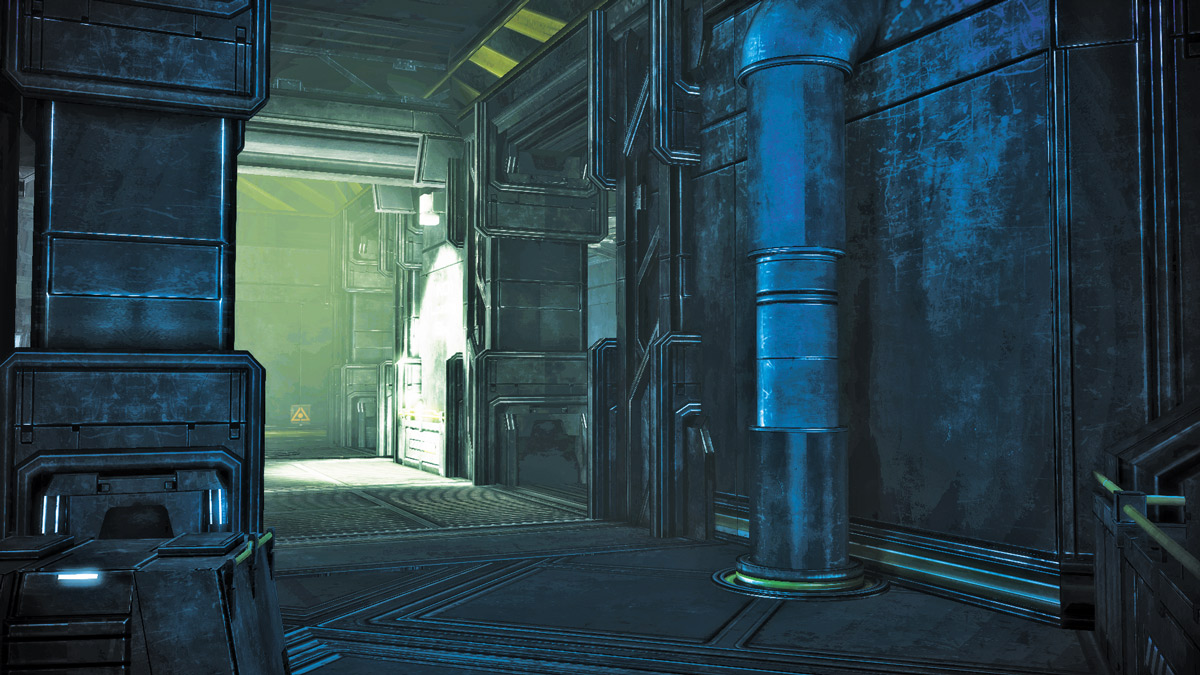
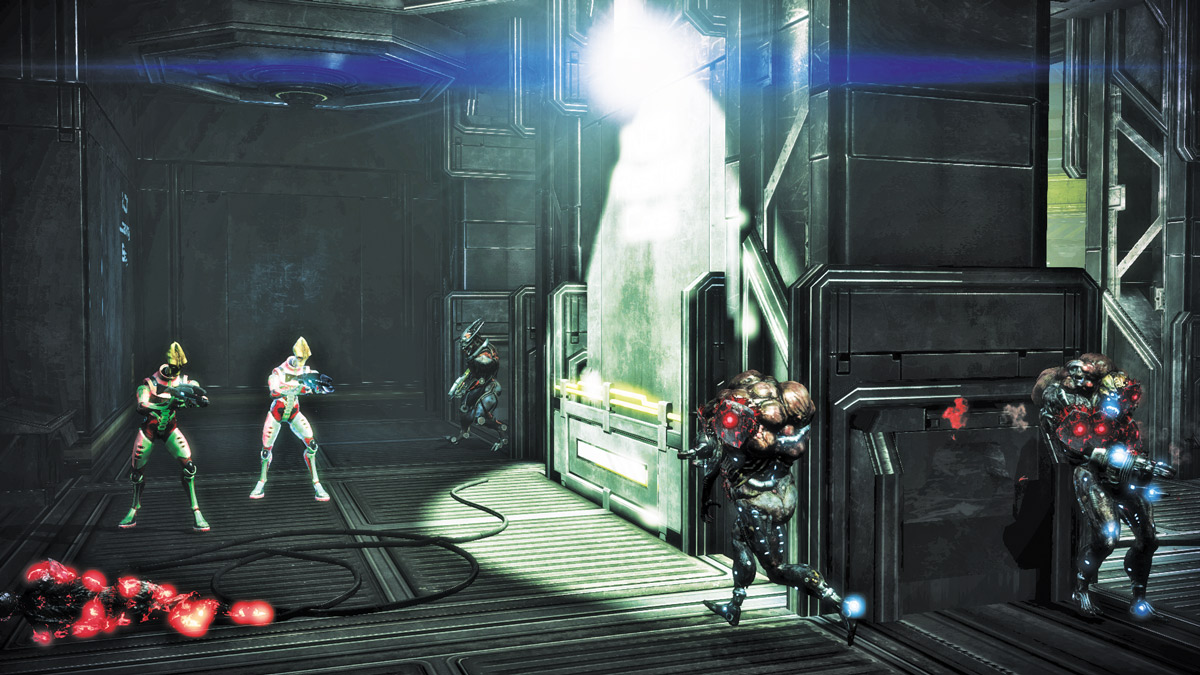
Located directly next to the Loading Bay, Overlook can provide limited overwatch on the lower levels surrounding the Reactor Core.
The upper levels of Reactor Sectors A1 and B1 meet near the Overlook. Hacking and Enable/Disable Devices objectives can potentially be placed here and by design can be a challenge to defend.
The large wall seen in the screenshots also acts to cut off much of your peripheral vision of the other nearby areas should you be using it for cover; if you’re working with squadmates, hopefully they will be keeping their eyes pointed to where yours aren’t.
Reactor Core
.jpg)
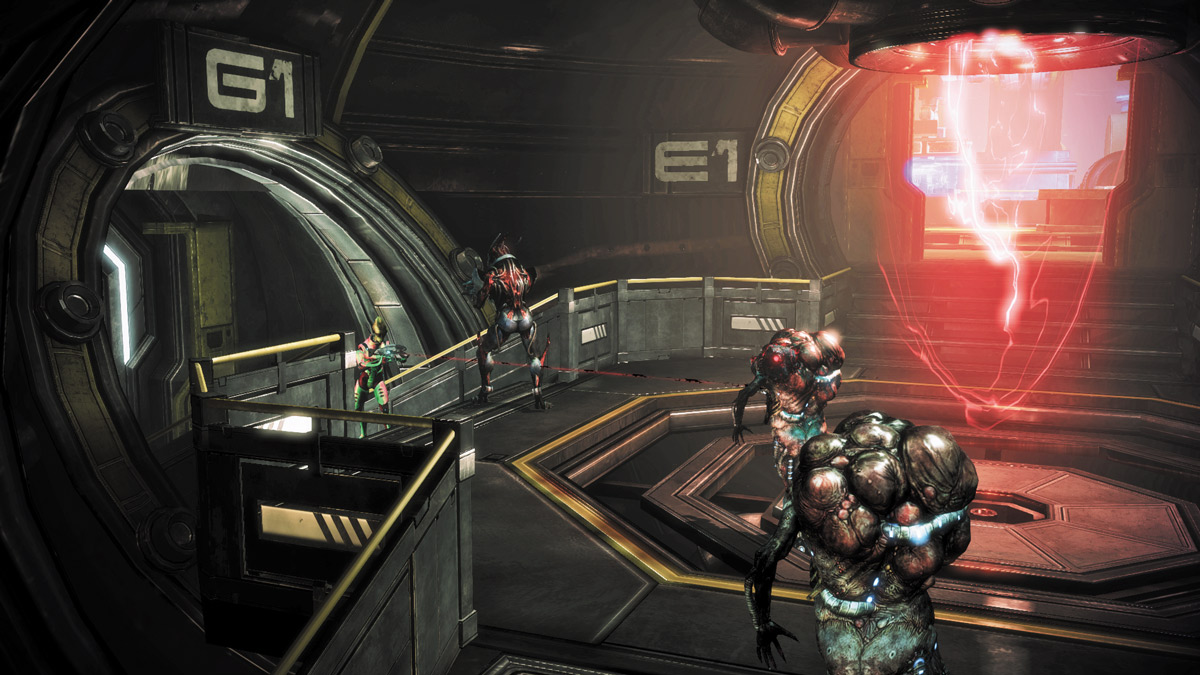
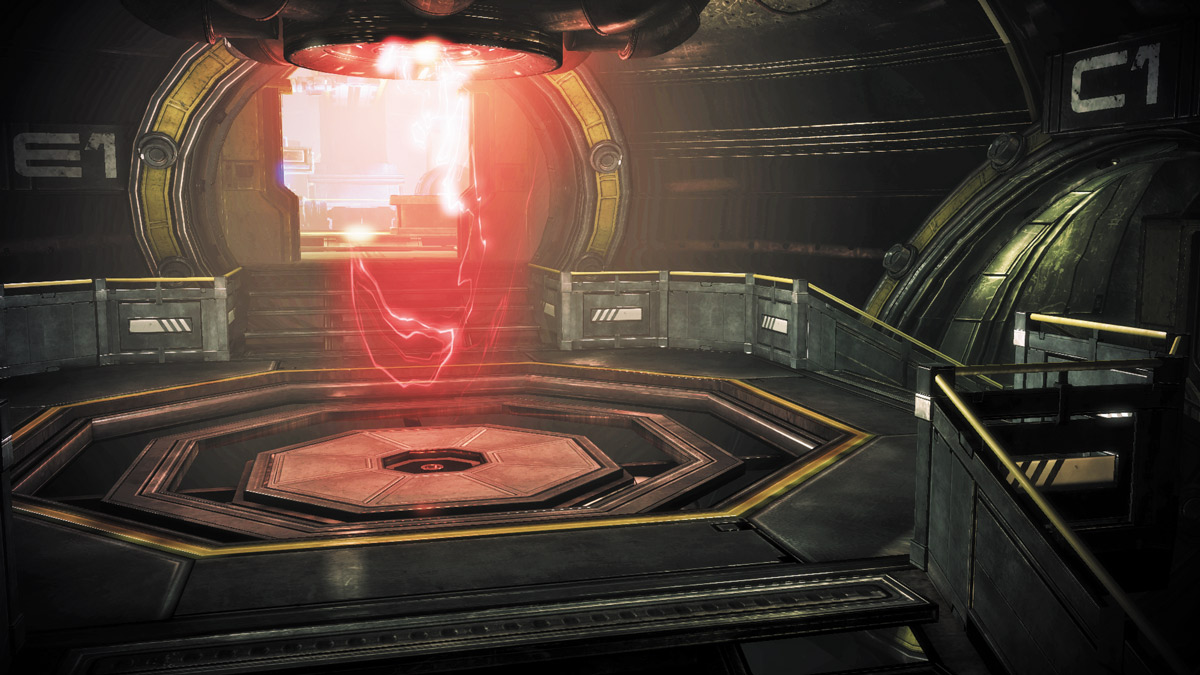
Acting as a hub that can take players and hostiles to different Reactor Sectors in relative safety, the Reactor Core facilitates flanking maneuvers via its three connecting tunnels to A1, C1, and E1. Its deficiencies become more readily apparent during Hacking mode.
No matter where you take cover, you are vulnerable to incoming fire from the tunnel opposite to the one you’re next to.
Four-player squads should assign one player to each tunnel, with the fourth acting as a sort of sweeper who goes to where they are needed most.
Even with this strategy, on higher difficulties, the increased resilience and aggressiveness of enemy troops may force players toward the sealed G1 door in an effort to focus firepower.
Reactor Sector A1
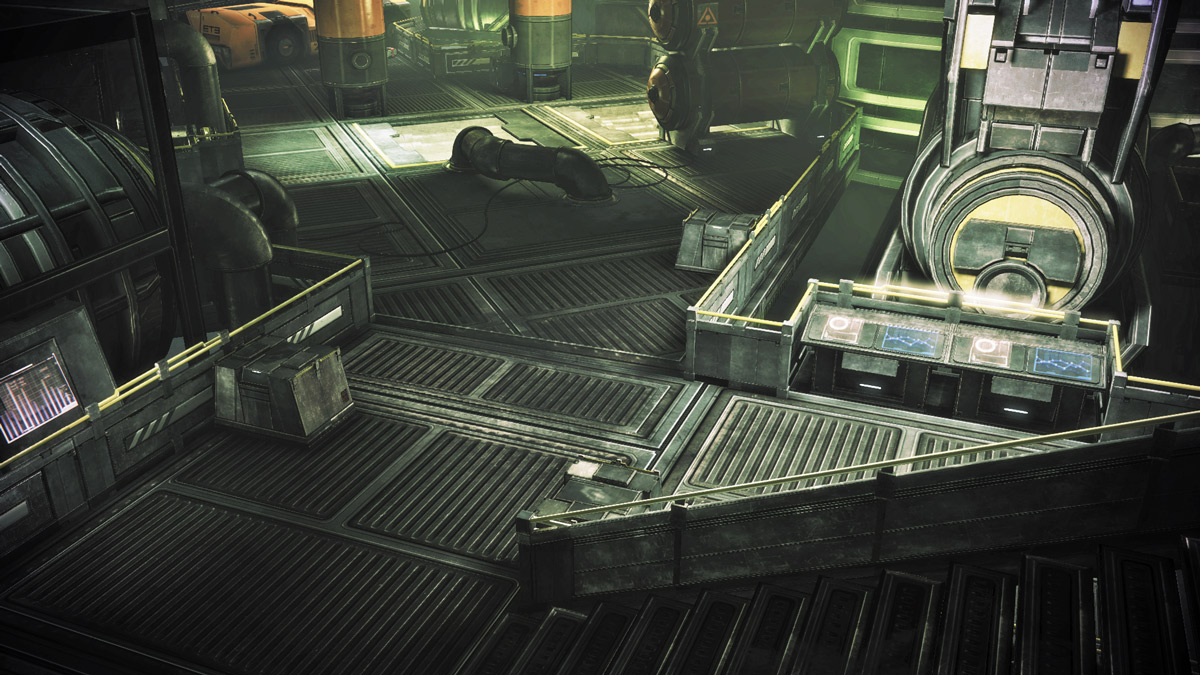
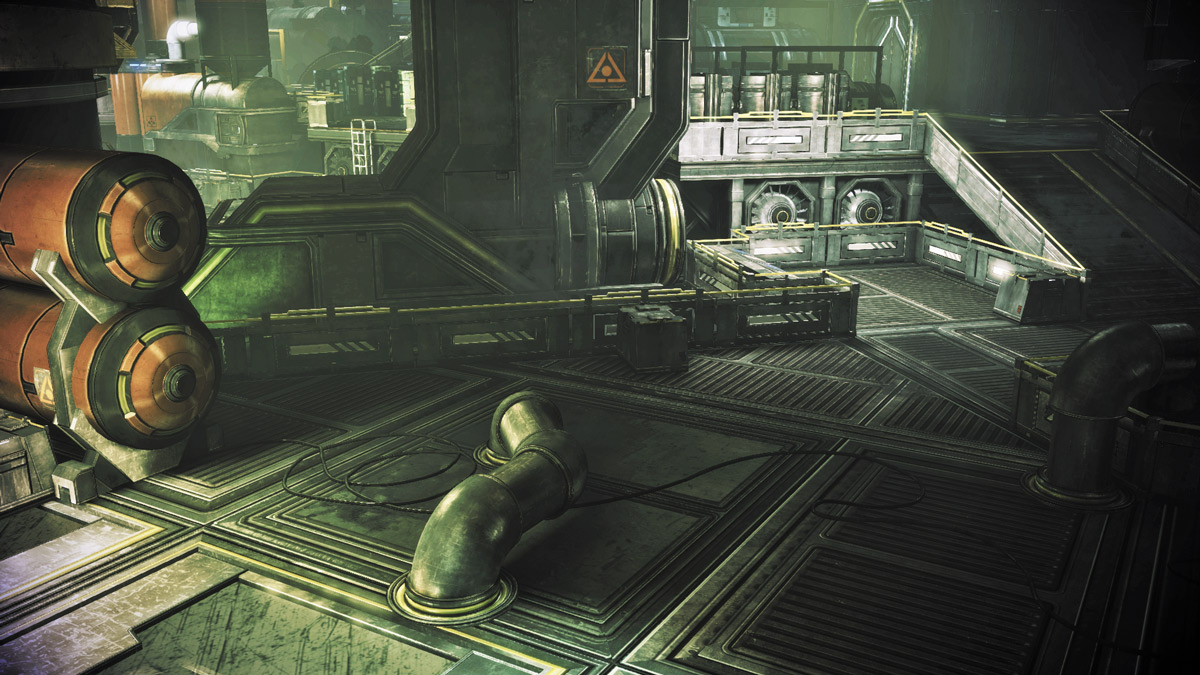
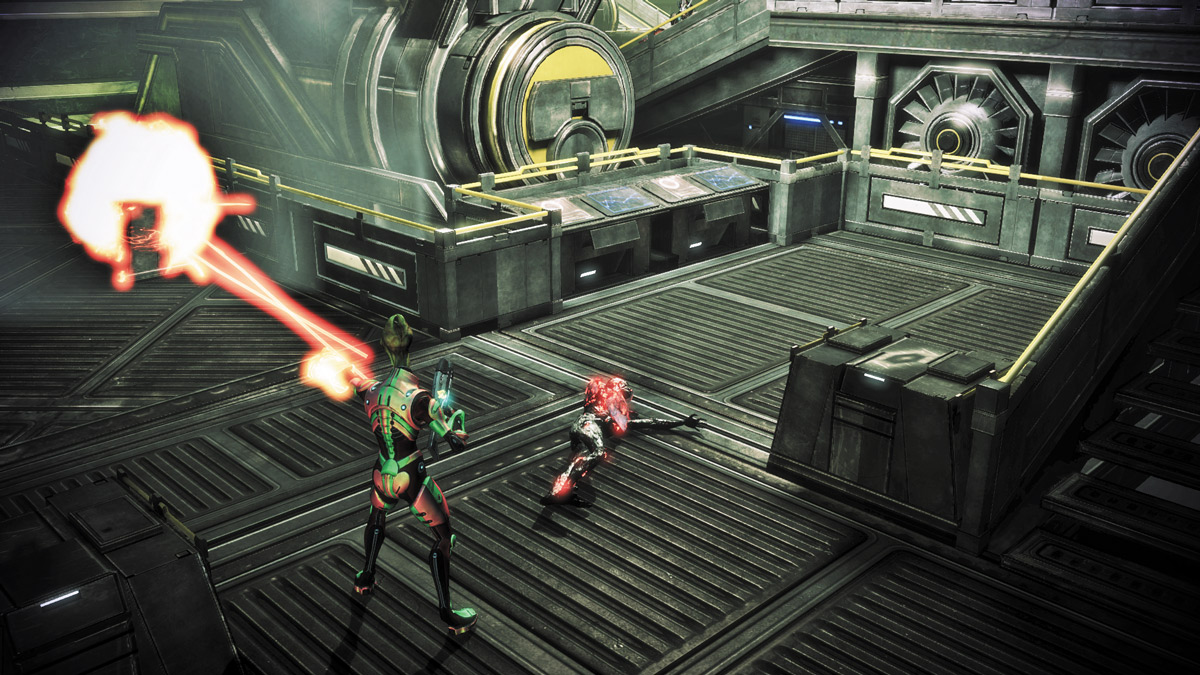
The Reactor Sector directly between the Core and the Loading Bay, A1 is one of the larger Sectors.
Despite being lower than the Loading Bay, A1 is not particularly plagued by sniping positions.
A group can conceivably deny hostiles the use of cover, forcing them to traverse the more open parts of A1.
This sector is the first of three that connect directly to the Core.
Reactor Sector B1
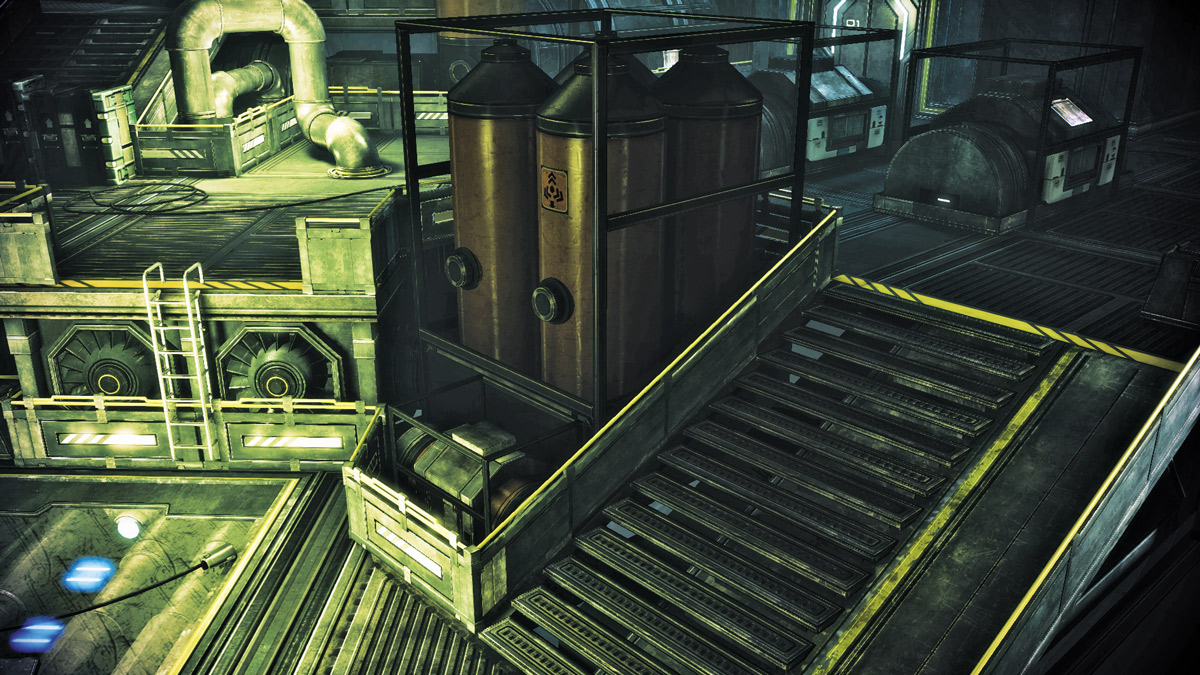
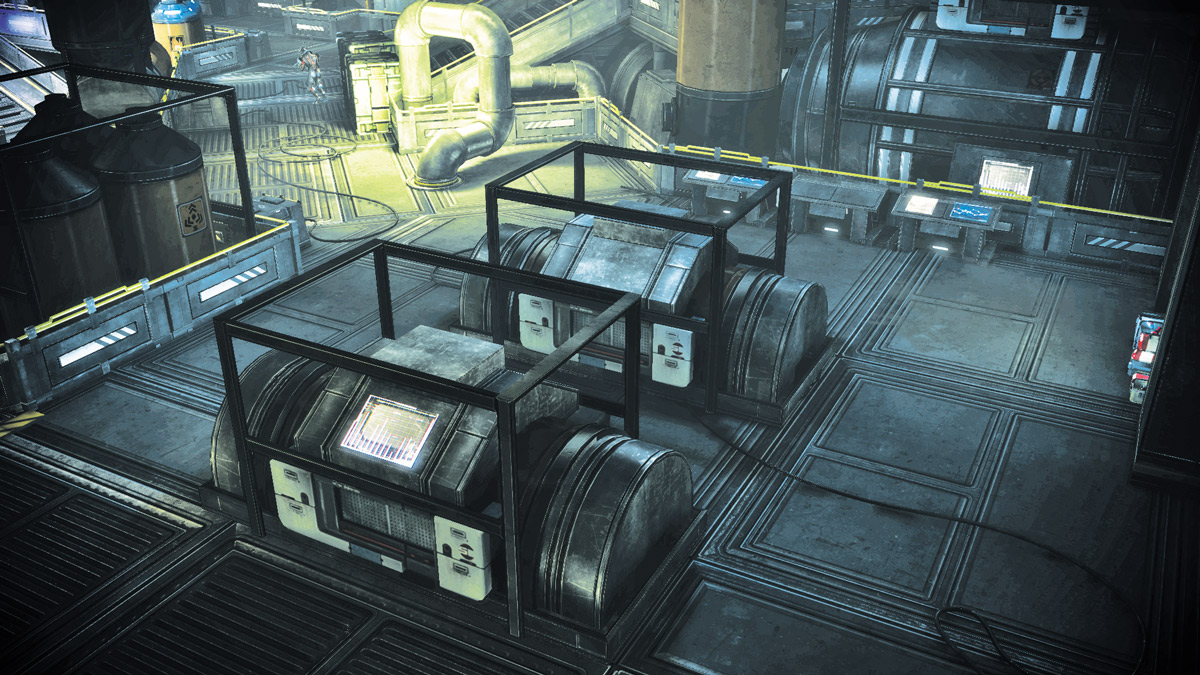
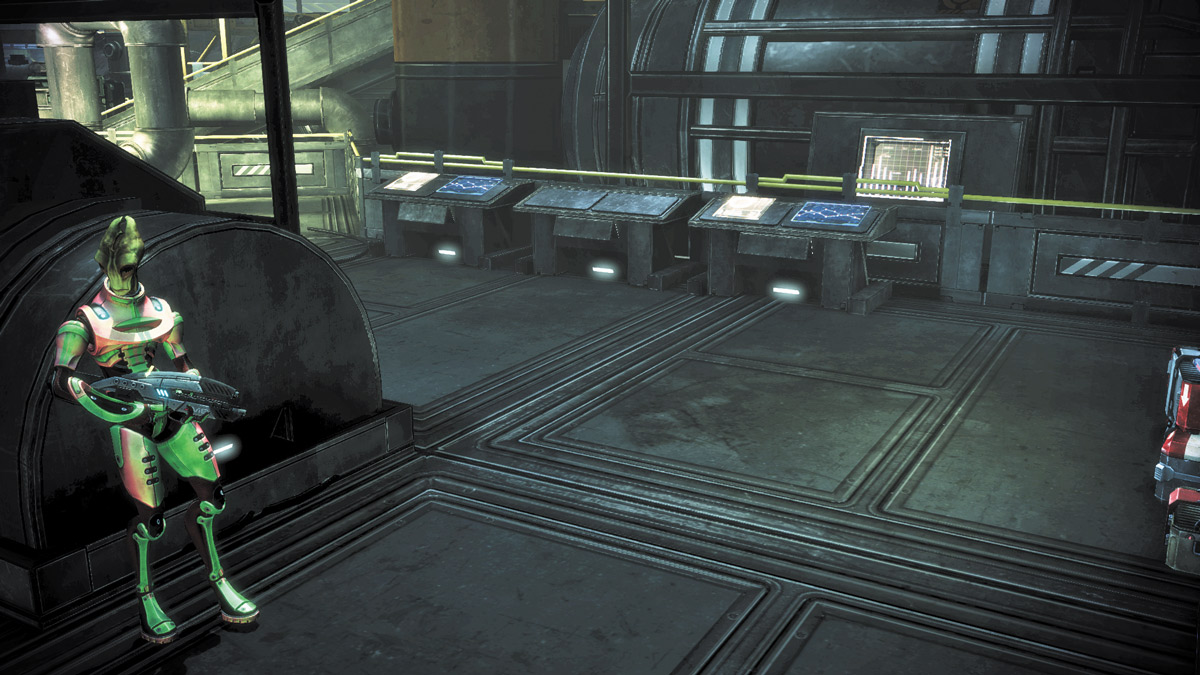
B1 is on the raised catwalks connected to the Overlook, with ramps that lead closer to A1 and the Reactor Core and C1.
The centerpieces of B1 are a pair of generators that are placed next to each other.
Two players can actually set themselves back-to-back between the generators for protection, though on later difficulties, the heavier firepower being wielded by the enemy tends to penetrate the machines.
Reactor Sector C1
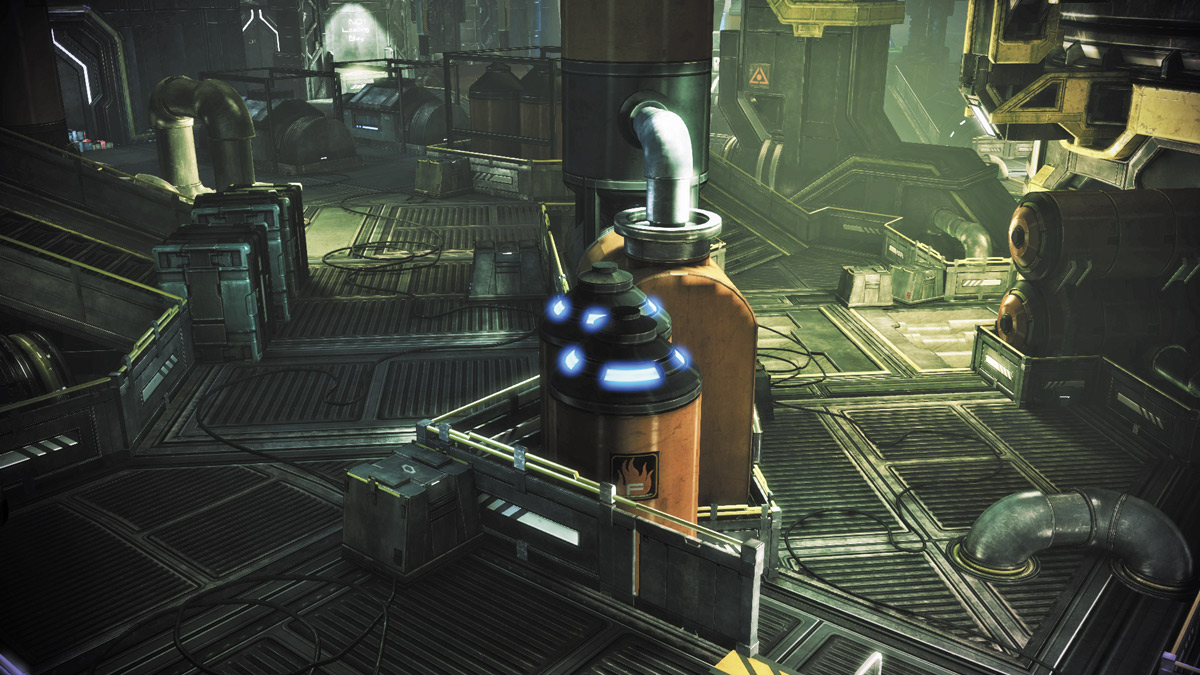
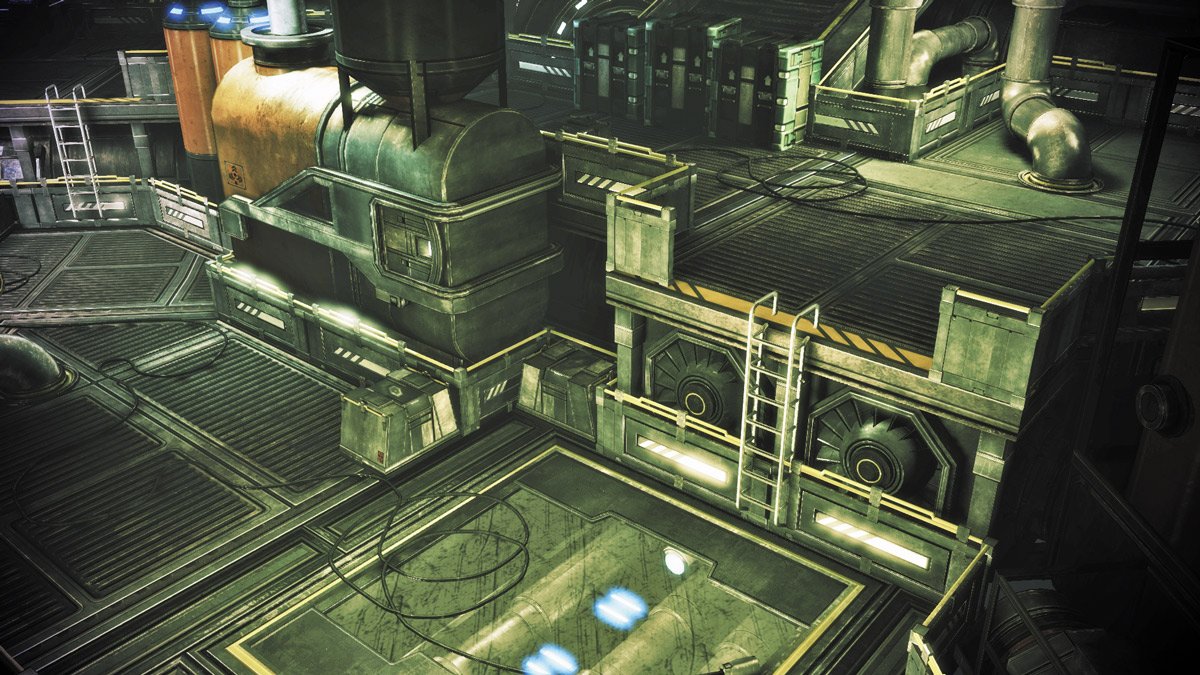
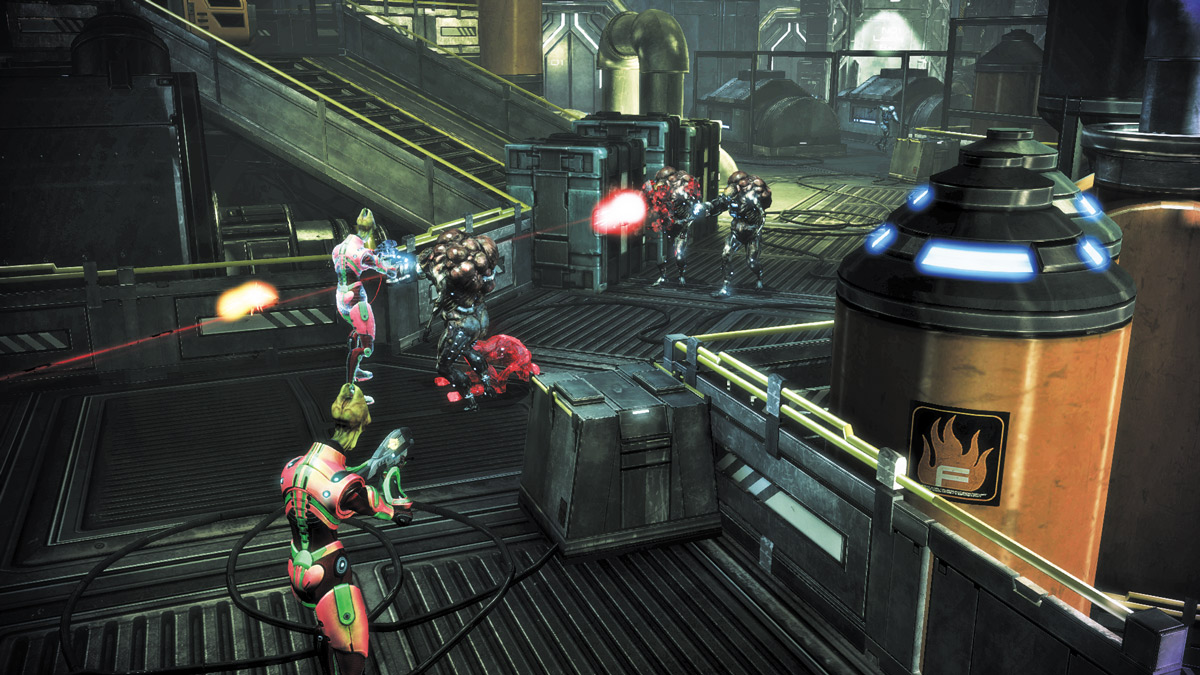
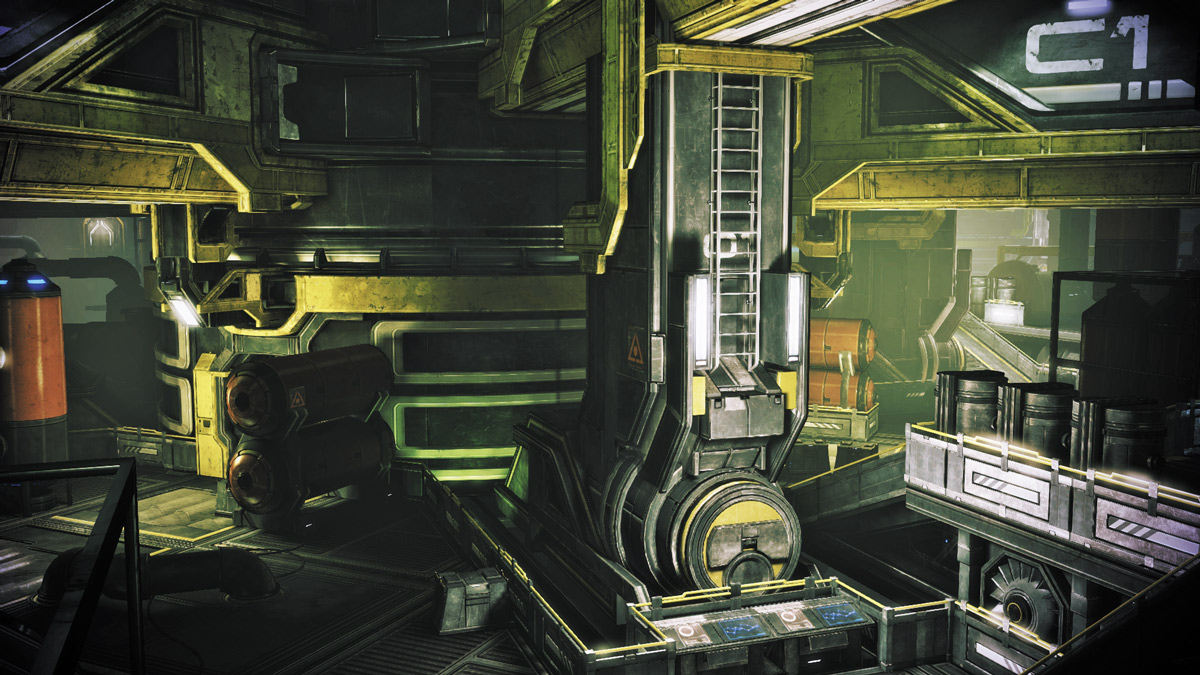
C1 is the second Reactor Sector to have a direct connection to the Reactor Core.
The area just outside the access tunnel is sparse for cover and vulnerable to sniping from the catwalks that make up the other part of C1.
Both levels of C1 are not particularly good locations for a firefight, as natural protection is so limited.
Reactor Sector D1
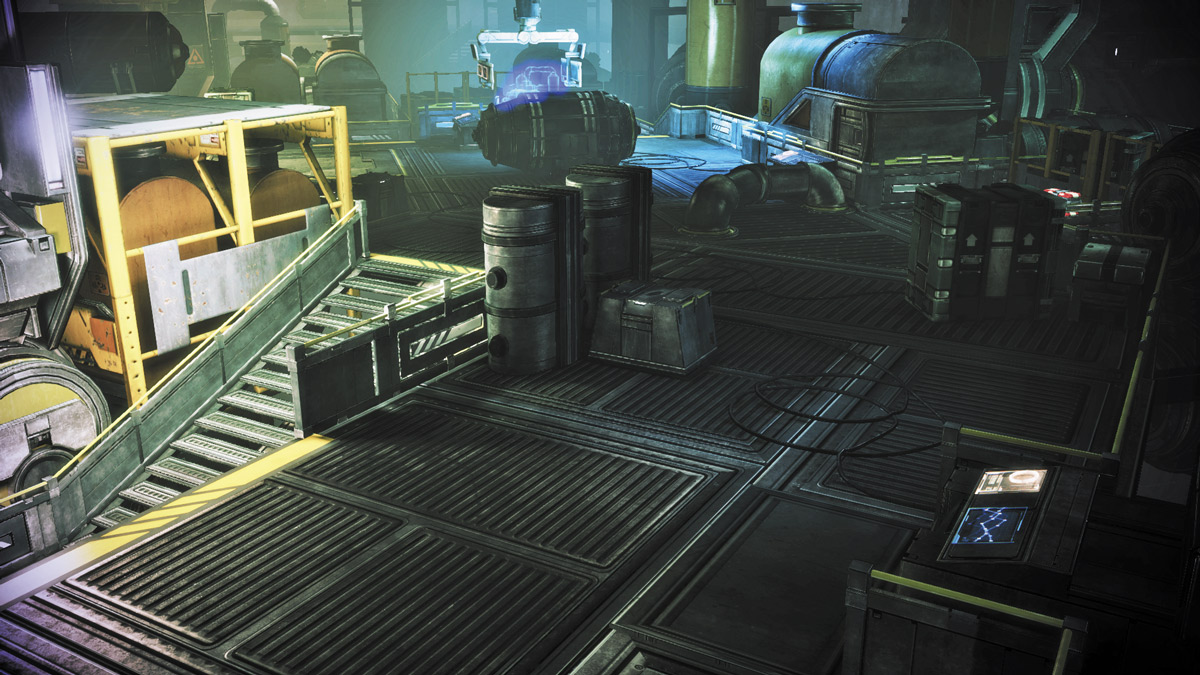
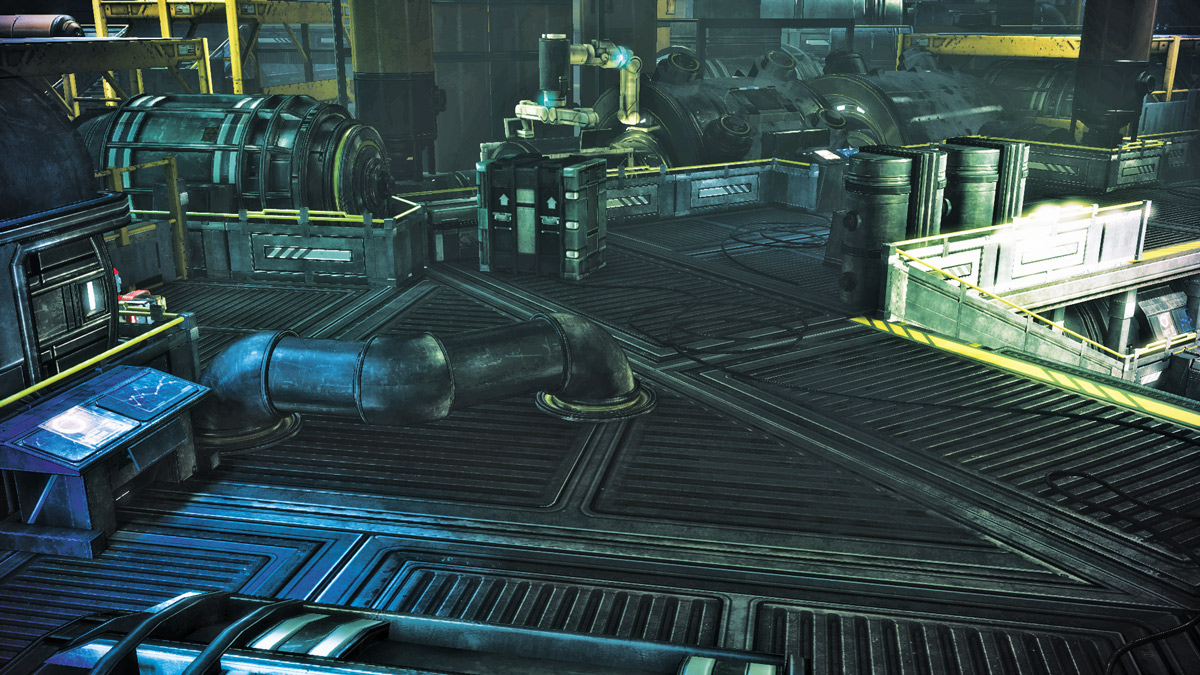
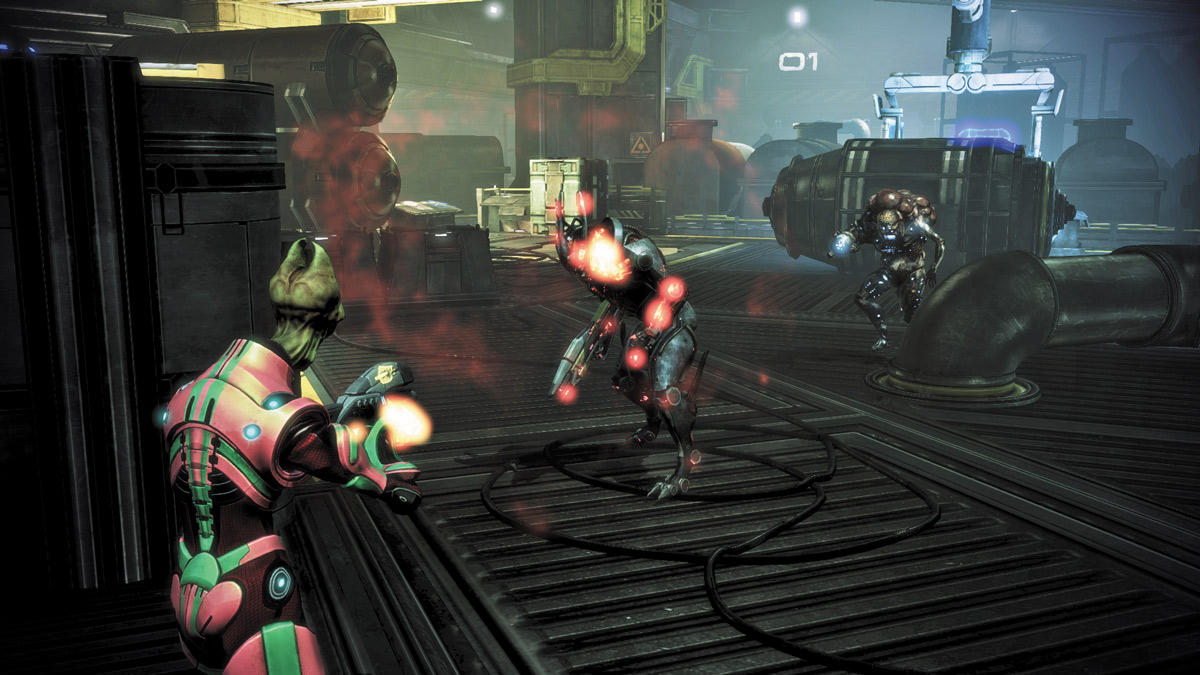
D1 is limited to the upper level of Reactor. C1’s lower section flows up a ramp into D1, while C1’s catwalks merge with D1’s.
Players and hostiles in the C1 Sector are at a disadvantage with anything set up in D1 due to superior defensive positions and a protected ammo crate that can be reached without exposing oneself to incoming fire for very long.
Still, as with many of the other sectors, it lies between a pair of neighbors, and E1’s Reactor Core access means that D1 is particularly vulnerable to being flanked from those locations.
Reactor Sector E1
.jpg)
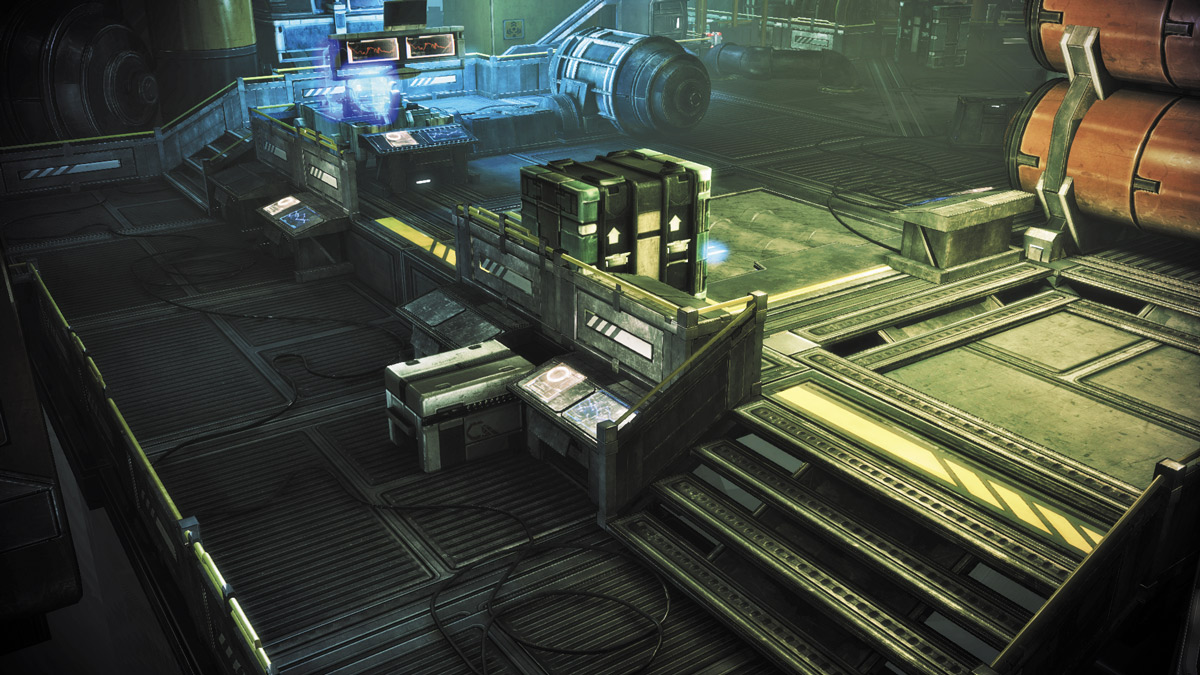
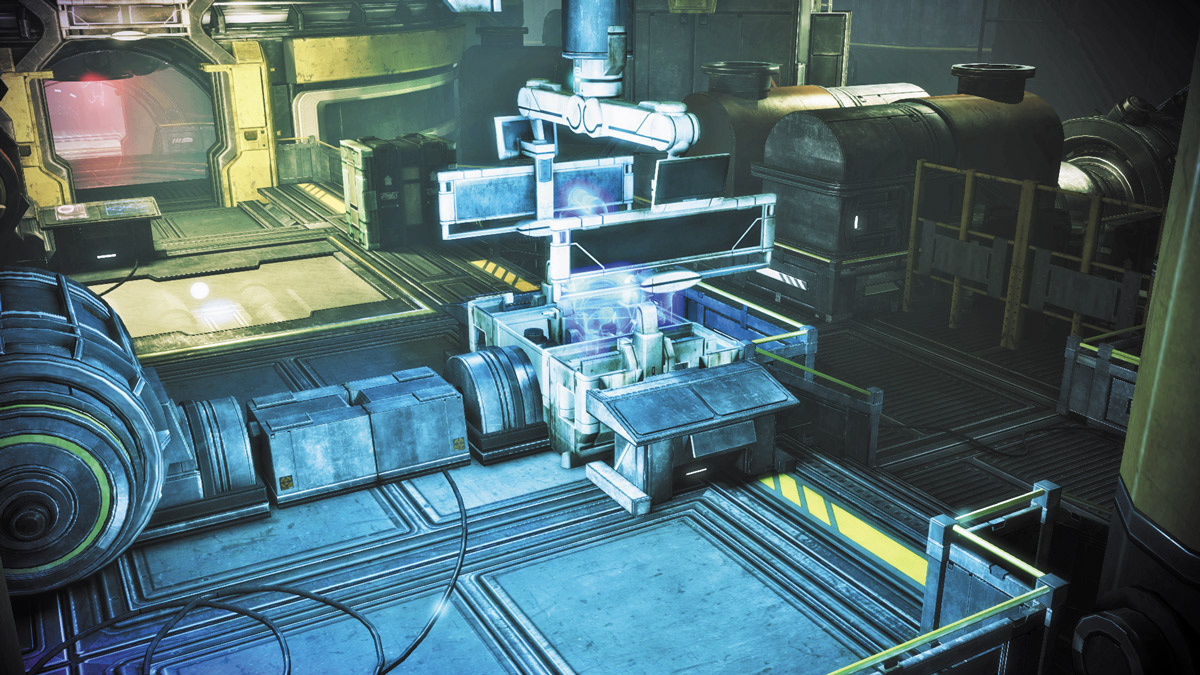
E1 is not sandwiched between sections, so it is one of the better locations in Reactor in which to hole up.
Any enemies who attack players located here must traverse the Reactor Core access tunnel or come from D1. E1 is better lit than other sections of Reactor, which can make picking out cloaked units much easier.
There’s ample places for a full squad to take cover without forcing each other into less-than-ideal spots.
Better still, during the extraction wave, players at D1 and E1 can pull the bulk of the enemy force away from the Loading Bay, then use the E1 Reactor Core access tunnel to make a straight sprint for the LZ, if the enemy isn’t occupying the Core.
Reactor Sector H1
.jpg)
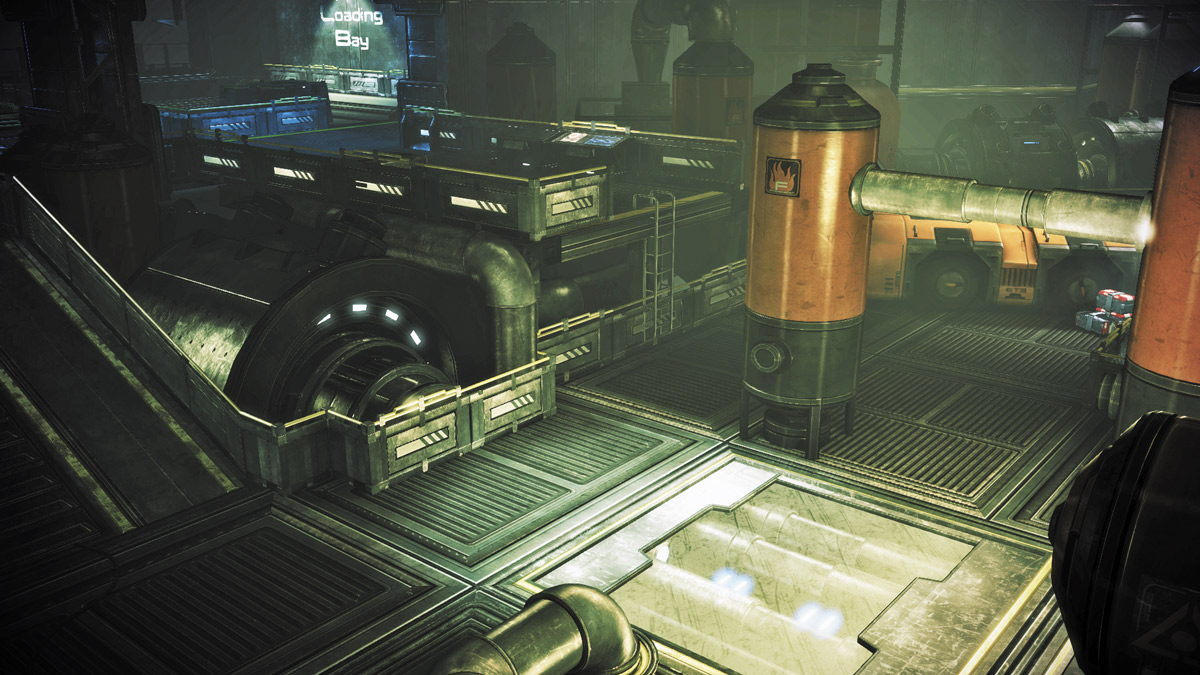
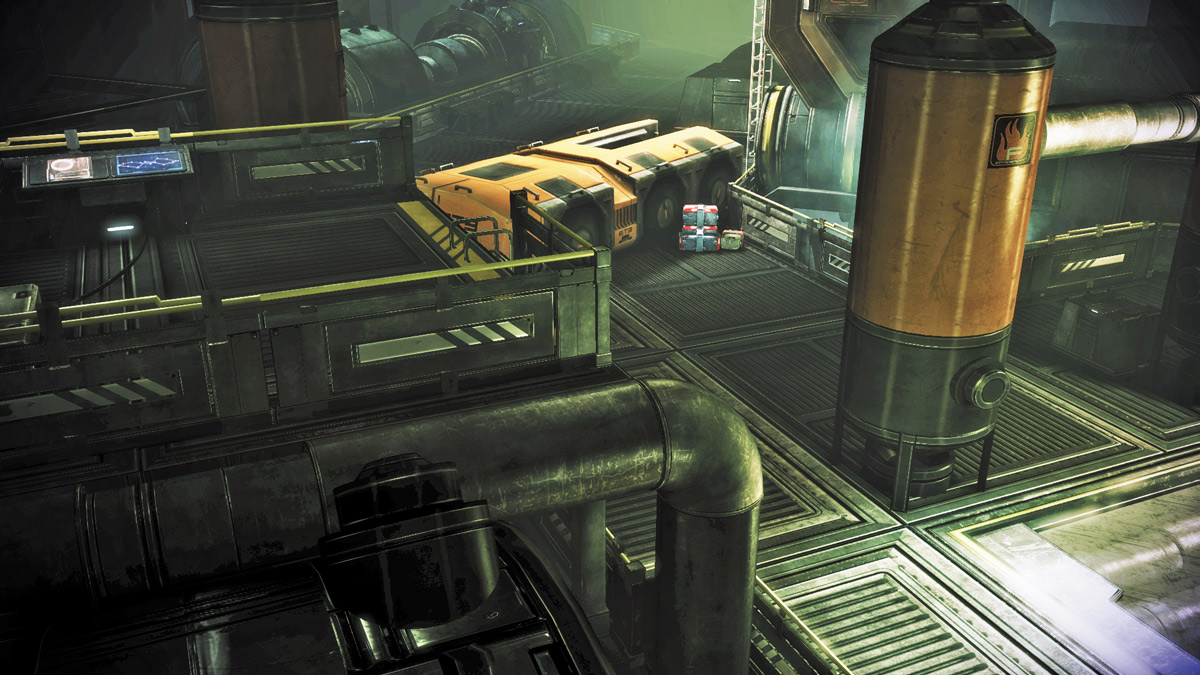
H1 is a very, very small piece of real estate wedged between a series of fallen crates that block access to the F and G sectors and the A1 sector.
This area is similar to E1 in that players here do not need to watch their backs, as there is an impassable wall there.
Unlike E1, there is definitely not enough room to protect four players adequately. Still, it can be a good fallback position to use while waiting for the enemy to come to you.
Sentry Turrets and Proximity Mines can make dislodging stubborn players a difficult task for the hostiles.