
Mass Effect 3 Guide Multiplayer The Battlefields
Location: White
.jpg)
Located on a snowy world, White is very different from Ghost.
While Ghost provides many opportunities for enemy troops to snipe from on high, the action here primarily flows through two distinct upper and lower ground levels.
There are few locations that only the opposing forces can reach for a height advantage.
Where White gets complicated is the indoor area, which takes up almost a third of the map and has few exits leading to the lower and upper outdoor levels.
It is very possible to get completely cut off while inside the base, particularly on its upper floor.
Much of White is designed to funnel both sides into choke points that can be easily flanked if players or the enemy are willing to follow a circuitous route through the base or through the outer areas.
Smart squads can take advantage of this and stay perpetually on the move, running the course and killing on the go.
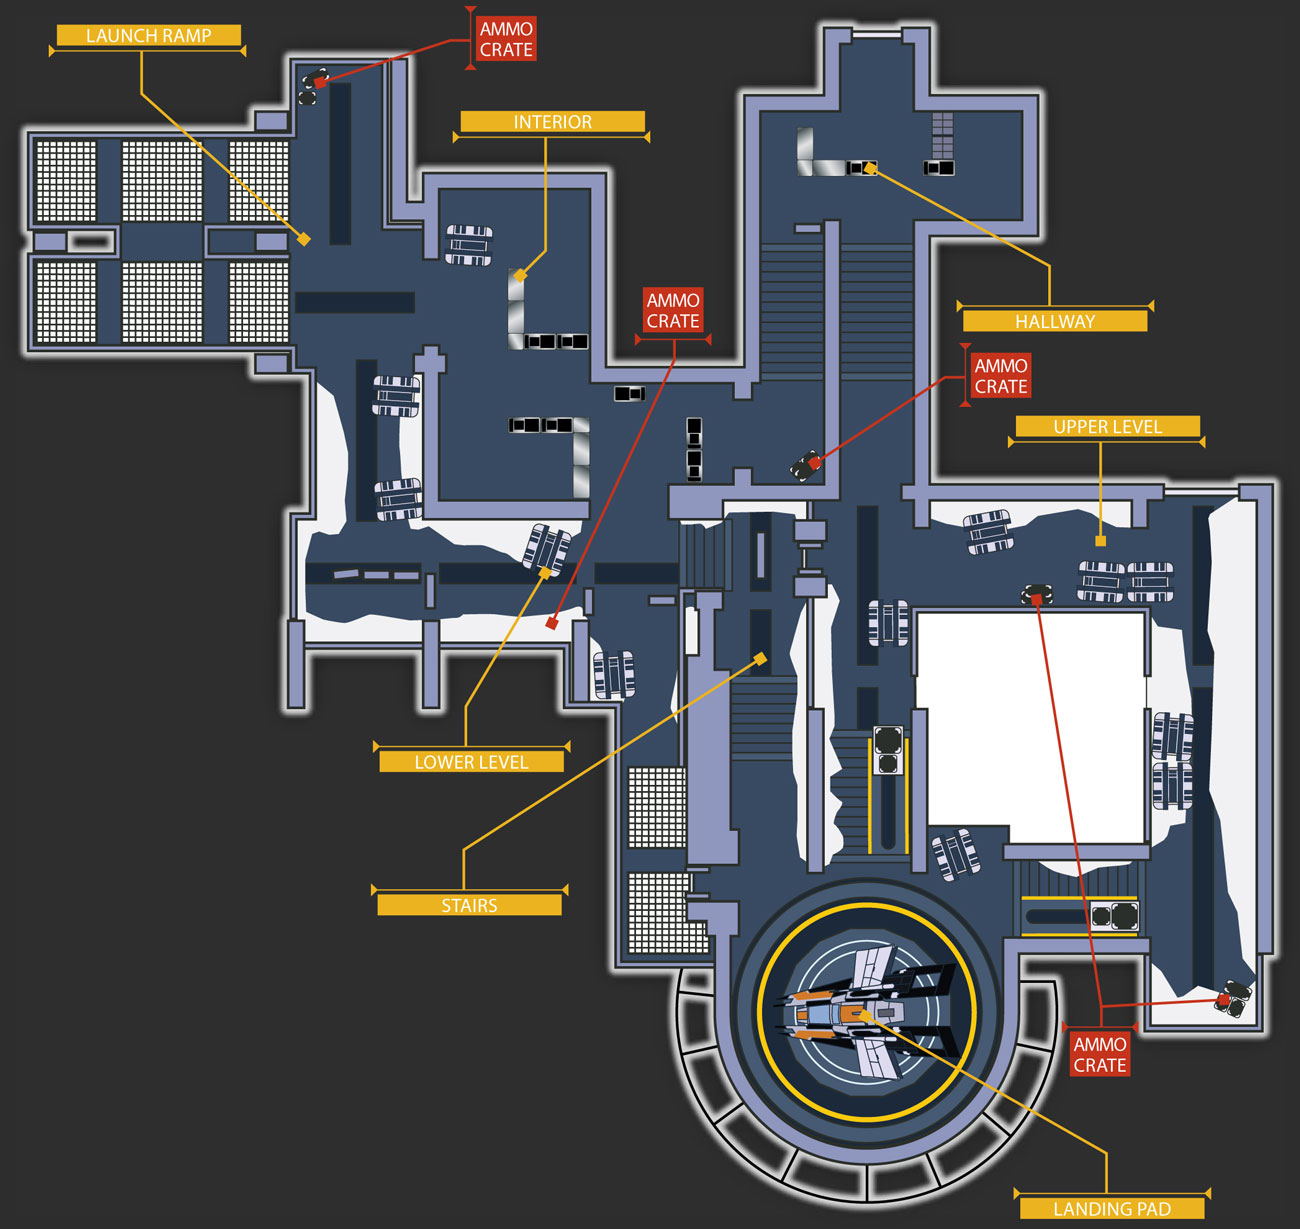
White has seven sections: Landing Pad, Upper Level, Hallway, Interior, Launch Ramp, Lower Level, and Stairs.
Landing Pad
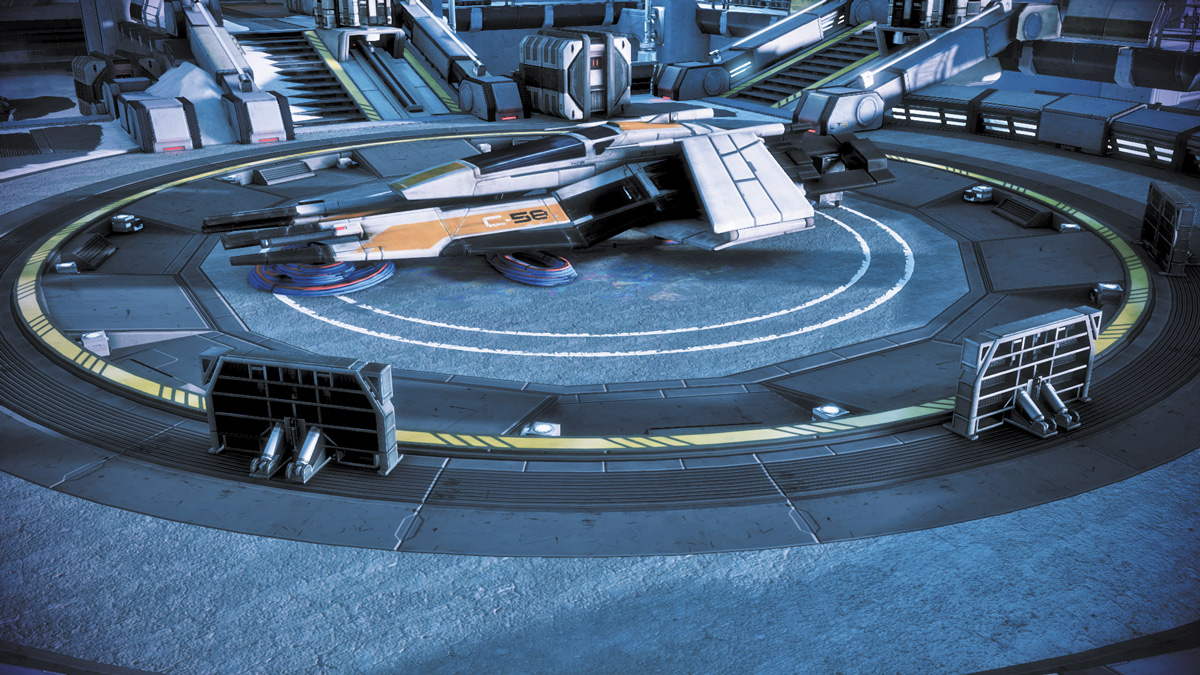
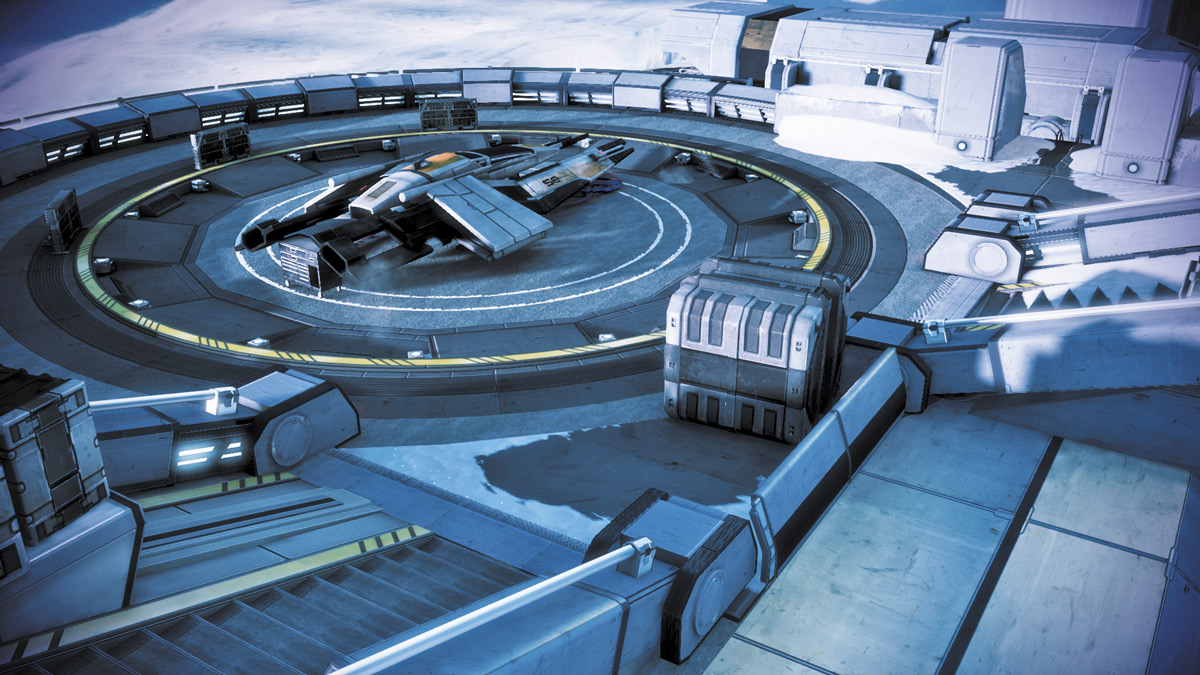
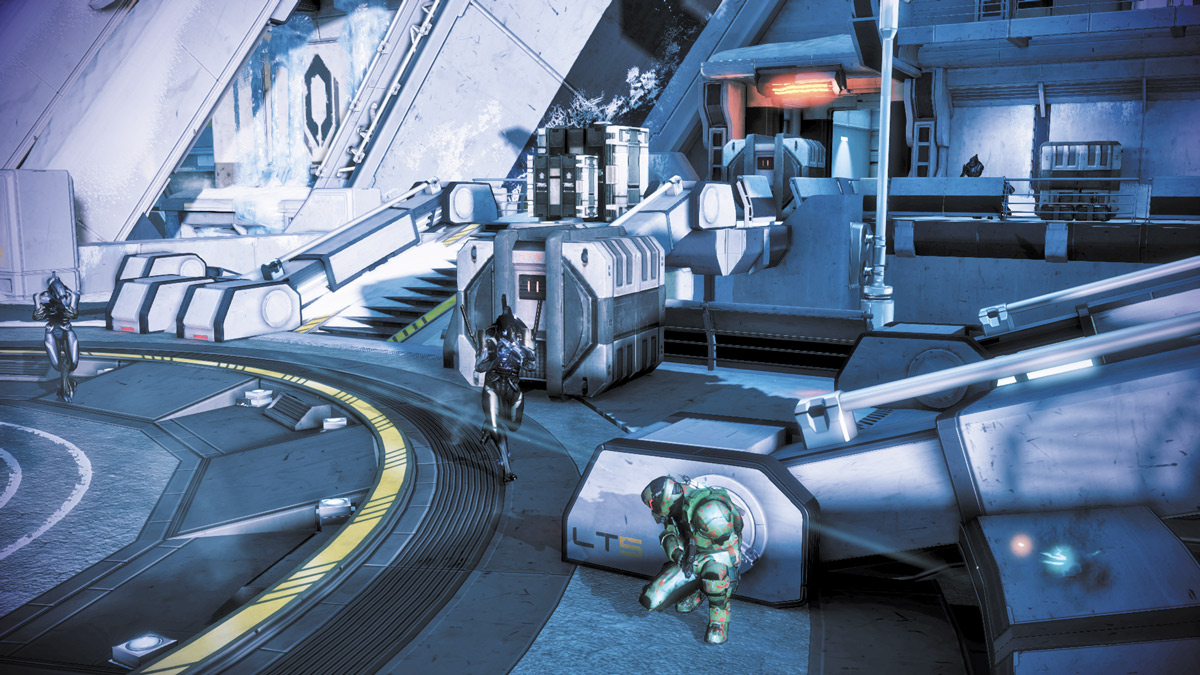
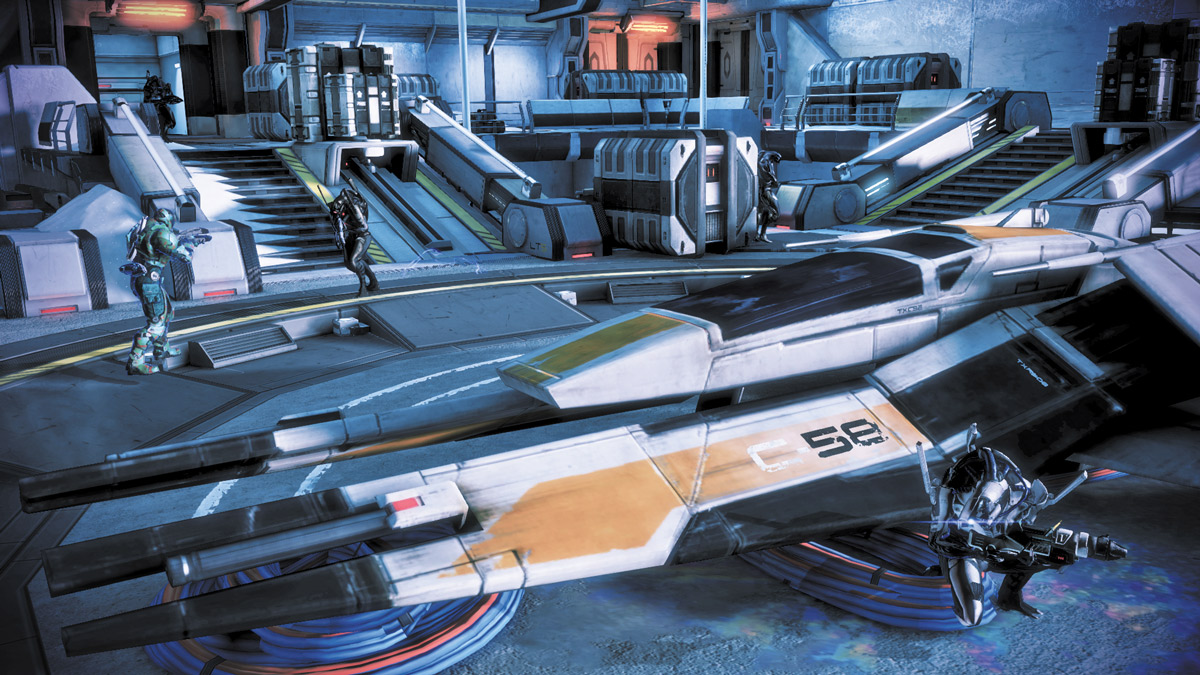
Unlike the Landing Pad in Ghost, this one is considerably easier to defend.
A Cerberus fighter occupies the center of the pad, giving players an opportunity to use it as cover.
In addition, there are small blast shields located near the fighter, allowing players to shift between locations to take cover from incoming fire from the catwalks.
No ammo crates are on the circular Landing Pad, with the closest being a pair located on the catwalks in front of it.
The nearest of the two has little in the way of useful cover from assaults on the same level, so trips up to it during the extraction phase are not recommended.
While this Landing Pad is defensible, supply problems might move players to the Upper Level walkway, in hopes of funneling the enemy through the narrow paths.
There is a side ladder that allows for flanking from the Lower Level, so keep an eye out for that.
Upper Level
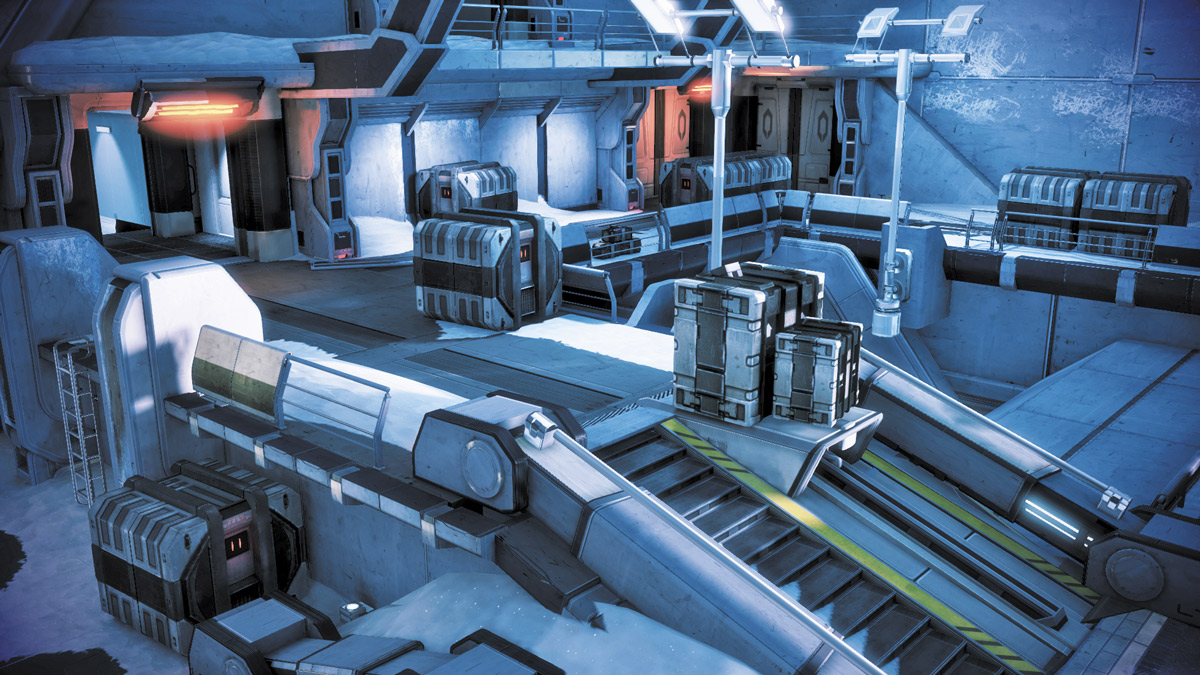
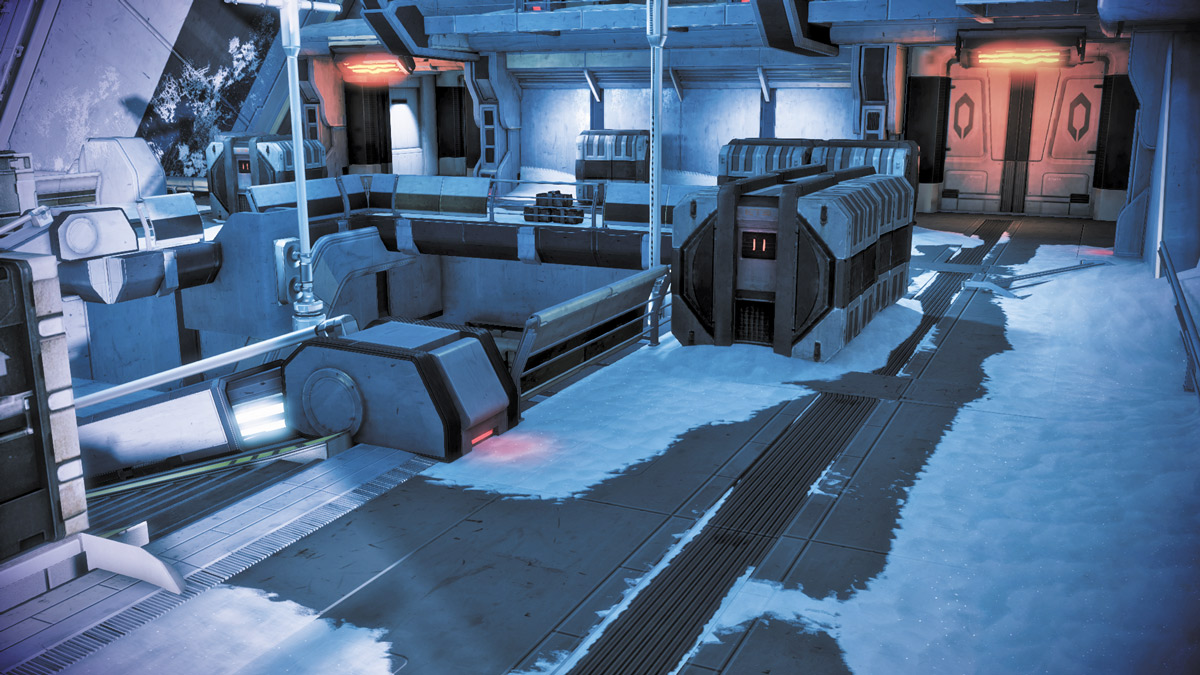
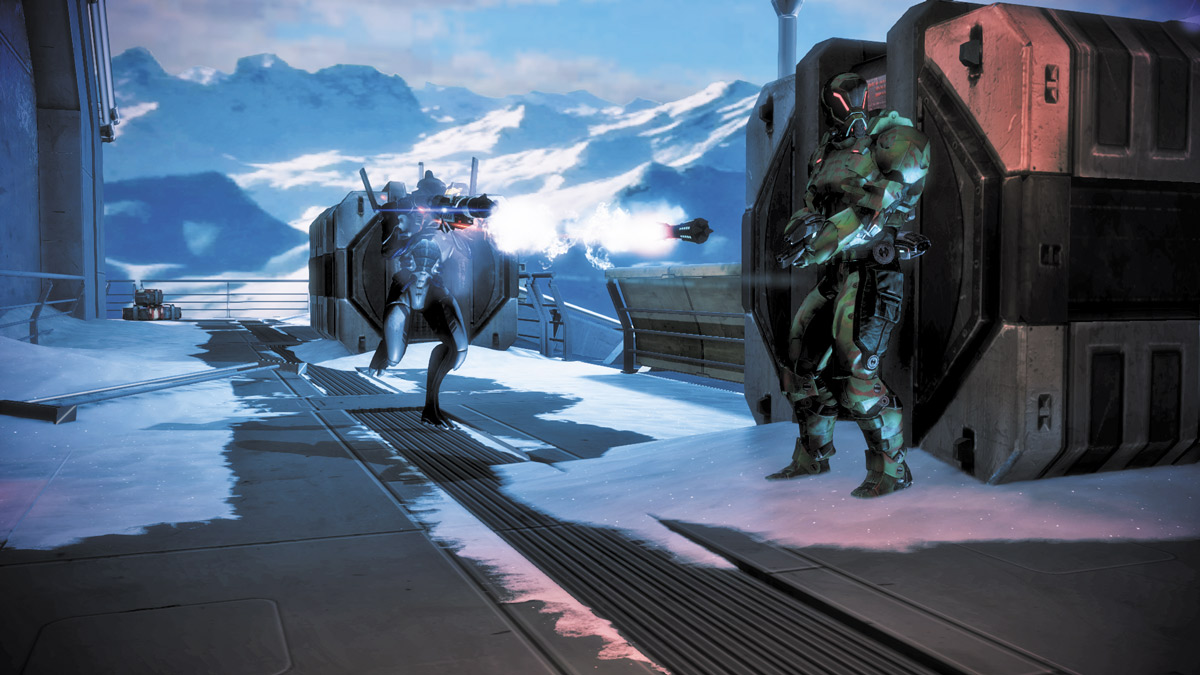
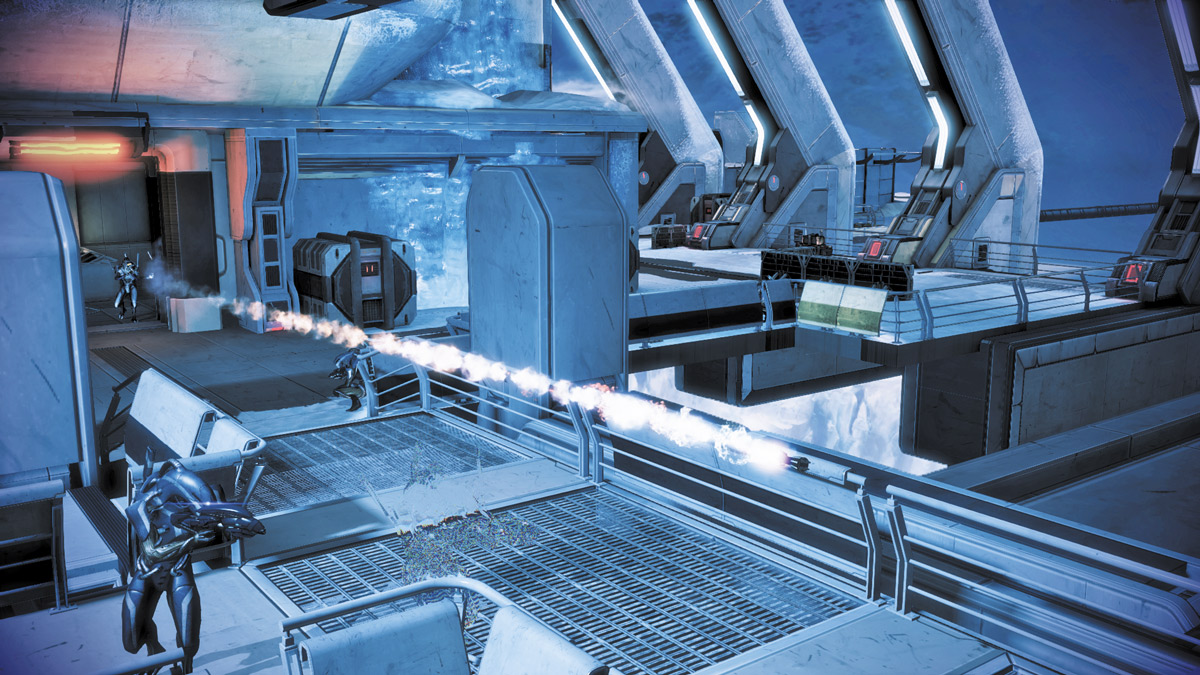
The Upper Level consists of the catwalks that provide overwatch onto the Landing Pad and lead into the base interior.
Two ammo crates are located here, providing ample supplies for squads defending this location.
This is arguably one of the best places to make a stand while waiting for the shuttle during extraction, as the enemy has little room to maneuver and will be sustaining fire the moment they enter the catwalk from the base interior or from any of the lower-level areas.
Of course, this confined space leaves you with little room to maneuver as well.
Against later waves and on later difficulties, it’s not feasible to camp in the Upper Level unless you are bringing solid firepower and your squad is well coordinated.
Hallway
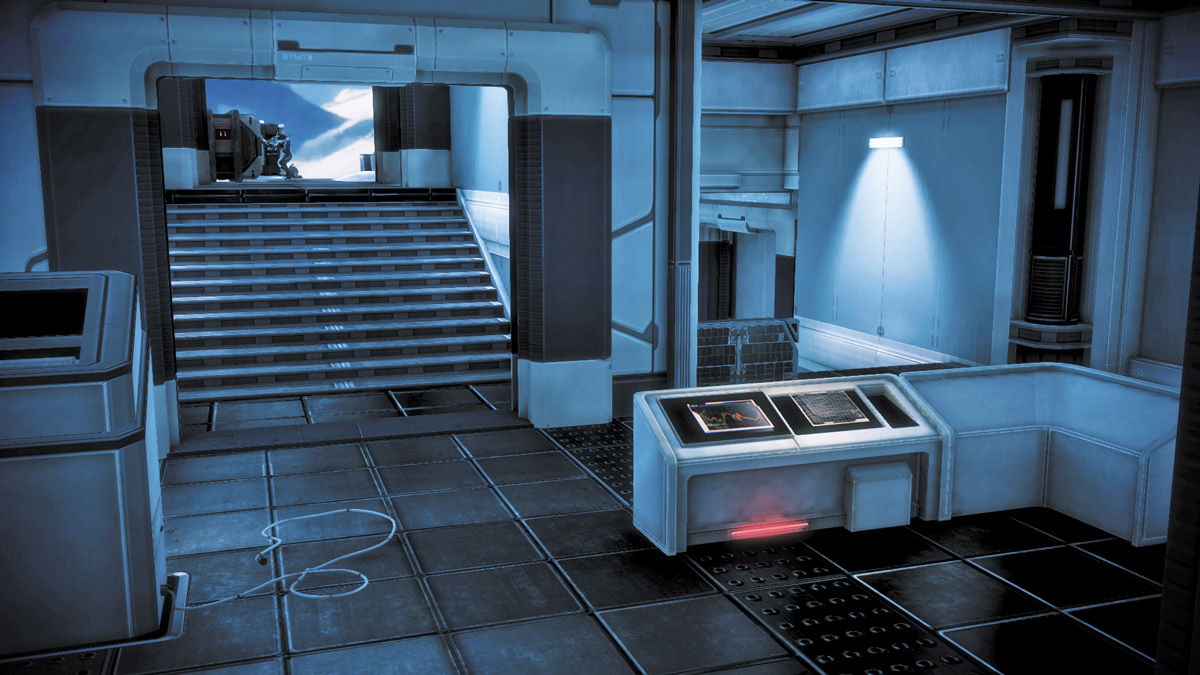
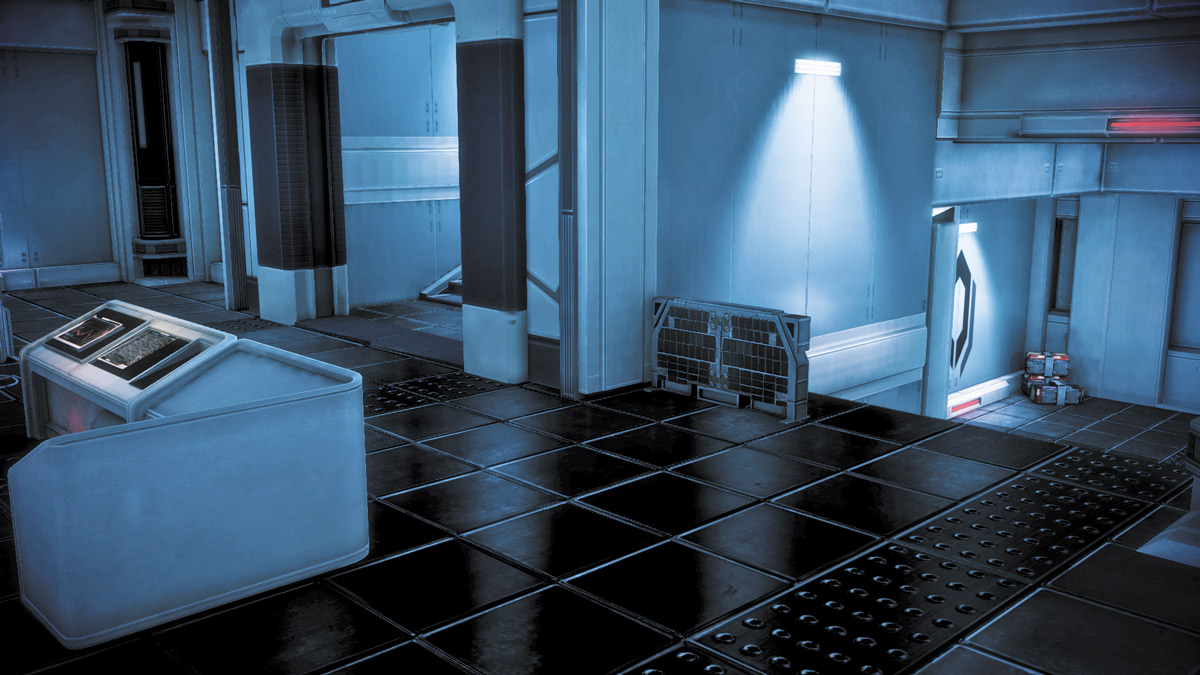
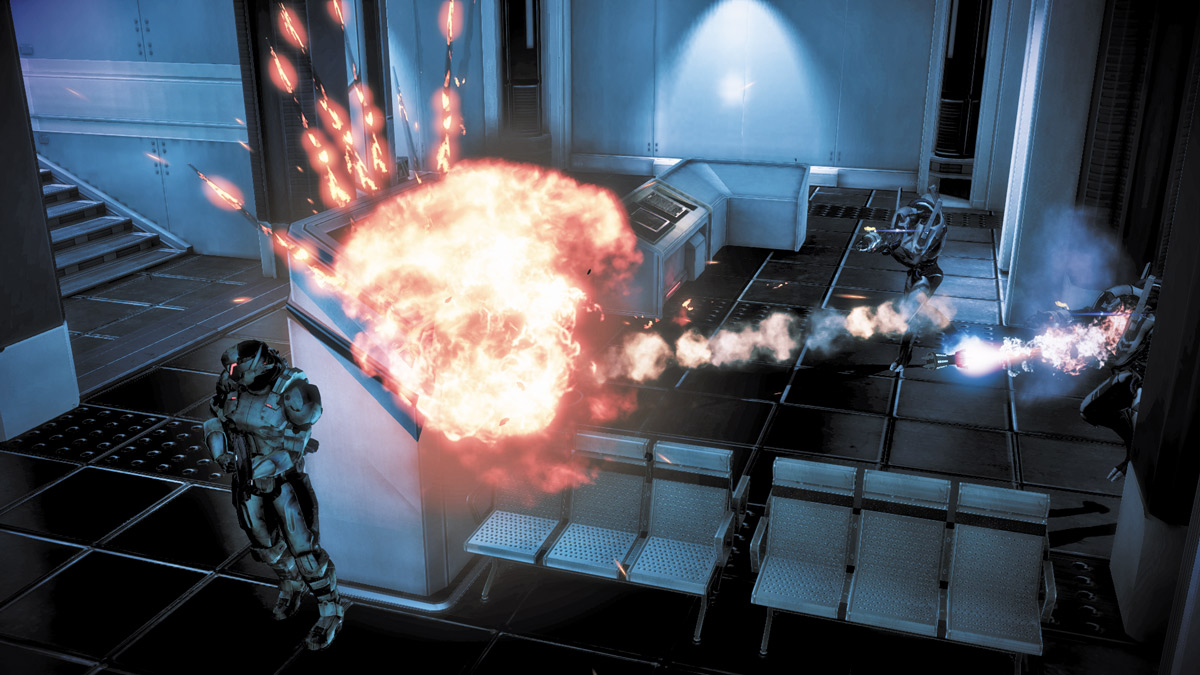
Hallway is a bit of a misnomer.
It is the upper floor of the base that is accessible via the Upper Level catwalks and the stairs leading into the lower-floor Interior.
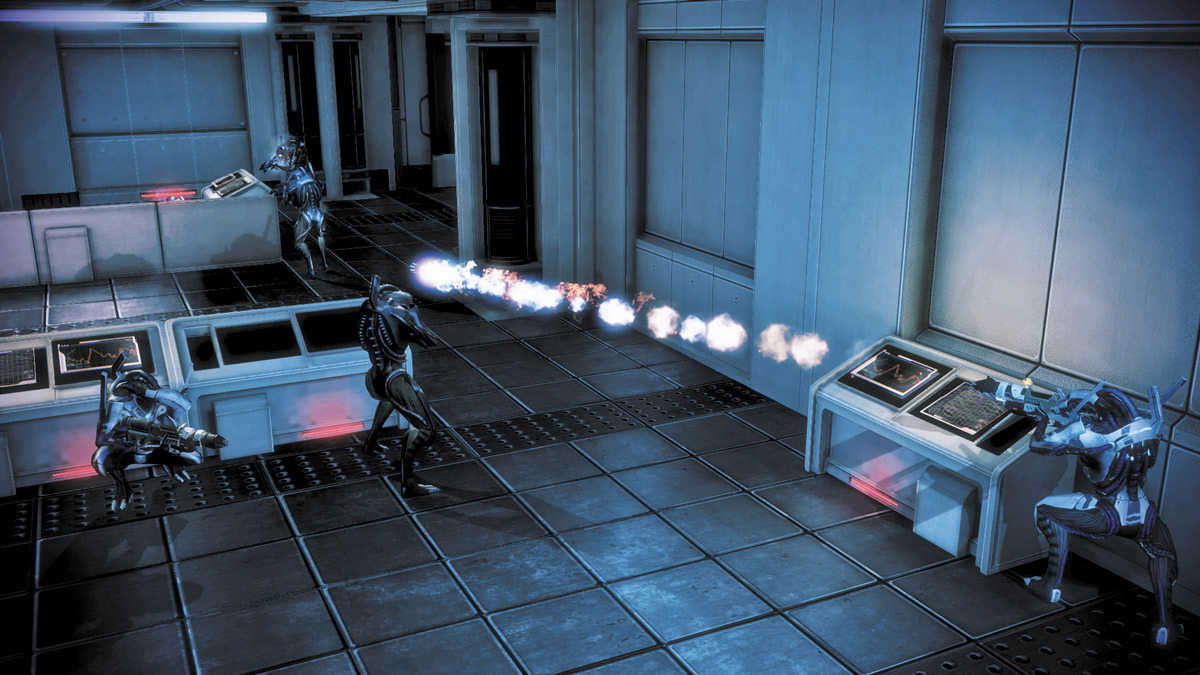
Hallway is incredibly cramped, with lots of small pieces of cover to use. Dislodging a determined foe here can be difficult, while defending the place as a squad can be taxing.
With only the stairs down to the Interior and the passageway leading to the Upper Level the only routes in or out, it is possible to lose an entire squad here simply because you have no safe place to hide while a Reaper Banshee or Cerberus Phantom runs amok.
Worse still, the closest ammo crates are either at the bottom of the stairs leading to the Interior or on the catwalk on the Upper Level outside the base.
If you intend to hold here or have an objective in this area, anyone with Proximity Mines should lay them in the corridors.
Any area-of-effect abilities work great in those tight spaces.
Daring Vanguards can use Biotic Charge in tandem with other Biotics like Reave or Pull to set off combo blasts for heavy damage.
It’s still a better idea to reach the lower Interior for better room to maneuver or the Upper Level.
Interior
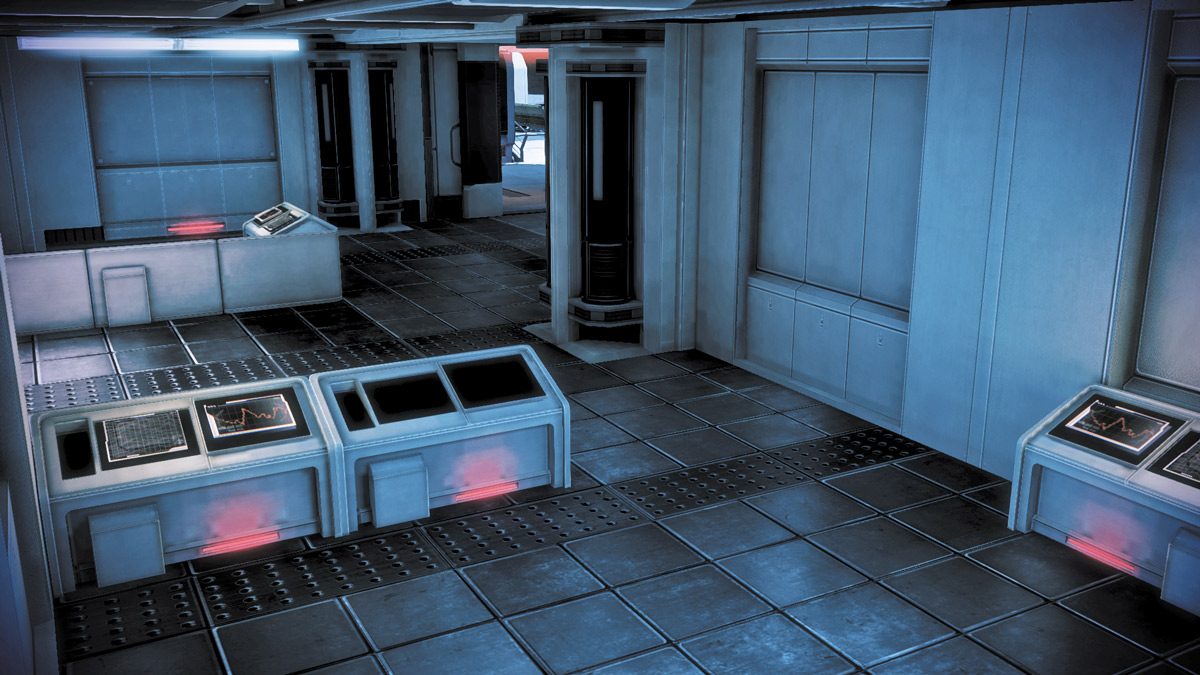
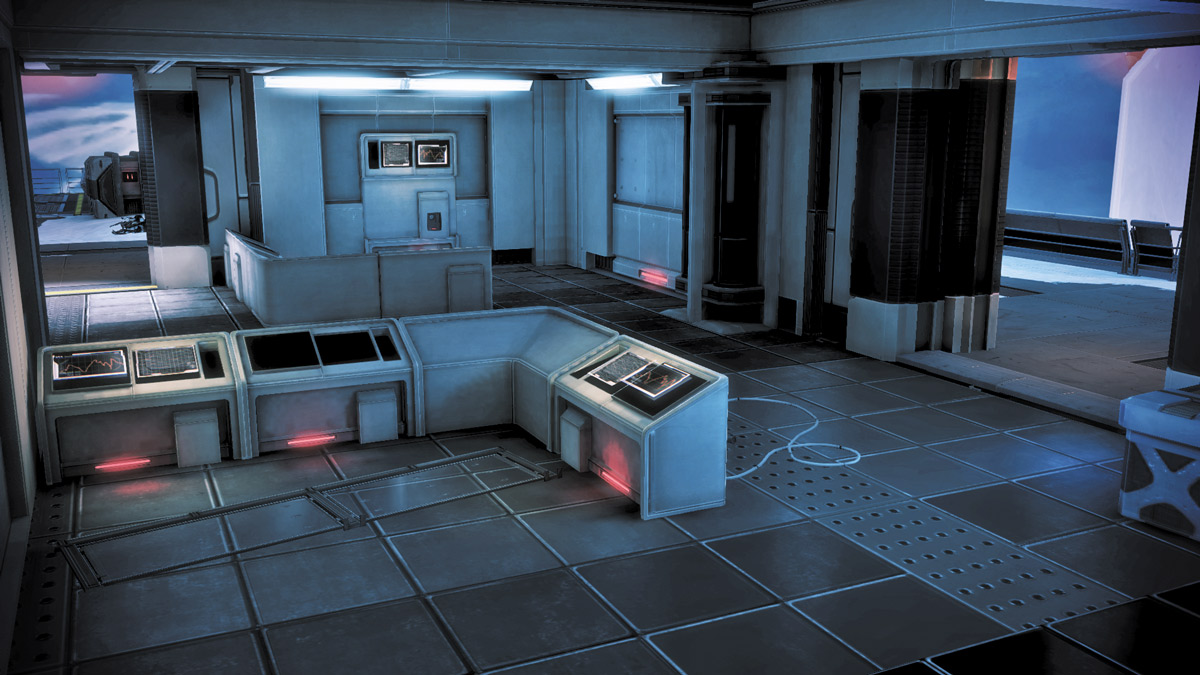
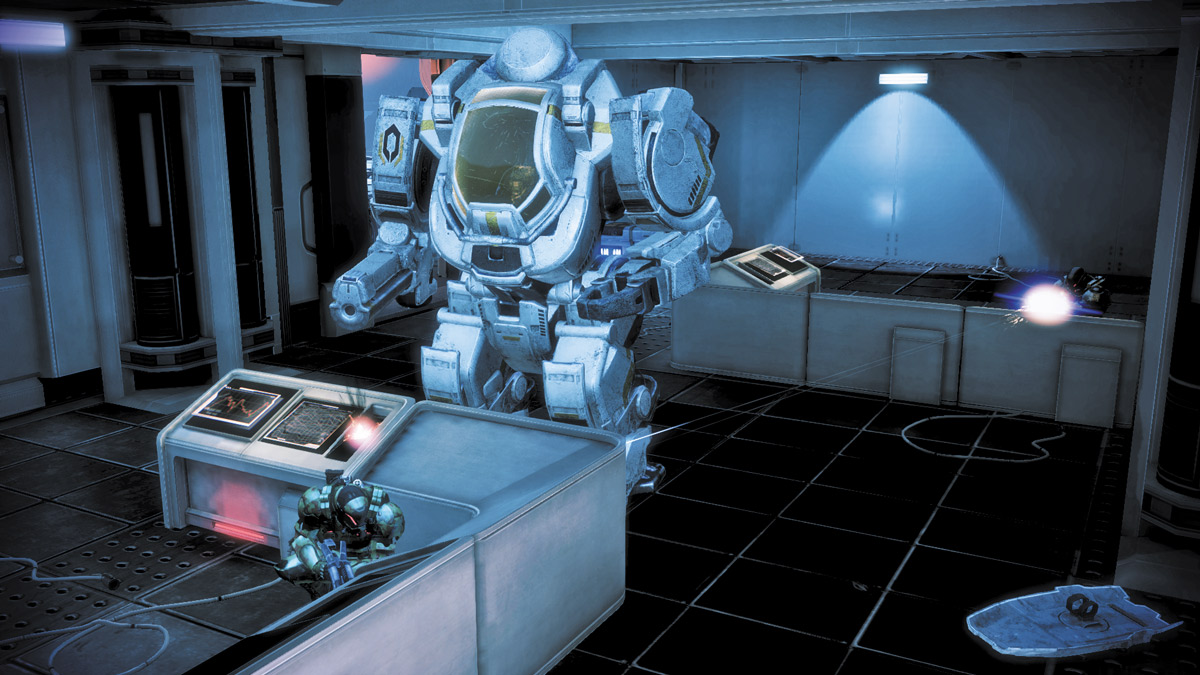
The Interior acts as a hub area between the Hallway, the Lower Level, the Stairs, and the Launch Ramp.
Despite the many possible entryways, the Interior can make a solid temporary fallback position for vigilant squads on the lookout for flanking maneuvers, especially while on the way to an objective at the Launch Ramp section.
The room’s size makes it somewhat safe to fire Cobra missiles at large groups of enemies, should the need arise.
Launch Ramp
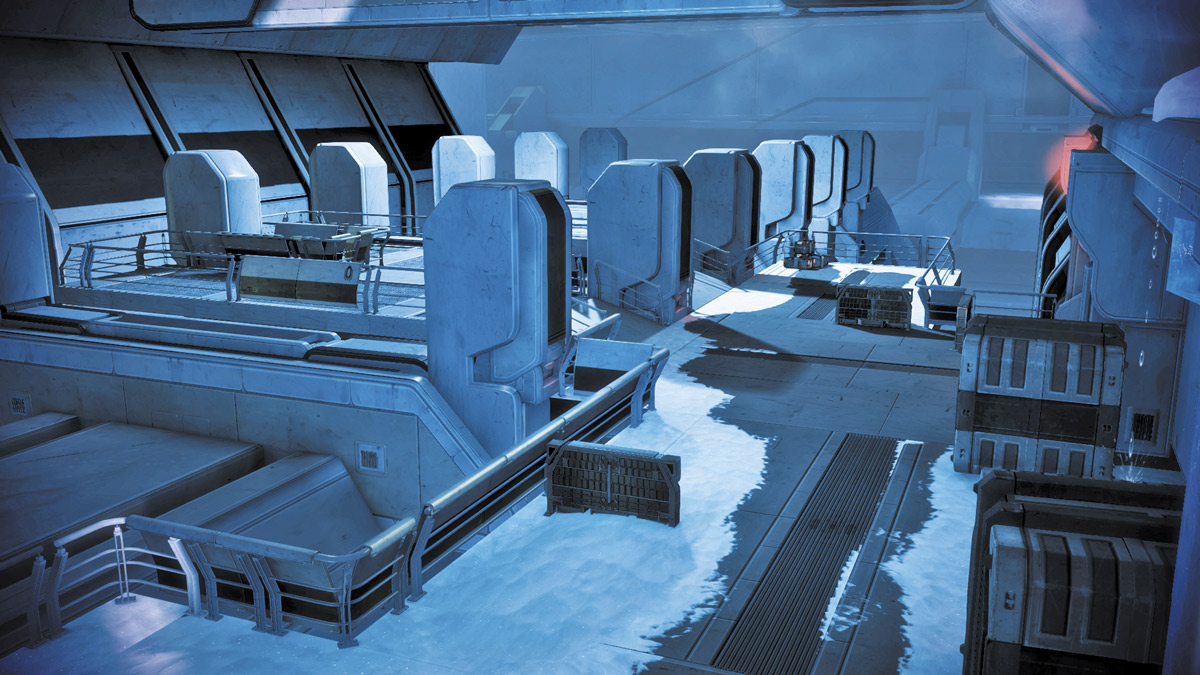
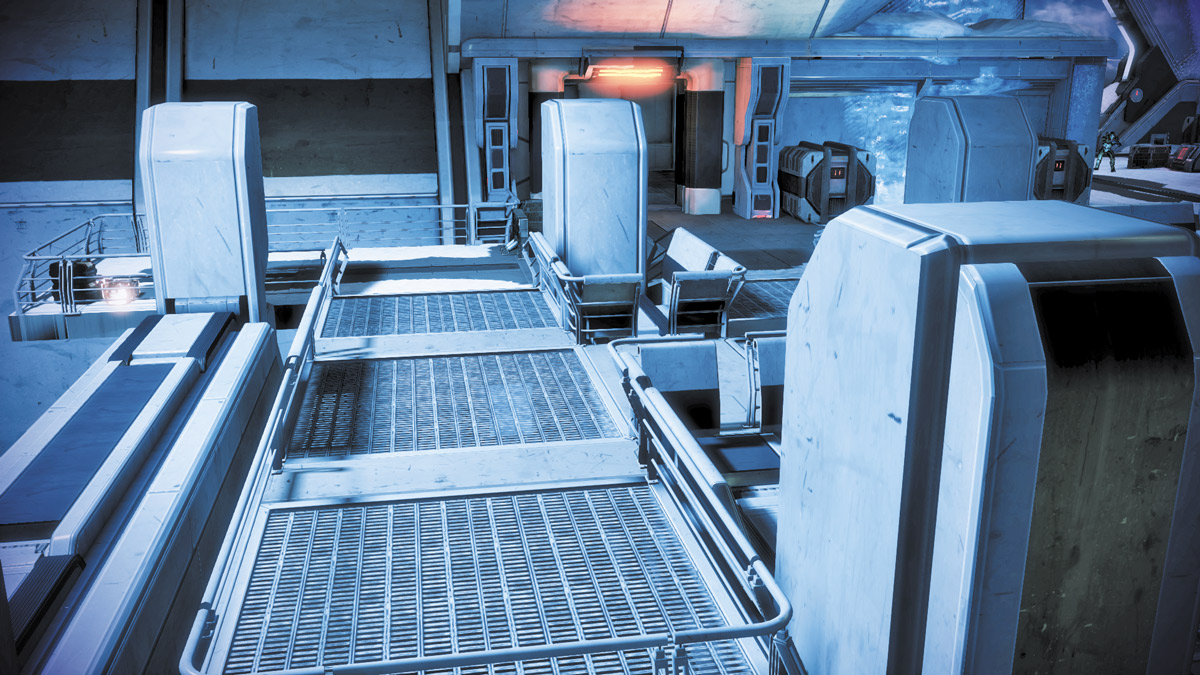
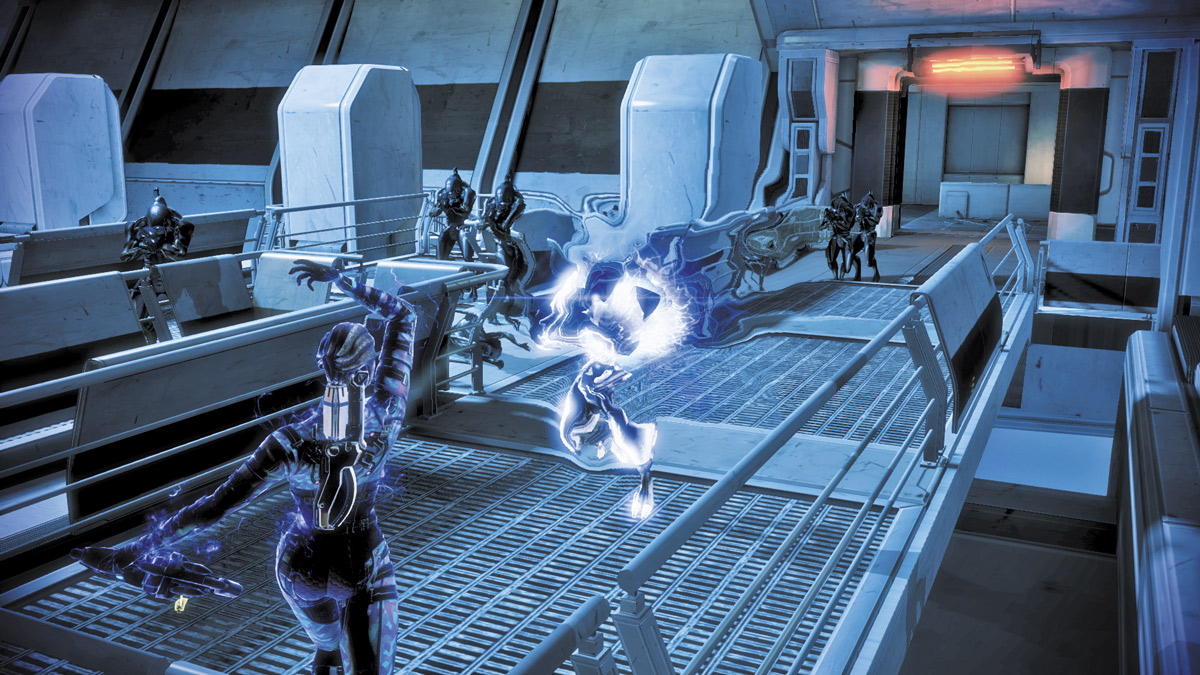
An H-shaped set of catwalks that lead directly into the Interior and Lower Level sections of the map, Launch Ramp makes for a generally unpleasant place to fight.
Cover is limited, and while there are few places for the enemy to assault you from, getting hemmed in here leads to similar problems with the Hallway, except that there are fewer obstacles to slow down really dangerous melee units such as the Phantom or the Reaper Brute.
Defending Hacking objectives at the Launch Ramp can get frantic.
Lower Level
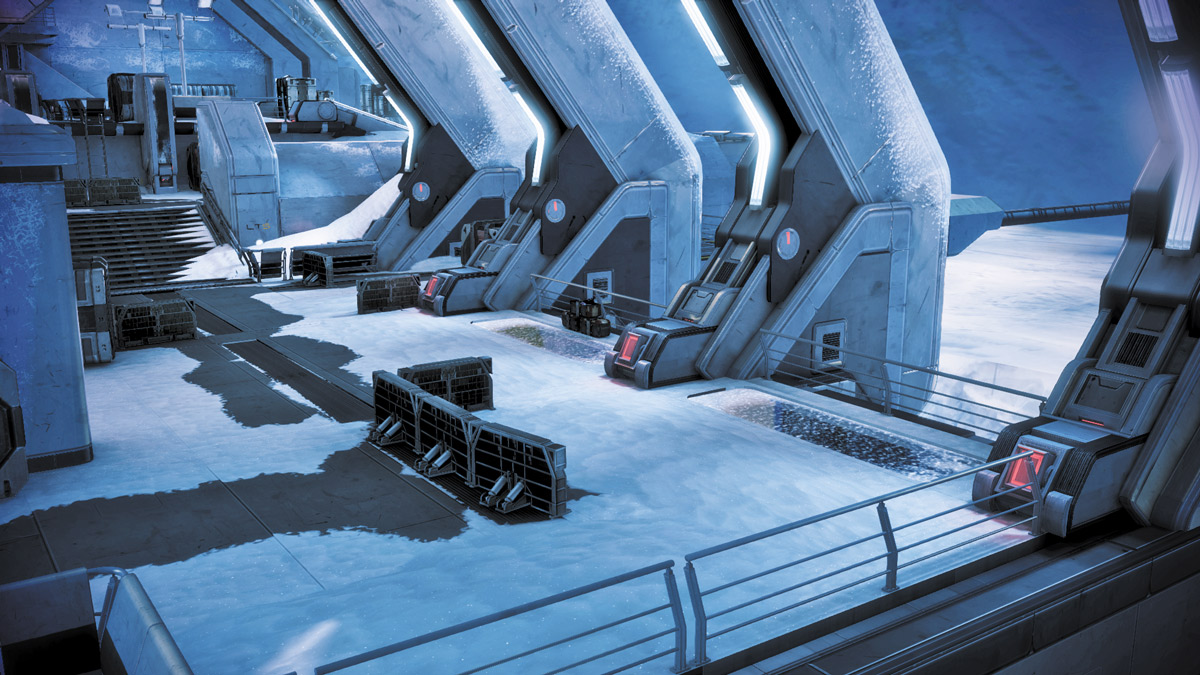
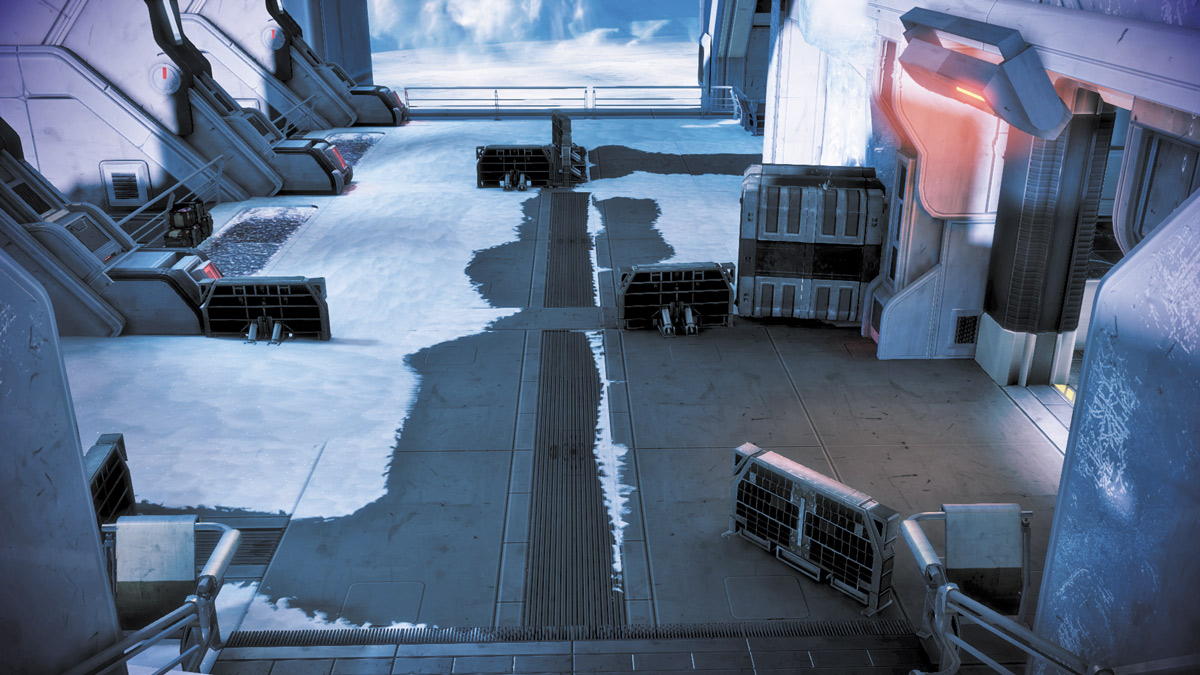
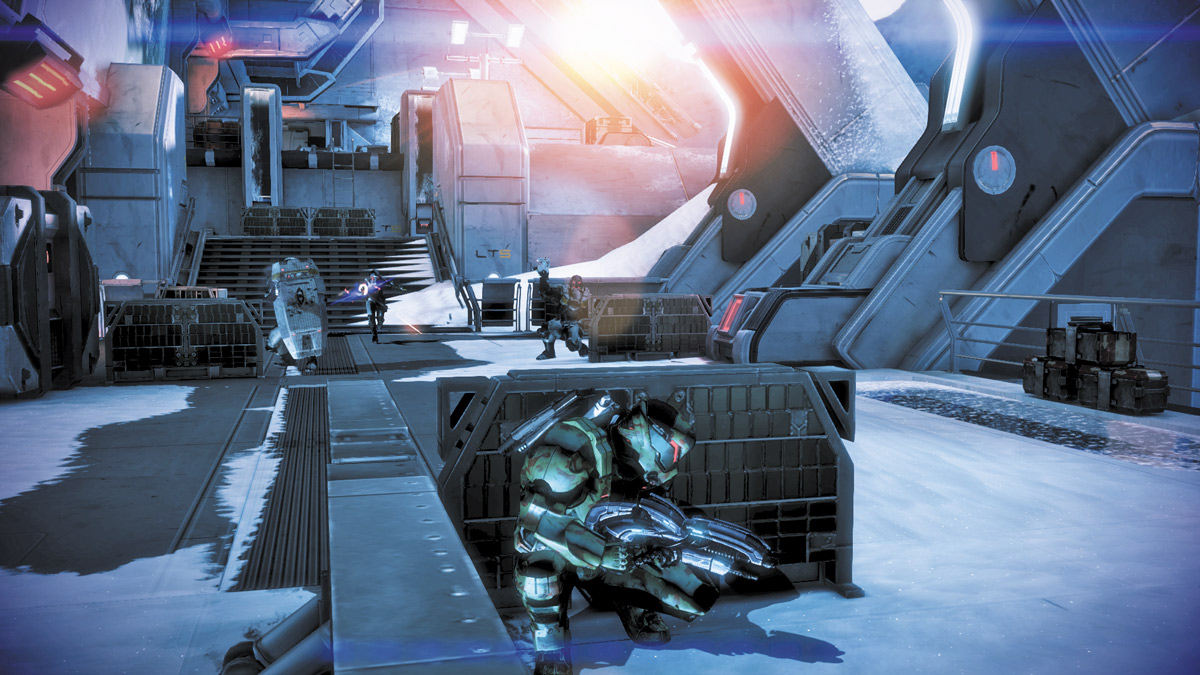
One of the larger portions of the map, the Lower Level is a big walkway that extends away from the Launch Ramp.
It has two access points leading into the Interior: one to the Stairs and another smaller side route that takes you to a ladder leading to the Landing Pad.
Consistent with the almost circular nature of White, the Lower Level is assailable from multiple directions.
Cerberus forces in particular like to use the Interior as a way to circle around behind players who are facing off against other units at the stairs.
You’re at a serious disadvantage on the lower level, with enemy forces enjoying two separate levels of terrain advantage from the Stairs and from the Upper Level catwalks.
Stairs
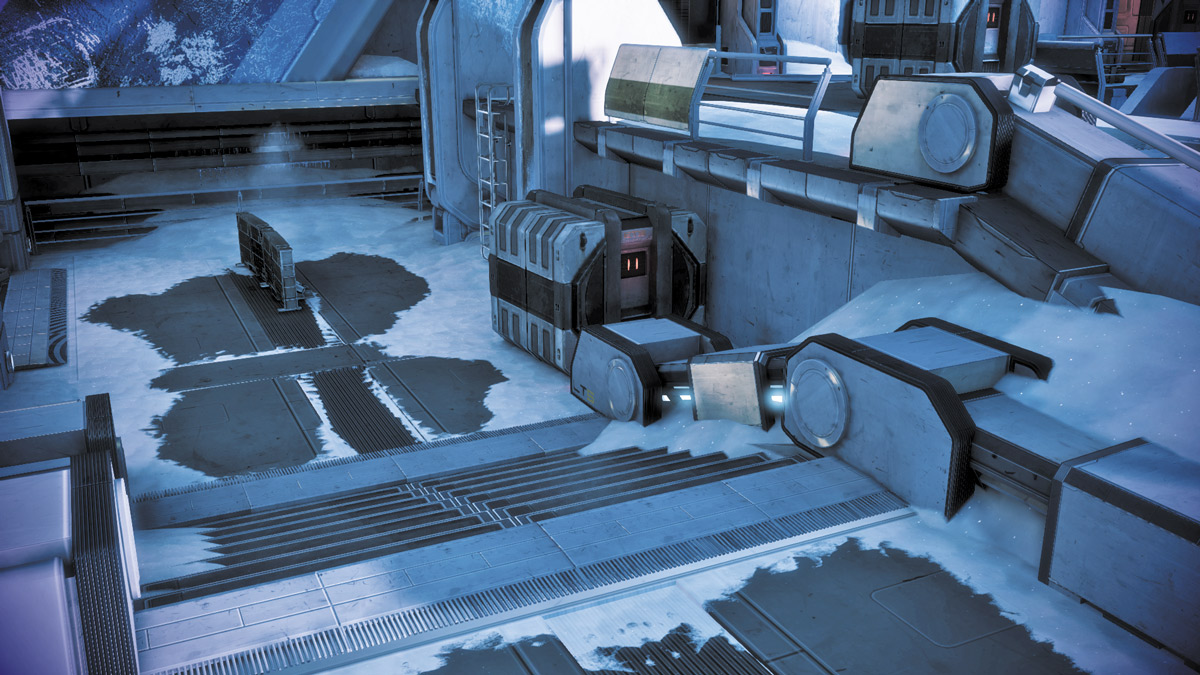
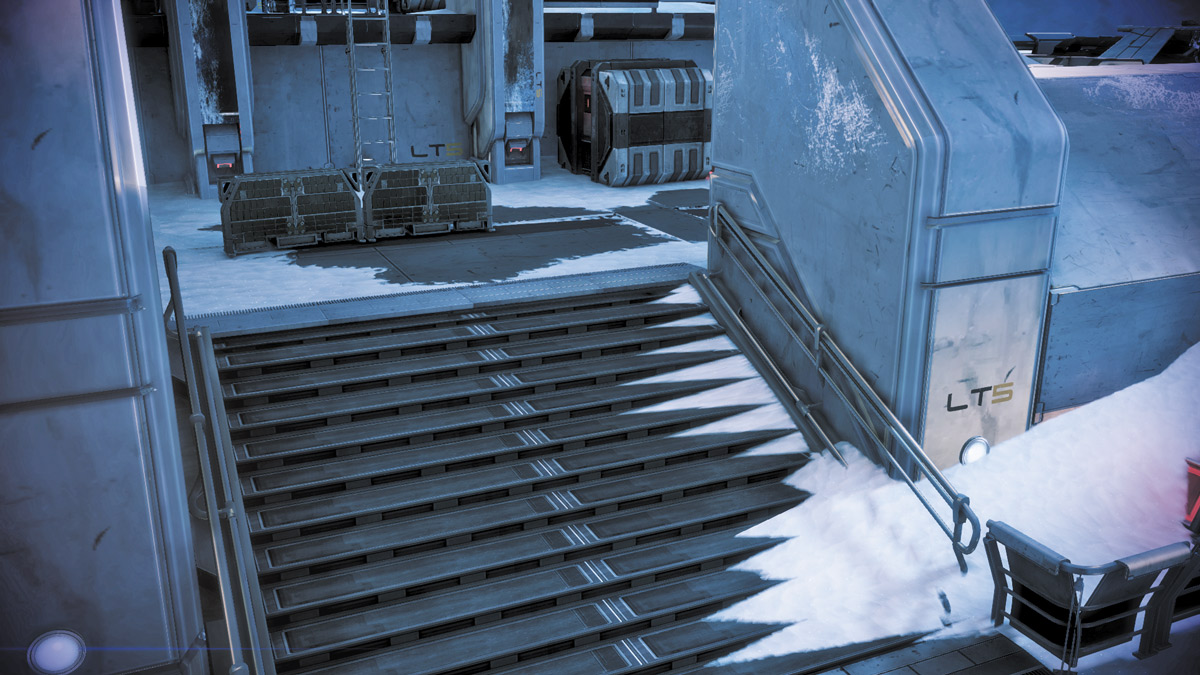
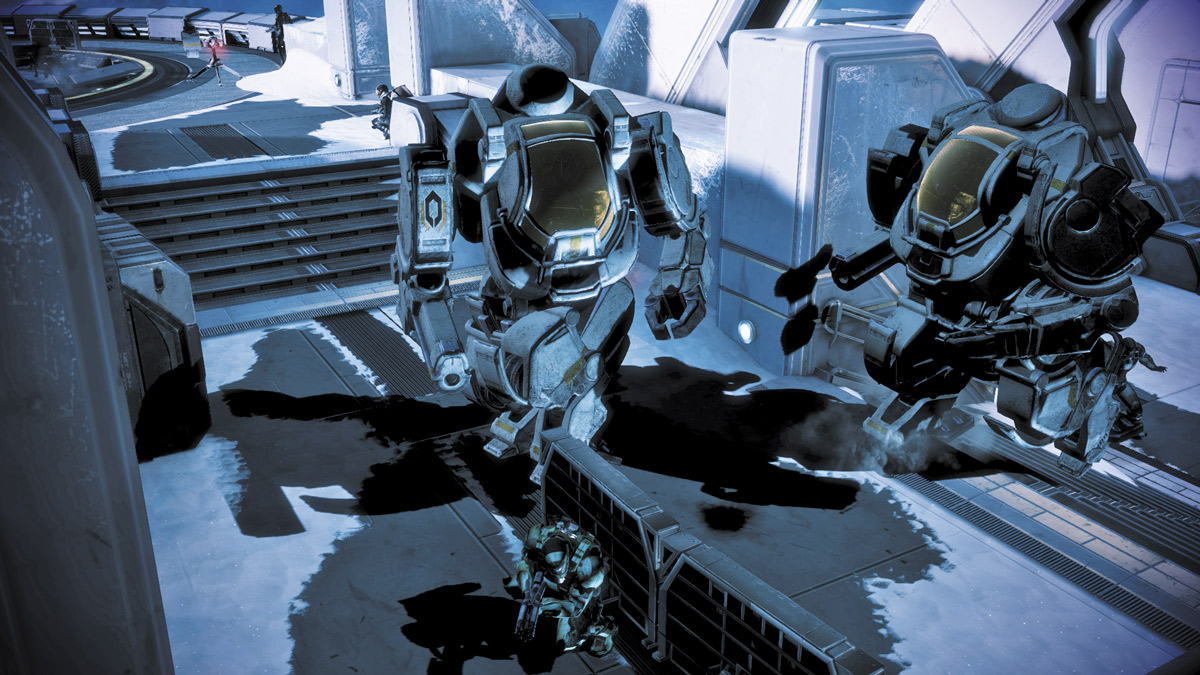
The Stairs make a good place to hold if you also have cover from squadmates on the Upper Level and the enemy is streaming in from the Interior or the Lower Level.
Cover is limited for people on the Stairs but adequate. Enemies can flank from the Lower Level ladder access to the Landing Pad—watch out for that.
Also be aware that enemies can literally drop in behind players on the Stairs from the Upper Level catwalks after passing through the Hallway.
This section is the smallest of the entire map, but it can be very important for bogging down enemy assaults, particularly if the squad is trying to hold the enemy away from the Landing Pad for as long as possible before sprinting to the extraction zone.