
Mass Effect 3 Guide Walkthrough Act 1
Investigate Missing Scouts
.jpg)
To kick off this mission, you must first speak with Urdnot Wreav in the war room. He explains that his best group of soldiers has gone to investigate a group of missing scouts. The scouts were sent ahead to verify rumors about the Rachni and the Rachni relay.
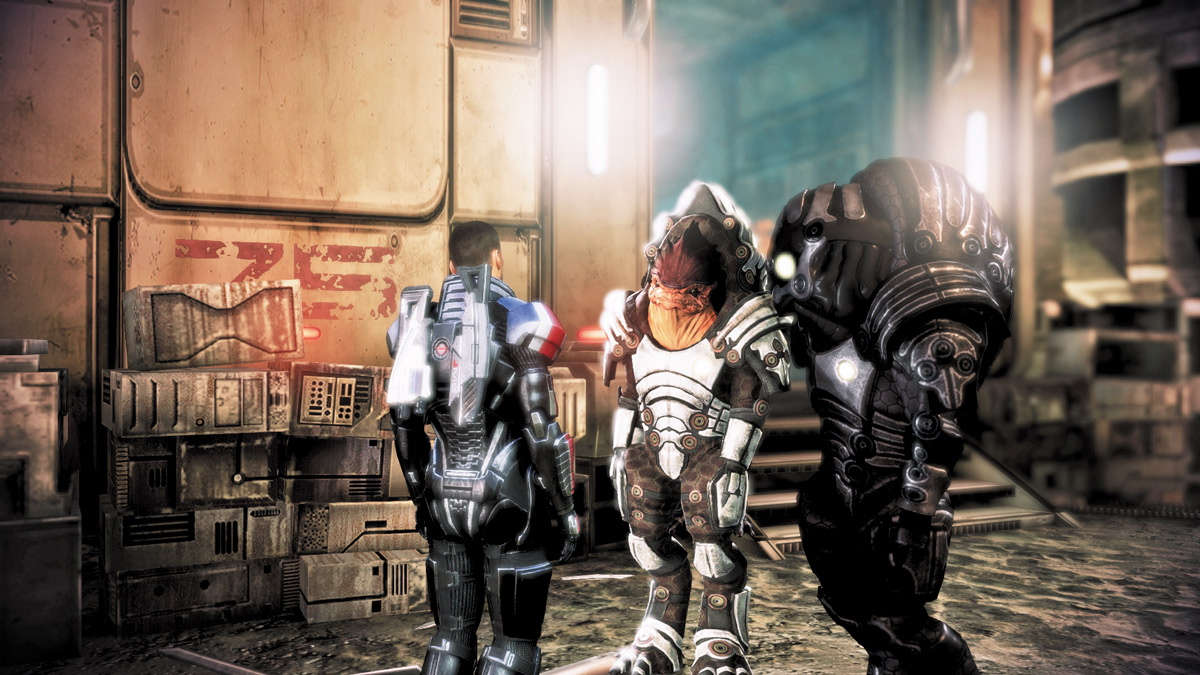
Your mission is to meet up with the krogan team Aralahk Company and help them search for the missing scouts. Upon landing, you find that the Aralahk Company commander has been waiting for you.
This first conversation with Aralahk Company can yield Paragon/Renegade points, so keep your responses in line with your desired results. Be overly aggressive or confrontational and you’ll earn Renegade points. Be agreeable and you’ll be rewarded with Paragon points.
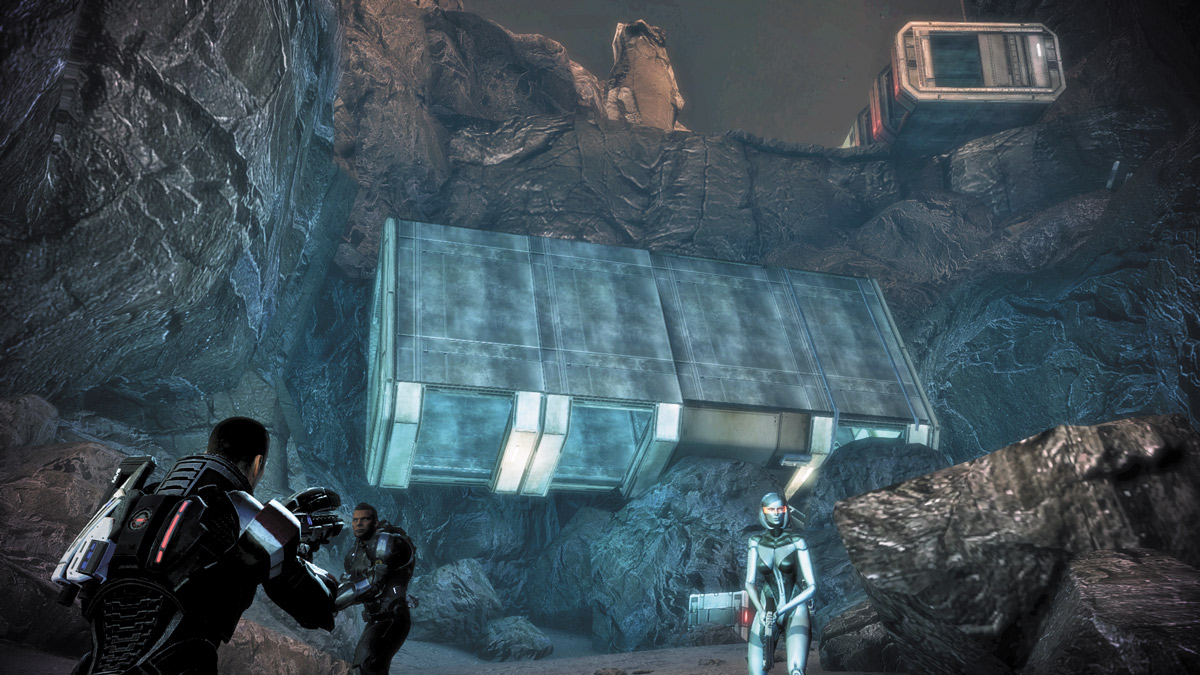
When you’re ready to proceed, either speak to Dagg or step into the structure directly to his left. As soon as you step inside, the structure plummets down the cliffside.
You land safely, but the fall splits you up from Dagg and his crew. Proceed down the darkened cavern and pick up the M-451 Firestorm near the dead krogan.
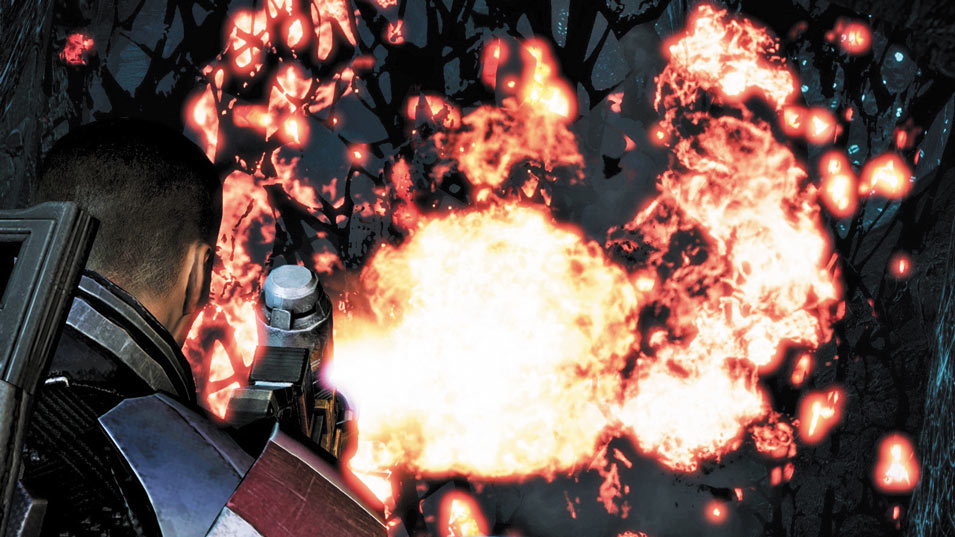
To the left is a large web blocking your path. Use the Firestorm on the webbing and burn it up. Drop down the small ridge and continue to burn webbing as you go. The caverns are bathed in Rachni webs, so pick up and keep the Firestorm handy whenever you can.
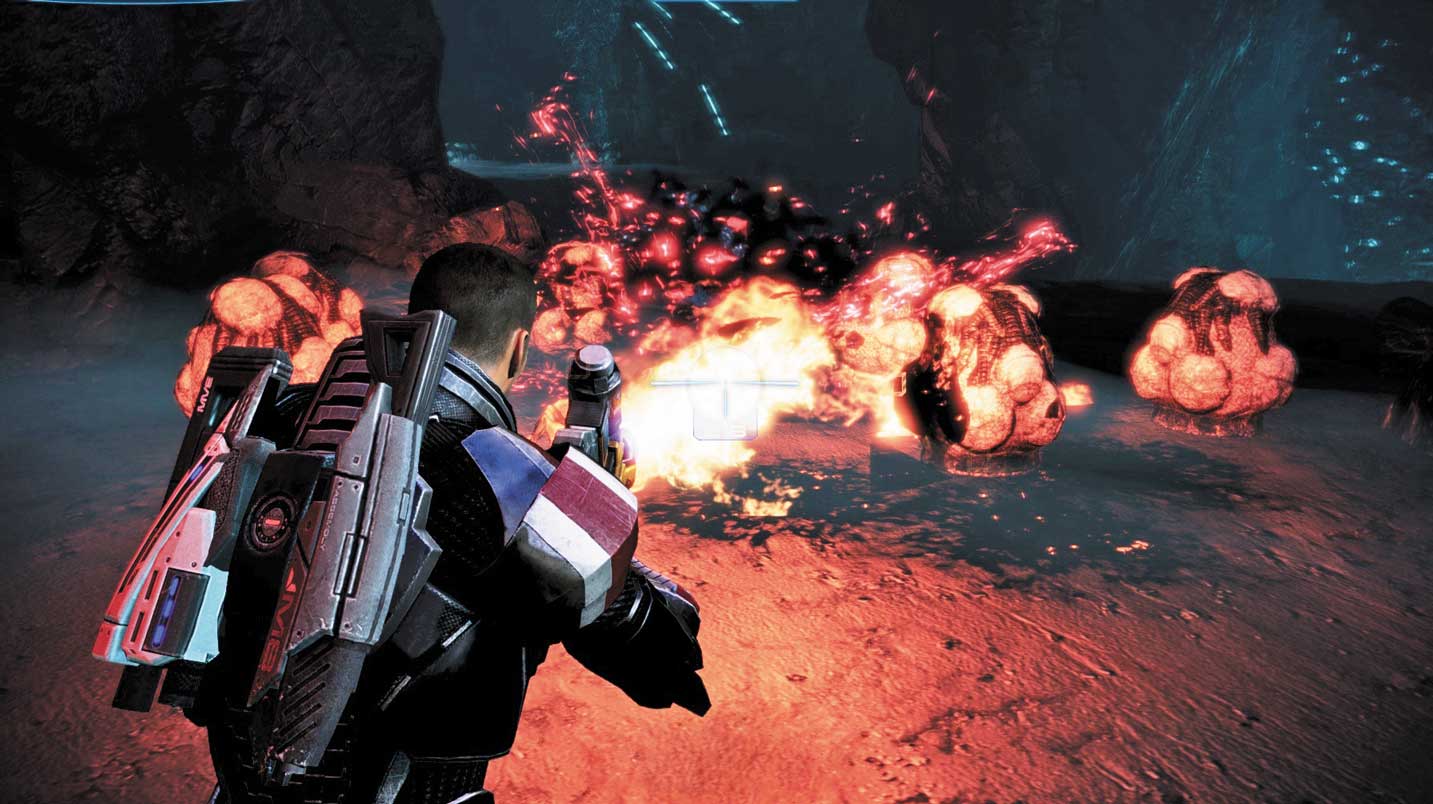
Continue exploring the caves until you reach a small group of spore pods. Use the Firestorm to make them burst. The explosion also releases several small Swarmers that scurry toward you and attack.
They don’t inflict a lot of damage alone, but in swarms they can be very dangerous. Scorch them as well.
RAVAGER ENCOUNTER
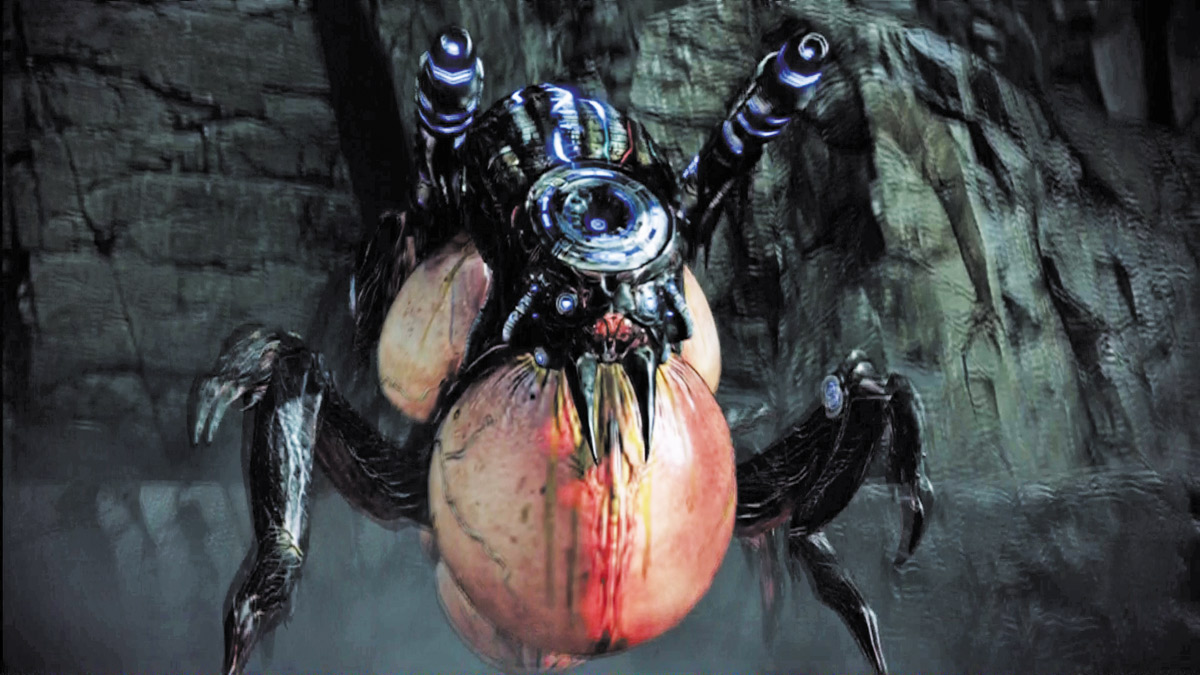
After burning past several webs, you come upon a small drop in the caves. Drop down into a large, wide-open cavern. Directly across from you is a tall ridge with a Ravager. It drops down and wastes no time in attacking.
Approach 1: Frontal Assault
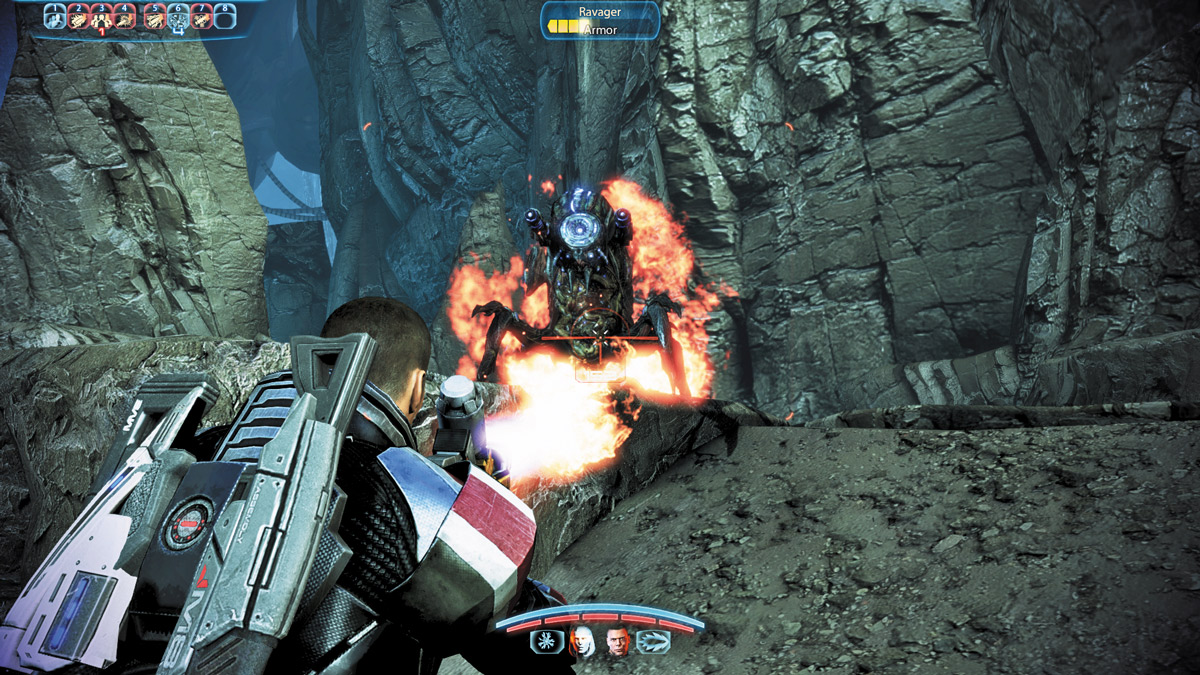
The Ravager isn’t a very mobile enemy. Rather than swarm or flank or rush, the Ravager is completely content staying in one place and unleashing a barrage of explosive projectiles on you. That is both the Ravager’s greatest strength and greatest weakness.
Daring players, especially those using Vanguard, Infiltrator, and Soldier, can use their special powers to either rush the creature head-on or slowly approach it without being seen. Before doing so, burn through as many Husks as you can and clear a path.
Once you’re close enough, take cover behind the ridge directly below the creature and open fire on it with your most powerful close-range weapon, such as the M-300 Claymore.
Approach 2: Left Flank
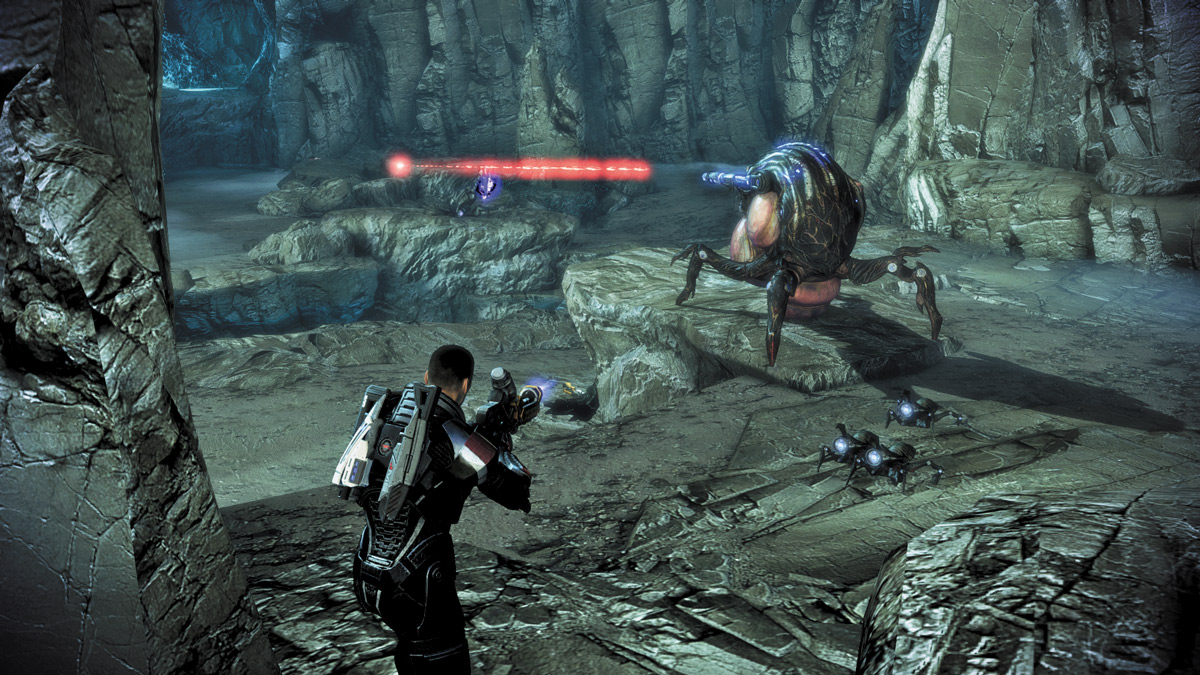
An alternate approach is to leave your squad behind cover at the entrance, near where you dropped down, and dash up the right side of the caverns. While the Ravager concentrates its fire on the squad, you can blast past the Husks on the right and use the large pillars as cover.
The pillars will hide your approach from the Ravager and let you get directly next to its left side. Equip a powerful weapon and pop out, gun blazing. If you’re an Adept, use damaging powers like Incinerate to set it ablaze.
With the Ravager out of the way, burn through the next few spore pods and webs until you reach a tall cavern with a Reaper door blocking the way.
In one compartment of the tall cavern, you’ll find a door blocking the way; in the other is a Reaper Node. Use the Firestorm or other weapon to destroy the node, and the door in the other side will slide open. With the door open, you can burn the web and continue searching for the central chamber.
As soon as you burn through the web blocking the way and pass through the doorway, a cave-in seals you inside the new cavern with no way to backtrack.
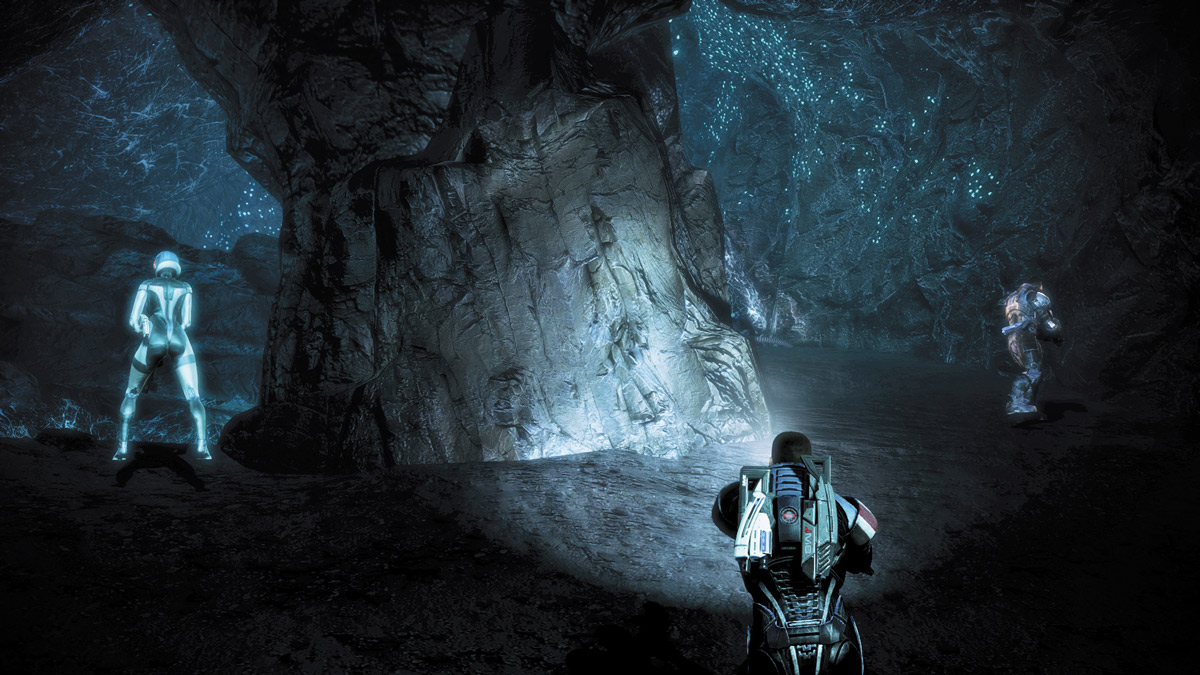
The next section of the cavern immediately splits into two paths—one below a bridge and another that runs beneath the bridge. Both lead to the same place, but the lower path has less spore pods to destroy. Scorch a path under the bridge with your Firestorm leading the way.
THE HALL
.jpg)
Shortly after finding the Krogan Corpse, you’ll come upon a large hall. Drop down into the hall and prepare yourself for battle—several Ravagers, Husks, and Cannibals rush out and attack. Luckily, the cavern provides plenty of cover.
Approach 1: Up the Middle
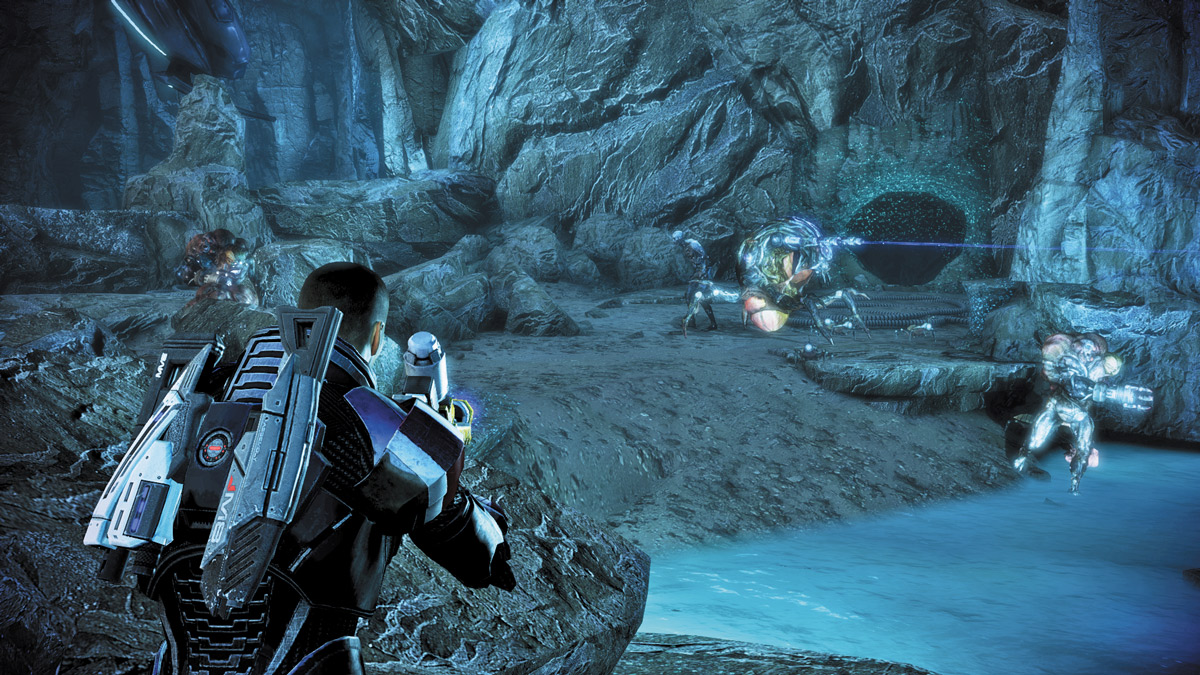
The first, rather blunt, approach is to sprint up the middle of the watery area and immediately take cover behind the small ridge. From here you can spot every Reaper that runs your way, and you can order your team to attack specific foes.
You’ll also have plenty of decent cover from where to launch your counterattacks.
When the Ravagers come to view, use a good medium- to long-range weapon and open fire. Powers such as Warp and Incinerate are great here since you don’t have to get too close to the Ravagers and expose yourself to incoming fire.
Since the Ravager is perched across a long chasm, you can’t rush it from here. Instead, focus on bringing it down with long-range attacks while your squad helps keep the other Reapers at bay.
_200.jpg)
Approach 2: Flank Left
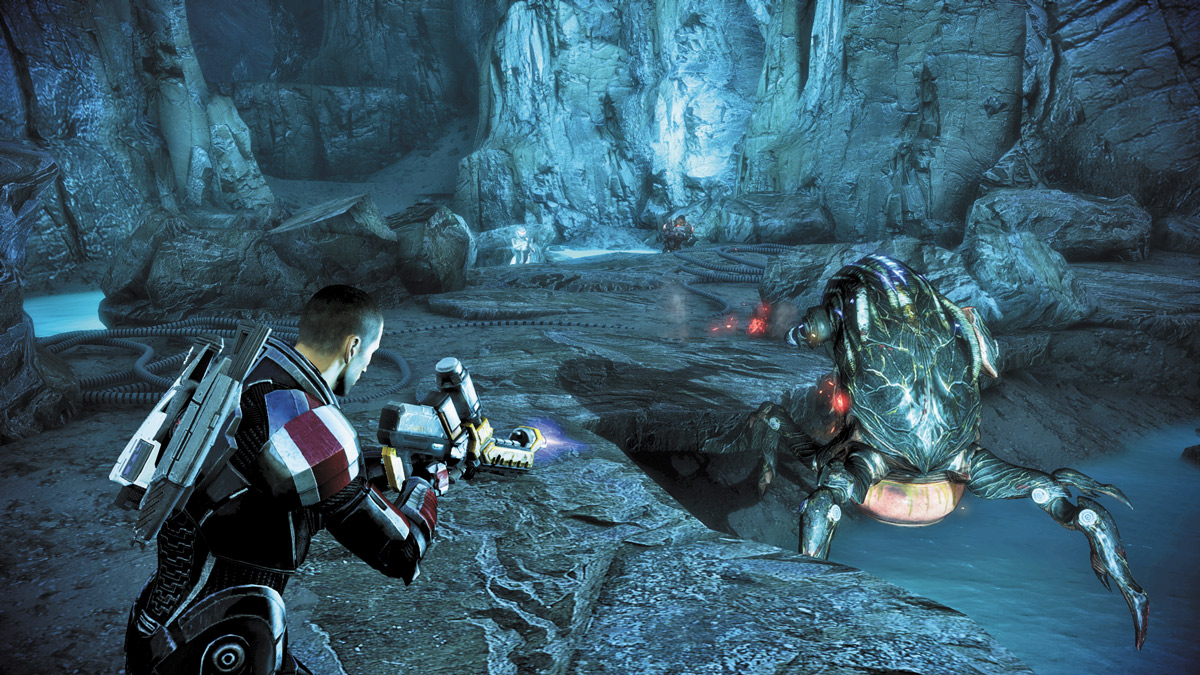
Instead of rushing up to the small ridge ahead of you, direct your squad to take cover there while you sweep around the right side of the cavern. You can execute a similar flanking maneuver on this Ravager as the first approach.
In this case, however, you’re also separated by a large chasm once you round the right edge.
Dash around the right, past another large pillar, and surprise the Ravager from its left side. A few well-placed blasts of your shotgun and it’ll come down quickly.
Approach 3: Swing Left, Send the Squad Right
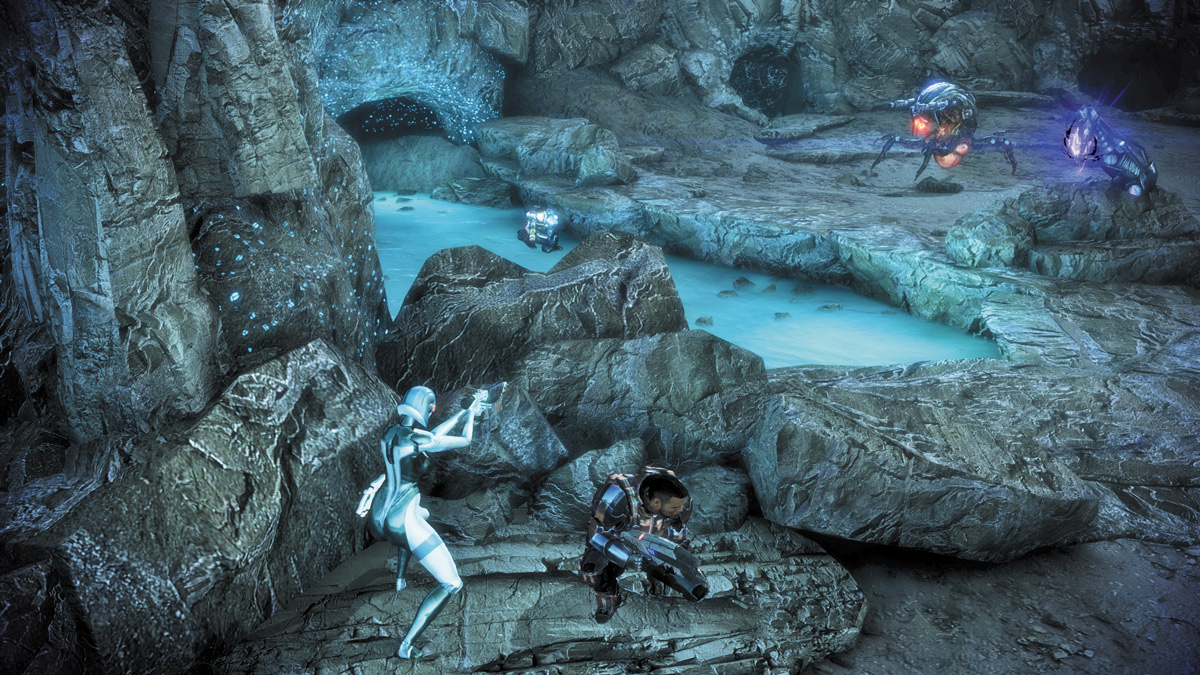
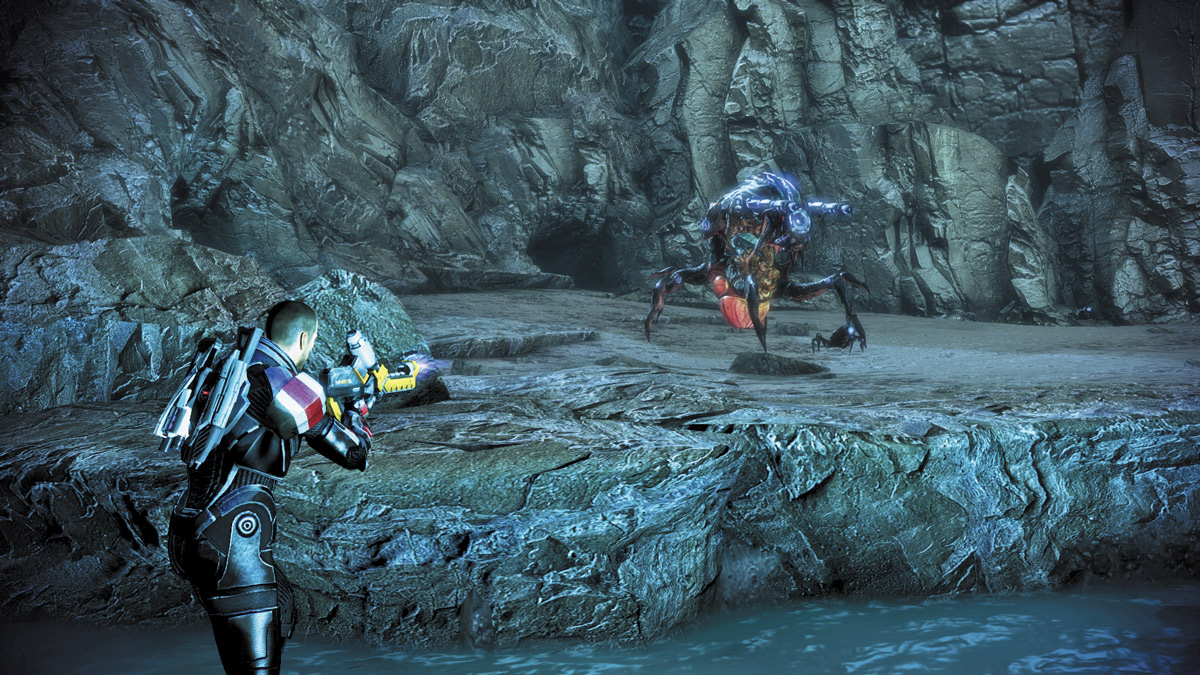
Another approach is to split up from your team and pinch the Ravager from both sides. Send your squad up the path on the right, while you leap up the small ridge and dash left. Take cover behind the rocks with the Barrier Engine and quickly destroy it.
This way the Reapers in the room won’t be able to replenish their health or shields.
Once it’s gone, edge out of cover so you can see the Ravager on the chasm’s other side. Order your squad to attack it, then leave your cover to attack in concert with your squad.
When the next wave of enemies rushes out, led by another Ravager, quickly take cover near the center of the area, just beyond the chasm. Wait for the Ravager to amble out far enough for you to pick it apart and open fire on it.
The Ravager isn’t alone, so either use a few strong power combinations on them or allow your squad to take out the Cannibals and Husks while you fell the Reaper beast.
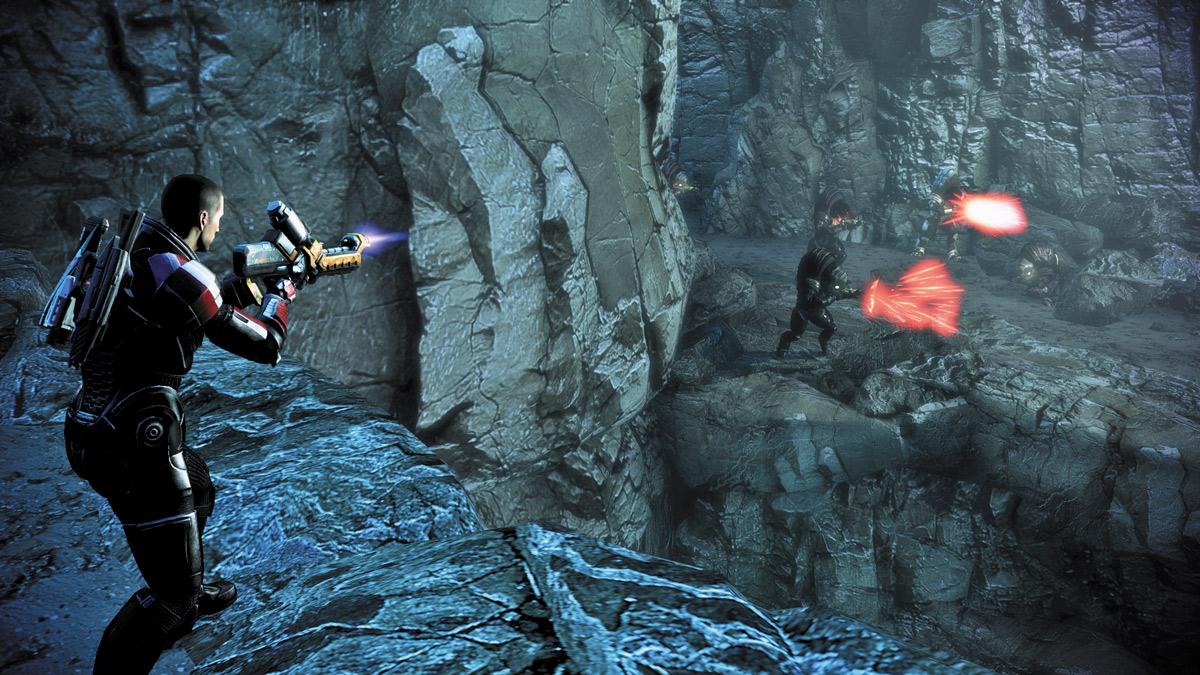
Continue exploring the cave, being careful to not detonate any gestation pods in the way and climb up the ridges to the next section of the cavern. Dagg will radio you asking for immediate help; his company is trapped and being overrun.
When you see the battle, make a left and enter the next section of the caverns.
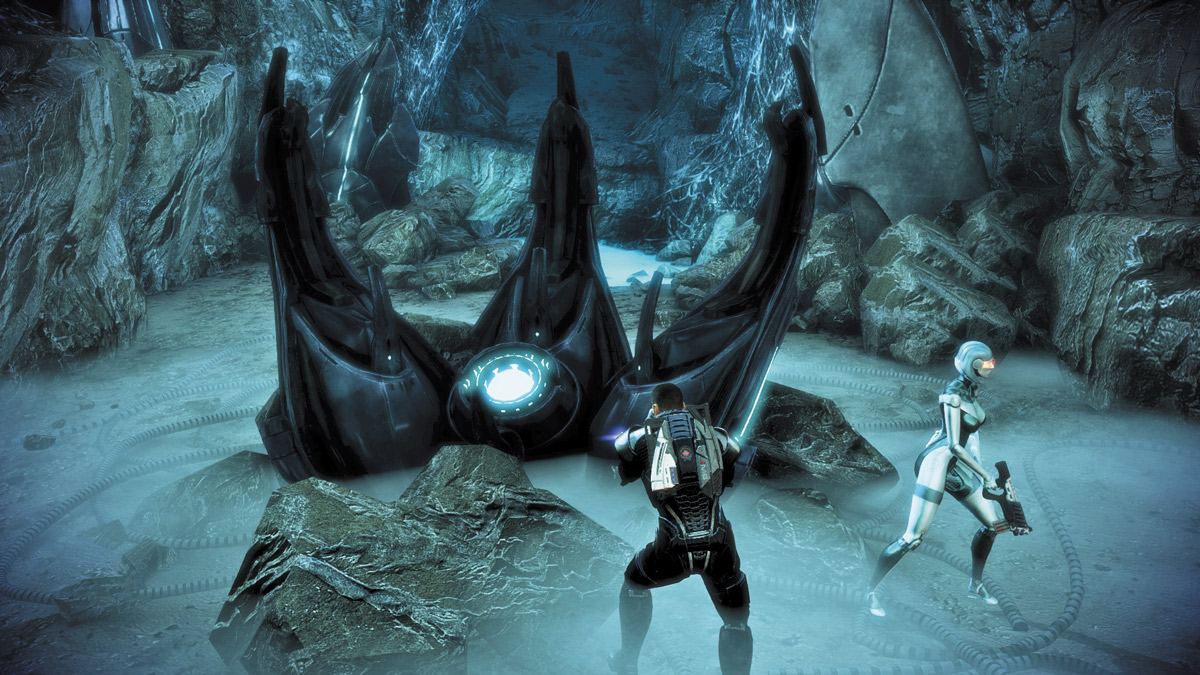
Stop at the Reaper Node and open fire on it. This drops the first wall and allows the krogan team to join you. Dagg and his team managed to fight their way to the same chamber you’re in; now you can combine your forces in search of the missing scout team.
He opts to hold this position to give Shepard time to enter the central chamber and finish this one way or another.
CENTRAL CHAMBER: AREA 1
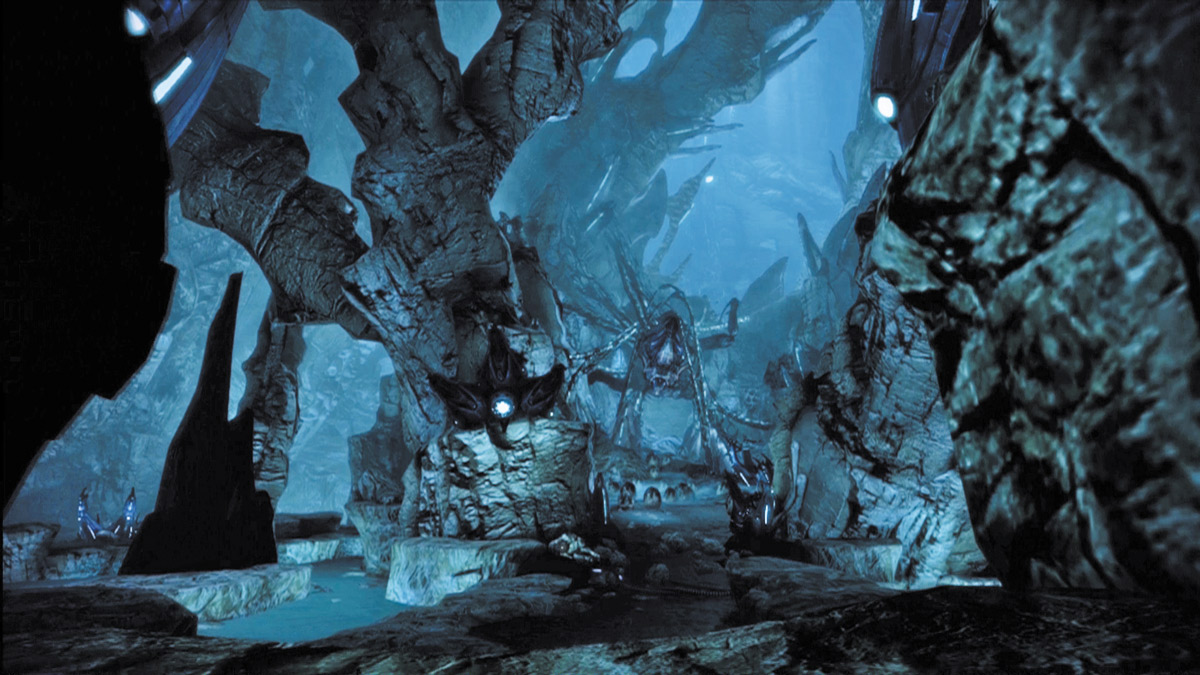
Just beyond this small chamber is a narrow passage. Examine it and slide through into another massive cavern. This is the central chamber. Before you can venture all the way in, however, the Reaper walls rise out of the ground and block you in.
Look up and to the right to locate the Reaper Node high along the wall. Open fire on it and force the left wall to open.
Approach 1: Slide Left and Right
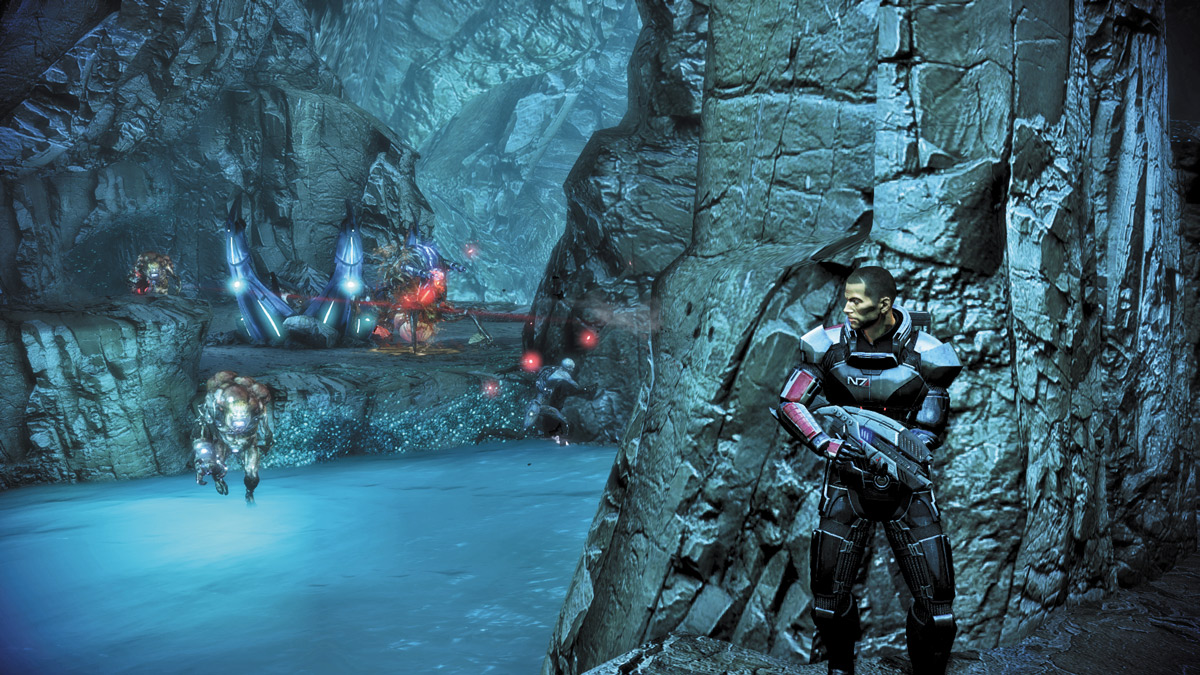
As soon as the wall drops, a group of Husks comes rushing out. Obliterate them quickly, then take cover behind the central pillar. You’ll be able to spot the Ravager and other Reapers in the distance from here, but you’ll need to slide left and right, in cover, to see around both sides of the pillar.
The pillar’s right side provides you better cover, but at the cost of a direct line of sight to the Ravager. Stalk the right side to whittle down the number of Husks and Cannibals while you sic your squad on the Ravager from the left.
Once you’ve dwindled the Reapers’ numbers, slide left and join your group to open fire on the Ravager from afar. Lay down a steady stream of attacks, be they power combinations or long-range weapons like the sniper or assault rifle. After you’ve eliminated it, rush up to the node and destroy it.
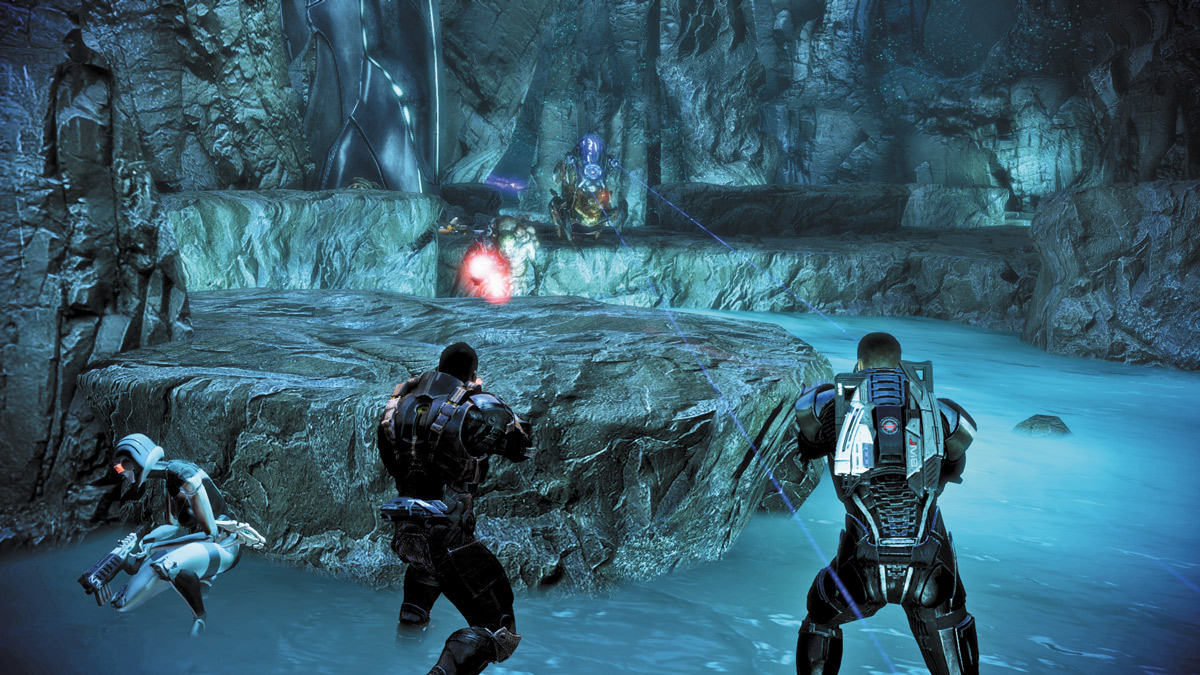
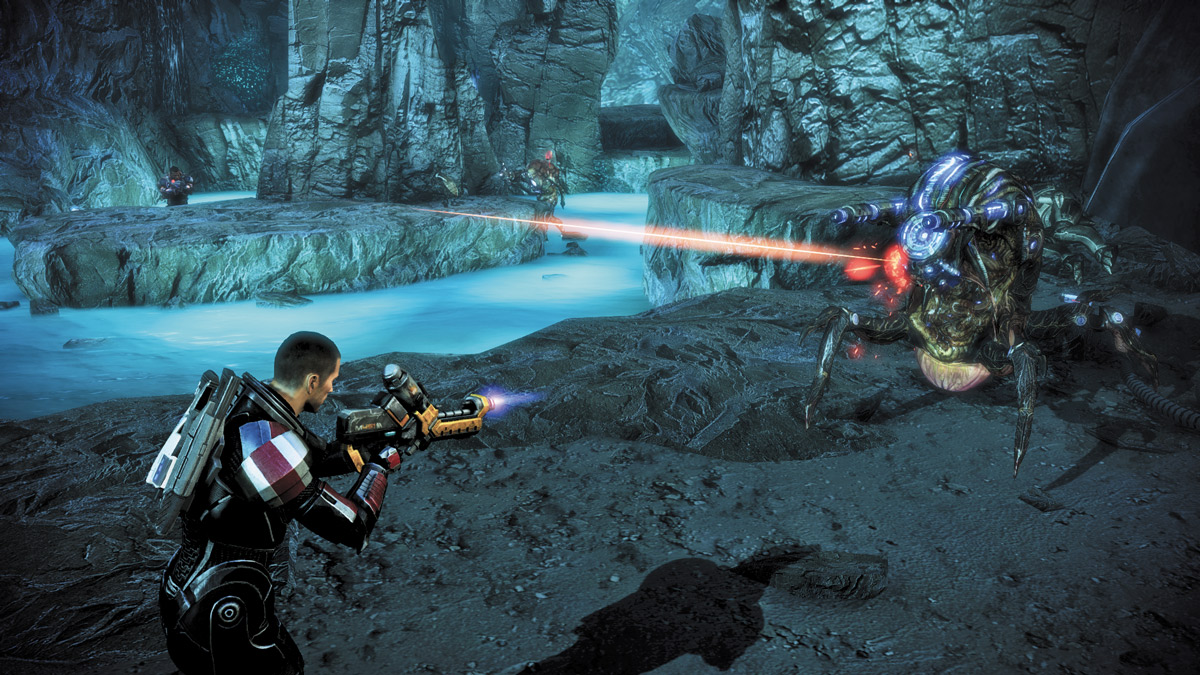
Turn back around after destroying the node and begin backtracking toward the next room. There’s a Firestorm nearby. Pick it up before you return, and let the fire cleanse the path of all Husks and Cannibals in your way.
If you need a little extra insurance, send your squad ahead of you to soften them up and follow them with the Firestorm at full torch.
Stop at the ridge just beneath the Ravager and open fire on it from close range.
Repeat this maneuver again on the next wave of enemies, just before reaching the chamber with the next Ravager. Destroy the Barrier Engine first, then turn your attention to the Ravager to finish it off.
Approach 2: Flank Left
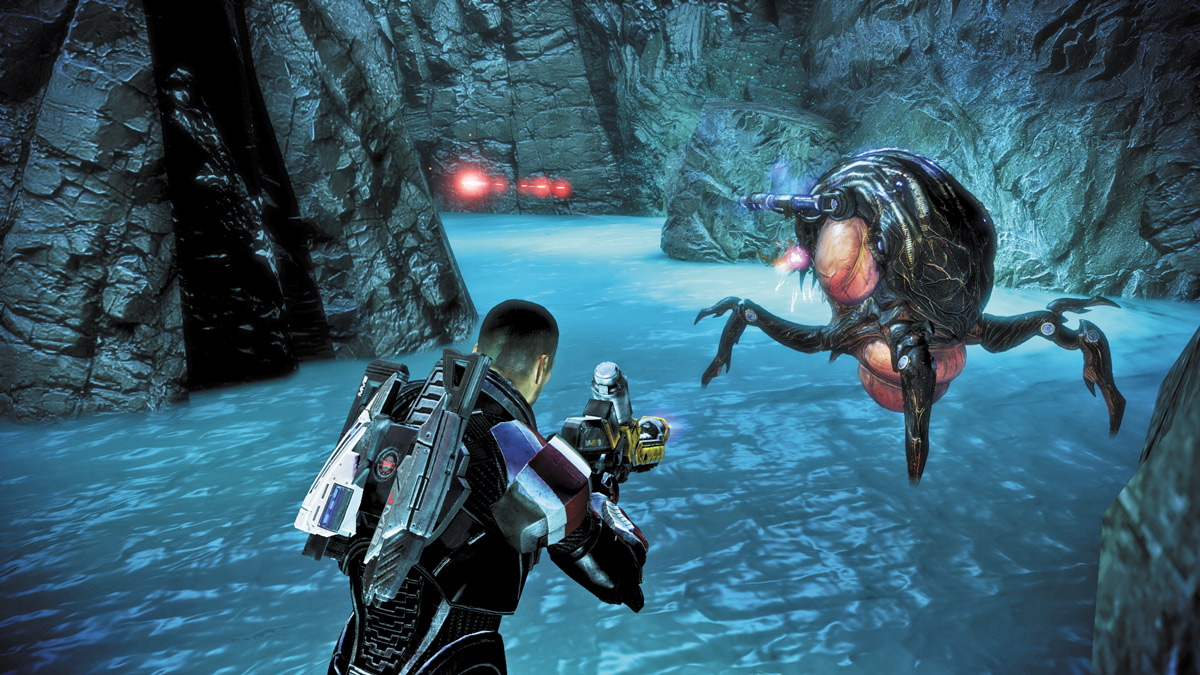
Since the pillar’s right side allows you better cover, send your squad left to distract the Ravager while you rush up the right. Round the corner and pounce on the creature from its left flank with a close-range weapon.
Vanguards can use Biotic Charge to close the distance quickly, but all other classes (except perhaps the Sentinel) should maintain cover before and after their flank attack.
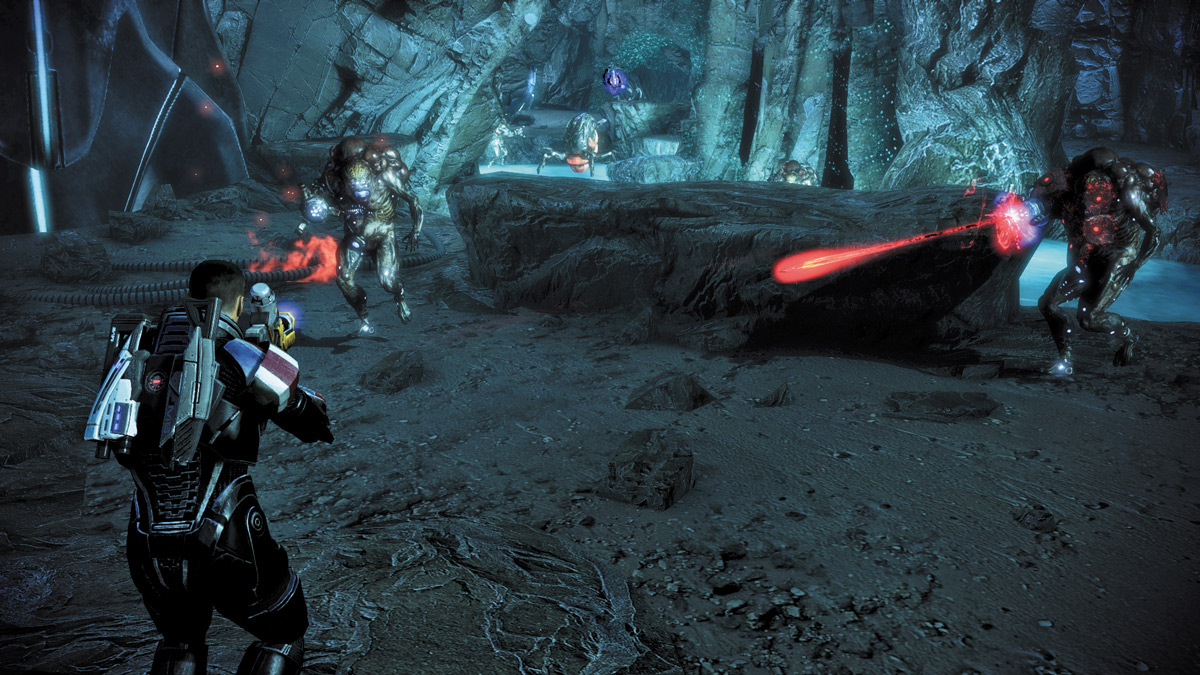
After destroying the node, turn around and return to the previous chamber. You’ll be met by another swarm of Husks and Cannibals. Use powers to slow them down. Singularity, Shockwave, Nova, and Stasis are all great skills to use on the creatures as they rush toward you.
Open fire on them once they’re made vulnerable, or follow up with another power like Cryo Blast to detonate the Biotic-affected enemies.
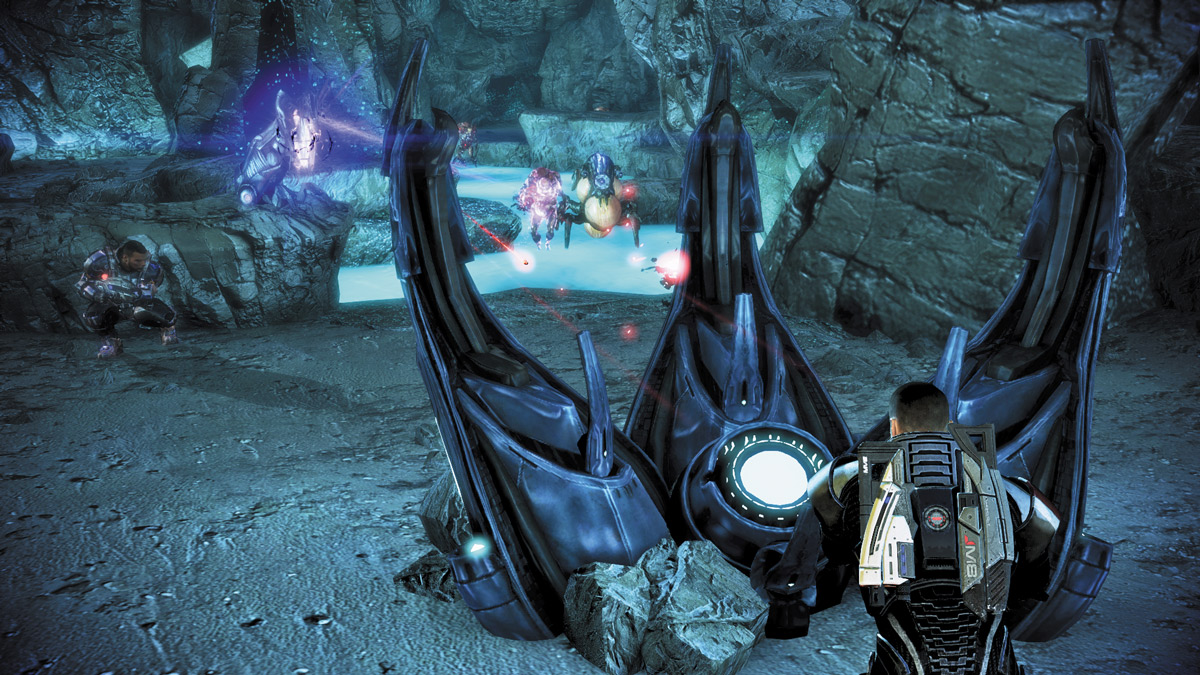
When you reach the next Ravager, rush its left side again (your right) and take cover behind the nearest pillar. Let your squad handle the other Reapers while you focus on the Barrier Engine. With the engine down, turn to the Ravager and finish it off.
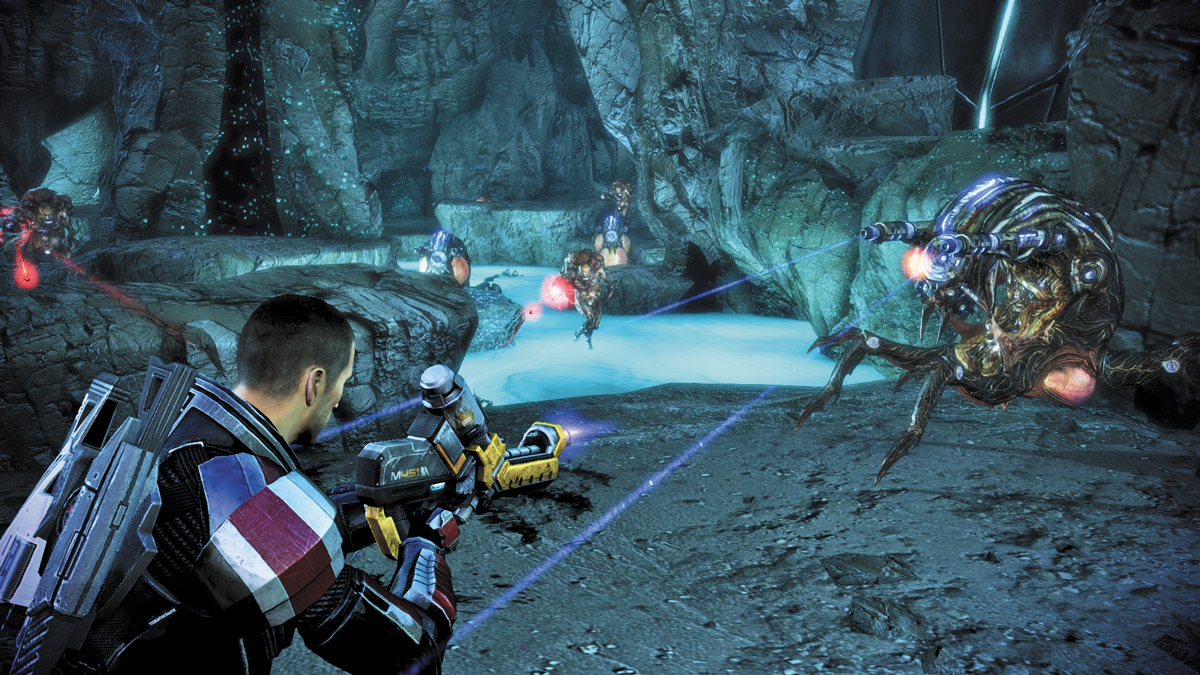
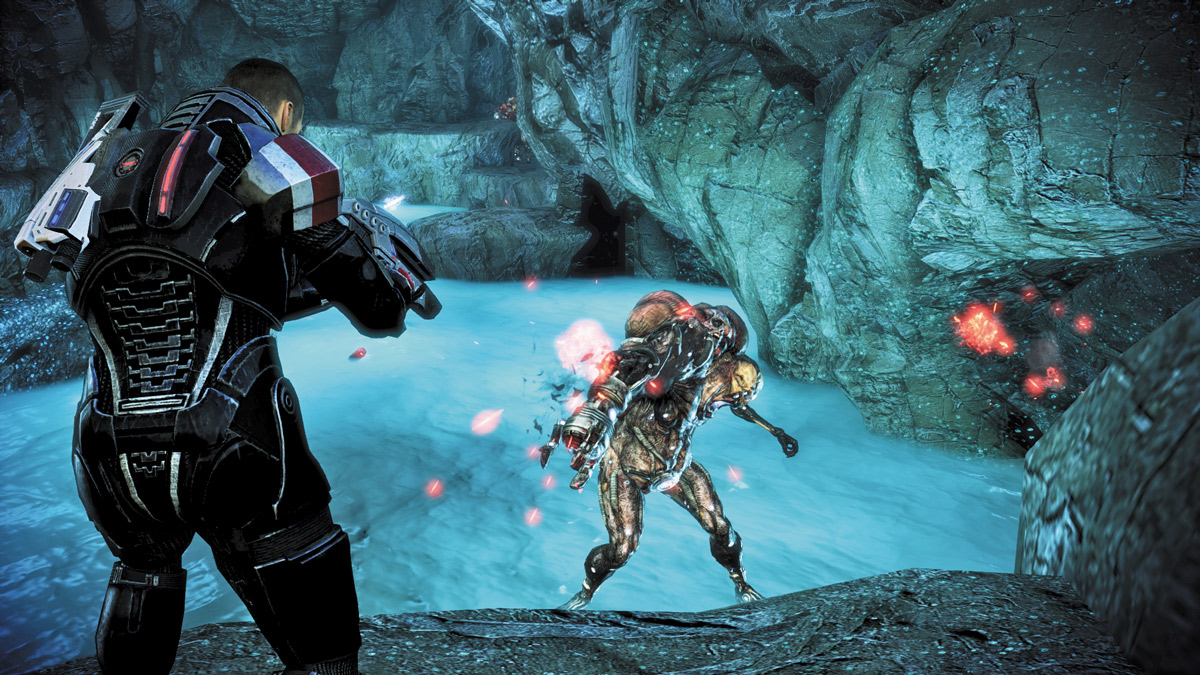
Lastly, destroy the final Reaper Node and rush back to the main chamber. You’ll encounter one more group of Reapers, but you’ve got the height and cover advantage. Take position near the top of the ridge and open fire on them below from your covered position.
Concentrate on the Ravager first, then pick off any remaining creatures. Lure the next Ravager down to the lower area as well and wait for it to get in your kill box (the area where you can concentrate all of your squad’s fire). When it does, let loose and finish it off.
RACHNI ABOMINATION
.jpg)
The cavern is clear of all Reapers but one. You find a massive Rachni abomination chained to the cavern floor by the Reapers. Unlike the previous Rachni leader, however, this is no queen.
Instead, it is a Reaper-created monstrosity that was made for the sole purpose of creating Swarmers and Ravagers.
Left to fend for itself, it pleads for your help. Free it, and it promises to help you in the war against the Reapers; leave it chained to the cavern, and it will be destroyed by the hordes of ravagers it can longer control.
If you choose to save it, the krogan team will be decimated. If you leave it, the krogan team survives.
A QUESTION OF WAR
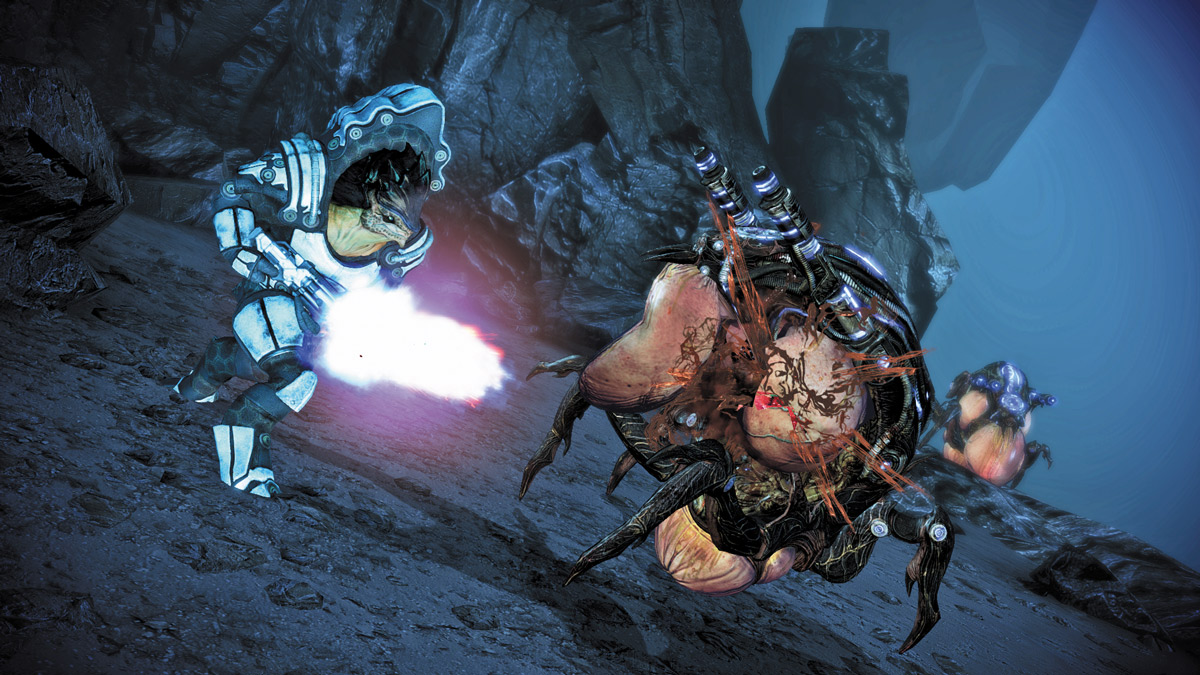
This is one of the first critical decisions you’ll have to make that affects the Galaxy at War. There is no right or wrong answer, but your choice does affect more than just this mission.
- If you choose to save the Rachni, the krogan team will be decimated leaving them less effective as a war asset.
- If you choose to leave the Rachni, you’ll lose the Rachni as a war asset but will gain the krogan team in its place, minus Dagg.