
Mass Effect 3 Guide Walkthrough Side Missions
Lessuss: Ardat-Yakshi Monastery


With the Reapers now encroaching into asari space, their fleets are fully engaged in battles to protect their homeworld, leaving many colonies undefended in the face of the onslaught.
A distress signal from a colony in the Nimbus Cluster has asari high command concerned, but they are unable or unwilling to tell you what their commandos were doing on that world or what you can expect when you arrive.
It eventually comes to light that the colony is a haven for asari Ardat-Yakshi and that the Reapers have a very specific interest in these genetic aberrations.
DARKNESS
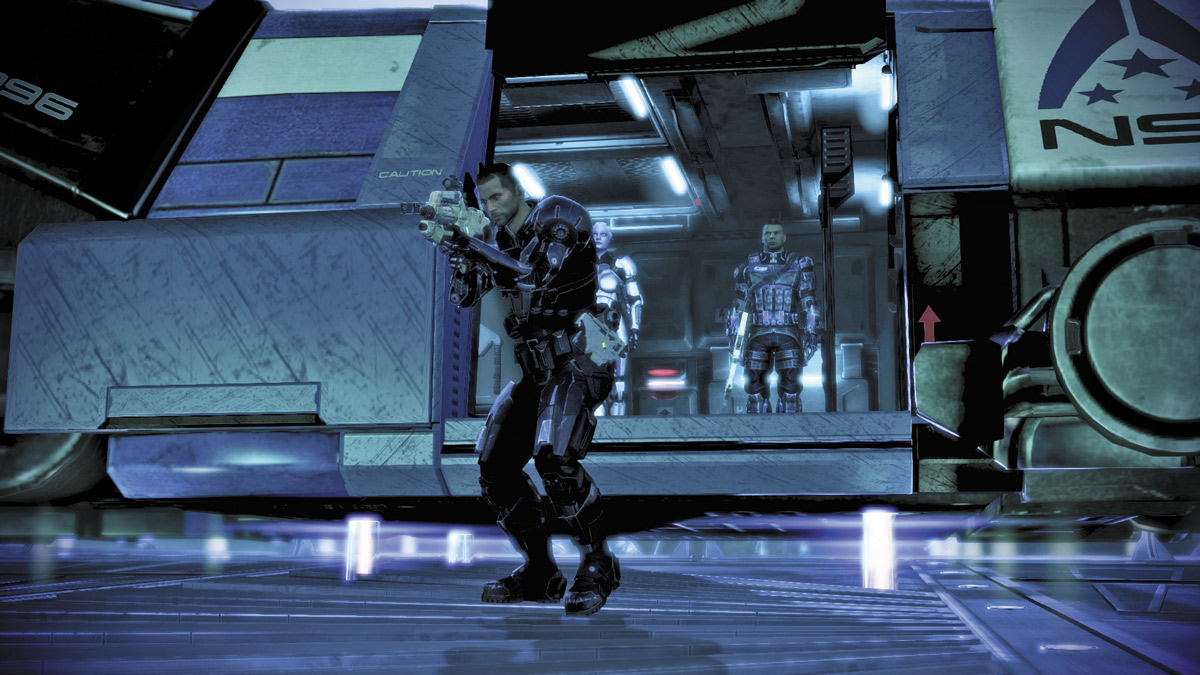
The shuttle ride to the monastery is fairly uneventful, though it is possible to earn alignment points during the conversation along the way.
You arrive at the entrance to the monastery and are greeted by peaceful silence.
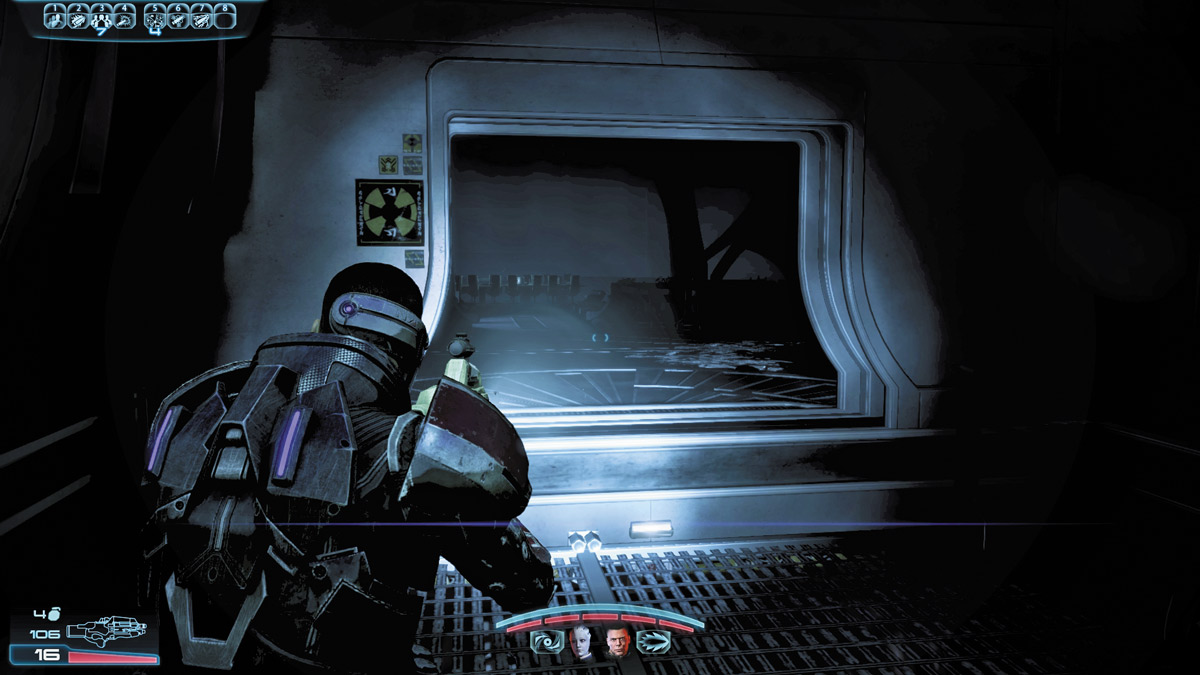
With the LZ clear of activity, the squad has to move indoors. The elevator is out, requiring you to use the emergency ladders to get deeper into the facility.
Eventually, you reach a dining hall, with screams echoing throughout the area, but there is no movement other than your own.
It’s dark, and the squad is forced to use their flashlights.
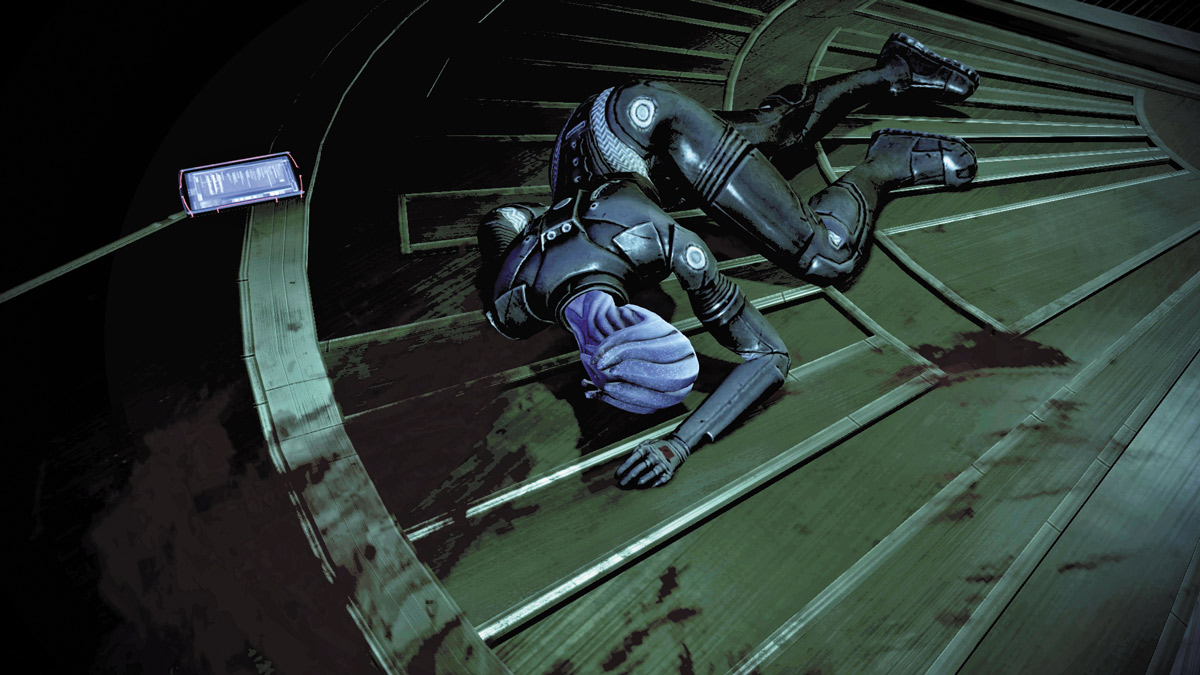
After clearing out the dining area of items, take note of the asari commando’s corpse near an exit leading to a lit area.
The PDA next to her marks the ultimate destination of the commando team, as well as their objective: the destruction of the monastery, using a bomb planted in the great hall.
You get a dialogue option here, and then the team moves on, now with a goal in mind.
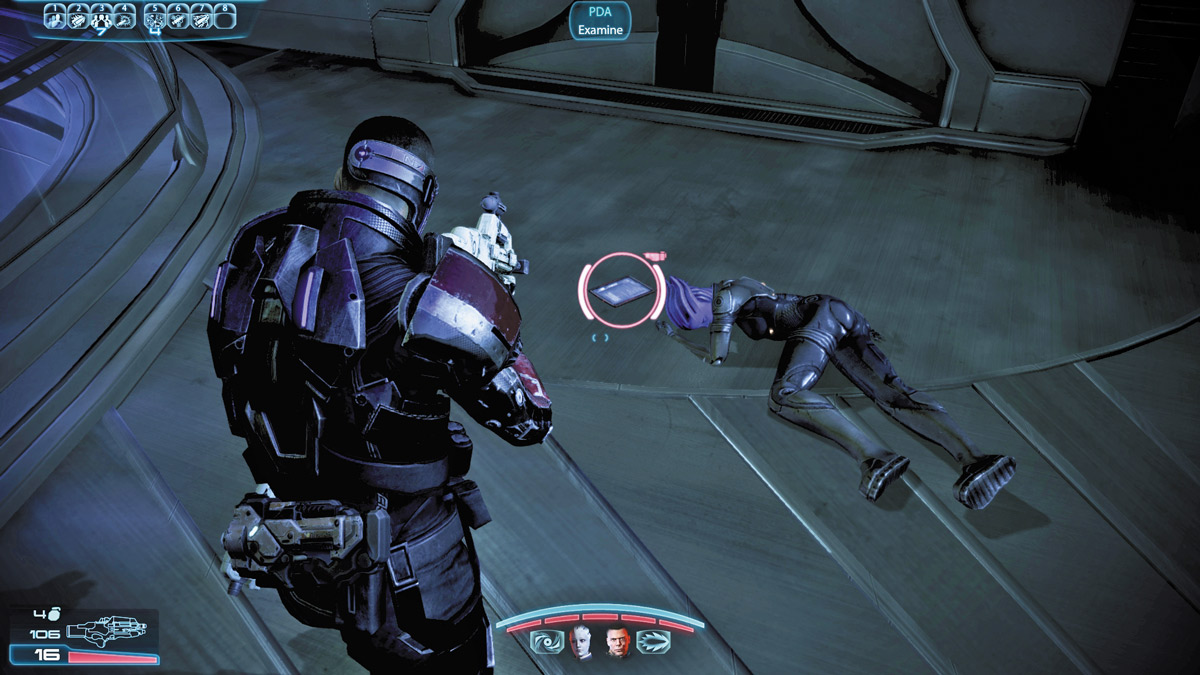
The enemy continues to remain elusive as you press through a lit corridor and bypass a security door.
After breaking through the lock, check to the right side of the catwalk to locate another asari commando’s body.
Her PDA contains a last message to her lover somewhere on the Citadel. This begins the “Citadel: Asari Widow” side quest.
The exit to this area leads to a wide courtyard and to your first hostile contact of the mission.
SCREAMING DEATH
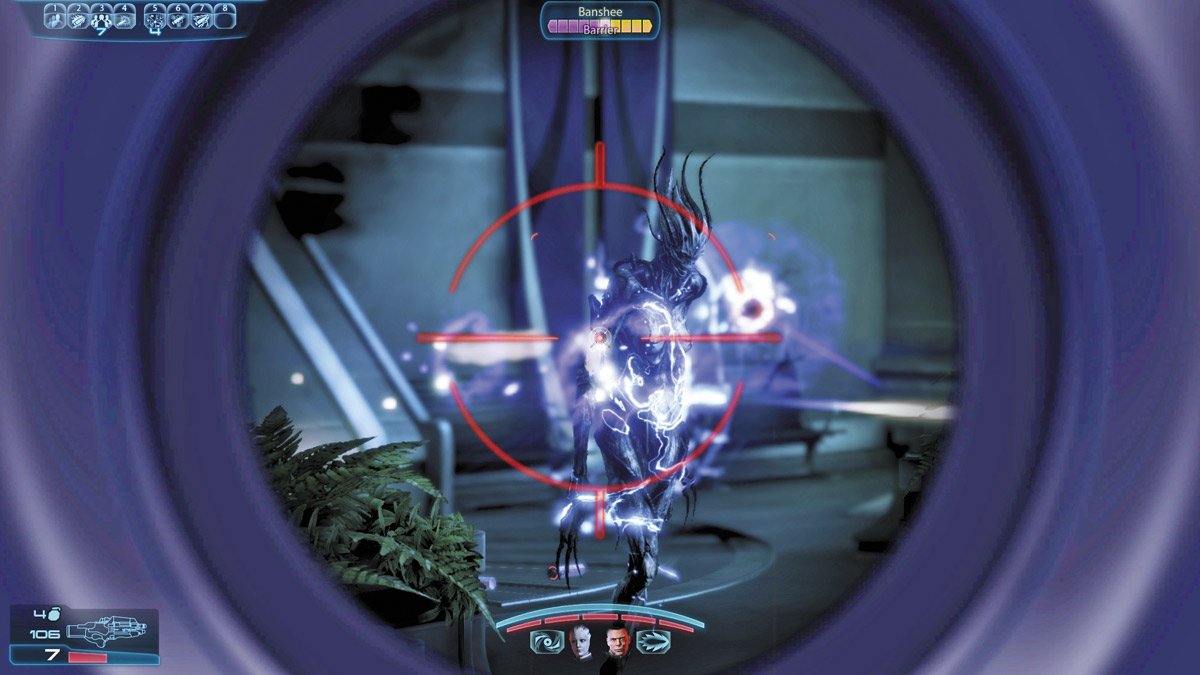
The first Banshee you encounter simply teleports in with little warning beyond her bloodcurdling shrieks. Banshees are a grave threat.
They fling Biotic blasts that tear through your shields and prevent any form of regeneration, except when you use Medi-Gel.
Their ability to warp in rapid succession toward a target makes keeping them away difficult, and you want to stay beyond their reach at all times.
They can kill Shepard or disable a squadmate in a single, brutal melee grab!
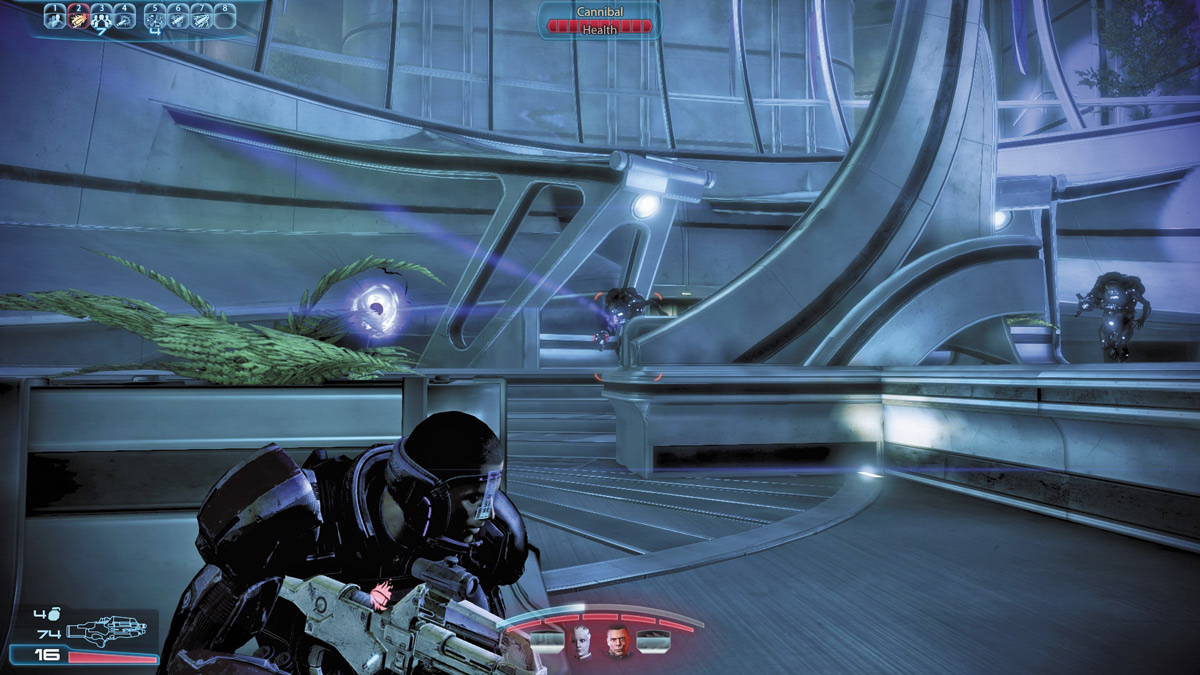
When you defeat the Banshee, Cannibals begin crawling into the courtyard. Watch out for attempted flanking maneuvers as you engage them.
Remember you can kill one Cannibal to use as bait to draw a large group toward the new corpse.
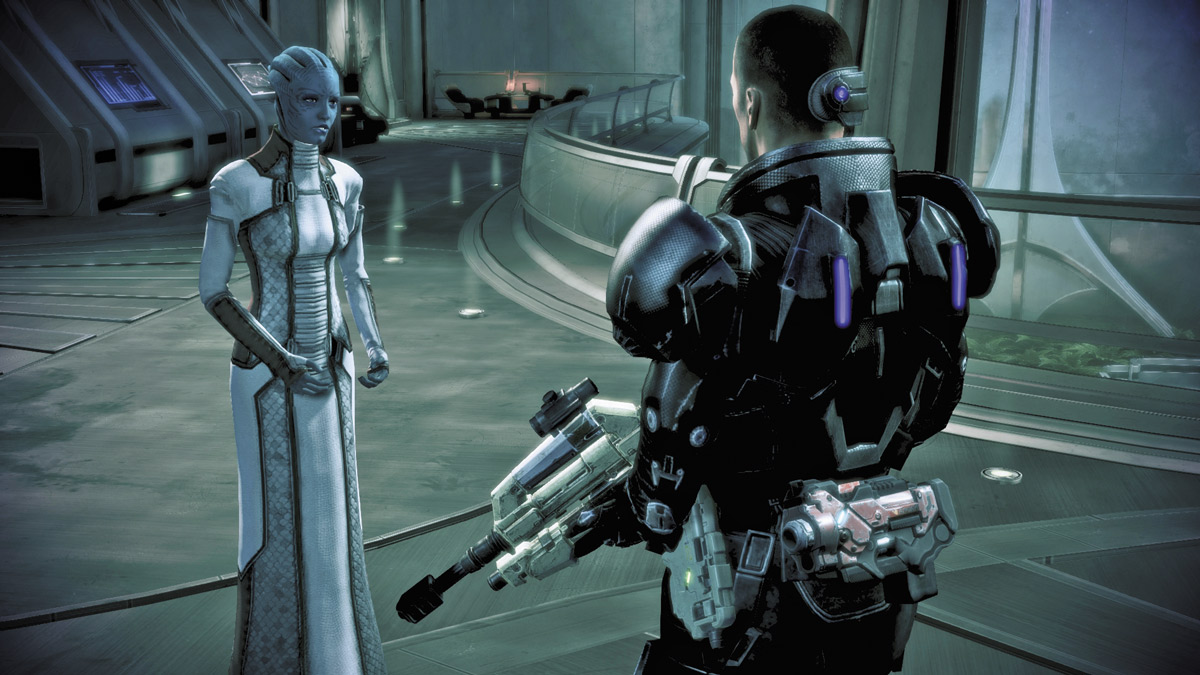
After you finish off the Cannibals, continue into another section of the monastery.
You come across an asari named Falere, who is on the run from another Cannibal, but your team is able to save her.
She reveals herself to be Ardat-Yakshi; she wants to survive the Reaper assault and save her sister Rila, currently in the hands of the enemy.
Your responses to her can earn you Paragon or Renegade points. When it’s revealed a bomb has been planted in the great hall, Falere dashes off to save Rila.
You’re forced to give chase on foot.
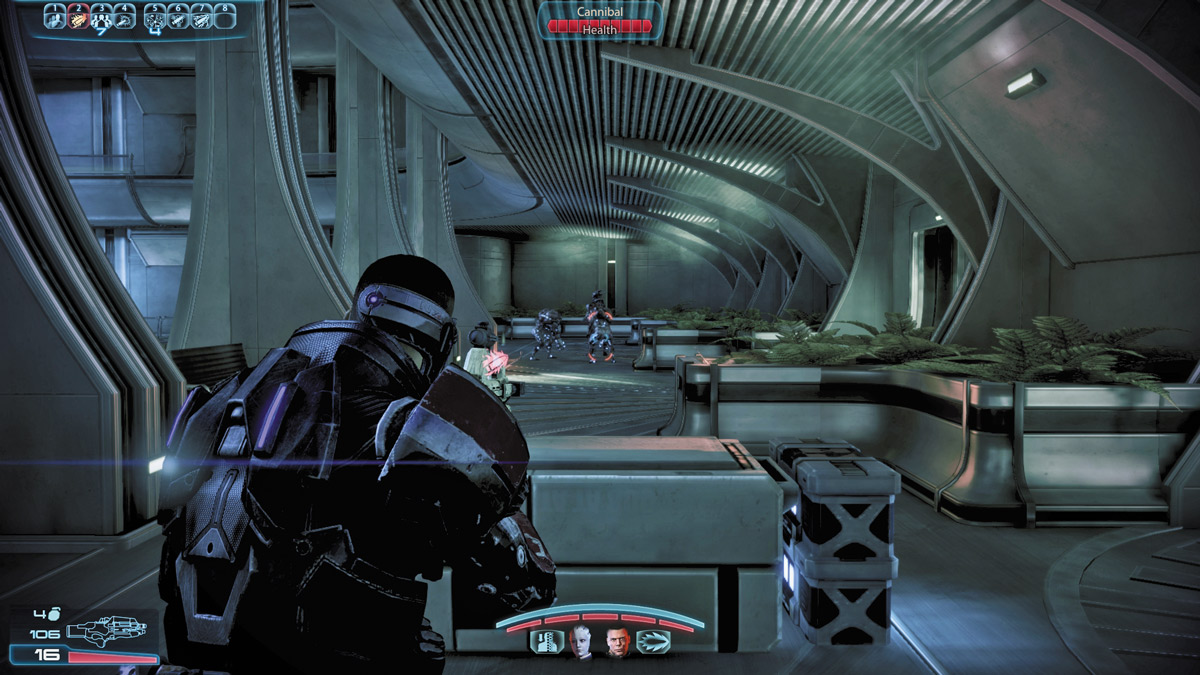
Before entering the door to the next combat, there is a computer to the left of the door that you can examine for experience.
Continue through another passage, and you come across a squad of Reaper troops led by a Marauder.
Engaging them opens another room to your right that is full of Cannibals enhanced by a barrier engine. Try to disable the engine first.
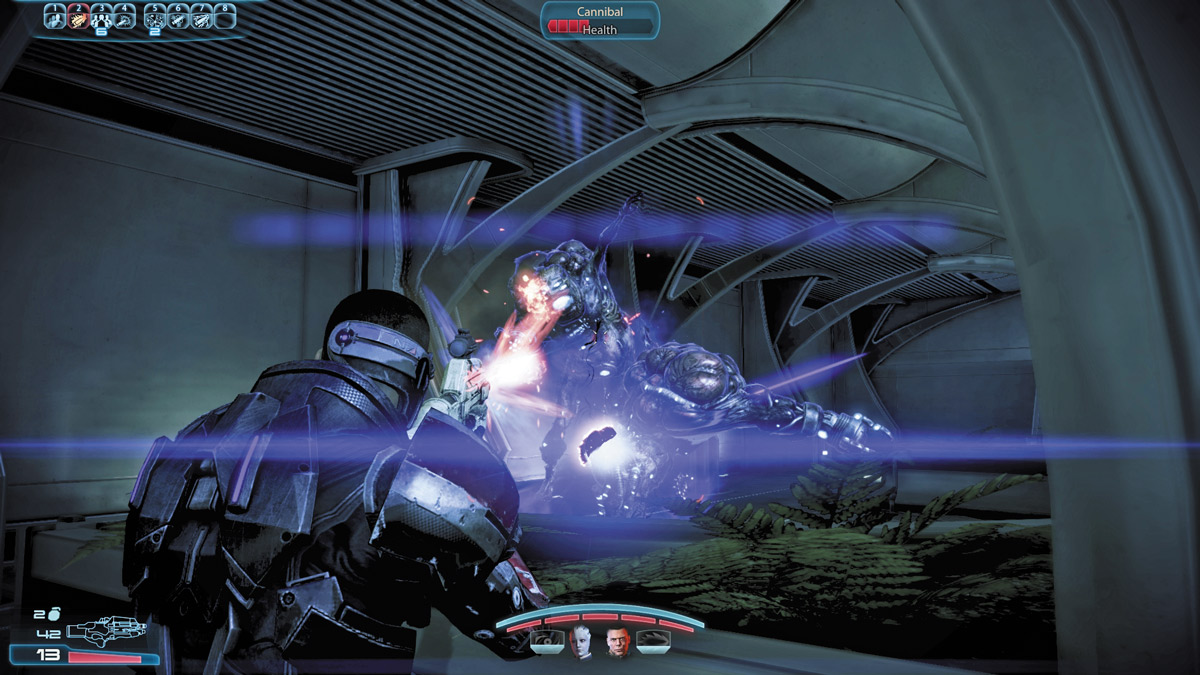
Taking the stairs down to the lower levels summons another Banshee and another group of Cannibals.
As always, make the Banshee a top priority, as their teleportation ability can allow them to quickly flank your squad. Don’t be afraid to fall back up the stairs if necessary.
With the Banshee out of the picture, you can easily deal with the Cannibals.
Clear the room and then bypass the door lock.
THE GREAT HALL
As you enter the great hall, check for Medical Stations on the first sets of pillars. There’s also a Med Kit in the center of the room. Stock up if necessary.
Things are about to get hot.

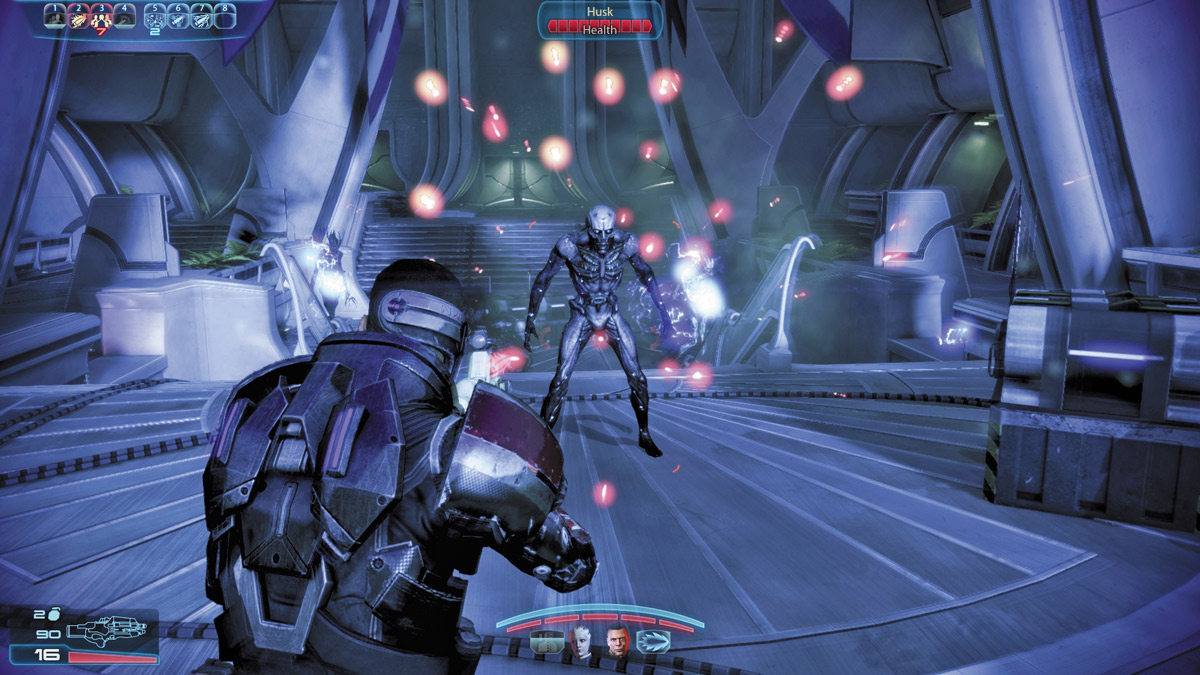
Falere has found Rila, but the latter does not seem to be herself, attacking her sister. After Falere repels her, the scream of Banshees fills the room.
Two Banshees, supported by Husks, charge at your squad.
This can arguably be one of the hardest fights of the game, as the Banshees can close the distance rapidly and kill you in a single moment if you’re careless.
Focus on burning them down, but do not discount the threat of the Husks, lest they pin you down long enough for a Banshee to get close to you.



After surviving the Banshee onslaught, Rila comes to her senses and urges you to flee with Falere.
Your team pulls a distraught Falere away from her sister to the elevator as more Banshees pour into the room.
The surviving Ardat-Yakshi does not take the death of her sister well, and through conversation, you can calm her down.
You’re also given the option to execute her to finish what the commandos started, or you can show a measure of mercy.
Whatever your choices, your obligation to asari high command is complete. The monastery has been purged.