
Mass Effect 3 Guide Essentials Armaments and Armour
Combat and Movement
COMBAT
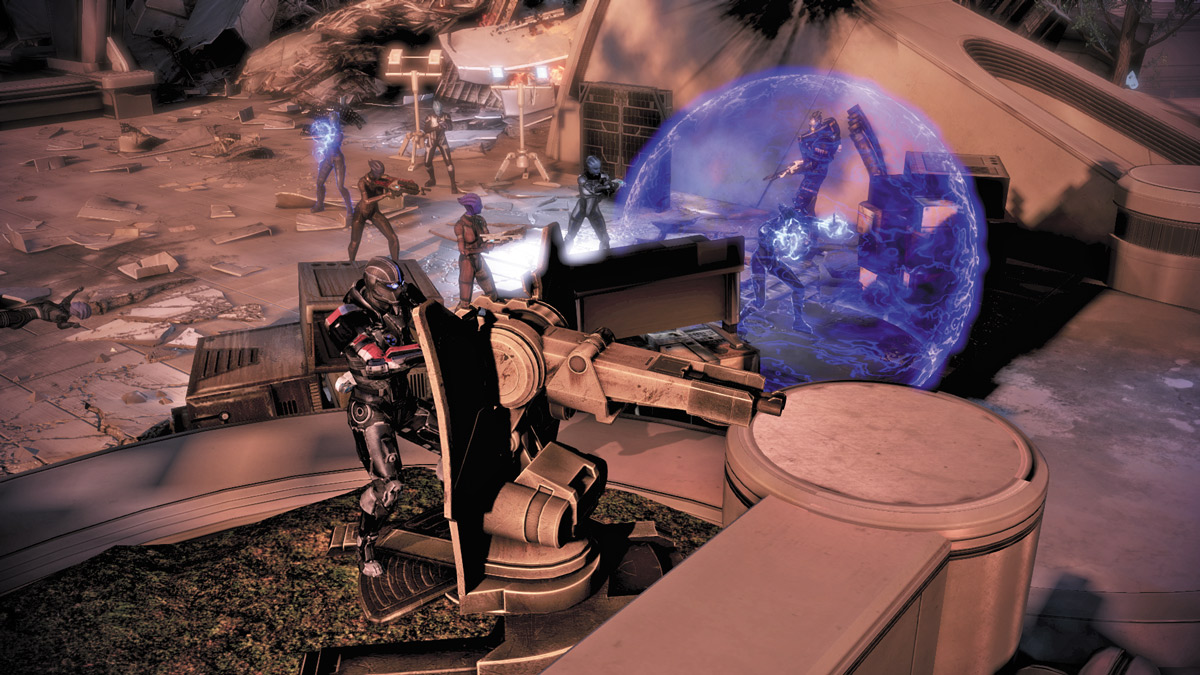
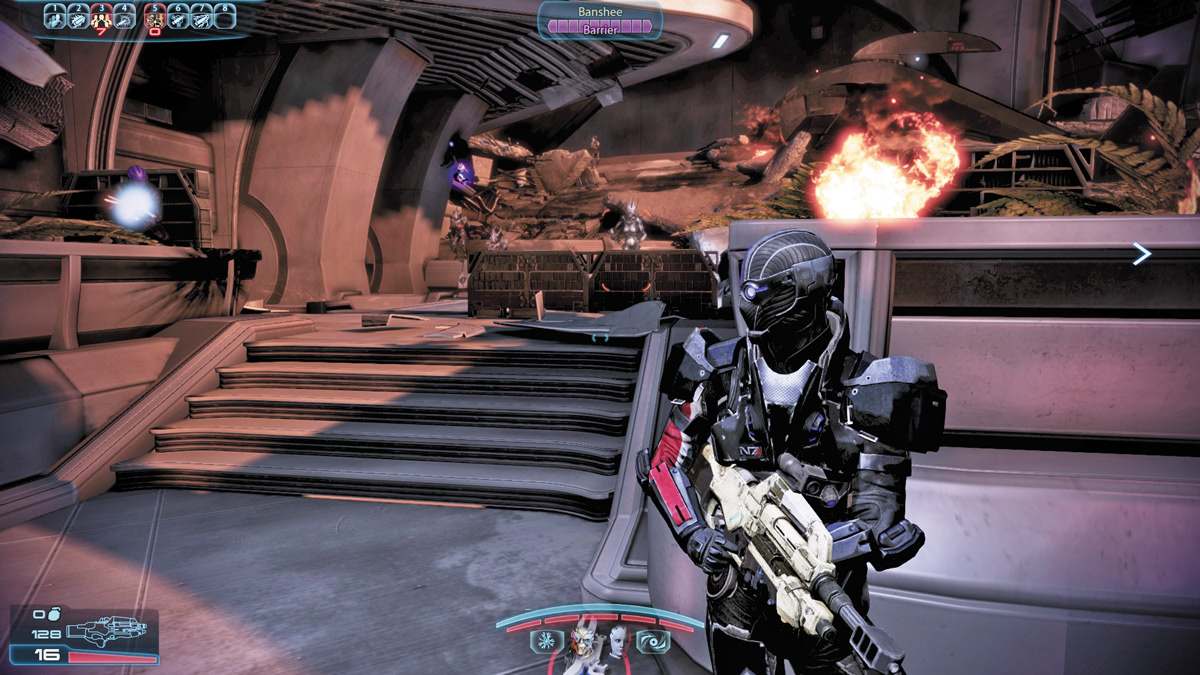
Mass Effect 3 has seen the most extensive set of changes and additions to combat of any game in the whole franchise.
While still retaining typical RPG features such as experience points and character statistics, player skills are what drives success or failure during each encounter.
Movement and combat are more visceral than ever. Shepard is more agile, more lethal at close range, and is more adept at maneuvering through the environment than before.
Similarly, the enemy has seen the same dramatic improvements in ability and are more aggressive, actively flanking Shepard and his/her squad, even laying down suppressive fire to keep them pinned in place.
Certain threats can even kill you instantly, regardless of your health and shield levels!
To survive in single-player and multiplayer, you must be attentive to what’s going on in front of you, and you must be able to navigate the environments smoothly, even while under fire.
Movement
Walking
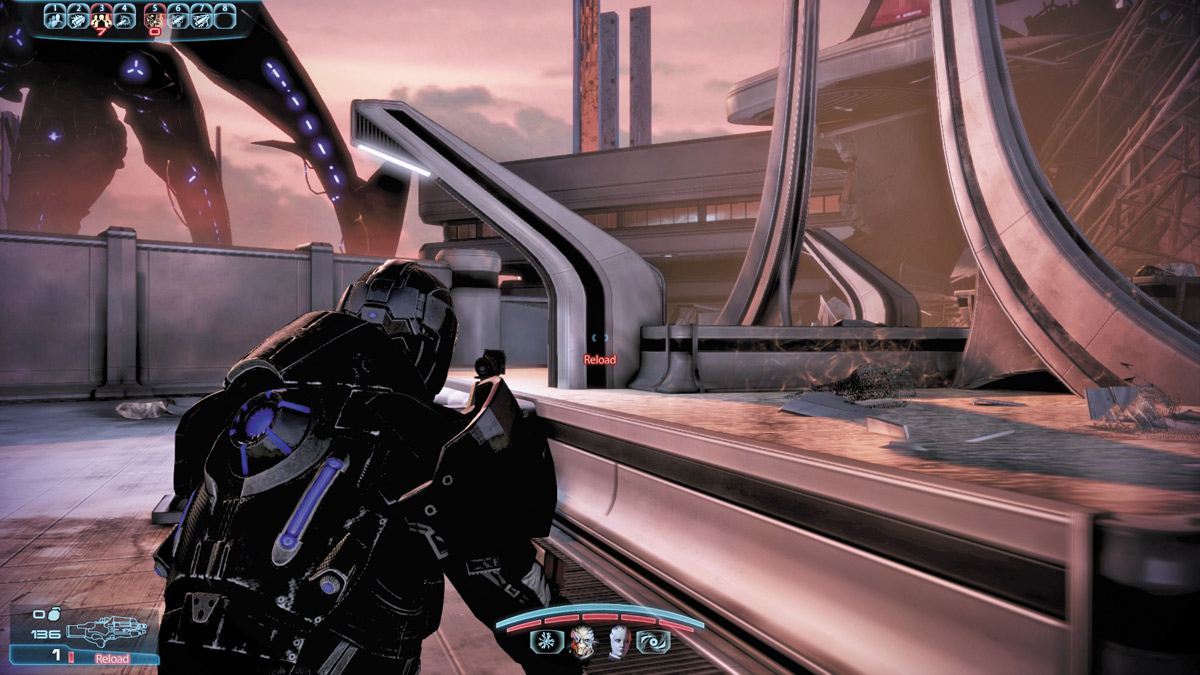
Basic movement in and out of combat consists of walking, and it is possible to run while outside of combat.
Storming
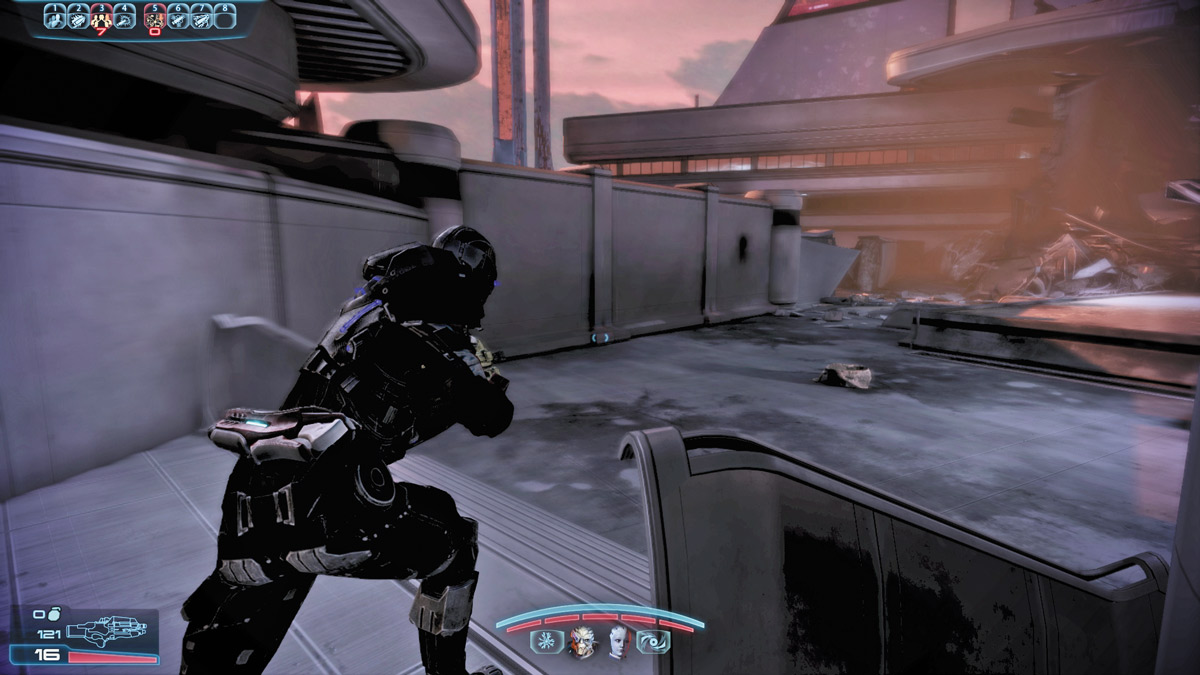
When in combat, you sprint forward with greater speed, sacrificing your ability to make sharp turns in order to get from one location to another.
You can storm indefinitely; just make sure you know where you’re headed if you’re taking fire. It’s possible to take a powerful enough hit that you are knocked out of your storm.
This is potentially fatal, as you’re still very vulnerable to incoming fire as you stagger!
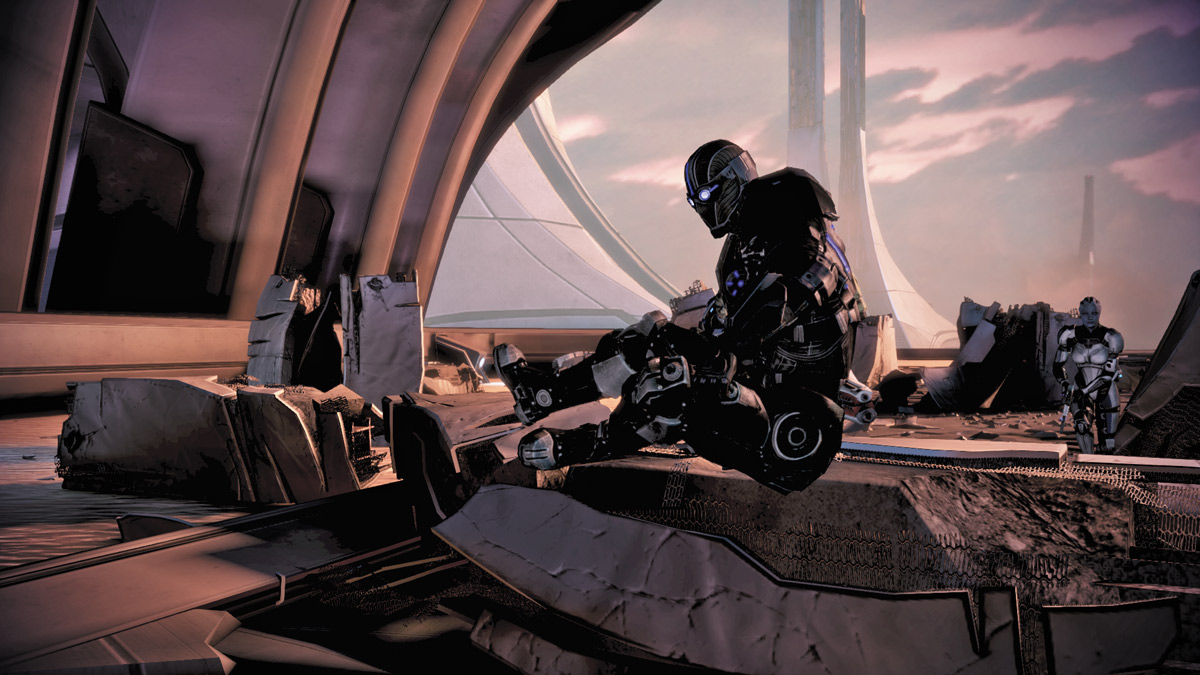
If you storm at waist-high pieces of terrain, your character will usually automatically take cover once they reach it.
However, by tapping the Storm button just as you reach cover, you can actually vault over those obstacles in one smooth motion. This is especially useful for aggressive players, as it keeps your weapon pointed at the enemy while you advance.
Evading
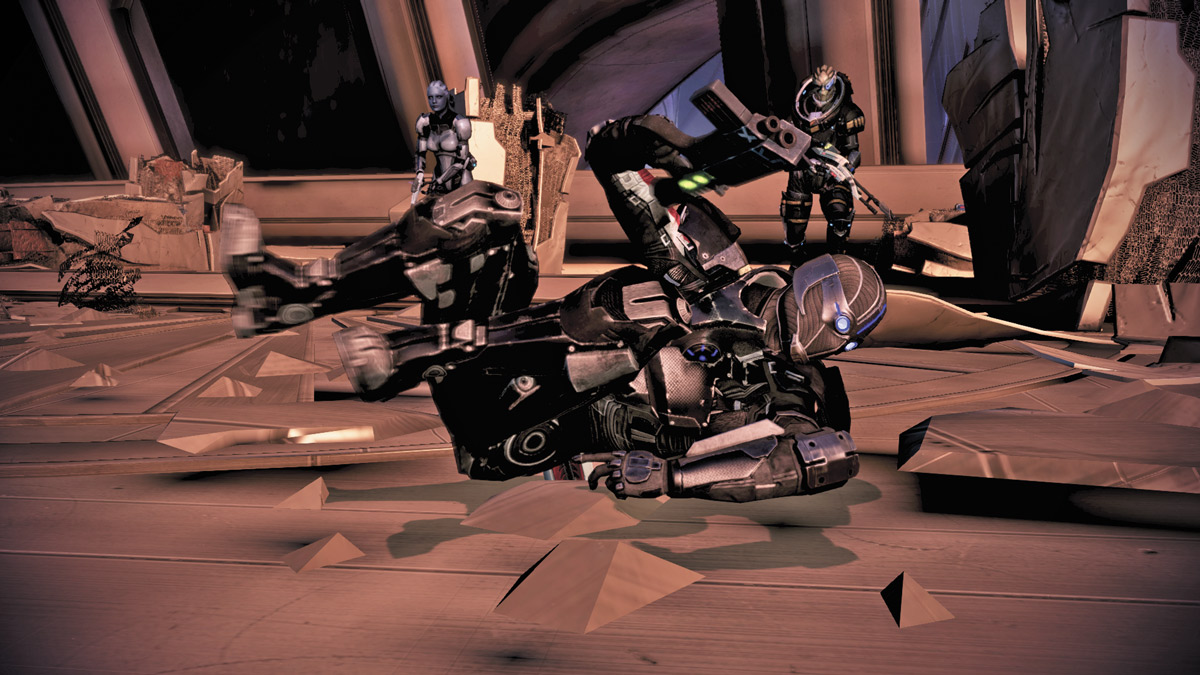
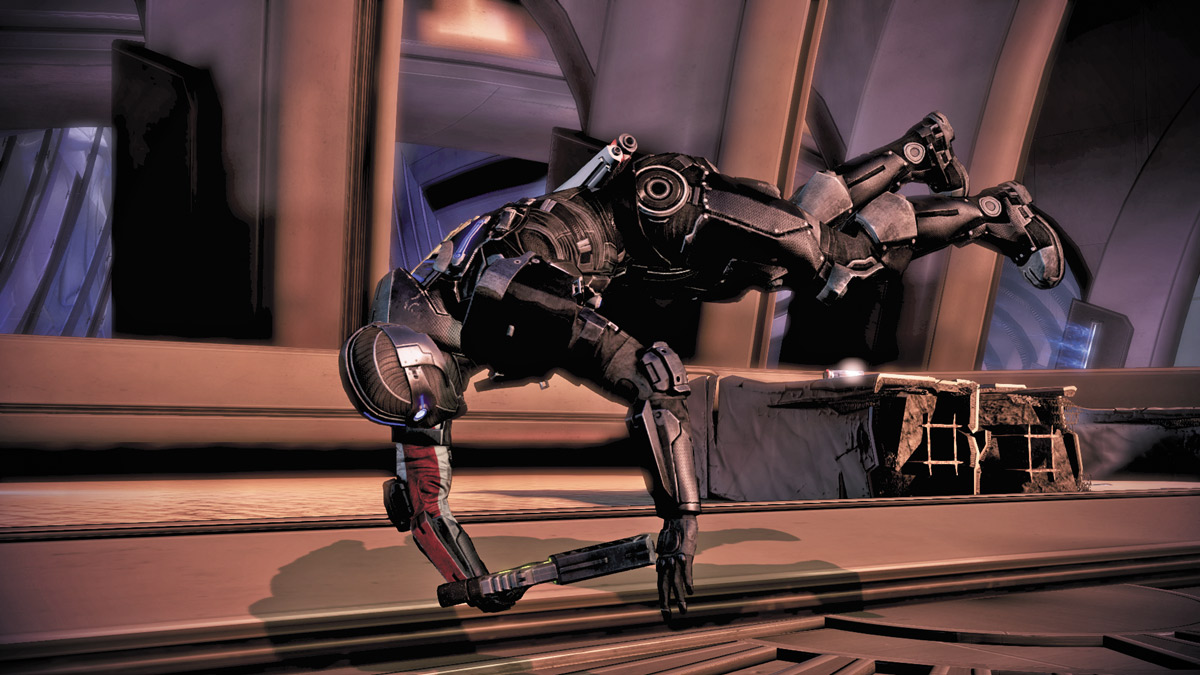
Previously in Mass Effect, your only real responses to getting shot at were to sprint to the nearest cover or fight back with your guns or special powers. If for whatever reason neither option was immediately available, you were somewhat out of luck.
Now you can actually evade in the direction of your choosing. Shepard can combat roll into cover or leap backward just as a powerful enemy takes a swing at him. This is also an amazing tool to use when flanking enemies in close-quarters combat.
It’s possible to bait certain enemies into melee attacks with long windups, roll just past them, and take them from their unprotected sides.
Taking Cover
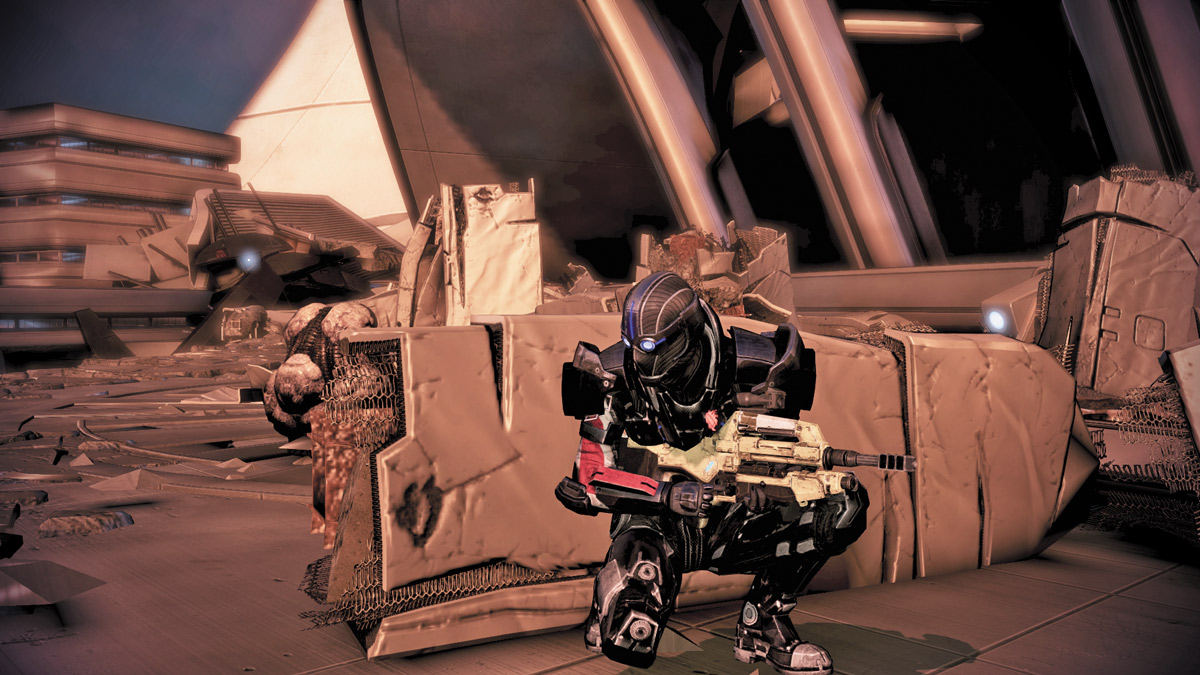
A basic but vital part of combat, taking cover keeps you out of a battle while still giving you the ability to mark and engage targets and direct your squadmates (and their abilities across the whole squad) to relative safety.
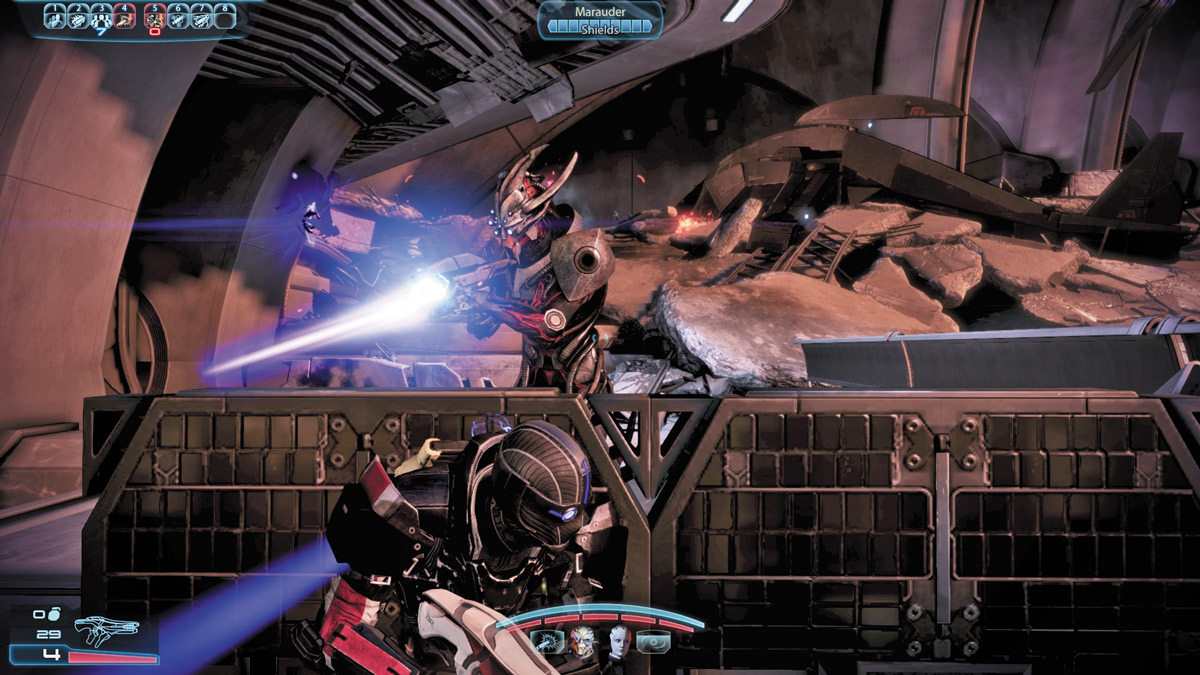
Cover is not perfectly safe, however! Your guns can punch through cover, particularly with better mods equipped, and your enemies can do the same.
Grenades can be lobbed to land next to you, prompting a hasty retreat or advance to safer pastures.
Environmental hazards may prompt you to stay on the move.
Enemies might be able to clip parts of you that are exposed outside of cover, or they could be in a superior position, attacking from elevated positions or flanking you to bypass your cover entirely.
Remember that cover is only a temporary solution to danger in a firefight. Being observant and being a better shot with your guns and abilities is just as important.
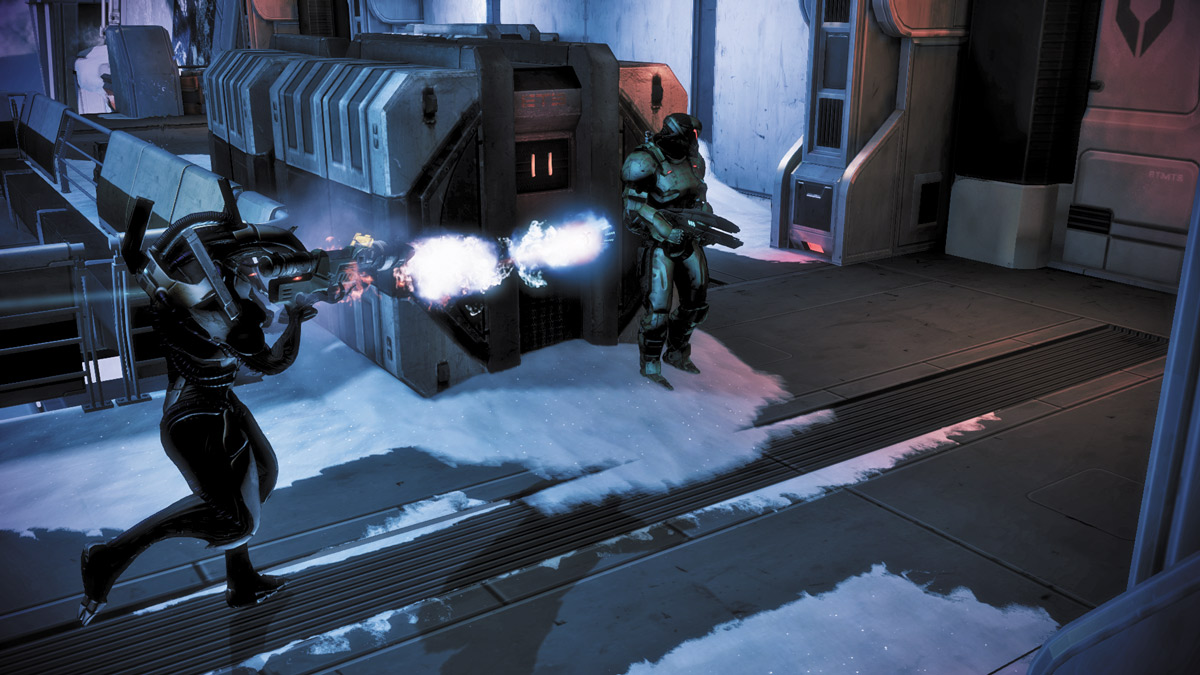
In multiplayer, it is especially important to not get too comfortable behind any object you’re hiding behind.
Enemies are much more aggressive and will use their numbers to flank your position in hopes of taking you out.
Cover Transitions
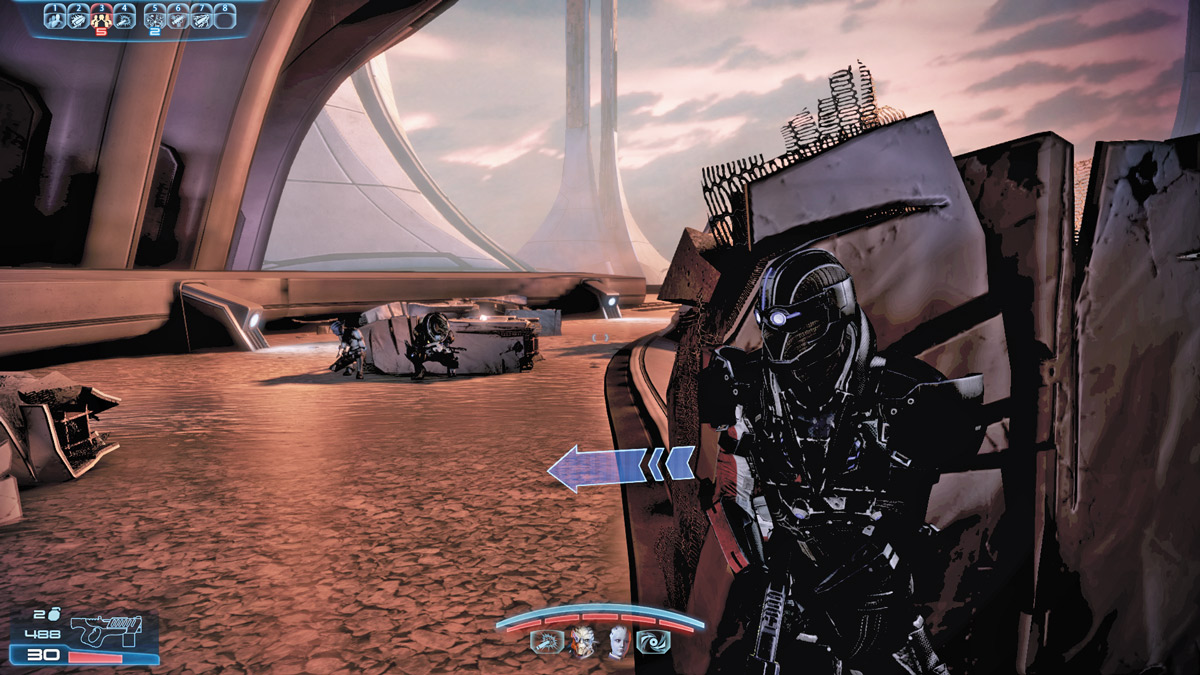
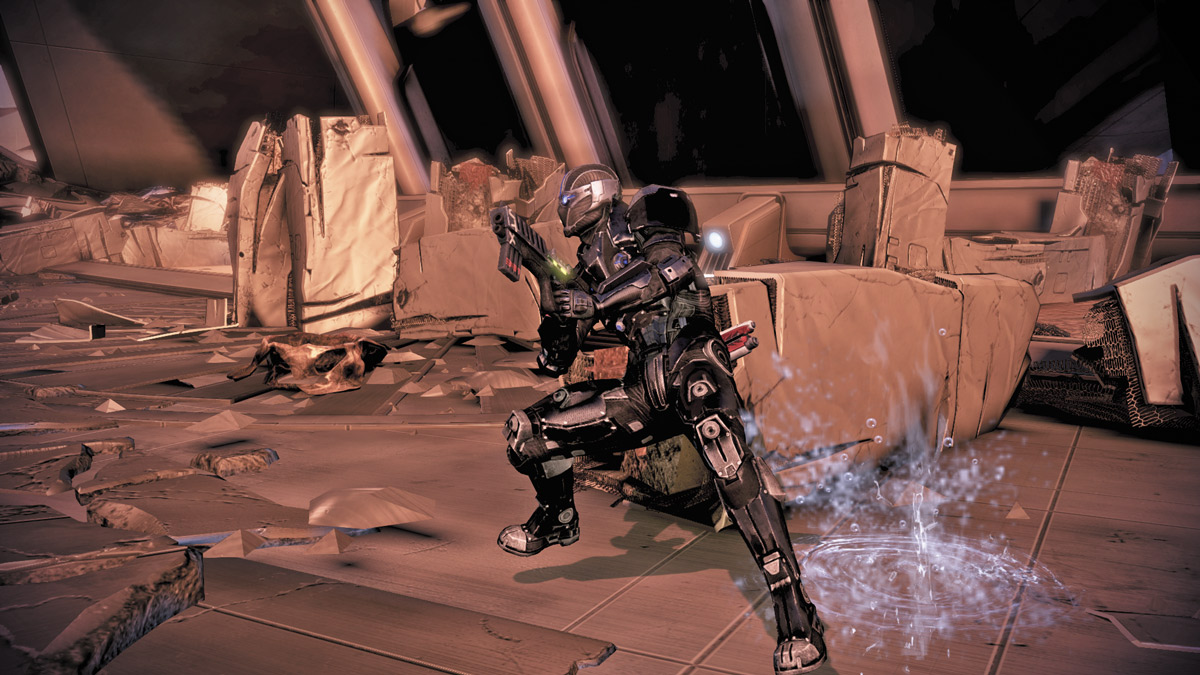
You have the ability to vault over pieces of cover, transition from one piece of cover to another, and shift from one side of cover to another.
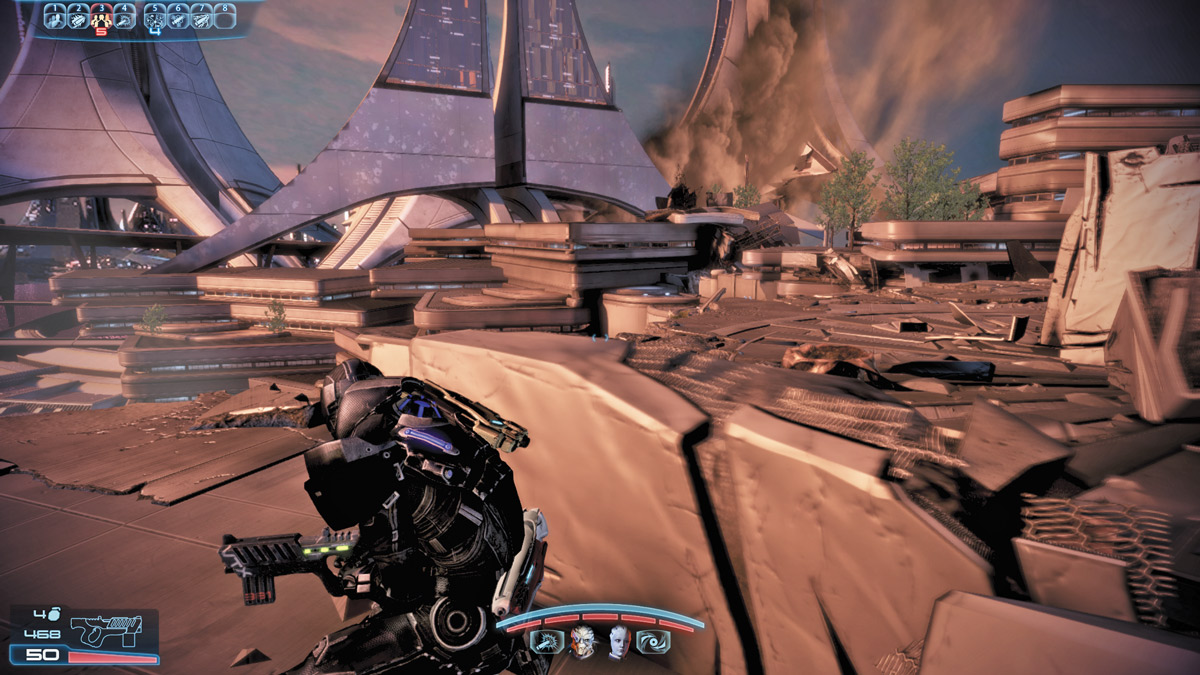
Once in cover, you can strafe along the length of it to the left and right. If the cover changes in height, your character will change their stance accordingly.
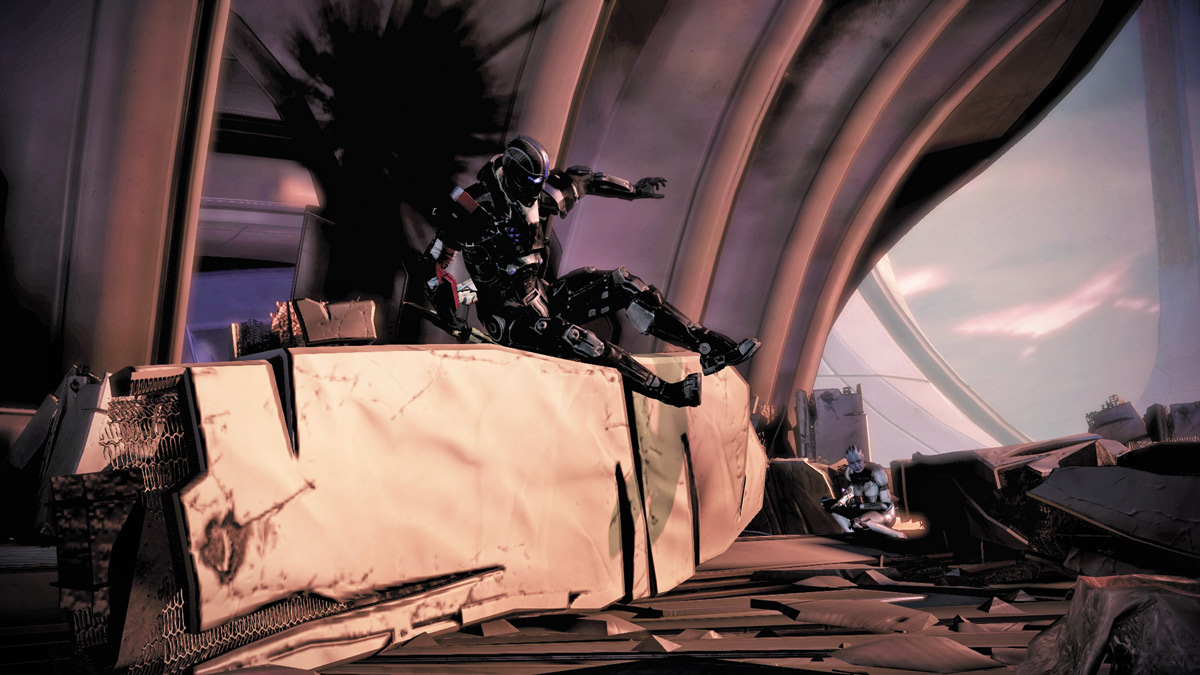
Vaulting over cover allows you to quickly advance at the enemy or to another safe spot a little farther ahead of their current position, all without having to navigate around the current obstacle.
Vaulting is one of the faster ways to leave cover, but it also makes you vulnerable to incoming fire.
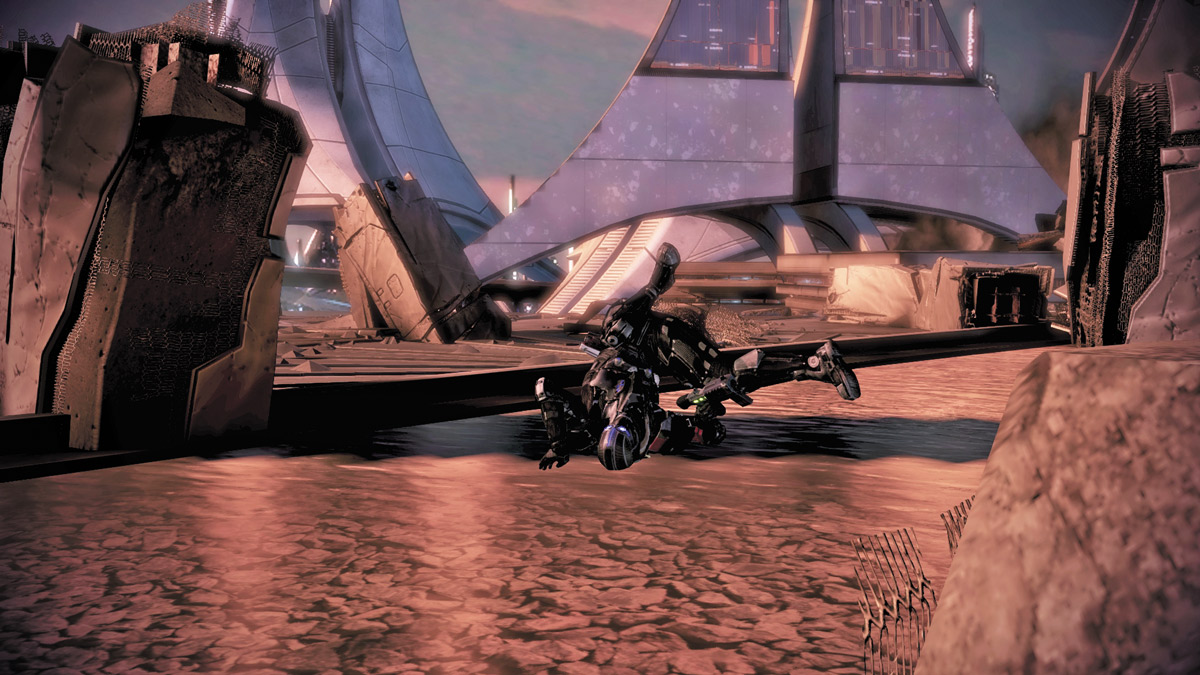
Transitioning between pieces of cover is one of the safest and quickest ways to remain protected while under fire.
It also simultaneously allows you and your squad to shift fields of fire to meet enemy reinforcements or sudden rushes on a different flank.
Get to the far corner of any piece of cover, and if you hold your movement keys or analog stick in the direction the cover ends, an arrow will display where you will travel next when you press the appropriate button.
You can also move out from a corner by pressing forward and following the command prompts, with your character swinging around the cover and moving ahead.
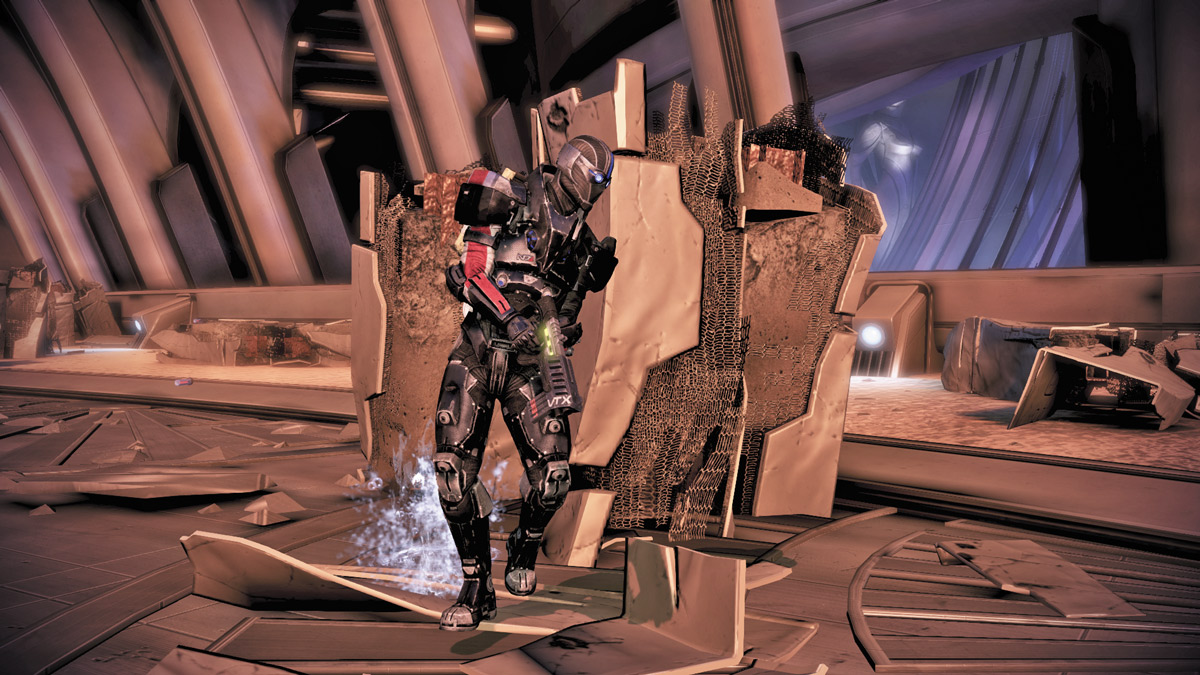
You can also transition to another part of the same piece of cover. If you’re behind a crate that is suddenly flanked, you could engage the enemy from where you sit, but you’ll still get shot up.
However, by moving to the edge of the enemy’s current position, you will transition to the crate’s other side, keeping it between you and the flanking foe.
On the Defensive
At some point, you will get hit by enemy attacks during the course of battle, and it’s important to know what you need to watch for when it happens. Every character class has two meters to monitor: your shield meter and your health meter.
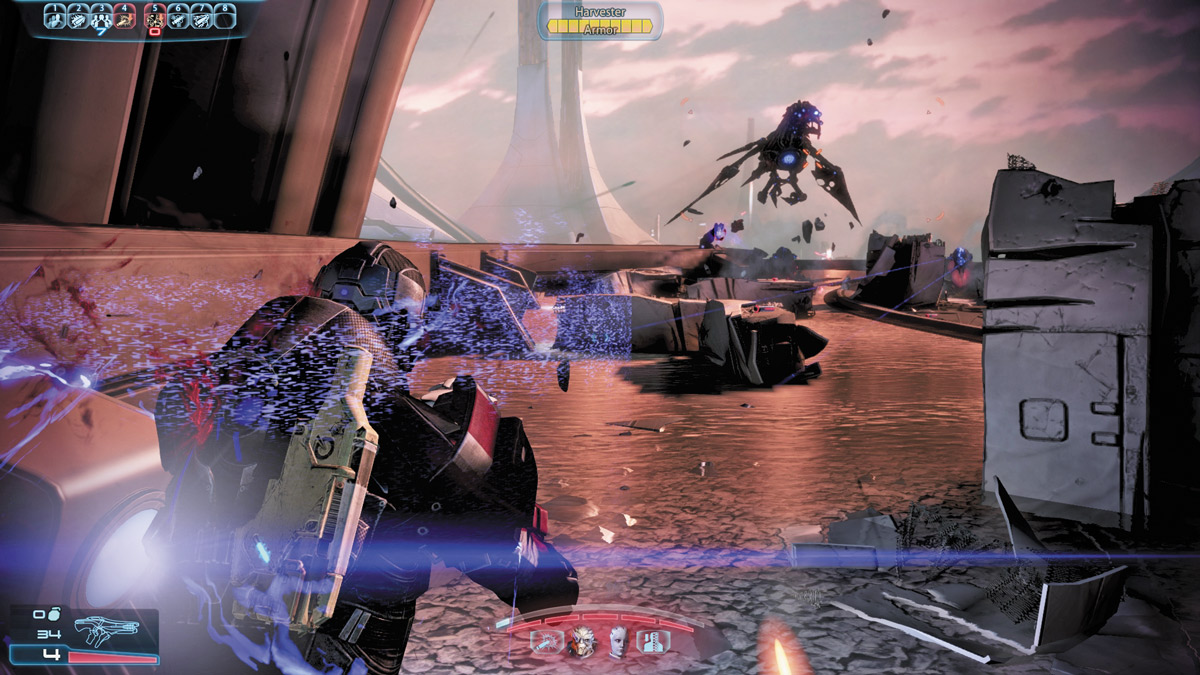
Your shields are intended to stop, or at least blunt, enemy assaults before they reach the armor and flesh behind them. They will drop precipitously under fire until you find cover.
On higher difficulties, the shields last for a scant few seconds at best before the enemy starts chewing through your health. Pay attention to the status of your shields, and if you can spare a moment behind cover to let them recharge, do so.
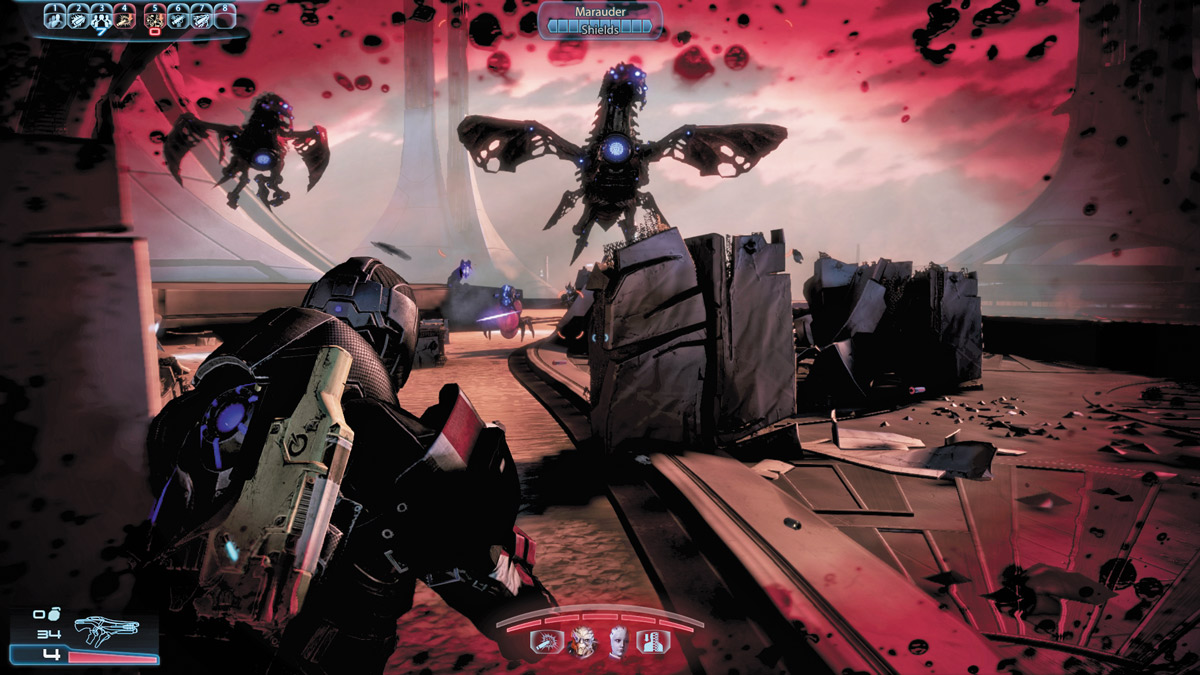
Health is signified as a segmented red bar just underneath your shield indicator. The segments indicate limits to how much health will be regenerated after you spend time away from fire. To refill empty segments, you must use a Medi-Gel pack.
Camera Controls
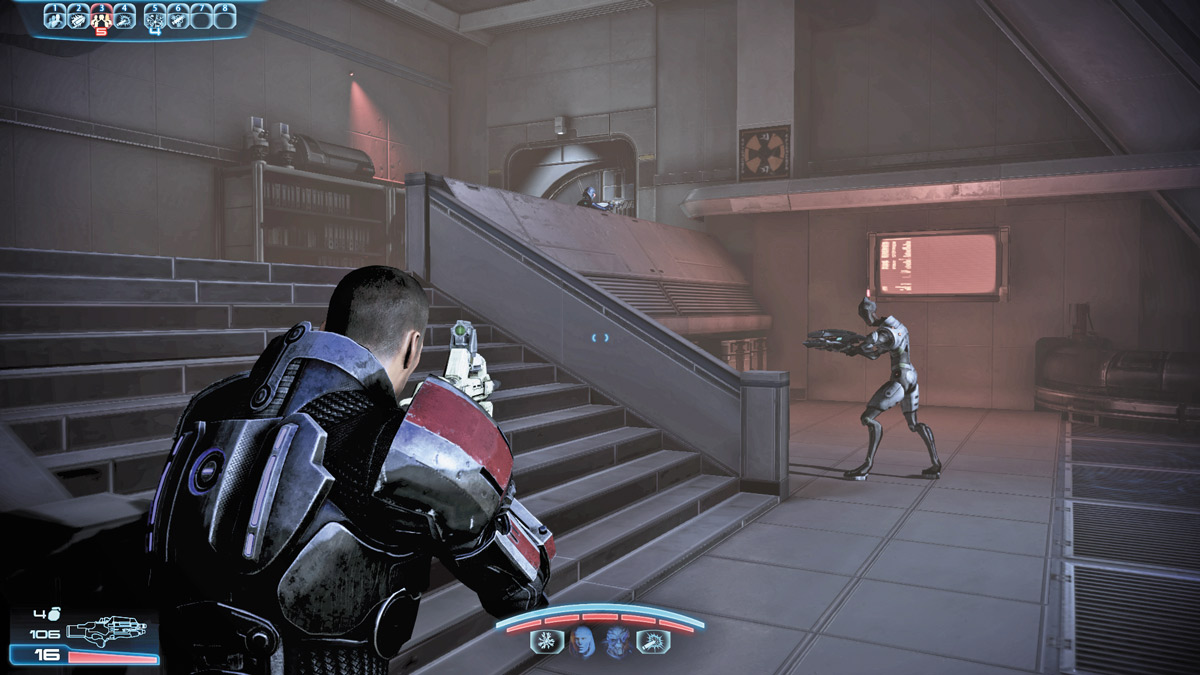
A good soldier is an observant one. Keep your eyes open for anything or anyone you can interact with, either for conversation or pick-ups.
When on combat missions, be thorough when scanning the world around you; this will help you locate more weapon and armor modifications, which you will definitely need if you want to survive the later battles.
In co-op, holding the line against waves of enemies depends heavily on your ability to spot the enemy and catch them well before they’ve flanked you and your team.
Aiming
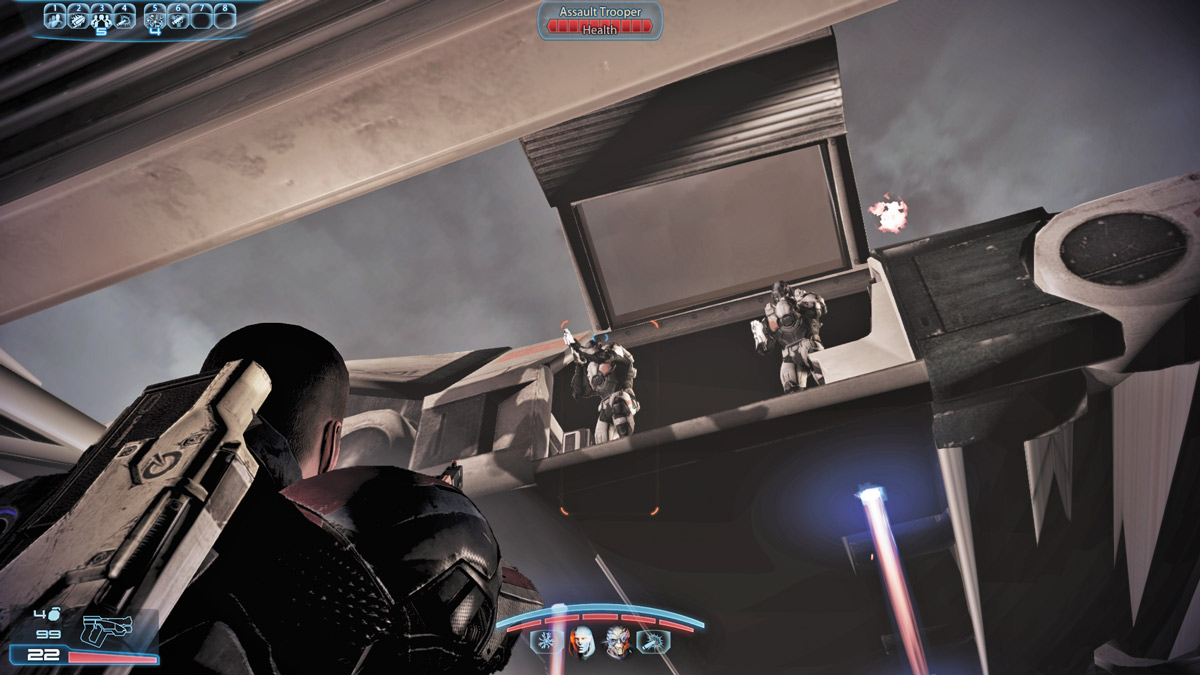
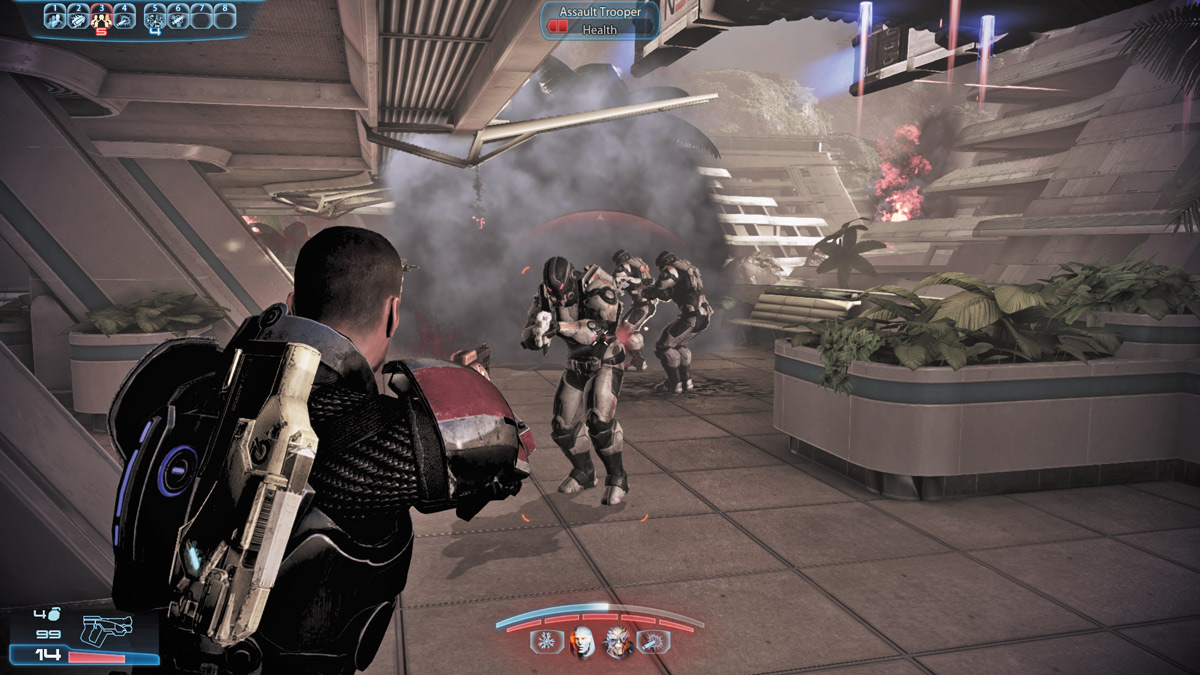
When the shooting starts, you aim where your camera points. You can zoom in on targets for more accurate fire at range, but this costs you much of your peripheral vision, depending on the weapon.
With a sniper rifle, you’re limited to the area displayed by the scope, and aggressive foes can and will flank you while you’re focused elsewhere.
Don’t move while scoped unless you absolutely need to take down a threat while moving.
Typically, it’s best to stay moving as fast as you can between pieces of cover, as taking aim stops you from sprinting and slows you down, making you an easy target.