
Mass Effect 3 Guide Walkthrough Act 2
Visit the Citadel
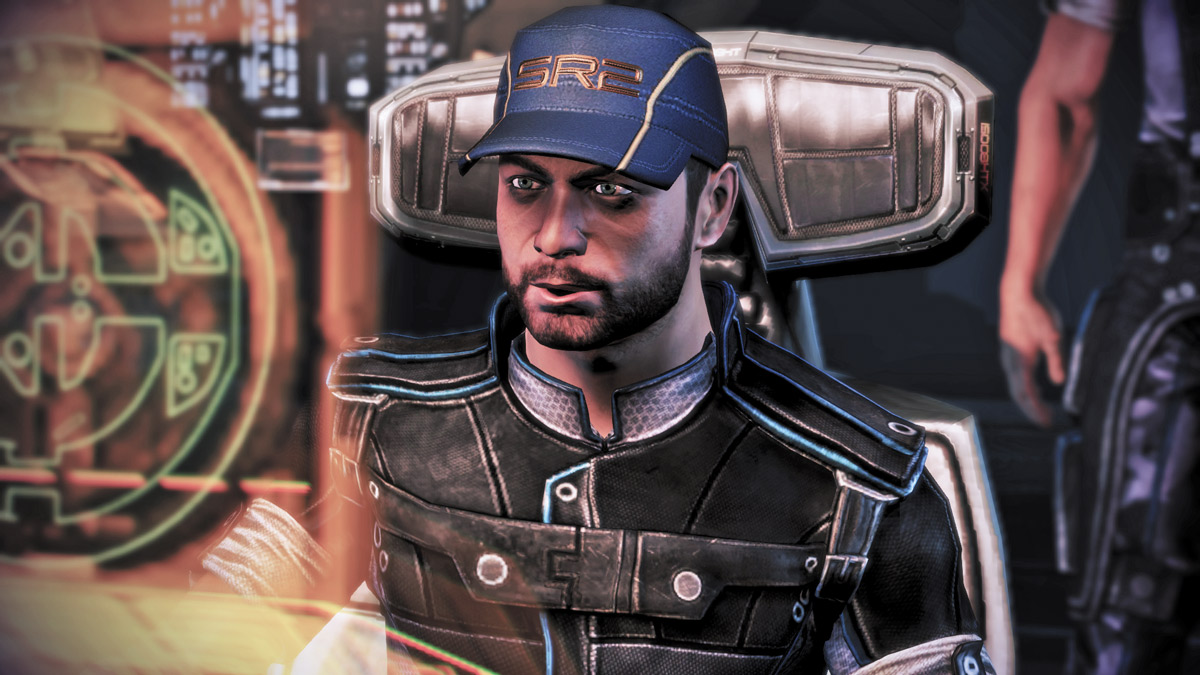
You’ve been called to the Citadel to meet with the Salarian Councilor, but as you approach, you find that the Citadel is under Cerberus attack.
Rather than land near the embassies, your new destination is C-Sec headquarters. Commander Bailey’s distress signal sounds frantic; if the C-Sec HQ falls, so does the Citadel.
Lieutenant Cortez deftly maneuvers the shuttle near the C-Sec HQ and drops down as a battle rages on.
C-SEC HQ LANDING ZONE
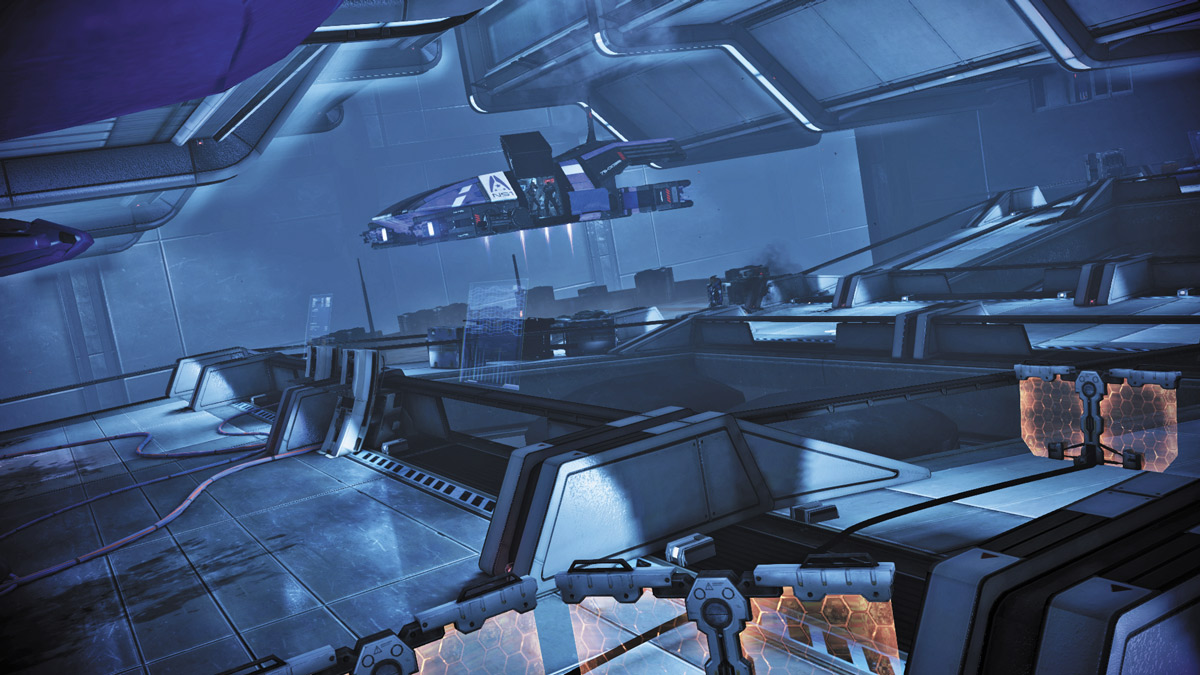
The LZ is hot as Cerberus forces fiercely engage and quickly overwhelm C-Sec forces.
As your shuttle touches down, you find that the area between you and the Citadel entrance is full of Cerberus soldiers. The area splits into three paths, however, allowing you several different methods of attack.
APPROACH 1: ONE PER ROUTE
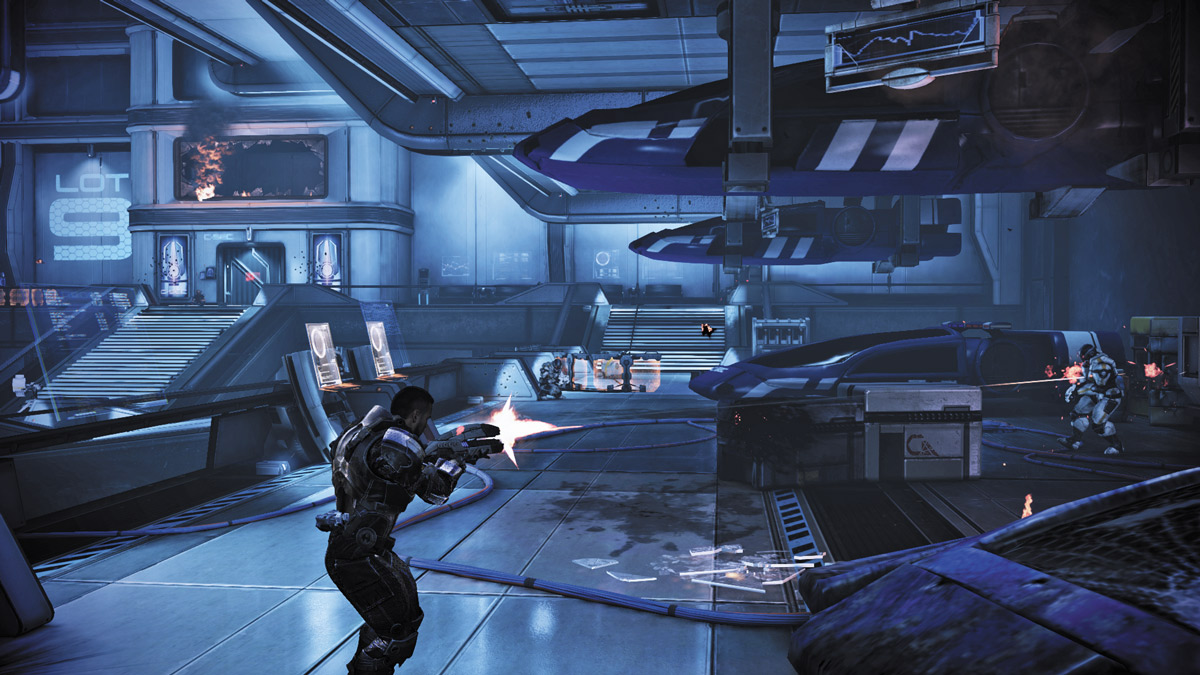
Since there are three long avenues leading up to the Citadel entrance, you can assign one route to each of your squadmates and take the third for yourself.
The left lane offers a raised vantage point with little cover, the center lane is guarded by a turret at the far end, and the third lane on the far right has more cover but has several tough enemies stationed at its far end.
The Soldier and Sentinel classes are comfortable with close-quarters combat and can take a fair amount of damage, so they are best suited for taking the center lane.
Use the small partitions as cover, and use close-quarter takedowns whenever possible. Otherwise, focus your fire on the turret at the far end while your two squadmates rush up the left and right lanes, taking care of business from above.
If you get pinned by the turret, order your squad to attack the turret and take off some of the pressure. When they do, rush to a better position and attack.
You’ll face several Combat Engineers and Centurions along the way, but if you spread your squad out evenly across all three lanes, then the number of enemies each of you faces should be manageable.
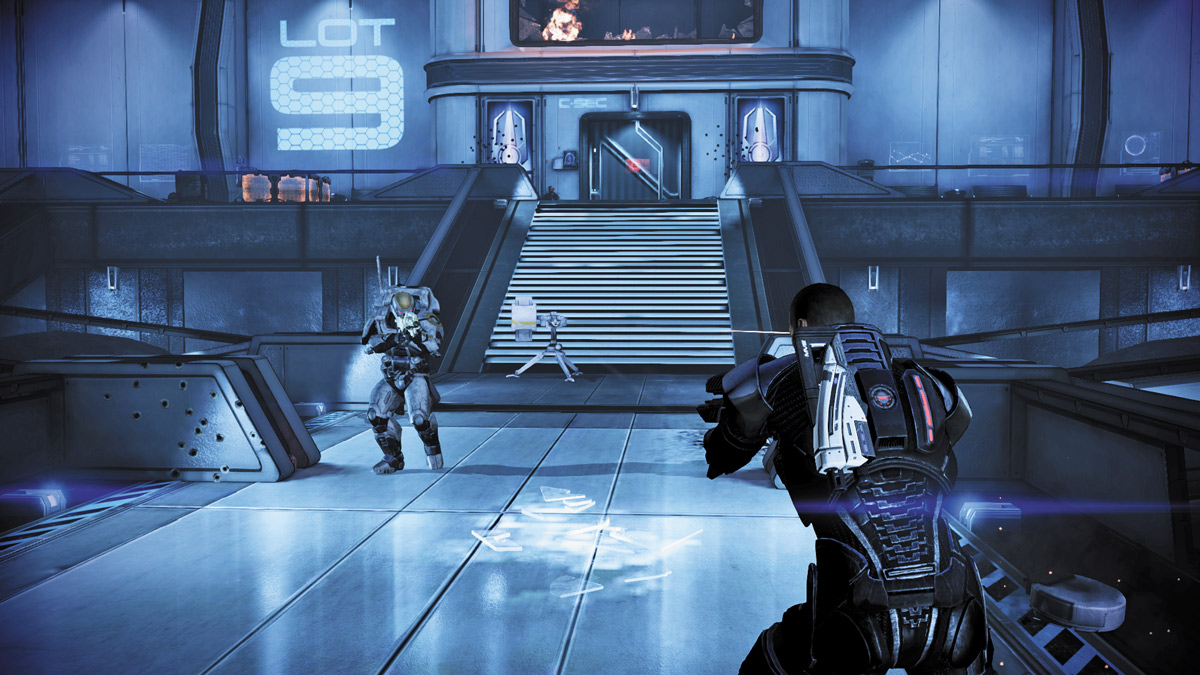
APPROACH 2: LEFT LANE
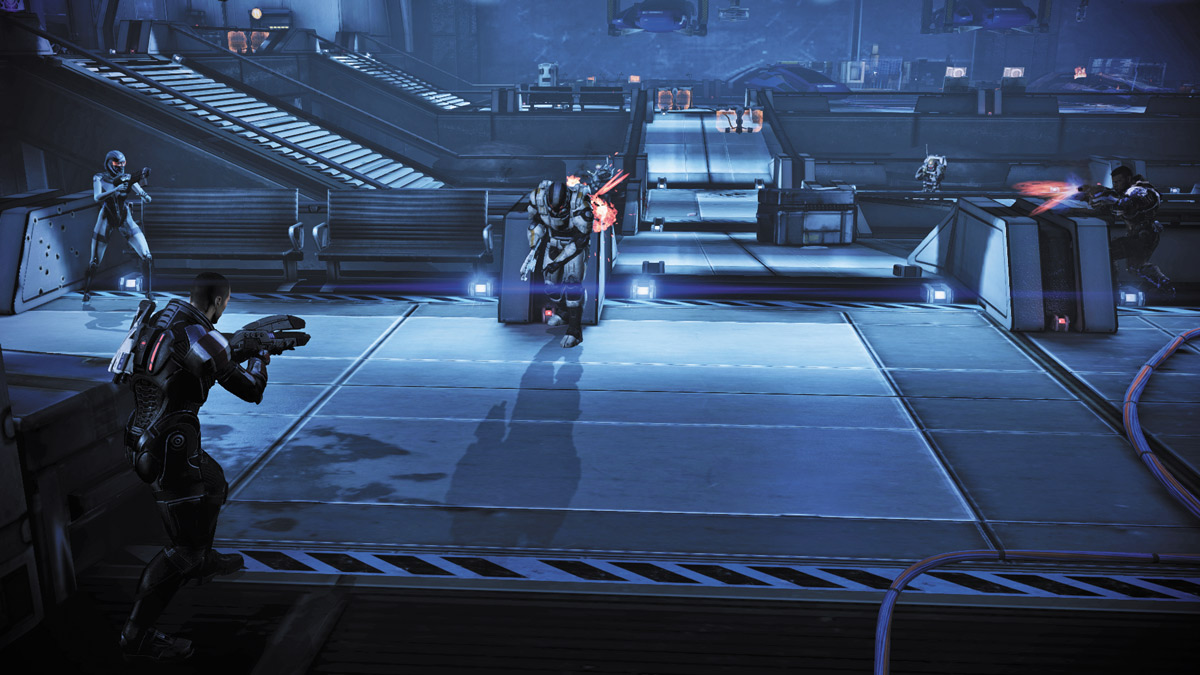
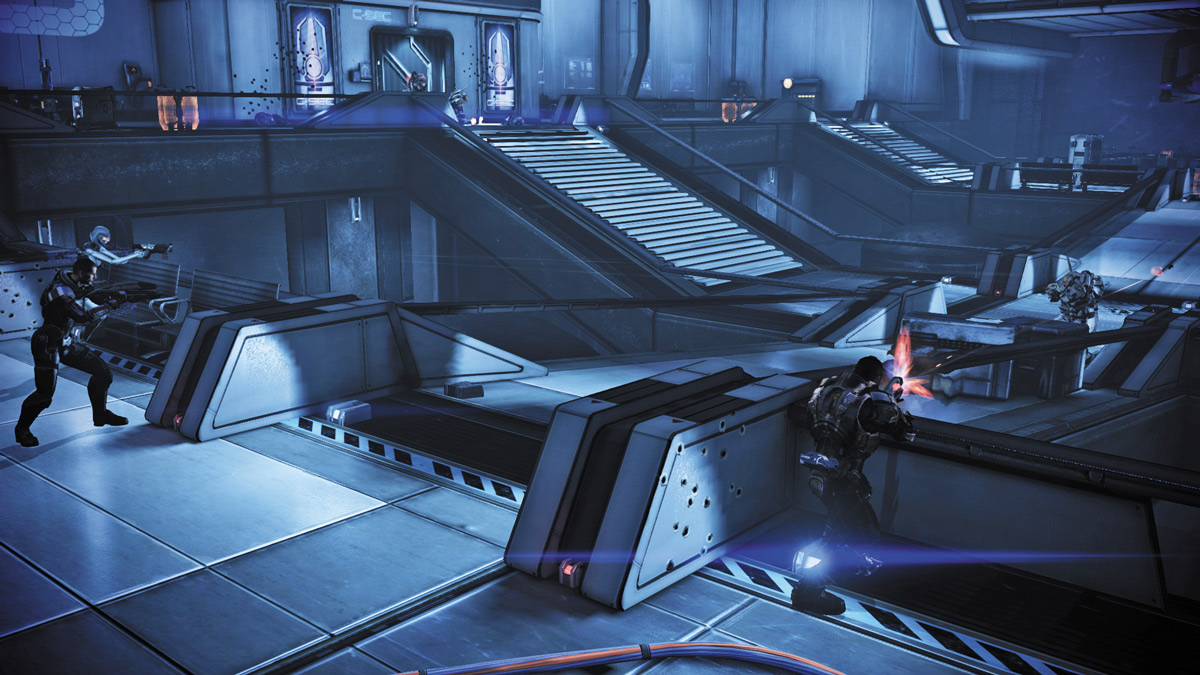
Direct your squad up the far left lane and begin spreading out across its entire length. This way, you and your team can gain a view of the other two lanes and gain a height advantage on the center lane. With a clear shot across both lanes, pick off all enemies, starting with the turret, then focus on the Combat Engineers.
Stay behind cover as much as possible, and send your most powerful squad member, if it isn’t you, to the front of the lane while you take the center. This way, you lead with the strongest member and flank the turret if needs be.
APPROACH 3: RIGHT LANE
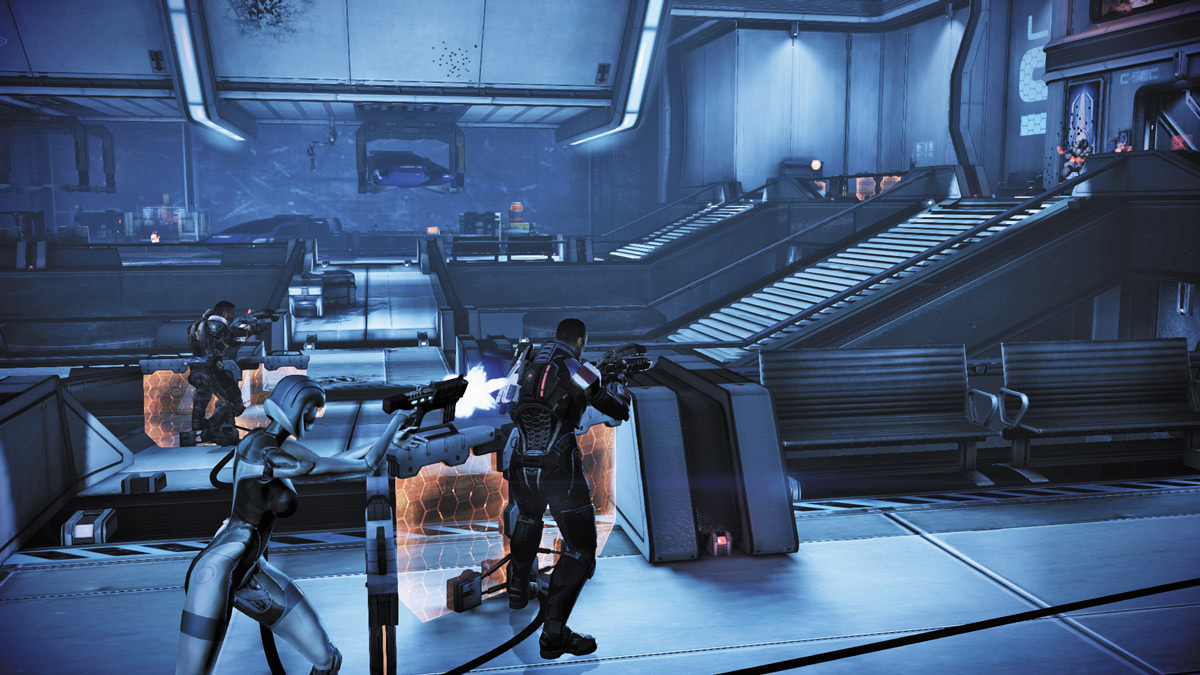
The right lane has several shield generators near the far end that provide extra protection for duck-and-cover tactics. If you rush up the right lane immediately, you’ll have to take down the Combat Engineers near the far end, and they’ll use the shield barriers for protection as well.
A high-powered Concussive Shot will deplete the shields entirely, leaving the Cerberus fighters exposed. Take them down quickly, then rush the shields. If you need cover from the remaining enemies, reactivate the generators to bring the shields back up, then get return work.
.jpg)
Clear the area, then speak to Commander Bailey, who’s been injured in the firefight prior to your arrival. He took one in the gut, but he’ll survive. Bailey grants you access and, while at the computer terminal, finds a clue as to why Cerberus may have attacked the Citadel.
The Salarian Councilor is in danger, and you’re the councilor’s only hope. Leave Bailey behind while you set out to the Executor’s office to find the Councilor.
C-SEC LOBBY
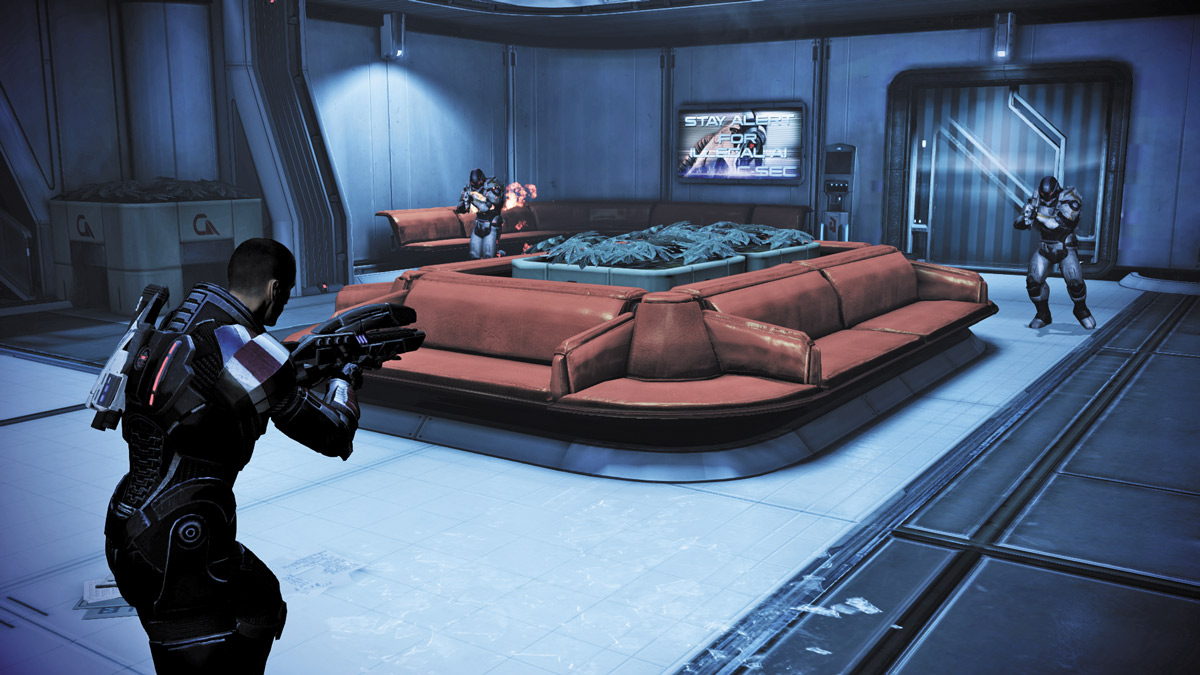
Pass through the double doors and enter the C-Sec lobby. You’ll get the jump on two Assault Troopers near the lobby’s far end, so take them out quickly.
If you pounce fast enough, they’ll be down before they even know you’re in the room. However, this will alert the other Cerberus troops up the stairs on the left, so take cover behind the couches.
APPROACH 1: LIE IN WAIT
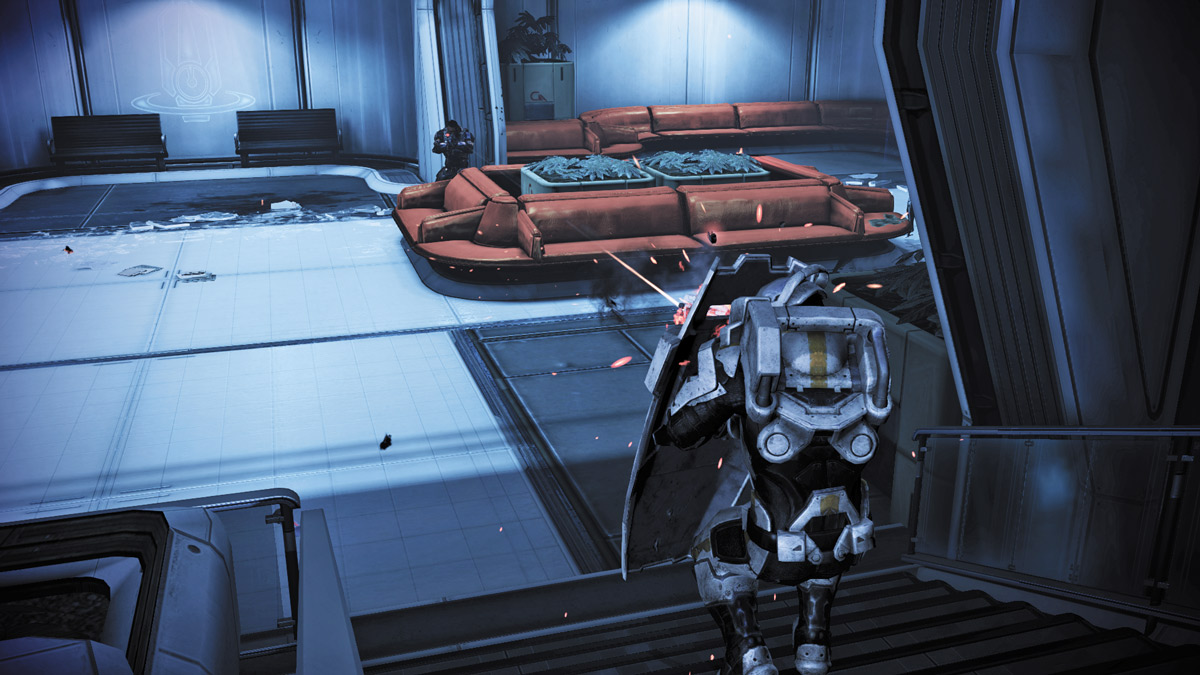
Wait for the Guardians to begin slowly marching down the stairs, and either fire through the vision slots in their shields or use a power like Singularity, Pull, or Shockwave to knock their shields off; then open fire.
If you have Frag Grenades, you can use them to knock their shields off as well. You can also shoot the Guardians’ knees as they descend the stairs.
With your entire squad behind the couches for cover, the Guardians will have a lot of ground to cover before they can reach you. Once the two Guardians are down, rush the stairs and overwhelm the Combat Engineer.
Another fun tactic is to use a combat drone on the Guardian. If you cast a combat drone on the Guardian itself, the drone will appear behind them, and it will cause them to turn around and attack it, exposing their back to you.
APPROACH 2: AMBUSH
.jpg)
If you don’t want to wait for the Guardians to come to you, order your squad to take cover near the bottom of the stairs and cut the wait short. As the Guardians approach the top of the steps, your team can begin whittling them down and potentially finish them off.
This tactic is especially effective if your squad members can dish out a lot of damage quickly. Crew members like James and Garrus can put down Guardians with Carnage and Concussive Shot, respectively.
Go up the stairs and rush the Combat Engineer. You can outgun him easily now that you have superior numbers.
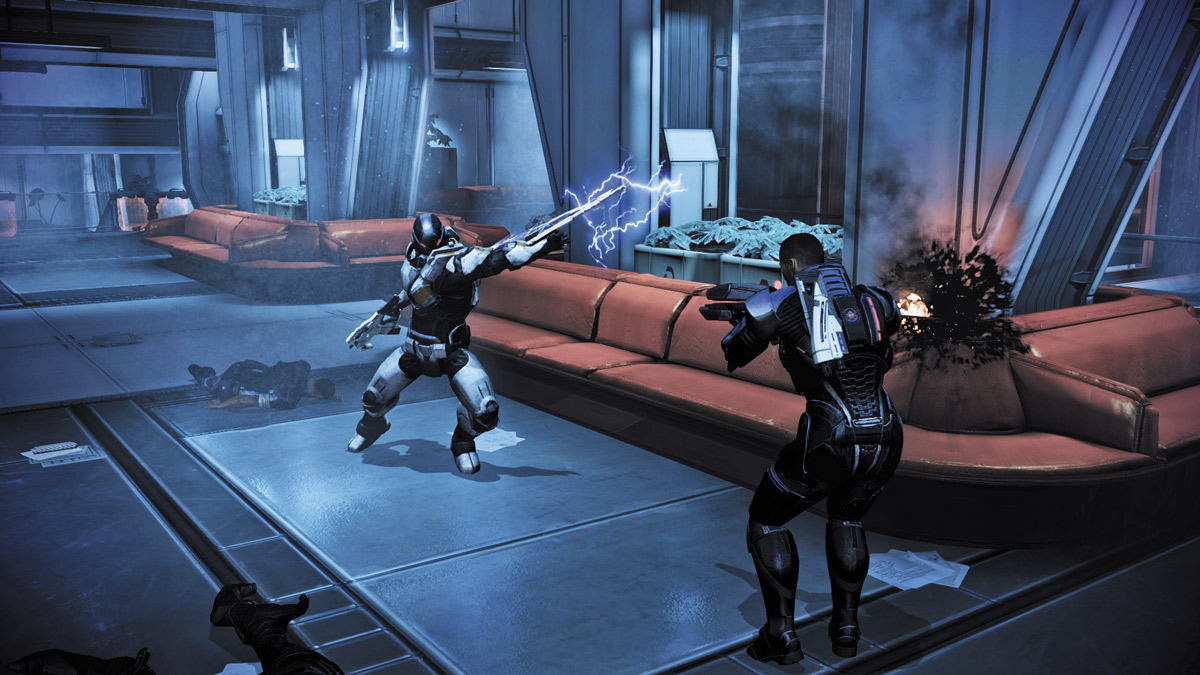
Shortly after going up the stairs, a small group of Assault Troopers will drop in from the level above you. Rush your squad to the room’s rear and open fire on them as they descend.
If you get to the rear quick enough, the Assault Troopers won’t have enough time to get a shot off and they’ll fall dead to the ground.
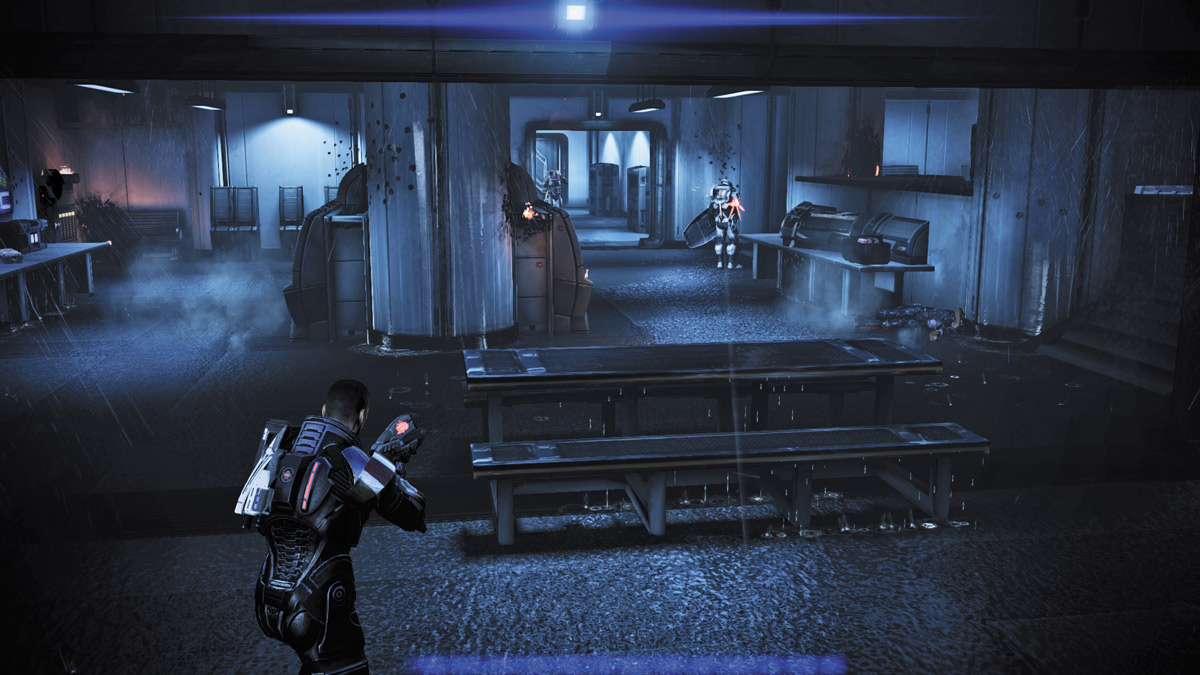
Enter the next room, one that is flooding under an active sprinkler system, and slowly approach the center table. A Guardian stands with his back to you at the hall’s opposite end.
This is a perfect time to pounce on another unsuspecting enemy and eliminate him before he knows you’re in the room.
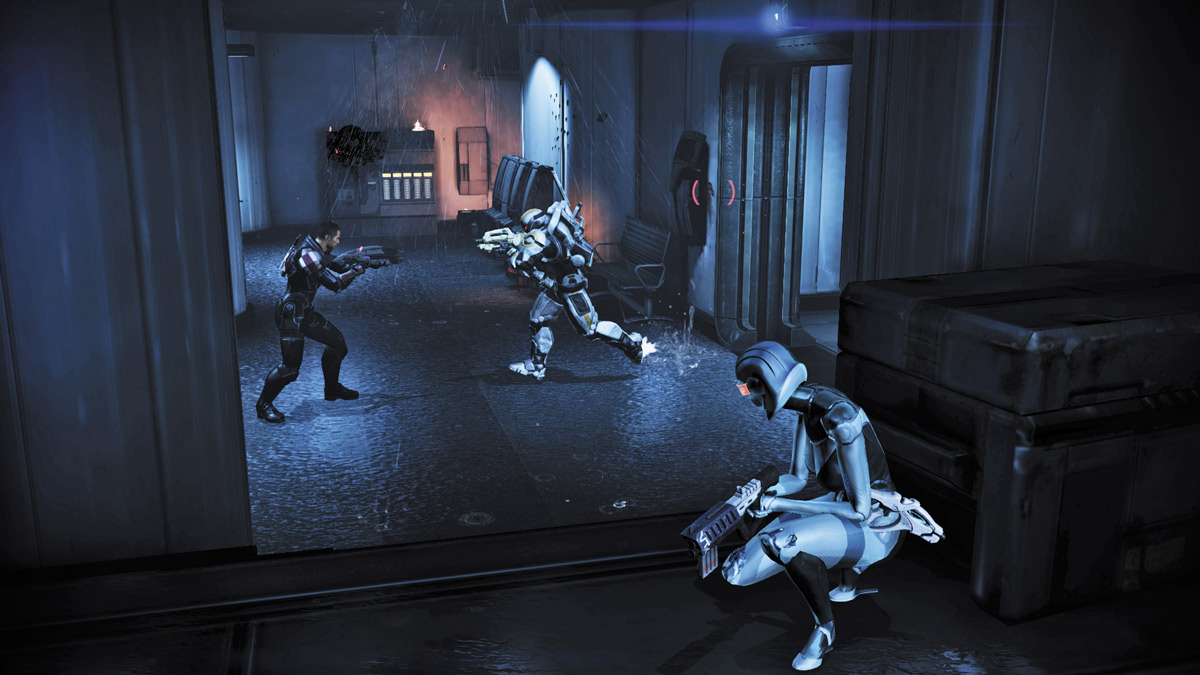
When the Guardian drops, a Centurion comes rushing into the room from the distant hall. Open fire as he approaches and send a squad member to attack from the room’s left side.
Simultaneously send your other squad member up the short flight of steps on the right and have him engage the other Centurion and Combat Engineer in the far right corner.
If your second squadmate has trouble, take cover behind the partition on the right and lend him a helping hand. Tackle the turret in tandem and use power combos or grenades to quickly dispatch the machine gun.
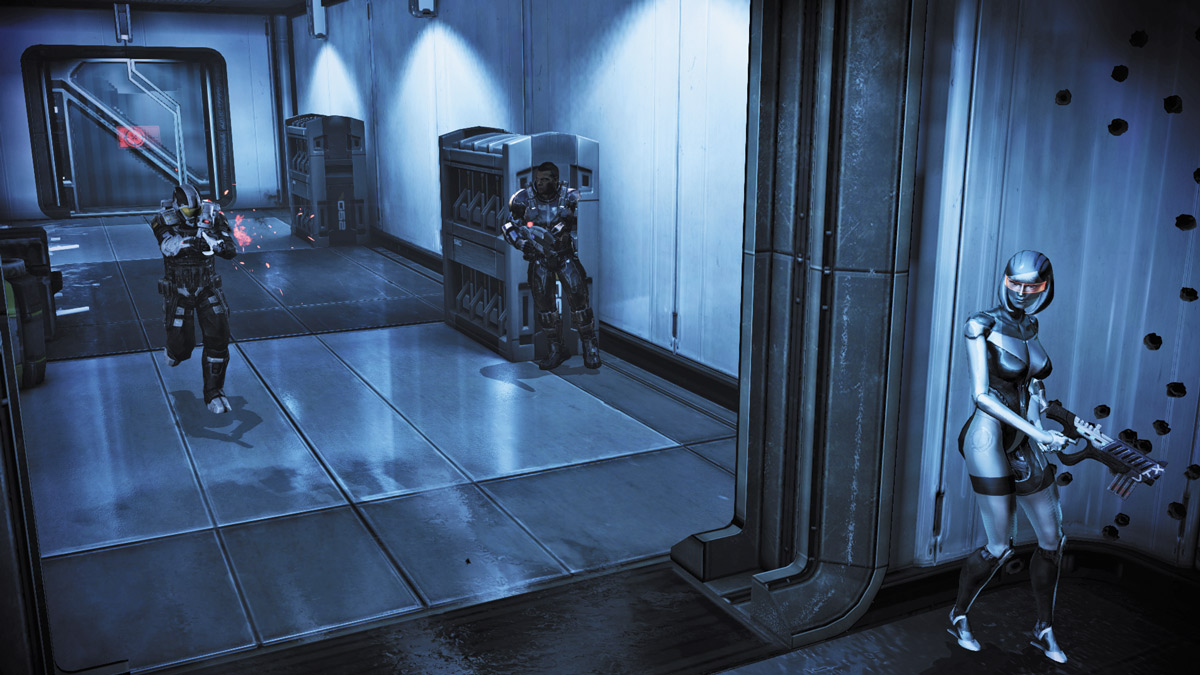
As you travel down the hall, look left to find a Combat Engineer working on a wall console. Take him out quickly, then shoot the console’s latch to unlock it. When the lid opens up, activate the switch inside the console to unlock the elevator door.
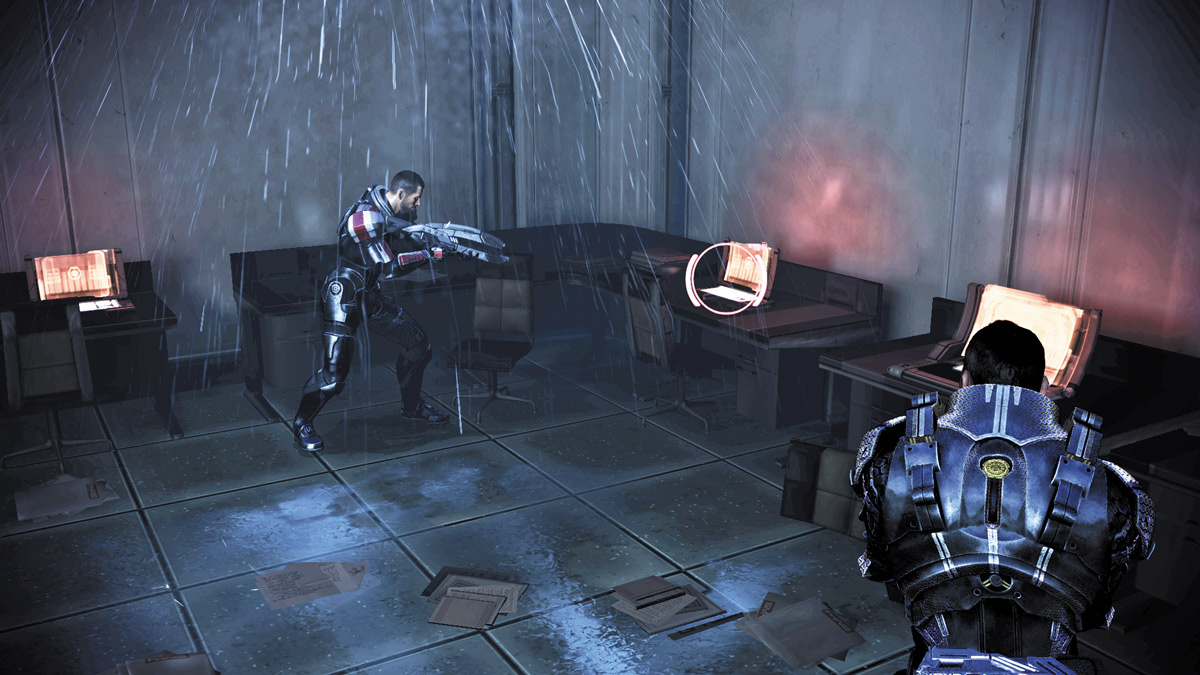
Get in the elevator and take it to the next floor, where you’ll find another short hallway in shambles. There is a terminal against the far right wall; check it out before you move on.
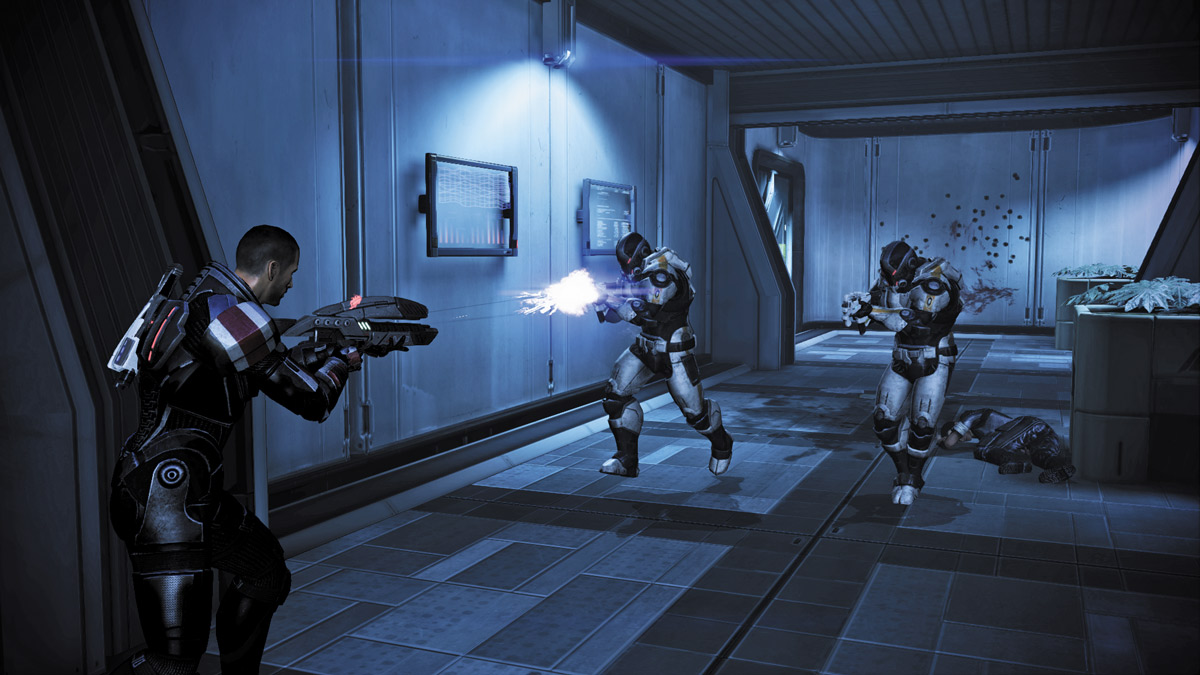
Turn right at the hall’s end, and use the small room to circumvent the malfunctioning door. This leads to another hallway with two Cerberus soldiers with their backs to you.
Rush them and silently eliminate them if you can. Vanguards can use Biotic Charge, Soldiers have Adrenaline, and Infiltrators should use their Tactical Cloak.
All other classes can sprint up and use a charged melee attack on one, followed by a close-range headshot on the other.
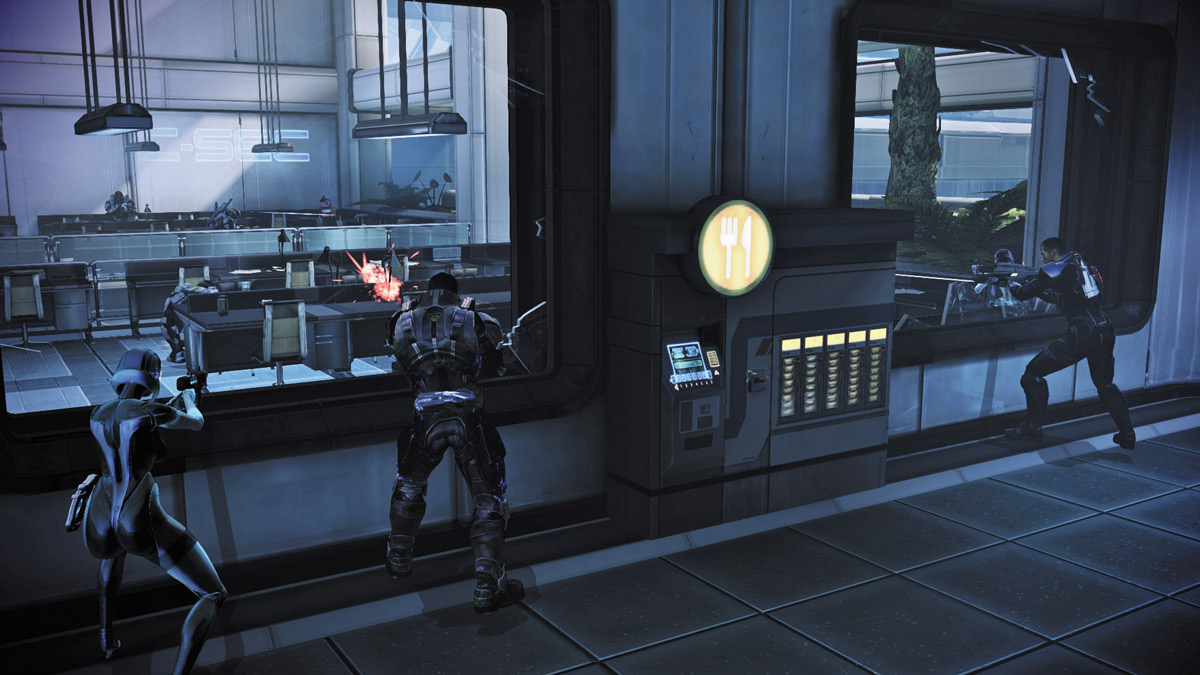
Make a left at the hall’s end. When you enter the next area, you see the Executor’s office at the far end. On the right is a kitchen area with a small dining section to its left.
.jpg)
Take cover behind the wall separating the kitchen from the dining room. This spot gives you perfect cover and a great view of the incoming Assault Troopers and Centurions on the far side, near the stairs.
Order your squad to take cover behind the wall with you or in the dining room outside. Engage the enemy, then rush outside the kitchen and position yourself behind one of the tall supports in the hallway.
By taking cover in the hall, you get a better view of the enemy and can stop them more quickly from attempting to flank you via the hallway.
Your squad members in the kitchen and dining room can freely engage Cerberus, split their fire, and create an opening for you to either rush in close and blow them away or obliterate them from your position.
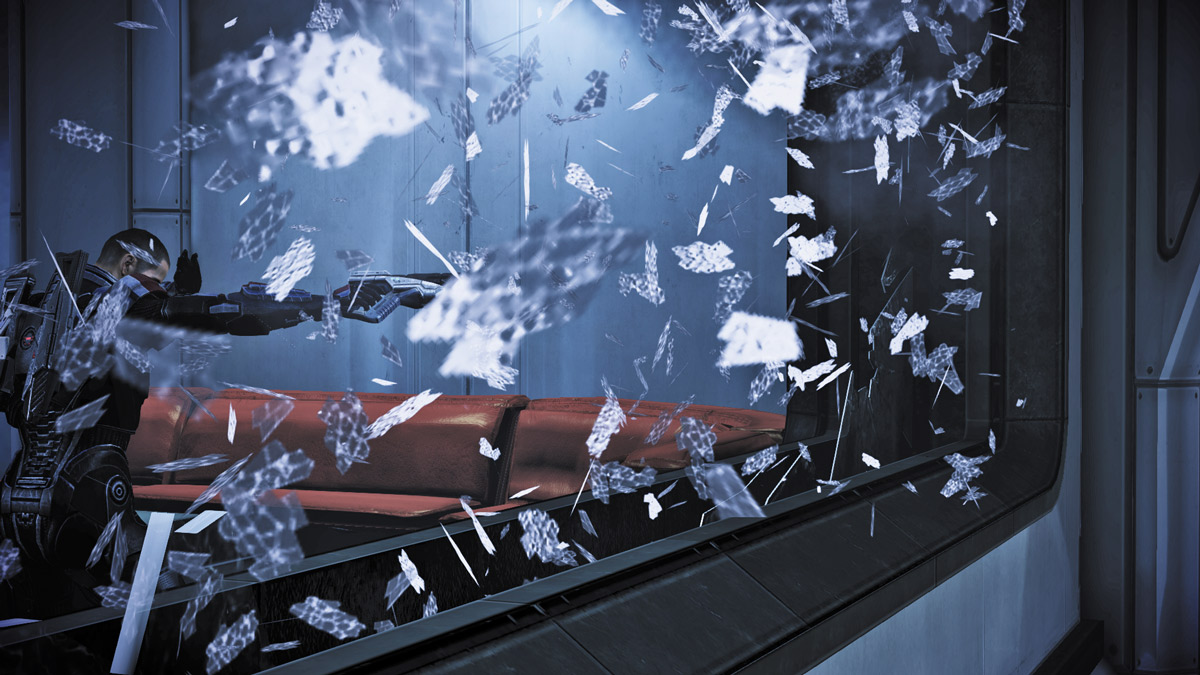
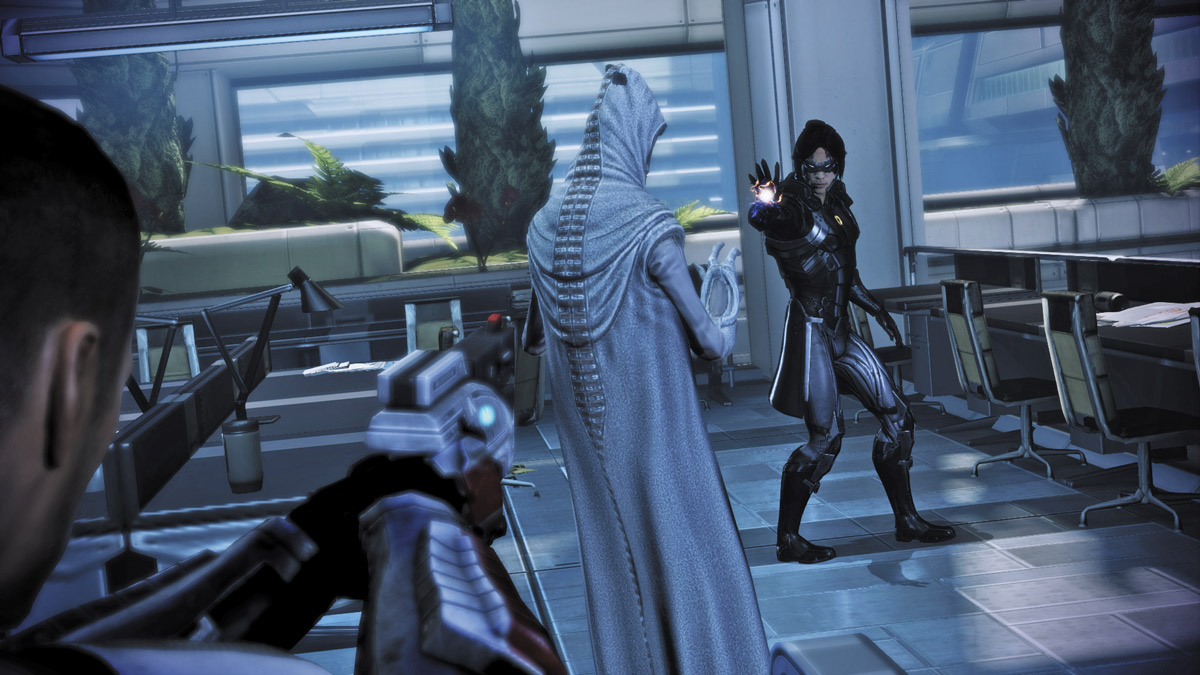
Finally, go through the far door and up the stairs, and enter the Executor’s office. The area is full of dead bodies, and the Councilor isn’t inside.
When you look out the window, back down on the dining room area below, you see the Councilor come out from her hiding spot.
Before you can reach her, however, a strange man interferes. He threatens to kill the Councilor, and you rush down in time to hold him up. As the Councilor’s life is being threatened, she reveals some shocking information about Councilor Udina.
Suddenly, the strange man, an assassin, releases a blast from his palm that tears through the Councilmember. He quickly turns around and runs.
He jumps atop a speeding shuttle that will probably take him to his next target—the rest of the Citadel Council. The Salarian Councilor was correct about Udina: He’s working with the assassin.
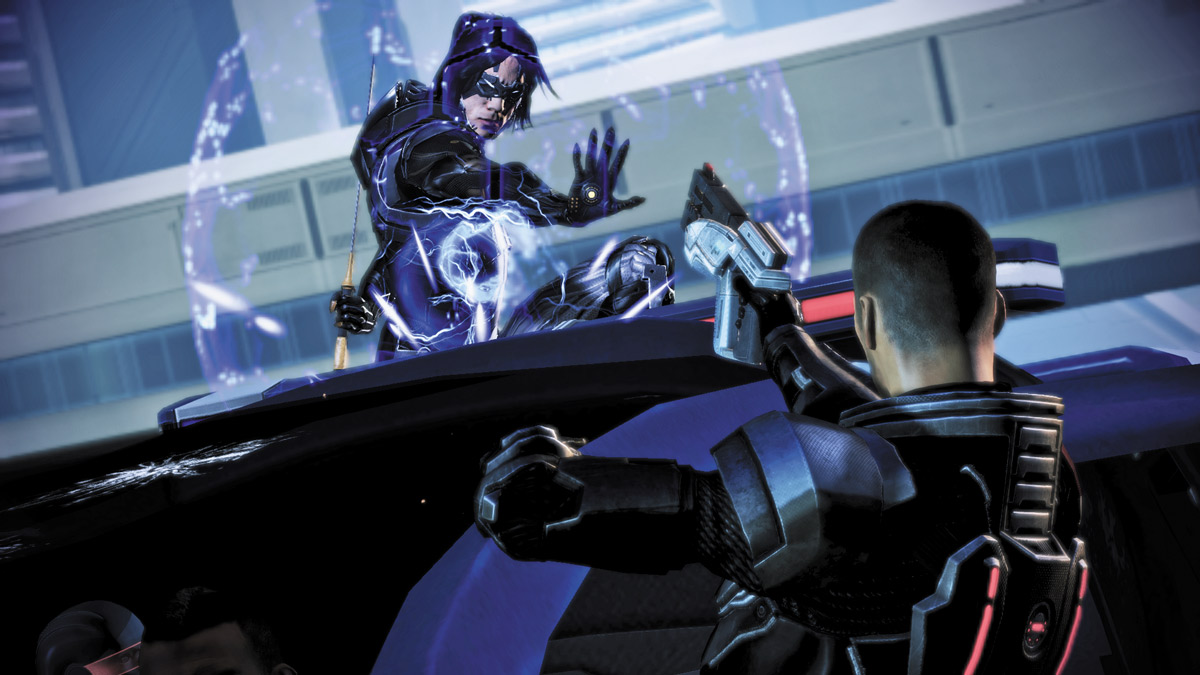
You hop into a shuttle and give chase, but the assassin pounces on your car midflight and disables it. The shuttle crashes into the Presidium.
THE PRESIDIUM
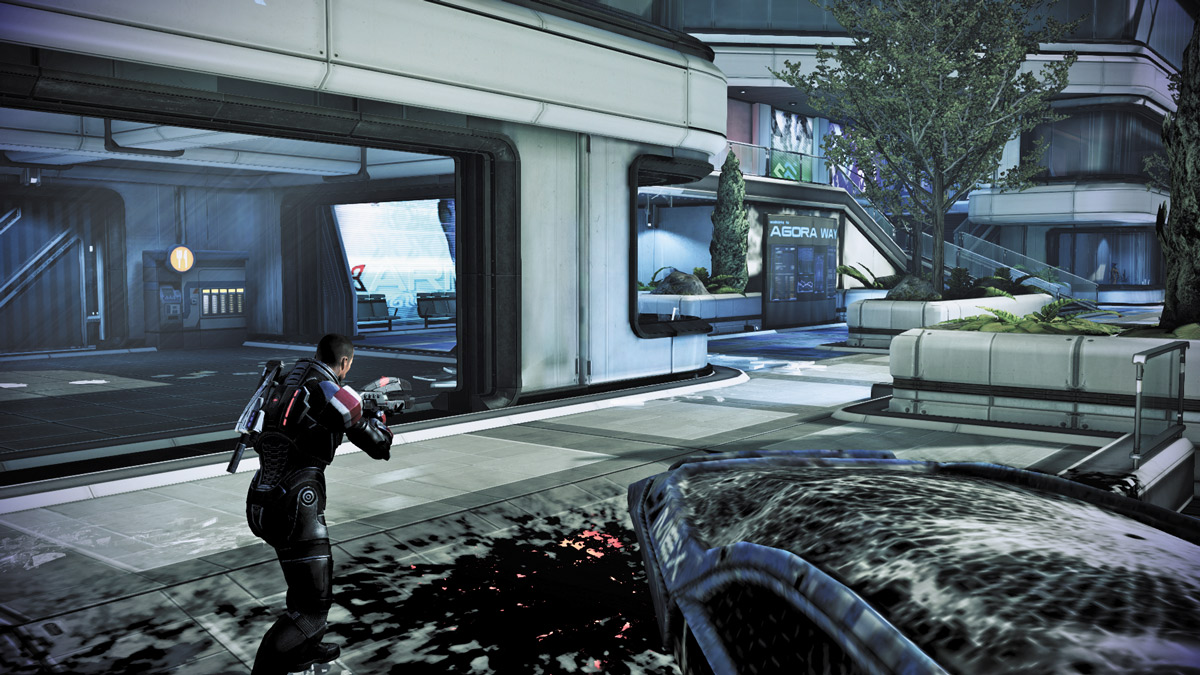
When your shuttle crashes, you stop on the Presidium. If you’ve spent any time in the Citadel, then you know the Presidium’s layout.
The long hallway is broken up by plenty of planters along its left side that provide great cover. The right edge of this floor overlooks the rest of the Citadel, so you’re better off sticking to the left.
Farther down the long hall, along the left side, are also two sets of stairs that lead up to a small perch.
APPROACH 1: PLAY IT SAFE
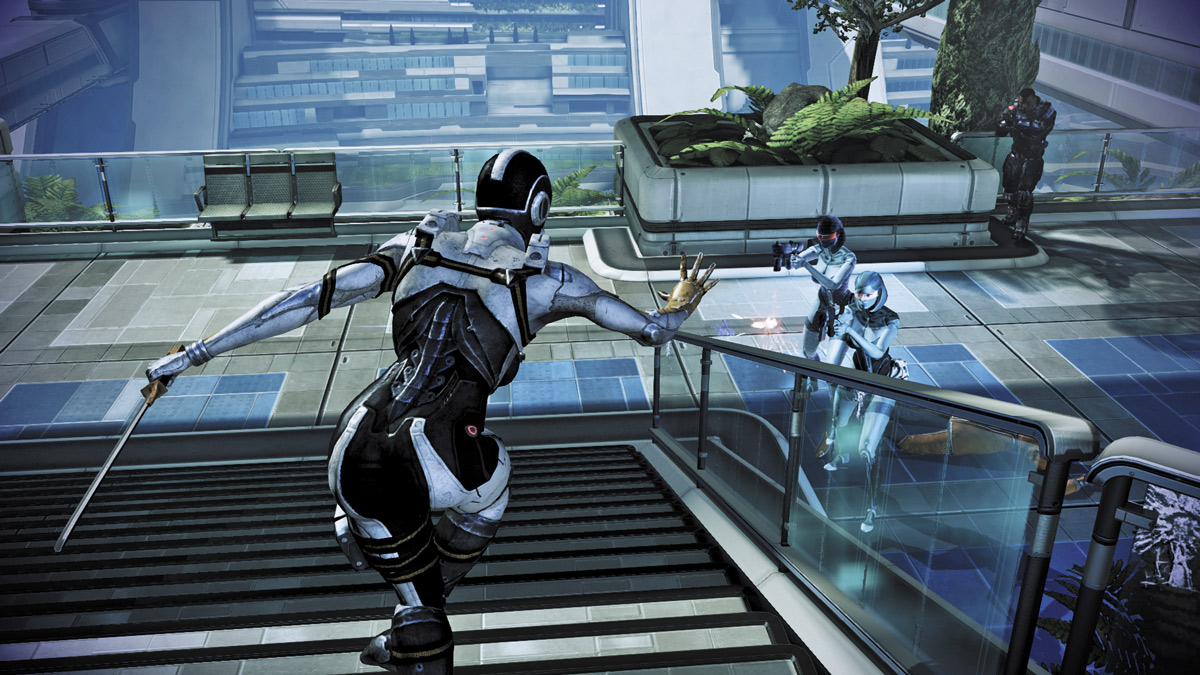
You’re facing brand-new enemies in this encounter. Phantoms are devilishly fast and slippery, so don’t rush out like you might against other enemies.
Stay behind the planters for cover and use powers to slow them down or knock them off balance. Soldiers can use Adrenaline to slow time and follow up with grenades or headshots to inflict major damage.
Adept players can also use Stasis or Singularity against these tricky foes, but you’ll have to follow up with destructive powers like Cryo Blast to inflict maximum damage. With the Phantoms gone, you can focus on the Assault Troopers and Nemesis troops.
Nemesis troops are sniper specialists, capable of causing major damage from down the hall. If you maintain cover near your landing position, you’ll have a difficult time nailing them from afar (unless you’re a sniper-proficient class as well).
When the Nemeses arrive, dash from cover to cover, up the hall, and get within close range to eliminate their advantage. Hit them with strong close-range weaponry and powers to eliminate them quickly.
.jpg)
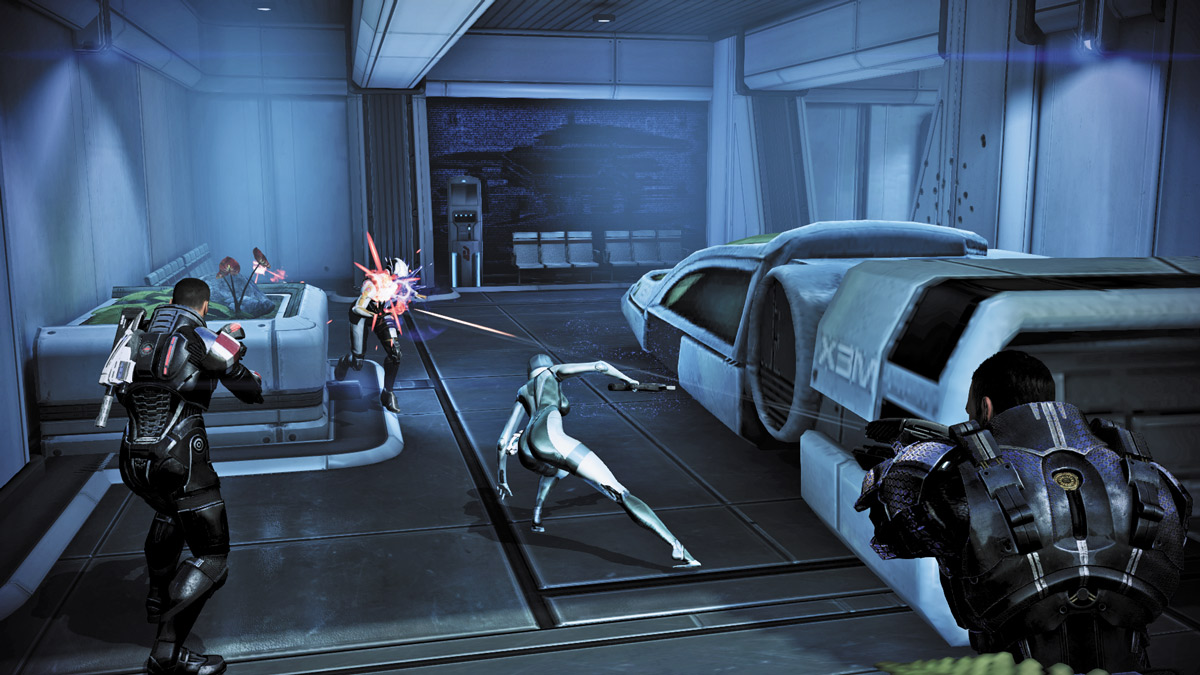
After leaping across the small gap into the next section, order your crew to take cover behind the parked shuttle on the left and behind the planter on the right.
This area is much more cramped, so your best bet is to keep cover and spread your forces as much as possible to cover as much ground as you can.
When the Phantoms attack, they’ll be forced to attack one of you, while the other two can open fire on it from close range. If the Phantoms take cover, flush them out and put them down.
Once again, when the Phantoms are eliminated, you can turn your attention to the remaining Nemesis and Assault Troops.
APPROACH 2: CREATE A BOTTLENECK AND FUNNEL
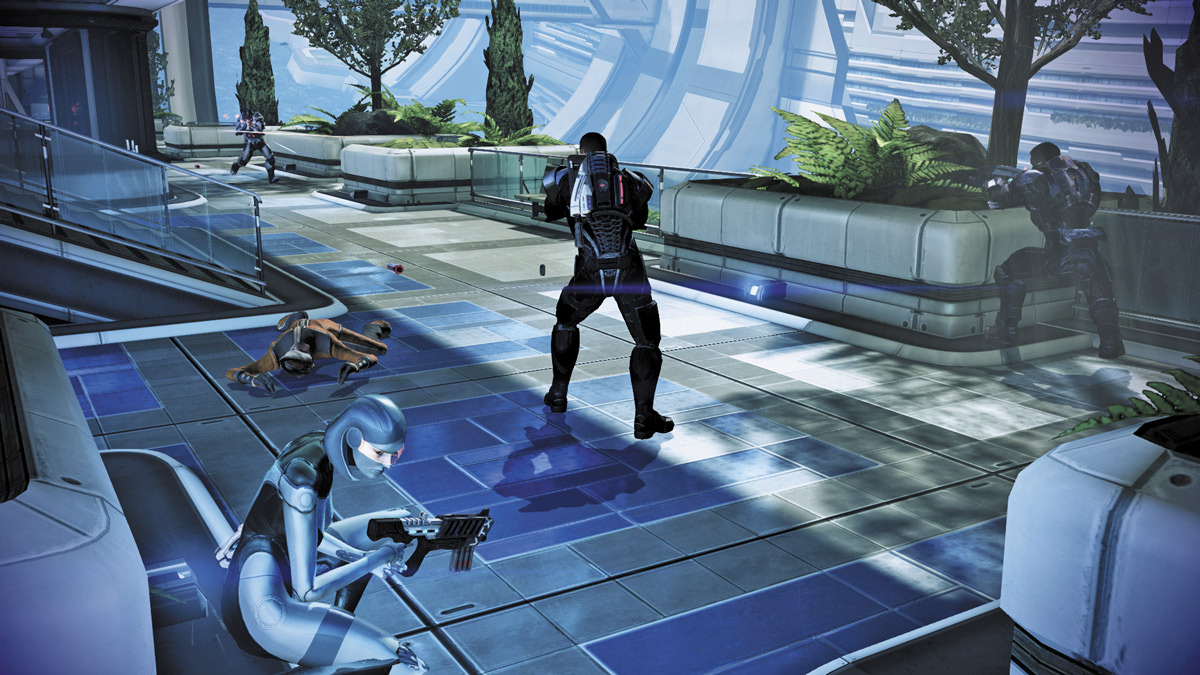
An alternate approach to this battle is to force your enemies to go where you want them to. If you allow the Phantoms and Assault Troopers to roam freely, the Phantoms will rush you quickly while the Assault Troopers pick you apart.
Instead, use powers like Singularity near the center of the hall to create a bottleneck in their travel path. This will force your enemies to either avoid it and take a more indirect route toward you or get caught up in the Singularity’s field.
Other powers like Throw can work similarly by hurling enemies into others and redirecting them. When the path ahead of you is clear of Phantoms, rush up the stairs on the left and follow them around to a flanking position behind the Nemesis troops. You’ll get the jump on them and put them down quickly.
After leaping across the small gap, once again use Singularity or a similar tactic (combat drones can also work here) to block one path from the Phantoms.
If you place the Singularity near the far left side, enemies will be funneled into the right side where you can greet them with heavy fire.
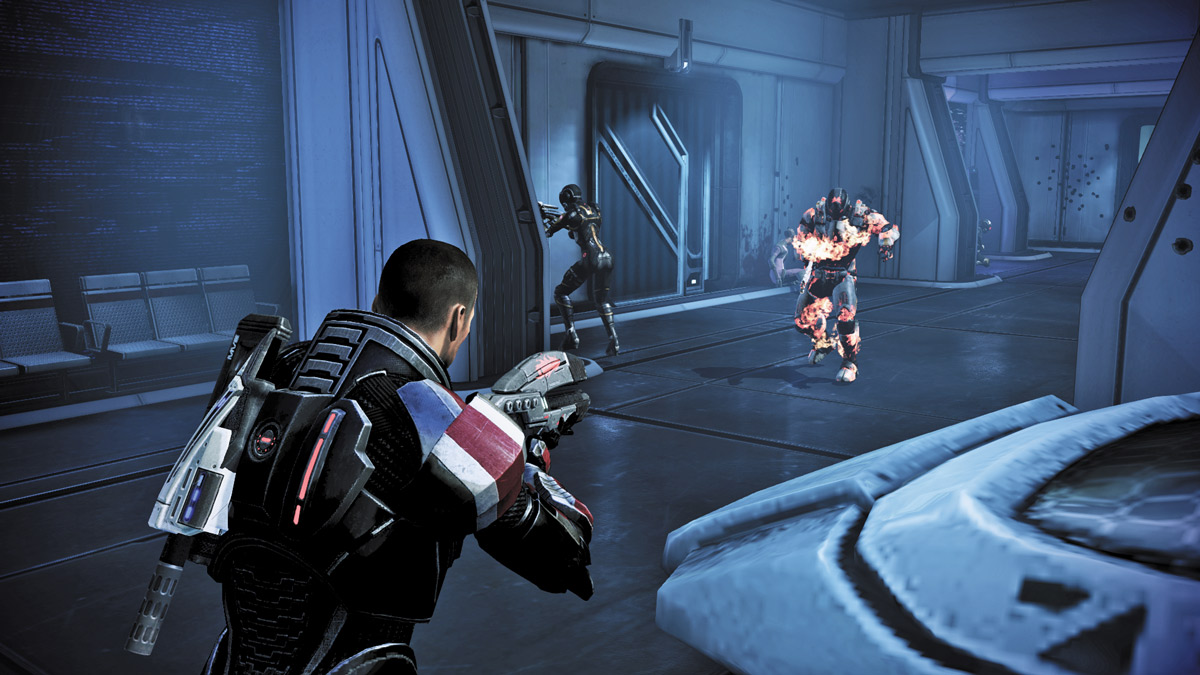
Finally, with the Phantoms out of the way, rush the Nemesis and Assault Troopers near the rear of the area to flush them out.
Nemesis soldiers will attempt to get a better position as you approach, so either pick them off as they move, or focus on the Assault Troopers in the meantime.
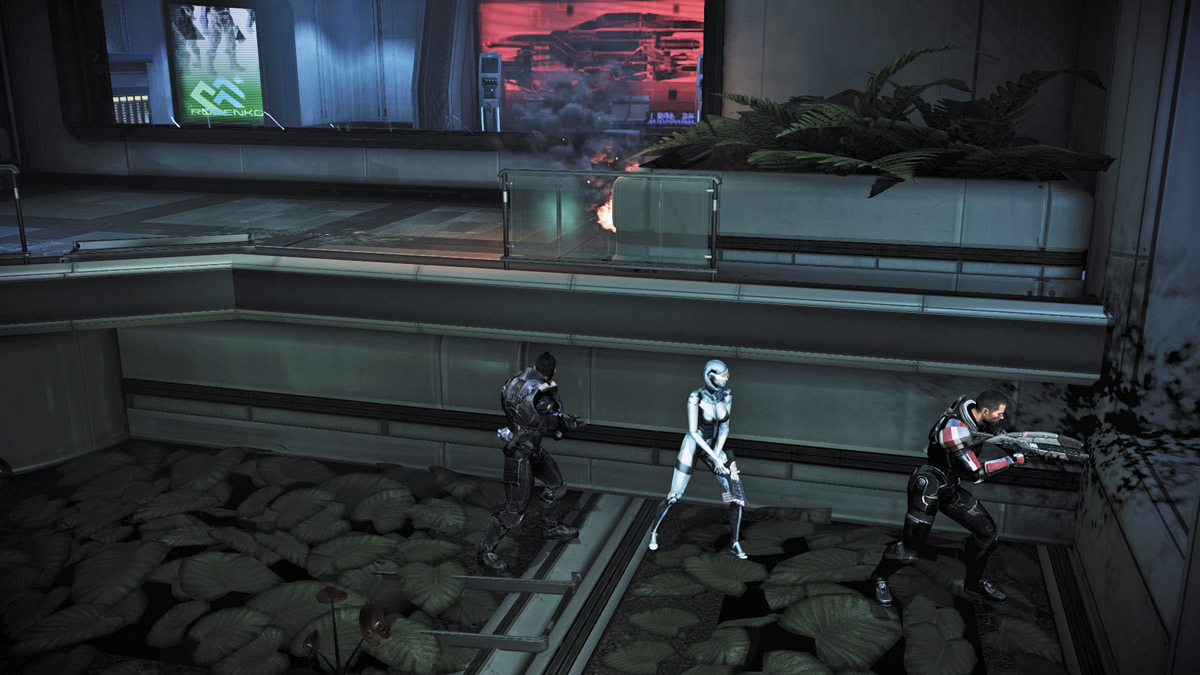
Drop down at the hall’s far right end and turn left. Follow the series of windows and ledges up to the top floor.
Pick up the credits on the ground as you travel across the outer edge of the Citadel, then reach the next floor of the Presidium, Shalmar Plaza.
SHALMAR PLAZA
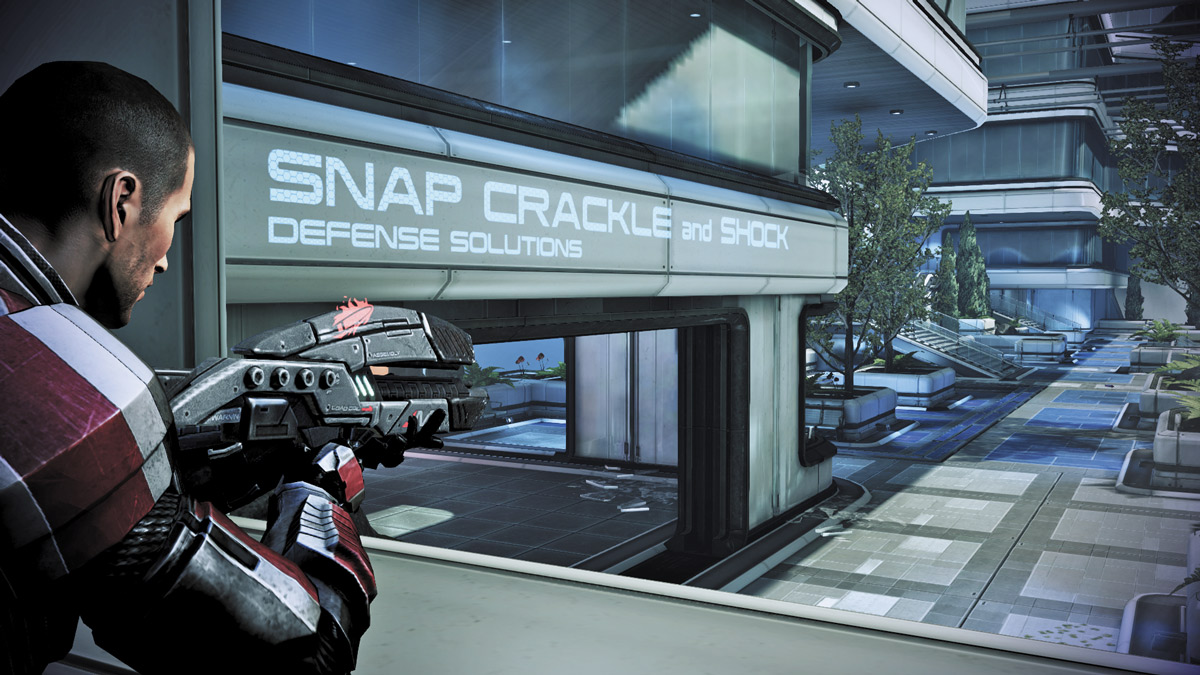
Shalmar Plaza is not much different than the previous section of the Presidium you were in. It is only slightly longer and lacks the parking bays on the left side.
Instead of encountering Phantoms and Nemesis soldiers, however, you’re greeted by a massive Atlas mech.
APPROACH 1: COVER IN THE SHOP
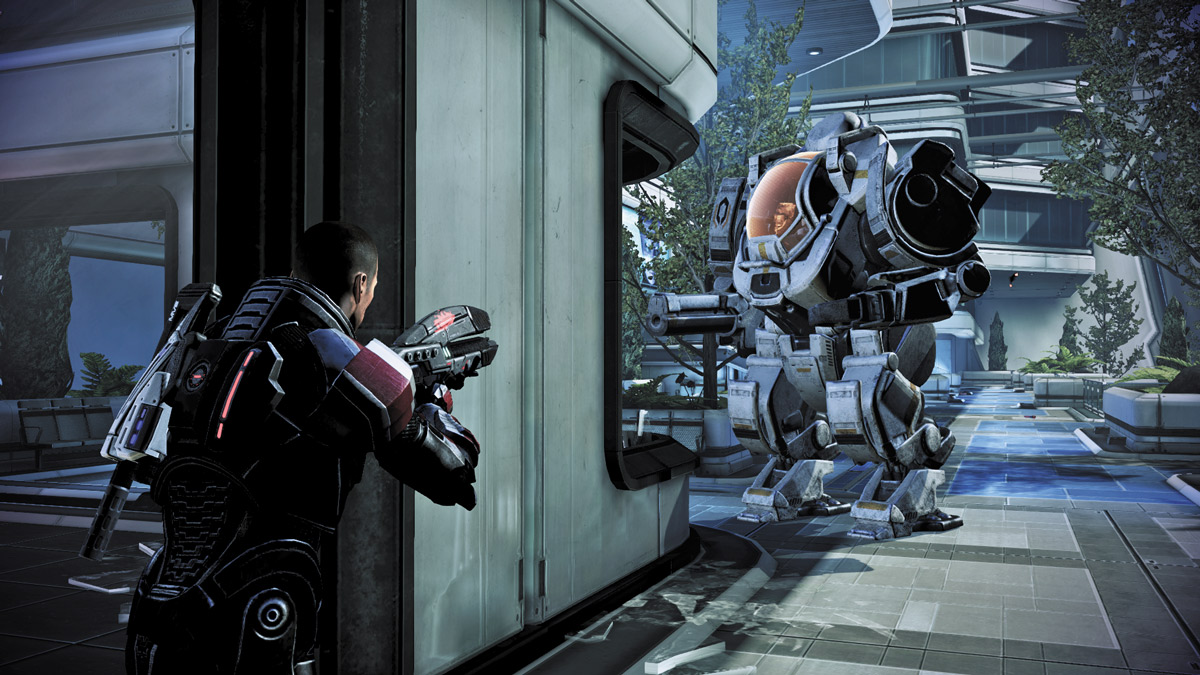
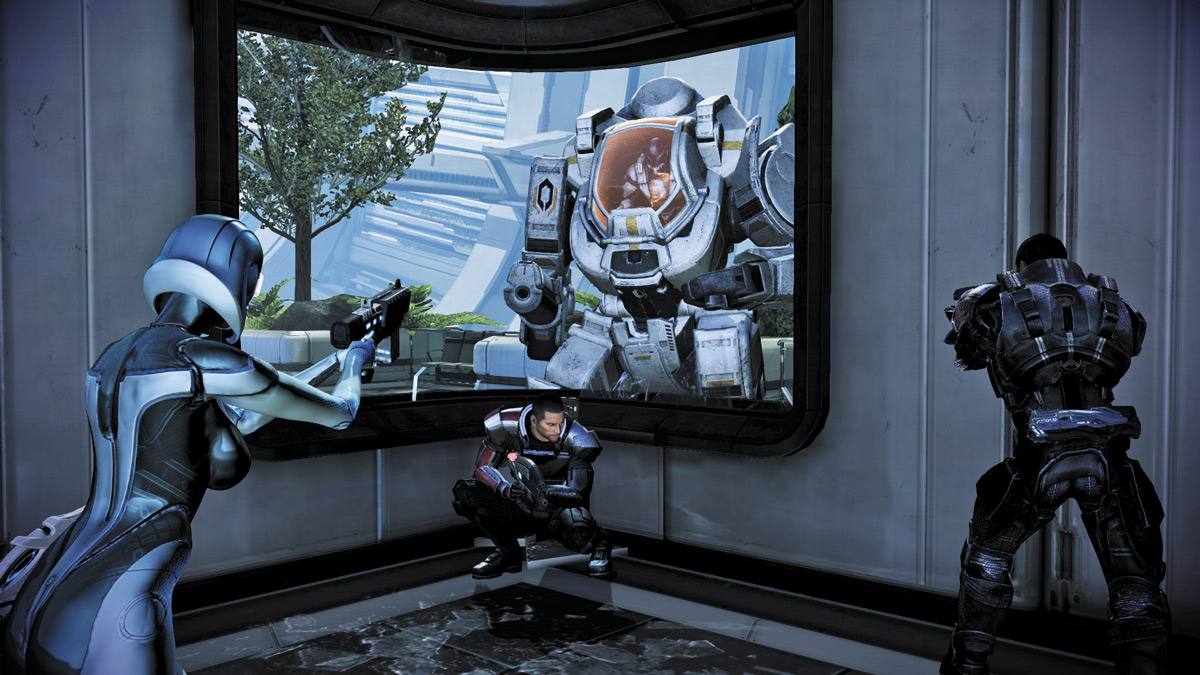
The shop on the left-hand side provides plenty of cover for your entire squad. From here, you can safely take the brunt of the Atlas’s attacks while getting a decent view of the other enemies nearby.
If you want to spread out your forces and divert the Atlas’s attention away from your crew, then take cover out by the planters on the right side of this floor while they deal with the enemies surrounding the Atlas.
Your squad may occasionally take fire from the Atlas, but if you keep the pressure on and stay out in the hall, then the Atlas will focus primarily on you. While it does, direct your squad’s fire on the other enemies and take them all down.
APPROACH 2: HIJACK THE ATLAS
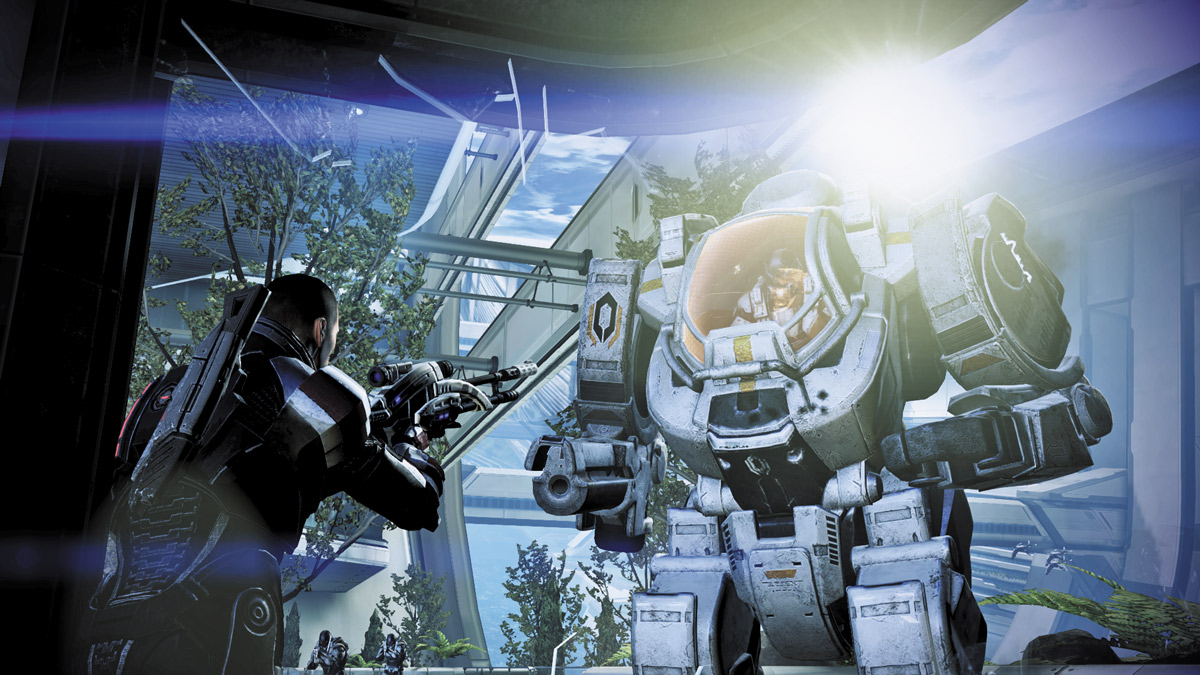
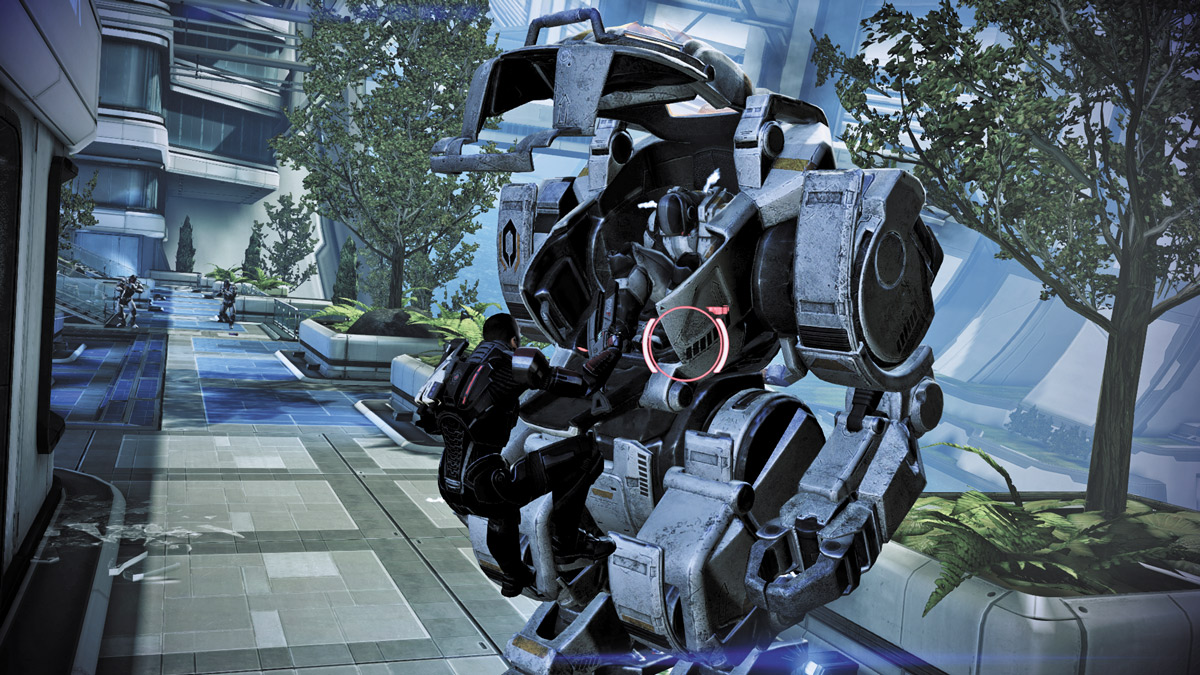
An alternate approach is to take the Atlas for yourself. Equip a sniper rifle and focus all of your fire directly on the Atlas’s cockpit. If you get nothing but direct shots on the glass, eventually it shatters and leaves the pilot exposed.
Train your weapon the pilot and open fire. A few solid shots from your sniper and he’ll die, leaving the Atlas open for you to take control. Rush the Atlas and hop inside, then turn it on the rest of the enemies nearby.
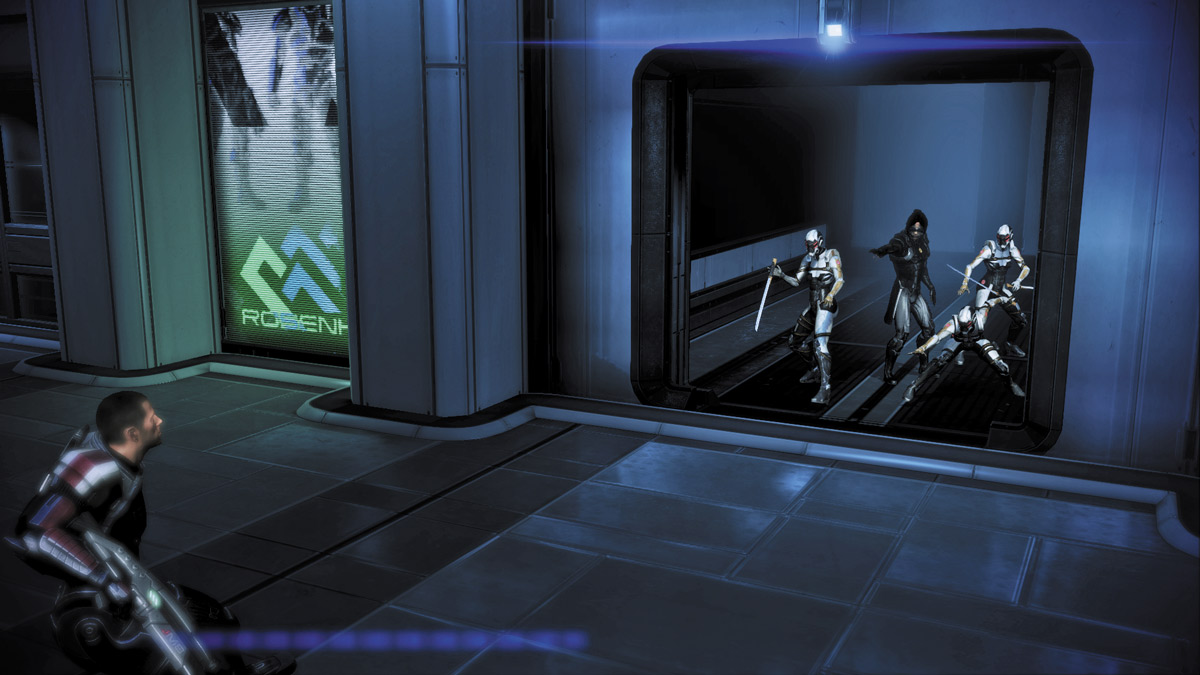
Go up the stairs on the plaza’s left side and open the door. You’ll reach the elevator in time to see the assassin get in with a group of Cerberus troops.
They’re after the rest of the Council, so you hop into another elevator shaft, landing atop a stopped elevator. Bailey activates the elevator you’re on and you go speeding after the assassin in the hopes you reach the Council first.
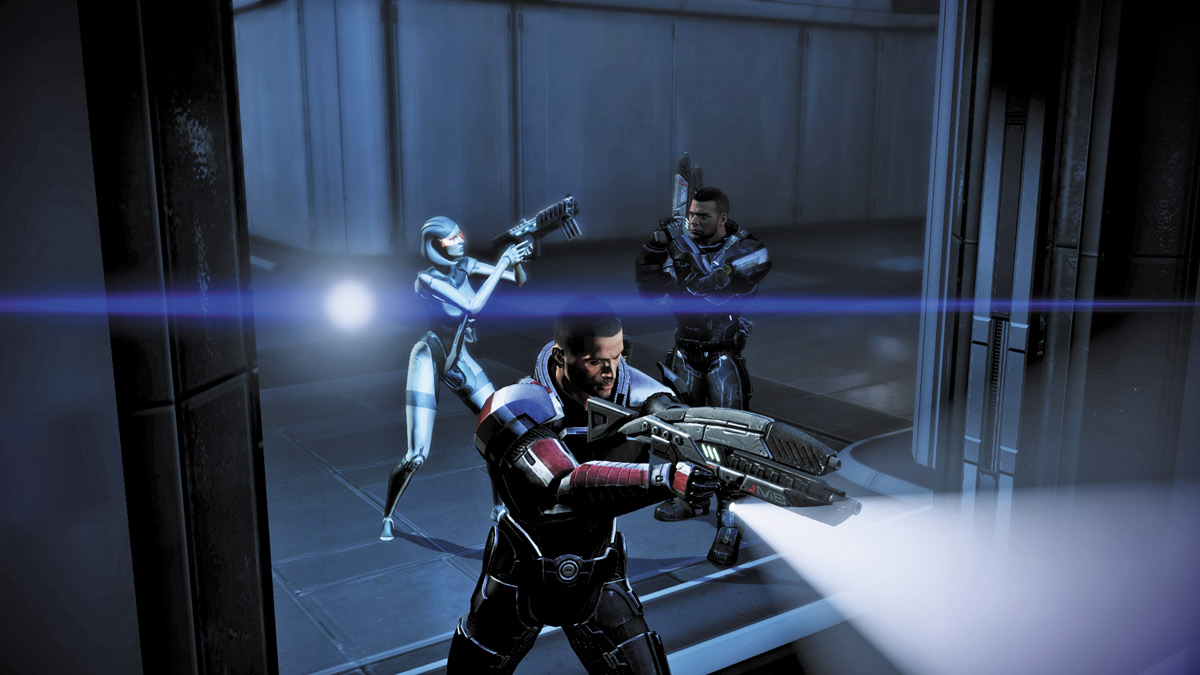
Change to a close-range weapon and prepare to engage the enemy in tight quarters. Despite Bailey’s attempts to slow down the assassin, he still manages to stay ahead of you a bit.
When you come up on his elevator, fire on the power conduits at the bottom of his ride to slow him and his goons down.
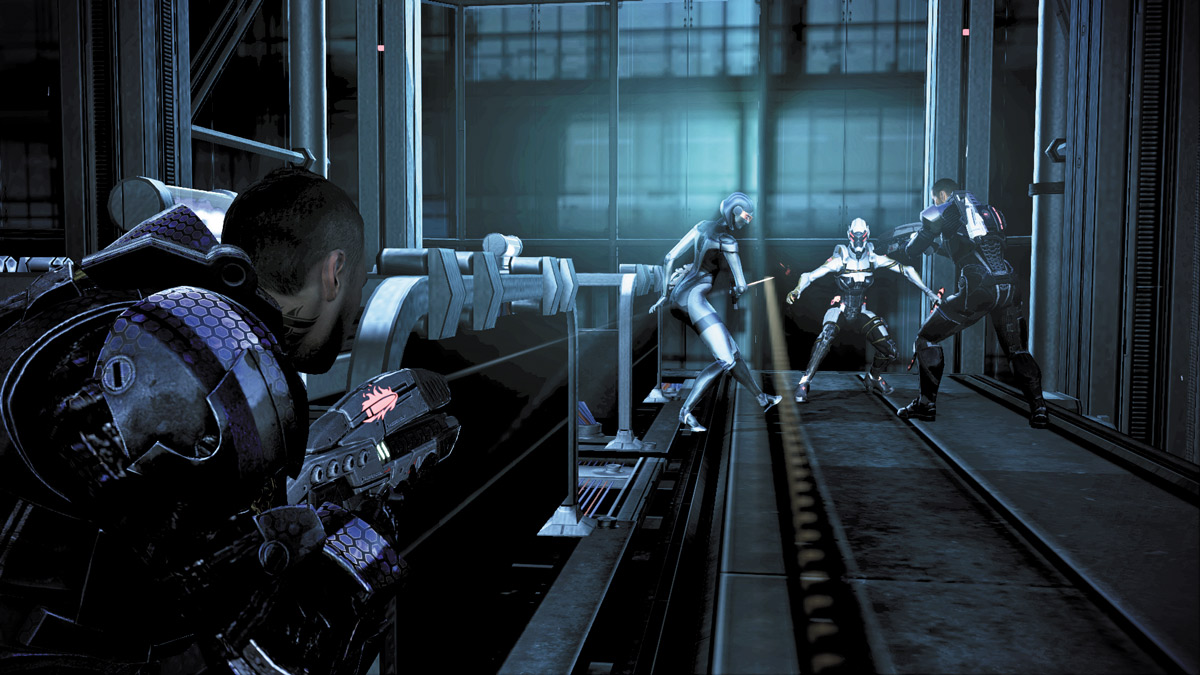
When the Phantom car pulls up next to you, take cover behind your power conduits and unleash a blast of your close-range weapon (preferably a shotgun) or hit it with strong power combinations. At this range, you’ll be able to eliminate them quickly and potentially knock them off the elevator car.
Shortly thereafter, another car will pull up next to you with three Assault Troopers. If you’re behind cover, you can deal with these soldiers quickly and easily.
A few headshots or a well-placed grenade does the trick. Once again, shoot out the power conduits on the next car and slow the elevator carrying enemies down a second time.
Put down the two Assault Troopers that zoom in from above, then jump onto the top of the next elevator car, the Council’s car, when it pulls up.
PARANOIA AND BETRAYAL
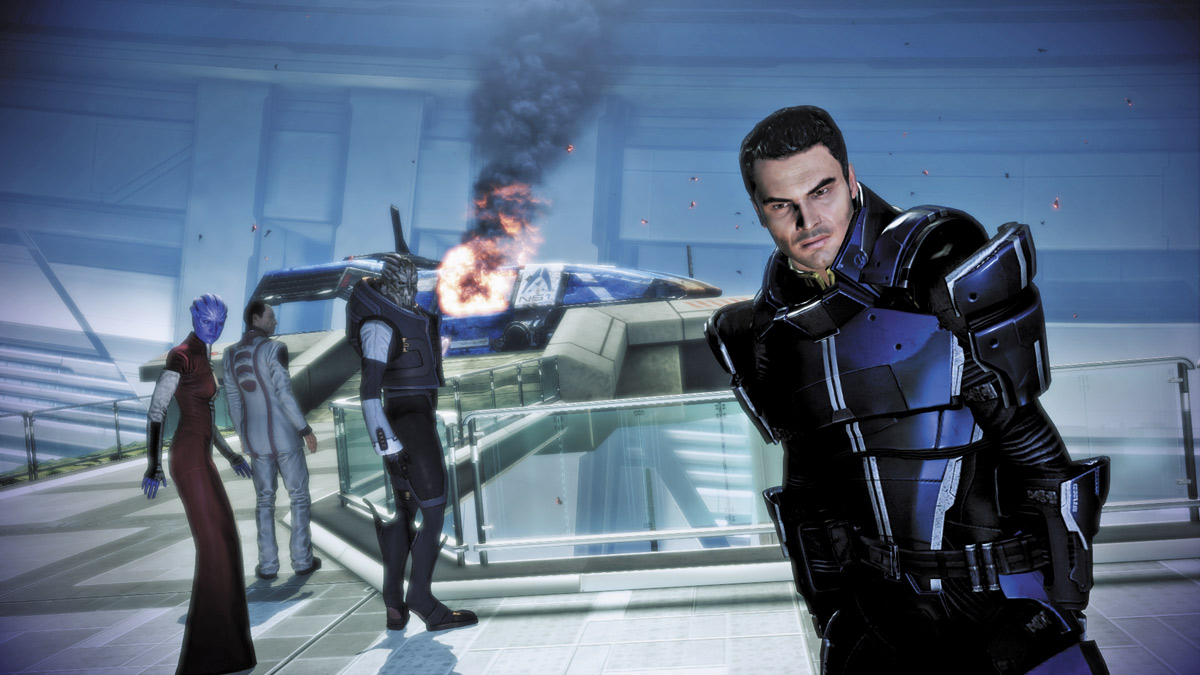
You finally manage to catch up to the Udina and the rest of the Council, and they escape their elevator car, running toward a shuttle transport.
Your ex-comrade, either Kaidan or Ashley, is now in charge of their protection and carefully escorts them to their shuttle.
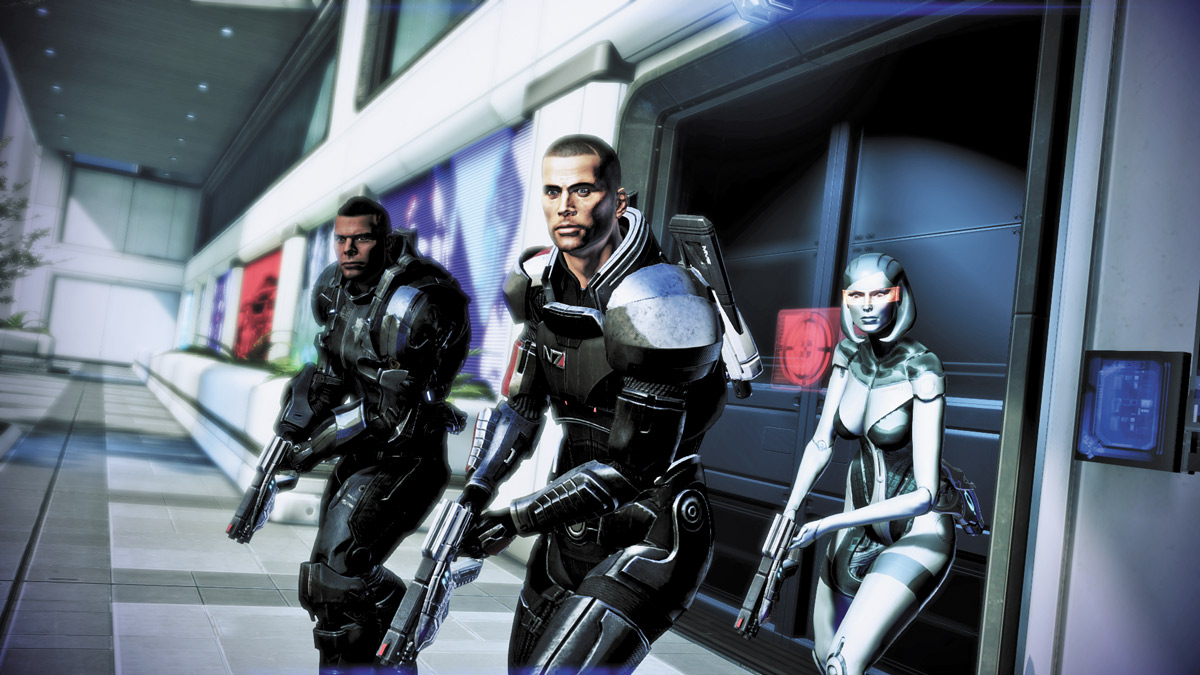
.jpg)
However, when they see you exit the elevator with your weapon drawn, you immediately become suspect number one.
The following conversation between you and Kaidan or Ashley not only grants you Paragon/Renegade points, but also determines whether they will join your squad for the remainder of the game.
If you’ve visited them in the hospital, brought gifts, and kept a positive open line of communication with them, they’re more likely to trust you when you try to convince them that Udina is the enemy, not you.
When the time comes, you’ll have to choose whether to shoot your ex-comrade or talk them down. Shooting them will eliminate them from the game, and you’ll be unable to recruit them.
If you talk them down, you’ll also get a Renegade opportunity to shoot Udina as he attacks the other Council members. If you allow the Renegade opportunity to pass, your ex-comrade will shoot Udina in your place.
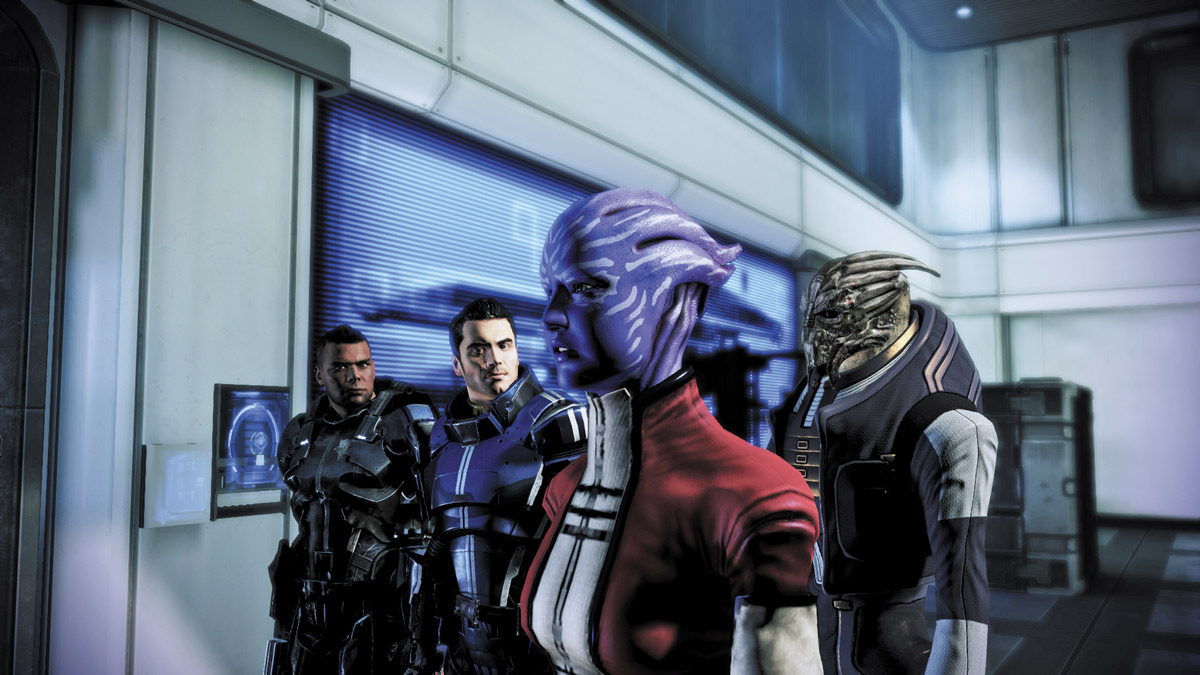
In the end, your efforts to save the Council succeed, and Udina’s traitorous actions are exposed.
You lose track of the Cerberus assassin—he escaped when he saw that C-Sec was operational again—but you’re certain to get another opportunity to take him down.