
Mass Effect 3 Guide Walkthrough Act 1
Extract Turian Survivors
.jpg)
To set out on your next mission, speak with Primarch Victus in the war room. He’s tight-lipped about the details, but he does let it slip that his son was in charge of the failed mission to Tuchanka.
Now that they’ve been pinned by Reaper forces on the krogan home planet, the turian mission has stalled. It is of high priority that the turians complete their top-secret mission, and rescuing them from behind enemy lines will allow them to do so.
Your mission is to reach the stranded turian squad and rescue them from behind enemy lines.
.jpg)
As soon as you land, you find the planet war-torn, and communication is hard to maintain. The only way to communicate with Lieutenant Victus is to have the Normandy patch you through and act as a relay.
The lieutenant is in a tough spot, and you’re his only hope at the moment. Get moving.
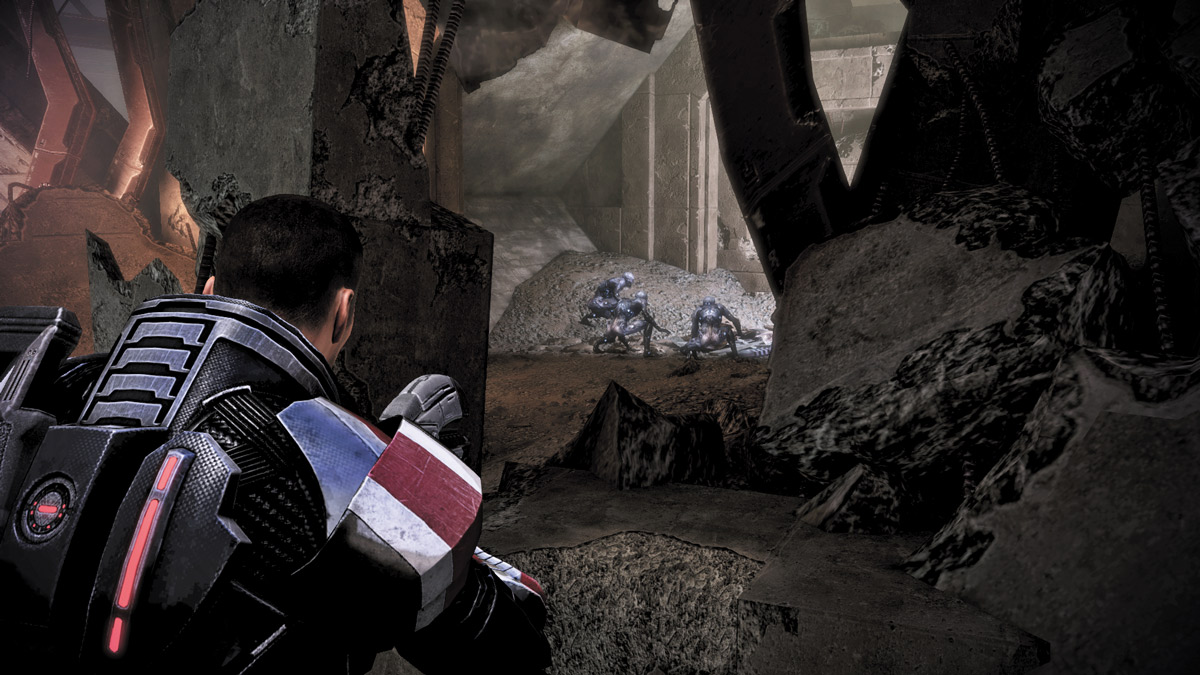
Go up the ladder on the right and follow the dark winding path to a small opening. There, in the dimly lit passages, you can spy several Husks hunched over, waiting to ambush a passerby. You’ve got the element of surprise, so use it.
Either use devastating power combos to blow them all up or open fire on them from behind.
You can probably destroy one or two before they realize what is happening. If they slip away from your sights before you can attack, use grenades or Singularity to slow them down.
Otherwise, a few solid melee attacks and close-range fire will cut them down.
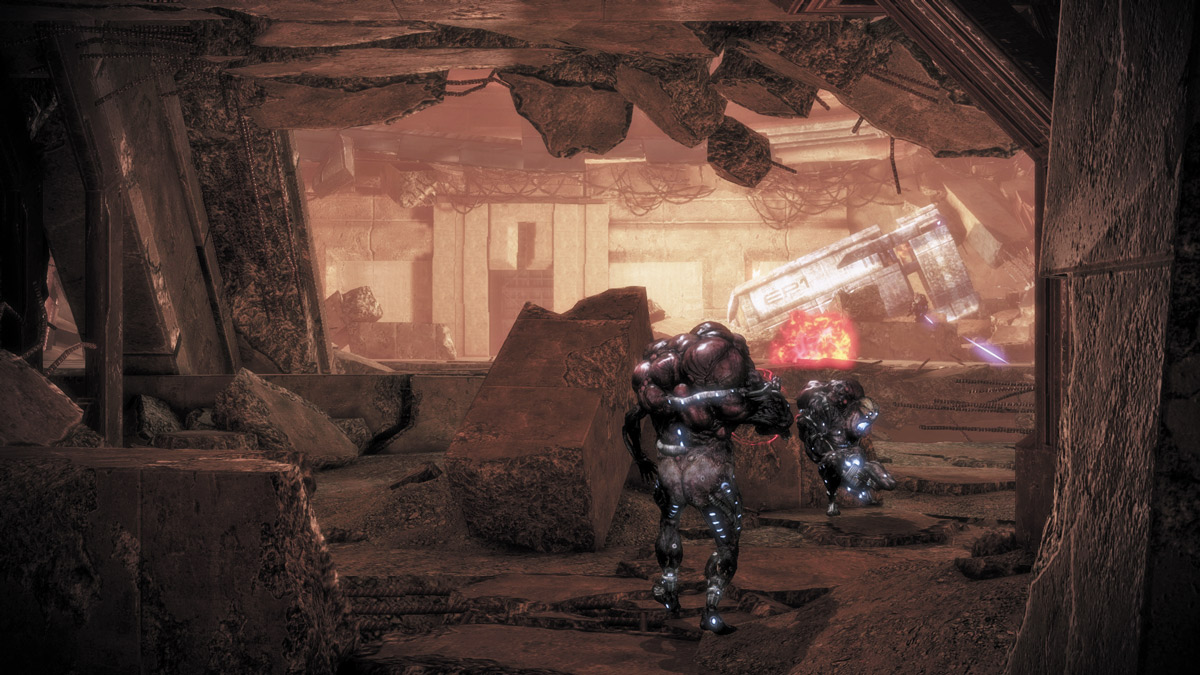
Deeper down the path, you’ll encounter a crashed pod surrounded by several Cannibals. Once again, you’ve got the element of surprise and can easily rush up to the first Cannibal without it noticing your presence.
Stay low as you slide from cover to cover until you’re nearly directly behind the Cannibal.
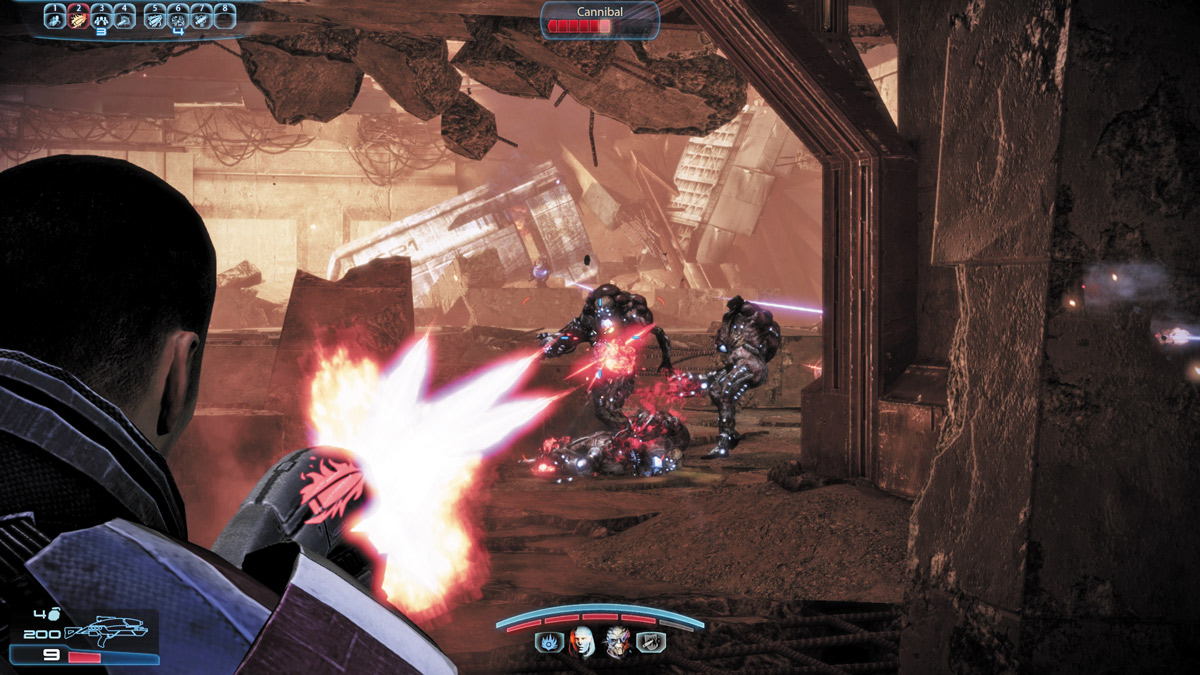
Open fire to get its attention and put it down. Quickly order your troops to engage the other Cannibals nearby before lining up the entire squad near your position and taking protective cover near the farthest fallen pillar.
After destroying the Cannibals, leave your squad behind the pillar, while you go up the ladder to the right.
.jpg)
Turn left after climbing the ladder and aim at the Harvester that landed across from the small chasm near the crashed shuttle. Open fire with everything you’ve got, but stay behind cover as much as possible.
The Harvester’s attacks can be extremely devastating if they hit you directly.
You can’t destroy the Harvester yet, so your goal is to divert its attention away from the turian team and the crashed escape pod. By splitting up from your team, you give the Harvester several different targets.
Focus your fire on the small, blue circle near the bottom of the beast. After sustaining too much damage, the Harvester flies away, leaving the turian squad alone.
Go down the path to the right and move to the next point.
.jpg)
Follow the path down the ladder and past more rubble until you find another small firefight raging between the turians and the Reaper invaders.
.jpg)
.jpg)
There is no reason to get too fancy during this encounter, since the Marauders and Cannibals in the area are out in the open. You have the benefit of better cover than they do, so use it wisely.
Take cover behind the fallen pillars and begin peppering them with weapons fire and power combos until you’ve utterly demolished them.
Once the first batch of enemies is destroyed, the Harvester returns. This time, its health has been replenished, so begin firing on its weak spot again to deplete its health quickly.
Spread your squad across the fallen pillars so everyone has cover, and split the Harvester’s attention across several fronts. If any Husks get in the way, dispatch them quickly, then return your attention to the Harvester.
Once again, the Harvester flies away after sustaining too much damage. When it does, make a right, drop down a small ridge, and continue down the path toward Victus and his men.
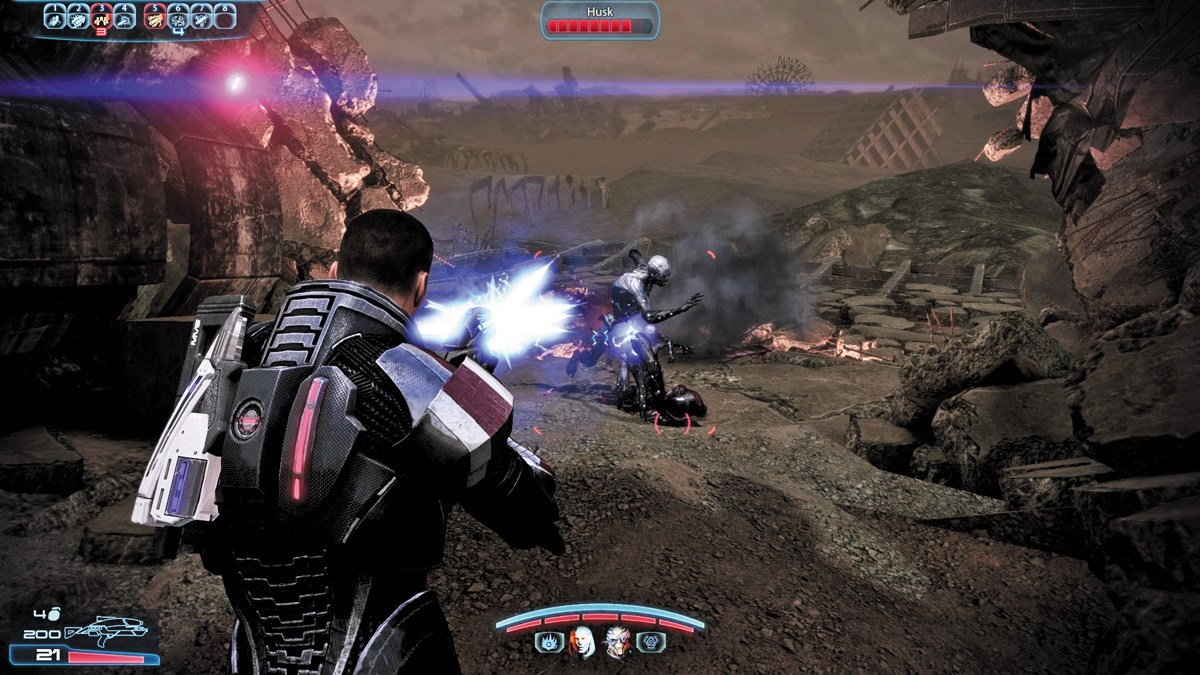
The Harvester drops off another batch of Husks farther down the path. Take cover and open fire on them to bring them down quickly. Keep moving, pick up the Salvage on the ground to score some credits, and descend another ladder, going deeper into the Tuchankan battlegrounds.
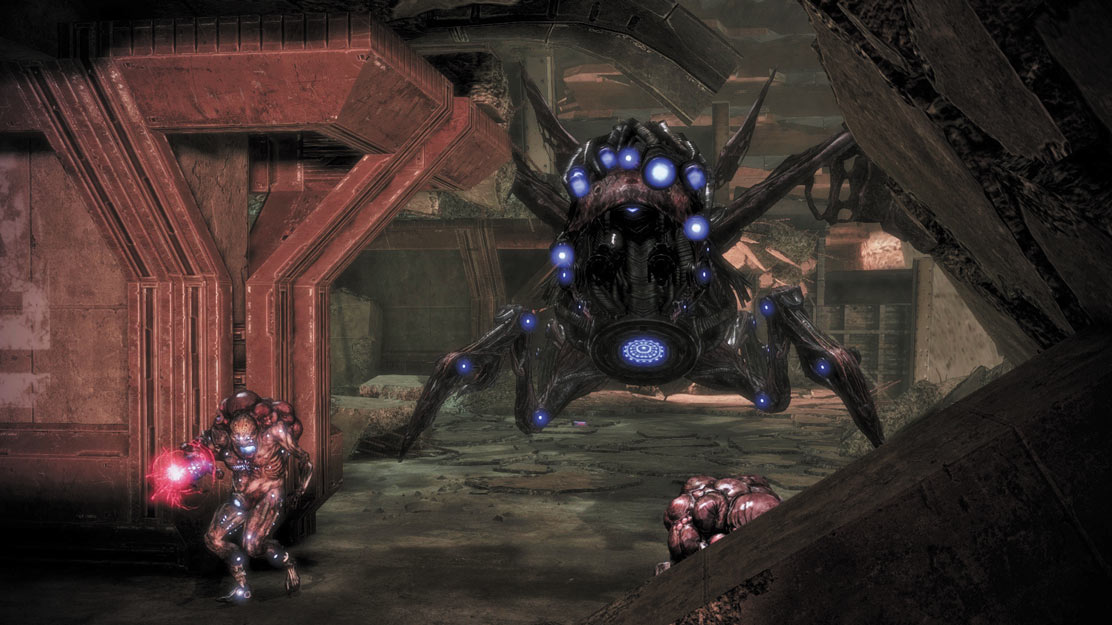
As soon as you descend the ladder, turn left sharply to greet the oncoming Cannibals. Toss a grenade ahead of you, or use a similarly explosive Biotic power. Make short work of the Cannibals, because the Harvester is directly behind them, and its attention is focused solely on you and your squad.
The sooner you eliminate the Reapers between you and the Harvester, the better.
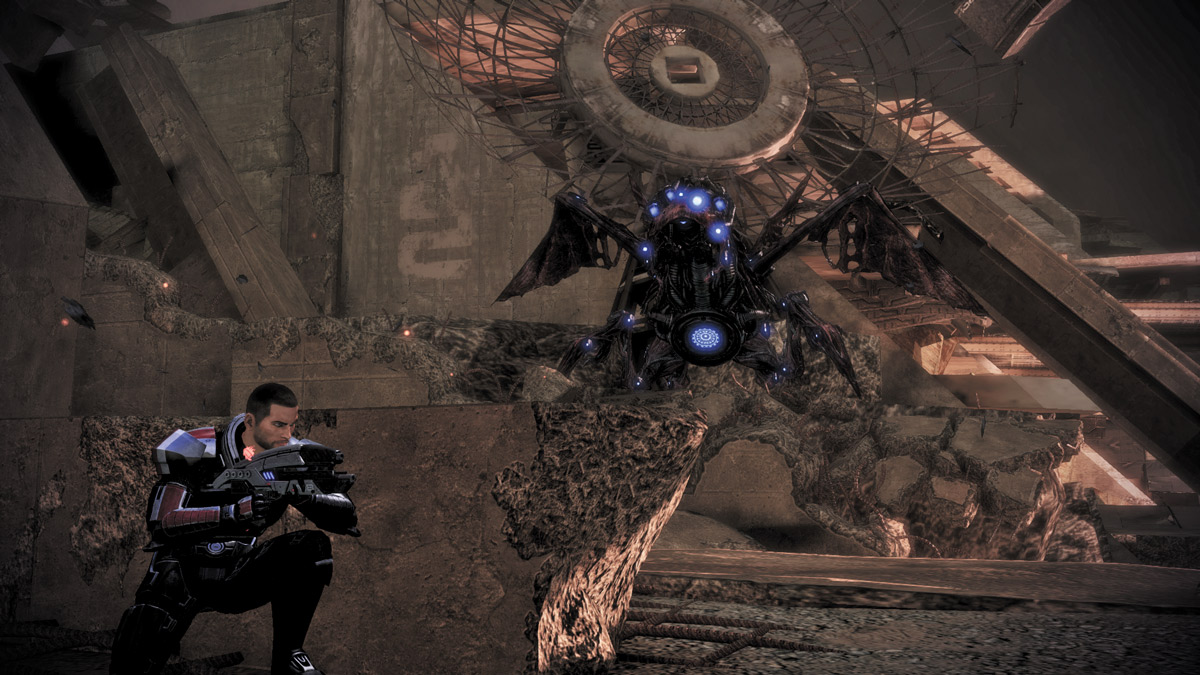
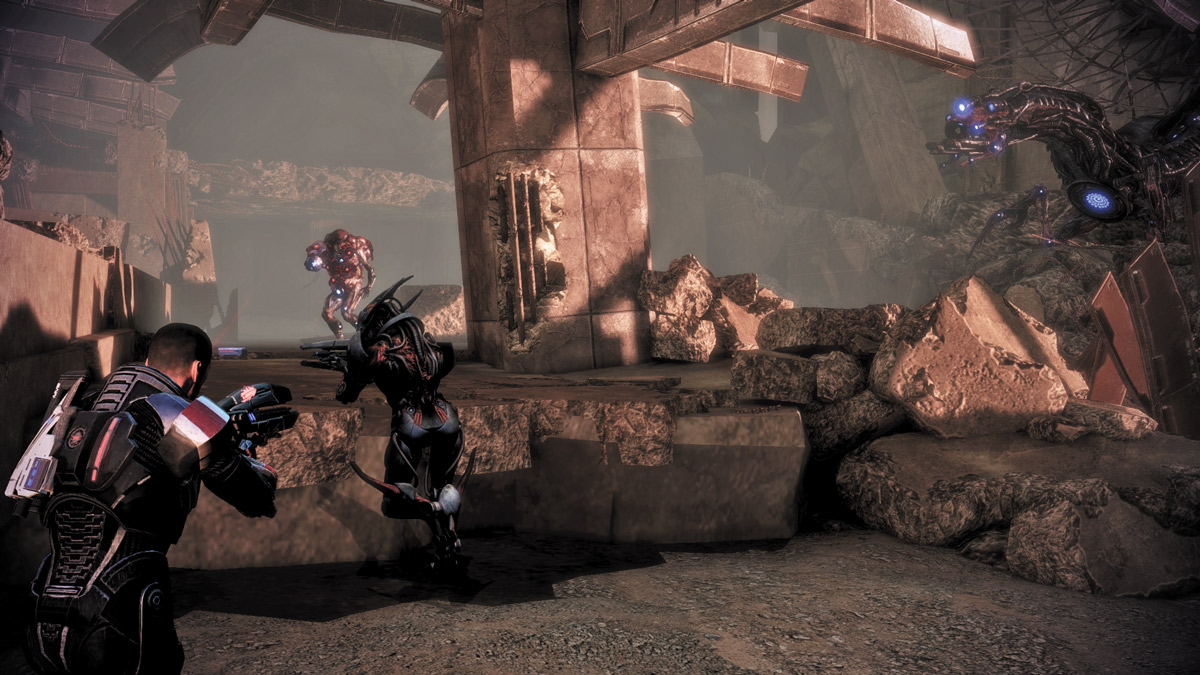
Once they’re gone, rush up the debris-filled path and order your squad to take cover behind the rubble just ahead of you. Stay back a bit, behind cover of rubble, and open fire on the Harvester one more time. Carefully duck for cover and pop out only to fire when it’s safe.
The Harvester retreats a third time, but it doesn’t go very far. Follow the rubble around the corner to the left and take the fight to the group of Marauders and Cannibals waiting to ambush you. There’s plenty of rubble and debris here as well, so both you and your enemies will have plenty of cover to use.
Rely on powers, grenades, and quick flanking maneuvers to flush them out of cover and allow your squad to inflict heavy damage. Shred the enemy forces and keep moving. You’ll encounter several short drops leading down and around to a larger battle area.
APPROACH 1: HUG THE REAR WALL
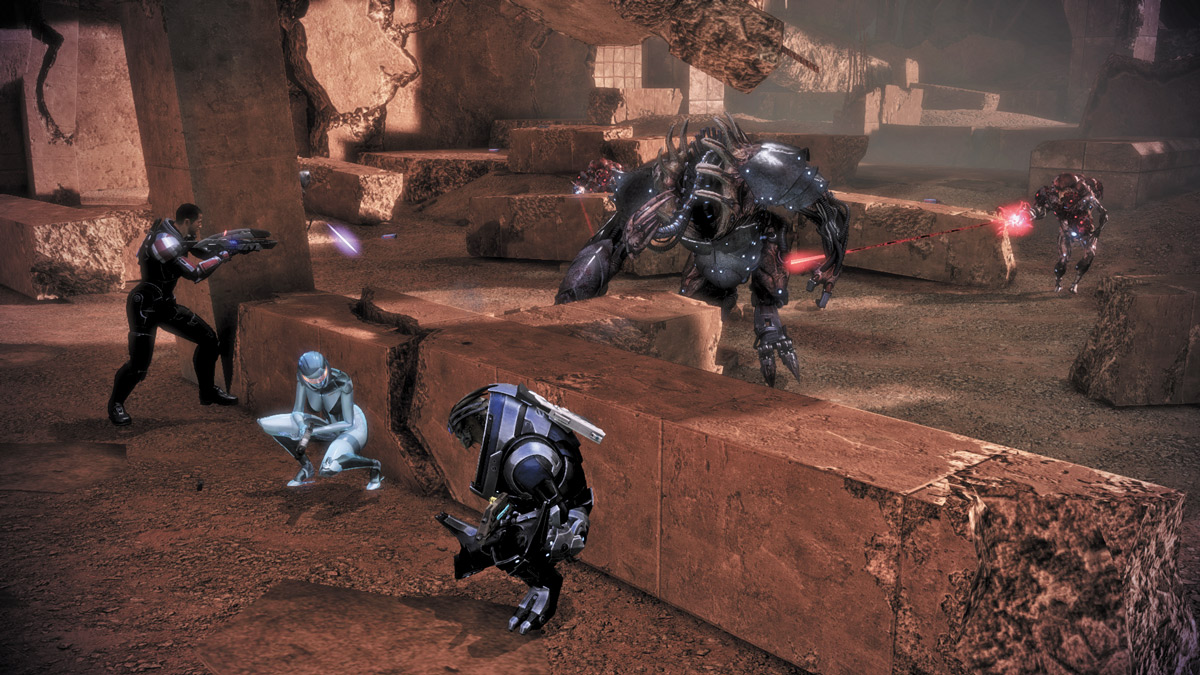
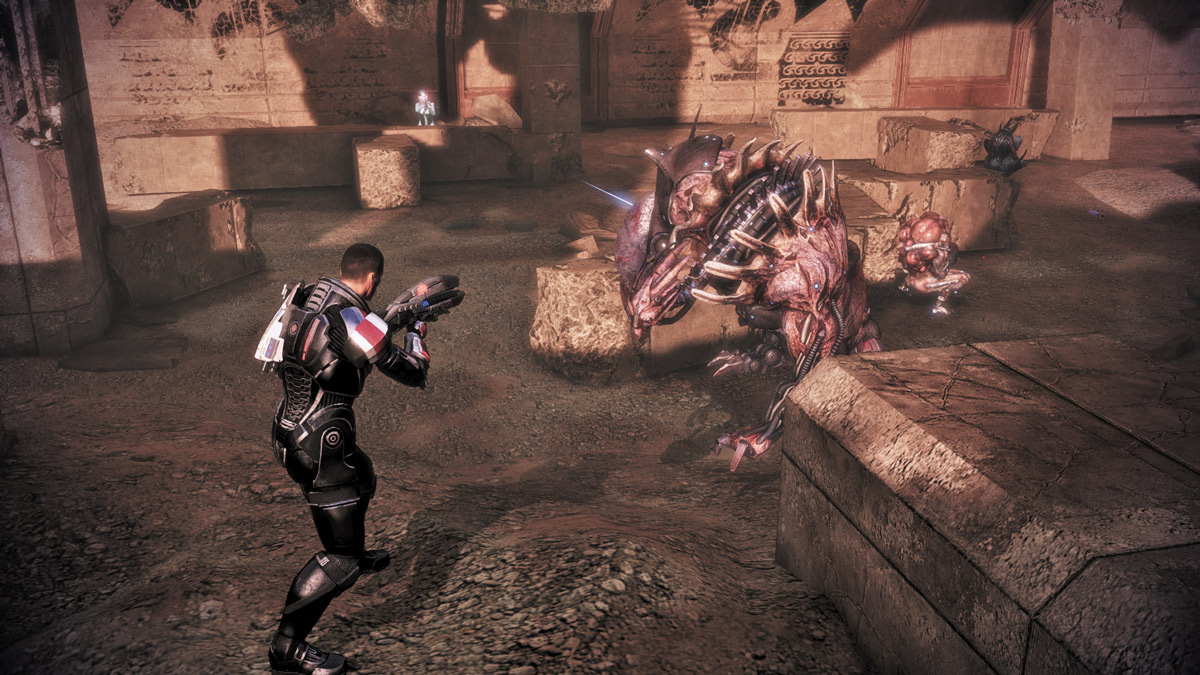
When you finally reach the next stage, the battle rages in a wide-open area full of more fallen pillars. Order your squad to take cover behind the rubble along the far left (rear) wall. This will give you a great vantage point of the entire battle area while maintaining a safe distance from the majority of the enemies.
Keep a close eye on the Brute and monitor its movements. If it’s at a safe distance, focus your attacks on the nearest enemies, taking down Marauders first, then Cannibals. As soon as the Brute charges you, dodge out of the way and open fire on it as it passes you by.
Relocate to another position and resume your attack on the Reapers nearby. If the Brute stays too close, order your squad to distract the lesser enemies, while you focus on the Brute.
If you’re an Engineer-class player, use a Battle Drone to further distract pesky enemies. Vanguard players can also use a Biotic Charge/Nova combo to whittle down the Brute’s health.
APPROACH 2: TWO LINES OF FIRE
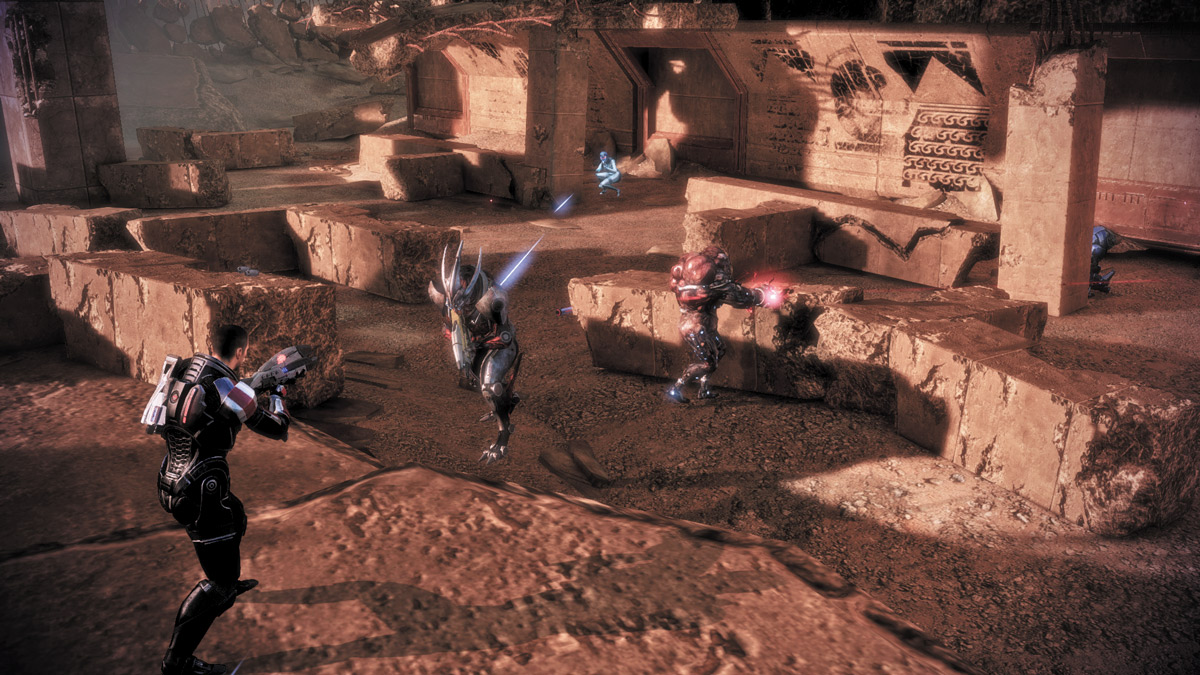
A second approach, one slightly more dangerous, is to split up the squad into two attacking parties. Send your two squadmates along the far left wall, while you fight your way up the right ridge. This creates an L-shaped wall of fire across the battle area.
The only dangerous part of this approach is that you’ll spread your line a bit thin and be out in the open by yourself. If the Brute turns its attention to you, hide behind cover as much as possible and pop out only to fire on it.
Direct your squad to use their powers on the Brute, and it’ll temporarily redirect its attention away from you. Take advantage and fire on its backside when it does.
HARVESTER BATTLE
APPROACH 1: REAPER BLACKSTAR
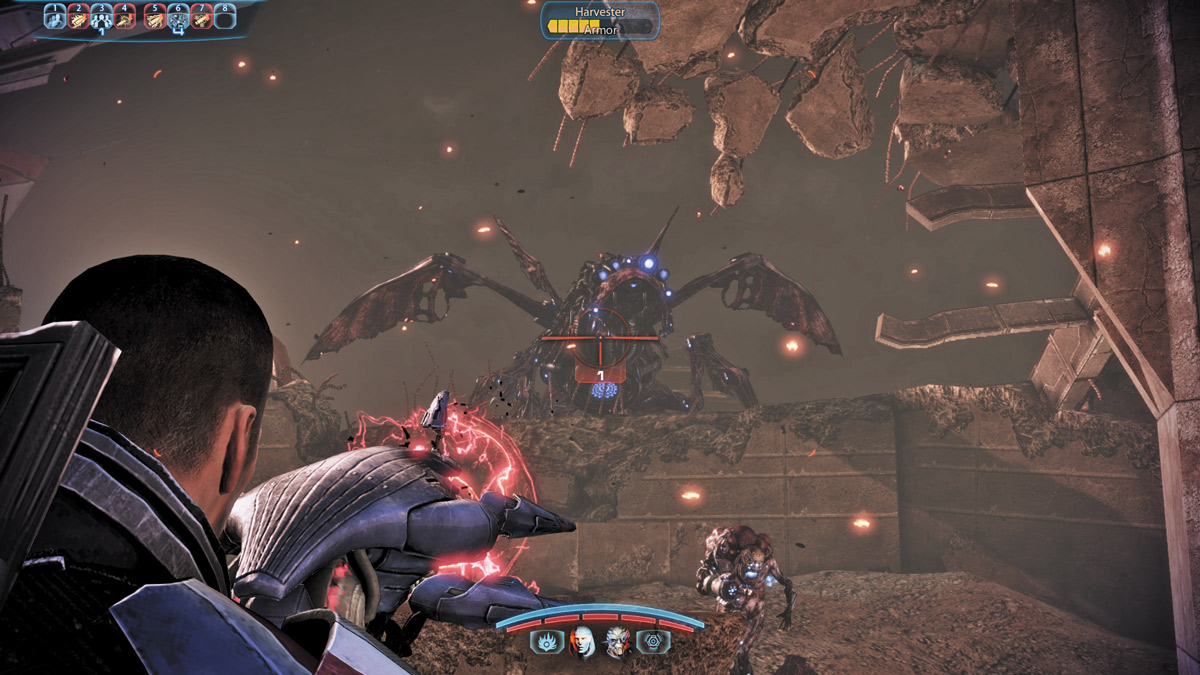
When the Harvester arrives, be sure to have the Reaper Blackstar handy. Its one-shot kill capability makes it the perfect weapon for taking out the pesky Reaper. If you haven’t taken out all of the lesser enemies yet, now is a good time to do so.
Clear out as much of the area as possible before picking up the Reaper Blackstar. Avoid the Harvester’s incoming fire and grab the Blackstar when you’re ready. Take cover behind a fallen pillar, then wait for the Harvester to stop firing at you or until it starts firing at your squad.
When it does, pop out of cover and let loose the Reaper Blackstar. One direct hit and it’s done.
APPROACH 2: STANDARD FIRE
.jpg)
.jpg)
The other, standard way of taking down the Harvester is to approach it the same way you’ve done so the previous three times. Take cover and pick your shots. You have a lot more debris here to use for cover, so don’t hesitate to move from cover to cover and keep the Harvester guessing.
Pick your shots carefully and open fire on it as steadily as possible. Eventually, the creature goes down.
With the Harvester gone and the area clear of all enemies, you can finally meet up with the turian platoon at the far end of the battlegrounds.
When you reach the group, the men have begun turning on their leader, Lieutenant Victus. Now is your opportunity to either gain Paragon or Renegade points. As Victus tells you about their mission, respond with encouragement to gain Paragon points, or harshly order him to do his duty to gain Renegade points.