
Mass Effect 3 Guide Walkthrough Act 2
Save the Admiral
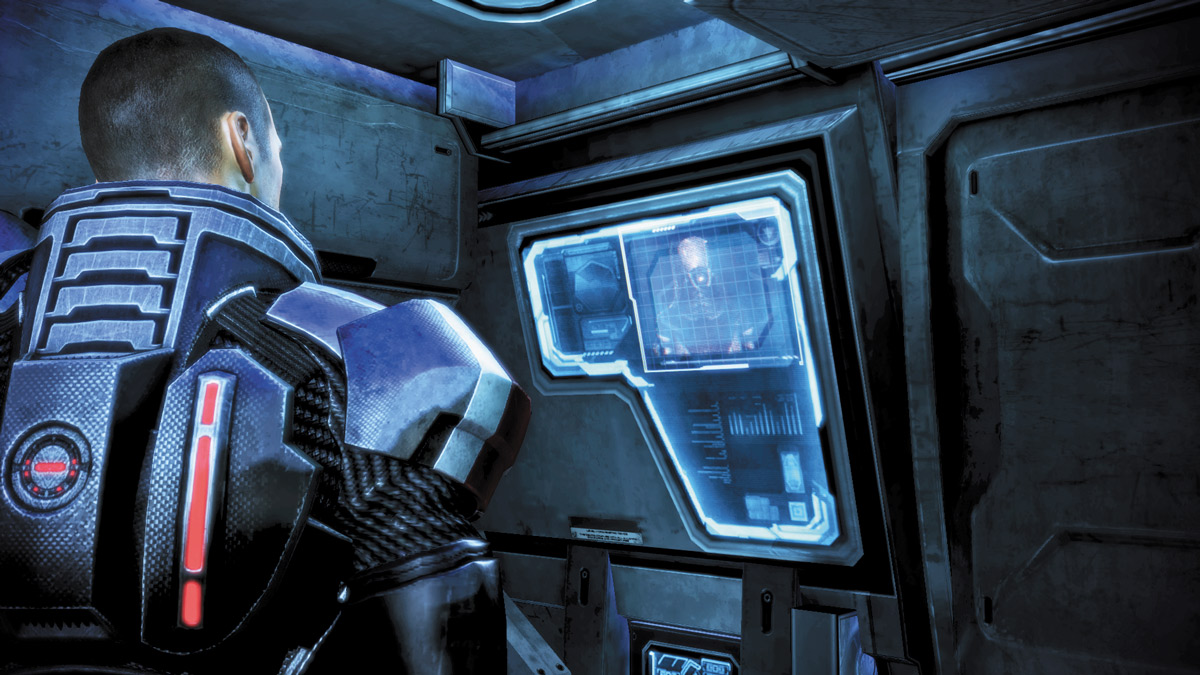
As you approach the surface of Rannoch, Admiral Xen reached out to you via comm panel. She’s concerned about the state of the fleet, as the captains of Koris’s fleet are one hair away from complete panic. Speak to her about the importance of Admiral Koris, and either remind her to protect her civilians or give her a cold, tactless reply about Koris’s status to gain Paragon or Renegade points.
.jpg)
You quickly lose signal and communication with Admiral Xen is interrupted. Your approach is met with heavy fire from anti-aircraft cannons. You’ll have to take out the guns on foot in order for your shuttle to take out the jamming tower. Once the tower is down, communications can resume, and you’ll be able to locate the missing Admiral...if he’s still alive.
RANNOCH SURFACE
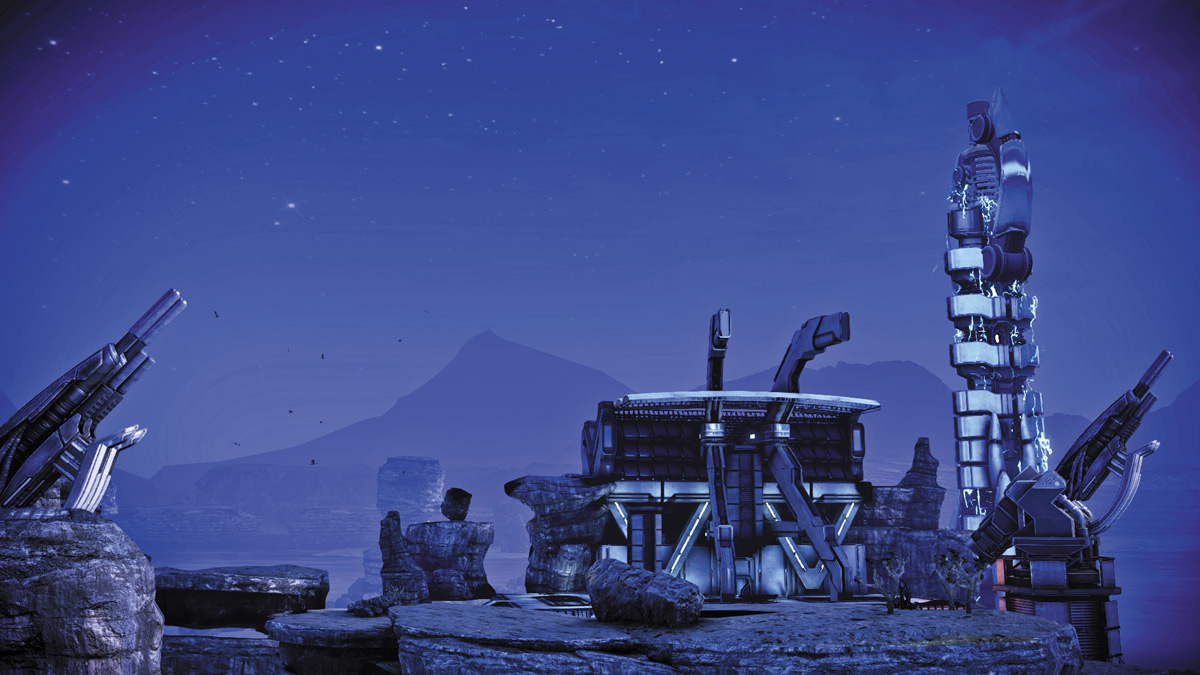
You can clearly see the geth jamming tower in the distance. Set off down the rocky, winding path toward the tower. Follow the cliffs down and around to a small campsite where you’ll make your first enemy encounter.
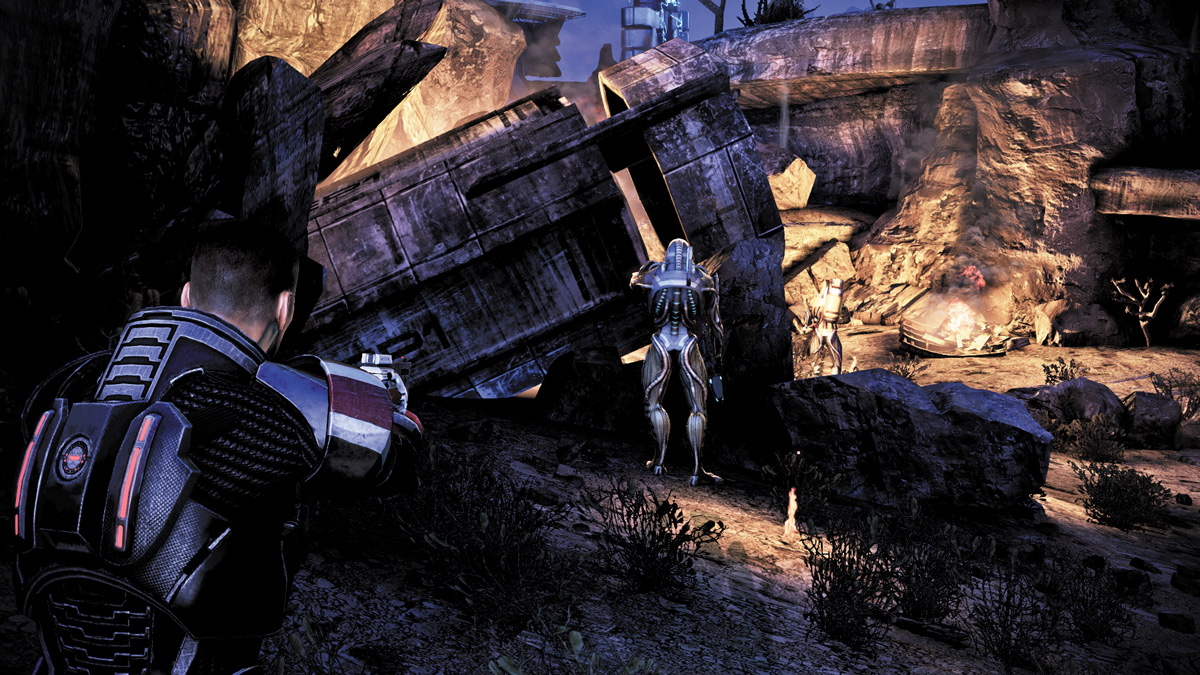
The geth Trooper has its back to you, so use the element of surprise and take it down quickly. Either use a headshot or a disruptive power like Singularity, then follow up with a destructive power like Warp to detonate it. When you do, several other nearby geth attack as well.
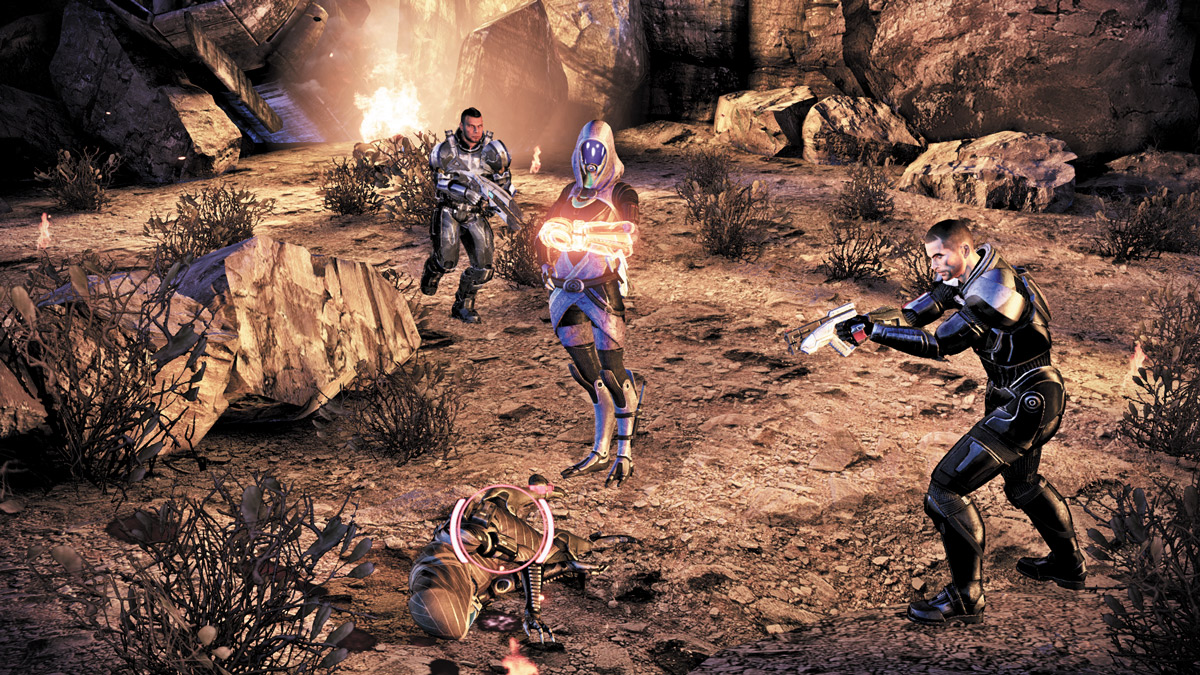
Target the geth Pyro first. It will not hesitate to rush you and set you ablaze, so either take it down quickly or use powers like Shockwave to knock it back. Engineers, or squads with Tali in it, can use combat drones to draw the Pyro’s attention, while you shred it with heavy fire.
Clear out the small campsite and examine the quarian corpse by the fire.
GETH PATROL
Shortly after picking up the Javelin, you’ll come upon an outcropping overlooking another campsite below. As you approach, a small geth troop comes ambling out of the far left corner and begins to patrol the campsite.
.jpg)
APPROACH 1: POWERS AND SNIPING
If you’ve equipped the Javelin or have a preferred sniper rifle already equipped, take cover near the small rock atop the outcropping and take aim. Before you pull the trigger, use a complementary power like Adrenaline, Stasis, or Tactical Cloak. Wait for the first two geth Troopers to come directly into view, then open fire.
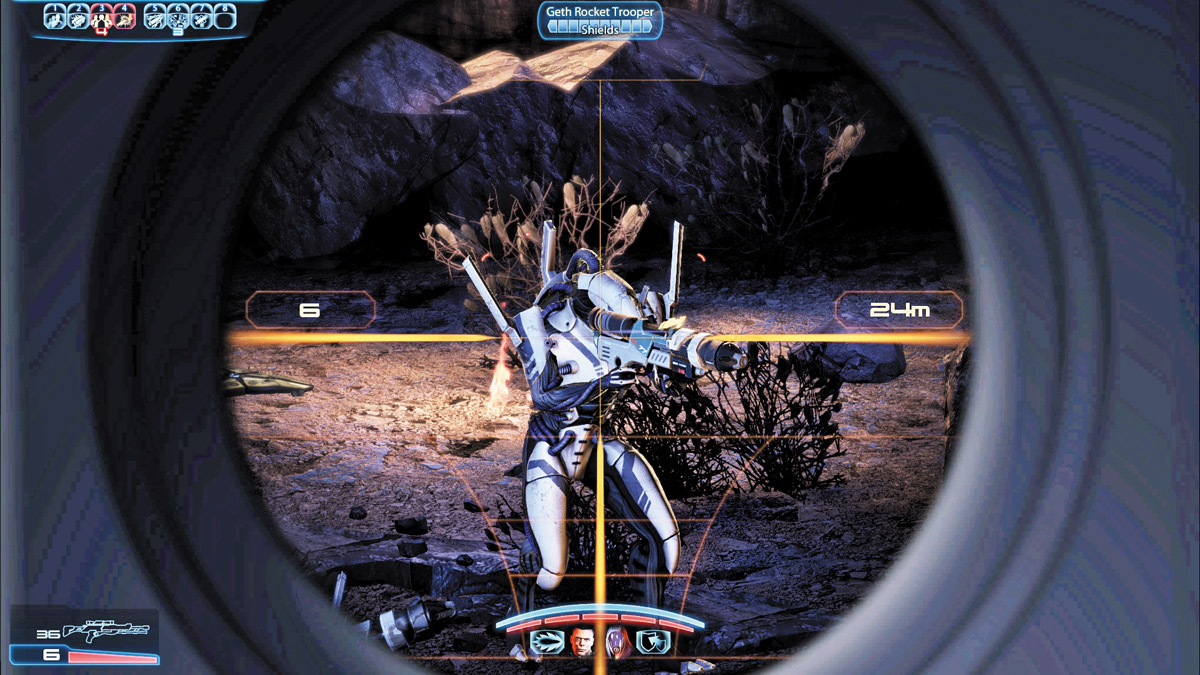
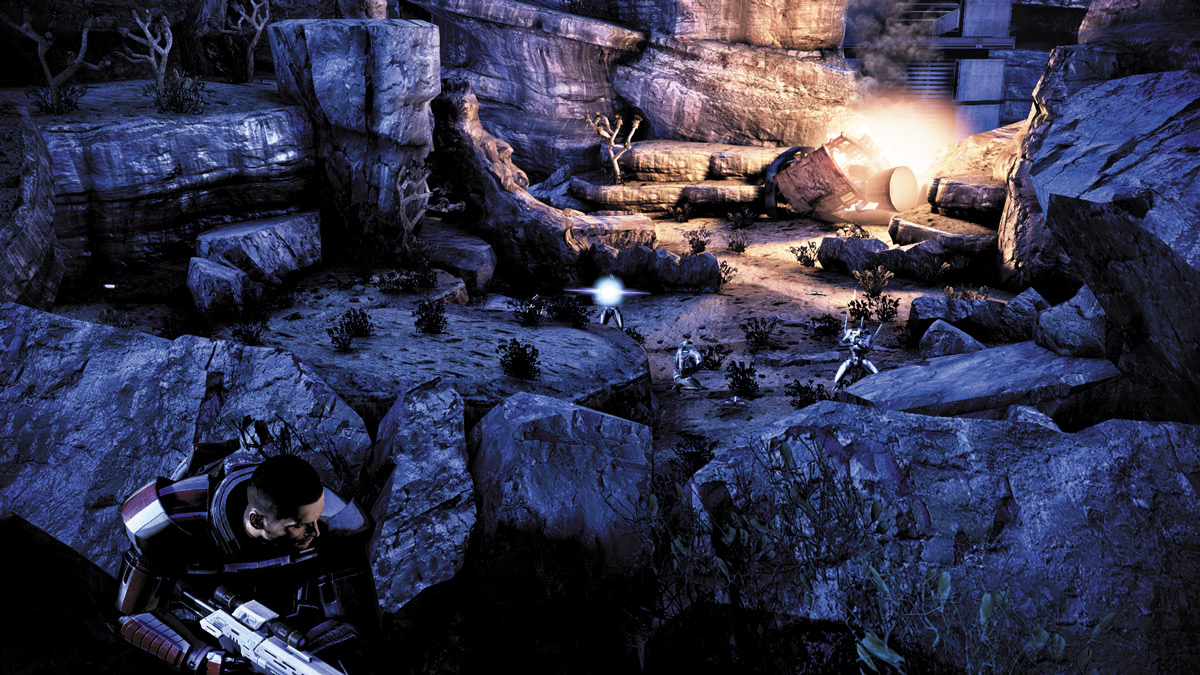
Use your squad’s other powers to attack from afar. Use power combinations and anything that will ease the pressure by distracting foes. Otherwise, send your squad farther down the path to the left and allow your squad to put pressure on them from below while you remain above and pick them off.
If you’ve brought Liara, equip destructive ammo, hit them with Singularity, and let them have it. Stay behind cover and use the entire length of the rocky partition to get the best view possible. Clear out the entire area before heading down.
APPROACH 2: AMBUSH
If you prefer a more traditional approach, rush down the path on the left as soon as you enter the area. Don’t bother to look for the geth patrol as you come down the path; instead, rush down and order your crew into position. As the geth patrol deeper into the campsite, order your attack.
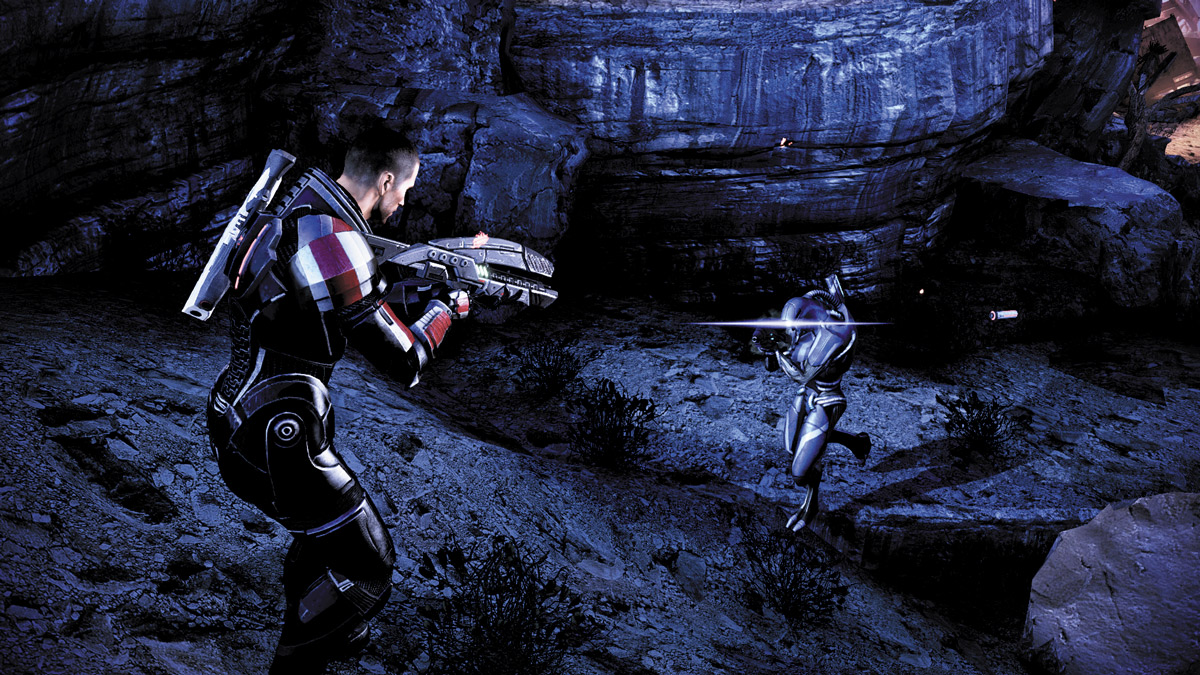
Begin by singling out the geth Rocket Troopers and focusing the majority of your weapons fire on them. Combine powers, grenades, and close-range weapons fire to eliminate the toughest enemies first. If you like to mix things up in close range, equip a shotgun and send out a defensive drone. As the drone stuns enemies, rush up to them and blast them with your shotgun or hit them with charged melee attacks.
ANTI-AIRCRAFT GUN CONTROL STATION
After eliminating the geth patrol near the second campsite, follow the geth’s patrol route back to its origin. You’ll find a large AA gun control station. Near the far right edge is the computer station, but several geth are standing guard in the station’s walkways.
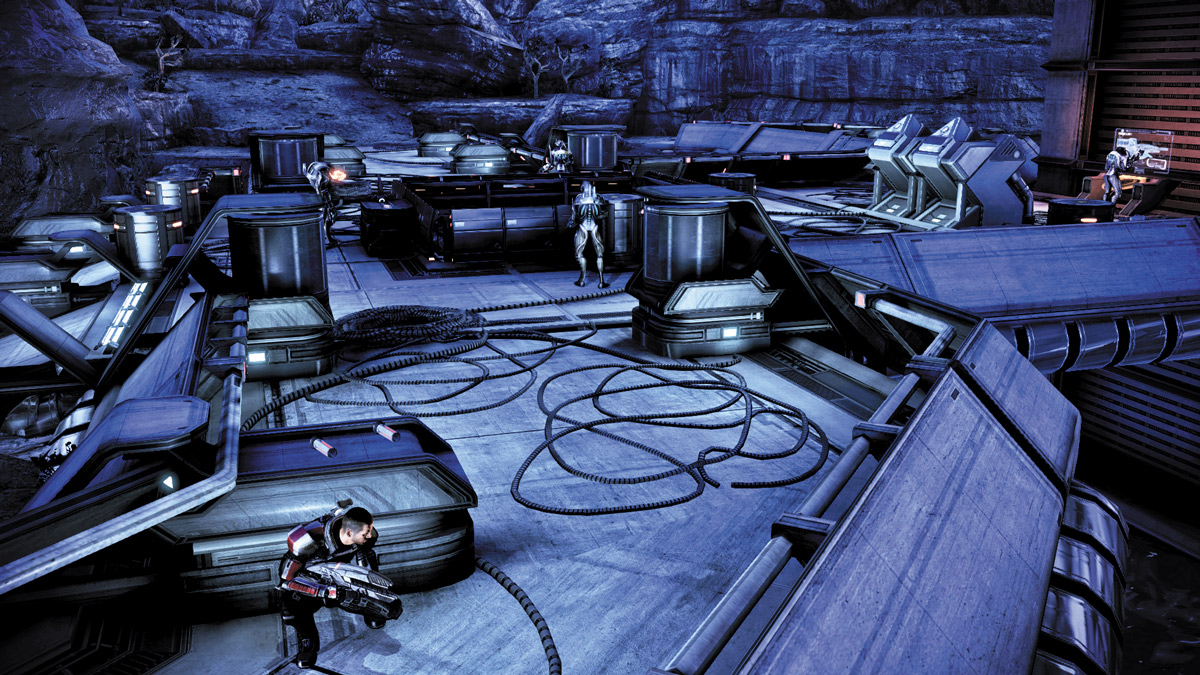
They don’t see you as you approach, so rush up to the station’s entrance and immediately take cover near the small partition on the left. Get a good view of all enemy positions before you make your move.
APPROACH 1: LEFT, HEAD-ON
The majority of the geth are standing near the station’s left side. Send your squad to cover near the ridge edge of the station’s entrance and slip in behind them. When you’re within striking distance, open fire and get the geth’s attention.
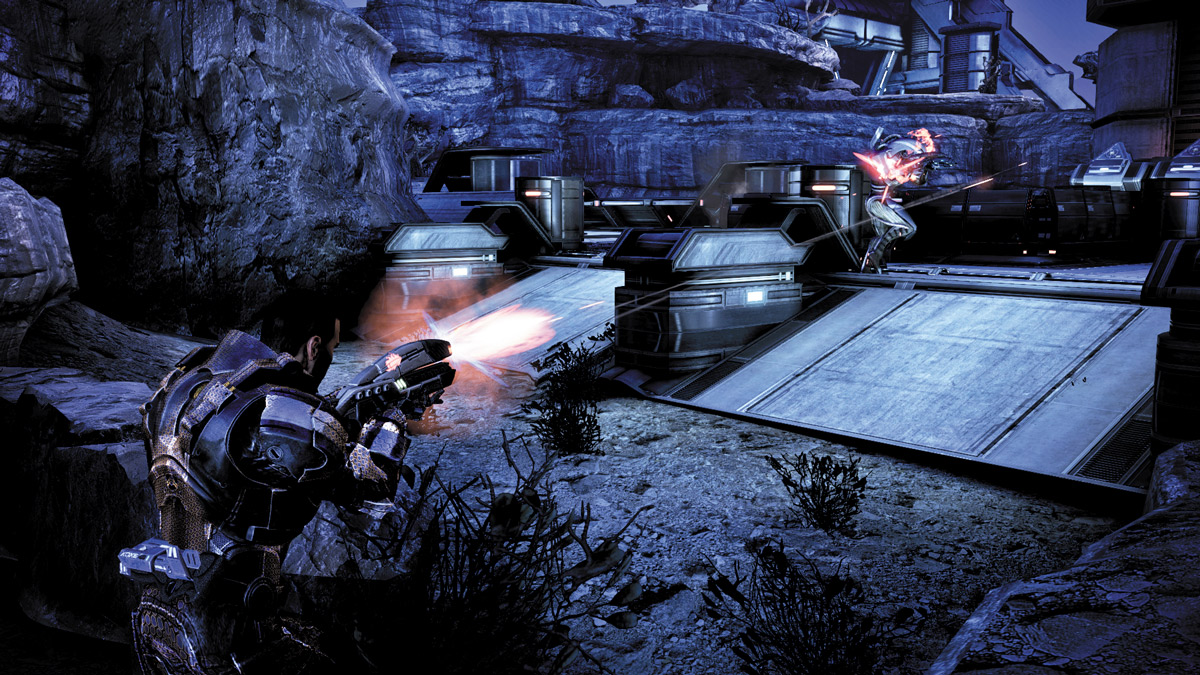
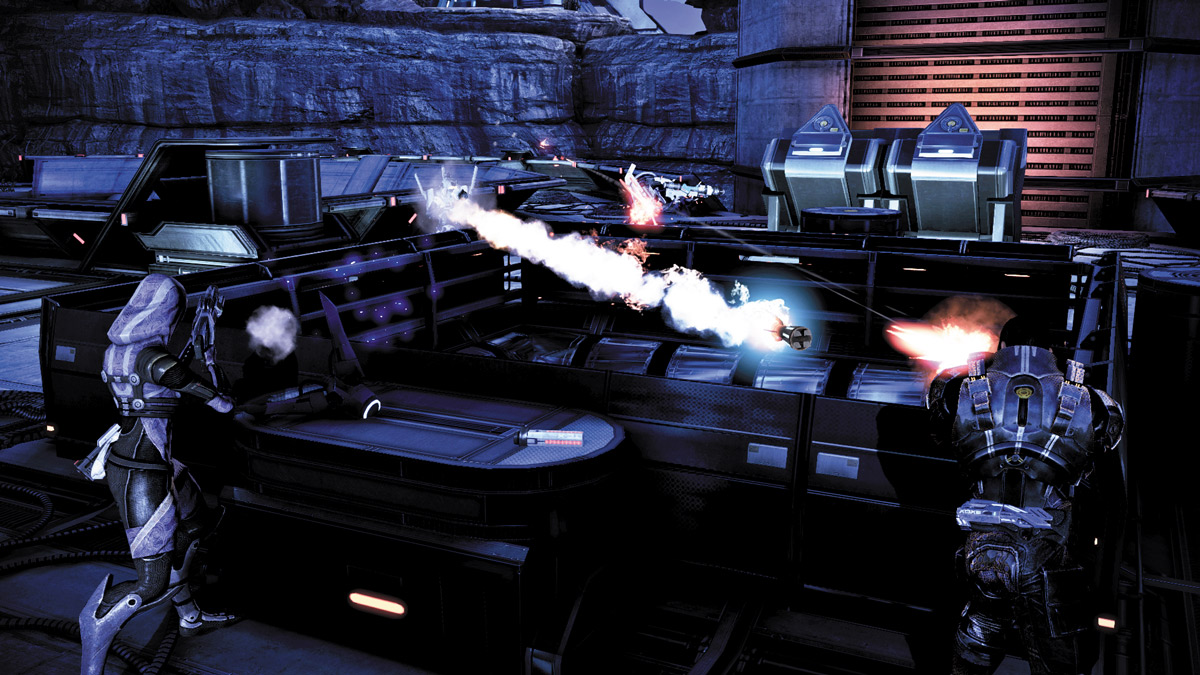
Lead with strong powers like Concussive Shot or Shockwave, and immediately focus your squad’s powers on the geth Rocket Trooper. If you have the ability to unleash a combat drone, sic it on the geth at the farthest edge of the station’s left side while you get to work on the enemies near you.
APPROACH 2: RUSH RIGHT AND AROUND
The computer console you’re after is on the station’s right side, so begin making your way to the computer as soon as you enter the station. Distract the geth by either sending a tough squad member like James or Kaidan to the left (or using a defensive drone), while you and the other squad member rush to the station’s right side.
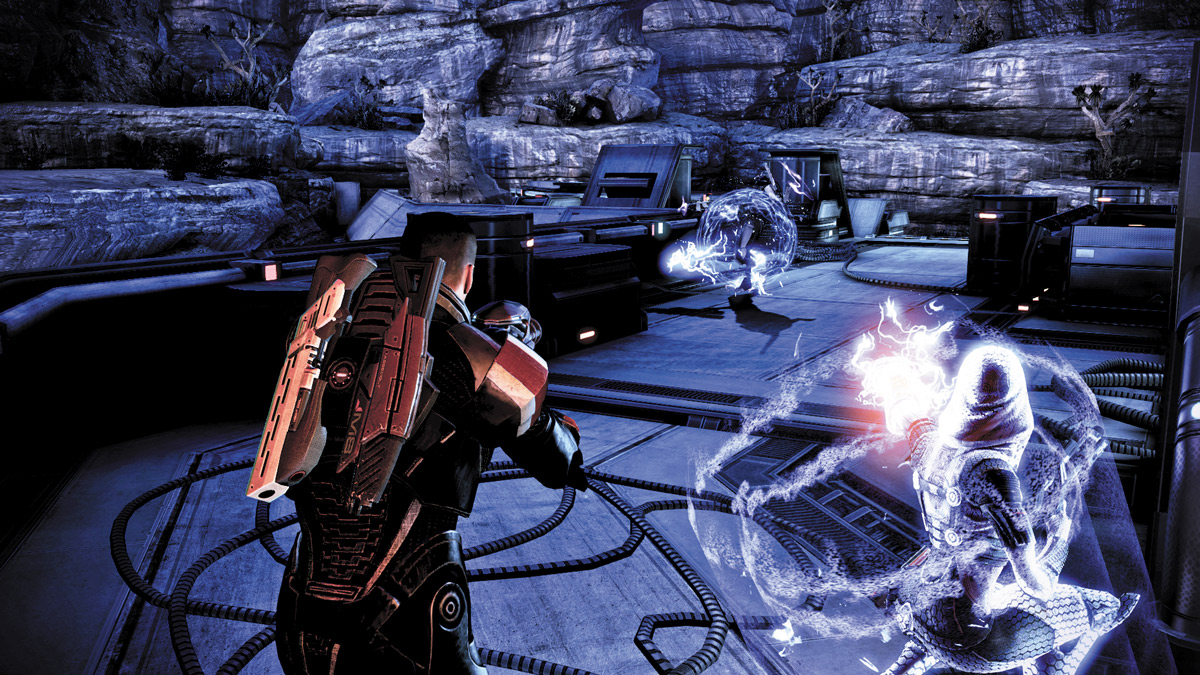
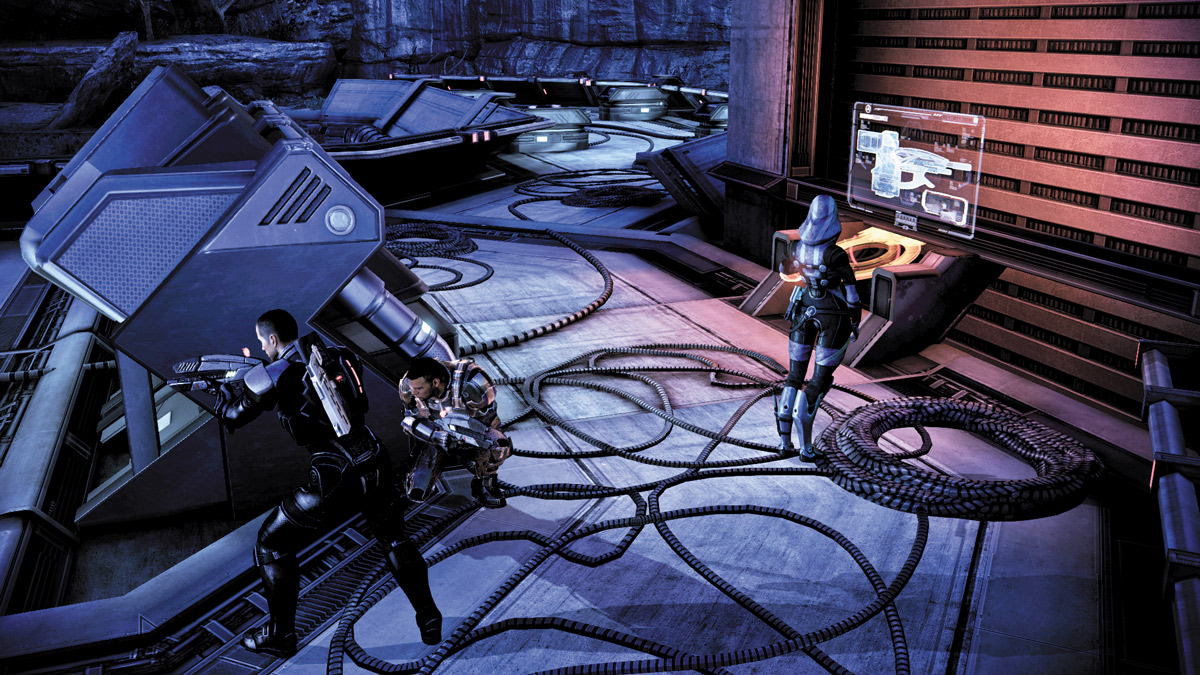
As you round the corner from the right to the left, open fire with a close-range weapon on the nearest geth. Use Overload or Singularity to slow them down, and inflict as much damage as you can. Take cover to regain health, then rush all the way to the far right corner (bypassing the computer). From here you can rush around the rear of the station and sweep in to the far end of the left side.
If you executed this correctly, you will be in a perfect position to pinch all of the remaining enemies in the left lane. Create a cross fire between you and your other squad member near the station’s entrance and finish the geth quickly.
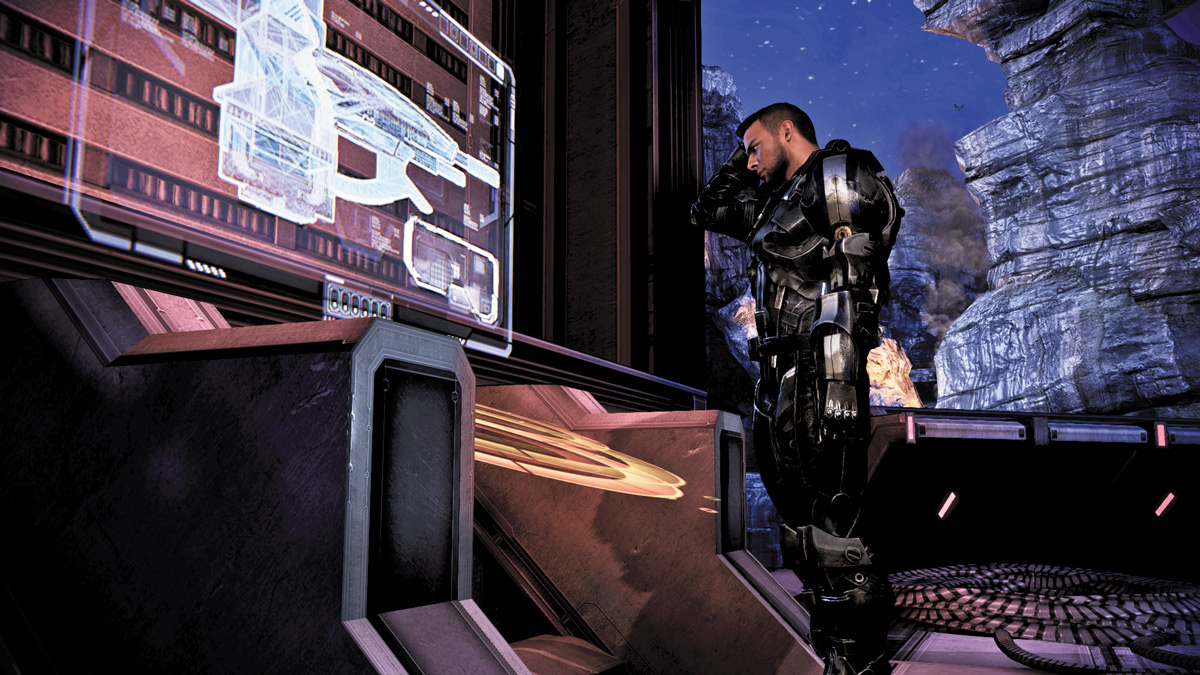
Approach the AA gun console near the far right side and assign one of your squad members to disable the AA guns. Select the squad member who least complements your current class build. If you need Biotic Powers, assign your weapons specialist, like James or Garrus. If you need weapons fire, assign Tali or Liara to disable the guns. If you have Liara or Tali as we suggested, then assign Liara, since Tali’s drones will come in handy.
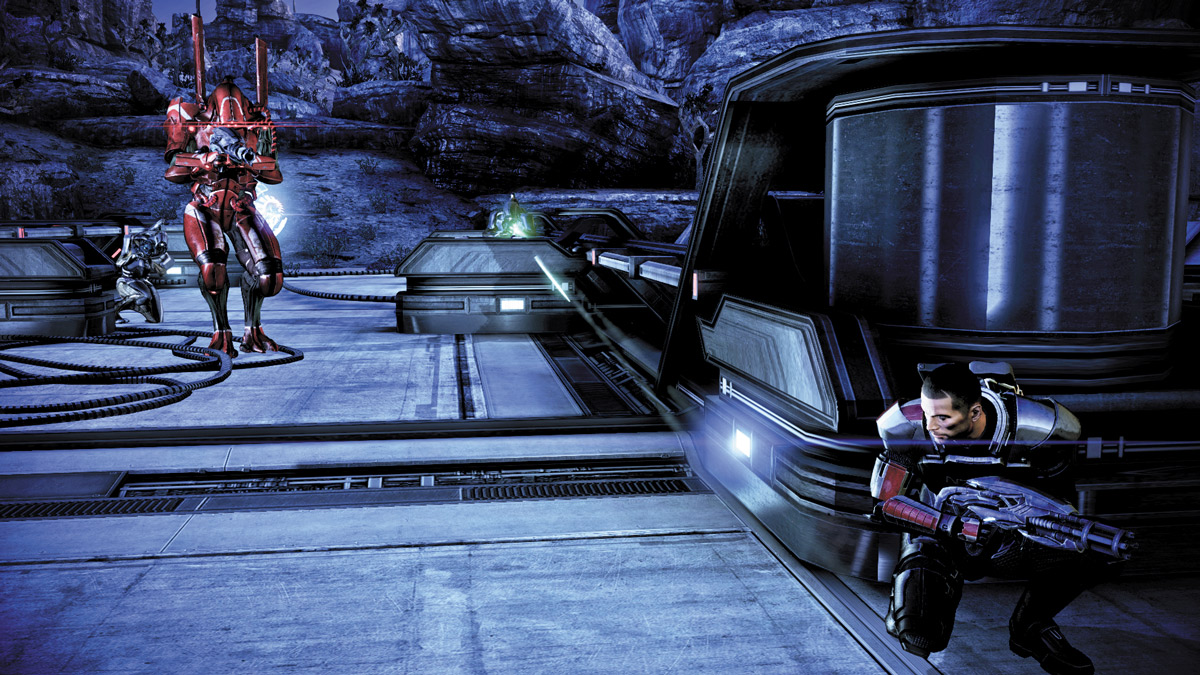
While your squadmate disables the guns, turn around and rush back toward the station’s far left corner. Order your other squad member to post up near the center of the left lane (where the passage leads to the computer console). With the Geth Spitfire in hand, stay behind cover and wait for the geth Prime to come sauntering out.
When it does, order your squad member to distract the incoming geth Troopers, using Decoy, drones, or standard attacks, then open fire on the Prime. Concentrate your Spitfire on the geth Prime until it falls, then wipe out the rest of the geth in the area.
With the AA gun disabled, exit the station via the passage in the far left and continue your trek to the geth tower.
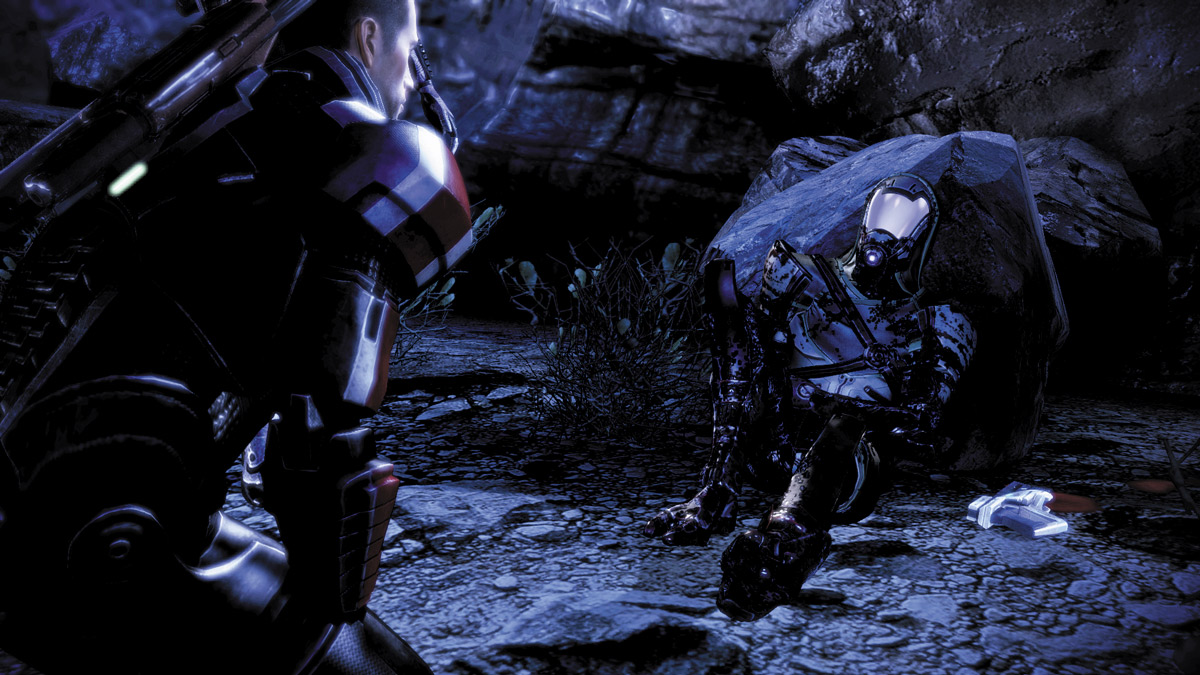
Near the Geth Parts is an injured quarian named Dorn’Hazt. Speak to the downed quarian to find out that he tried to send out a distress call. He’s not a soldier but a maintenance technician. Your responses to this quarian will determine whether you get Paragon or Renegade points. If you offer him help, you’ll get Paragon points. Disregard his pain and you’ll accrue Renegade points.
DUAL AA GUN STATION
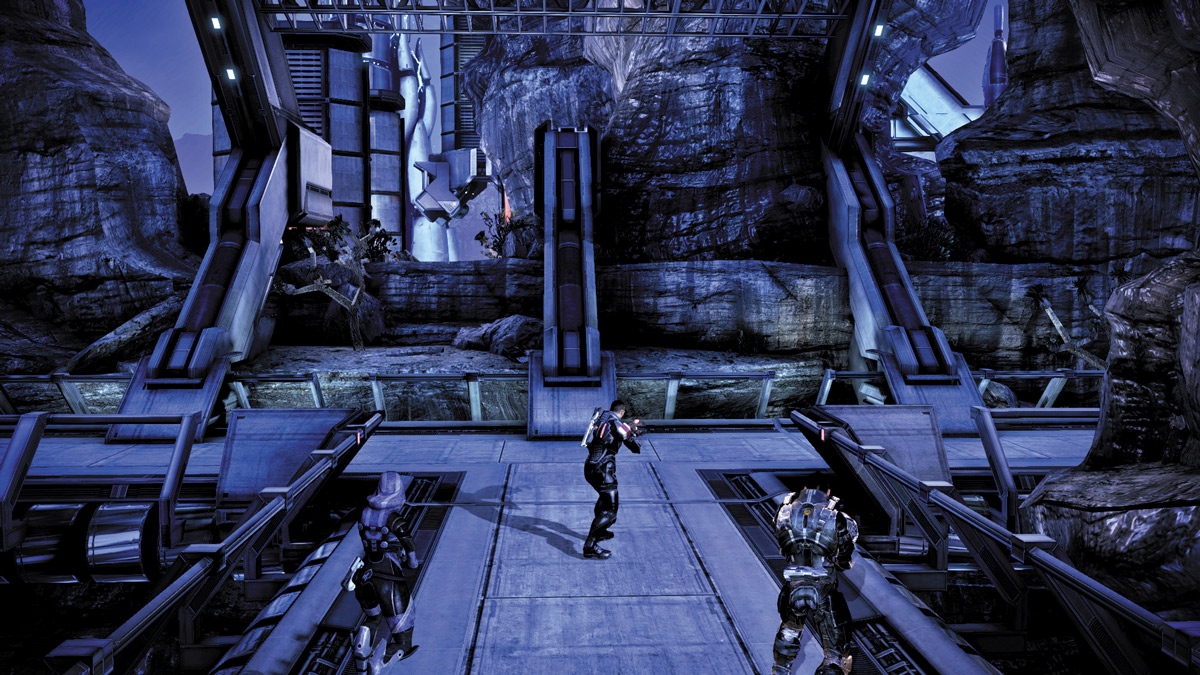
The next section splits into two paths, each one leading to an AA gun. You can choose to go either right or left, but there is no correct or incorrect path to take. This is truly a matter of preference. Both sides have similar layouts and have geth squads manning a mounted turret. We chose to go right first.
APPROACH 1 (RIGHT GUN): SWEEP RIGHT, TAKE THE TURRET
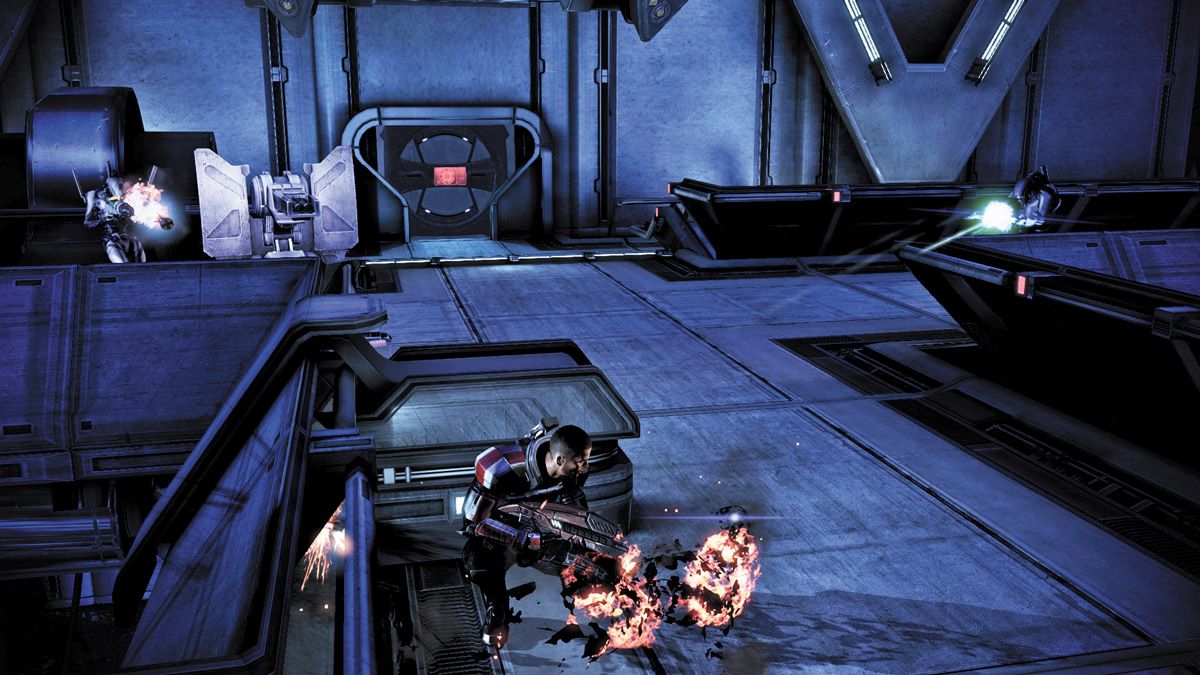
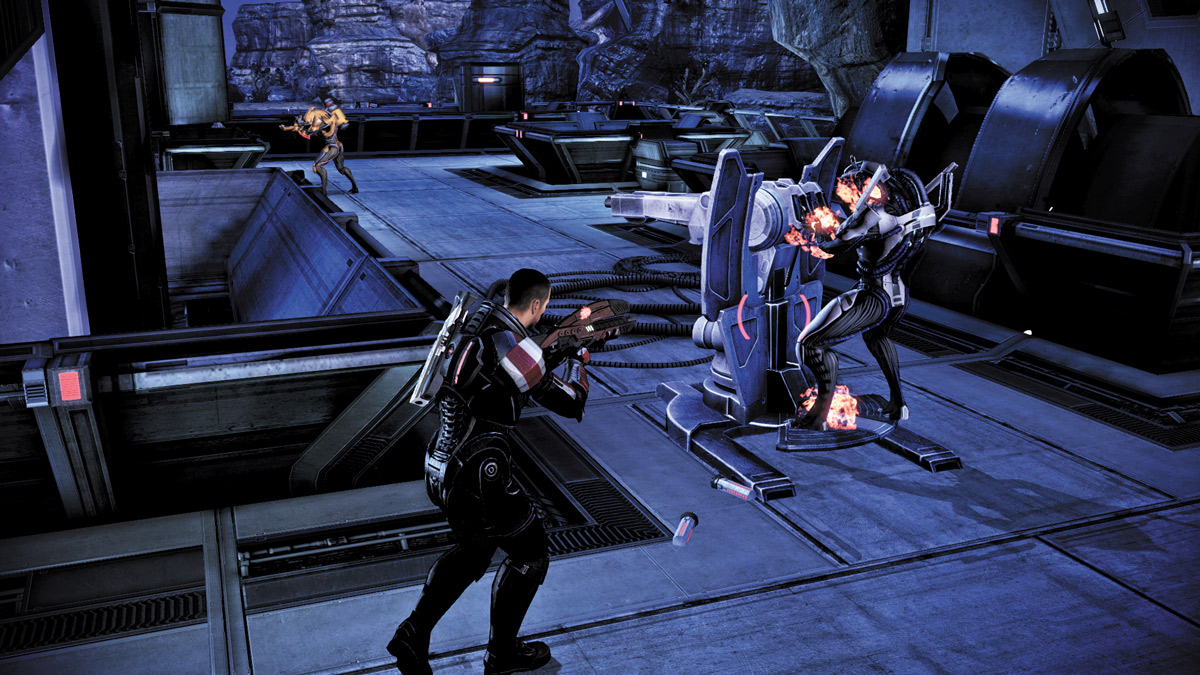
The area around the right AA gun is a series of walkways that form a long, bifurcated rectangle. The mounted turret is near the center of the rectangle and is aimed directly at you as you enter the area. Rush to cover directly ahead of you and instruct your squad to do the same.
Slowly direct your squad to the right walkways and stay behind cover. Order your squadmates to engage the enemies, but leave them in position to hold the attack near the front of the battlegrounds. Once they’ve engaged, rush up all the way across the right walkway past the mounted turret, until you’re directly behind the entire geth squad.
Round the corner left and pinch the squad. Take out the enemies nearest to you then take the turret for yourself. Use it to shred through the remaining geth in the area while your squad baits them out of coverage.
APPROACH 2 (RIGHT GUN): HANG LEFT, HUNKER DOWN
.jpg)
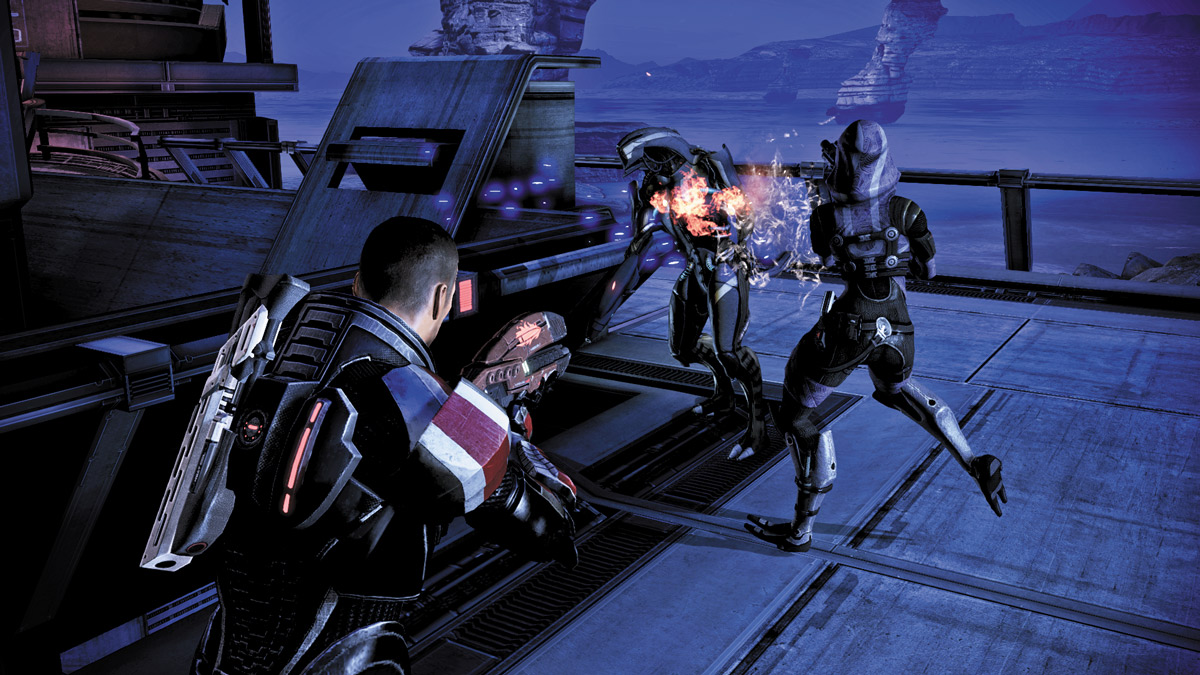
The mounted turret can make life very difficult for you if you stay too far to the right, directly in its line of sight. Instead of risking being torn to shreds by the turret, shift everyone left behind cover, just enough so the turret doesn’t have a clear line of sight to you.
Stay behind cover as much as possible, and use strong power combinations to destroy enemies. If you veer too far to the right and take turret fire, back off until it can’t see you, and resume your attack.
Geth enemies will come to you at this position, but if they are too slow to chase use decoys and drones to flush them out.
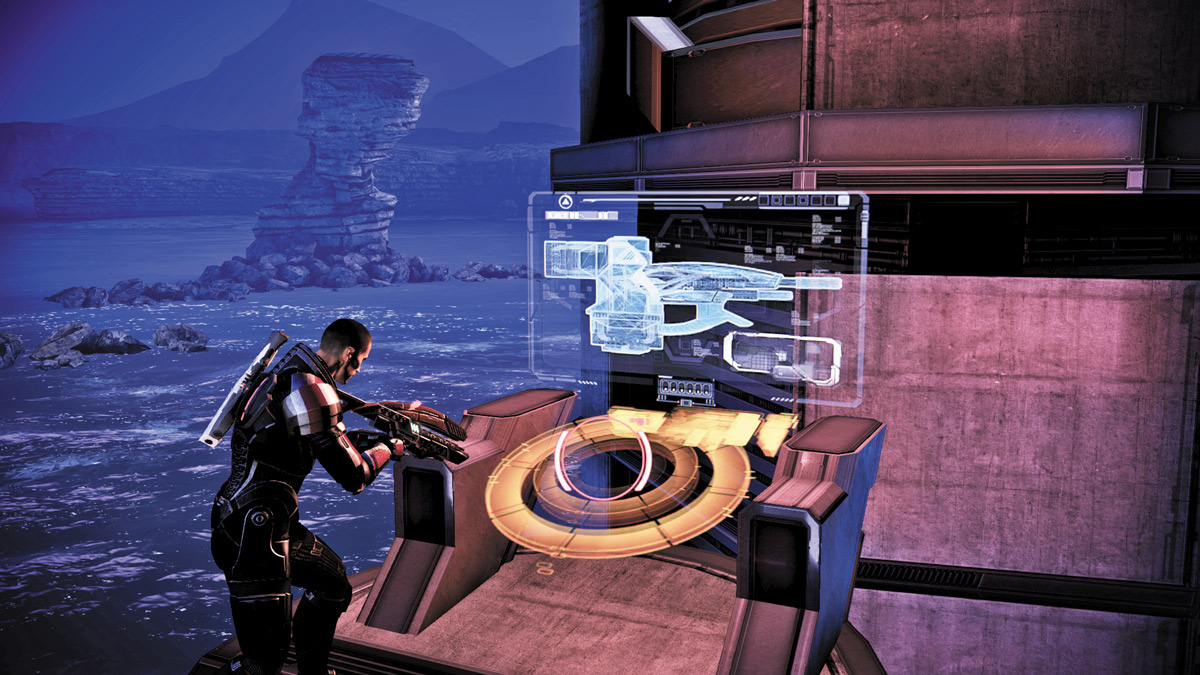
Approach the AA gun console in the far right corner and assign one of your squad members to disable this gun. While they do that, rush back to the mounted turret and activate it. Several more geth will rush in from the entrance to the station.
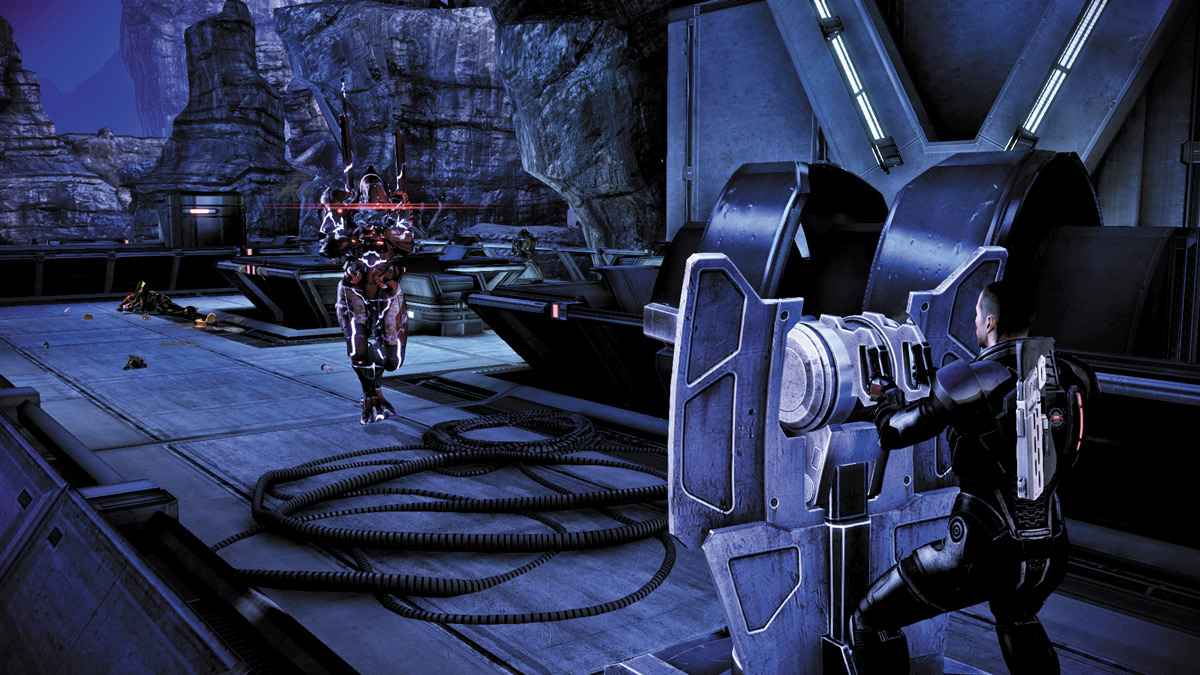
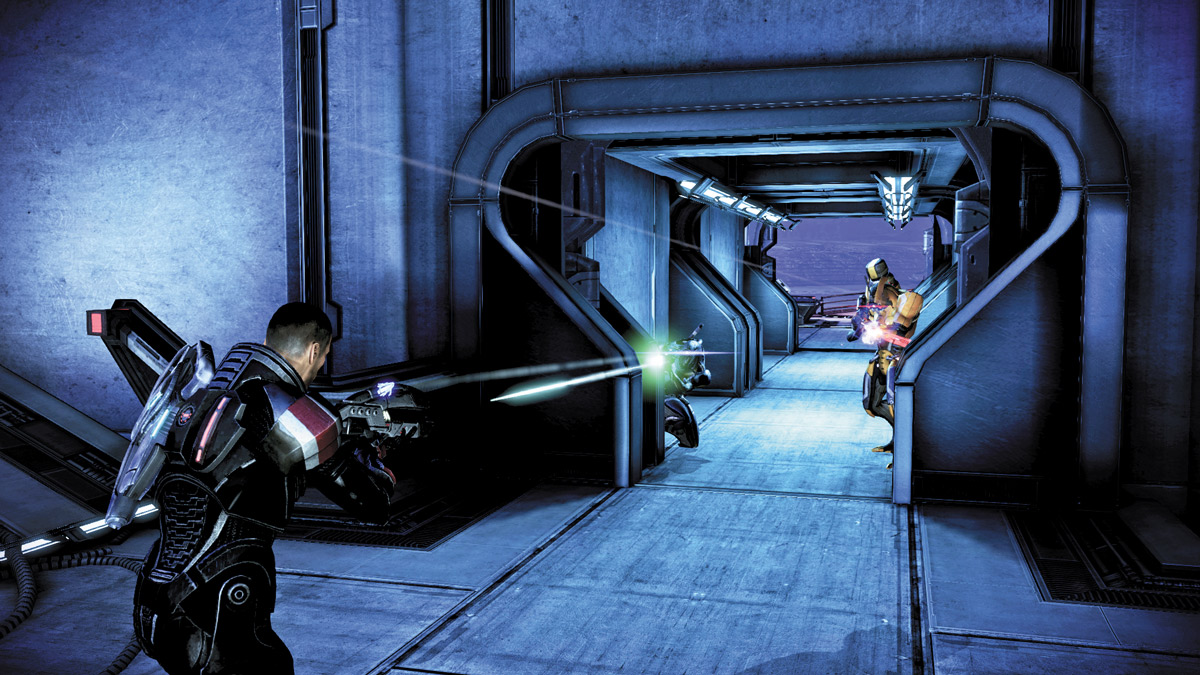
Stay on the mounted turret, level the gun up to head height, and open fire as the geth start to approach. Their armor is no match for the turret’s raw power, so slowly pick your targets moving smoothly from left to right, and keep the gun as level as possible.
When the geth Prime arrives, tilt the gun up a bit to compensate for its height, and focus on the Prime until it falls. A few short seconds later, the geth stop pouring into the area and the door to the right of the gun turret opens, revealing a short hallway leading to the next AA gun.
Behind the door are two geth soldiers, a geth Trooper, and a geth Pyro. Hit them both with Singularity, Shockwave, or a grenade. The hall’s cramped space ensures you have both enemies in your line of fire no matter what attacks you choose. Make short work of them, then rush into the next gun area.
APPROACH 1 (LEFT GUN): SPLIT UP
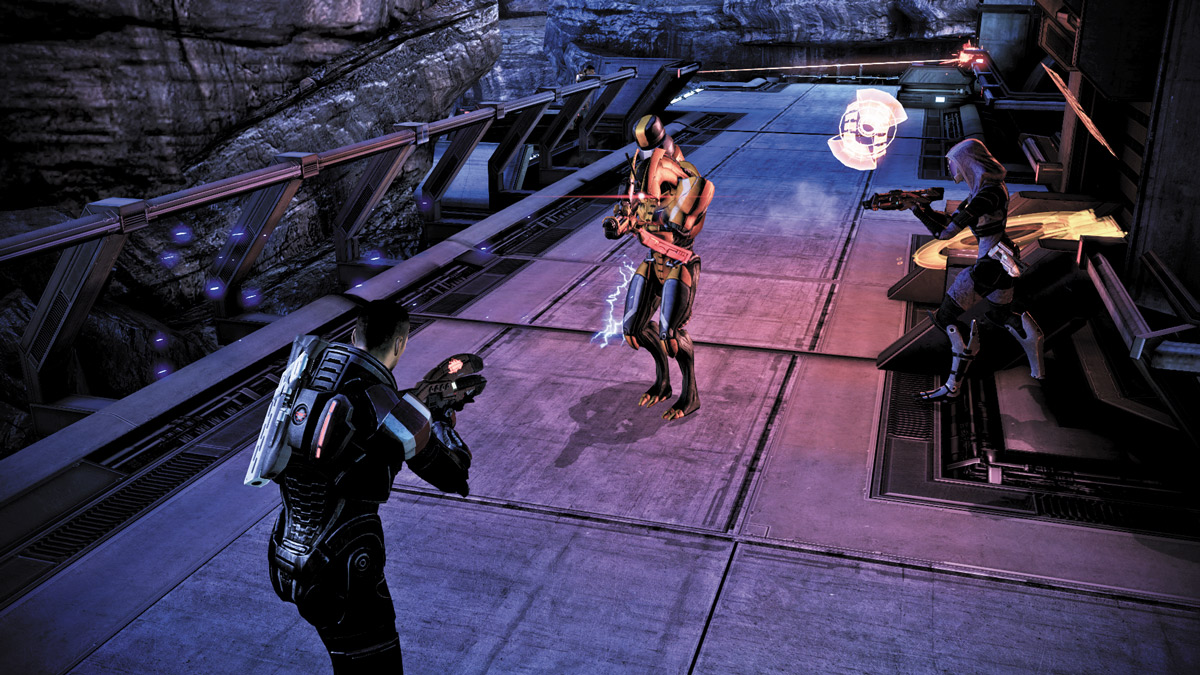
The entrance to the next AA gun area is similar to the first: a series of long, connecting walkways forming a rectangular battle area. Near the center is another mounted turret. Since you enter near the area’s lower right corner, you have two paths available to you—the left lane and the right lane, both leading out of a corner.
Send one squad member to the right while you and the other take the left. Stay behind cover as you slide left, and order your crew to combine powers as much as possible. If you have Tali, however, use her drones to create a fourth target for the geth and the turret.
.jpg)
Leave your second squad member behind as you continue moving to the far left side and begin circling around the turret’s right side. Clear the area out before disabling the next AA gun.
APPROACH 2 (LEFT GUN): STRAIGHT RIGHT
.jpg)
As you enter this area, the AA gun console is directly in front of you, along the far right walkway. You can opt to go straight to the console upon entering. Direct your squad straight ahead, and use disruptive powers to distract and slow your enemies. If you have a drone, sic it on the turret.
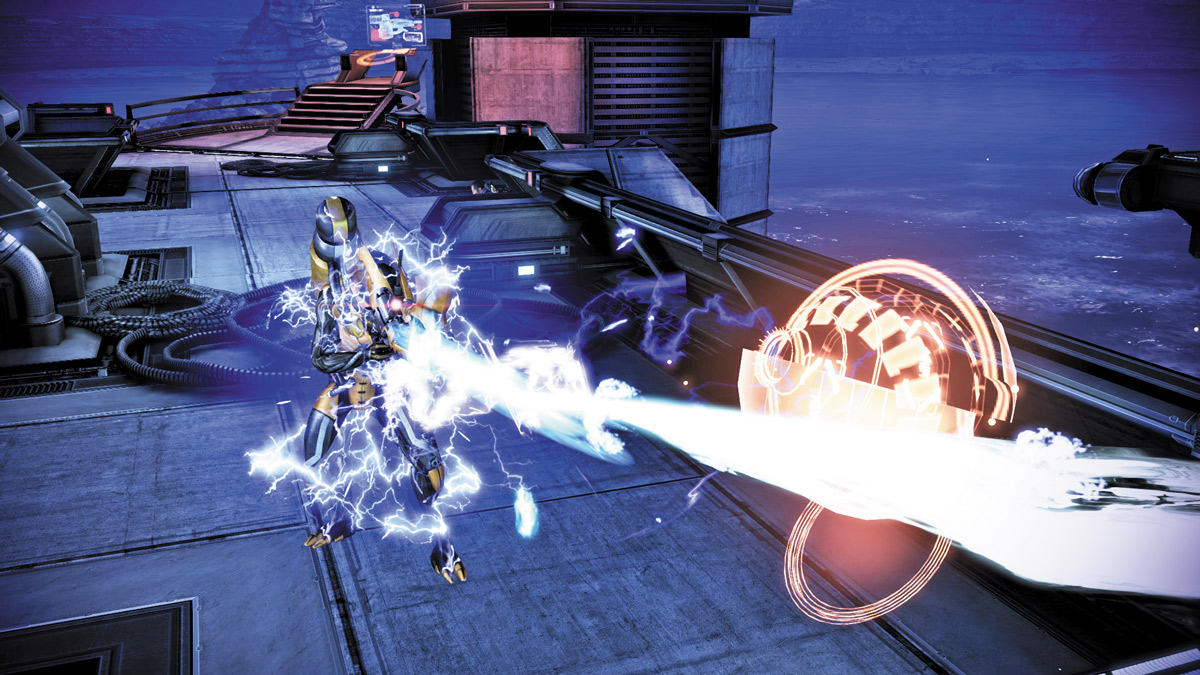
Face the left of the area and strafe right, behind your squad, as you fight your way to the computer console. Clear as many enemies as you can, then, once you’re behind the turret, take the command of the turret and sweep the remaining area of all foes.
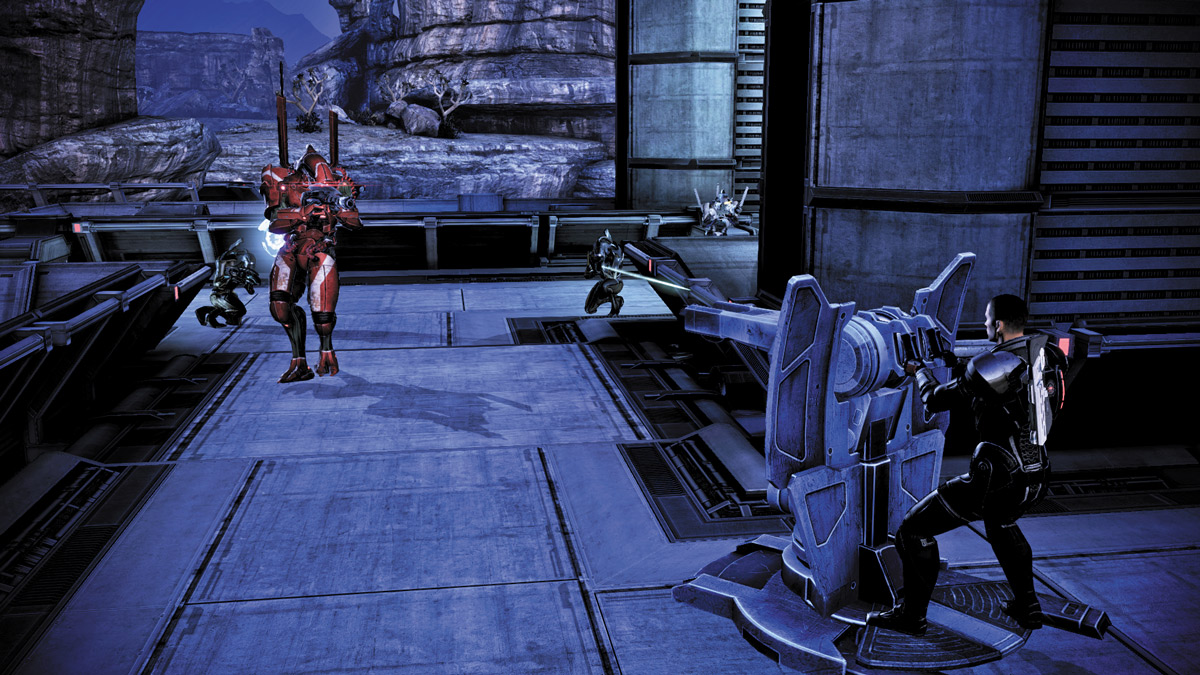
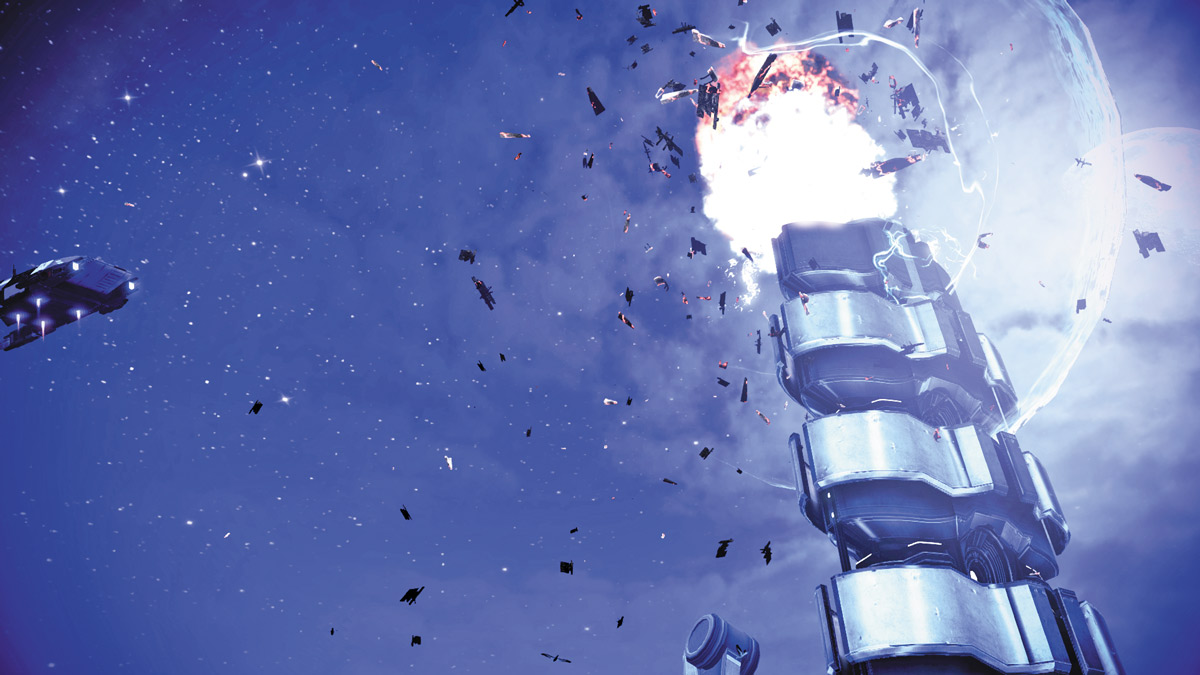
Once again, assign a squad member to disable the AA guns while you take the turret and decimate the fresh batch of geth that attack your position. With the AA guns down, your shuttle is now clear to swoop in and destroy the jamming tower. With communications back up and running, you can quickly locate missing Admiral Koris and fly to his position.
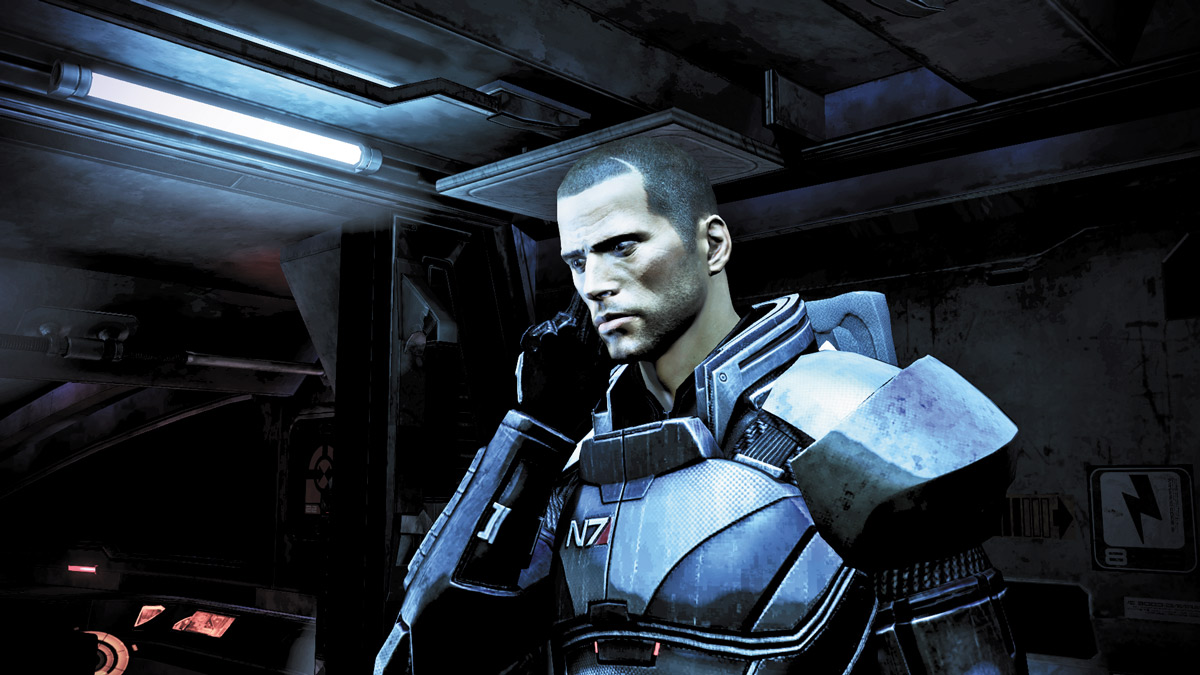
Back in the shuttle, you get a communication from Admiral Koris. Either tell him you’re on your way for Paragon points or tell him to hold off his attackers to gain Renegade points. Before you can reach him, however, you must make a choice.
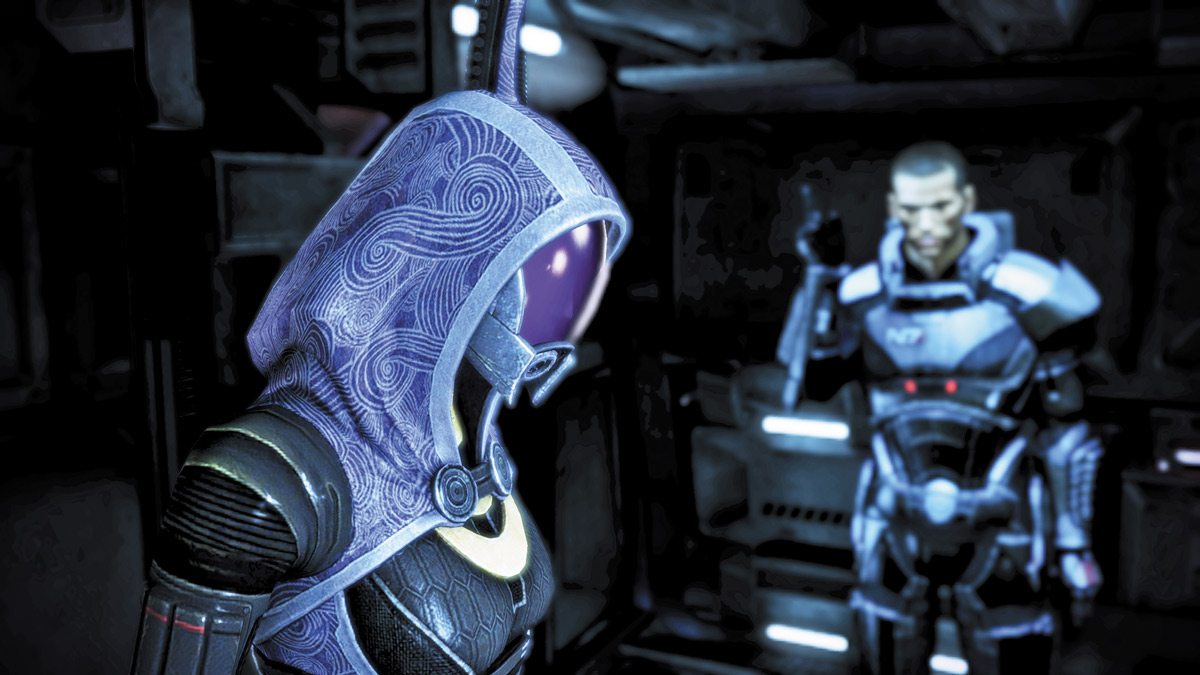
The admiral is more concerned with his people than with his own rescue, so you must choose whether to save him (and convince him it’s the right thing to do in the meantime) or save the civilians. If you choose to save the admiral, you’ll get an opportunity to either use a Paragon persuasion or Renegade persuasion. Choose according to your leaning.
If you choose to save him, you’ll have to free him from his pinned position using the turret from your shuttle. Pick off the geth from above as you circle above the admiral’s position, then rescue him.
If you opt to save the civilians, the general stays behind, and you force the other quarian admirals to look after the civilian fleet in Koris’s place.