
Mass Effect 3 Guide Multiplayer The Battlefields
Location: Dagger
.jpg)
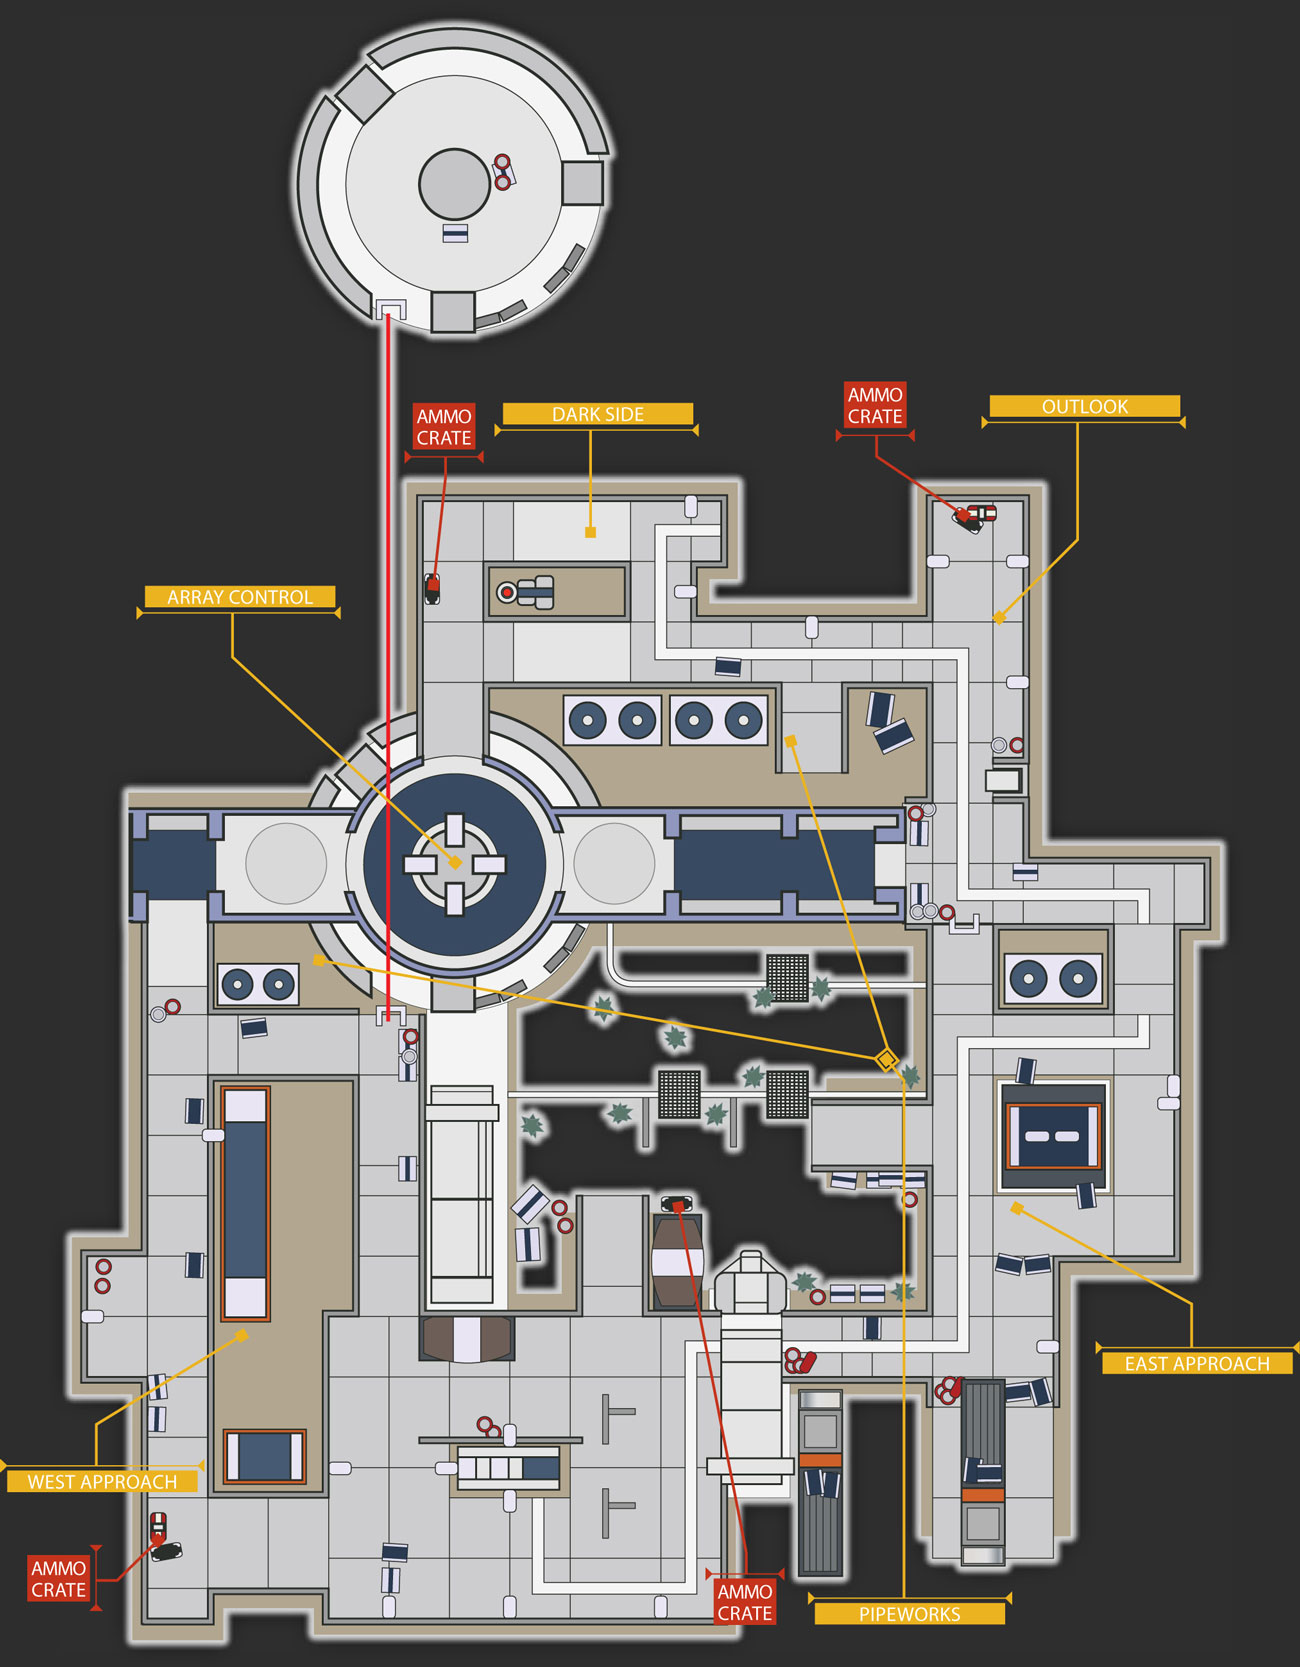
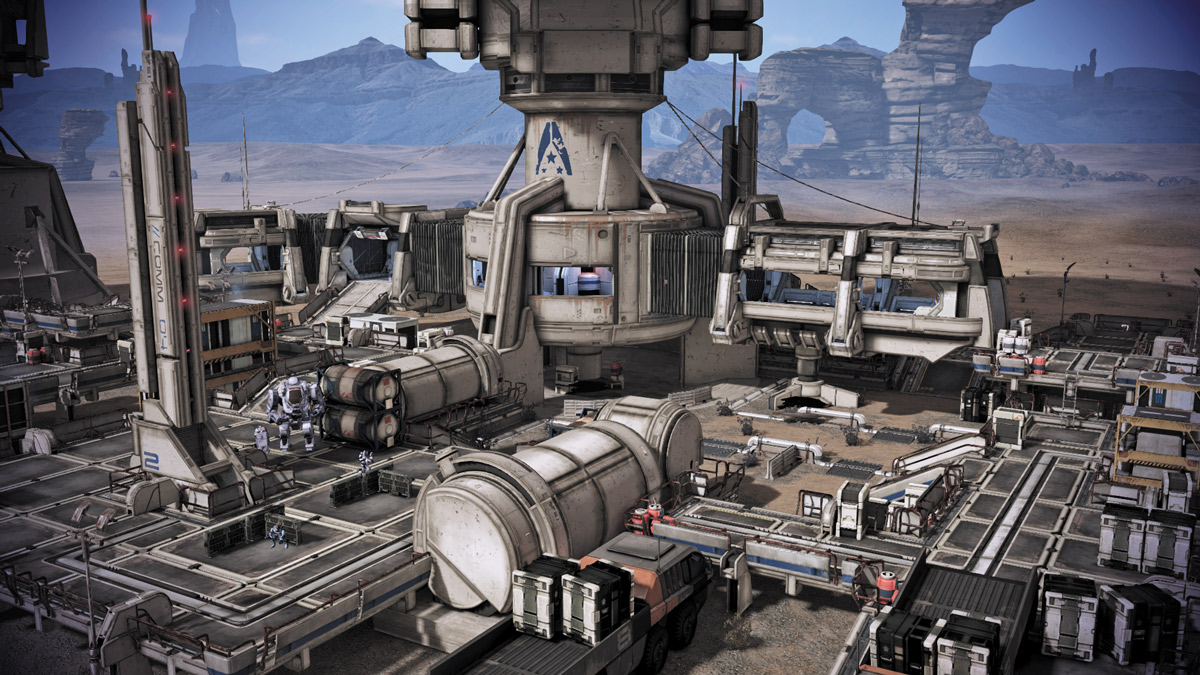
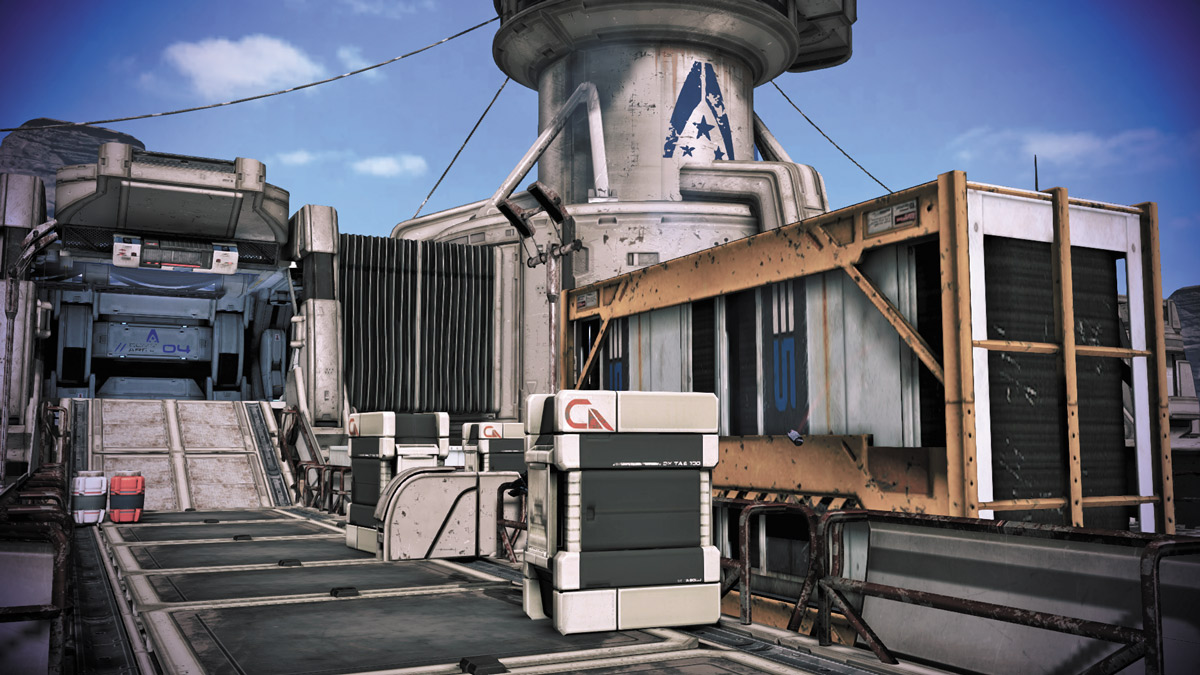
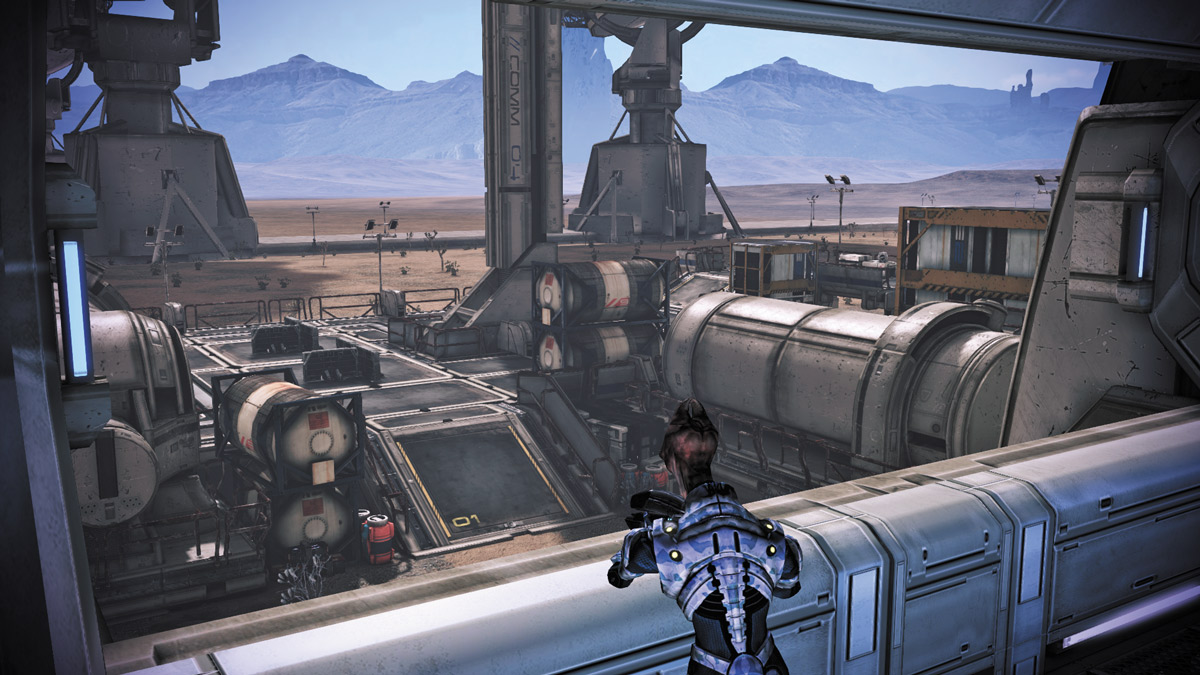
Dagger is a major communications array set out in the middle of a desert. It is one of the larger maps in the online multiplayer.
The command room of the comms facility is connected to a series of walkways that surround a central clearing, with light cover scattered through it.
A lot of sniping can be done on this map for both sides, thanks to the long, unbroken sightlines across the map center toward other parts of the facility.
Players who take positions inside the main buildings can strike targets located just about anywhere on the map from the windows, while the structure’s narrowness helps pack attackers into nice groups for sustained fire.
Dagger’s sheer size compared to other maps allows players to hold on to positions for a little longer while enemy reinforcements make their way over to the action.
Dagger has seven sections: Array Control, Comm Tower, Dark Side, East Approach, Outlook, Pipeworks, and West Approach.
Array Control
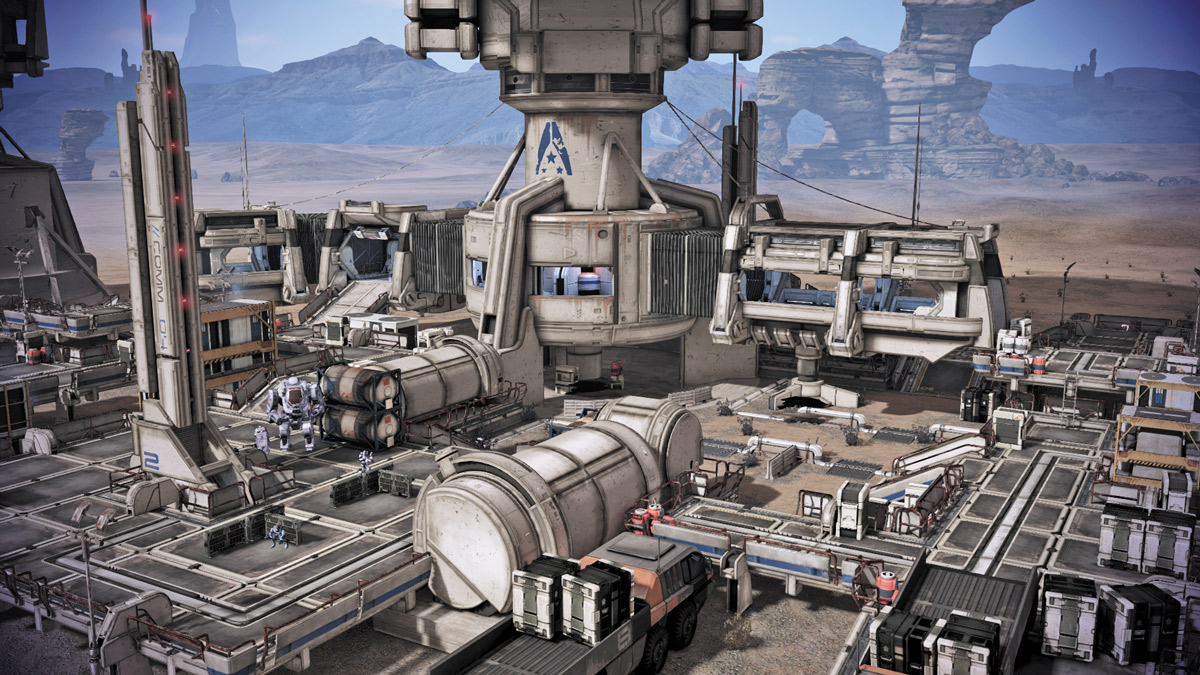
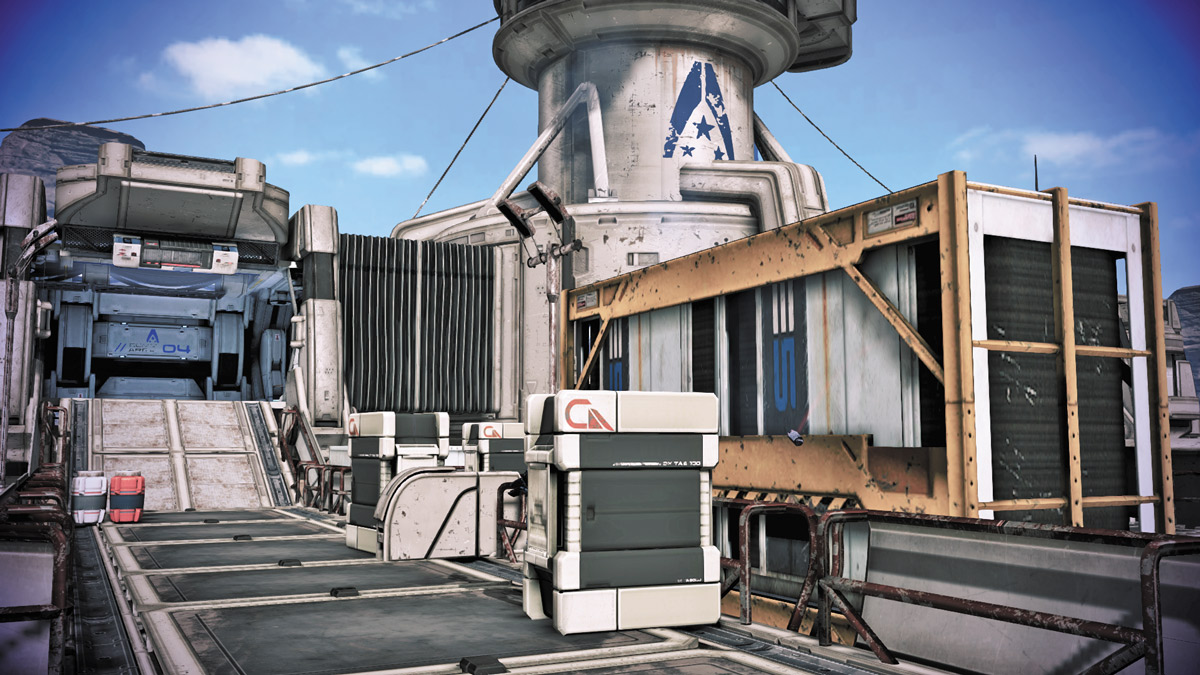
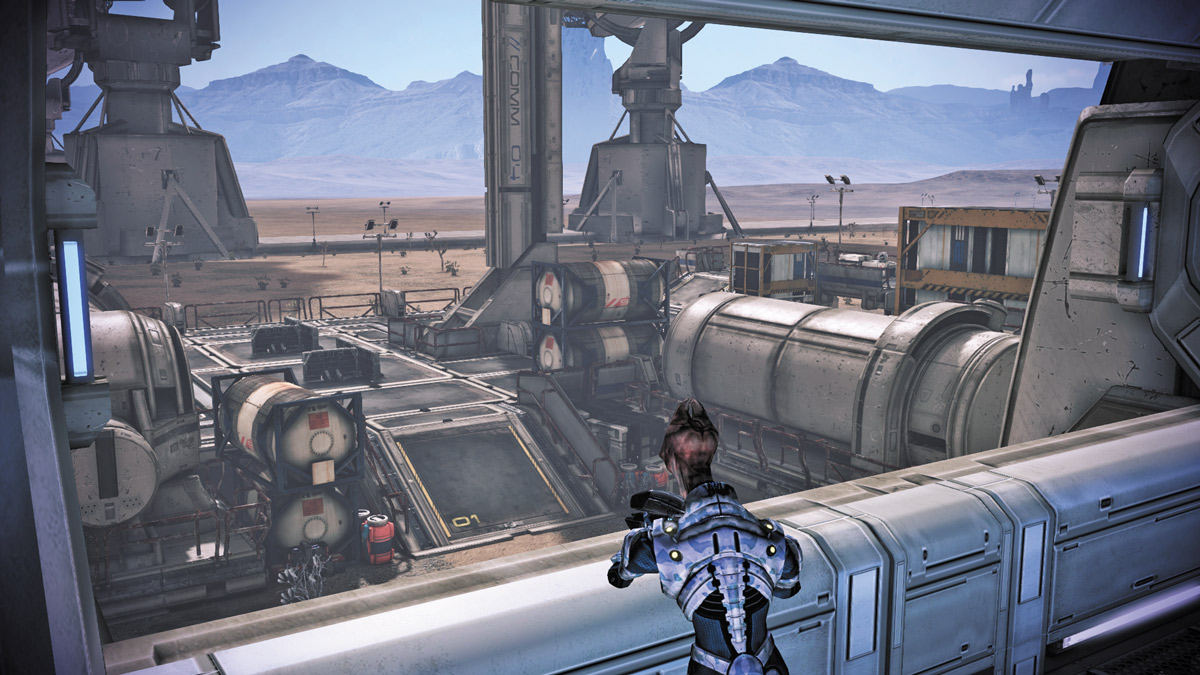
The interior of Dagger’s central structure and the highest point on the map, Array Control is a small circular room attached to a hallway.
From this section, there are passages that lead directly to the East and West Approaches and to the Dark Side (the player’s starting point).
Because of its height on the map, Array Control has windows that allow for excellent overwatch positions that snipers can use to strike targets in the lower portions of the map.
Its cramped space also makes for an excellent choke point for both players and hostiles.
During extraction, the Dark Side–Array Control entrance can be locked down by two players making intelligent use of Techs and Biotics.
This leaves the rest of the team a chance to concentrate on threats approaching from the lower areas of Dark Side, in particular the rampway entrances from Pipeworks.
Comm Tower
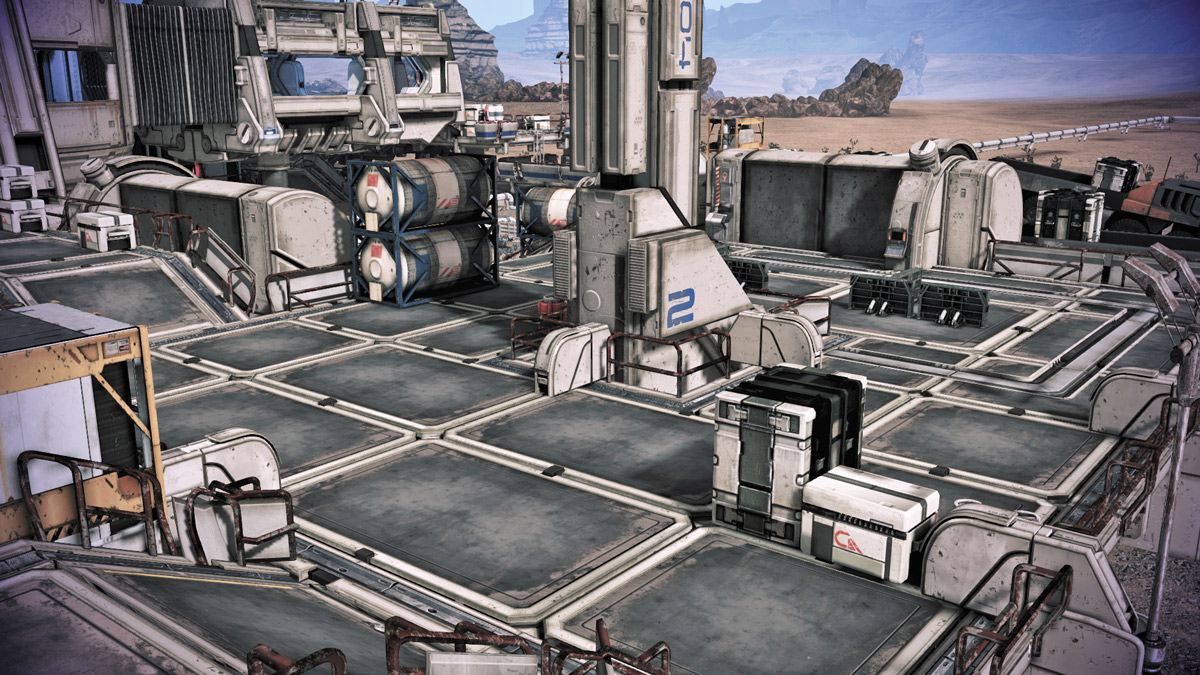
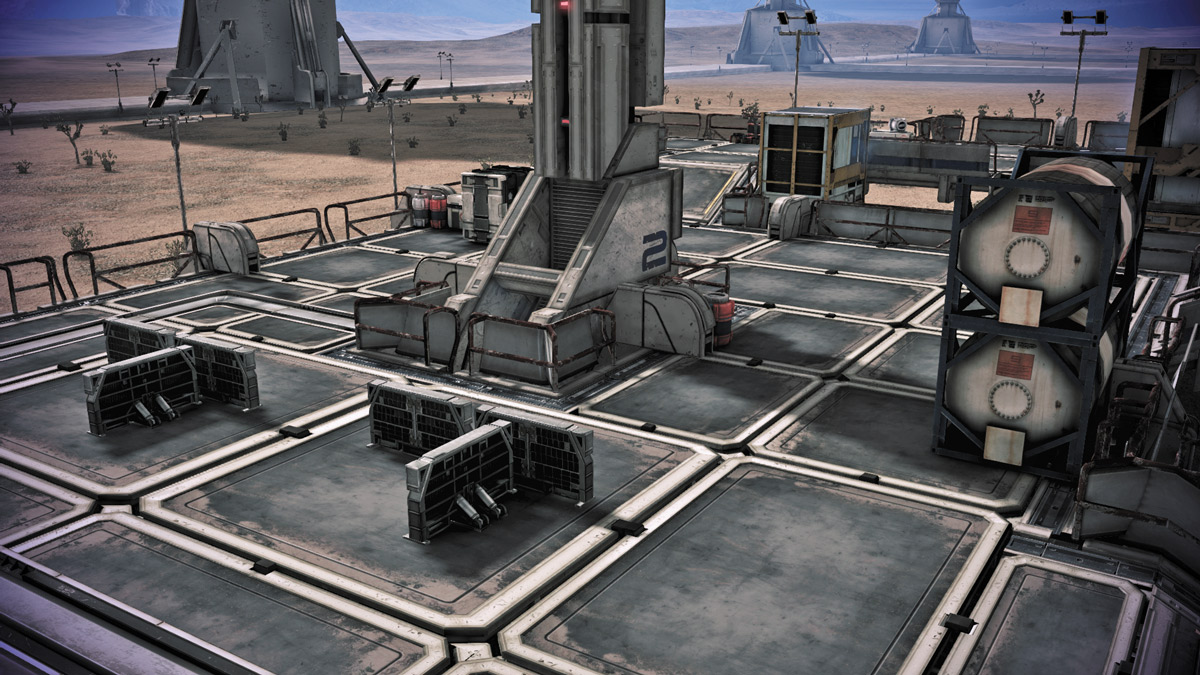
The Comm Tower connects the West Approach to the Pipeworks.
Its central antennae and the surrounding walkway offer little in the way of protection; being sandwiched between a pair of high-traffic zones is only one danger you’ll face while here.
You’ll also be dealing with any ranged threats from Array Control, making the Cerberus Nemesis a serious threat to any objectives you need to accomplish here.
Fortunately, Comm Tower’s location does give it easy access to an ammo crate in the West Approach, so during Hacking objectives here, resupply isn’t as big of an issue... unless the enemy is currently pushing through the West Approach.
Dark Side
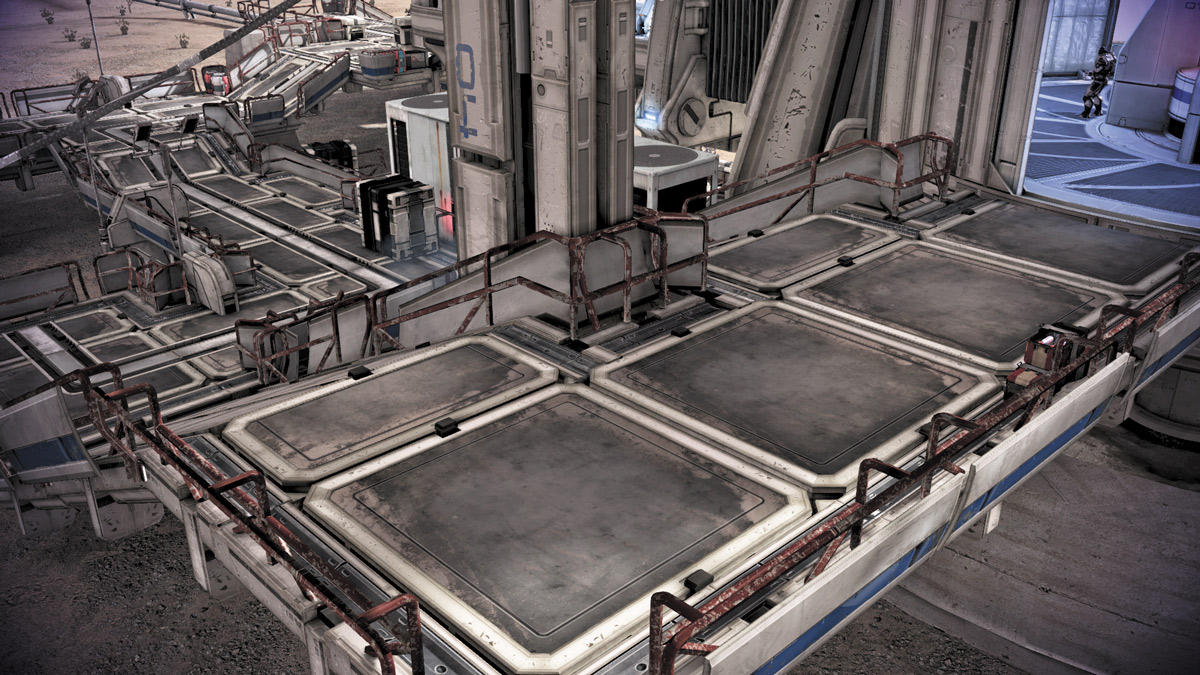
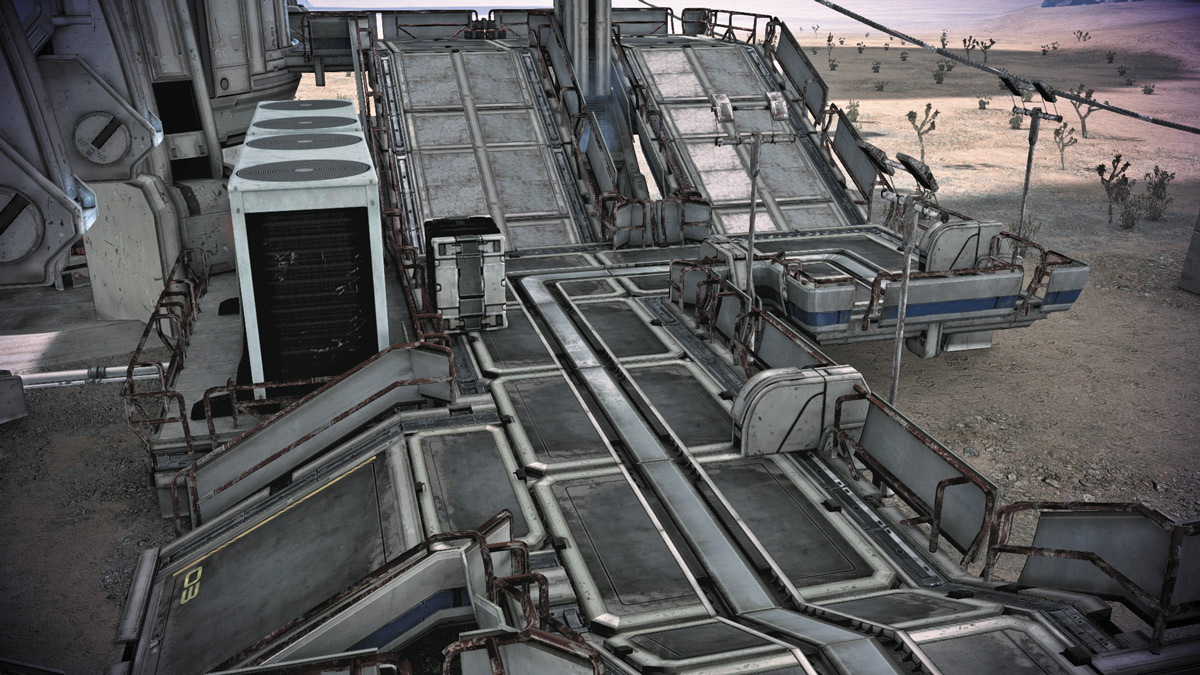
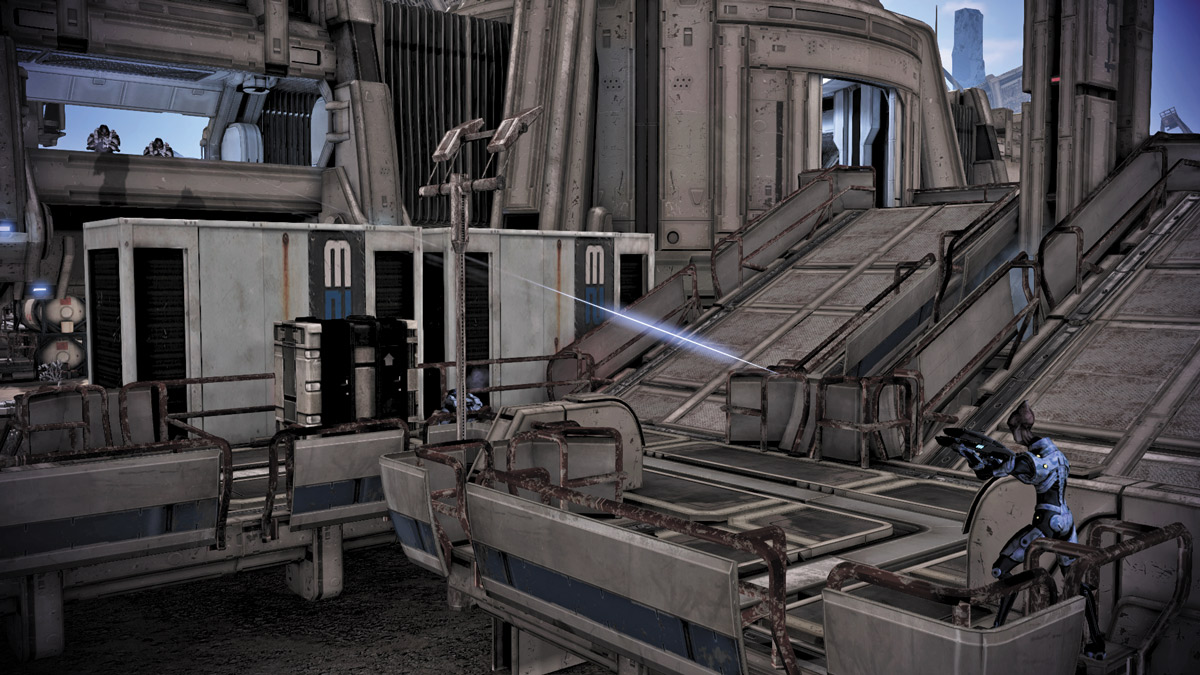
Dark Side is the deployment area and the extraction zone. It is connected to Array Control and includes ramp access to the Pipeworks.
The location where players begin is easy to properly defend during extraction.
Enemies traveling through Array Control, from either the West or East Approaches, must contend with the cramped rooms, forcing them close together to be blasted with your powerful area-of-effect abilities.
If they attempt to use the windows for sniping, players defending the Dark Side LZ can countersnipe just as easily.
If the enemy approaches from the ramps leading to the lower portion of Dark Side, players can make the short trips up the ramps unsurvivable.
Dark Side’s primary tactical disadvantage is that it is darker than the rest of the map due to the communications array’s shadow.
Cloaked units, like the Geth Hunter and the Cerberus Phantom, can be harder to spot if the fighting is particularly fierce.
East Approach
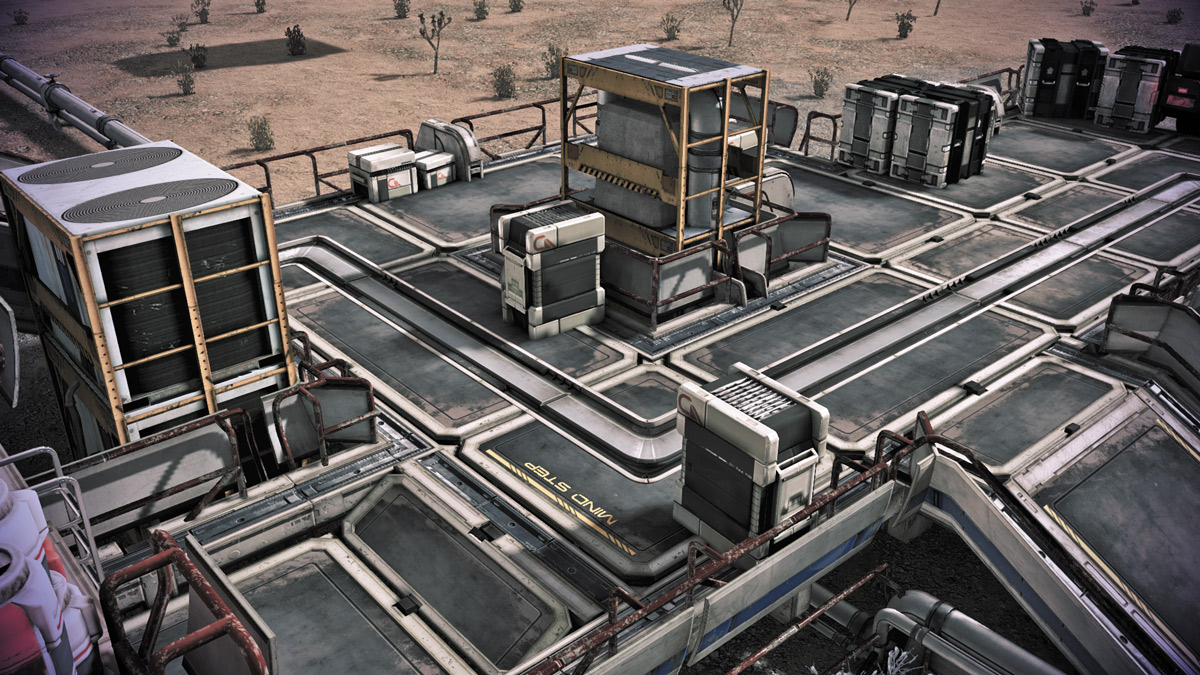
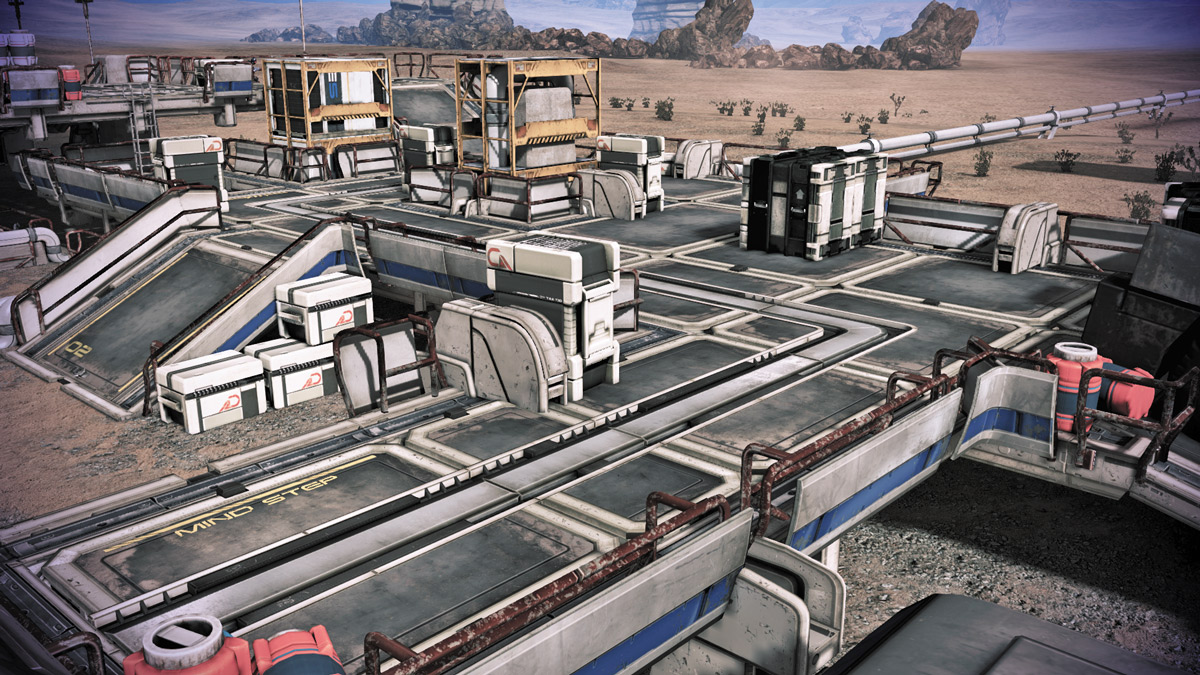
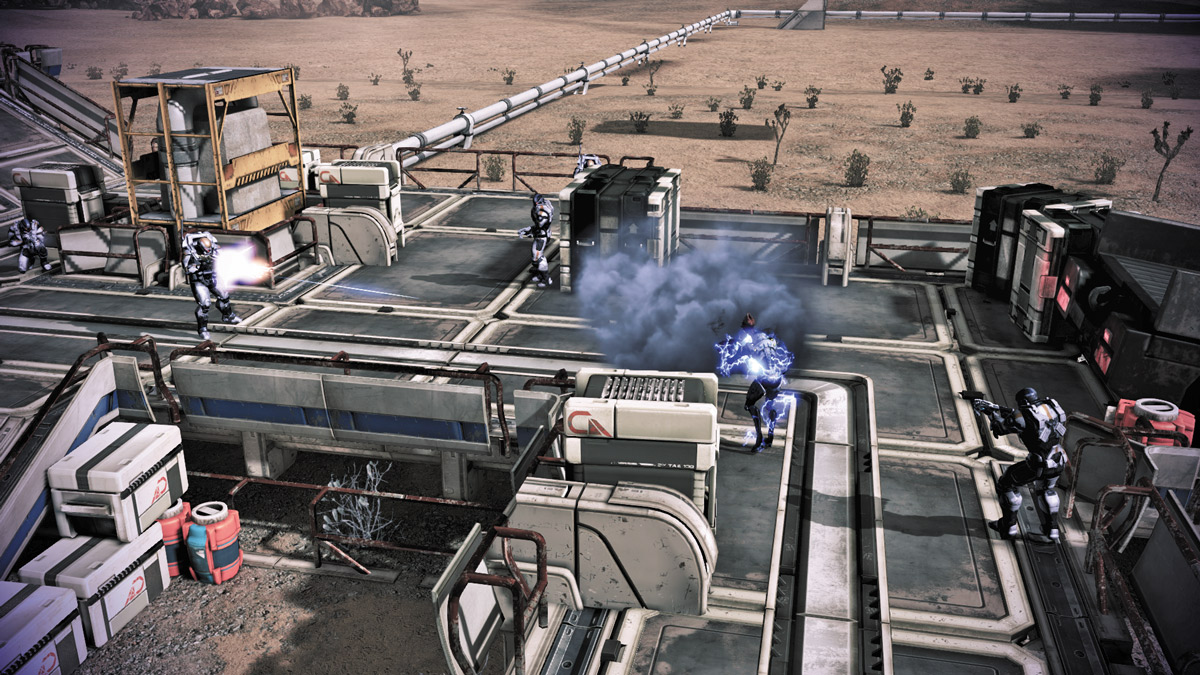
While not as defensible as the West Approach, the East Approach still allows for good sightlines on almost the entirety of the Pipeworks while also having solid cover from anything attempting to snipe from Array Control.
Array Control can also be accessed from the East Approach via a ramp and a ladder, both of which can be easily locked down while also providing users with little protection.
Many hostiles attacking from Array Control like to use the ladder, as it provides the fastest access to the East Approach; however, upon dropping down, they have little in the way of immediate hard cover, a very punishable error for anyone to make.
Outlook
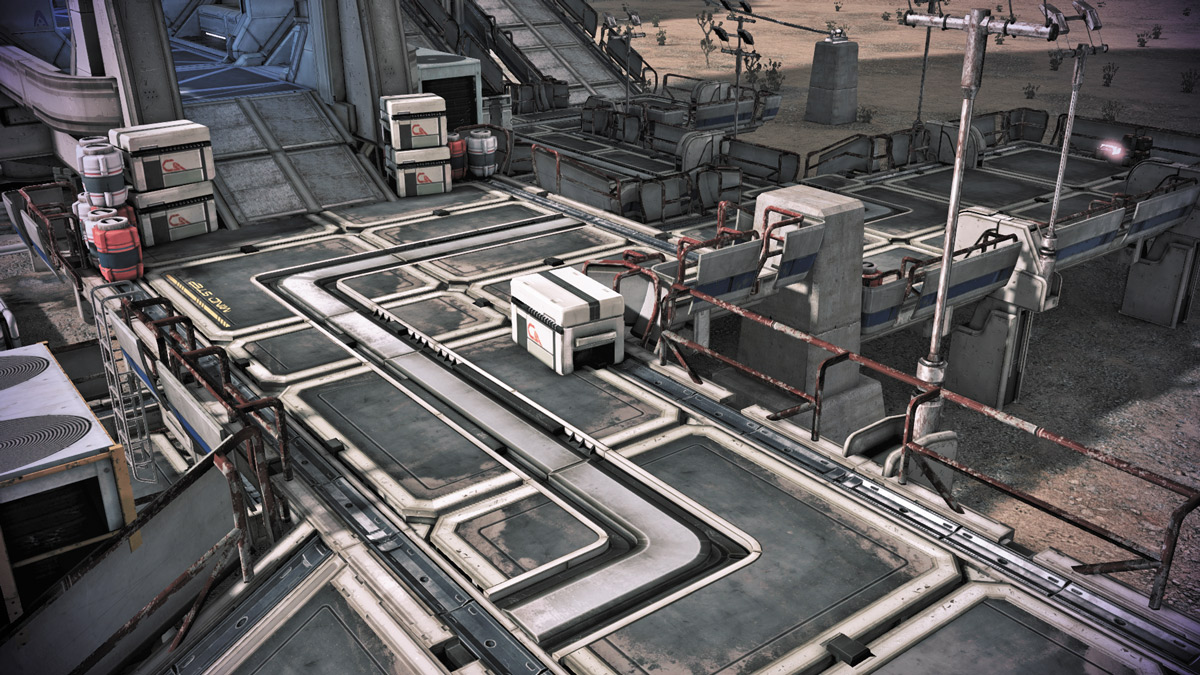
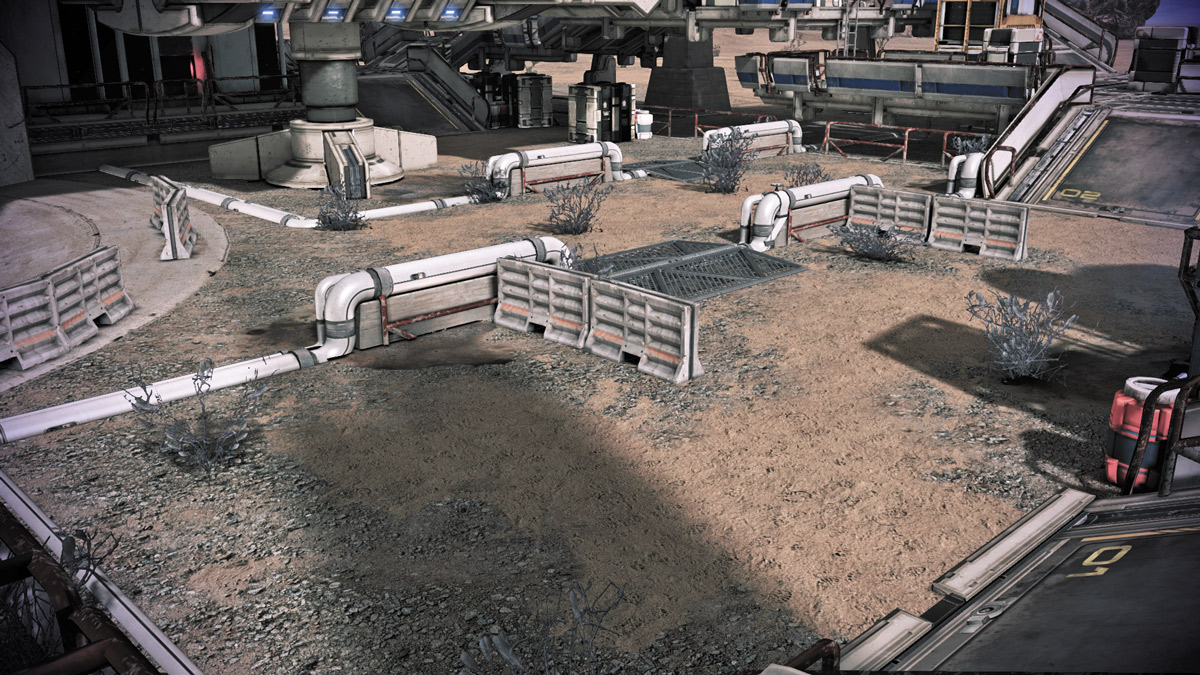
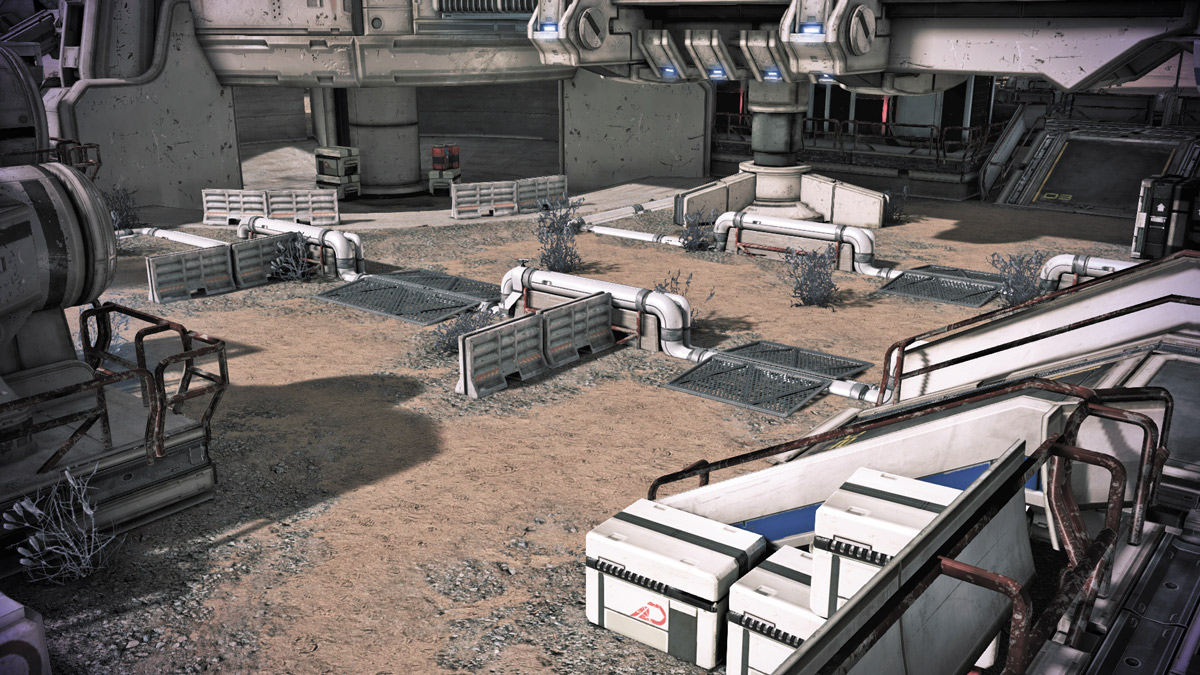
The smallest section in Dagger, Outlook is the small elevated walkway leading out of Array Control and connecting to both the East Approach and the Dark Side.
There is some measure of cover from ranged threats located in the East Approach and the Pipeworks, but otherwise the walkway is almost completely exposed to flanking from the easternmost walkways found in Dark Side.
Pipeworks
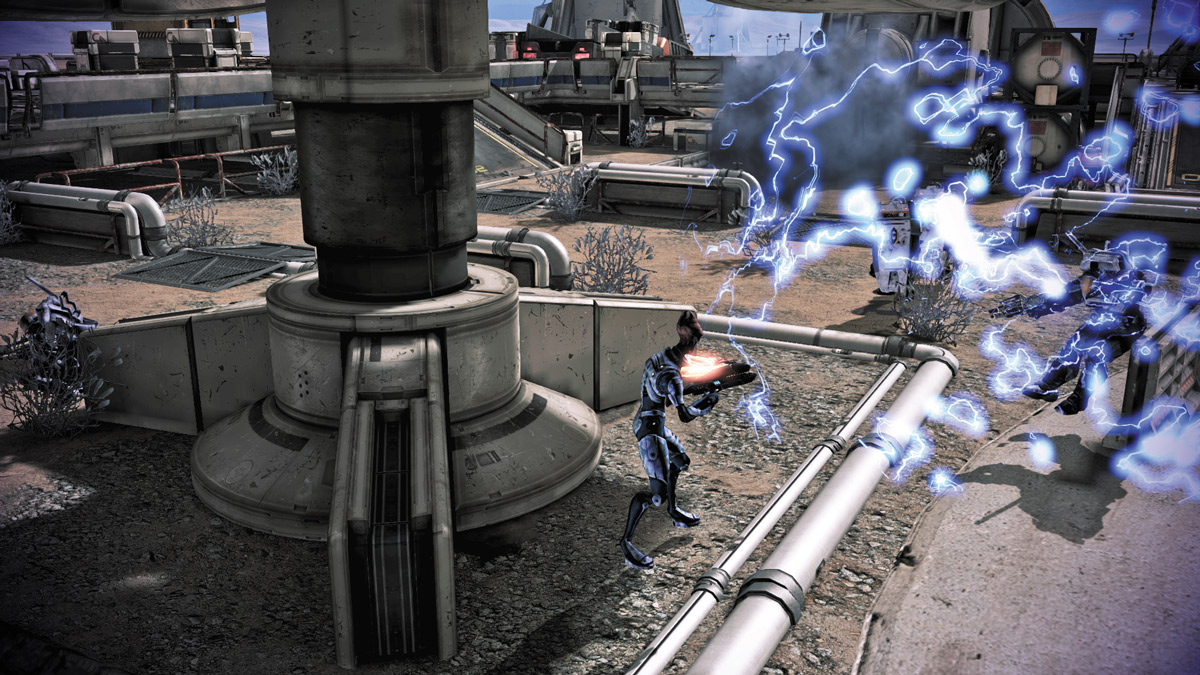
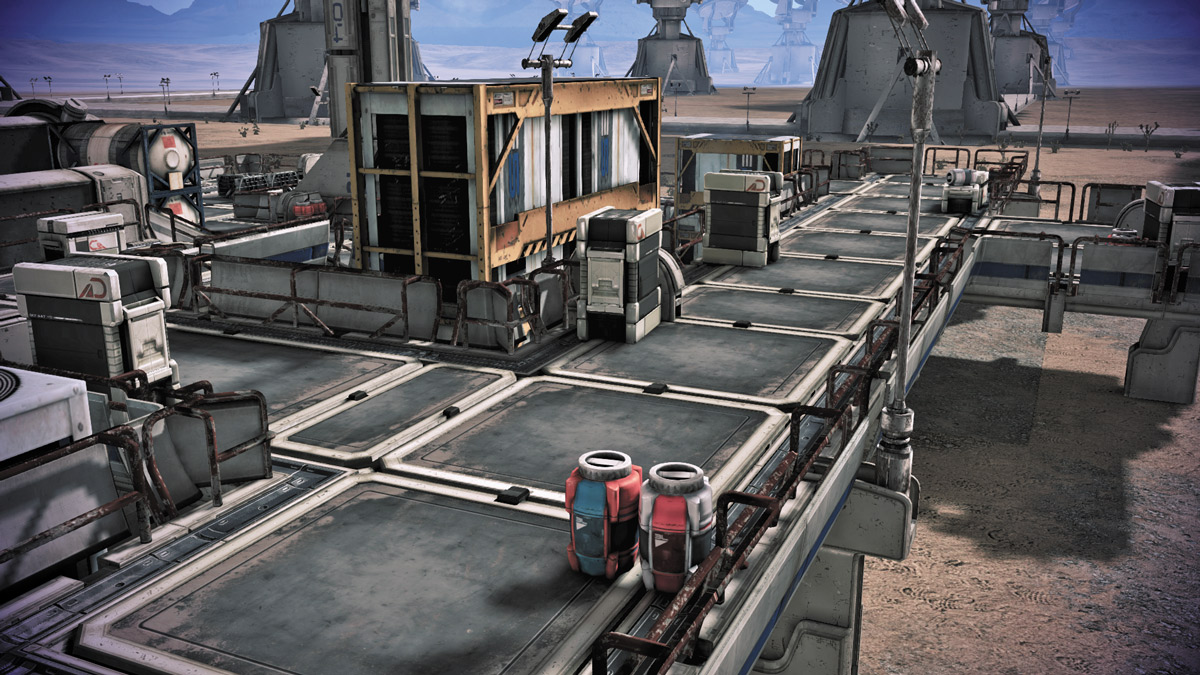
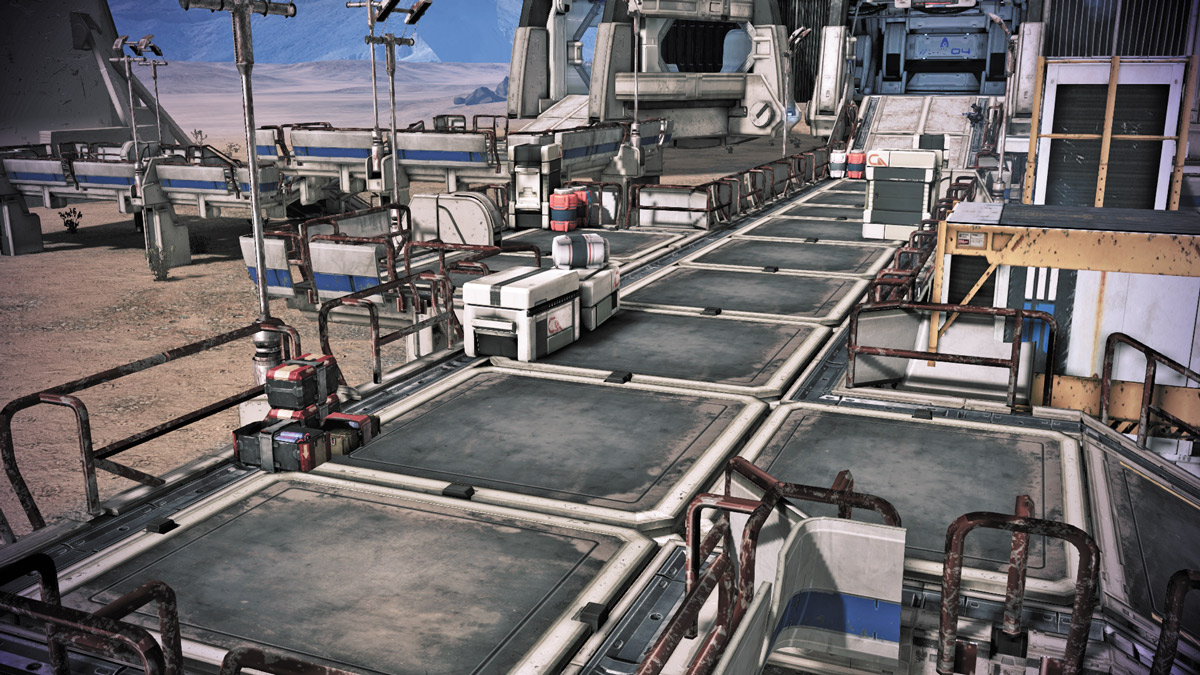
The ground floor of Dagger, Pipeworks is directly connected in some way to every single section of the map, save for Array Control.
Consequently, this means that anyone located in the Pipeworks can potentially be flanked from almost every direction, and the height advantage from some of those areas negates much of the waist-high cover scattered throughout Pipeworks.
However, you can use the base of the Array Control building as a safe haven to rest and recharge for a few precious seconds, forcing enemies to traverse the Pipeworks or take the ladder from the West Approach to try and flank.
One good thing about the Pipeworks is that its size allows players to pick off melee and short-range units at a safe distance, or they can flee to safety if enemies do manage to get too close.
West Approach
.jpg)
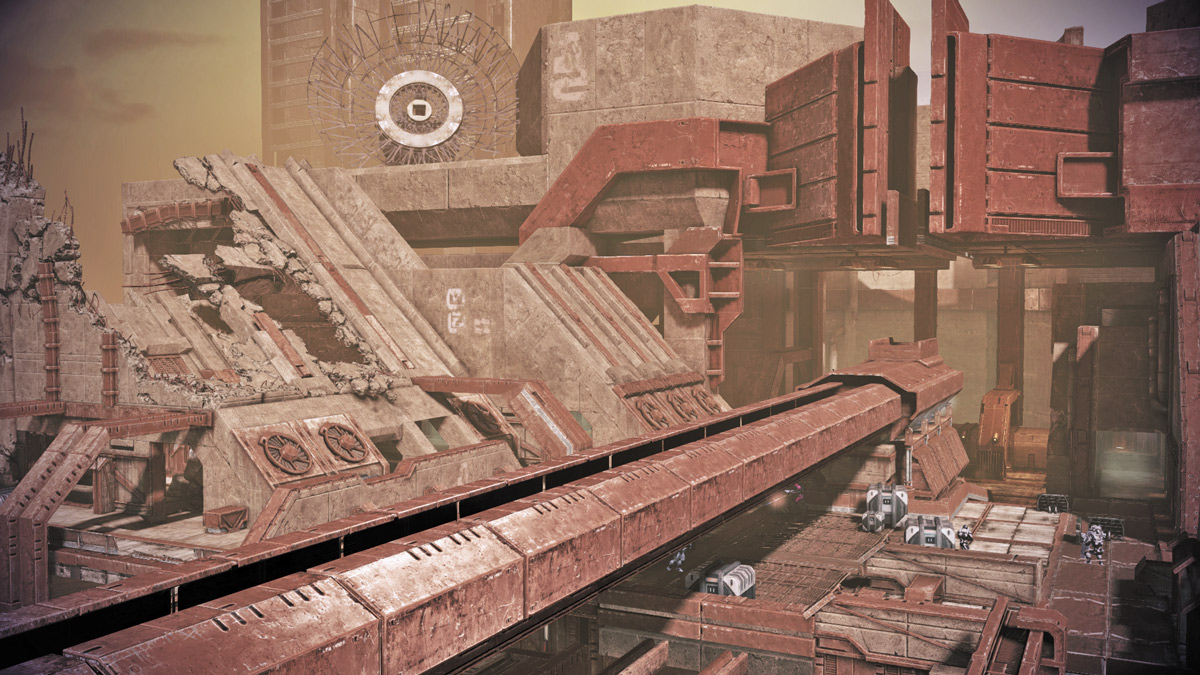
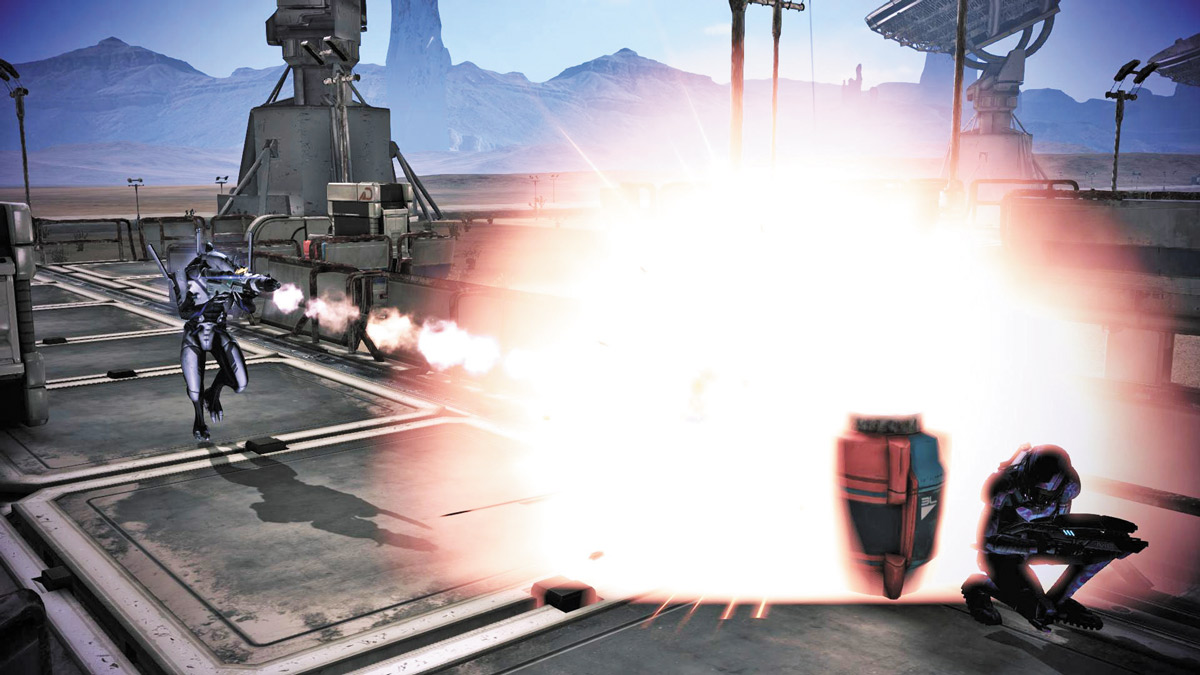
Unlike the East Approach, the West Approach enjoys good cover from any snipers located in Array Control while retaining a positional advantage over the Pipeworks and the Comm Array.
A ladder allows easy access to the Pipeworks, dropping players into another well-protected location underneath Array Control.
A four-player squad can halt any hostile assaults through the single Array Control entrance ramp.
Another good tactic is to set Proximity Mines along the walkway, specifically on any pieces of cover facing Array Control, to further stymie your foes.