
Mass Effect 3 Guide Walkthrough Act 2
Priority: Thessia
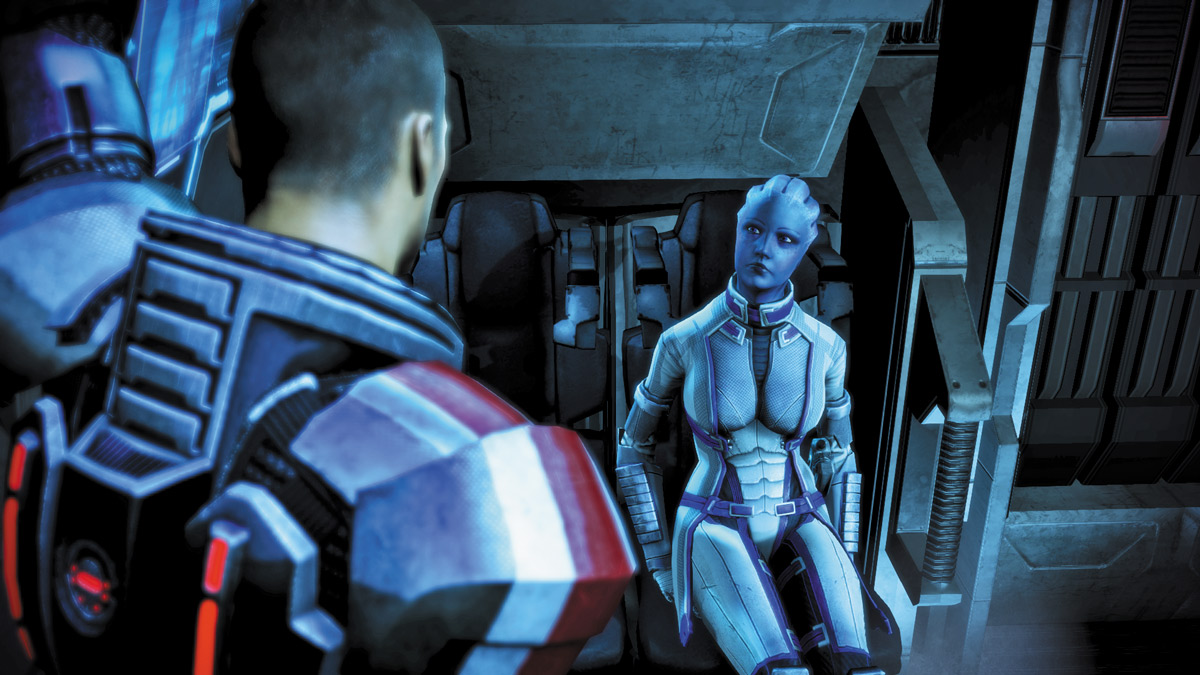
En route to the Thessian temple, Liara, who must be a part of your squad for this mission, reveals that she’s been there before with her mother. More importantly, she’s preoccupied with the people dying on her planet.
Ask her about her mother and get more information about the temple, its government funding, and the shady history behind it all.
Since this conversation yields Paragon/Renegade points, press the conversation in accordance with your leaning. Reassure her that you’ll save her people to gain Paragon points or tell her to block out that train of thought for Renegade points.
.jpg)
As you touch down on the planet, you see the battle against the Reapers raging across the Thessian surface. Disembark the shuttle and speak to the nearby asari soldier, Lieutenant Kurin.
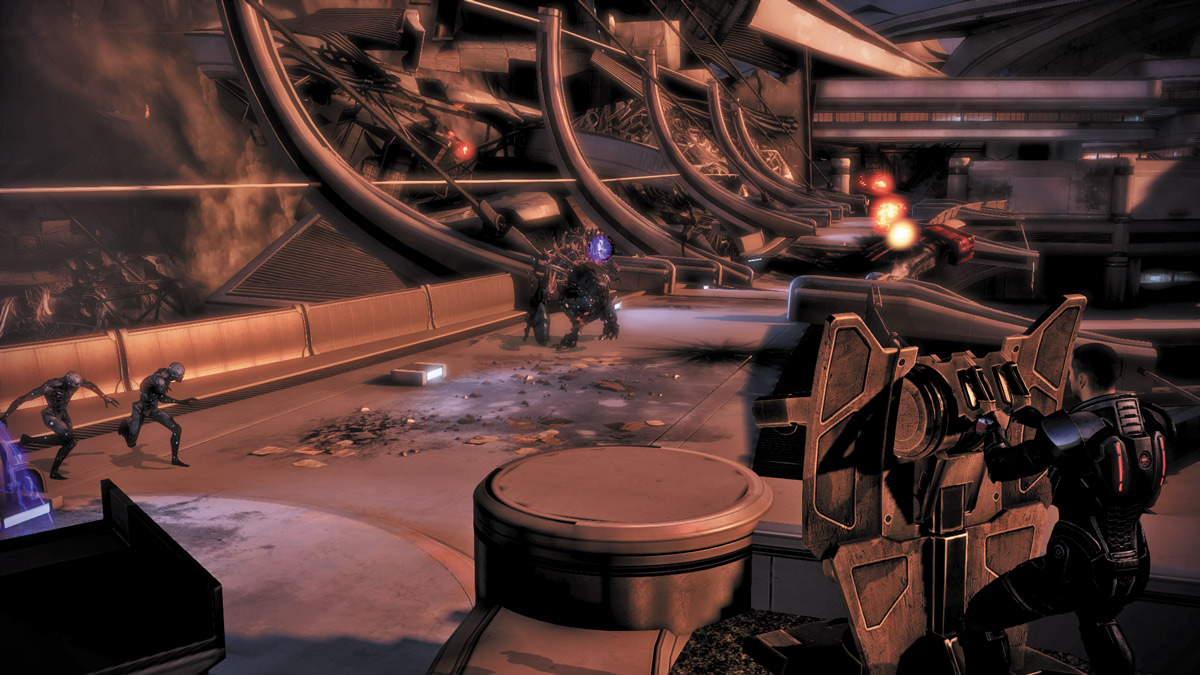
Before you can speak with the asari soldier at length, the area gets bombarded by Reaper rockets. Lend a helping hand, rush over to the unmanned turret, and activate it. Take aim down the length of the bridge ahead of you and open fire on the Brute before it can attack the asari camp.
Keep a steady stream of fire on the bridge as more Brutes and several Husks rush the asari soldier holding the barrier. Eliminate a Brute, then quickly swing the turret left to spot any Husks near the barrier. Eliminate the Husks, then swing the turret back to the right to intercept new Brutes.
Continue swinging the turret left and right, eliminating Reapers as you go until the coast is all clear. Get off the turret and return to Lieutenant Kurin.
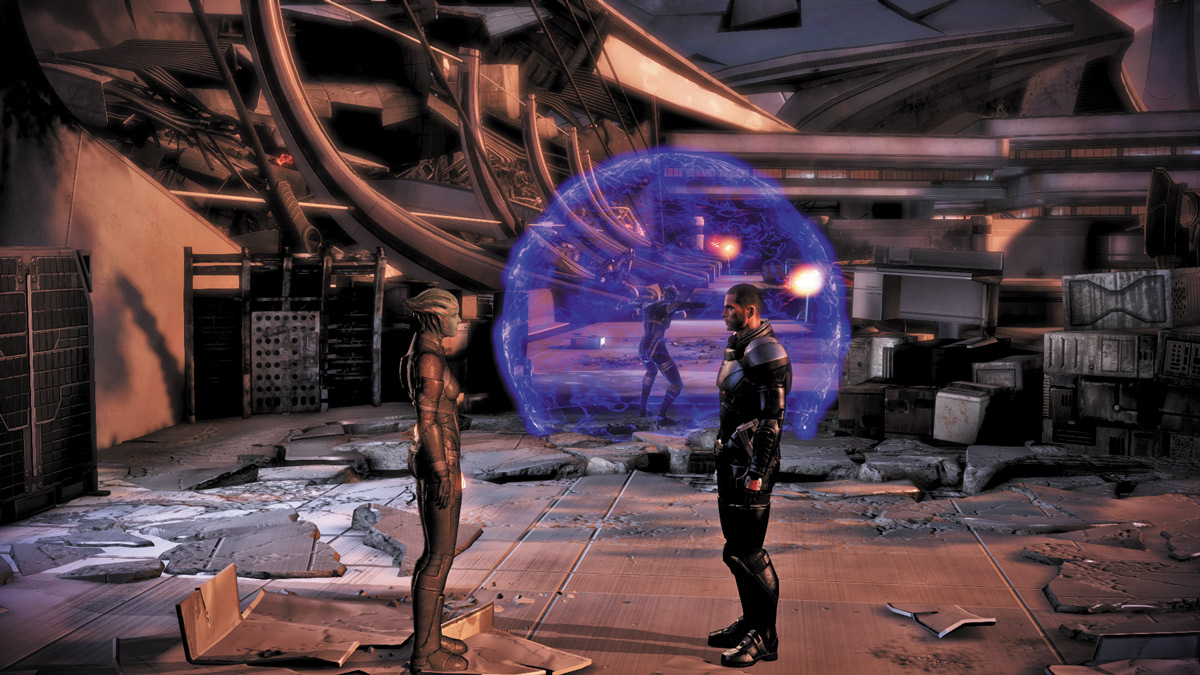
Lieutenant Kurin is not convinced that your mission is more important than hers. Of course, it doesn’t help your cause any that she wasn’t given any information about your mission, so she can’t weigh the importance of the two and make a decision.
This is your chance to either cooperate and persuade her, or force the issue.
Your responses to Lieutenant Kurin during this conversation will also yield Paragon/Renegade points. If you divulge information about your mission, you’ll gain Paragon points. Keep her in the dark and you’ll accrue Renegade points. She’ll let you proceed either way.
THE BRIDGE
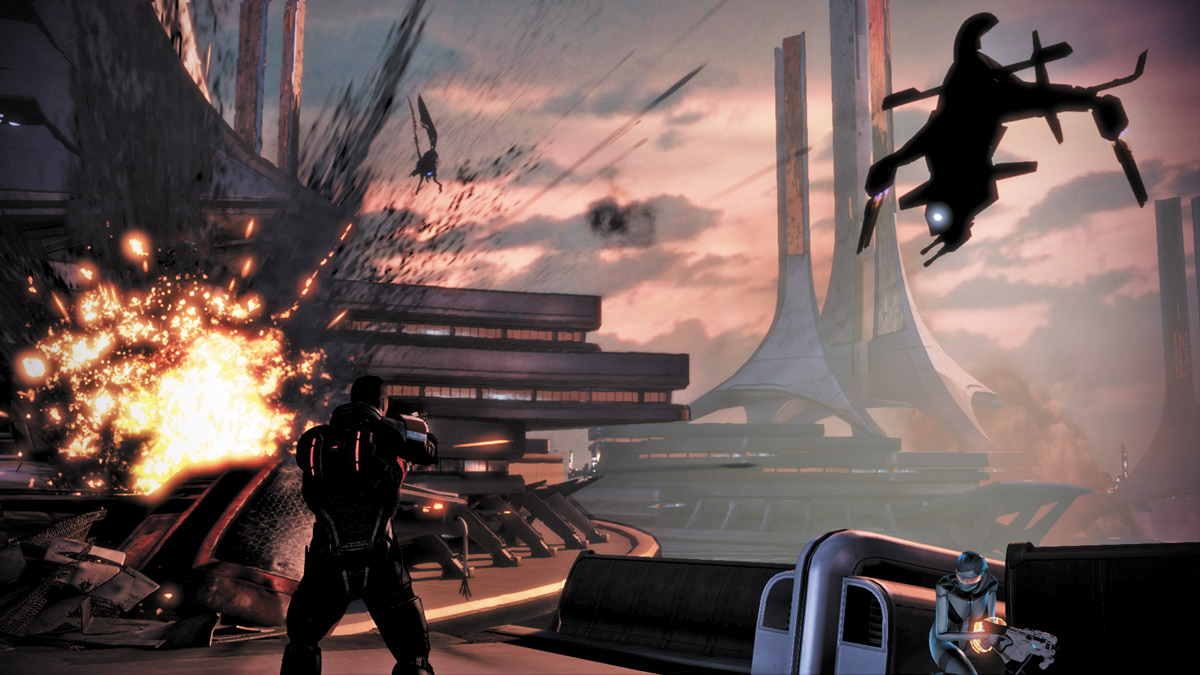
The bridge ahead is long and dangerous. As you cross, a group of Harvesters flies by overhead. They don’t attack you, but they do release several Cannibals and Marauders. The Reapers wait on the far end to tear you to shreds, but there is only one way to go—forward.
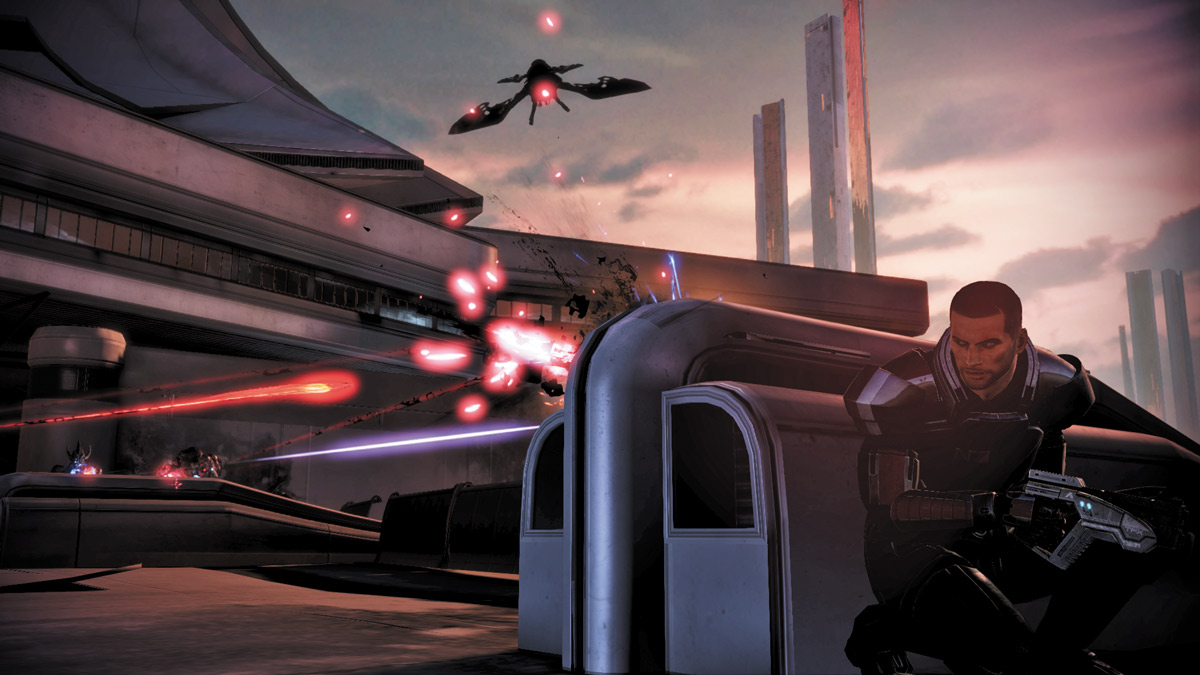
Stop behind one of the supports on the side and duck for cover. Aim down the length of the bridge and open fire on the Cannibals at the far end. Pick them off from your covered position.
They don’t advance down the bridge in your direction, so you can either keep your distance and snipe them, or get in closer for a better line of sight.
Since the bridge is straight and doesn’t have any extra levels or side passages, the battle here can be very straightforward. Use a preferred combination of powers and weapons fire and the Cannibals and Marauders go down easy.
If you need an extra hand to finish the fight quickly, use a combat drone to inflict extra damage during the battle.
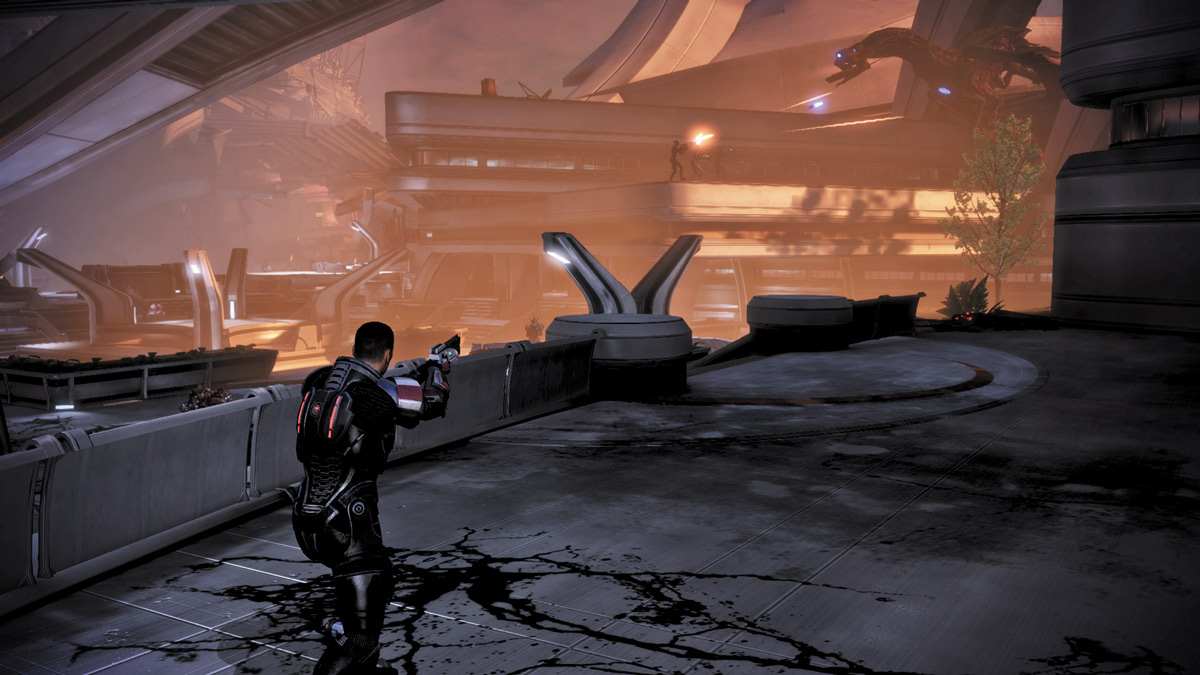
Make a right at the bridge’s end and pass through the interior of a demolished building. Several more Harvesters attack the asari soldiers ahead of you, but there’s nothing you can do. Keep going until you reach a ledge overlooking a courtyard below.
THE COURTYARD
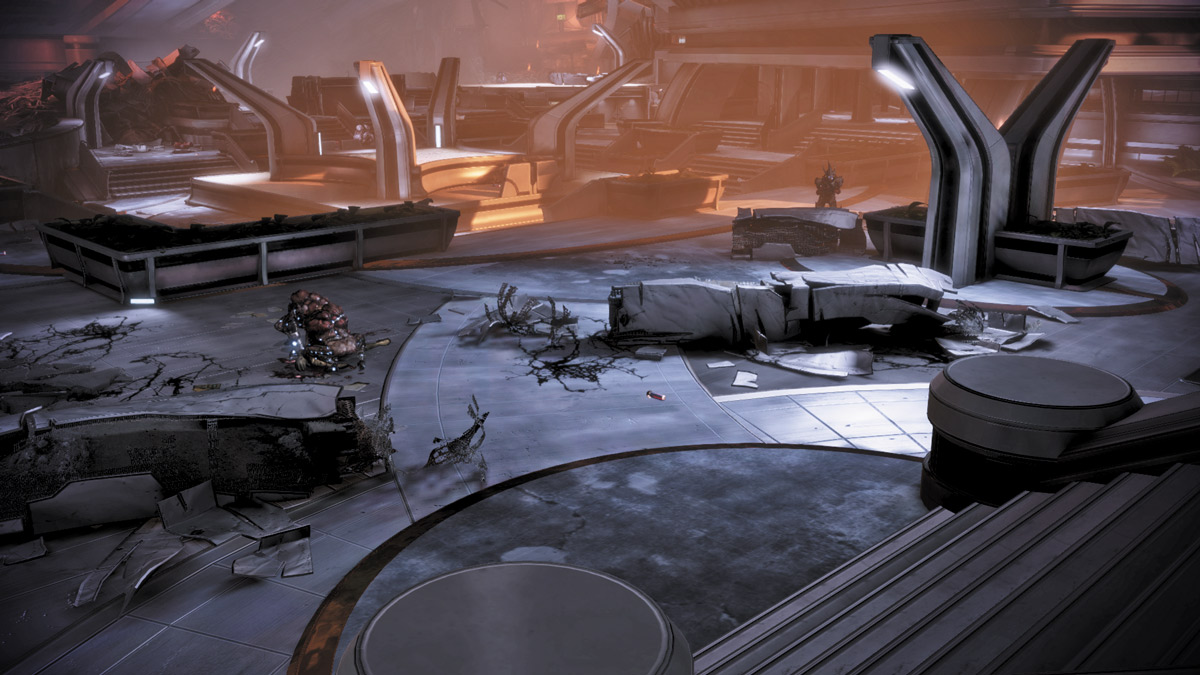
The courtyard is a large, wide-open area with plenty of fallen structures and planters for cover. Near the center of the courtyard is a decorative structure that breaks the courtyard into two halves.
The left side of the courtyard is full of tall debris and stops near the center structure. The right side of the courtyard leads to the entrance of a building that provides plenty of great cover and leads all the way to the opposite end.
APPROACH 1: SNIPE, THEN SNEAK RIGHT
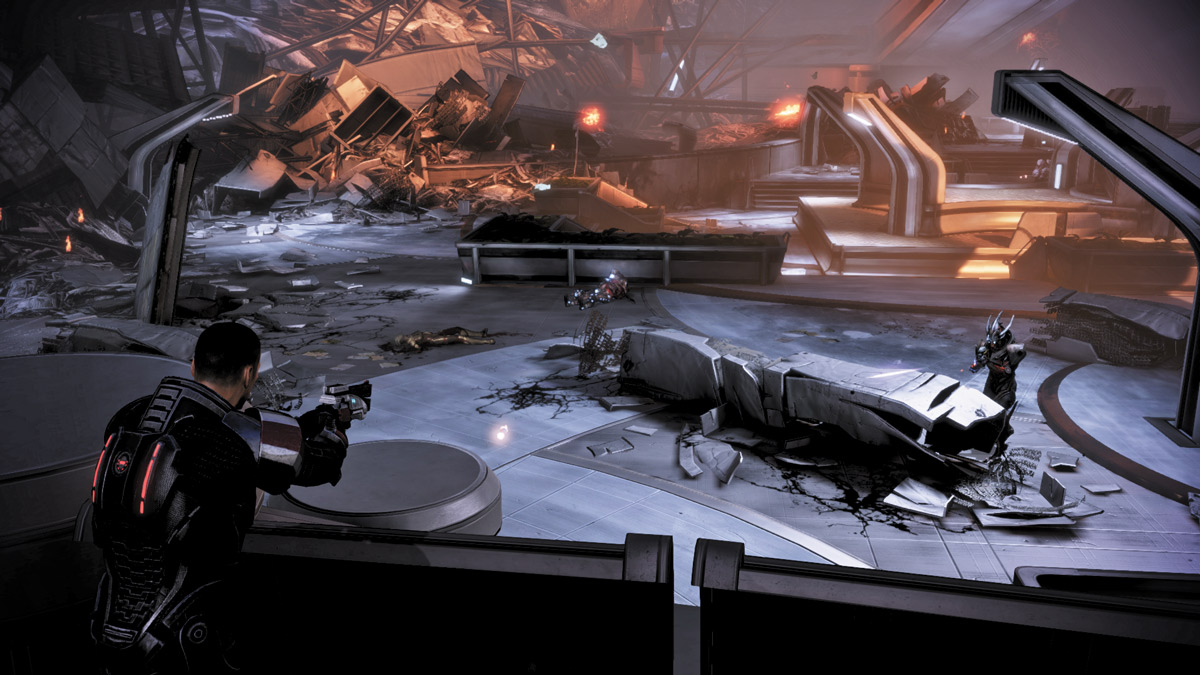
The first approach to this area may be the most obvious. Since you enter the area from an elevated vantage point that grants you a view of the entire area below, take out a sniper rifle and get to work.
Use your team’s powers to distract the enemies below, or even use your crew as bait and begin picking off foes with well-placed headshots.
Use powers that can disable, stun, or otherwise slow down enemies in order to get as many headshots as possible. After taking out all of the enemies near the courtyard entrance, venture down the steps and slowly creep right, toward the far building.
Pick off more enemies as you go, using power combos and weapons fire (you could switch to an assault rifle now to compensate for the range) until you reach the courtyard’s opposite end.
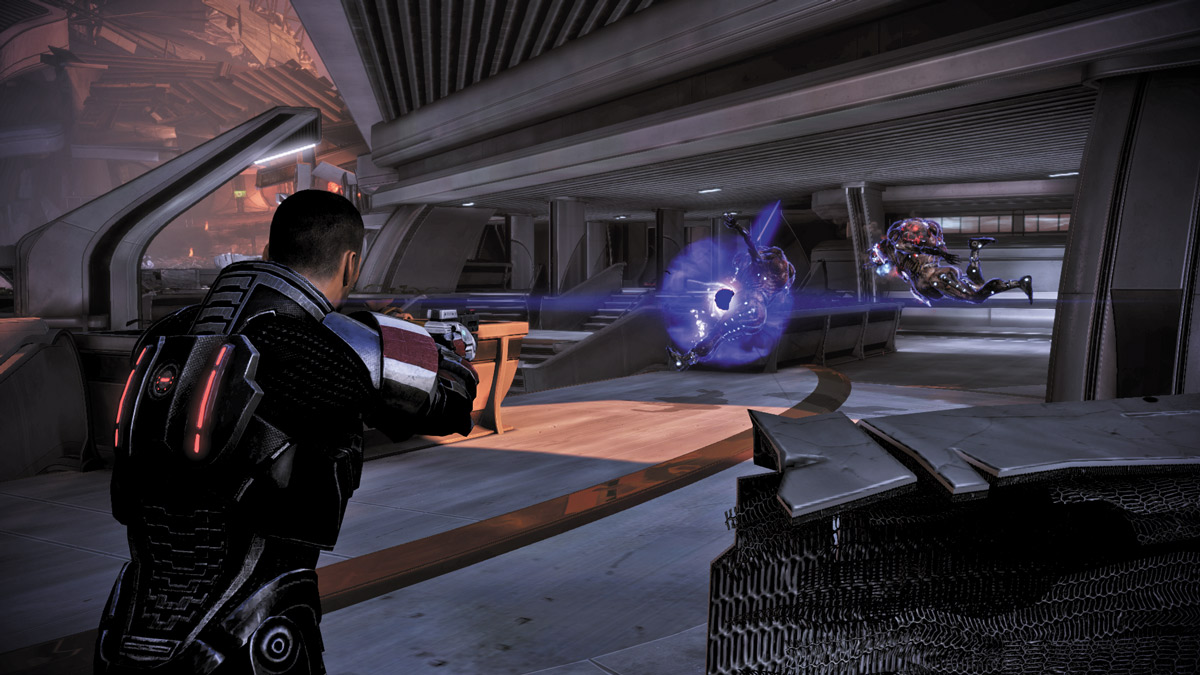
Take cover in the entrance to the building on the right and order your squad to unleash their powers on the enemies ahead. Use drones and Singularity. Liara’s Warp also helps dish out damage. Eliminate all foes until only the Banshee remains.
APPROACH 2: CLOSE QUARTERS, ADVANCE IN A LINE
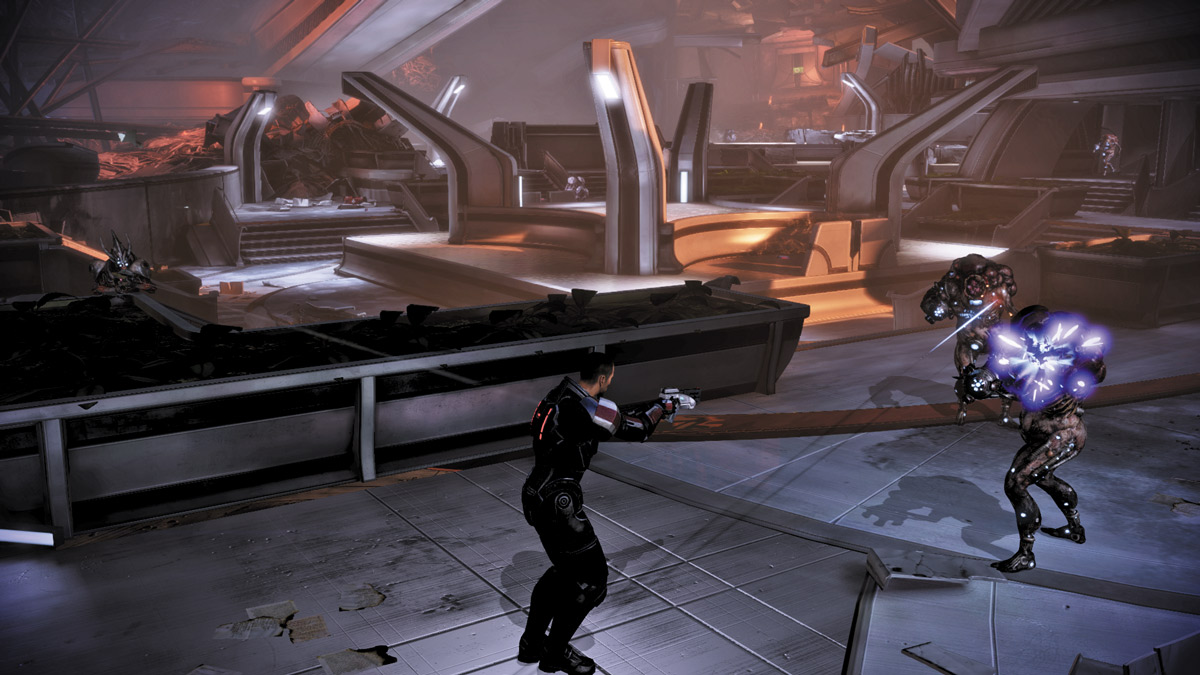
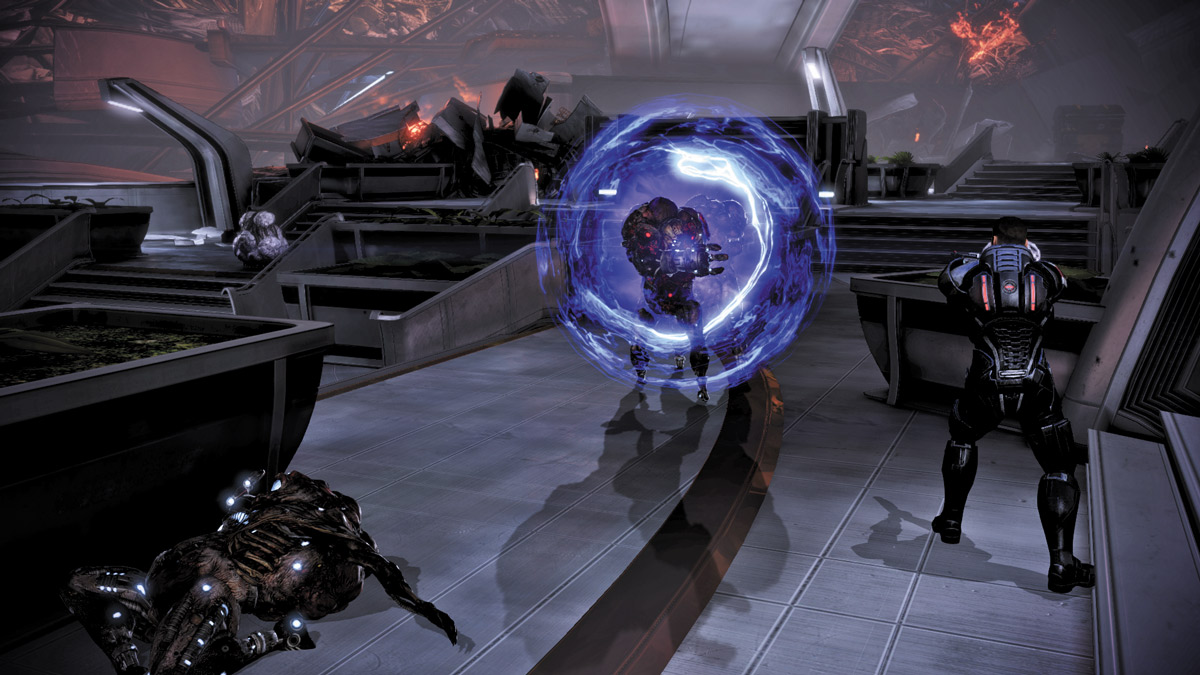
Players who prefer a more traditional approach can rush down the steps and engage the enemy directly in the courtyard. Use powers like Adrenaline or Tactical Cloak to sneak down the steps and blast the Cannibals near the base of the steps.
With Adrenaline, you can attack multiple enemies before it wears off. If you are using Tactical Cloak, attack the strongest enemy first, then turn to the rest of the Reapers nearby.
Order your squad to take cover near you, in the courtyard, and begin combining powers to destroy the rest of the Cannibals. Use power combos like Liara’s Singularity and Warp, or use Cryo Blast. If you’ve got a good close-range weapon, equip it and activate a Power Ammo. Incendiary Ammo works great against Cannibals.
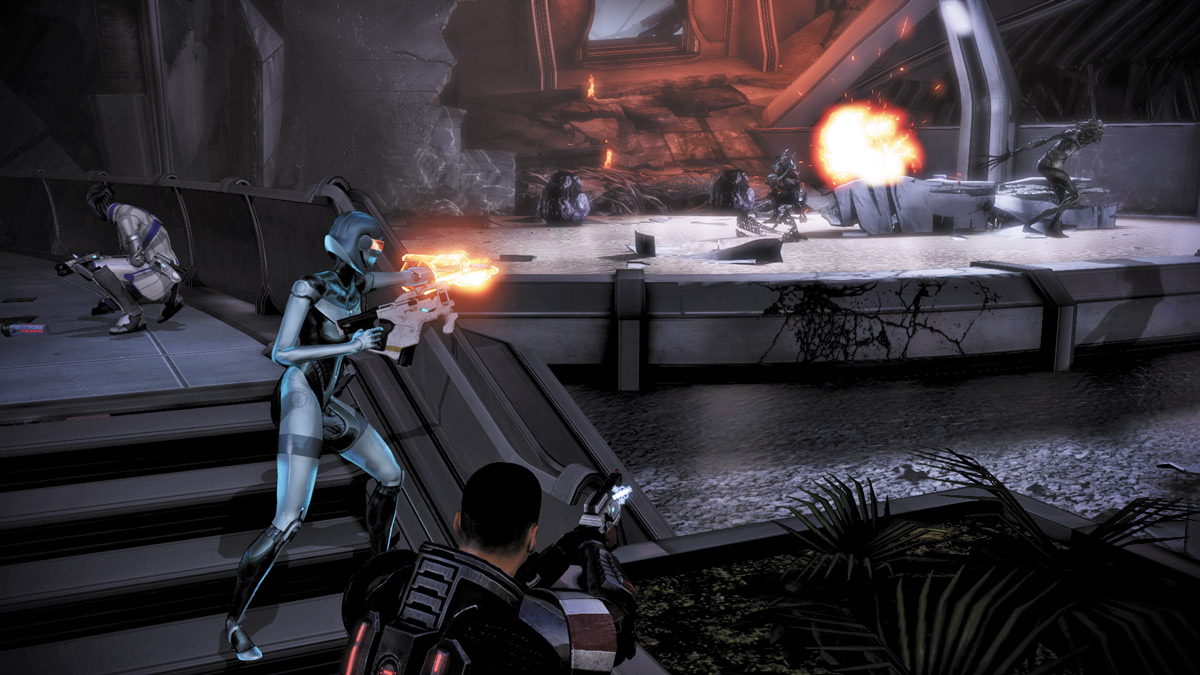
Sneak around the courtyard’s left side until you reach the center structure. The center complex provides a great divide between the front of the courtyard and the far side so you can approach the enemies on the far side using plenty of cover.
Lead with your powers, but keep the pressure on the other enemies as you approach. As you move in, also direct your squad to approach from the far right side. This way, you can move at the same time and advance the squad as a line of protective fire and power combos.
Continue moving forward, past the center structure, until you reach the far end. Concentrate on the Marauders, taking them out one by one, until only the Banshee is left.
BANSHEE BATTLE
.jpg)
.jpg)
The reason you leave the Banshee for last is because this asari-Reaper hybrid is devilishly fast and capable of teleporting from place to place in the blink of an eye. One second she can be next to you, and the next she’ll be across the courtyard attacking a teammate.
Spread out your squad so her attention is divided, then order your teammates to unleash all of their most destructive powers on the creature. You may have to chase the Banshee as she rushes from squad member to squad member, but you’ll avoid the squad taking one of her devastating blasts all at once.
As your squad members lure the Banshee around the courtyard, follow the asari abomination and hit her with power combinations and heavy weapons fire until she falls.
.jpg)
Exit the courtyard via the ramp on the far end. It leads into a building that has been torn to shreds. Follow the interior of the building to a door and go through. You emerge on another balcony overlooking a courtyard below.
As you exit, you spy a Reaper ship in the distance. Things are getting worse on Thessia.
.jpg)
The courtyard below has several Cannibals feasting on the dead. Open fire on them. When you do, several asari snipers on the courtyard’s opposite end also open fire on them. Go down to the courtyard and cross it to reach the snipers on the other side.
Before you can reach them, however, a rogue missile hits their location, destroying all but one of the asari snipers in one blow.
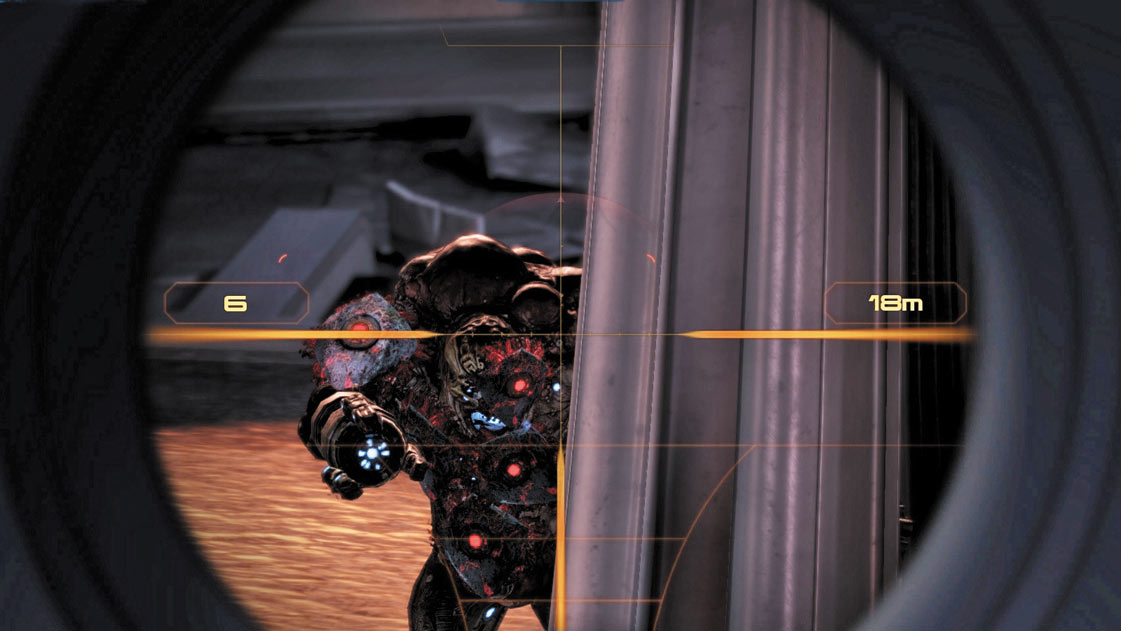
Aim over the balcony and start picking off the Marauders and Cannibals below. Take down a Cannibal first and other Cannibals will rush to it when it falls. As they do, they’ll leave cover and expose themselves to weapons fire and power combinations.
Take them down, then focus on eliminating the Marauders.
OUTPOST TYKIS
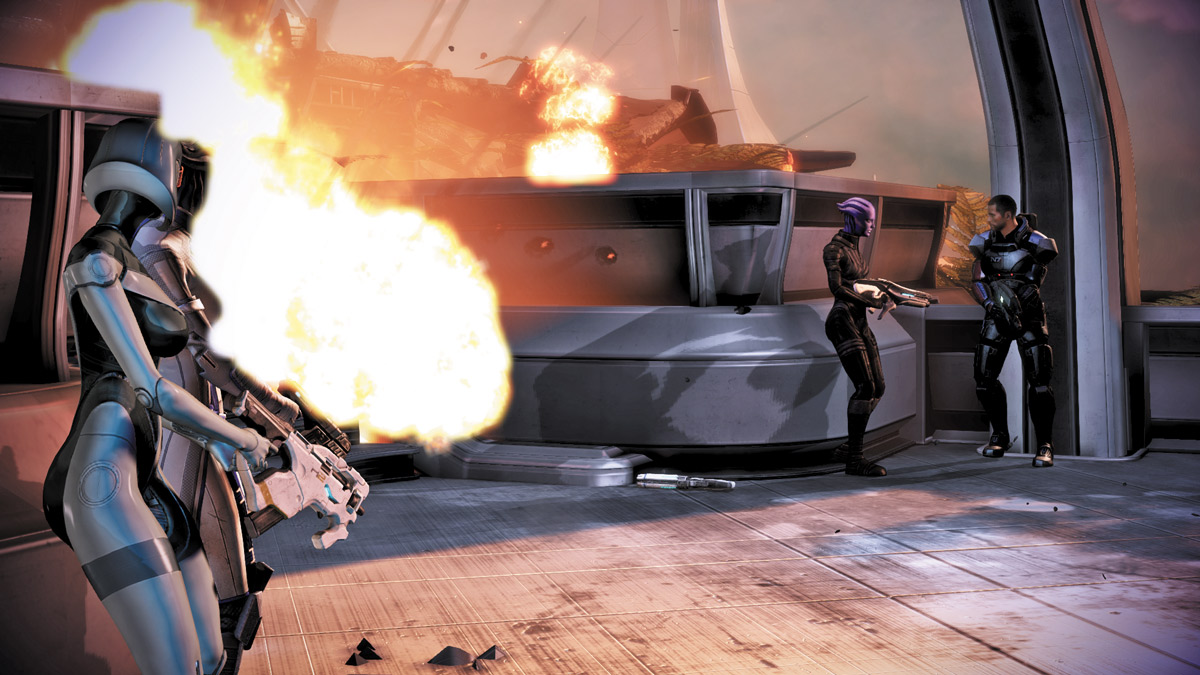
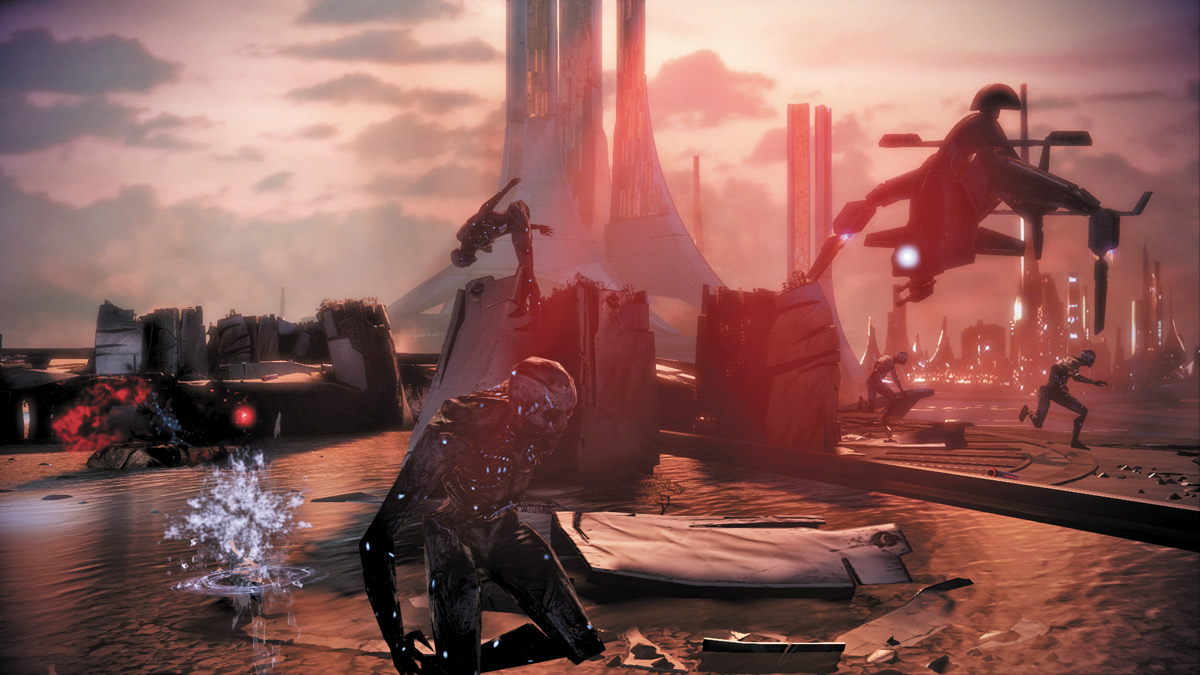
Drop to the area below, then exit through the hole in the wall on the opposite side. Make a left and walk up the stepped structure toward the far building. This is Outpost Tykis. When you reach it, you’ll encounter a lone asari soldier.
She’s all that is left of the asari support squad sent to help the scientists.
Luckily, she can call in air support to help you reach the interior of Outpost Tykis. As the asari gunships zoom in, the Reapers entrench themselves farther ahead. Wait for the gunships to open fire on the Reapers below and begin thinning their numbers.
The asari soldier takes position ahead of you and lays cover fire as a large squad of Reapers comes marching down the stairs toward you. Between the asari soldier and the gunship, you’ve got a small window to make your approach to the asari temple ahead. Leave cover and sprint past the attacking Reapers.
Shoot only to clear a path ahead of you, but don’t engage them any more than you need to. They will quickly close around you and overwhelm you; instead, sprint up the debris pile and past them to the next checkpoint. Make a right when you reach the top of the debris.
Alternatively, there is another Titan Missile Launcher on the ground right next to where you take cover at the start of the fight. This will help if you insist on engaging in combat here.
.jpg)
Sprint toward the temple entrance. Slow down to destroy the Husks that rapidly approach you. Either mow them down with heavy weapons fire or toss a grenade ahead of you to catch many at once. Pick off any that remain, or use power combos to slow them down and immediately obliterate them.
Once the Husks are down, several Ravagers and Harvesters attack from afar. You can’t win this encounter, so order your entire squad to take cover. Stay behind cover as much as possible, and only leave it to eliminate an enemy that gets too close for comfort.
Otherwise, wait for the gunship to draw away the Harvesters, then leave your position to eliminate the Ravagers and remaining Marauders. Cut down your enemies, then approach the entrance to the asari temple.
ASARI TEMPLE
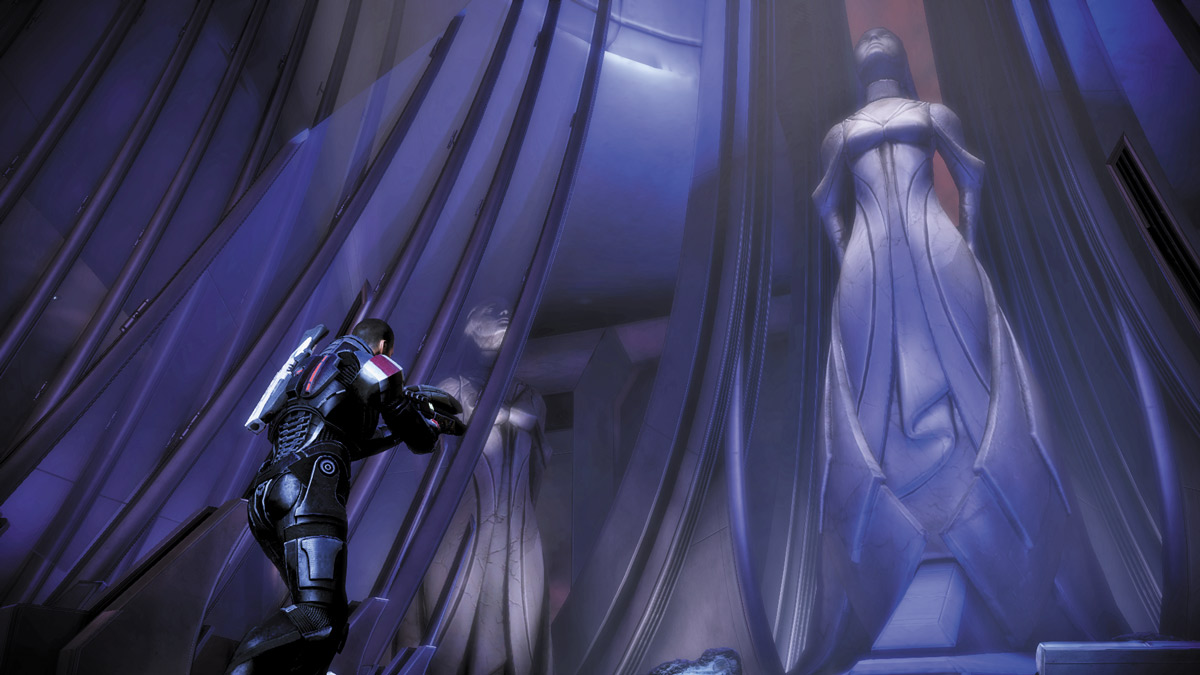
Enter the asari temple and look around. There are several artifacts on display. The artifact you’re looking for is at the temple’s far end, at the base of the large statue. However, take this time to examine all of them and learn a little bit about the asari culture.
.jpg)
When you’re ready to continue, examine the base of the statue of the goddess Athame. When you approach it, you sense a Prothean Beacon inside the statue. Liara, in disbelief, briefly doubts your claim.
During this conversation, you can hypothesize why the asari have become so advanced a species, and either agree or disagree with the asari’s decision to keep this beacon hidden.
If you agree with their decision to not share knowledge, you’ll gain Renegade points. If you insist that the asari should’ve shared the knowledge with the rest of the galaxy, you’ll gain Paragon points.
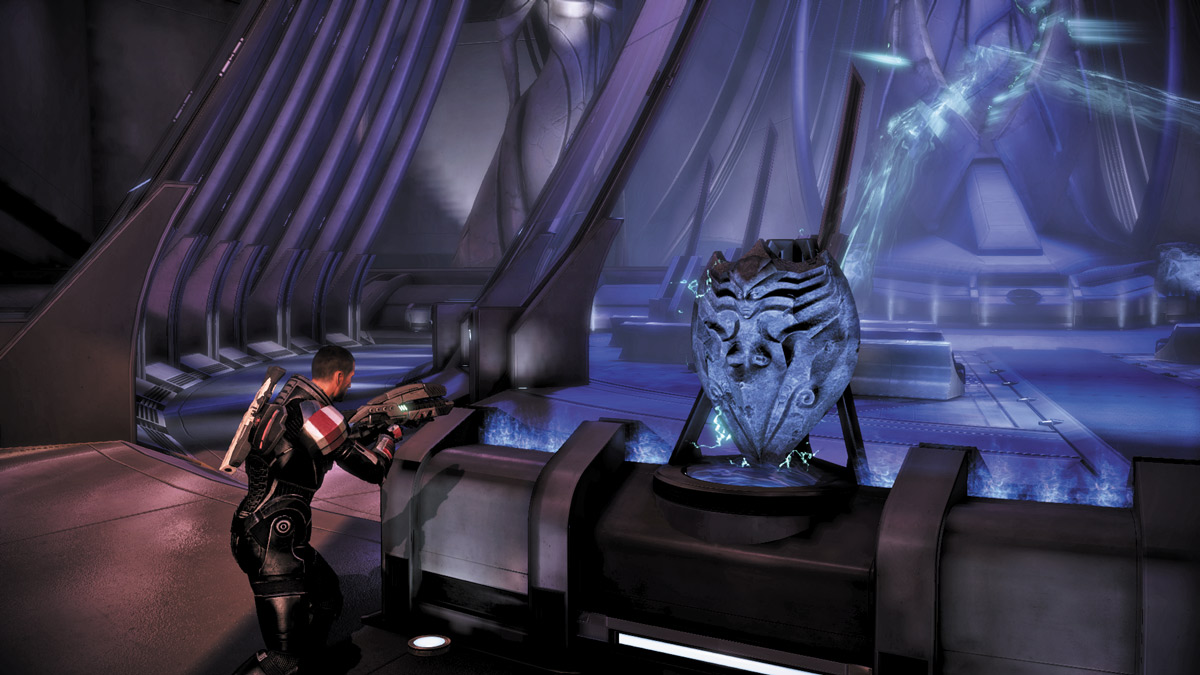
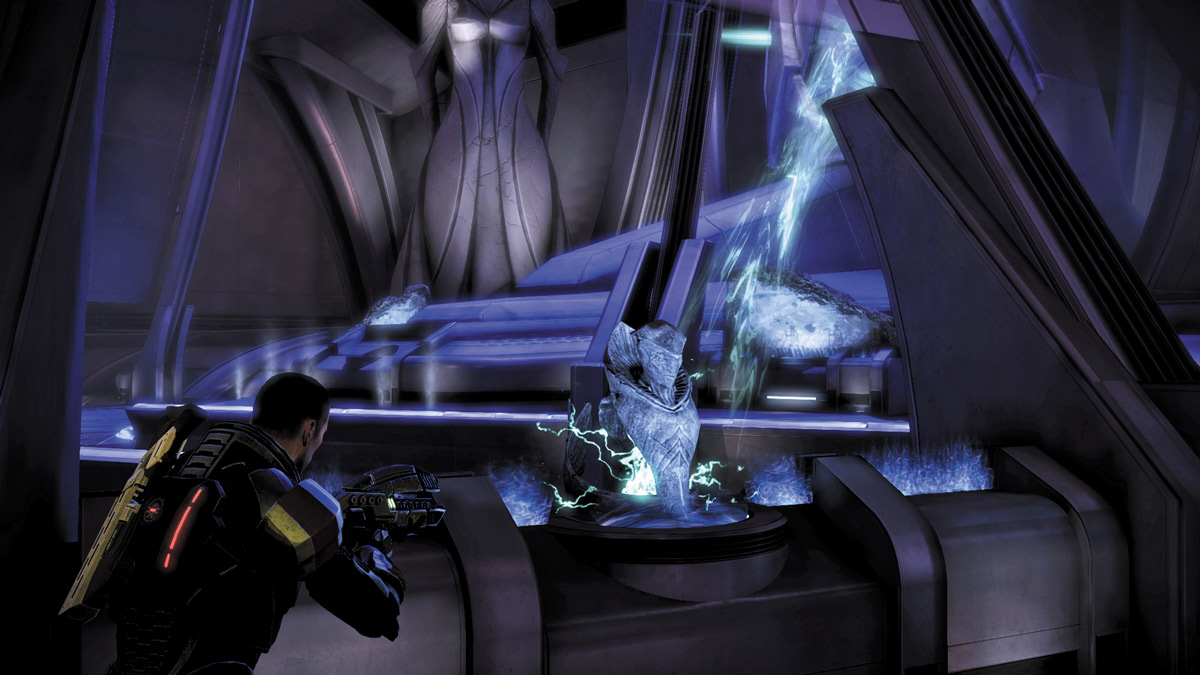
Examine the other artifacts nearby to find connections that will help uncover the Prothean Beacon. The first one is the mural to the statue’s right. The other artifacts are a manuscript on the far left corner, the bust along the temple’s right edge, and the shield near the temple entrance.
After activating all of the necessary artifacts, you can access the Prothean Beacon. Return to the statue and activate it to release an ancient Prothean VI.
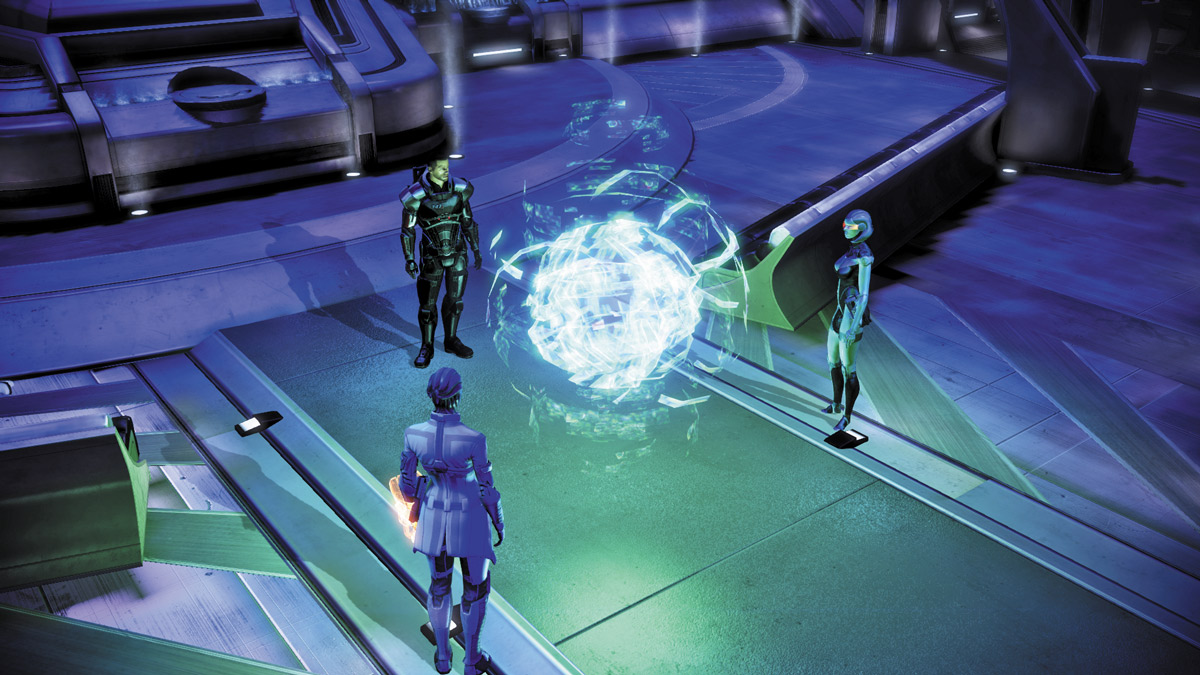
The Prothean VI, Vendetta, explains that it may be too late to complete the Crucible. The ensuing conversation can also yield Paragon/Renegade points. Either ask for the VI’s help for Paragon points, or demand its cooperation for Renegade points.
KAI LENG BATTLE
.jpg)
Before Vendetta can integrate with your systems to help with the Crucible, Kai Leng interrupts you. He’s brought a virtual construct of the Illusive Man with him. Speak to the Illusive Man and listen to his plans.
Rather than destroying the Reapers, he wants to control them. Choose the “Whose side are you on?” conversation option to get a Paragon/Renegade persuasion option.
When the conversation with the Illusive Man is over, your battle with Kai Leng begins.
.jpg)
The battle against Kai Leng can take many shapes, depending on your class and squad members. However, the only constant in this battle is Kai Leng. He’s quick, he’s capable of one-hit kills, and he frequently needs to recharge his shields after taking damage.
As soon as the battle against the assassin begins, switch to a weapon that is good at close to medium range. Snipers can inflict big damage, but like the Banshees, Kai Leng can shift from place to place quickly, making him a sniper’s worst nightmare.
Rely on heavy weapons fire to inflict major damage while using powers to supplement your damage-dealing or to slow him down a bit. Powers like Concussive Shot, Shockwave, and Throw can help keep Leng at bay for a bit, but only long enough to follow up with weapons fire.
If the assassin runs toward you, sprint away to create some distance, then turn around and attack again. Adept players can combine powers like Warp and Singularity, or even use Cluster Grenade to throw Kai Leng off his game as well.
An Engineer’s combat drone can add another offensive element into the mix and keep Kai Leng busy long enough to get a few good shots in. A Soldier’s Adrenaline can also help by slowing time down—in effect, slowing down the assassin’s movement around the temple.
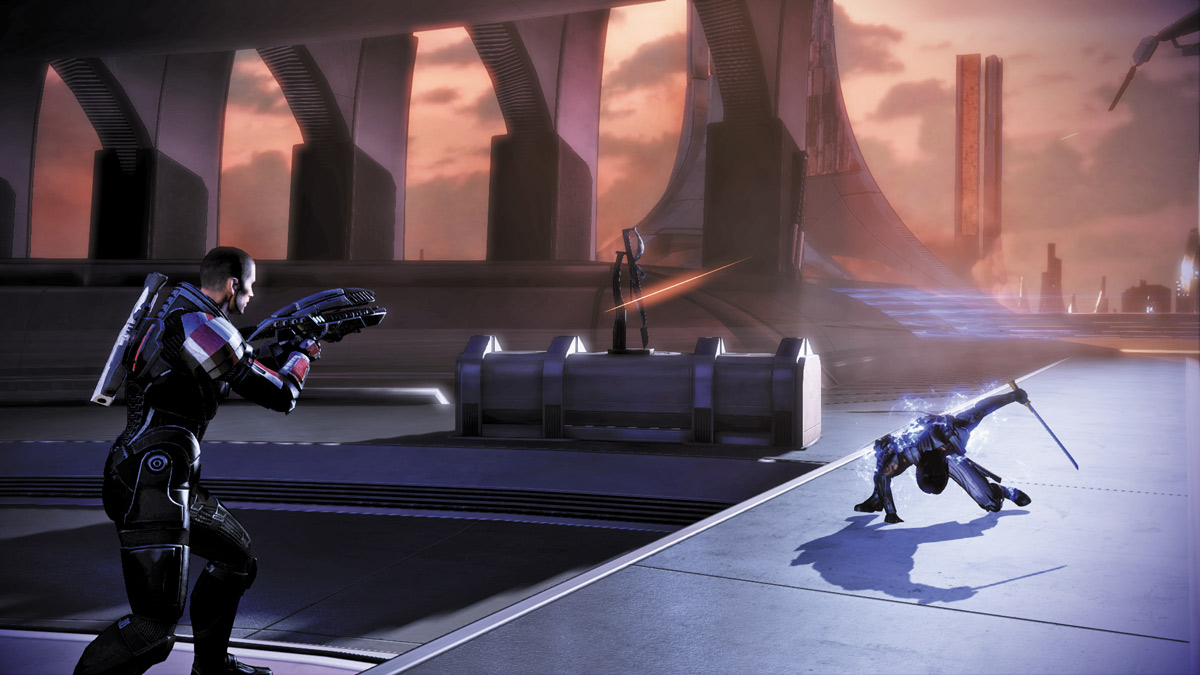
Gang up on the Illusive Man’s goon and inflict as much damage as you can. Once he has taken enough damage to deplete half of his barrier, he’ll retreat to recuperate his shields while a Cerberus gunship opens fire on the temple’s interior to keep you away from the vulnerable Leng.
He won’t recover all of his barrier, so stay behind cover until the ship is gone, then immediately resume your attack. Stay away from him as he attempts to rush you and slice you with his sword, and dodge his Biotic projectiles.
Whittle down his health again until he backs off a second time and attempts to regenerate more of his shields. Take cover behind one of the tall pillars near the temple seats and wait for Kai Leng to attack again.
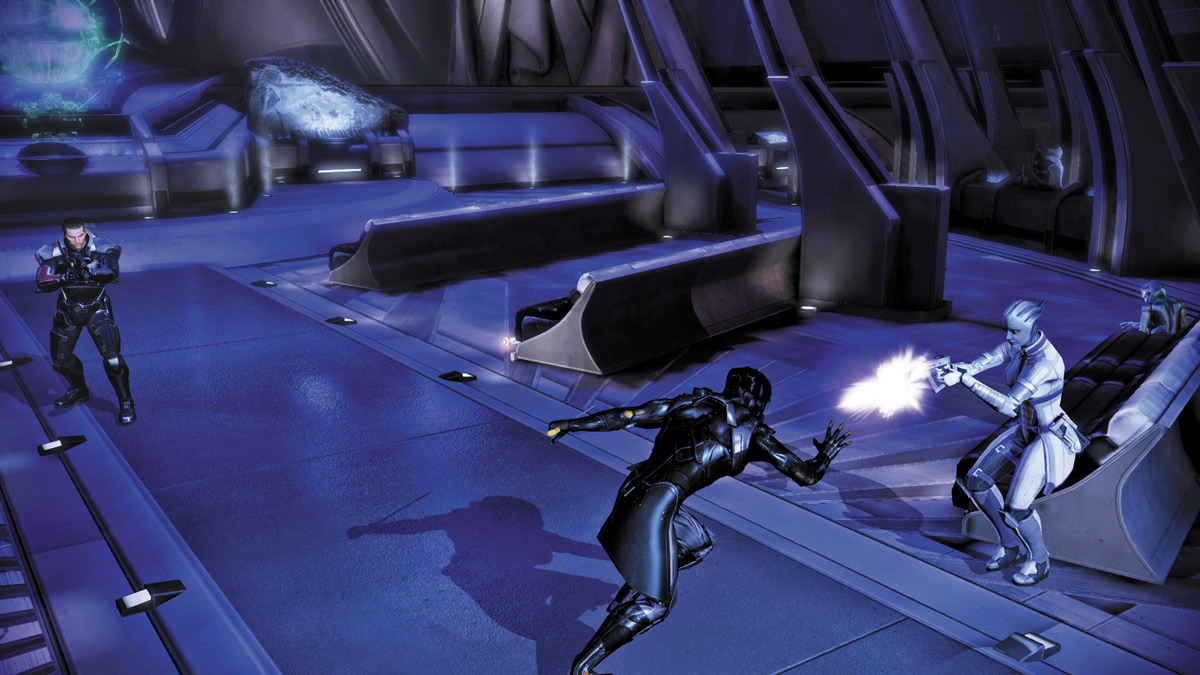
Continue to engage Kai Leng, using powers to keep him at bay and inflict damage, then taking cover while he retreats. The fight will end when you’ve depleted all of his shields and he is on the verge of taking damage to his health.
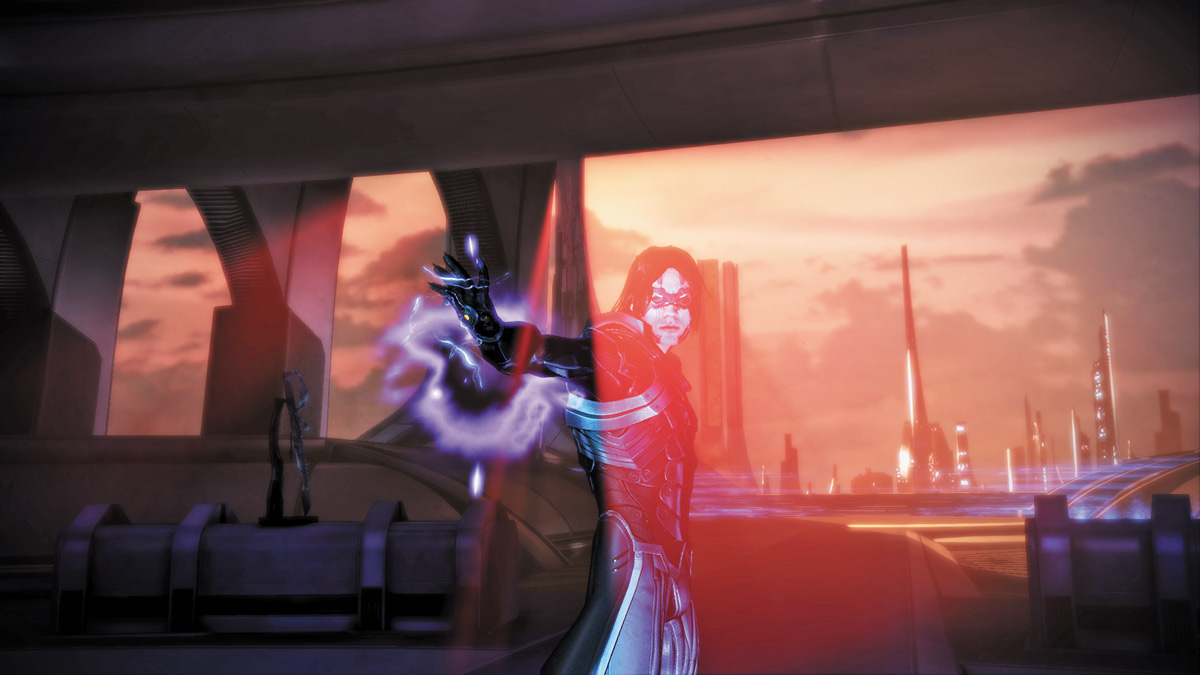
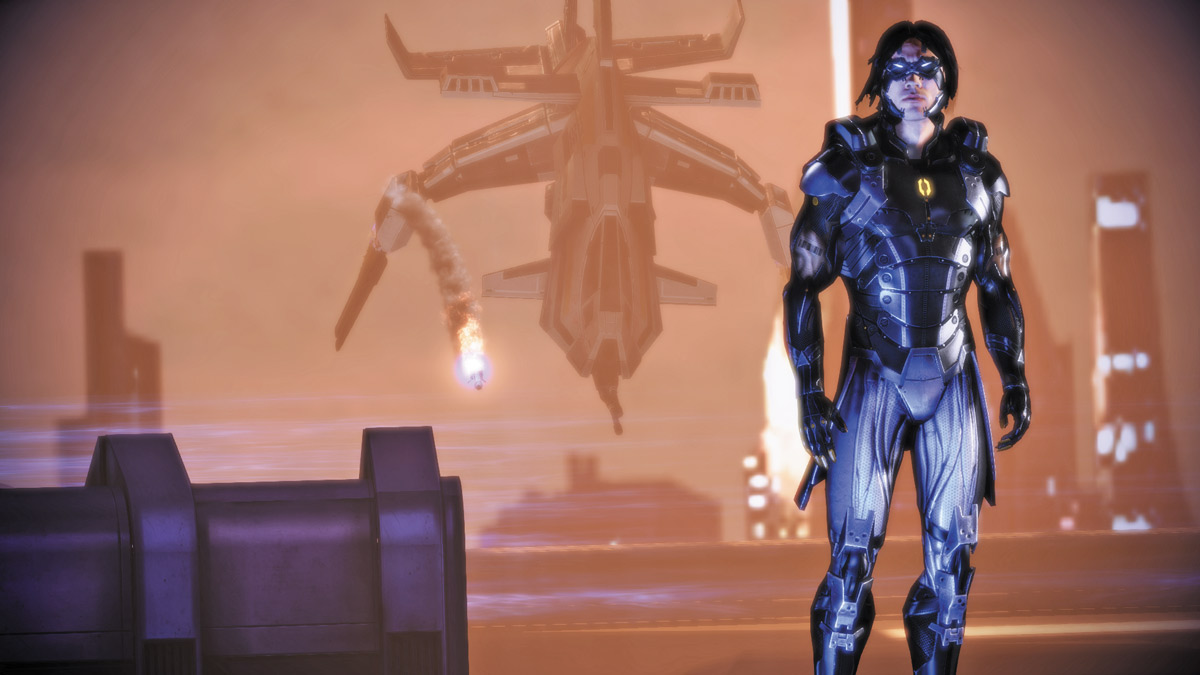
Despite your best efforts to defeat Kai Leng, his gunship interferes and grants the assassin a small window to overpower you and your squad and make off with the Prothean VI. You return to the Normandy empty-handed as more Reaper ships touch down on Thessia. Your mission is a failure.
Back on the Normandy, you must relay the failed mission status to the asari Councilor. She doesn’t take the news well, and Thessia’s fall means that she must now consider plans for the continuity of her species.
.jpg)
With no clear course on how to continue, you gather the crew in the Normandy war room. It’s clear that there is only one thing left to do. You must go after the Illusive Man if the Crucible is to have a chance at completion.