
Mass Effect 3 Guide Multiplayer Galaxy at War
Before Deployment
Once you’ve signed into Multiplayer, you can either choose Quick Match, which will find an open game for you, or you can choose to create a new match, public or private.
From there, you will need to select a character for your online squad. You have many options for how to prepare your chosen hero for the trials ahead.
The gear you bring to each fight, and the choices you make when distributing experience points to your various powers, can greatly improve your squad’s chances at surviving in the field, but your pregame prep is not limited to this alone.
Prior to each mission, players can choose from three difficulty levels: Bronze, Silver, and Gold.
These difficulties determine how much health your enemies have, how early the more dangerous units in an opposing force begin to appear, their overall aggressiveness, and how proficient they are with their weapons.
Bronze is excellent for players getting used to the game and for giving lesser equipped and lower-level players a fighting chance.
The Silver difficulty can ramp things up, providing a good challenge for midlevel teams with solid equipment. Gold will test the skills and patience of even the best of the best, turning the most basic enemies into a force to be reckoned with.
In addition to difficulty, players can select what forces they will be facing and where the fighting will take place.
There are special experience bonuses for randomizing all of these variables; consequently, this can get very, very difficult.
These random factors can work in your favor, but the real issue is that you’ll not be able to tailor your equipment to special situations.
You also might get stuck with a Gold difficulty campaign on a map that favors an enemy you are ill prepared for.
Powers
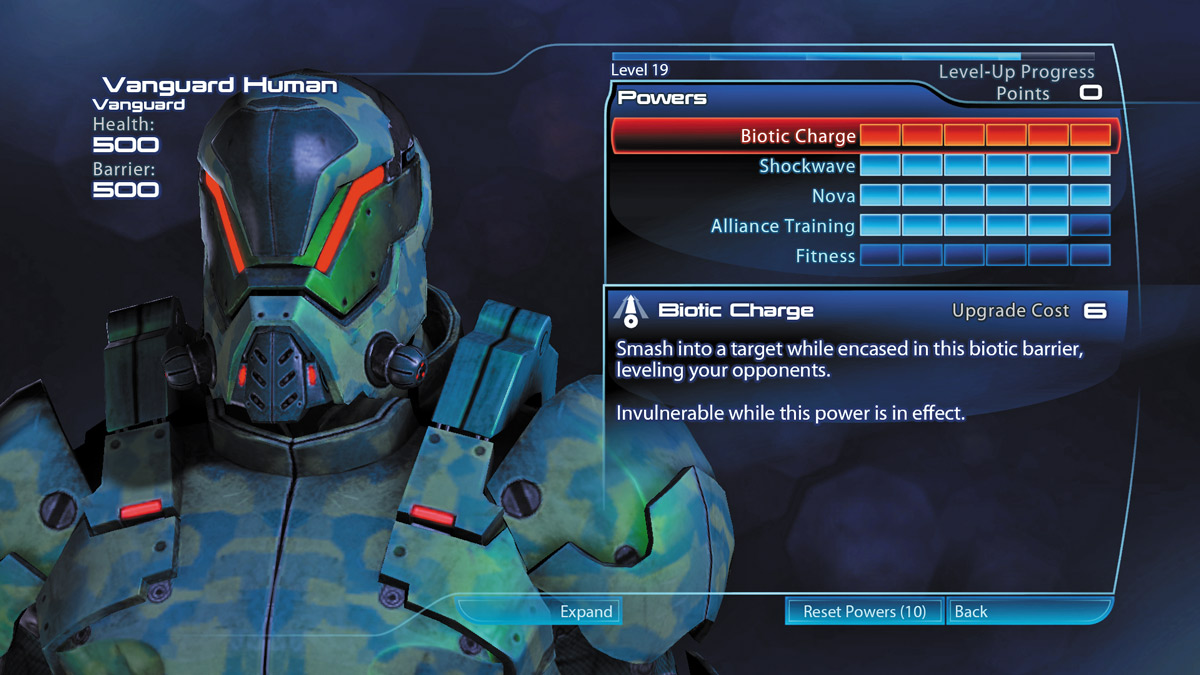
When your guns aren’t enough, your character comes with a variety of special abilities to try and equal the odds. Before each mission, check the Powers menu to see if you can’t distribute any points to abilities you find most useful.
Be very certain of your decisions! If you don’t have a respec token, you’re stuck with what you purchase once you leave this menu!
Weapons
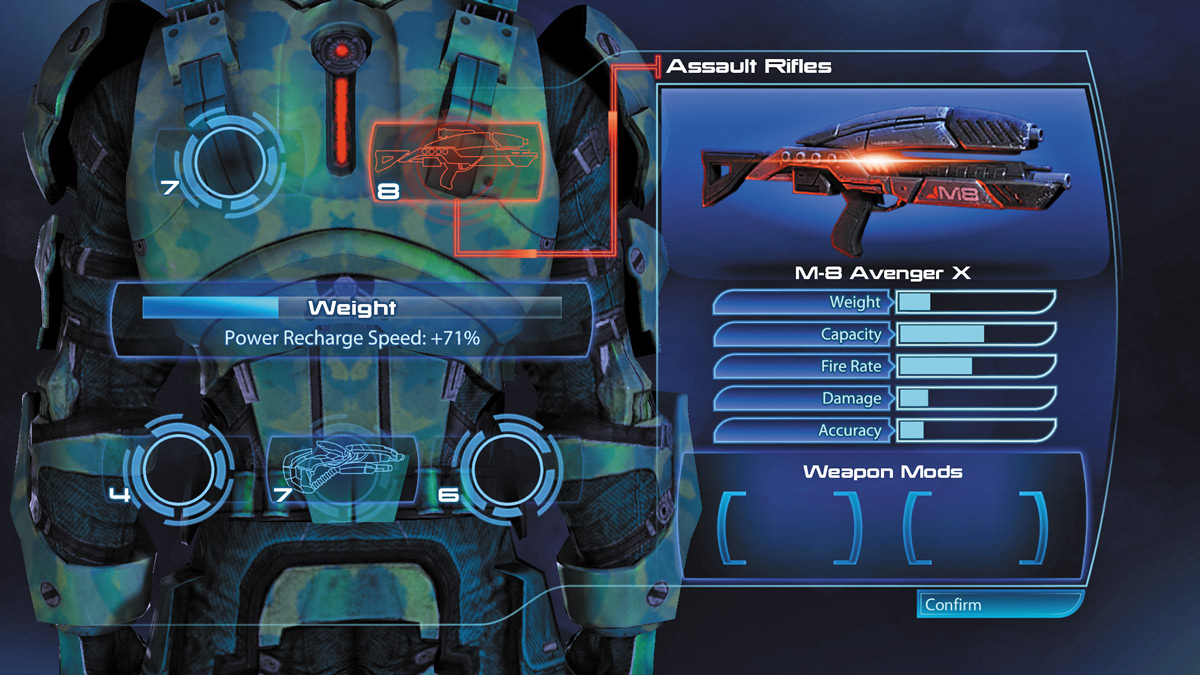
The meat and potatoes for your squad member, the weapon system in multiplayer works almost the same as it does in single-player.
Each character has a weight limit they can comfortably manage, and staying under that limit can significantly increase the speed at which powers recharge. Exceed it, and you lengthen the cooldown times.
Over time, it is possible to increase a character’s carrying capacity with the right points in the right abilities. All weapons can also accept mods to change the various performance parameters.
Where things are different is that a character is limited to two weapons at any time, regardless of their weight. This forces players to carefully consider what they arm themselves with.
Some will want to carry the heaviest guns they can, sacrificing power cooldown speed for raw firepower.
Others will want to travel light, placing a greater value on using their powers repeatedly and often.Optimal loadouts depend on your preferences.
If you’re a good enough shot that you want to carry the heaviest sniper rifle possible and keep a shotgun handy for close encounters, you can do that and still come out on top, despite the massive cooldowns you’ll have in all of your powers.
Appearance
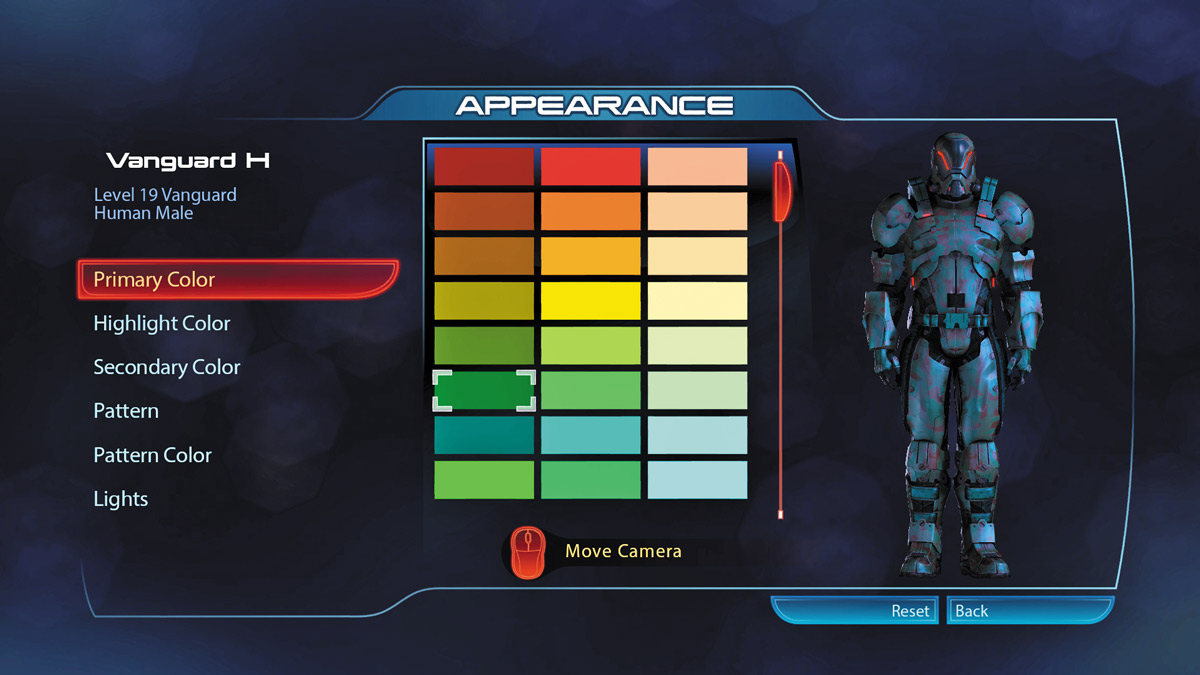
Good looks don’t count for much in the middle of a firefight, but personalizing your soldier can distinguish you from others on the squad.
You start with limited customization for each character as you unlock them, but purchases of Reinforcement Packs will sometimes grant you a Character Training item that will unlock new options over time.
Equipment
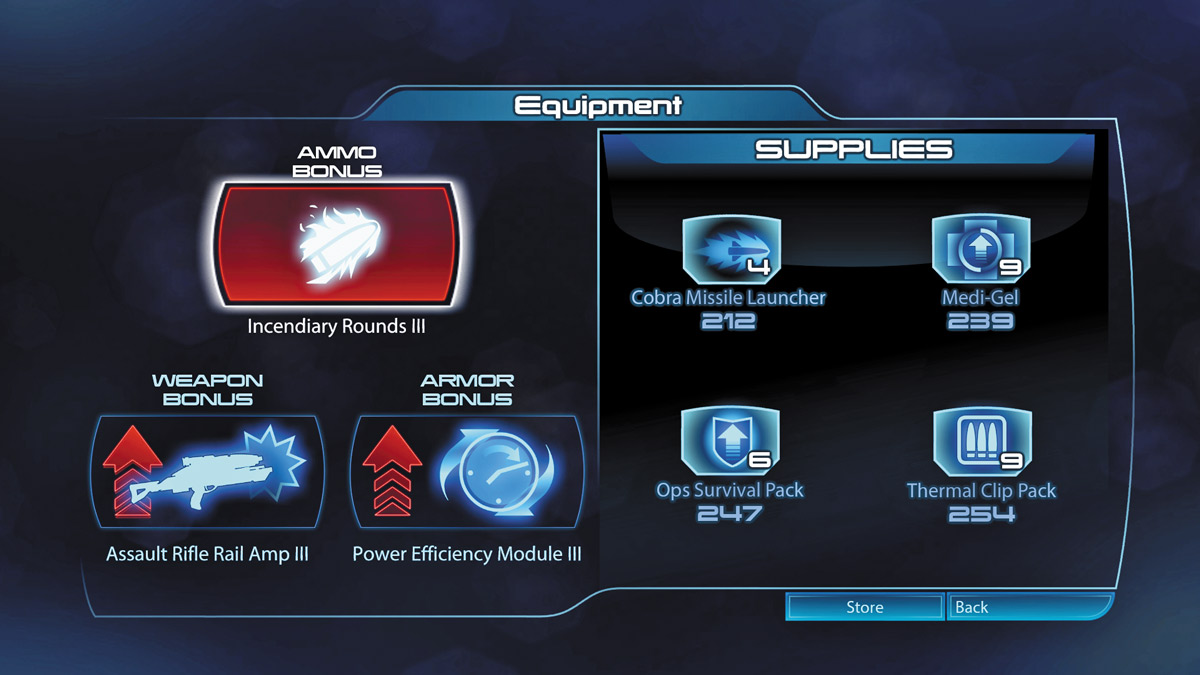
Arguably the dealmaker or dealbreaker, the extra equipment you bring to a mission is oftentimes the one advantage your team gets.
You have four types of consumables available for every squadmate you create.
Cobra Missile Launcher
A certain kill against just about anything it hits, combined with a wide area of effect, makes Cobra Missiles are one of the most effective weapons at your disposal.
When heavy units have you pinned down, a well-placed Cobra or two can blast a path to survival. Unfortunately, these take time to fire—time you may not have.
You need to charge the missile first before cutting it loose.
Try to coordinate with your squad when using one of these, or you could be wasting a shot you might desperately need during a later wave.
Ops Survival Pack
Consider the survival packs you can carry as your emergency buttons. Ops Survival Packs will restore your health and shields as long as you’re still on your feet.
Once you go down, you must either resort to Medi-Gel, or hope that squadmates are close by to pick you back up.
Medi-Gel
When you are inevitably taken down, you have a few options. One is to wait for the enemy to execute you.
Another is to hope your squadmates can get to you in time to pull you up before you bleed out. And then there’s Medi-Gel you activate for yourself.
You stand immediately where you were taken down, with the amount of health restored depending on what difficulty you’re playing on.
You’re quite vulnerable during this revival, as you do not have your shields, so pay attention to your surroundings.
There are also certain things you can’t come back from.
Cerberus Phantoms and Atlases, for example, have instant-kill melee strikes that leave you out of the fight for the duration of the current wave.
Thermal Clip Pack
If you’re paying attention, you’ll see ammo crates strewn throughout each level, but inevitably, there will be times when you are cut off by overwhelming forces and can’t simply run past the enemy to grab ammo.
You can use Thermal Clip in a pinch to restore your ammo including all of your grenades, saving you from having to break cover, saving you from having to break cover.
Bonus Equipment
In addition to the four types of consumable items, through purchases at the store you also unlock Bonus Equipment that can enhance three major categories: Ammo, Armor, and Weapons.
These items are good for only one mission, so make the best use of what you equip!
Ammo Bonuses: These take the place of the Ammo Powers that Shepard and his allies use.
If you know what you’re going up against, you can pick specific ammo types that best suit the scenario.
If you’re playing against randomized opposition, even less-than-ideal Ammo Bonuses are better than no bonus at all.
Armor Bonuses: These can enhance your shields and your resilience to damage once your shields fail, and they can even improve the strength of your melee strikes.
Weapon Bonuses: These can improve the damage and accuracy of a specific gun. This is particularly useful for players packing a single firearm.
A good Weapon Bonus can boost the damage of a gun significantly.
The Store
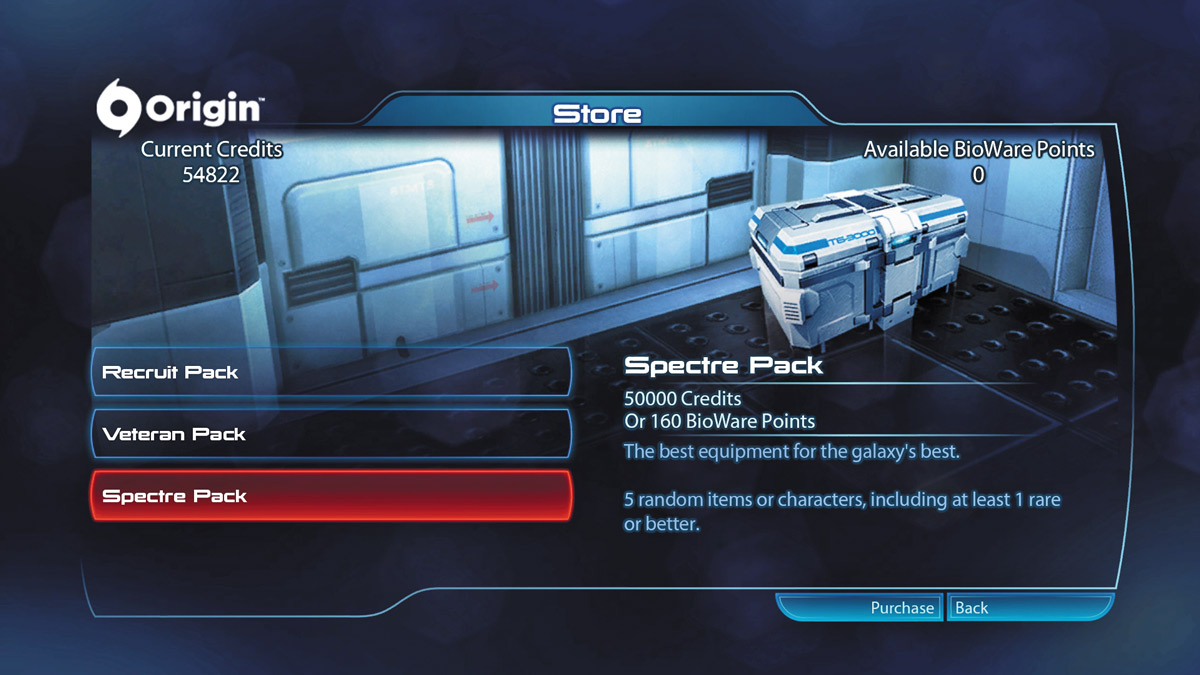
The store is the most important part of your preparations, so it benefits players to accomplish the assignments in each mission and survive to be extracted from the battle zone in order to earn the most credits possible.
It contains three distinct reinforcement packages that provide consumable items for use mid-mission, new weapons and mods, special equipment for predeployment preparations, character unlocks, and experience bonuses.
Any time you unlock a weapon or character customization option, it becomes immediately usable, but if you get the same weapon or customization, you level up the weapon or gain experience for that character class.
Starter Pack
All players accessing Multiplayer for the first time receive a special Starter Pack that comes with basic supplies and a character unlock or an uncommon weapon. Consider this pack a taste of things to come.
Recruit Pack
The Recruit Pack is the most basic of all the standard packs. You’ll get limited consumable supplies from each purchase, but the low cost offsets that.
More importantly, the starting weapons tend to be quite common here, so it is possible to level up those guns very quickly if you’re lucky.
Basic weapon mods are also available, and you occasionally get special Ammo, Armor, and Weapon Bonus equipment.
There is a very rare chance in this pack to unlock new characters and higher-tier weapons.
Veteran Pack
A step up from the Recruit Pack in every way, this pack provides a much greater number of consumables for use in mission.
The special bonus equipment comes in stronger varieties here, and your chance to unlock new races is significantly increased, which can lead to some nice experience bonuses.
You start seeing the rarer guns in this pack, and while they are not always direct upgrades, the added variety in your arsenal can help better customize your character to fit your play style.
Spectre Pack
The big daddy of all the reinforcement packs—and for very good reason. Your chances of getting the rarest guns are highest here, including Spectre-issue gear found in the single-player campaign.
Weapon mods can easily be leveled up here, and the Bonus Equipment that you receive is often at the highest levels.
Character Unlocks and Appearance modifications have the greatest chance of appearing here.