
Mass Effect 3 Guide Walkthrough Act 1
Cure the Genophage
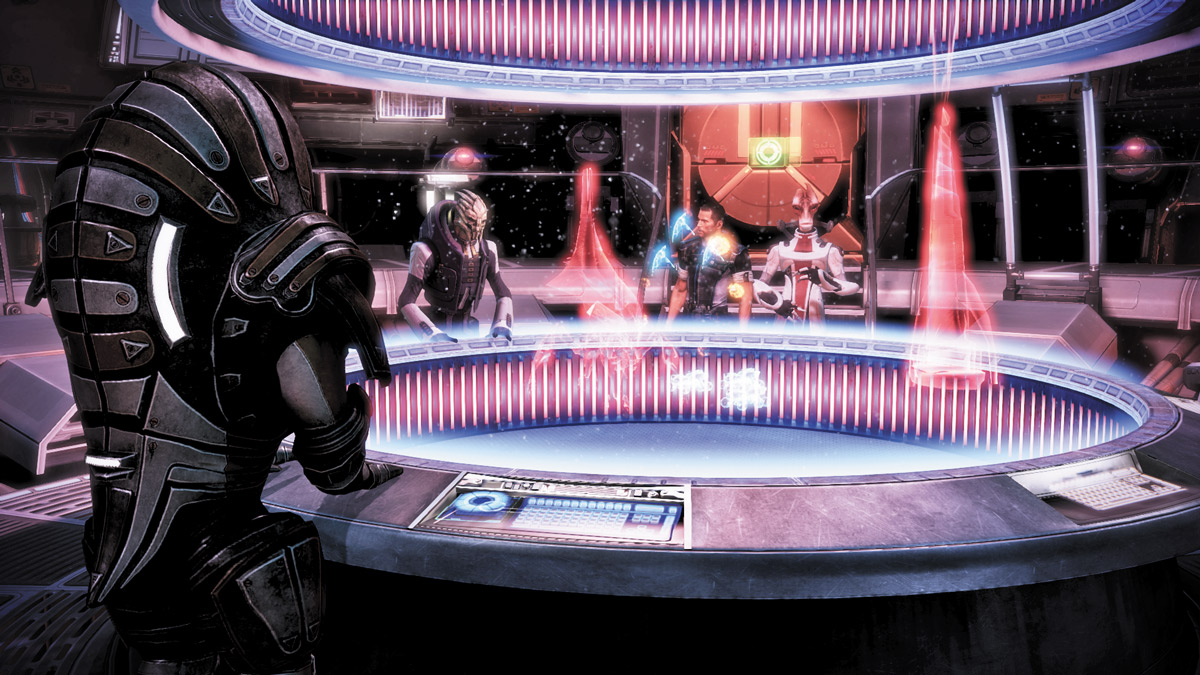
Nothing is ever easy, especially when the Reapers are involved. As you approach Tuchanka, you find that the Reapers have unleashed a poison on the planet using the Shroud.
That means you cannot land the shuttle near the Shroud and will need turian help to launch a two-pronged assault.
While the turians attack from above, the Wreav’s krogan units will attack from the ground. The combined assault of the turian and krogan forces will draw the massive Reaper away from the Shroud tower. When it moves away, Mordin and Eve can head to the Shroud facility and synthesize the cure.
.jpg)
Before you depart, you get an emergency communication from the Salarian Dalatrass. She proposes an alternate solution to the genophage cure that will undoubtedly have long-lasting repercussions.
Speak with her and weigh your responses heavily. The Daltrass’s suggestions may sound harsh, but they’re not without merit.
Once you’re on the shuttle to the planet, you’ll have three opportunities to either reveal the Daltrass’s suggestions to Eve or keep them to yourself (the first opportunity takes place during this conversation; the second takes place later, during an early part of the mission; and the final opportunity takes place at the base of the Shroud tower if you didn’t reveal the sabotage earlier).
All of your conversation responses carry Paragon/Renegade implications, so be sure you mull the Dalatrass’s suggestion over carefully.
If you’re undecided about what you will do when the time comes, consider making a decision before your first response to Eve in the truck.
If you reveal the sabotage early, in the truck, you cannot be devious later. Once the sabotage is revealed in the truck, Mordin/Padok will always sacrifice themselves, curing the genophage.
At that point, they can’t be stopped. You can only be devious and murder them if you don’t reveal the sabotage to Eve in the truck. The truck choice is the pivotal one.
Conversely, you can choose to be a Renegade during these conversations and choose to do what seems to be the “right” thing. In the end, your choice should be in accordance with whatever outcome you want for the greater war.
DEFEND EVE
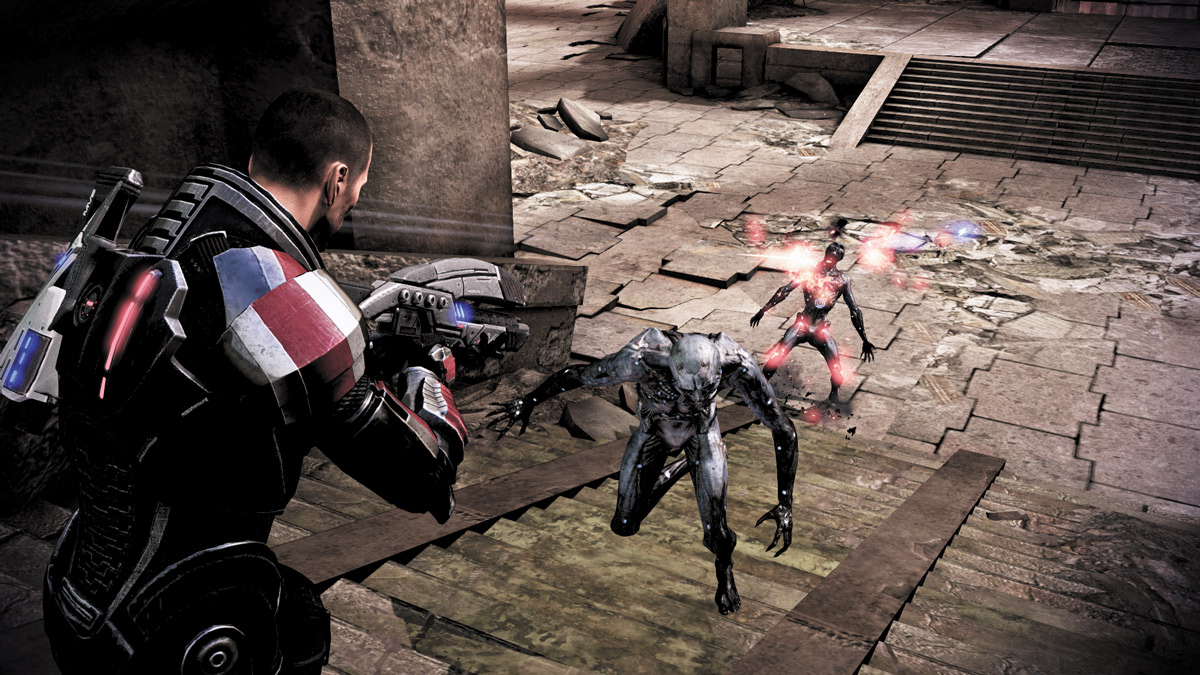
As soon as the shuttle touches down, you’re greeted by hordes of Husks. Rush down the stairs and order your squad members to cover behind each corner of the platform ahead of you.
While one covers left and the other covers right, you can hang back by the base of the stairs and safely pick off any Husks that get past them.
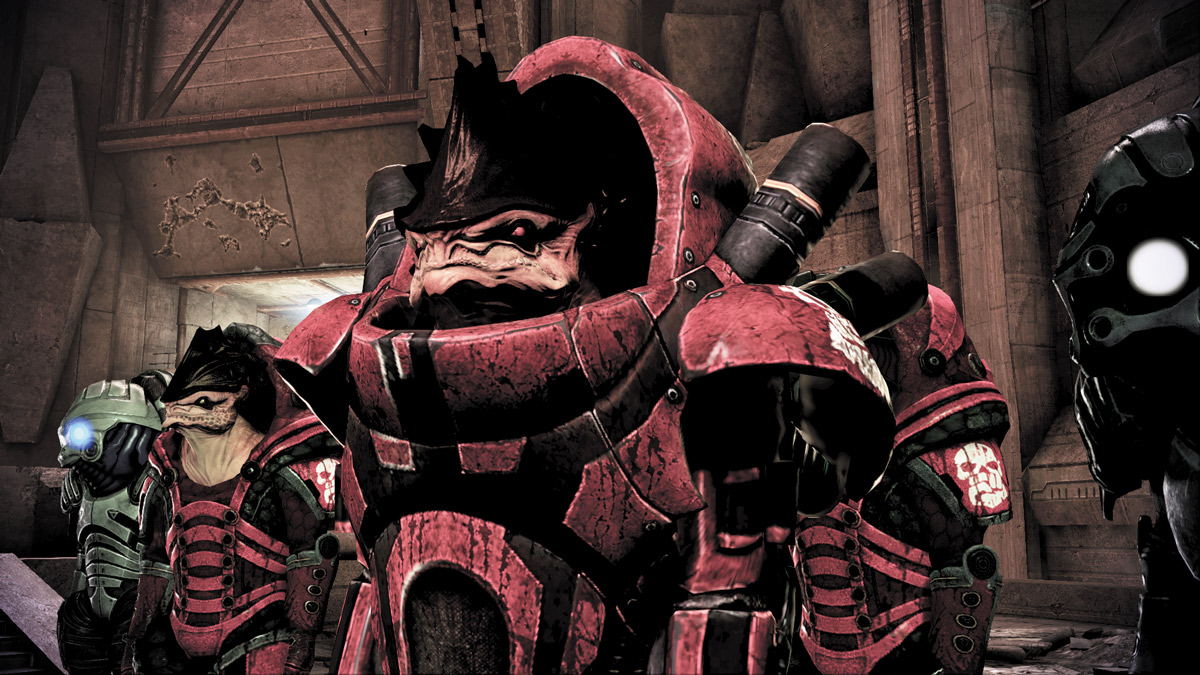
Secure the landing area and a rival, older clan of krogan arrive from the nearby temple. Needless to say, tensions immediately run high, and it’s up to one person to calm them both down and unite them—Eve.
Her peaceful, yet stern tone quickly defuses the situation, but under the promise of a better fight, united against the Reapers. Support the female krogan and resume your mission.
THE RUINS
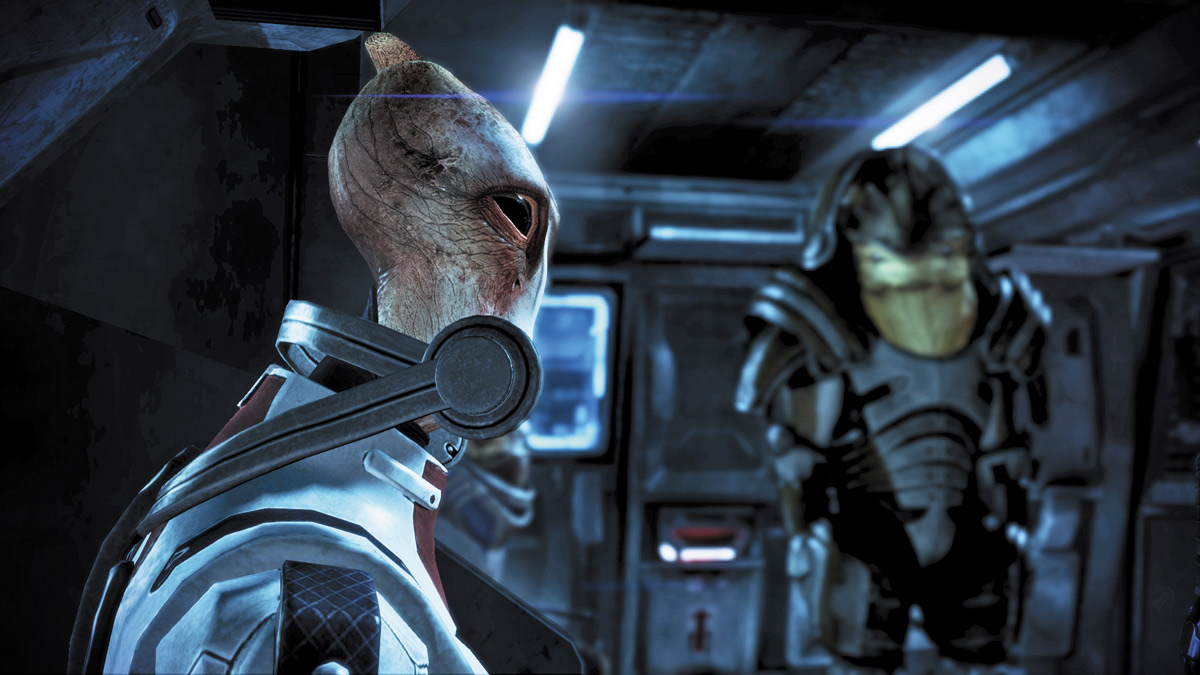
En route to the Shroud, you engage Mordin and the krogans in another conversation about the genophage and its long-lasting effects on the krogan species.
During this conversation, Eve asks you again what is on your mind. This is your second opportunity to come clean on the Dalatrass’s suggestion or keep quiet and make your final decision later in the mission.
Regardless of what you ultimately decided to do, this decision also yields Paragon/Renegade points, so choose wisely. When the transport stops, you step out to investigate.
.jpg)
.jpg)
The delay in the transport throws off the timing of the coordinated attack. Unfortunately, it is too late for the turian forces to alter their course. They’ve committed to the attack and cannot pull back.
As the air assault unfolds in the distance, a turian ship gets swatted out of the sky and launched toward your stalled location. The explosion forces the krogan transport to move forward while you find an alternate route to the Shroud.
Locate the entrance to the ruins and go inside. Leap over a small gap to reach the entrance. Your flashlight will automatically turn on; when it does, turn left.
.jpg)
Upon dropping into the ruins, you can either go straight to find a slope leading down and to the left or you can make an immediate left and drop down into a pitch-black cavern.
The immediate left is the quickest way down, and you’ll appear directly in front of a small chamber. Go inside to find krogan glyphs depicting some ancient ritual. Examine the glyphs, then backtrack out of the small chamber and follow the left wall.
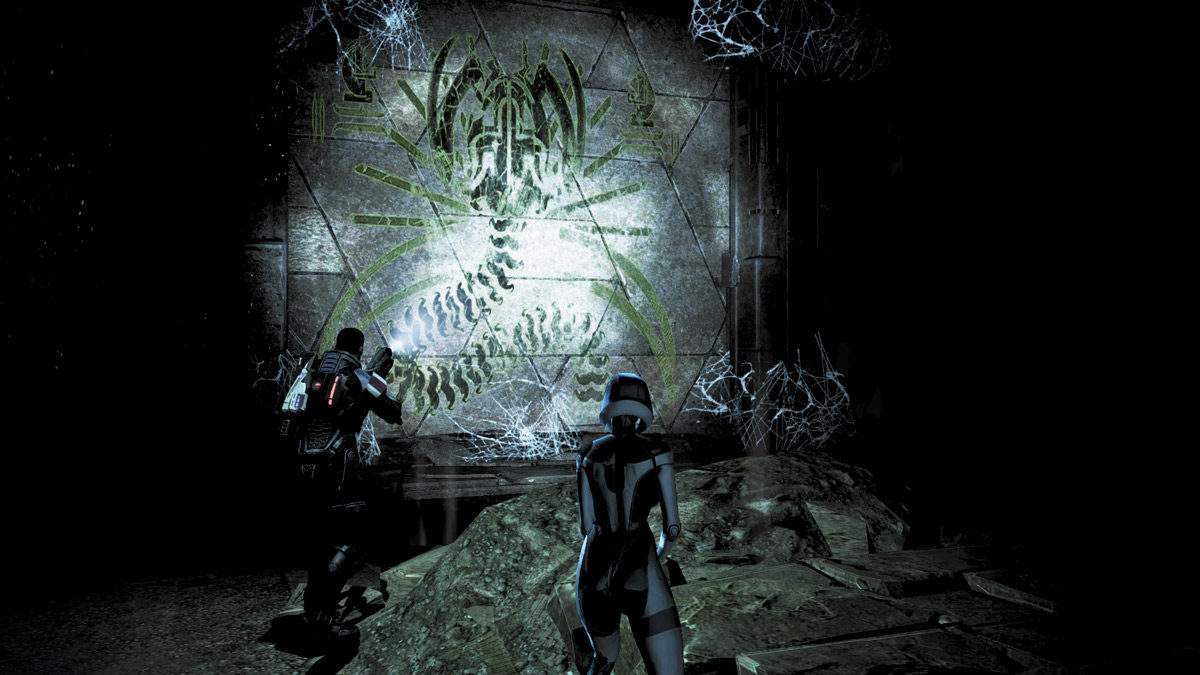
Follow the left wall to find a slope leading deeper into the ruins. Make a sharp left at the base of the slope and enter a small chamber with another krogan painting on the wall.
This one depicts a large, ancient creature that may be the cause of the tremors you’re currently experiencing.
.jpg)
Backtrack out of the small chamber and make a sharp left. This time, you’ll find a short tunnel with another ancient painting along the right wall.
Examine it, then keep walking down the tunnel around a right corner to find a fallen Ravager at the base of a staircase on the tunnel’s left side.
Examine the fallen creature, then sprint up the stairs to the ruins’ exit. The ruins sprawl out, leading up to a bridge in the distance, but before you can set foot on the bridge, a large group of Reapers attacks.
THE BRIDGE
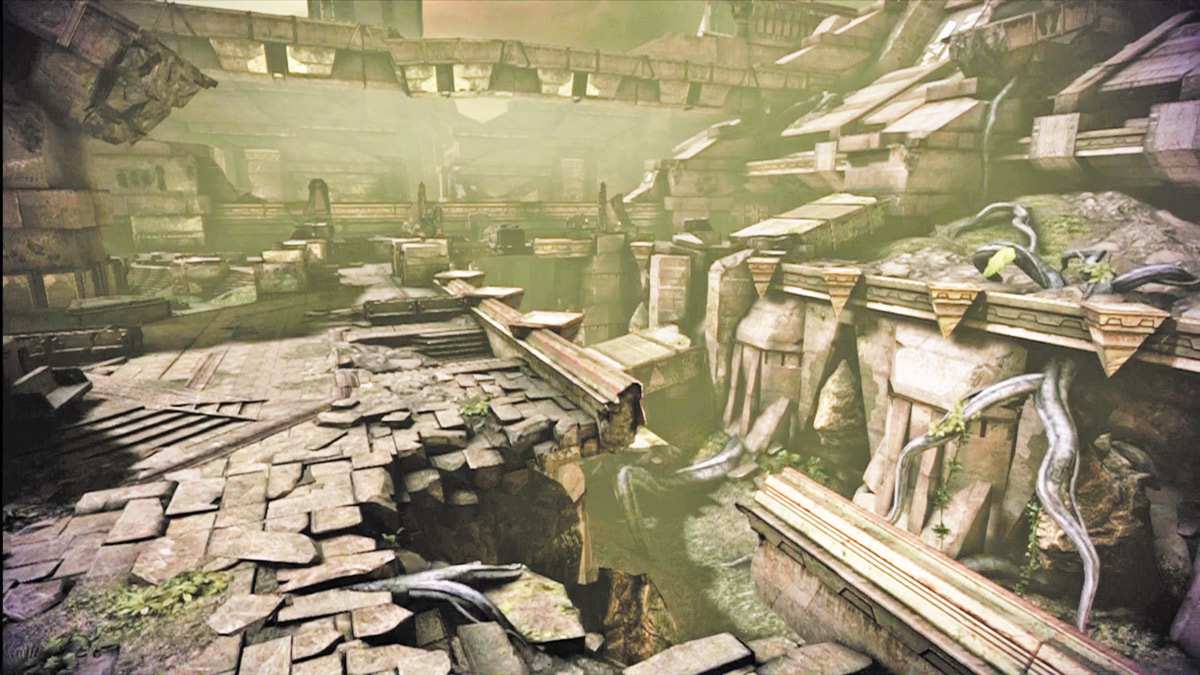
The path leading up to the bridge is wide open, save for a few large pieces of rubble. A massive structure along the area’s left side sits inside a large depression.
While this depression can be dangerous if you get pinned inside from above, it can also provide you a great route along the left side of the massive structure for sweeping maneuvers.
APPROACH 1: RUN THE RIGHT RIDGE
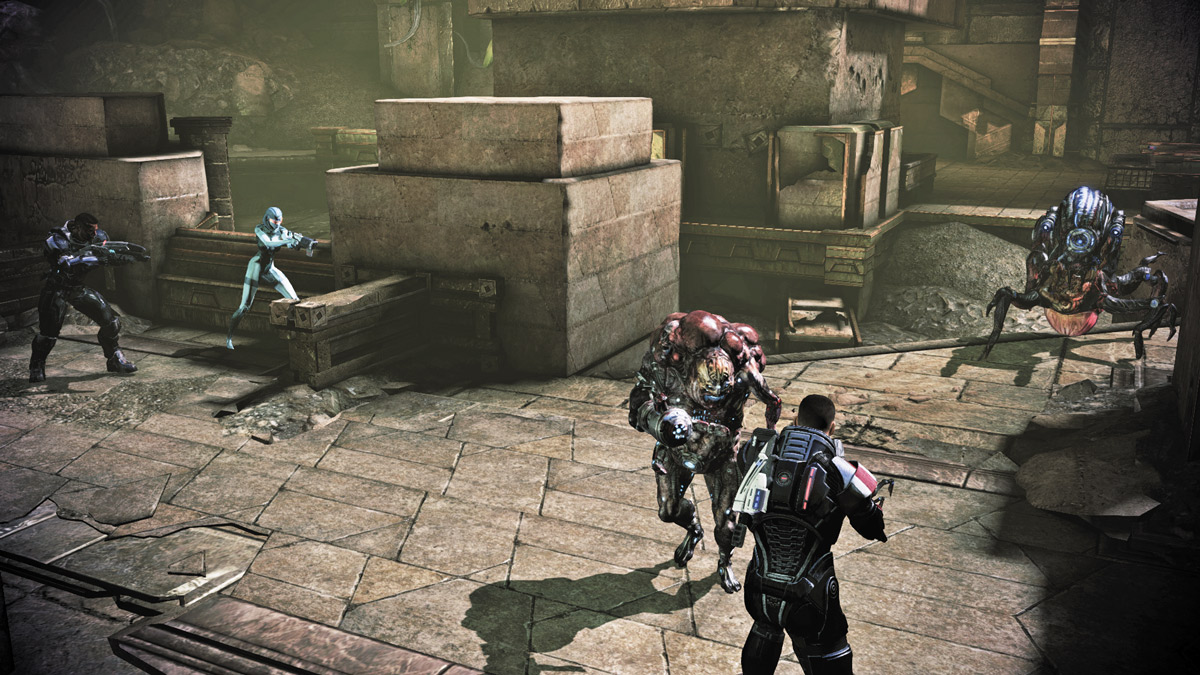
The first approach is to keep the squad lined up along the right ridge of the ruins and rush the Reapers near the bridge. Order your crew to take cover behind the pillars along the right side while you pick off enemies from afar using weapons fire or power combinations.
Engineers can also sic a combat drone on an enemy in the area’s far left corner to draw fire that way and create a little more breathing room along the right side.
When the combat drone engages the enemy, push up the right side and put more pressure on the Reapers. Adept players can also use power combos like Singularity and Stasis to create destructive bottlenecks along the right side.
This will keep enemies at a distance while allowing your squad to advance toward the bridge.
Soldiers and Infiltrators can rely on an increased damage bonus to their weapons and can use sniper rifles to pop the Ravagers first, leaving the lesser enemies, like Cannibals, for last.
APPROACH 2: SWEEP LEFT, SURPRISE
.jpg)
If you prefer a more indirect approach, leave one squad member, preferably a long-range battle expert like Garrus, near the right ridge. Lead your other squad member left, around the large structure, and sweep around the back of the Reaper group.
If you’re an Engineer, you can distract the group with a combat drone near the right ridge, then sweep around the structure’s left. Once you’re in a good position behind the Reapers, rush out and overwhelm them with fire and power combos.
If the Ravager is putting up a fight, hit it with a power to weaken it, then follow up with shotgun blasts to its unprotected sacs. Destroy all of the Reapers in your way, then rush across the bridge to the next battle.
BRIDGE CROSSING
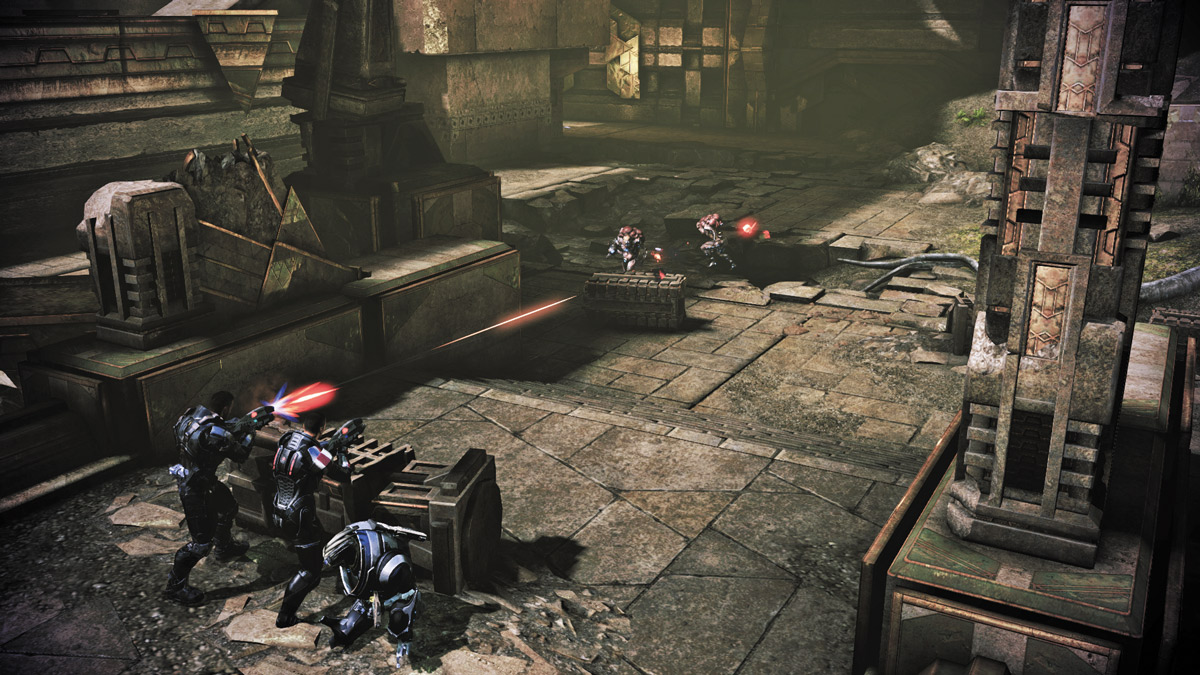
After crossing the bridge, you come upon an open courtyard. Stop before completely crossing; instead, take cover at the small partition near the bridge’s far end. This will give you a great vantage point of the whole courtyard.
APPROACH 1: HUNKER DOWN
.jpg)
The area near the bridge’s end actually provides plenty of great cover for you to hunker down behind and pick off enemies. It may not be a flashy technique, but it is a solid approach against a head-on assault.
When the Cannibals begin to pour out of the far end of the courtyard, they’ll inevitably begin walking in your direction. Stay behind cover and slowly pick them off as they approach.
During the second wave, a Brute rushes out with a handful of Husks and Cannibals. Focus on the speedy Husks first.
They’re capable of closing the distance first. Use Powers to slow down Cannibals and distract the Brute, while you eliminate all Husks.
Once they’re down, turn your attention to the Brute and begin diminishing its health. If you’re a Vanguard, use your Charge or Nova to knock it off balance while your squad attacks it.
The Cannibals can wait for last since they’re the easiest to distract. Drop one Cannibal, then pick off the others as they rush to feed off their fallen friend.
APPROACH 2: SPREAD OUT
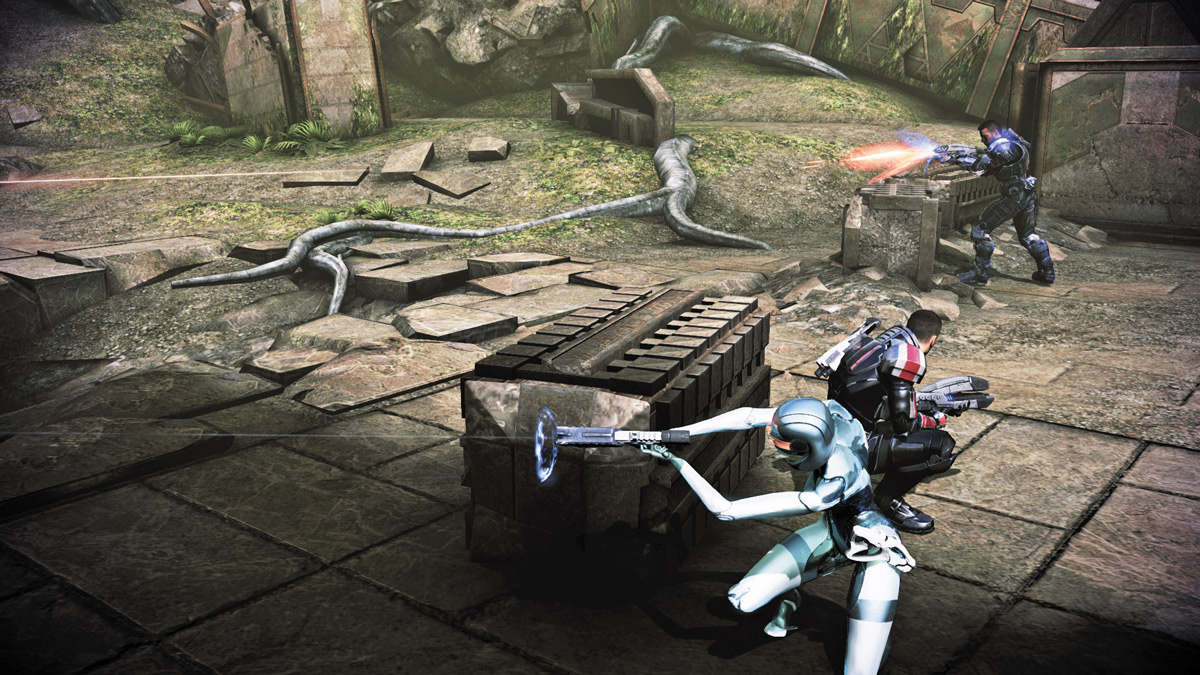
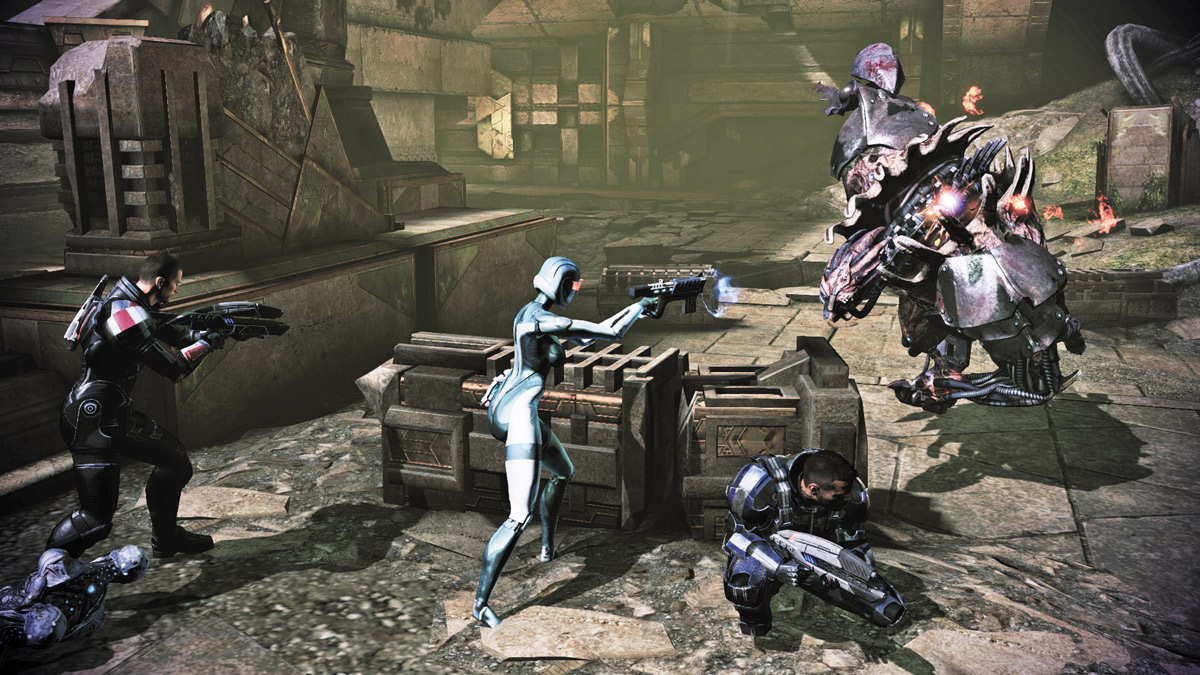
The area beyond the end of the bridge, just on the outer edge of the courtyard, is a great place to spread your squad and create a wall of fire and power attacks.
This may sound like Approach 1; however, you’ll need to engage the enemy a bit more in close-quarter combat since they’ll take less concentrated fire as they approach.
The benefit to this approach is that you’ll have more space between you and your team, so if you need to become mobile, you can rush from one position to another and redirect the enemies, splitting their attention as a result.
So while you may have to melee a few foes here and there, you’ll have less enemies to contend with individually.
When the Brute arrives, focus all of your squad members’ attacks on it so they draw its attention. When it does, sweep out of your position and attack it from behind to finish it off.
FALLEN RUINS AREA
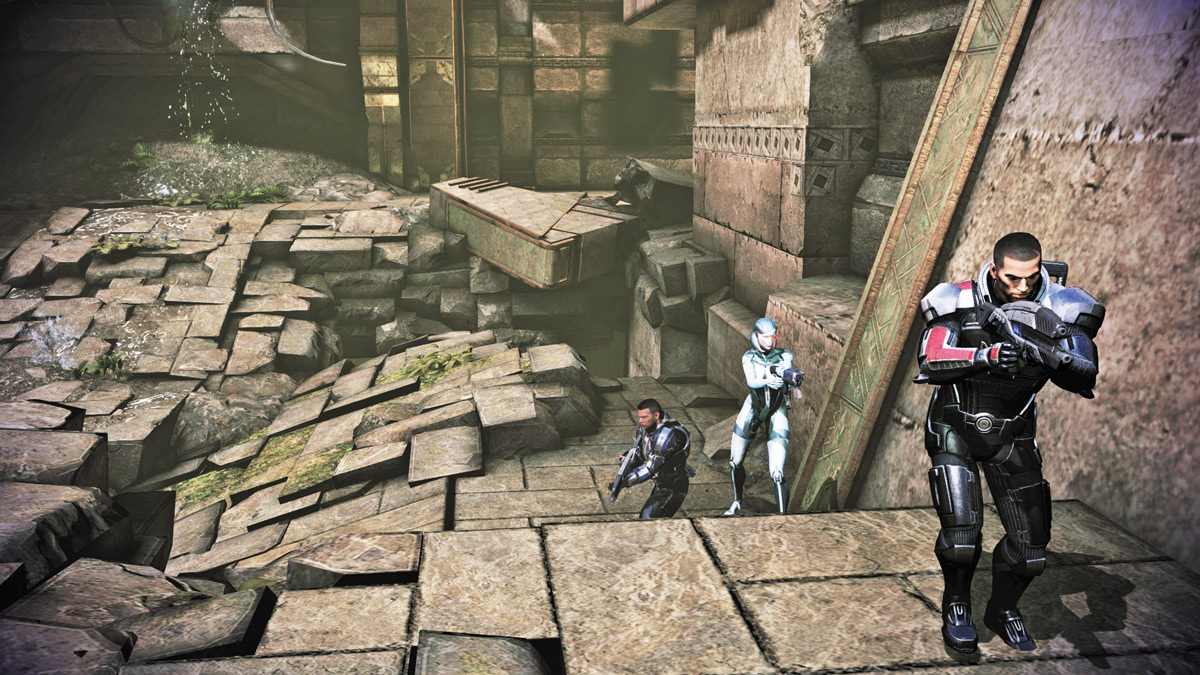
Make a left at the courtyard’s far end and follow the path down and around to another wide-open space where the ground has given way and the ruins have fallen.
Across a small chasm is a large passageway. Rush up along the left wall as the Reapers slowly pour out of the passageway, and order your squad to take cover atop the small steps along the left wall.
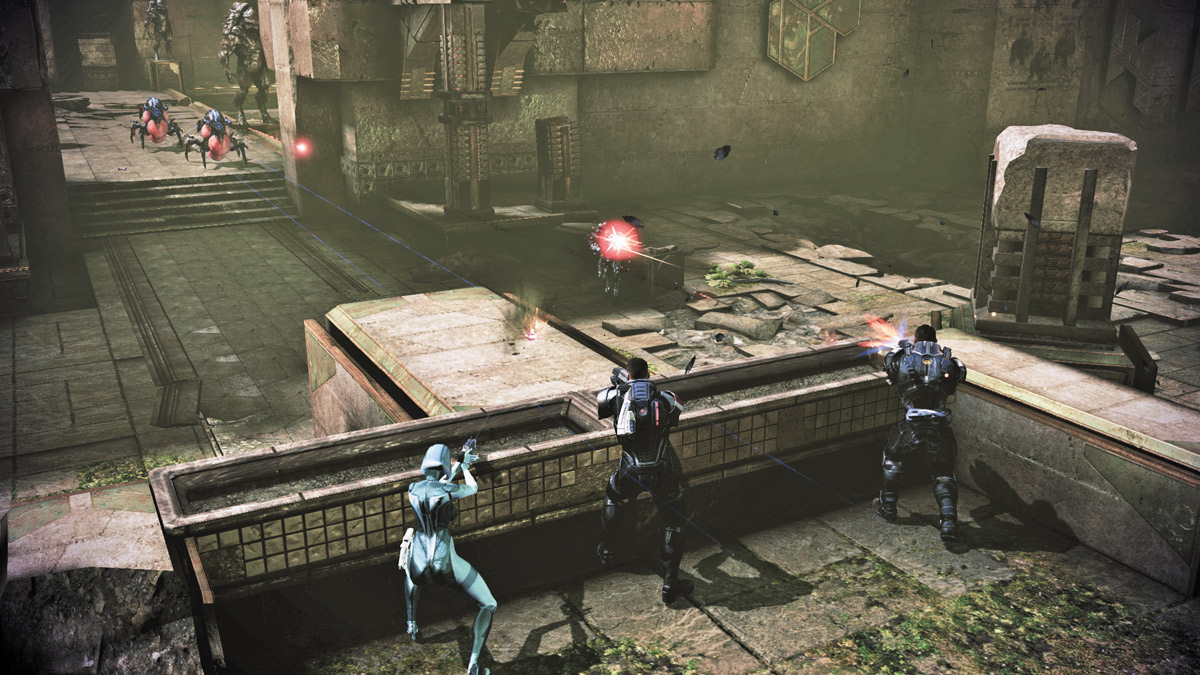
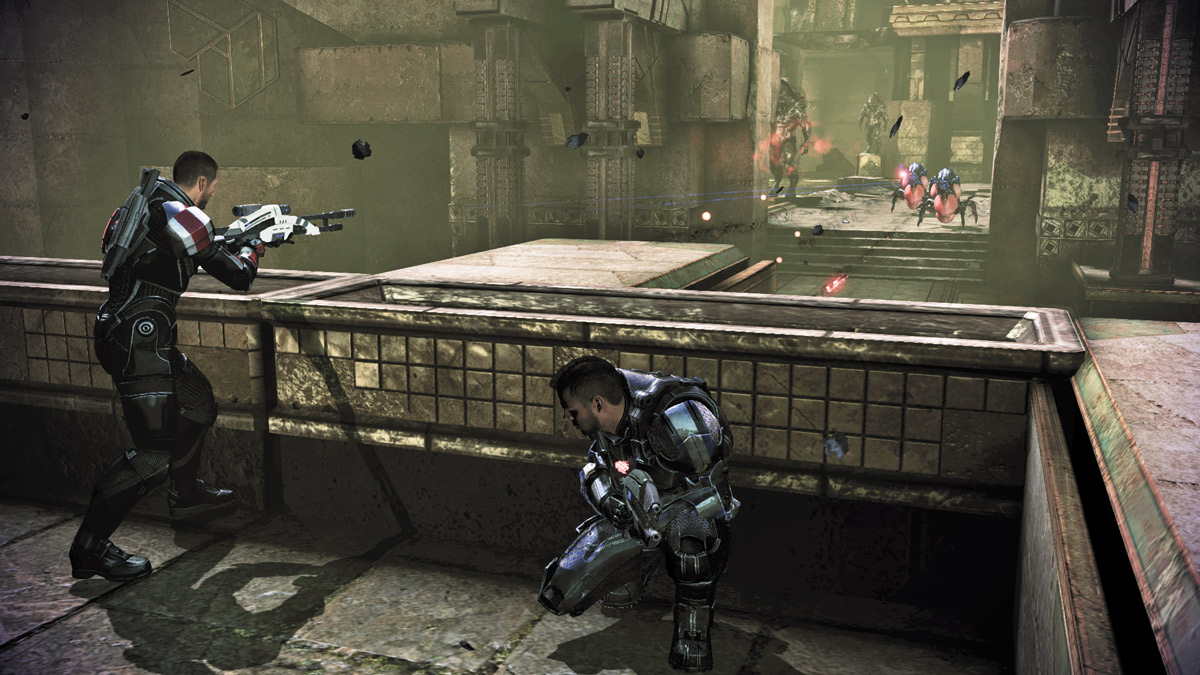
The protective ridge around the small platform is great cover, and the platform has the perfect vantage point to see all Reapers coming from the passageway directly across from it.
Keep one squad member on each side of you to protect the entrance to your platform while you take the center position and obliterate all of the Reapers from your perched position.
Focus on the Ravagers first, then help your team sweep up the remaining Reapers around the area.
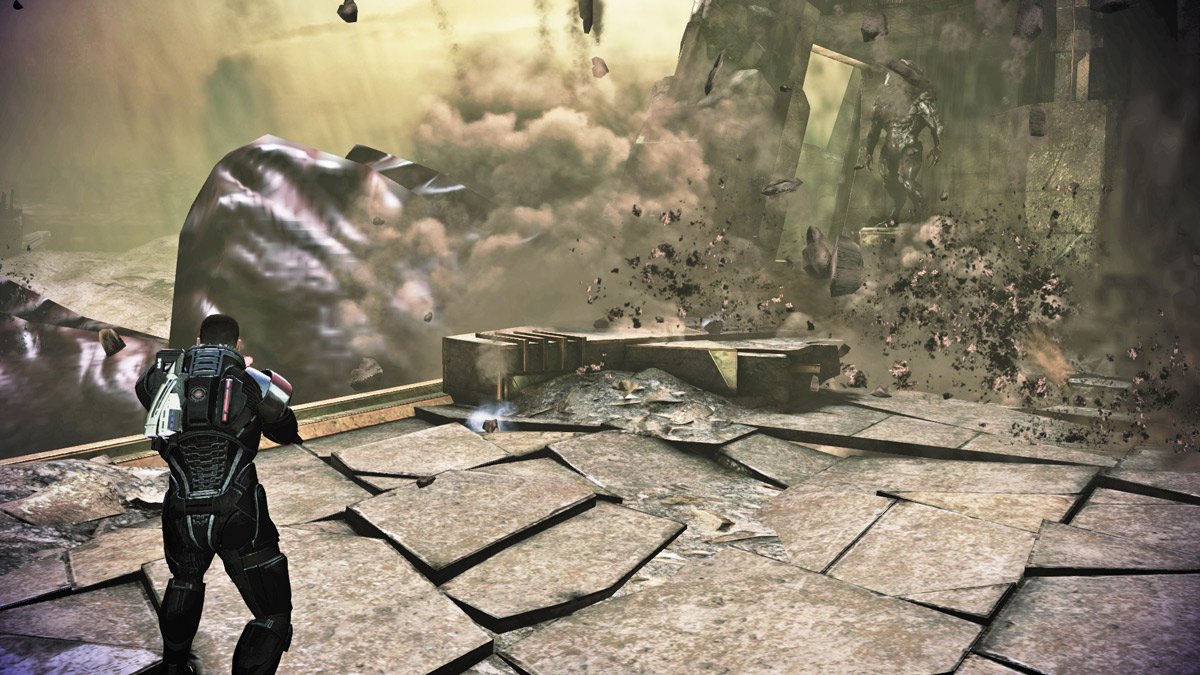
Go through the passage onto the next bridge. As you do, the ground begins to shake and your fears are realized: A monstrous creature speeds by, slashing through the bridge as it chases the krogan transport unit.
The tremors you’ve been feeling are due to the humongous thresher maw you saw depicted on the ruin’s ancient walls.
Rush across the bridge and turn right at the other side. Go around the structure until you reach a large memorial.
MEMORIAL
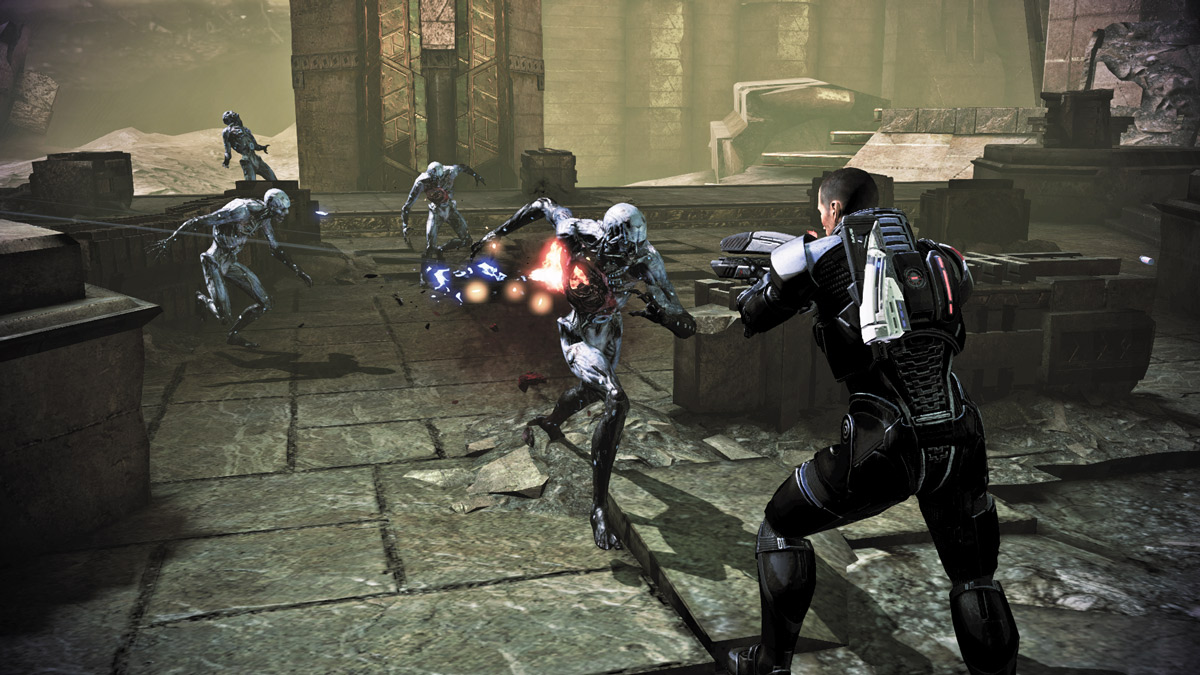
The memorial is a round structure with a central pillar. Cannibals stalk both the far left edge of the structure as you enter, so take cover and wait for them to begin approaching you.
APPROACH 1: HEAD-ON ASSAULT
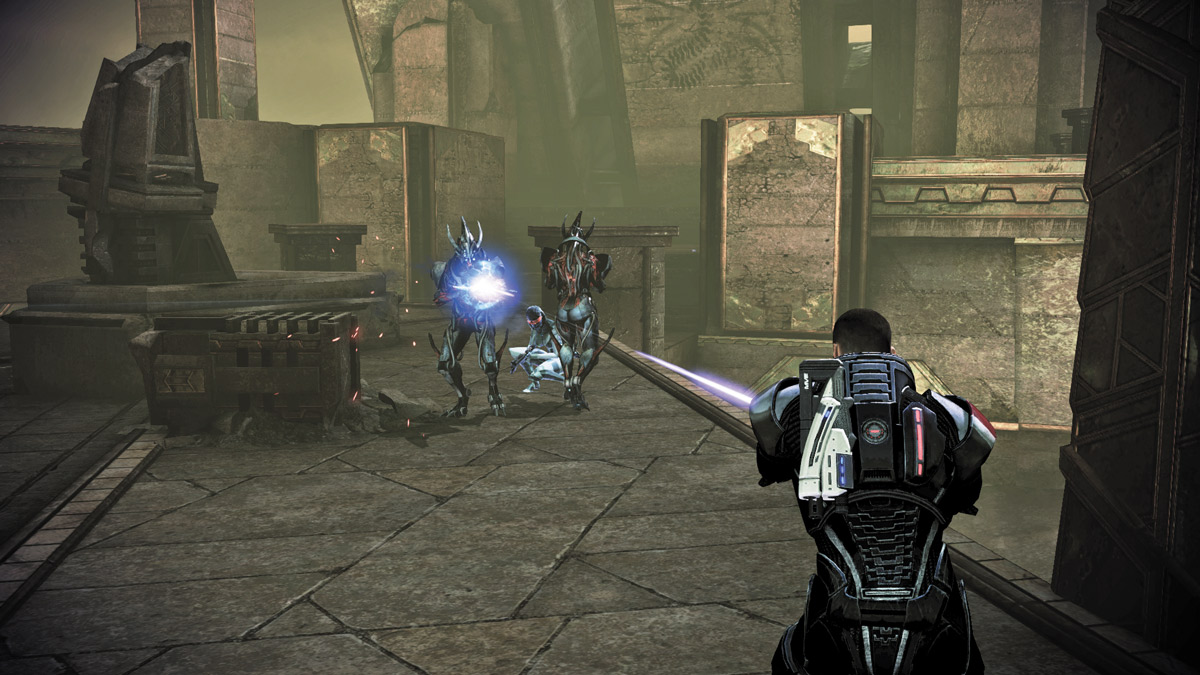
There aren’t many foes here to begin with, so a simple head-on assault should be enough to take the first wave down. Rush the memorial’s far left edge and duck behind the small partition as soon as you begin to encounter Marauders and Husks.
If any are standing on the other side of the partition, use a covert takedown to eliminate them quickly. Otherwise, send in your squad, then follow behind them to clear the area.
APPROACH 2: WORK IN STAGES
Take out the Cannibal to the right and move up to the cover that he was behind. Order your squad to move up, but stick to your left and take out the remaining Cannibals. Bring your squad into the open but do not move!
Take out the Marauders and ignore the Husks, letting your crew eliminate any Husks near you with melee attacks. Once you deal with the Marauders, take out the remaining husks.
THE SHROUD
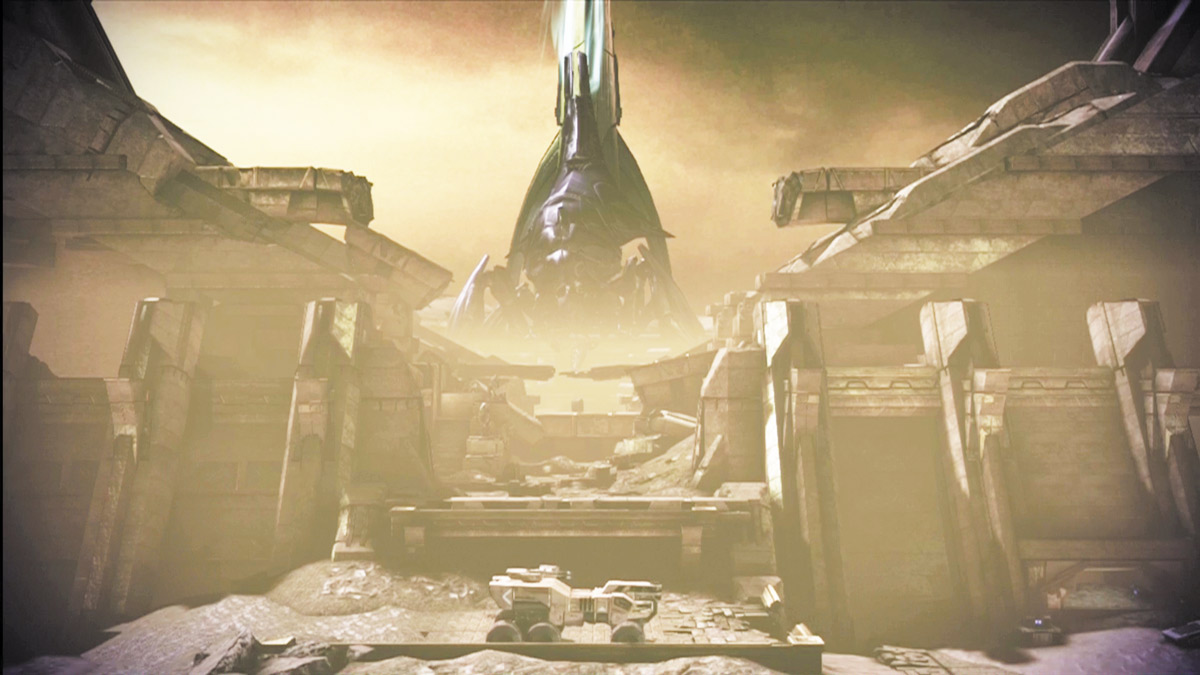
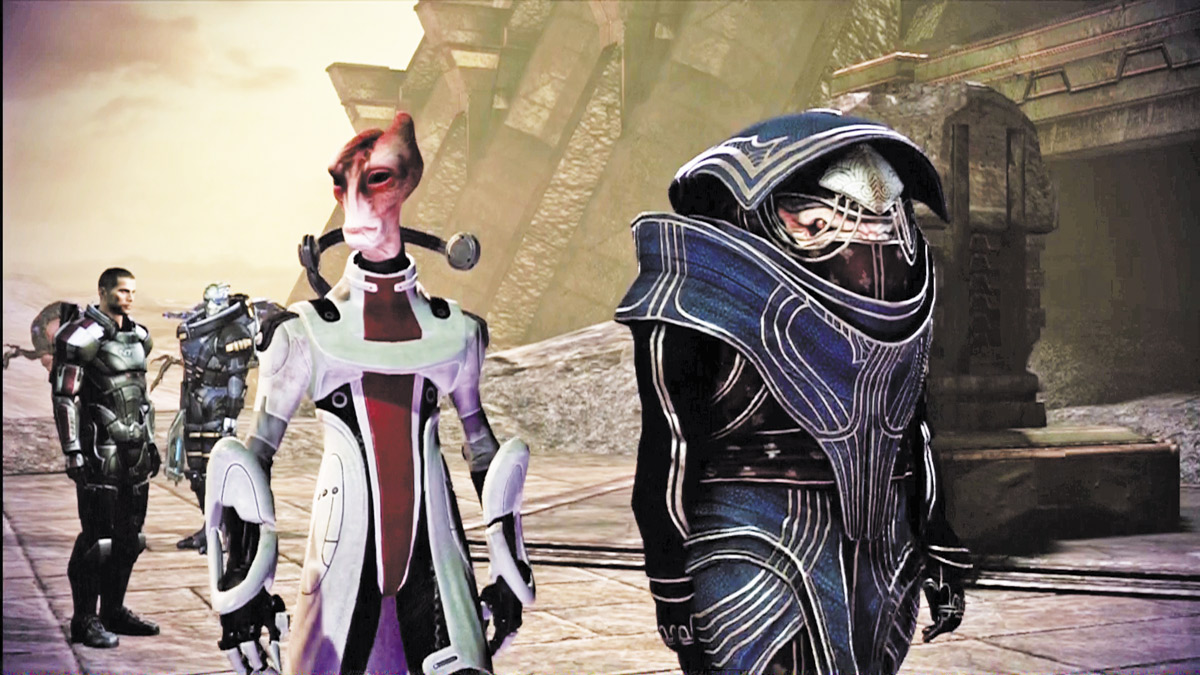
Continue following the path down and around until you reach a small, stepped drop. Hop down to catch a ride with the krogan transport unit, and ride the transport all the way up to the base of the Shroud.
The Reaper is still in position since the two-pronged assault failed. But the female krogan has a plan.
Eve explains that the tower has two large maw hammers that can be used to summon the thresher maw. If you activate them, the thresher maw will come and attack the Reaper.
While you do that, the krogan accompanying you can fend off attacking Reapers, and Mordin Solus, along with Eve, can rush to the facility and finish synthesizing the cure.
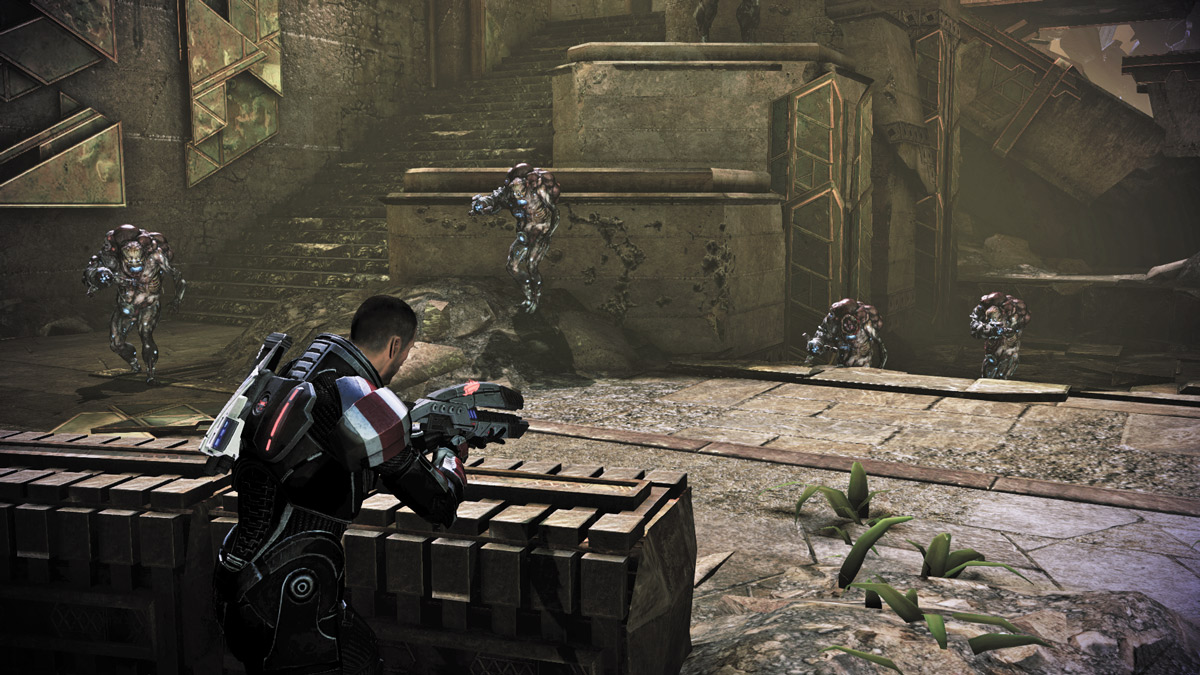
Several Cannibals block off the path ahead. They aren’t too much of a threat, so dispatch them however you see fit, then rush up the stairs on the left side. Take the stairs all the way up and make a right.
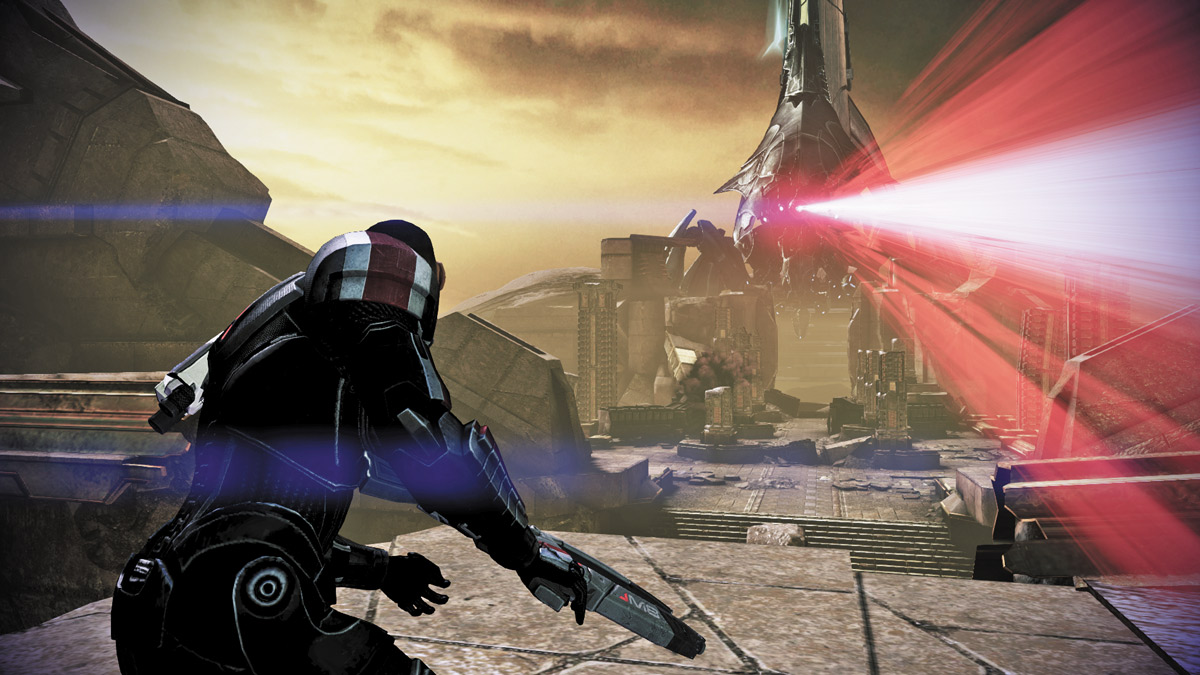
The path continues up and around, up to another bridge where you can get a much better view of the Reaper. Before you can cross the bridge, the Reaper lets loose a dangerous laser blast that halves the bridge and sends you plummeting to the area below.
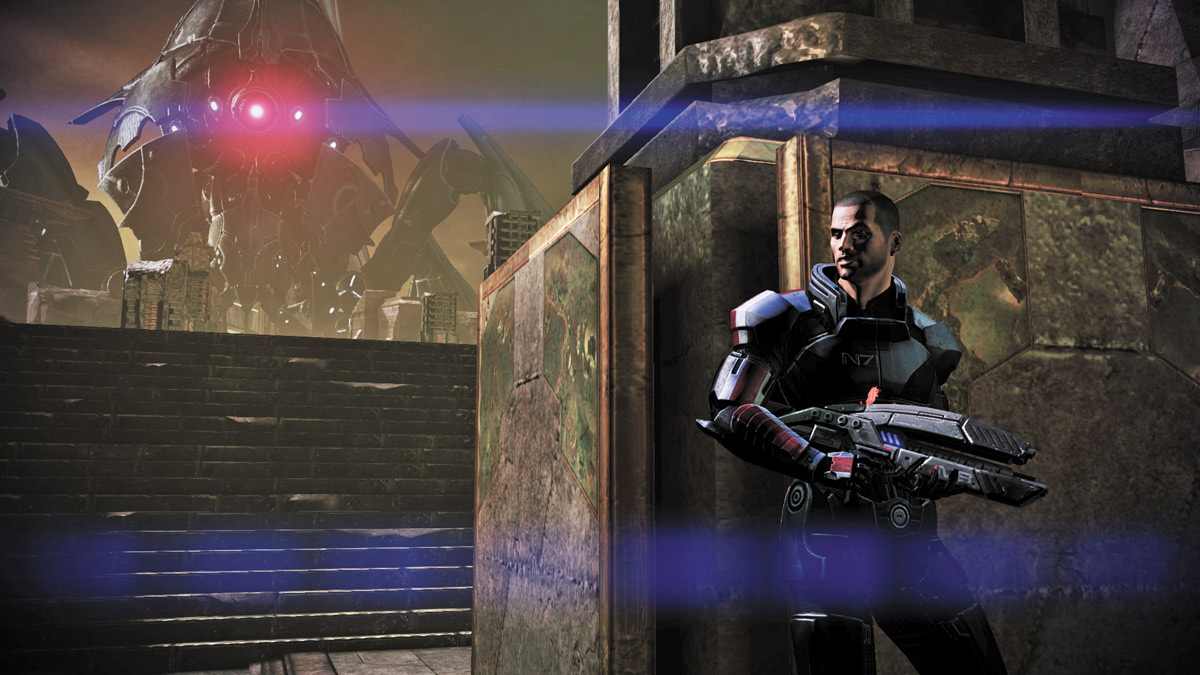
You’re now in the direct line of fire of the massive Reaper’s laser cannon. Immediately take cover near the closest structure and keep an eye on the laser cannon. Wait for it to blast, then leave your cover and rush up the long pathway toward the base of the Shroud.
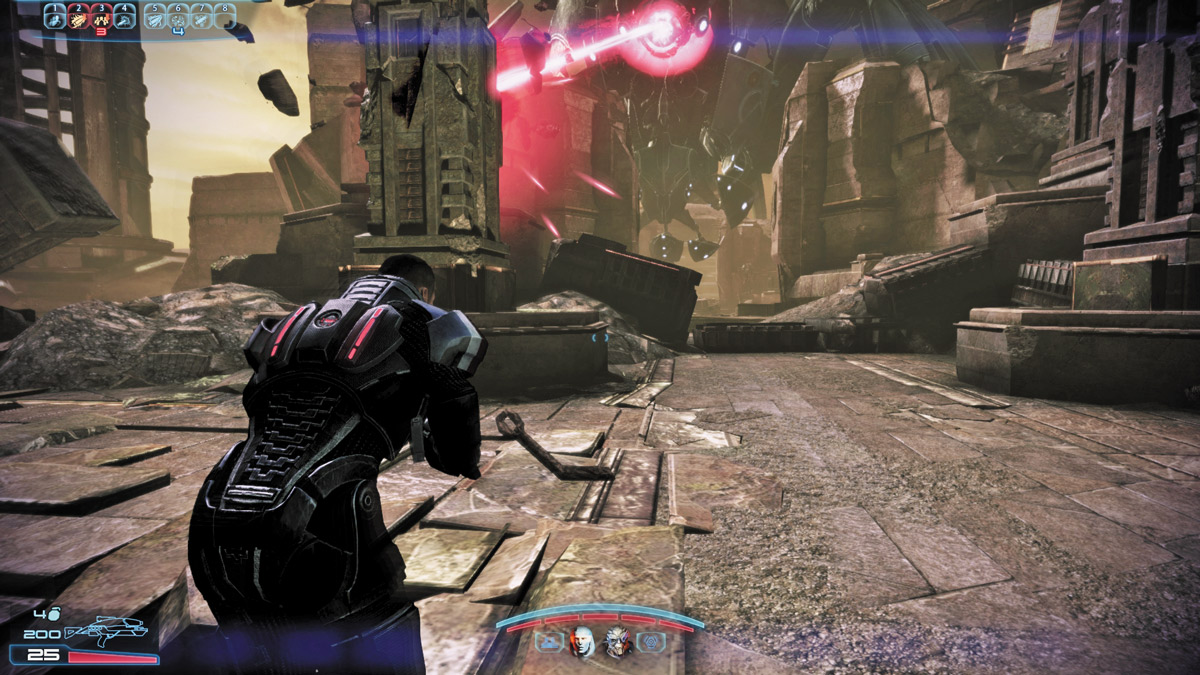
The reaper will continue to blast away at you, so duck behind cover every chance you get. If it even glances you, you can lose all of your shields and some of your health.
Time your movements so you are dashing between blasts, and always move from cover to cover; never stop in the open. Never leave cover while your shields are depleted, and only move when the coast is clear.
Eventually, the turian attack squad rejoins the fight and takes some of the pressure off of you and your squad. Take advantage and make a mad dash to the central area just beneath the Reaper.
ACTIVATE THE MAW HAMMERS
.jpg)
Your main goal is to activate the two hammers. One is on the far right; the other is on the far left. Before you can approach them, though, large Brutes attack you. You can fight the Brutes, but the Reaper also continues to make things difficult by stomping around.
You will take massive damage from being stepped on, and less damage if you are near the feet. Two direct hits from the Reaper’s stomp will kill you.
Instead of engaging the Brutes, focus your squad on the nearby enemies while you sprint past them at full speed, and make a beeline to the first hammer on the left.
The Reaper will try to stomp you as you approach it, but it’ll miss and only slow you down temporarily. Activate the left hammer, then sprint past any Brutes in your way toward the far right hammer.
The courtyard between you and the next hammer may make things a bit tricky, but you’ll be fine if you slow down only to readjust your course, then sprint again.
If you try to engage the Brutes, all of them can potentially gang up on you and end your mission. Instead, focus on the second hammer and sprint toward it. Activate it and the thresher maw comes just as Eve planned.
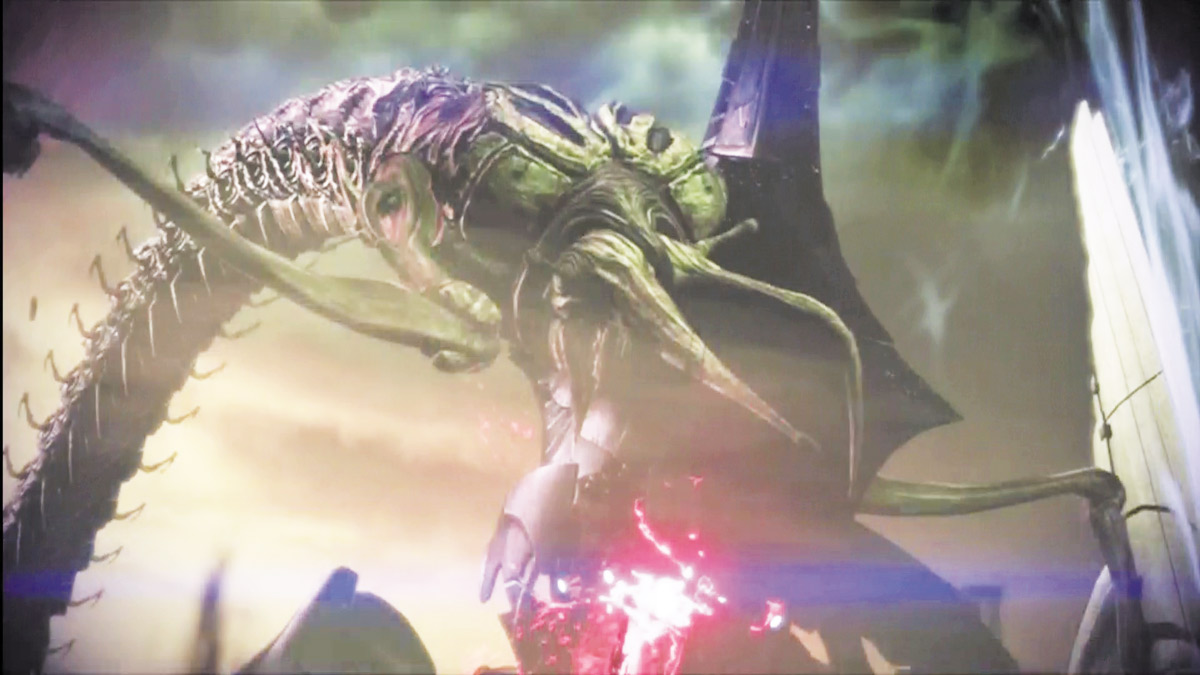
Eve’s plan worked. The thresher maw destroys the Reaper and allows you to rush to the facility and rendezvous with Mordin and Eve.
By the time you arrive, Mordin has synthesized the cure, but Eve has passed away. She had insisted on proceeding with the cure and it cost her her life.
CURE?
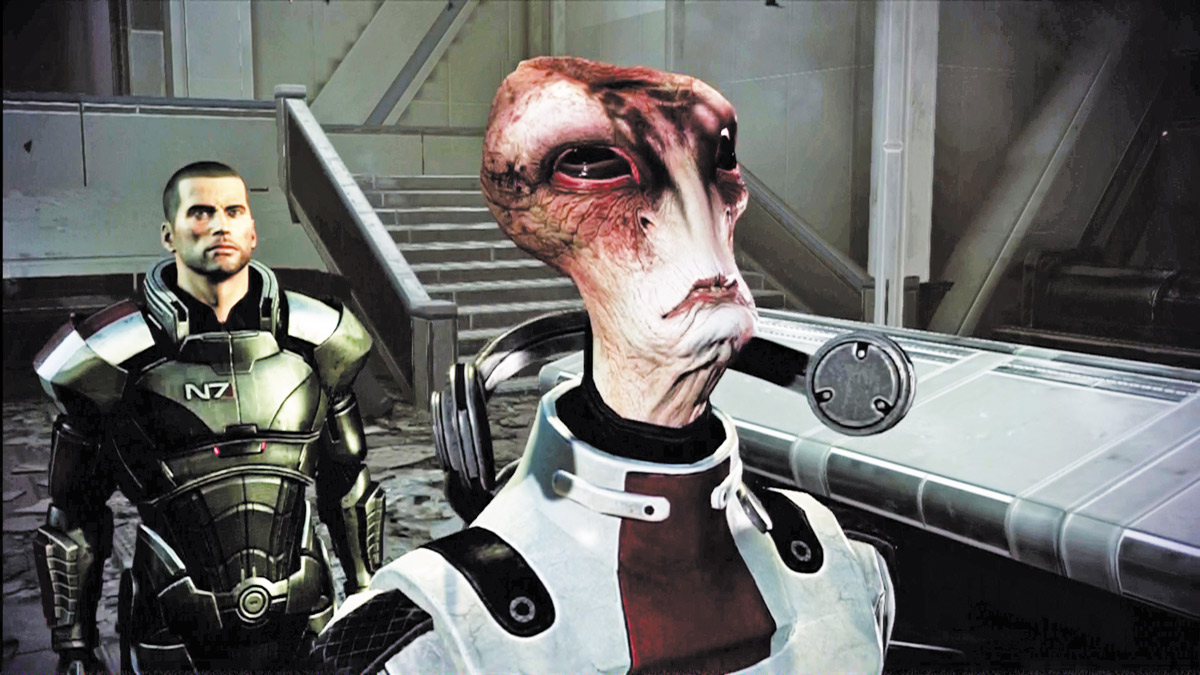
Now comes a critical decision.
During this encounter with Mordin, you must choose whether to let him cure the genophage as planned or to follow the Salarian Dalatrass’s suggestion and let the krogan believe they are cured but instead sabotage the cure.
The decision doesn’t come easy, but the potential outcome of both decisions will shape the war against the Reapers in far-reaching ways.
There are three possible outcomes:
1. If Wrex is the krogan leader, then you cannot persuade Mordin to walk away and trick the krogan. You must either let him cure the genophage for real and sacrifice his life doing so, or murder him to sabotage the cure.
2. If Wreav is the krogan leader and Eve died, only then can you persuade Mordin to walk away and trick the krogan into thinking the genophage was cured. You can also murder Mordin, or let him go up the tower and sacrifice himself to cure the genophage for real.
3. If Wreav is the leader and Eve survives, then you cannot persuade him. You must either let Mordin sacrifice himself to cure the genophage for real, or murder him to stop him, thus sabotaging the cure.
If you get option two (the default option for people who don’t import a game save), you’ll either have to convince (Paragon) or force (Renegade) Mordin into fooling the krogan that they’ve been cured. While the decision may be deceitful, you’ll gain the krogan and the salarian fleet as war assets.
If you peacefully convince Mordin to allow the genophage to persist, he’ll eventually realize it was the right thing to do, and you also gain Mordin as a war asset as he then diverts his attention to building the Crucible.
If you cure the genophage, you’ll gain the krograns as allies and War Assets, but at the cost of salarian support. The decision to allow the genophage to continue may not be an easy one, but it is a great example of how things are not always black and white.
If you sabotaged the cure and Wrex is the leader, he will not know about your treachery during this mission. However, he will find out later and confront you on the Citadel about it, after you speak with the asari councilor and accept the “Priority: Thessia” mission.
In that confrontation, you will be forced to kill Wrex. The krogan therefore will not support you in the end.
If Wreav is the krogan leader, he will never find out you sabotaged the cure and will always think it was cured for real.
A WARRIOR’S FAREWELL
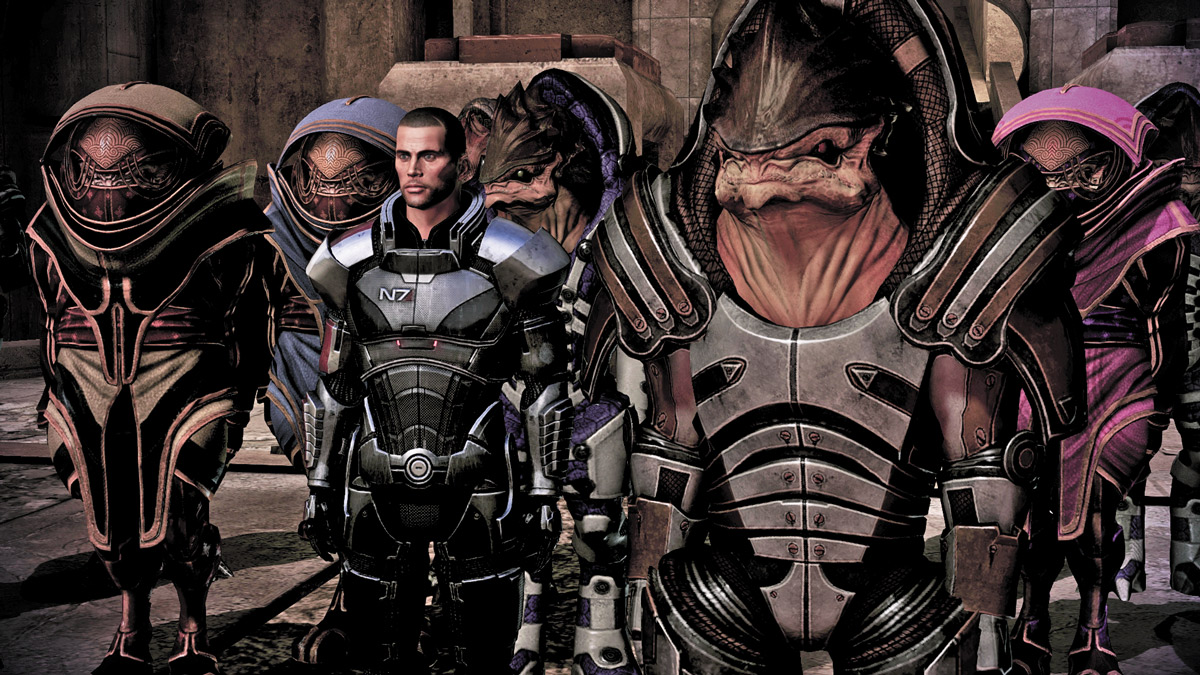
In a touching show of reverence, the remaining krogan lay Eve to rest in a warrior’s funeral. Comment on the ceremony in accordance with your Paragon/Renegade leaning to acquire a few more points.