
Mass Effect 3 Guide Essentials The Squad
Sentinel
 Sentinels are unique, bringing both Tech and Biotic abilities to the battlefield.
In addition to complete weapons training, Sentinels are equipped with an advanced shield that makes taking cover much less necessary and rushing enemies much more productive.
This armor system can also be detonated to blast nearby enemies.
With great Tech and Biotic powers available, as well as decent weapon and melee damage potential, the Sentinel is built to cause maximum damage in nearly any way possible.
This makes the Sentinel one of the most versatile damage-dealers on the battlefield.
However, regardless of what kind of Sentinel build you create, one thing is always certain: You’ll always be able to tank and cut a path through enemies.
With so many different types of Sentinel builds available, the weapon loadout can vary from assault rifles and SMGs to shotguns and pistols.
POWERS
Throw
Toss your enemy through the air with this Biotic blast.
Ranks 1 through 3 Analysis
In the hands of a powerful Sentinel, Throw is a very useful skill. With a single blast, you can rid yourself of pesky foes and clear a path in battle for squadmates.
At Rank 3, your blast of 780 Newtons hurls foes even farther, so consider upgrading up to at least Rank 3, even if you don’t plan on using this often.
However, if you don’t plan on upgrading this power beyond Rank 3, keep it in your arsenal anyway; its function as a detonator power can complement nearly any squad composition with source powers.
Rank 4 Analysis
At Rank 4, you can gain a simple force or radius increase.
Rank 4a, Force, increases the amount of force exerted by each Throw blast to 1,020 Newtons. This has the added ability of knocking foes into other enemies and disrupting enemy attacks.
Rank 4b, Radius, increases the impact of radius by 2 meters, allowing you to hit more than one enemy per Throw blast.
This is especially useful in narrow corridors or battlefields where enemies bunch together into smaller groups.
Rank 5 Analysis
At Rank 5, you can increase the volatility of your Throw power (Rank 5a) or grant yourself the ability to create even more explosive combos (Rank 5b).
Select Rank 5a if you want to use Throw as a damage-dealing detonator for source powers. In fact, as a Sentinel, you can create your own Biotic explosions using Warp as a source power.
If you want to create these explosive combos, then select Rank 5a. However, Rank 5b can also help if you have several squadmates who can launch source powers.
By frequently using your Throw as a detonator power, you can maximize Throw’s potential for damage output, not just enemy disruption.
Rank 6 Analysis
At Rank 6, you can increase either the amount of Throw projectiles to seek two targets (Rank 6a) or Throw’s recharge speed by 50 percent.
If you plan on using Throw as an area-clearing disruptive power, then select Rank 6a. The extra Throw projectile will help clear more enemies efficiently.
If you plan on using Throw as a detonator power, then select Rank 6b; that way you can detonate any source powers set up by your squadmates.
Warp
Rip your enemy apart at a molecular level. Stop targeted enemy from regenerating health. Weaken armor.
Ranks 1 through 3 Analysis
Warp is a cruel and vicious power, perfect to use against Reapers and Cerberus foes alike. Even at low ranks it can deal 300 points of damage on an enemy for up to 10 seconds.
You can stop upgrading at Rank 3 and use Warp strictly as a source power for power combinations, but its value goes far beyond simply using it as a source, so consider making Warp one of your go-to skills.
Rank 4 Analysis
At Rank 4, you can either increase damage (Rank 4a) up to 375 points, a worthwhile investment, or you can add a unique detonate ability (Rank 4b).
This benefit is gained only when using Warp as a source power while another power is used to detonate it. When it does, Rank 4b will increase all aspects of the detonation by 50 percent.
Rank 5 Analysis
Rank 5a, Lasting Damage, increases both damage and duration of Warp, making it deadlier and longer lasting.
It may not be fancy, but the selection amplifies two of Warp’s three most important components. If you plan on frequently using Warp as a stand-alone attack, then select Rank 5a.
Expose, Rank 5b, increases both weapon and power damage to targets affected by Warp.
This is useful when you want to weaken enemies and allow your squadmates to inflict additional damage while your powers recharge.
Rank 6 Analysis
The final upgrade tree in Warp either increases its recharge speed to maximum, lowering the recharge time to 10 seconds (Rank 6b), or increases piercing ability to weaken barriers and armor (Rank 6a).
Like Rank 5b, the benefits of Rank 6a allow your squadmates to pour on additional damage to affected enemies.
This particular upgrade is perfect when facing Cerberus troopers like Guardians and shielded foes like the geth.
Lift Grenade
Lob this grenade into a group of enemies to send them flying. Deal high damage.
Ranks 1 through 3 Analysis
A Sentinel’s Lift Grenades are a great complement for players who want to focus on enemy disruption.
Like Throw, Lift Grenades have the unique ability to remove enemies instantly from behind cover and entrenched positions, and disrupt them while they’re on the attack.
Incorporate Lift Grenades into your Sentinel’s arsenal if you plan on tanking heavily.
Rank 4 Analysis
At Rank 4, you can choose to increase either the damage output or its damage radius. If you want to concentrate on dishing out maximum damage, choose Rank 4a.
However, Rank 4b will increase the impact radius of your grenades, allowing you to affect more enemies. Rank 4b is especially useful when clearing out small groups in narrow spaces.
Rank 5 Analysis
Rank 5 allows you to either increase the amount of grenades you can carry or increase the duration of the grenades’ Lift effects.
For players who want to be offensive powerhouses, consider carrying more grenades. Rank 5a will ensure that you always have plenty of grenades for nearly all combat scenarios.
Rank 5b, however, will help Sentinels set up better Biotic power combinations. If you plan on using Lift Grenades as a source power, then select this rank upgrade.
Rank 6 Analysis
At maximum rank, players can either increase damage and radius of their grenades (Rank 6b) or add a Slam effect to the grenades’ explosions (Rank 6a).
Both upgrades are great at increasing damage output. The Slam effect can stun even the toughest of foes, so be sure that your team is ready to capitalize while the target is incapacitated.
If you want to focus on absolute destruction, then select Rank 6a.
Tech Armor (Unique)
Protect yourself with this holographic armor or detonate it to damage nearby enemies. Slow power use.
Ranks 1 through 3 Analysis
Tech Armor is the Sentinel’s best unique power. With it, a Sentinel can sustain increased damage while rushing into close-quarters battle or they can absorb long-range fire while moving about the battlefield.
Tech Armor’s best perk, however, is the ability to detonate into a radial shock wave and damage enemies around it.
Though not very powerful at low ranks, the 240 points of damage it inflicts within a 3.6-meter radius (at Rank 3) is more than enough to finish off weakened foes or stun fresh enemies temporarily.
Rank 4 Analysis
At Rank 4a, you can increase the base damage and radius of Tech Armor’s explosion to inflict even more damage and reach more enemies.
This upgrade is particularly useful for Sentinels who want to use Tech Armor’s detonation as a weapon and as a defensive measure.
However, Rank 4b will increase Tech Armor’s durability. Select Rank 4b to last longer in battle and take more damage.
This upgrade is best suited for tanking Sentinels.
Rank 5 Analysis
At Rank 5, you can choose one of two damage increases: your power damage (Rank 5a) or your melee damage (Rank 5b).
Rank 5a is a great choice for any type of Sentinel build. The power increase is great for disrupting enemies and creating powerful Biotic combinations.
Rank 5b, however, increases only melee damage. Select this if you plan on wading into close-quarter combat frequently.
The increased melee damage will prove useful when trying to clear a path through waves of enemies.
Rank 6 Analysis
The final rank upgrade is a choice between increasing power recharge (Rank 6a) or durability (Rank 6b).
Select Rank 6a if you intend on using other destructive powers as your primary forms of attack. Active Tech Armor slows all your other power cooldowns, and this upgrade decreases that penalty.
Sentinels who plan on tanking and wading into multiple foes to clear paths and weaken targets should invest in Rank 6b; the increased durability will allow you to sustain more damage.
Overload
Overload electronics with this power surge, stunning your enemy. Effective against shields, barriers, and synthetics. Not as effective against organics.
Ranks 1 through 3 Analysis
By far one of the most useful powers against synthetics, Overload can temporarily fry electrical equipment like turrets and singe synthetic foes.
At Ranks 1 through 3, you gain a standard recharge speed and damage increase, so you could stop upgrading at Rank 3 if you don’t plan on making Overload an integral part of your attack arsenal.
However, during missions where you encounter geth or other synthetic opponents, you can still prove to be very useful.
Tanking Sentinels should use Overload often, as it is a source power and a great way to remove turrets from the equation temporarily.
Rank 4 Analysis
If you do make Overload a more integral part of your attack arsenal, then consider upgrading Rank 4a.
This will increase the amount of targets you can affect by one. So instead of overloading only one enemy at a time, you can stun multiple enemies with each Overload blast.
Rank 4b is a standard damage increase. Select this if you want to focus more on dealing damage to individual enemies while tanking.
Rank 5 Analysis
At Rank 5, you gain the option to stun organic foes as well as synthetics.
The Neural Shock ability will expand your role across a number of missions since Overload power will no longer be effective against synthetic targets alone.
Rank 5b increases Overload’s recharge speed, allowing you to use the skill more frequently in battle.
The trade-off between Ranks 5a and 5b are simple: If you want to use Overload against more varied types of enemies, select 5a.
If you want to use it more frequently in battle to stun enemies en masse, select Rank 5b.
Rank 6 Analysis
Like Rank 4a, Rank 6a will increase how many targets you can reach with an Overload blast by one and will increase the damage it inflicts by 15 percent.
The choice is simple: If you selected Rank 4a, make the same selection here and you will be able to stun small groups of enemies with one Overload blast.
Not only will you incapacitate more enemies at once, but you’ll also expend less power to do it.
At Rank 6b, you can increase the damage dealt to barriers and shields, becoming extremely effective against all shielded foes.
Cryo Blast
Flash-freeze and shatter unprotected enemies. Slow down the rest. Weaken armor. Frozen targets won’t regenerate health.
Ranks 1 through 3 Analysis
By upgrading Cryo Blast to Rank 3, you can increase the duration of freeze effects to nearly 6 seconds while decreasing the recharge speed for the power to 3.2 seconds.
That means that if you use Cryo Blast heavily, you can fire a blast nearly every few seconds and freeze enemies for about the same time.
So if you time things properly, you can theoretically keep a target frozen indefinitely until the rest of the squad can finish them off.
This skill also works as a “source” power for cryo explosions. Once affected by Cryo Blast, targets can then be detonated using a detonator power like Overload.
Most importantly, if you plan on creating a Sentinel that can deal damage using primarily powers, invest heavily in Cryo Blast and Warp.
Rank 4 Analysis
The main benefit of Cryo Blast is that you can slow enemies and potentially freeze them in place, removing them from the equation on the battlefield.
At Rank 4, you must choose whether to slow singular enemies for longer periods of time (great against larger, more powerful enemies) or to slow multiple enemies for less time.
Make your selection here based on whether you want to focus more on tanking or damage output.
Rank 5 Analysis
At Rank 5, you can add an explosive effect to Cryo Blast with Rank 5b. Once frozen or chilled, the cryo effects can self-detonate and inflict 10 percent more damage.
If tanking is your goal, select Rank 5a. This slows down enemy movement by an additional 20 percent, making foes move 35 percent slower overall.
When combined with Rank 4a, the decrease in movement speed makes for an overwhelming advantage on the battlefield.
Not only will foes move slower, but also they’ll do so for nearly 7 seconds. Rank 5b is perfect for Sentinels who want to focus on ultimate destruction.
Rank 6 Analysis
Sentinels who want to focus on using more powers over weapons should select Rank 6a.
This will increase the recharge speed for Cryo Blast and allow you to use it far more frequently on the battlefield.
This is best when trying to focus on explosive power combinations. However, if you want to tank and soften enemies, then select Rank 6b.
The Frozen Vulnerability upgrade will weaken foes for your squad to finish off.
Offensive Mastery
Be an expert tactician on and off the battlefield. Faster and stronger powers. More weapon damage. More dexterity. More charisma.
Ranks 1 through 3 Analysis
Offensive Mastery should be upgraded for every type of Sentinel build. A Sentinel is built for dealing as much damage as possible in a short amount of time.
If a Sentinel stays too long in the midst of enemy fire, then no amount of Tech Armor will be able to sustain the shields long enough.
By investing in Offensive Mastery, you can increase the amount of damage you can inflict while in battle and potentially dispatch enemies quicker, before they dispatch you.
At Rank 3, the bonuses to weapon and power damage will help do that.
Rank 4 Analysis
Select Rank 4a if you want to increase the force and damage to your weapons (Rank 4a) and tank a bit more heavily, or choose Rank 4b to increase the duration of your powers.
Rank 4b is particularly useful while using powers like Overload and Cryo Blast, so make your choice here dependent on which powers you intend on using in battle.
Rank 5 Analysis
If you plan on wading into war frequently and anticipate requiring shotguns, assault rifles, and destructive powers, then select Rank 5b.
The increased weight capacity will help balance out your weapon loadout and power recharge time. Otherwise, select Rank 5a to grant your squadmates an increase to their powers.
This is especially useful for tanks that want to soften foes for the rest of the team to obliterate.
Rank 6 Analysis
Sentinels who want to create powerful Biotic combinations should invest in Rank 6b.
The Bonus Power upgrade will increase the chances of using two powers in a row, like Warp and Overload, without causing a cooldown.
For a simple force and damage upgrade, select Rank 6a. This is a good upgrade for nearly any other type of Sentinel build.
BUILDS
Bulldozer
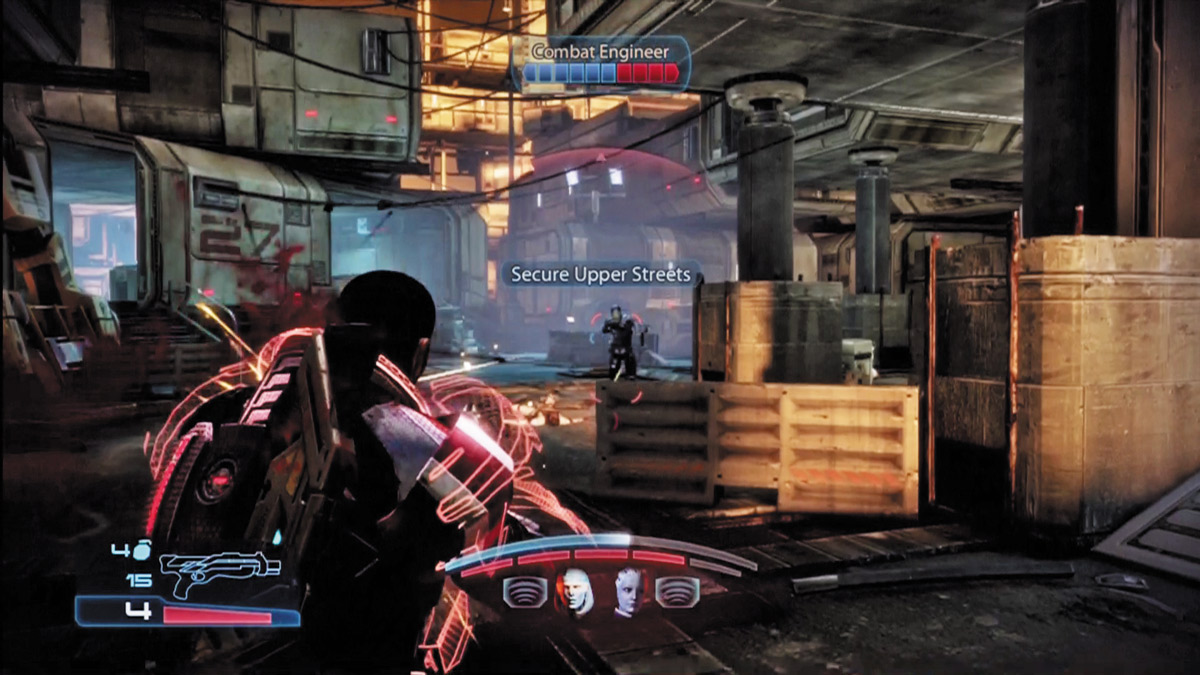
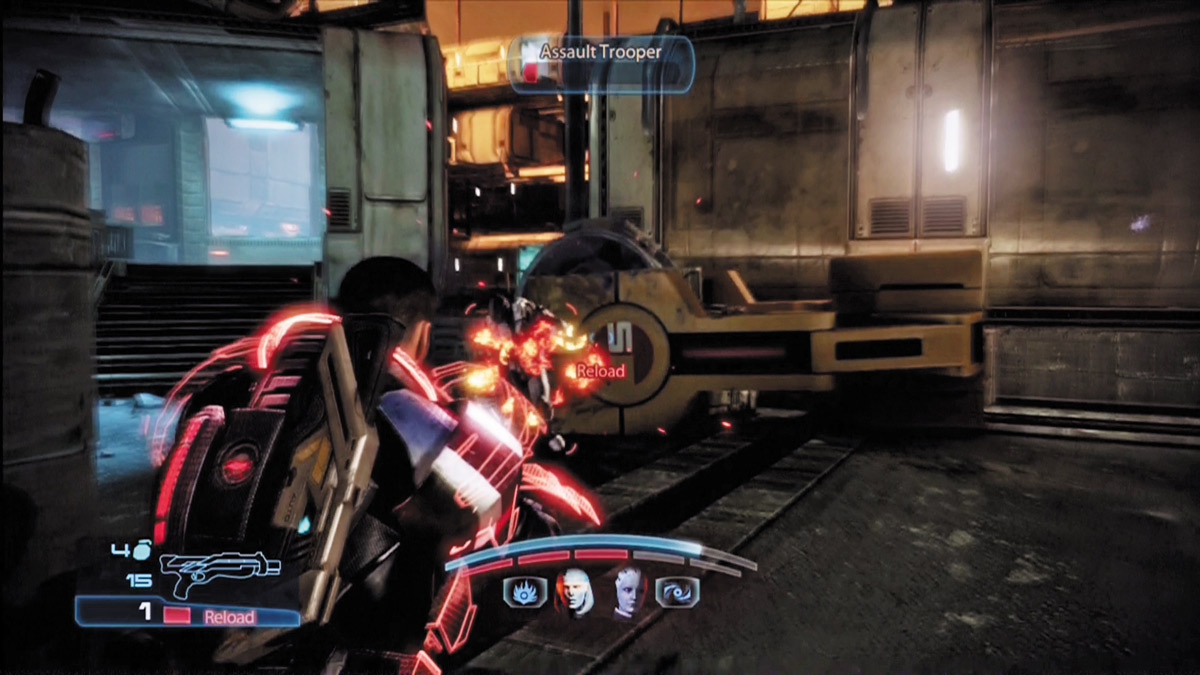

To create a bulldozing Sentinel, focus on amplifying your disruptive powers like Throw, Lift Grenade, and Tech Armor’s detonation abilities.
Equip a shotgun and you’ll be ready to wade into battle, clearing a path for the rest of your squad to follow.
This tank build will also allow you to flush out foes from cover and weaken them before the rest of the crew puts them down.
To add an extra element of enemy disruption, invest a few upgrade points in Cryo Blast. With it you’ll be able to slow enemy movement down as well.
Wrecking ball
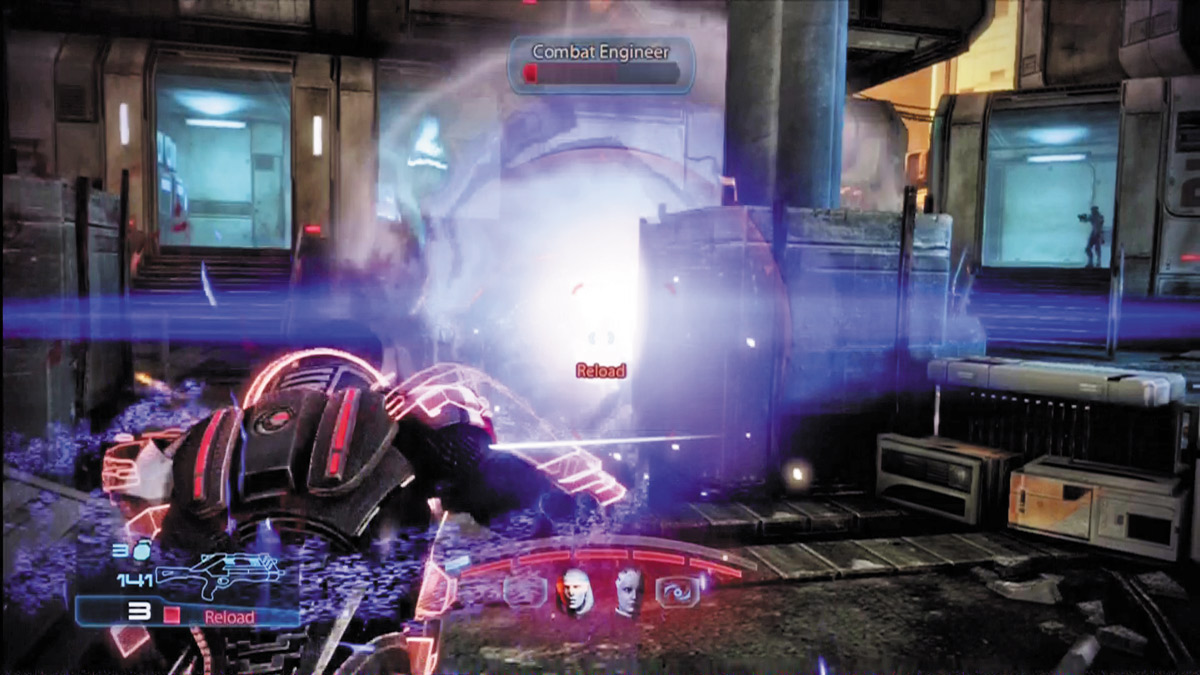
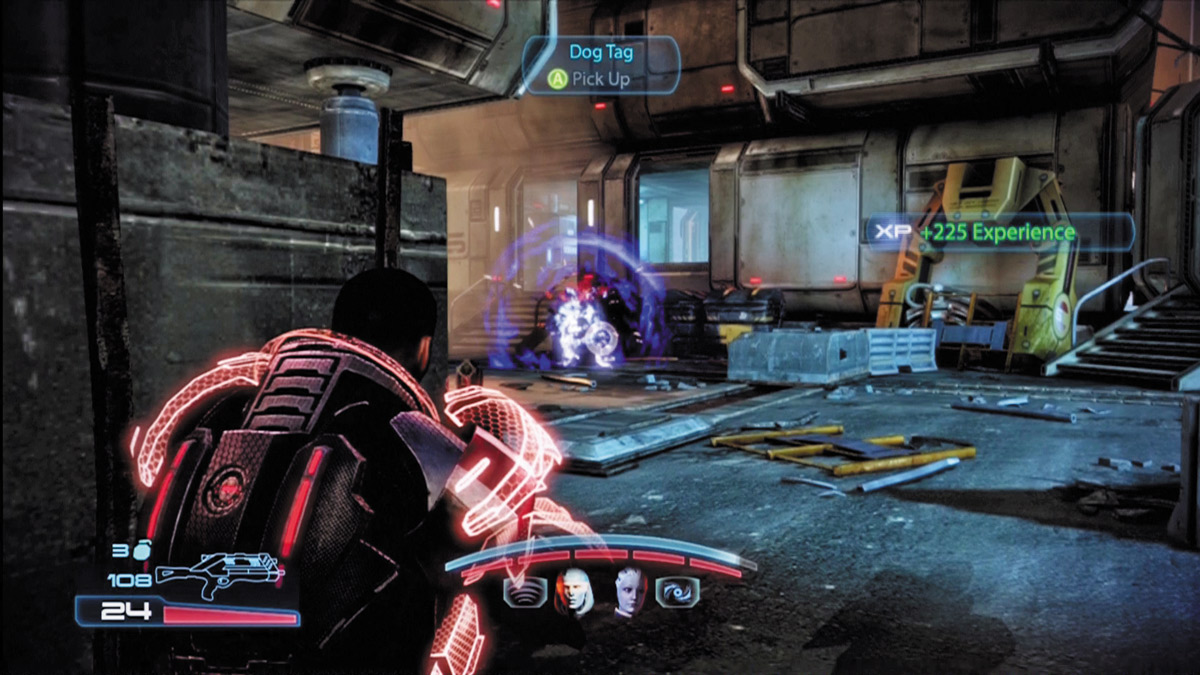
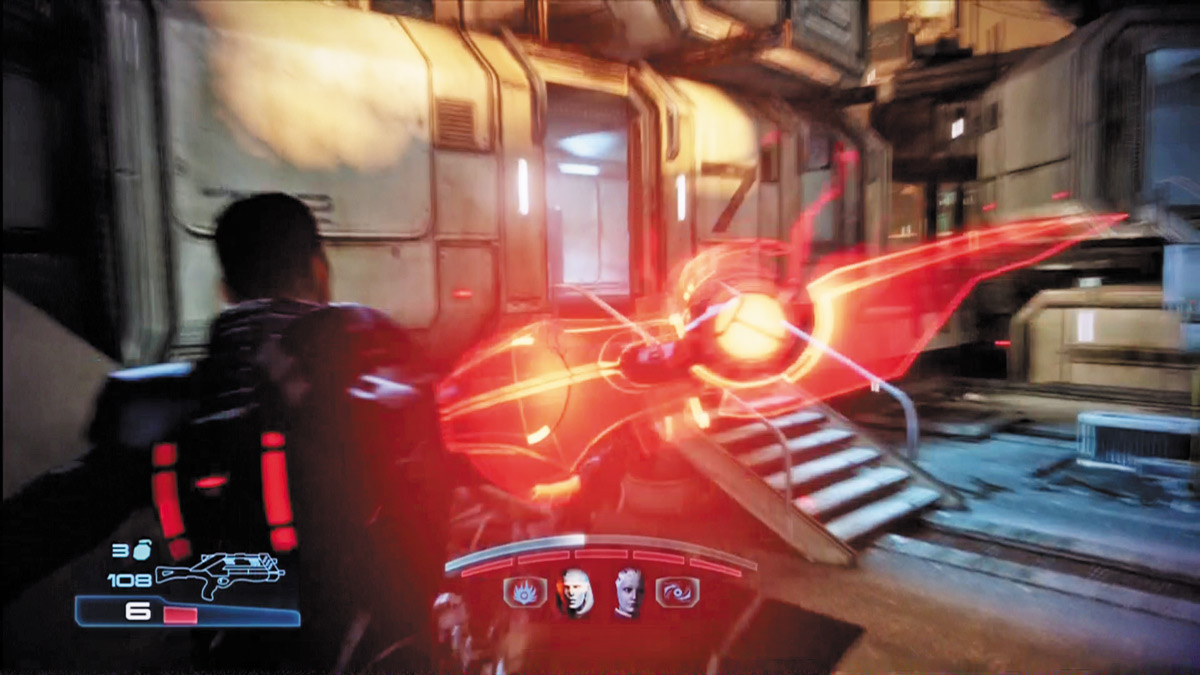
A Sentinel wrecking ball doesn’t focus as much on enemy disruption and tanking as much as it does on utter destruction.
Invest your points in weapon damage and powers like Overload, Warp, and Throw. You’ll be able to create powerful Biotic combination explosions.
Furthermore, with points invested in Cryo Blast, you can freeze enemies as well and use that as a source power too.
Invest points in increasing the durability of your Tech Armor rather than its detonation damage, and you’ll be able to hold your own in battle a lot longer without needing to recharge your shields.