
Mass Effect 3 Guide Walkthrough Act 1
Rescue the Turian Primarch
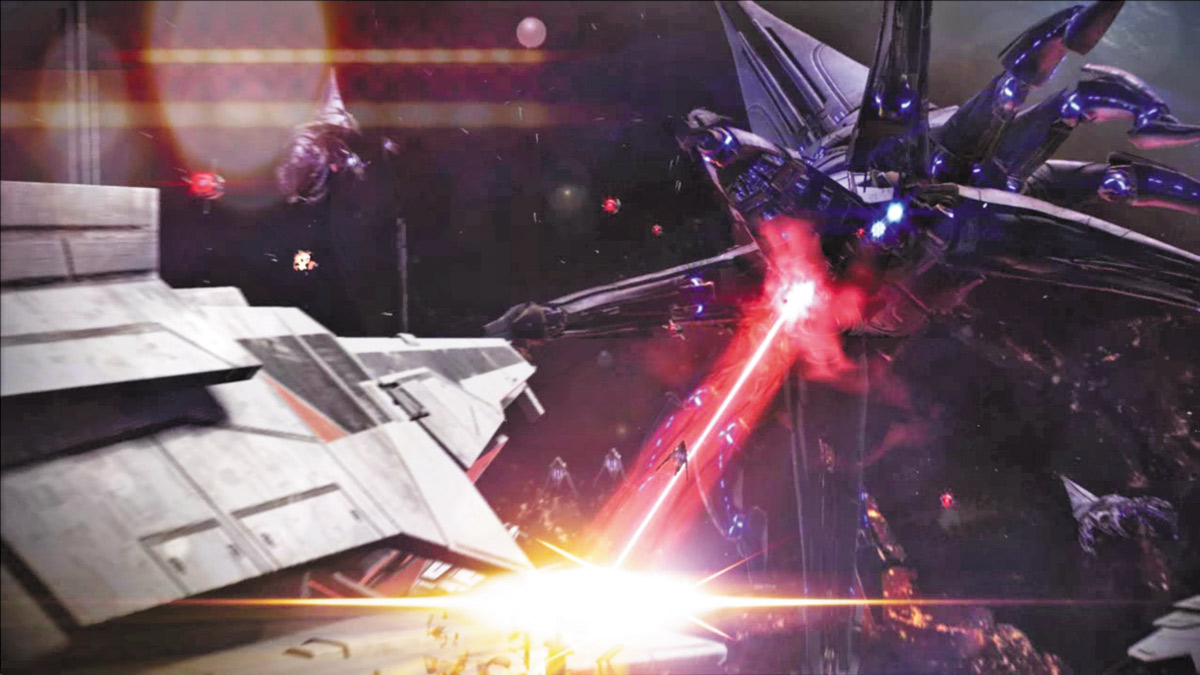
As you approach the turian moon, you find that the entire region around Palaven is flooded with Reapers.
A careful approach to the moon ensures that you get by safely, but it’s clear to see that Palaven’s surface is being ravaged just as Earth’s was when you left.
Though your mission is on Menae, Palaven’s moon, the outcome of this mission will determine whether Palaven will stand a fighting chance against the Reapers.
LUNAR LANDING
.jpg)
The area below you is swarming with Husks. As you approach the landing zone (LZ), open fire from your shuttle to dwindle the number of Husks there. They’re off in the distance, so use a medium- to long-range weapon with good accuracy.
Don’t bother using any powers at the moment, since simple weapons fire should suffice for the task. The more Husks you eliminate on the approach, the less you’ll have to deal with upon touching down.
Once you’ve landed, another wave of Husks rush in from the area next to the small turian guard shack.
Either take cover behind one of the small rock mounds and pick them off from afar, or get up against the ridge beneath the guard shack and open fire.
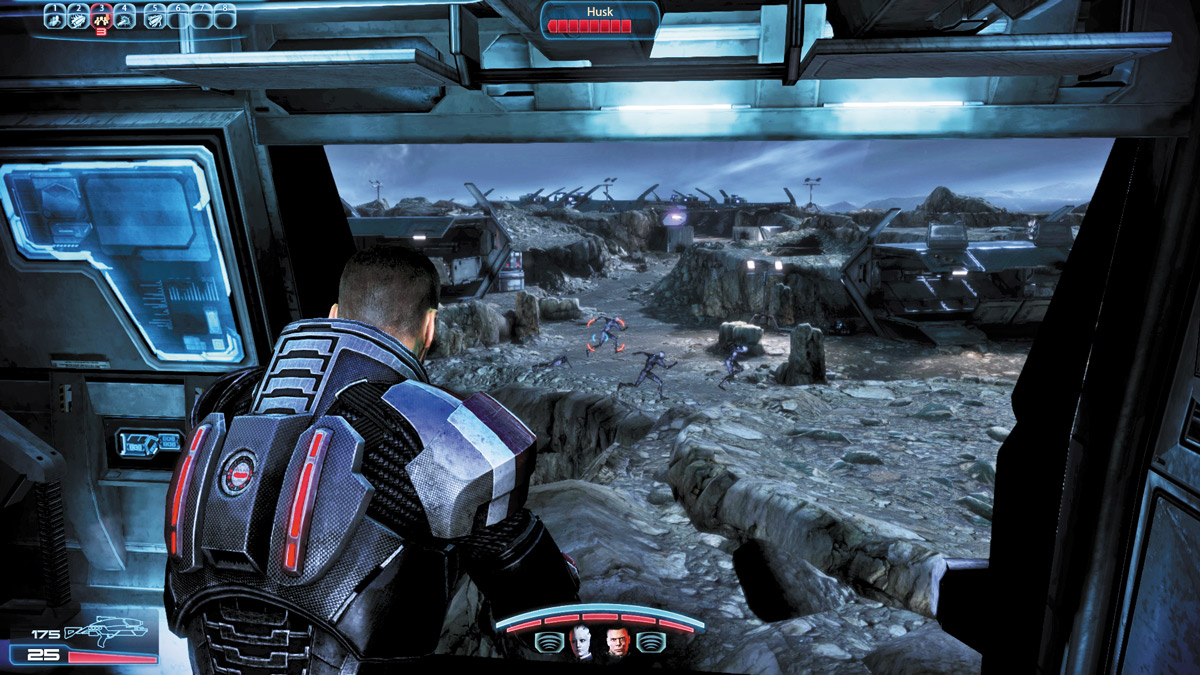
You’ll be much closer to the action, but a good close-range weapon like a shotgun will shred the Husks at this range.
TURIAN COMMAND CAMP
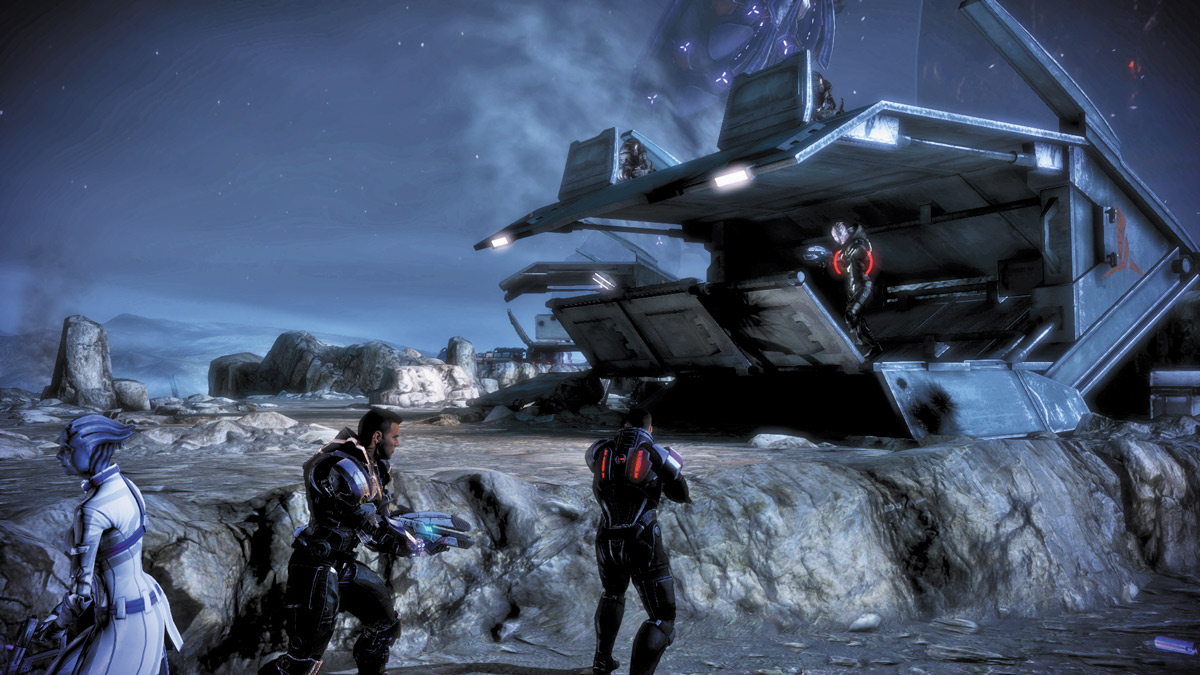
Once you’ve secured the LZ, speak to the turian soldier there; he’ll direct you to the command base where the turian general is waiting.
Climb onto the ridge and follow the path straight, then around the corner to the first barricade as the soldier suggested.
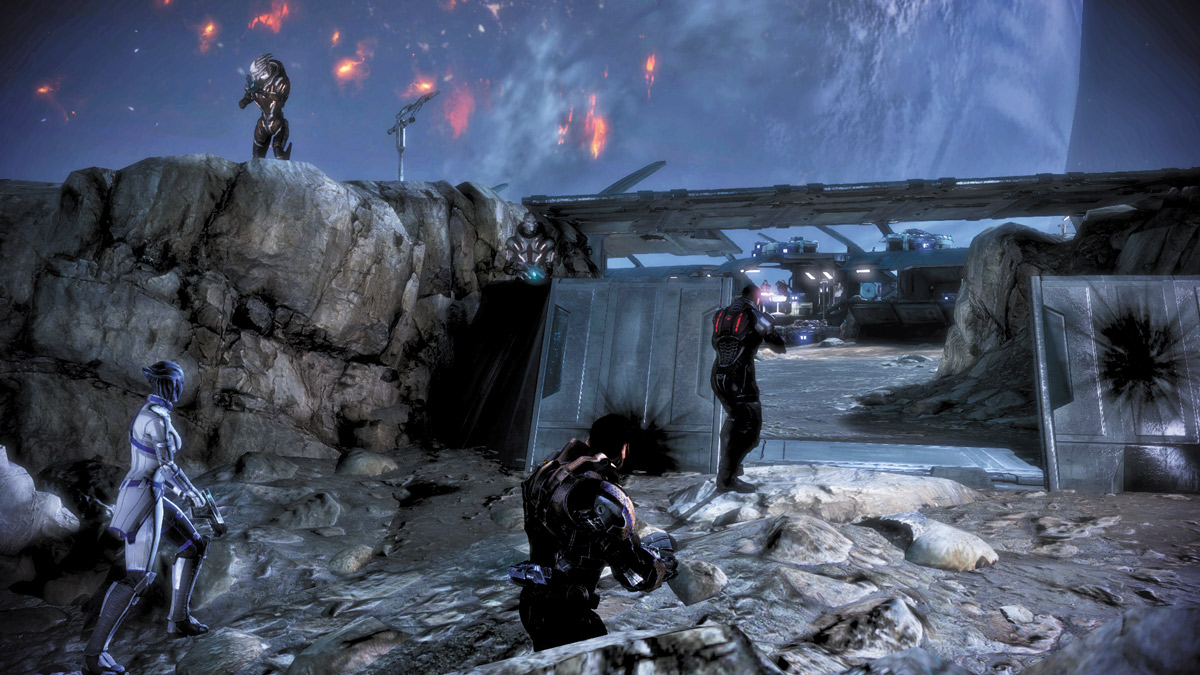
The turian forces lower the barricade for you and grant you access. Take a minute to look around before finding the commanding officer. There is a wealth of weapons, mods, and other items to pick up before setting out.
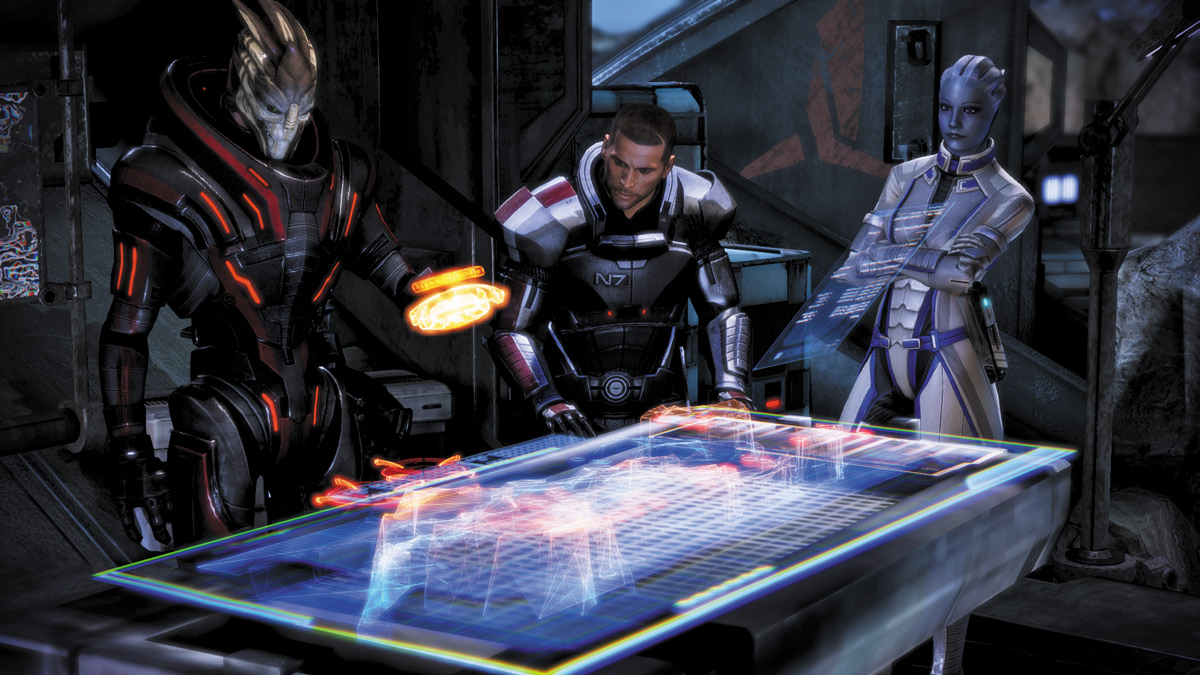
General Corinthus is waiting to speak to you at his small command post. Speak to him to find out about Primarch Fedorian.
As it turns out, you arrived a bit too late. Fedorian was killed half an hour prior to your arrival, and the turian forces are being decimated by the Reapers. Their numbers are too great to overcome.
The next turian in line to become the Primarch is currently unknown, and the only way to find out is to open up the line of communications with Palaven Command. The comm tower in the camp needs repair but is overrun by Husks.
.jpg)
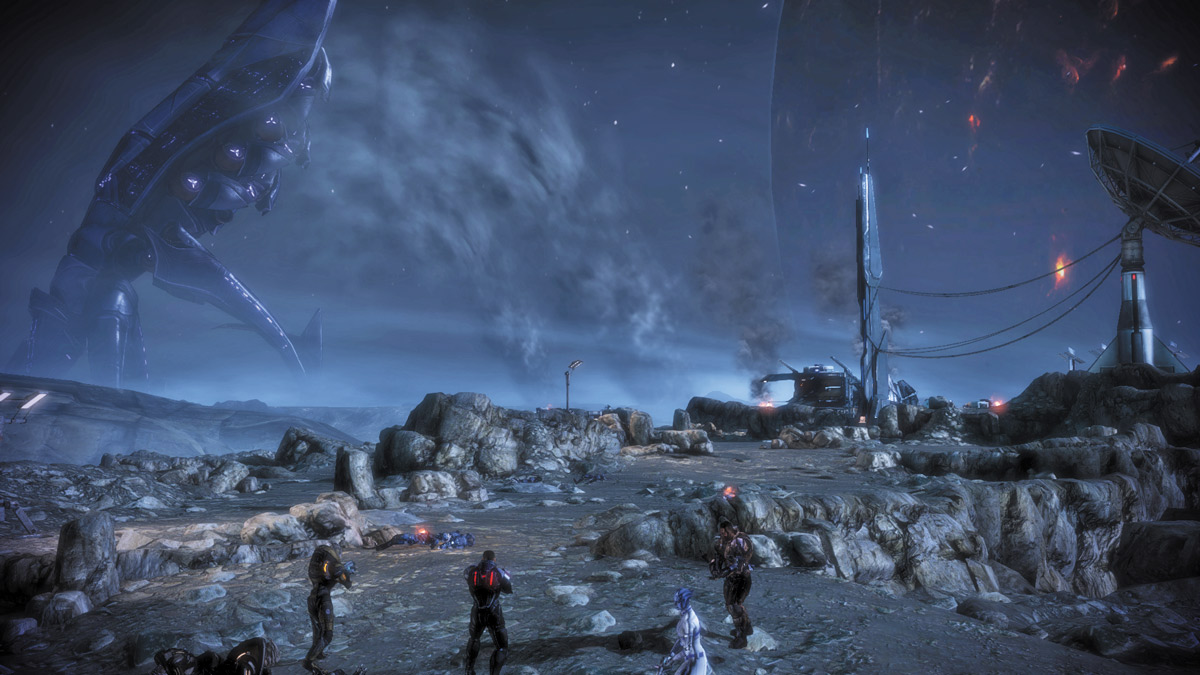
Exit the camp and follow the waypoint marker to the comm tower just outside of camp. The exit is just past the barricade where you located the M-27 Scimitar.
Walk out of the barricade and make a right. The tower is not far off, and neither are the Husks.
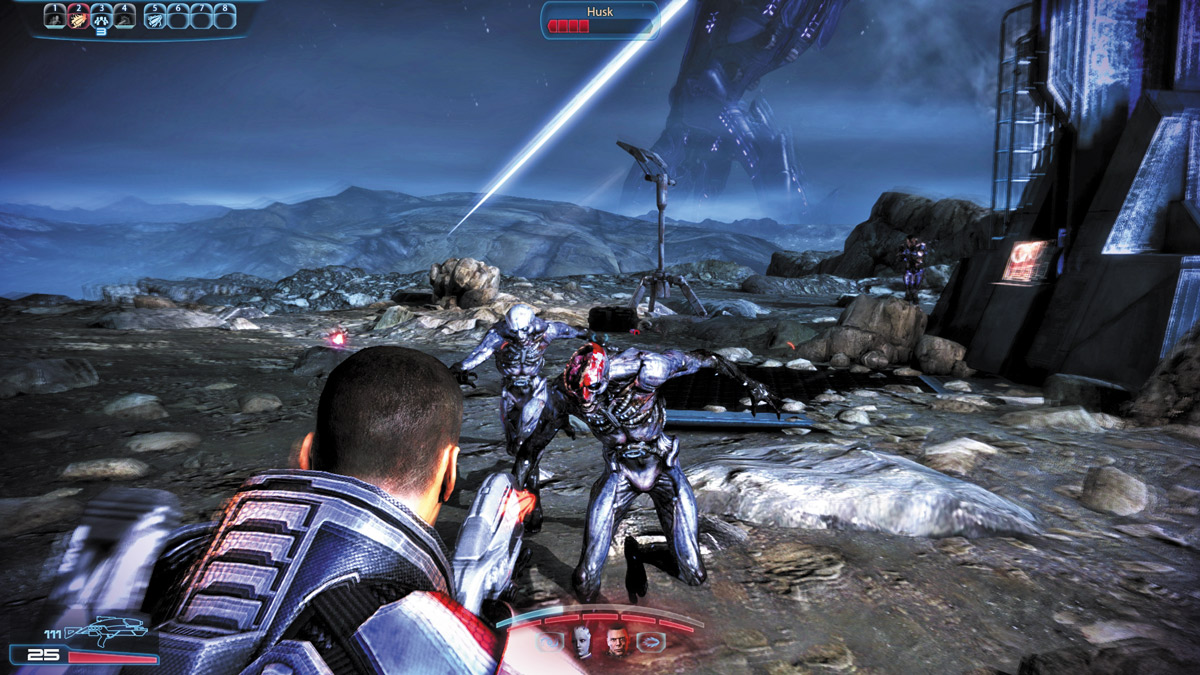
The first wave of Husks rushes you immediately. Order your squad members to take cover behind the nearest rockface and open fire.
The speedy creatures won’t waste time closing the gap, so use either Liara’s or your (if you’re an Adept) Singularity to slow them down.
Rather than focus on the Husks trapped in the Singularity, turn your weapon to the Husks that are still rushing you.
As soon as you put them down, turn back to the enemies floating in the air, which may be coming back down to the ground any second now, and mow them down as well. However, the Husks don’t let up yet.
APPROACH 1: ROUND THEM UP
.jpg)
Strong close-range classes such as Sentinels, Soldiers, and Vanguards can use the wide-open space near the comms tower to circle-strafe around the enemy, dealing close-range damage as enemies approach you.
Stay on the move to keep the Husks from getting too close, and use your squad members’ powers to occasionally slow down the speedy beasts.
You’ll incur some damage, as inevitably some Husks will make contact, but use quick melee blows to knock them off or use charged (heavy) melee blows to put them down.
Vanguards have the added comfort of using Shockwave, while Sentinels can use Lift Grenade and Throw to keep the Husks away.
.jpg)
APPROACH 2: “DRAW A LINE IN THE SAND”
Another approach, perhaps one more suitable to Engineers, Adepts, and Infiltrators, is to hunker down and “draw a line in the sand” by creating a wall of weapons fire and power combinations so that Husks cannot get near enough to cause you any damage.
While Adept-class players can rely on powers like Singularity and Warp to cause massive Husk explosions, Engineers can launch Combat Drones deep into the battlefield, well past their line in the sand, to distract Husks while they destroy them from a safe distance.
Infiltrator-class players may be tempted to use the Tactical Cloak and get up close and personal, which is a sound tactic if their powers have been upgraded to sufficient levels; however, this early in the game, it is better to use the Tactical Cloak’s damage bonus from afar rather than mix it up with a large swarm of Husks.
Eliminate all of the Husks around the communication tower, then assign one of your two squad members to repair it. It doesn’t matter which member you pick; there are no long-term consequences to this decision.
However, pick the squad member who least complements your current class and weapon/power loadout.
If you need someone with good Biotic powers, then ask James to fix it so Liara helps you in the following battle.
If you need someone capable of dishing out major weapons damage, ask Liara to fix it so James can help during the battle. Make your decision, then prepare for another onslaught of Husks.
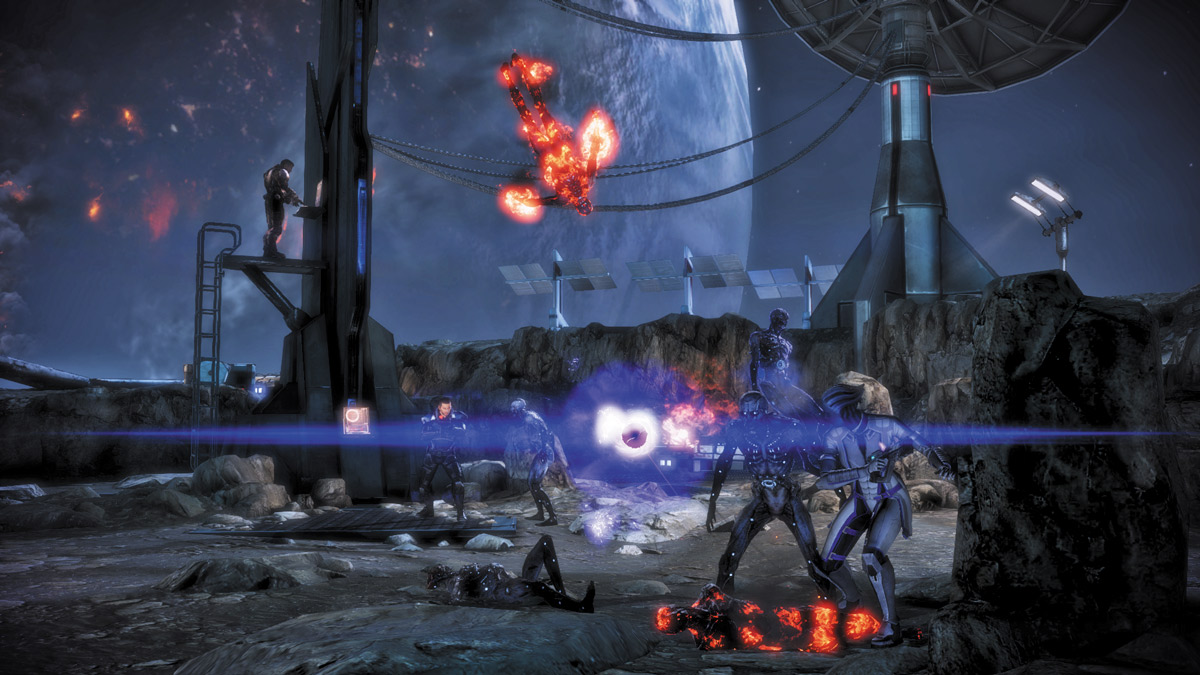
The Husks attack from two different directions. Order your squad member to take point behind the tall pillar on the left, while you cover the area on the right.
Hold them off long enough for your third party member to repair the communication tower, then begin your approach back to the camp.
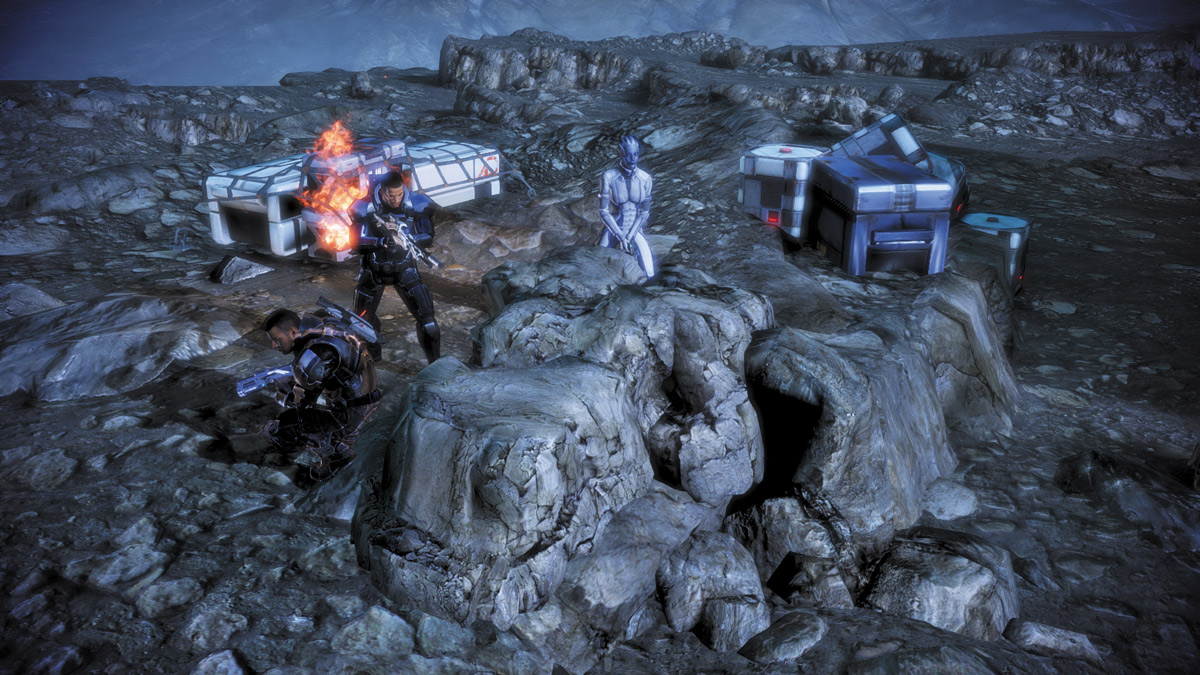
You’ll encounter several more Husks along the way as the path ahead is bombarded with flaming enemy drops, so lead your squad up to the small platform ridge on the right.
This elevated position will grant you a better vantage point to direct your squad and fire on the enemy. Your efforts prove successful, and the comms tower comes back online. In no time flat, the general gets information vital to your mission. Return to camp.
DEFEND THE CAMP
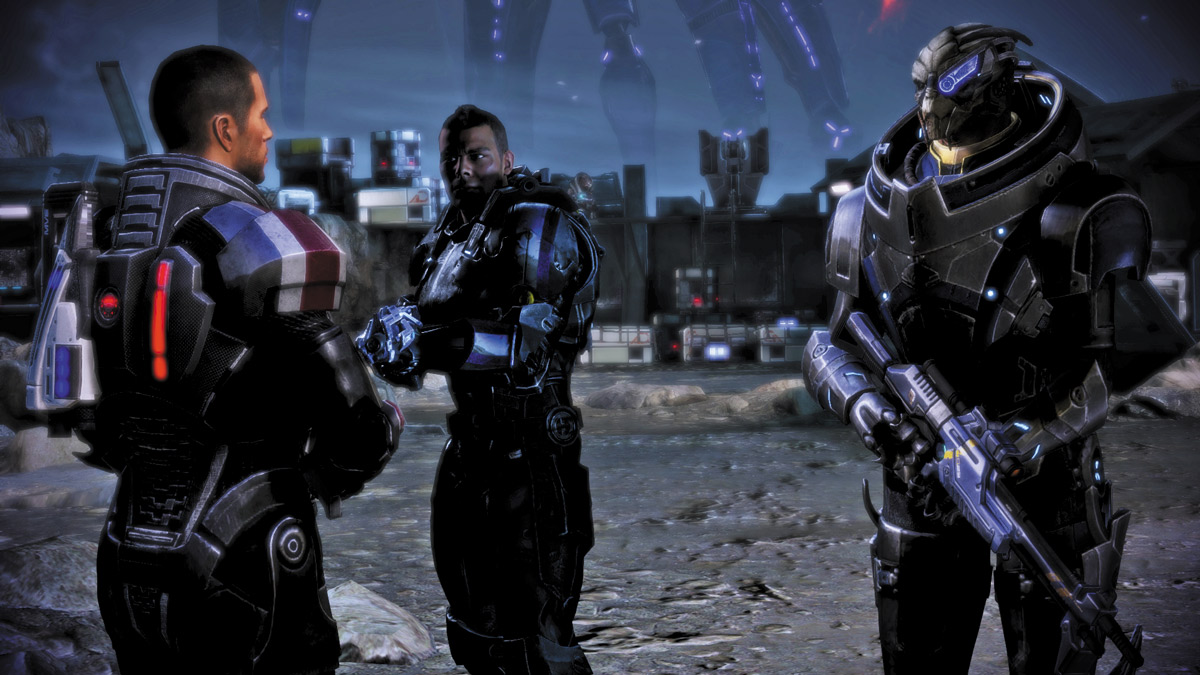
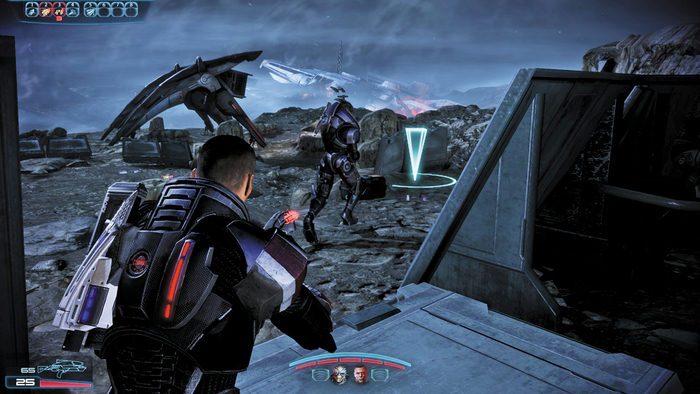
Back at the camp, General Corinthus has located the next in line to become Primarch. Better still, he’s on Menae, not far from your location.
The new Primarch, a turian named Victus, is known to be unconventional and a skilled tactician; he’s just the kind of help you need.
To help aid you in your search for the new Primarch, your old friend Garrus joins the squad. While you plan out your next move, Joker has some technical problems aboard the Normandy.
Liara heads back up to the ship, while Garrus remains behind as a full member of your squad.
A Reaper Harvester dives in from above on its way to attack the airfield.
Follow the turian soldiers out to the airfield and immediately place your squadmates behind cover. Marauders—Reaper soldiers who were once turians—begin dropping in from above.
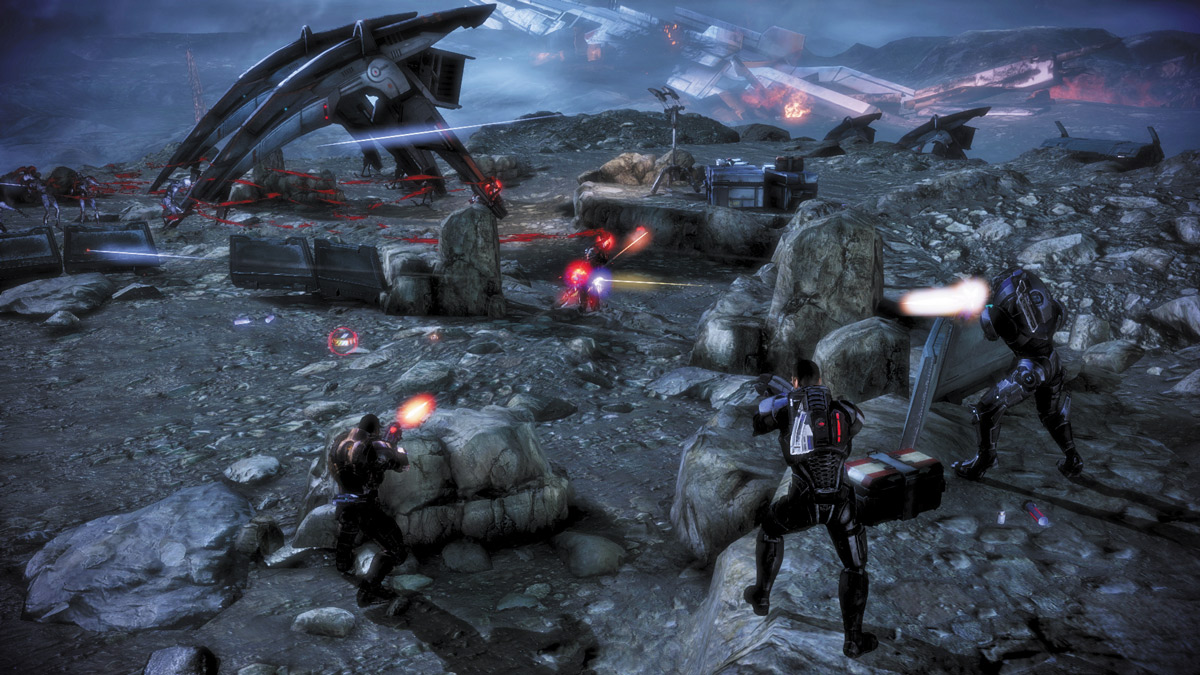
This battleground essentially has three different “levels.” The first level is just outside the camp walls, on the small raised ridge. It has little cover other than a small rock ridge on the left and a short wall for cover on the right.
The second level is one step down from that and has slightly more cover closer to the center of the battleground. The small rock mounds provide more cover but require you to be closer to the center of the action.
The third level is deeper into the battlefield, well away from the camp walls, but offers plenty of cover for the entire squad with enough room to move around.
APPROACH 1: LEFT, RIGHT, AND A ROAMER
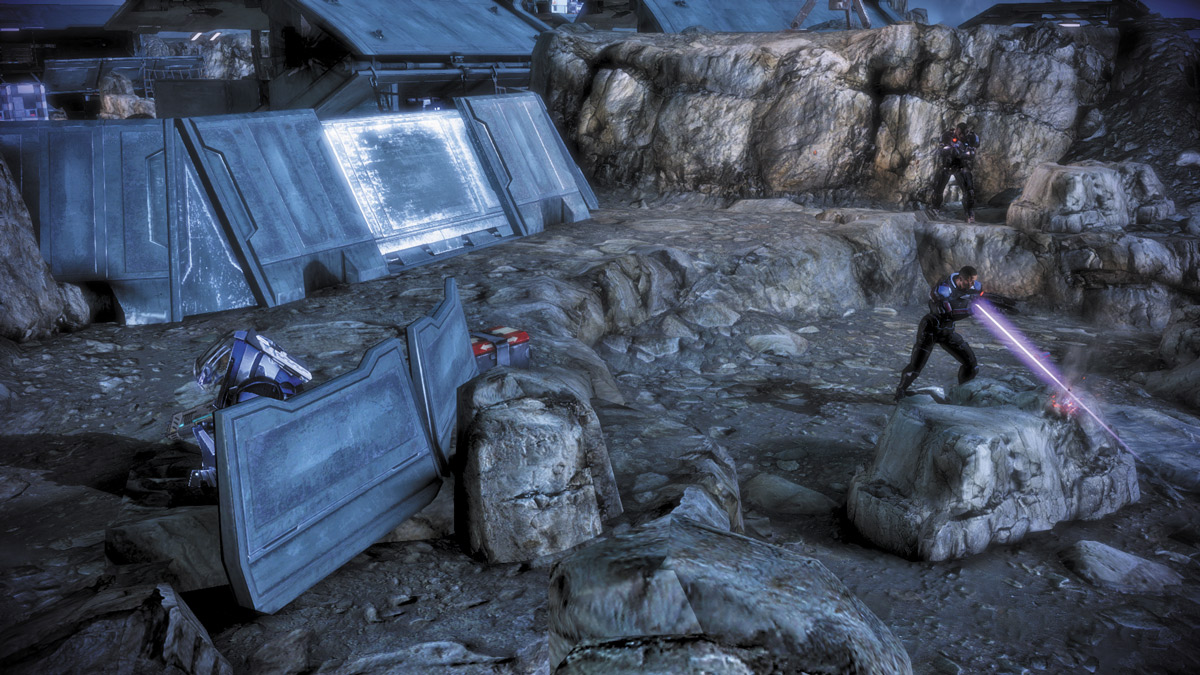
The fight with the Marauders can be tough, especially at higher difficulty levels. One way to tackle it is to hang back, near the wall (first level), and perch one squad member on each side.
Position your first squad member on the right, behind the small wall and the next on the far left. With both party members behind cover, your job is to roam around the battlegrounds and engage the enemy on one of the other two levels.
Vanguard or Infiltrator classes can excel as the roamer, using Biotic Charge and Tactical Cloak kills, respectively.
If your build is better suited for long-range combat, switch places with James and send him into the lower level while you, an Adept, Engineer, or sniper-proficient build, can whittle down enemies from the safety of your cover.
APPROACH 2: STAGGER YOUR FORCES
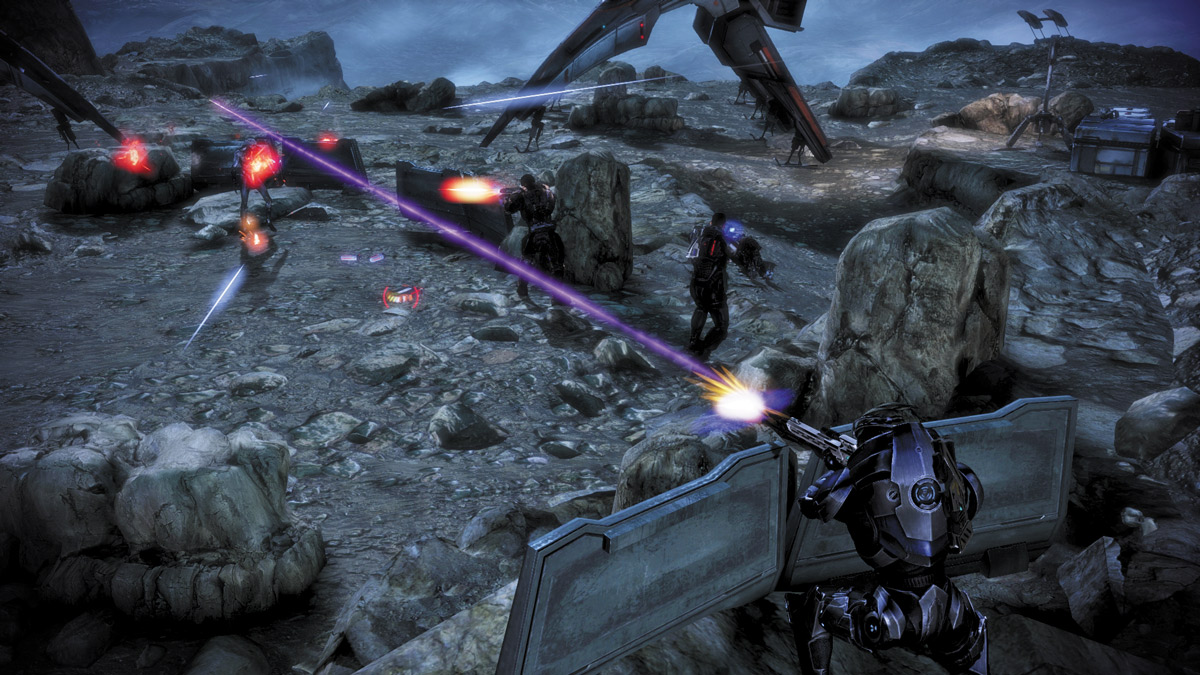
An alternate approach is to leave Garrus on the first level closest to the wall with his sniper rifle equipped, while you and James go down to the lower levels.
Depending on which build you have, you can order James to take cover behind the center rock structure near the center of the battleground, while you go to level three and act as the first line of defense.
If you’re not comfortable with close-quarters combat, then take the center area, while James is assigned to the area closest to the Reapers’ landing zone.
APPROACH 3: ALL IN
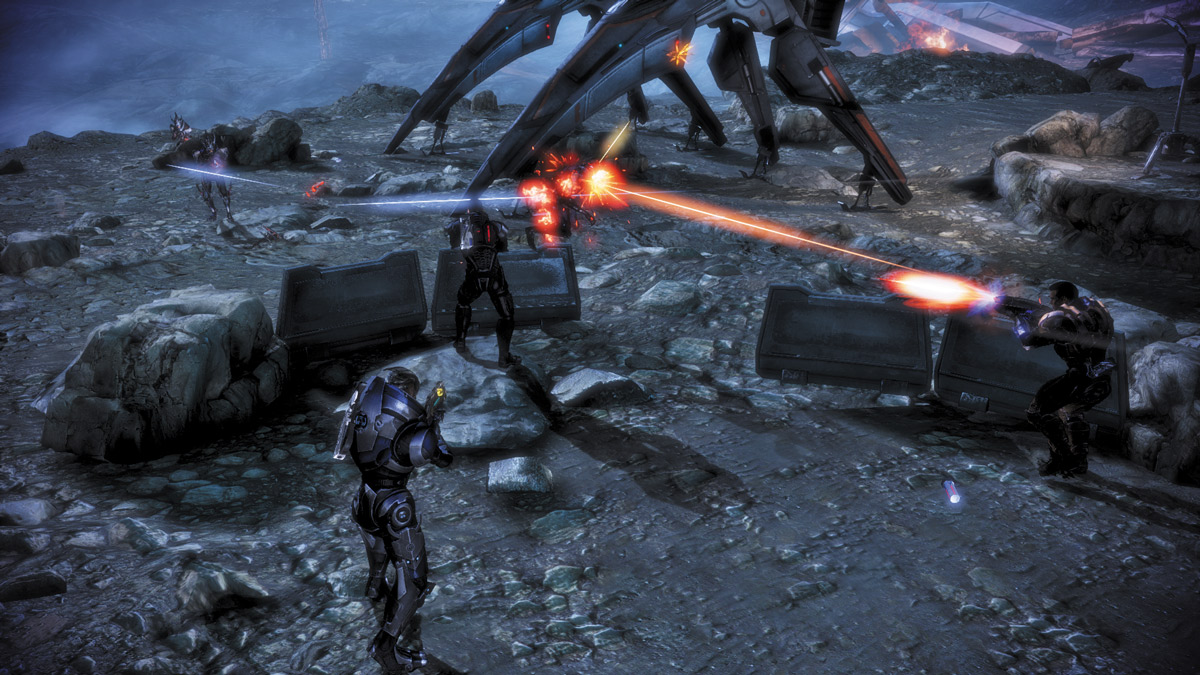
The third, and most dangerous approach, is to bring the entire party down to the third level and meet the Reaper forces head-on.
This approach is best for Soldier, Vanguard, and Sentinel classes that can be well equipped for close-quarters combat. Use a good mixture of grenades, power combinations, and duck-and-cover tactics to stay out of harm’s way and maximize your damage output.
Ironically, this may be one of the best tactics on higher difficulty levels since it requires lots of movement and power combos to be effective. The more you hang back against tough enemies, the more chances you give them to pin you in a bad spot.
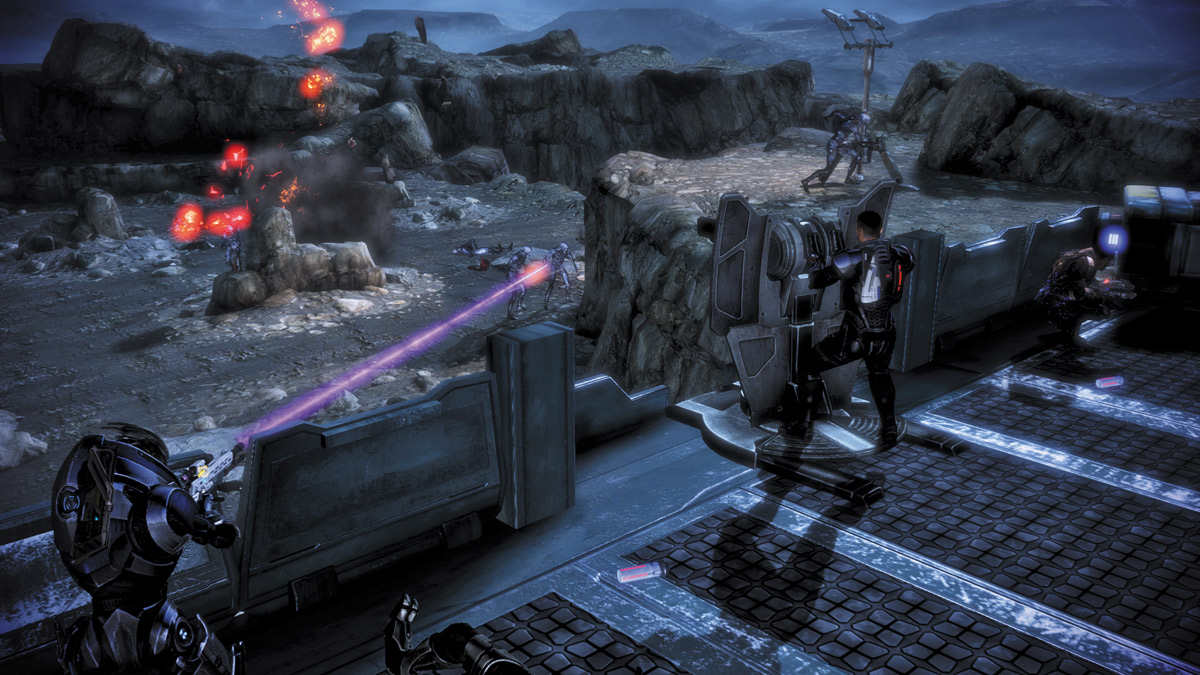
No sooner do you fend off the Reapers on the airfield than you get a call from Corinthus that Husks are overwhelming the camp’s main barricade.
Rush back to the camp and climb up the ladder to the mounted turret. Take the turret and immediately open fire on the Husks storming the barricade.
They approach from the far left and right, so keep the turret shifting from side to side as they approach. As you blow them away, your two squadmates automatically take position on your left and right to protect both barricade entrances.
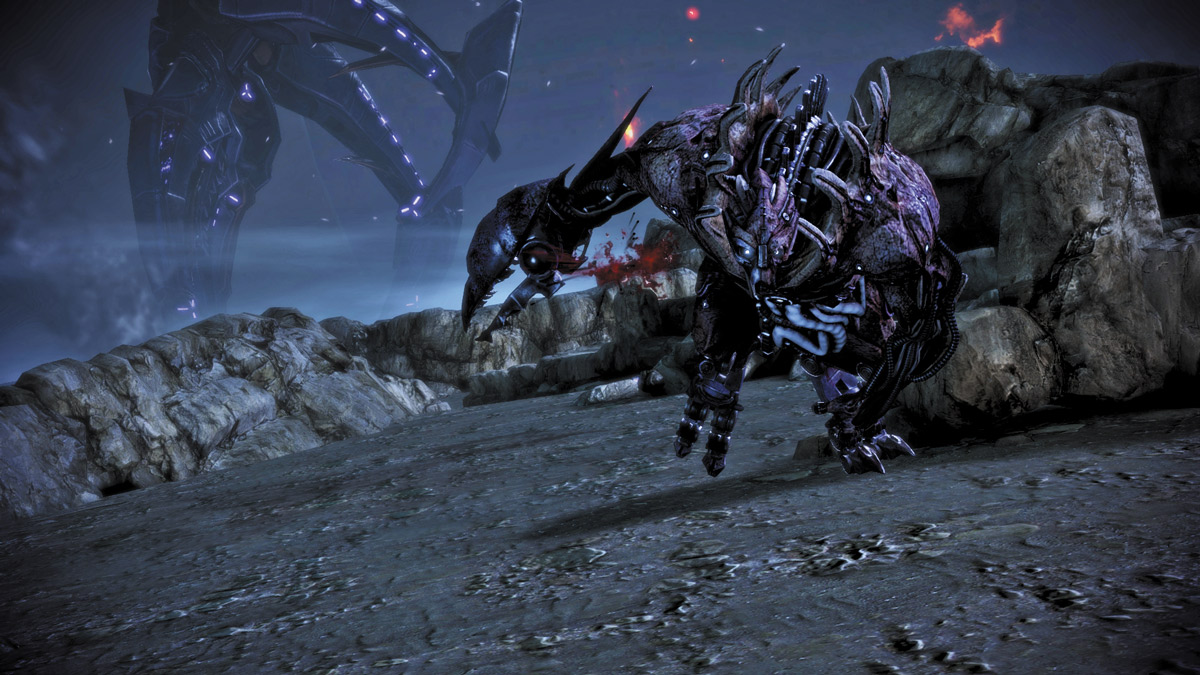
Fend off several waves of Husks before the Reapers drop a Brute onto the battlefield. The Brute quickly rushes the barricade and knocks you off the wall onto the battlefield.
The area is wide open, and a few Husks still remain. Immediately open fire on the Brute and begin whittling its health down.
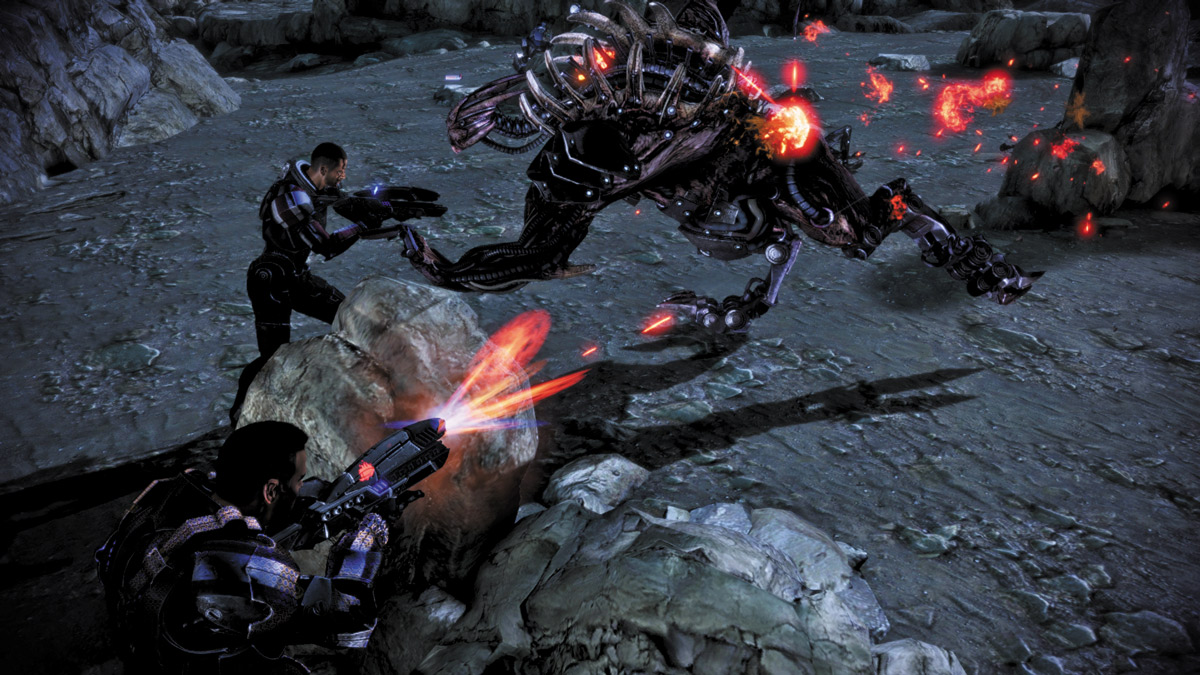
Focus all of your squad members’ efforts on the Brute while you move around the battlefield, and mow down any Husks that attack.
If the Brute charges you, execute an evasive roll, then focus your fire on it as it passes you by. When it turns around, execute as many headshots as you can to knock off major chunks of its health.
After fending off the Reapers, General Corinthus is no closer to locating General Victus than before.
_200.jpg)
LOCATE GENERAL VICTUS
.jpg)
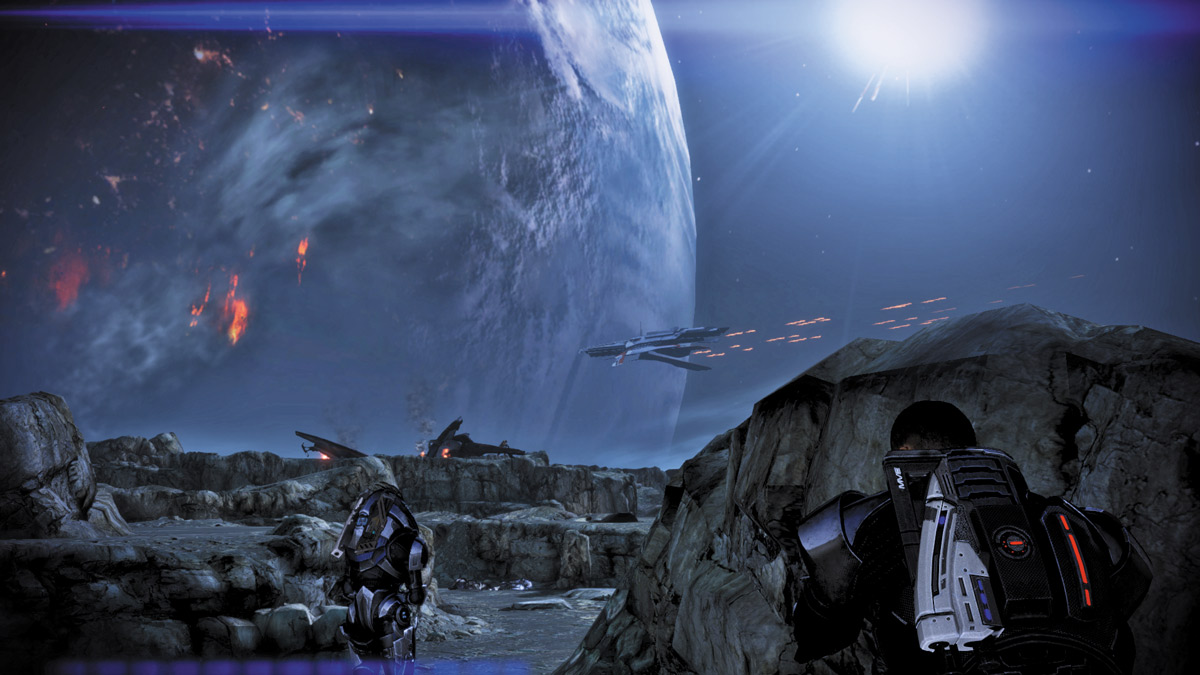
Garrus was the last person to see Victus, so he’s the best suited to lead you to his last location. Follow Garrus across the surface of Menae.
Continue following Garrus until you encounter a group of Husks climbing up the cliffside. They aren’t much of a threat, so simply open fire or use another preferred method to eliminate them quickly.
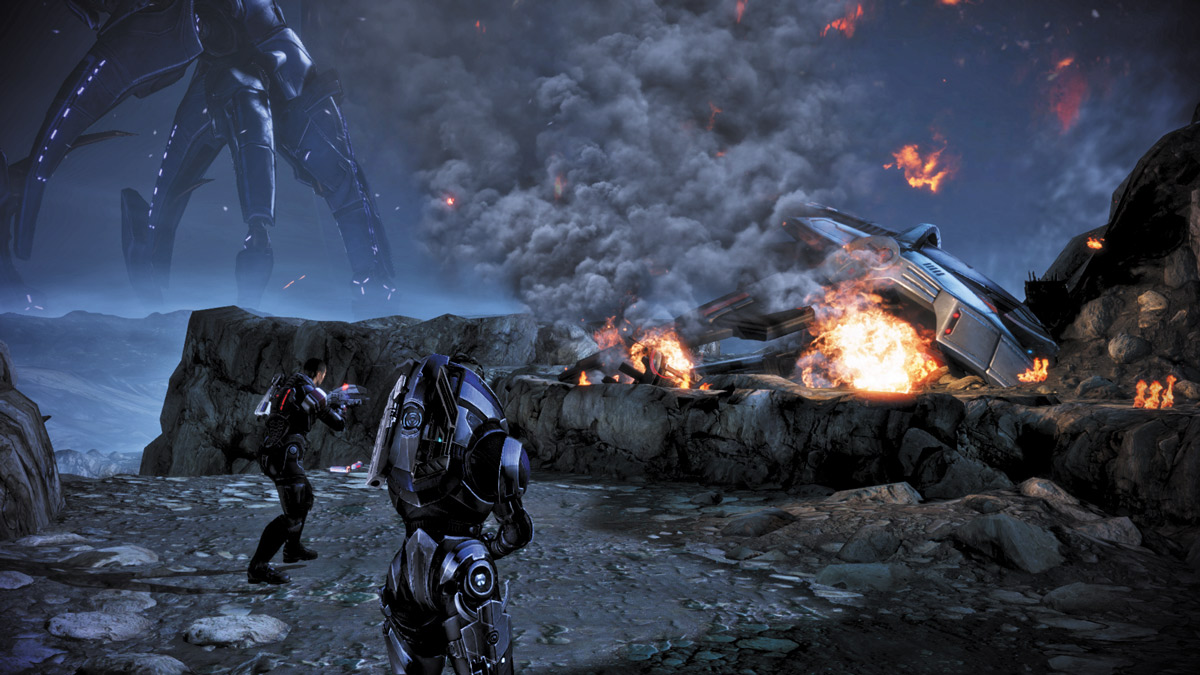
Farther up ahead, a turian jet crashes in front of you. Examine the crash site, but don’t hold out for any survivors.
Leave the crash site behind and continue until you locate the next turian camp. Several soldiers are under siege from more Reaper forces. Jump in and lend a hand.
CLEAR THE CAMP
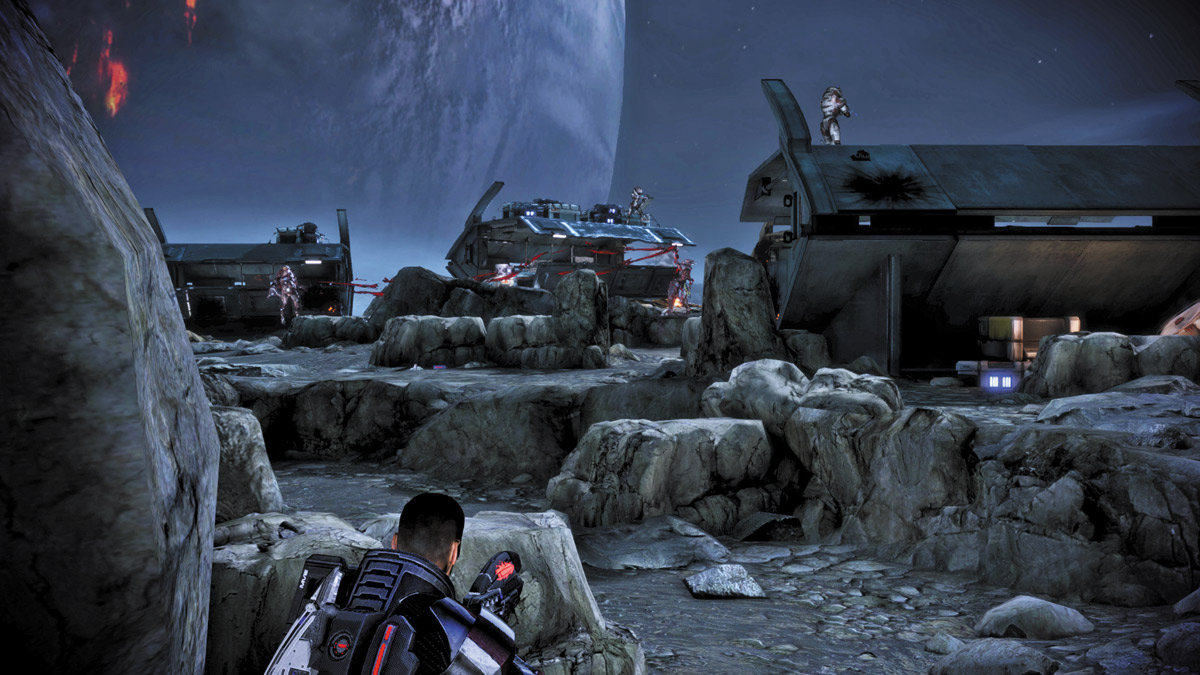
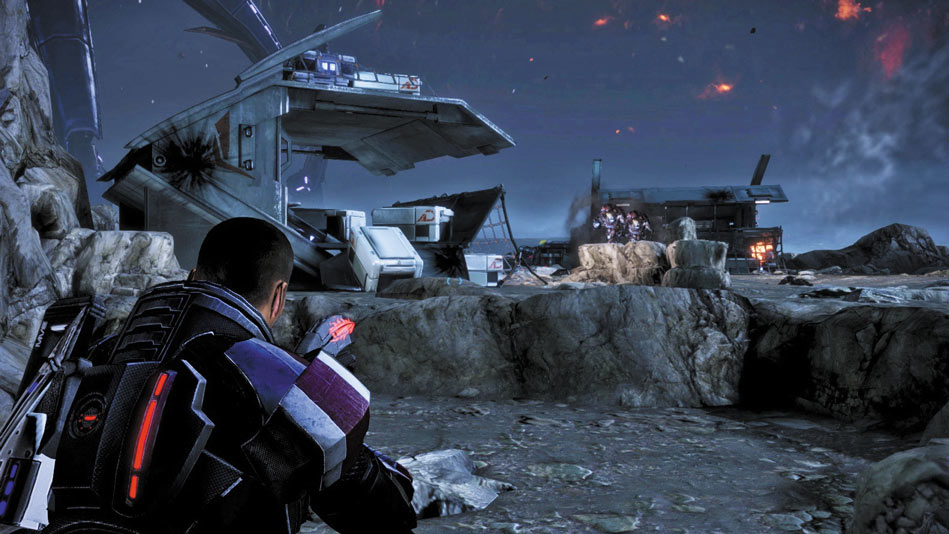
General Victus and his men are under attack from several Reaper Marauders and Cannibals. As soon as you enter the camp, you join the fight. Order your squad to take cover behind the nearest rock structures, then rush to cover on the camp’s left side.
The enemy forces have a slight height advantage, but not by much. To make matters more difficult, they also have decent cover on the area above you.
APPROACH 1: FLUSH THEM OUT
Adept and explosive-proficient classes, such as grenade-toting Soldiers, can use powers and explosives to force Cannibals out of cover and into the open where they can get shredded by the rest of the squad.
Classes with Cryo Ammo or Incendiary Ammo can inflict extra damage on these creatures and make this encounter slightly easier to manage.
When the Marauders begin charging, duck behind cover and use powers such as Warp or Singularity to weaken them. Otherwise, keep them at bay with explosives and whittle them down until the Brutes attack.
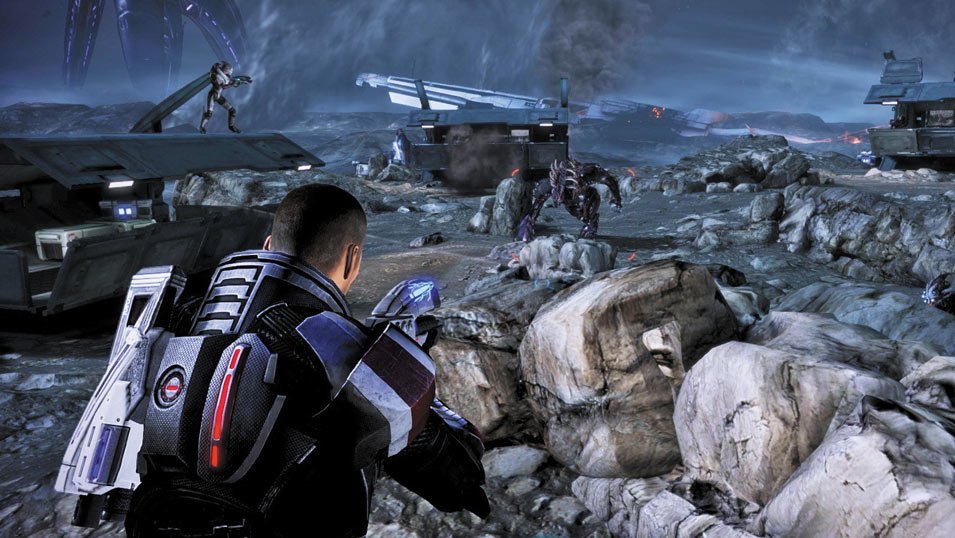
Focus your fire on the Brute’s head and keep your distance. Don’t stay out of cover for too long, or you’ll risk taking too much fire from the remaining Cannibals and Marauders.
f needs be, focus your squad’s fire on the Brute to draw its attention away from you, while you finish off all other enemies nearby.
After eliminating all enemies but the Brute, rush deep into the camp to create some space, and lure the Brute out into the wide-open area where you can focus your fire on it without anything in your way. By now, the beast should be ready to drop easily.
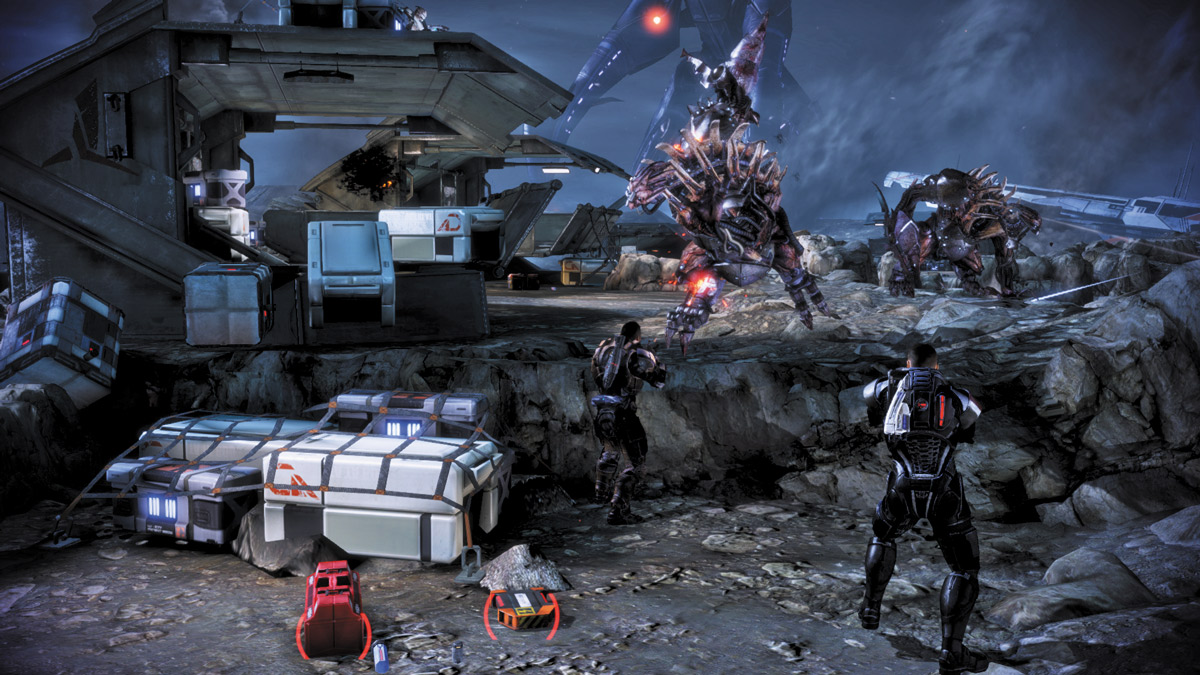
When the second wave of enemies attacks, this time with two Brutes, take out the lesser enemies first. Let your squad distract the Brutes, while you eliminate Marauders first. As soon as they’re down, turn on one Brute while your squad takes out the second.
APPROACH 2: HANG BACK, THEN RUSH IN
.jpg)
The entrance to the camp has excellent spots for cover if you hang back a bit. Stay away from the ridge leading up into the main camp, and instead order your squad to take cover behind it. Hold off the Cannibals and Marauders by picking them off from your covered position.
If they get too close, use powers such as Shockwave or grenades to force them back. Your squad can hold them off for the most part, but your job is to inflict the most damage as they approach so your squad can clean them up easily.
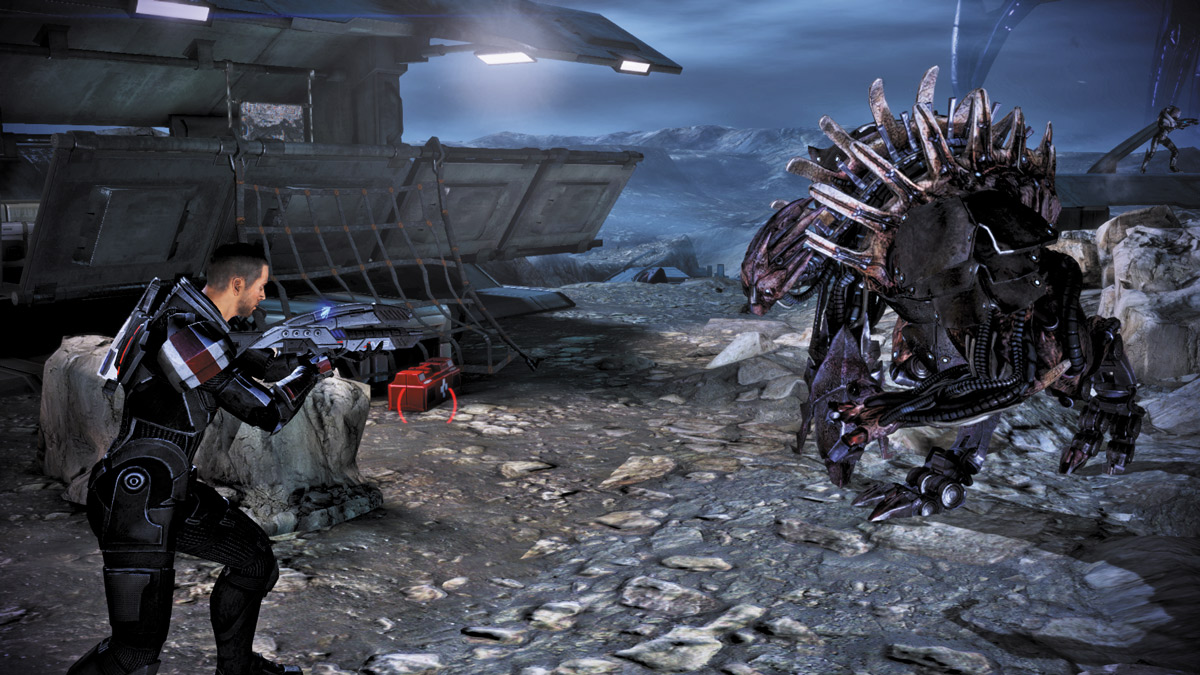
When the Brute arrives, leave your cover and take the fight to it. Vanguards can switch to a powerful shotgun, then use a combination of Biotic Charge and Nova to inflict maximum damage.
For an added damage boost, follow up Nova with a charged melee blow. Other classes can simply use the bait-and-dodge tactic, while following up with shotgun blasts and melee blows to keep the Brute off balance. Keep peppering it until you bring the Brute down.
.jpg)
A second wave of enemies attacks from the other side of camp. This time, you must take out two Brutes at once.
Since certain obstacles don’t interfere with power-based attacks like Biotic Charge, Shockwave, and elemental attacks, lure the Brutes toward you, but place the large rock structures between you and the charging beasts.
While they move around the rocks, use Biotics to inflict damage. Combinations like Warp and Singularity or Stasis and Warp Ammo are great for maximizing damage. Let your squad take care of the lesser enemies while you use your abilities to fell the two large Brutes.
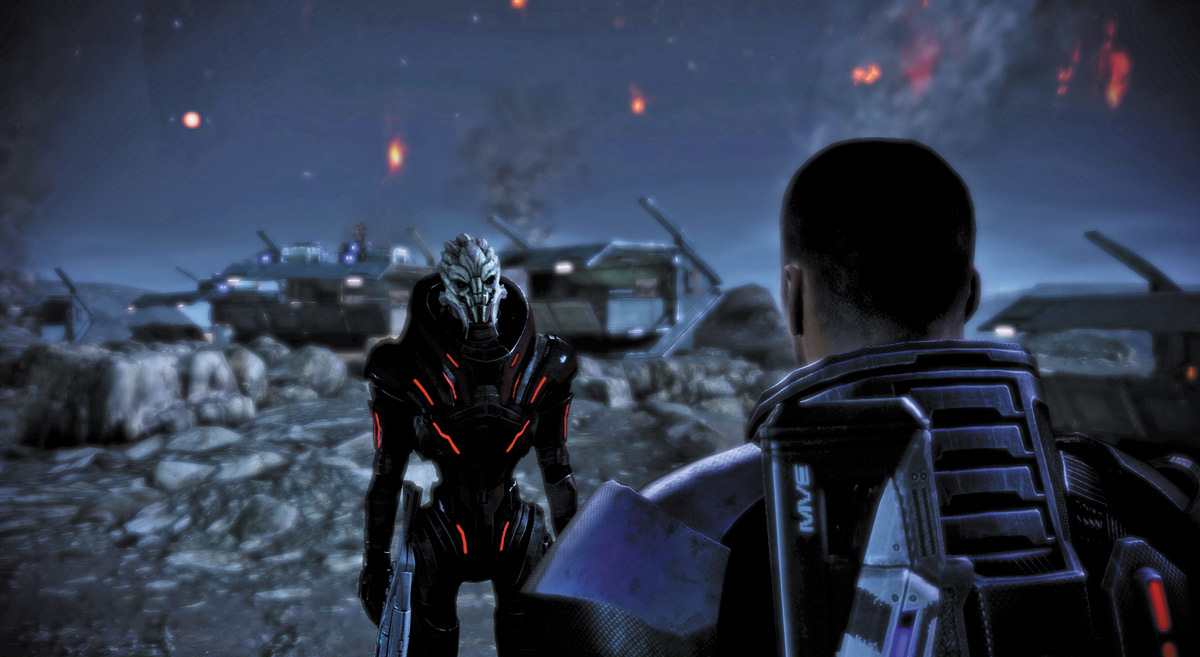
When you clear the camp, you find General Victus in his command station. He is shocked and amazed to find out that he is next in line to be Primarch.
Convince him he needs to go with you and assume the station of Primarch. Even though he agrees to go with you, he cannot promise you his turian military support that you need.
Not until the krogans join the war and help the war efforts on Palaven. Your next task is clear: recruit the krogans.