
Mass Effect 3 Guide Walkthrough Act 3
Order Fleets to Earth
.jpg)
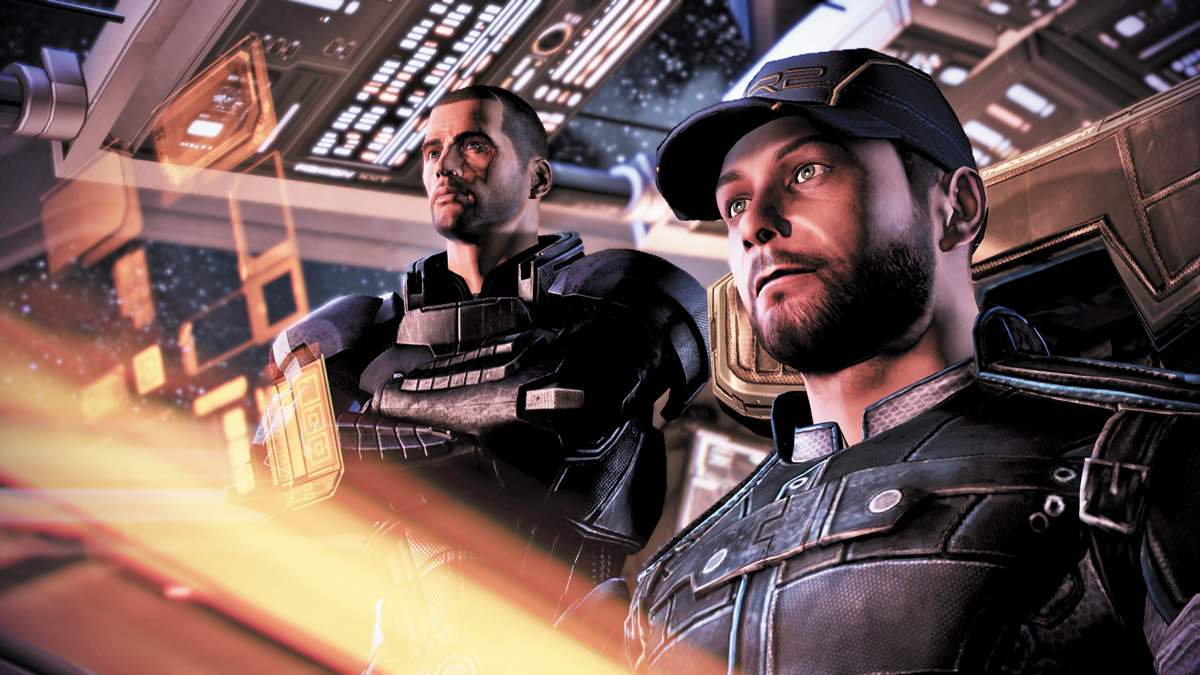
Just before the assault on Earth, Admiral Hackett comes aboard the Normandy.
He readies the fleets to attack and gives one more rousing speech in preparation. After Admiral Hackett’s speech, you’ll speak with Admiral Anderson over vid-com.
In order to reach the Citadel, you must get to the Citadel Beam with a ground force (code-named Hammer). However, London is being guarded by several Hades Cannons.
You must bring a smaller landing force to take out the Cannons so the main Hammer force can land and make an assault on the Citadel Beam.
En route to Earth, a cutscene will show all of your efforts in recruiting the various species come to fruition. Joker calmly lists all of the fleets as they report for the assault.
.jpg)
Though the galactic fleet is ready, the sheer number of Reapers in the area are overwhelming. The Reaper forces begin to shred through the left flank with ease, if your Effective Military Score is low.
They overtake massive ships and crush them as if they were nothing. That’s when Joker seizes the opportunity and breaks off from the fleet and sets a direct course to Earth.
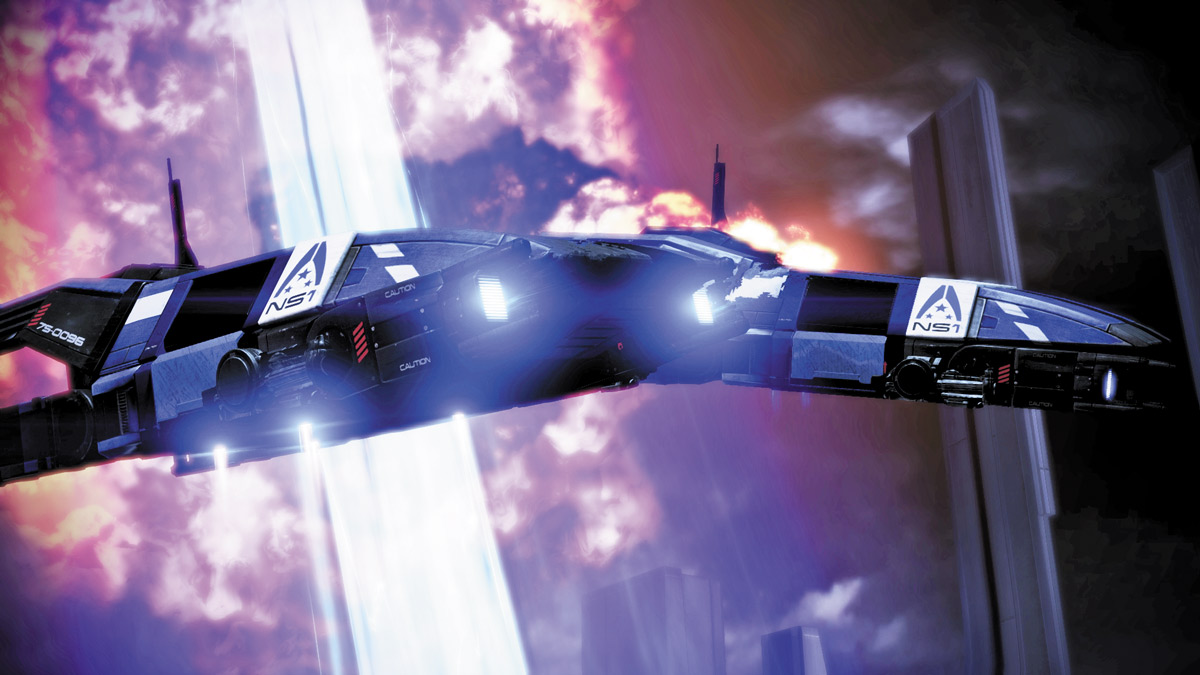
Your shuttle manages to penetrate the Reaper forces guarding Earth, but before the shuttle accompanying yours can land and disable the Reaper’s Hades Cannon, it gets shot down.
That cannon is now your responsibility.
DISABLE THE HADES CANNON
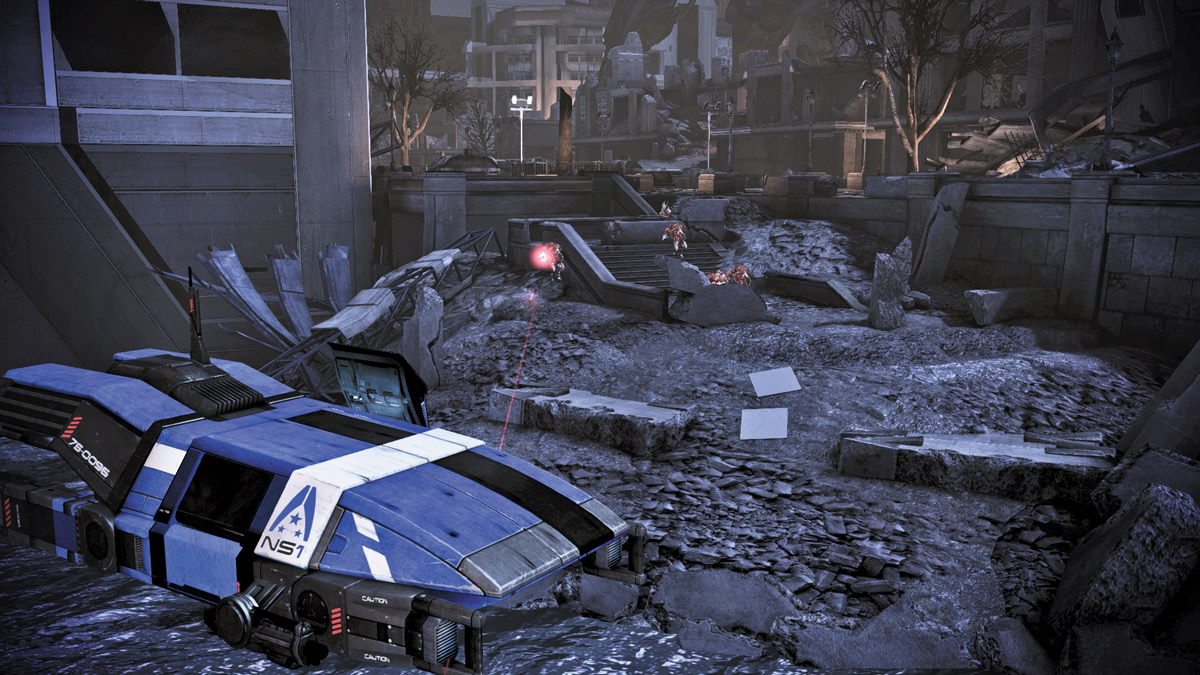
Cortez drops you off at the base of the steps leading up to a large courtyard. Unfortunately, you’ve gone from the pan into the fire.
You begin this battle in a lower position than your enemy, and you’re greatly outnumbered as well. This is not going to be an easy battle; in fact, it’s going to be an uphill battle, literally.
Approach 1: Create an Opening
.jpg)
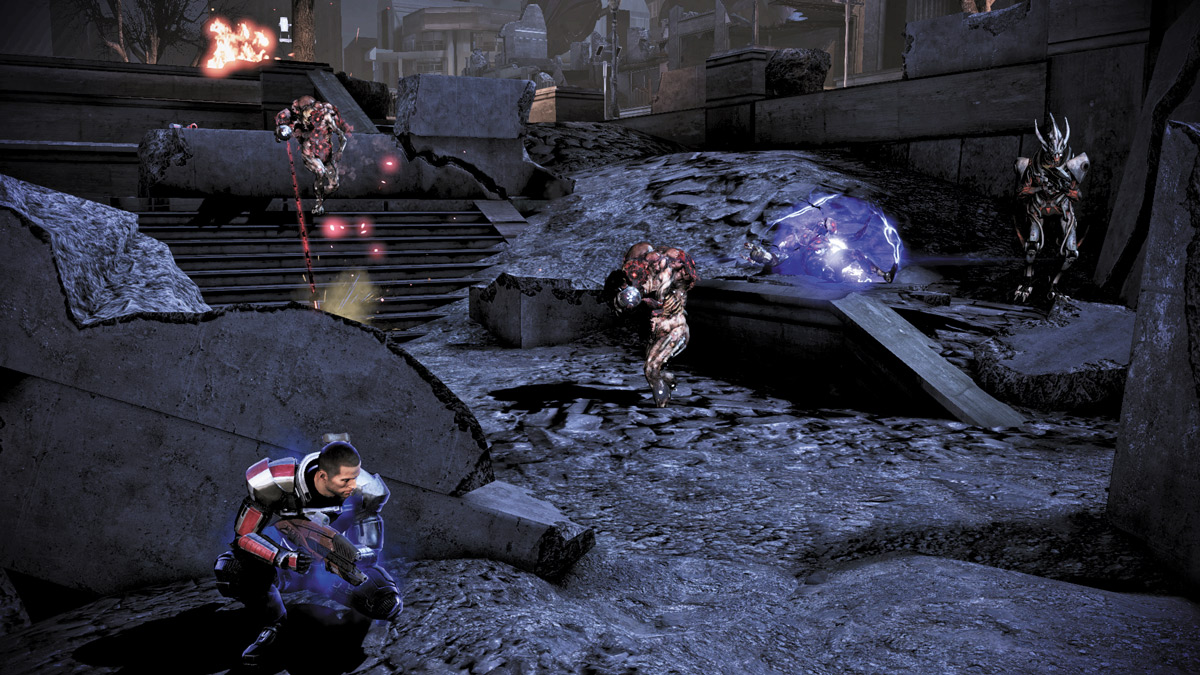
If you’re comfortable with your ability to take damage and forge ahead, then don’t wait for the Reapers to let off before you clear out of the starting area.
Deploy drones or decoys ahead of you (or send your toughest squad member if you don’t have the ability to launch drones), then leave cover and follow behind them.
Open up with grenades or explosive power combinations to begin clearing a path.
If you’re taking damage from your right side, assign a team member to cover that side, then continue your careful march up the hill.
Your goal is to punch through the first wave of enemies at the top of the small hill and establish a position near the top. From here, you can take cover and plan your move into the plaza.
Approach 2: Turtle
.jpg)
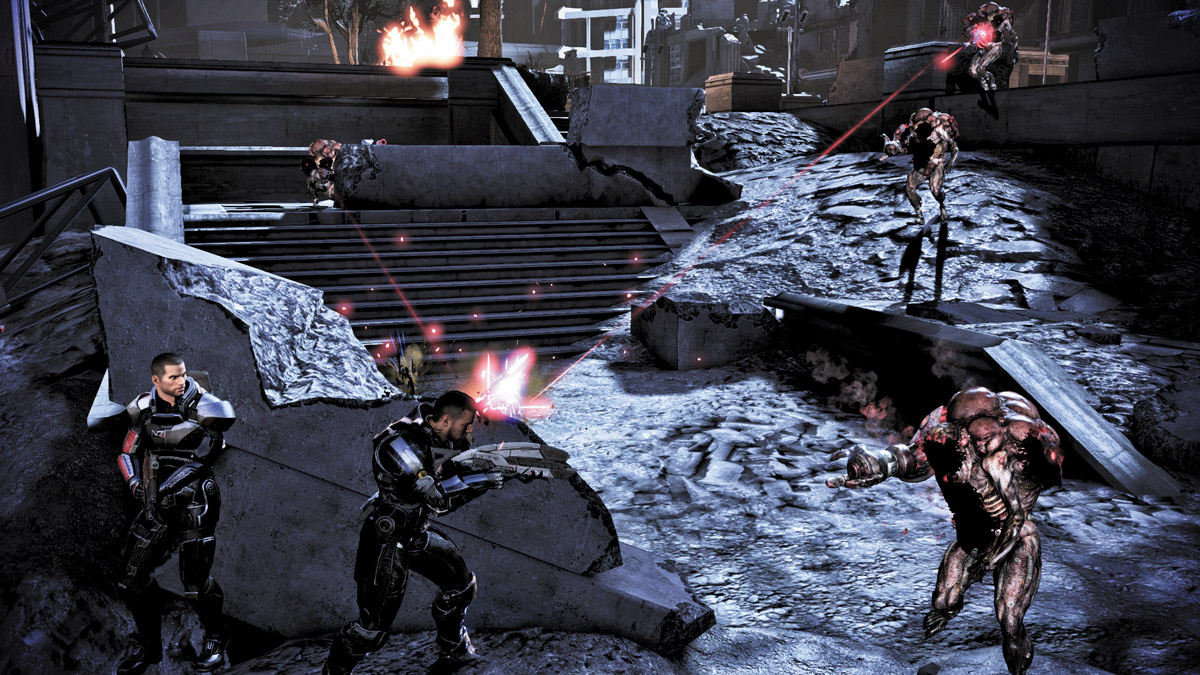
Cautious players can opt to stay behind the minimal cover at the bottom of the hill, where Cortez dropped you off, and sustain the first few waves of enemies as they attack.
They may try to overwhelm you with heavy fire, so stay behind cover and pick your shots carefully.
Use explosives to take out multiple enemies at once. If you try to take down only one at a time, you’ll end up pinned and eventually run out of ammunition.
Instead, rely on powers to dish out the majority of damage, then finish off enemies with the least amount of ammunition possible.
This particular tactic may be a bit more effective at higher difficulties where careful ammo rationing is essential and enemies take more hits to kill.
Once you’ve dwindled their numbers significantly, leave your cover and rush to the top of the hill where you can launch your assault on the plaza.
PLAZA
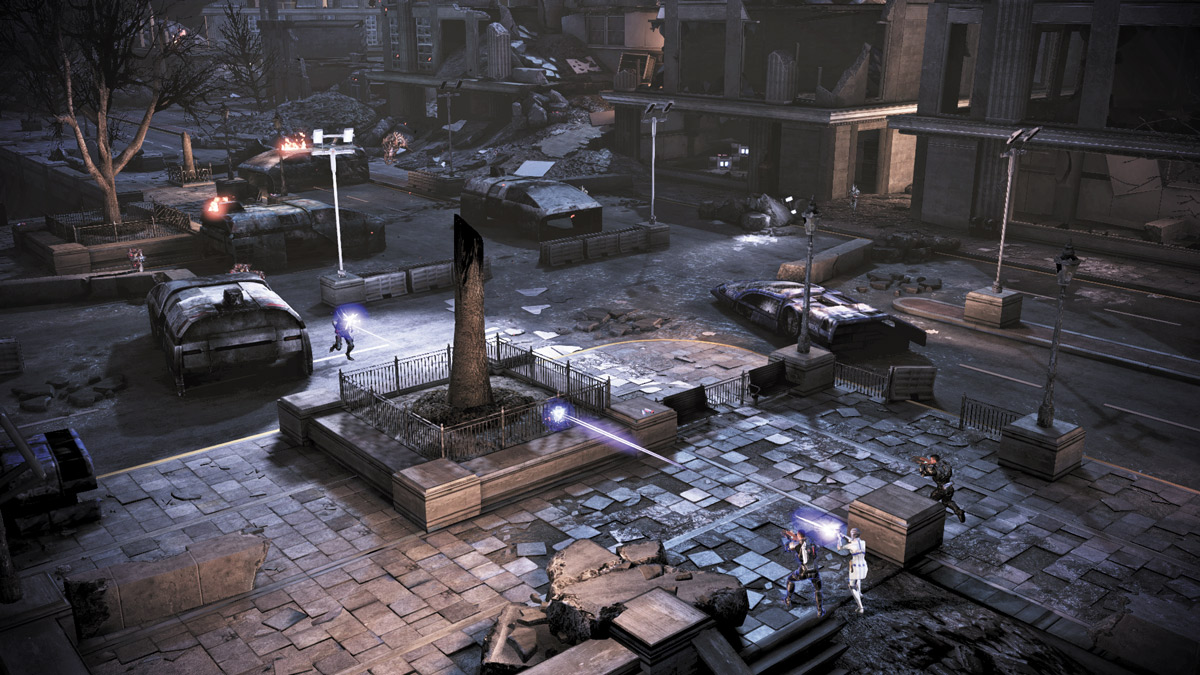
The hilltop leads to a long plaza.
Several gates, short walls, planters, and posts create sections within the plaza where you can take cover and slowly advance to far right corner where a landslide of rubble leads to the Hades Cannon.
Along the plaza’s far right edge are a series of buildings that can provide excellent cover and serve as an avenue to the plaza’s far end.
The area will be swarming with Marauders, Brutes, and Cannibals, so keep to cover as much as possible no matter which approach you decide to take.
Approach 1: Stay back
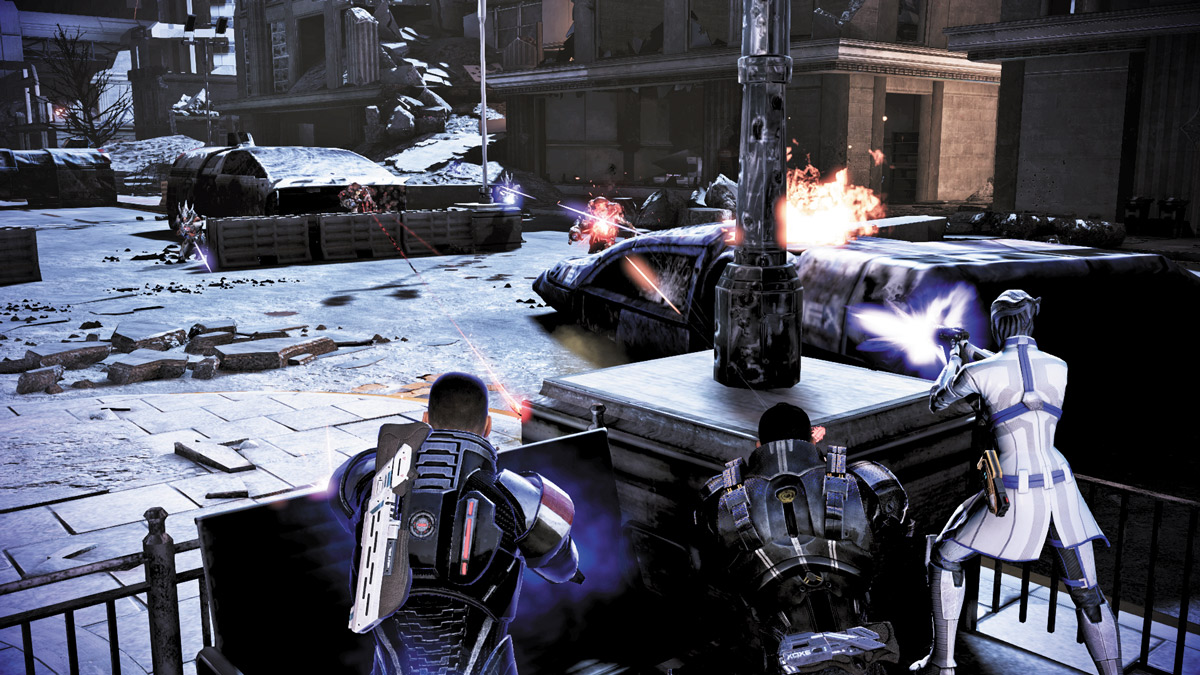
As soon as you reach the hilltop and enter the plaza area, make a right U-turn and head toward the back of the plaza.
Do not advance into the plaza yet; instead, hang back for a bit behind cover and get a wide view of the plaza ahead. From here, you can spot Reapers as they come.
When the Brute attacks, use drones or decoys to distract it while you decimate it.
If it targets you or a teammate, carefully lead it across the back end of the plaza and force it to navigate the many walls and partitions.
With the Brute out of the way, you can turn all of your attention to the remaining Reapers, the Marauders and Cannibals.
.jpg)
Slowly move the entire squad forward, up to the first row of walls and fences, and take cover. From here, you can begin pressing the action forward.
If you are a sniper-proficient class, equip your long-range weapon and begin picking off foes at the far end.
When the second brute attacks, you can engage it directly and overpower it using the combined efforts of your entire team, or once again, use cat-and-mouse tactics to distract it while you systematically deplete its health.
Approach 2: Cross Right, Go Inside the Buildings
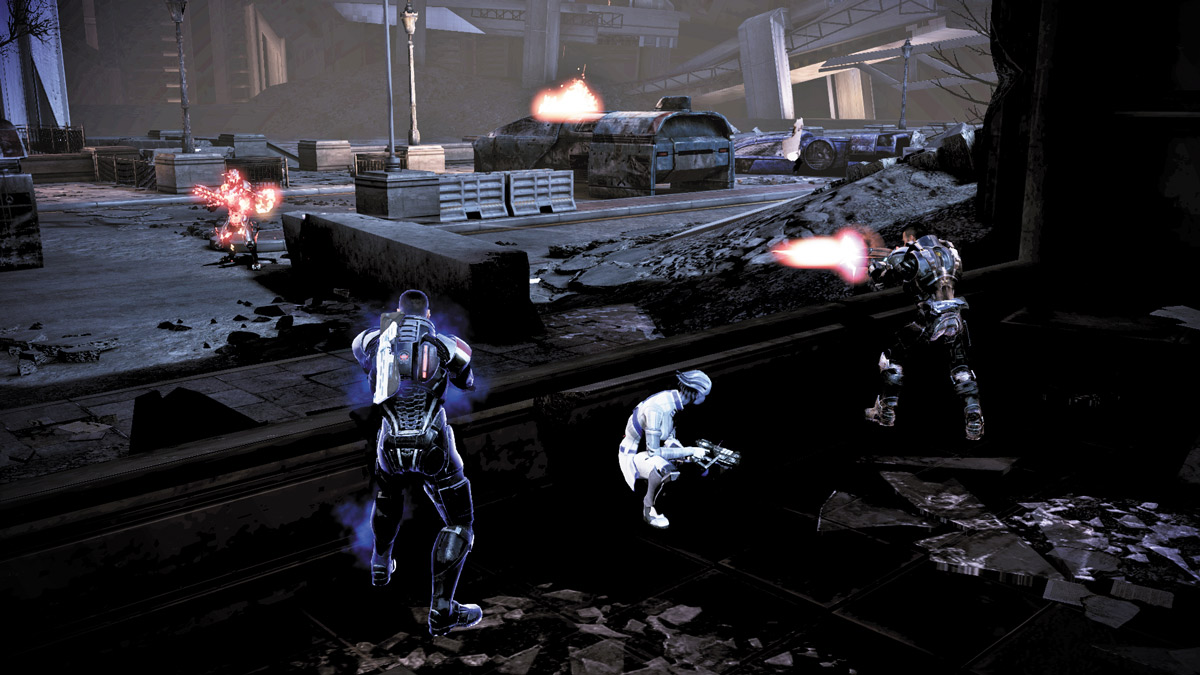
Upon reaching the hilltop, turn right and cross the plaza to the right. Engage the Brute directly and either slow it down as you approach or overwhelm it with explosive power combinations and heavy weapons fire.
When you reach the plaza’s far end, duck behind the short concrete wall for cover and use grenades or other explosives to dwindle the number of enemies across the plaza.
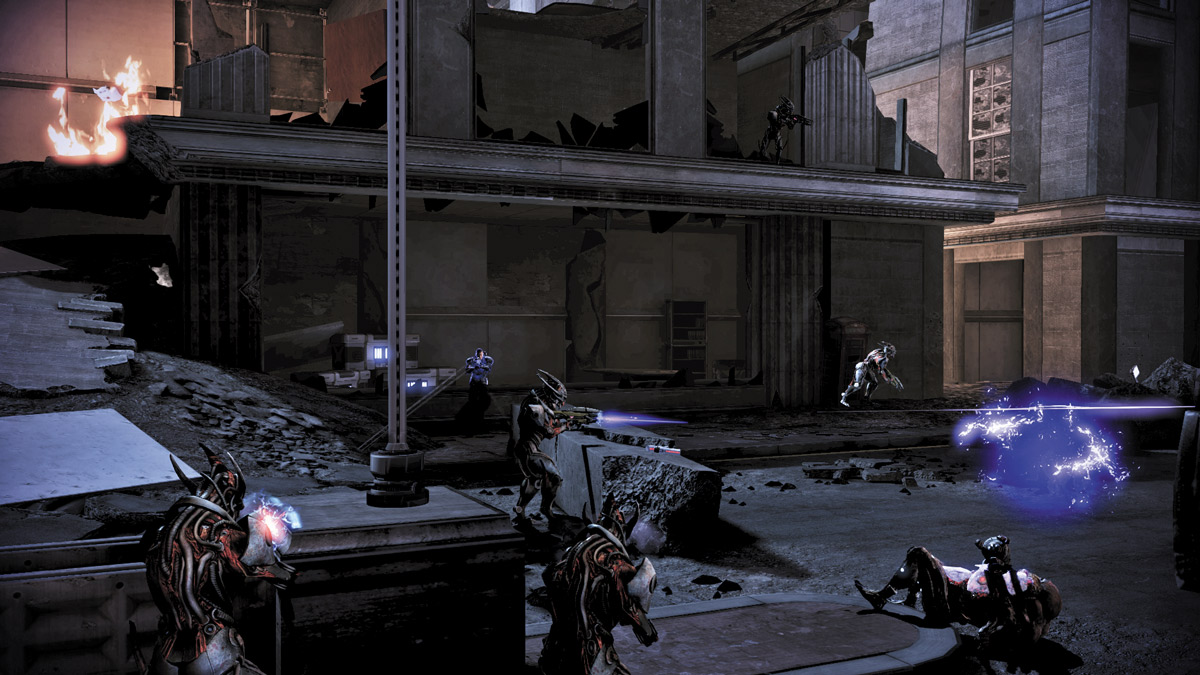
When you reach the plaza’s far right edge, leap over the shattered window’s edge and into the building on the right side.
From here, you and your entire squad can aim left, back across the plaza, and open fire on the Reapers.
Alternatively, you can leave your squad outside and direct them from cover to cover as you slowly move across the interior of both buildings.
By leaving one or both members of your squad outside, you can create a cross fire across nearly the entire plaza by moving them down the plaza while you shift right down the building interiors.
Slowly move all the way down, and clear out the plaza until you reach the far end.
Go up the rubble incline at the far end to reach the shuttle crash site near the base of the Hades Cannon.
CRASH SITE
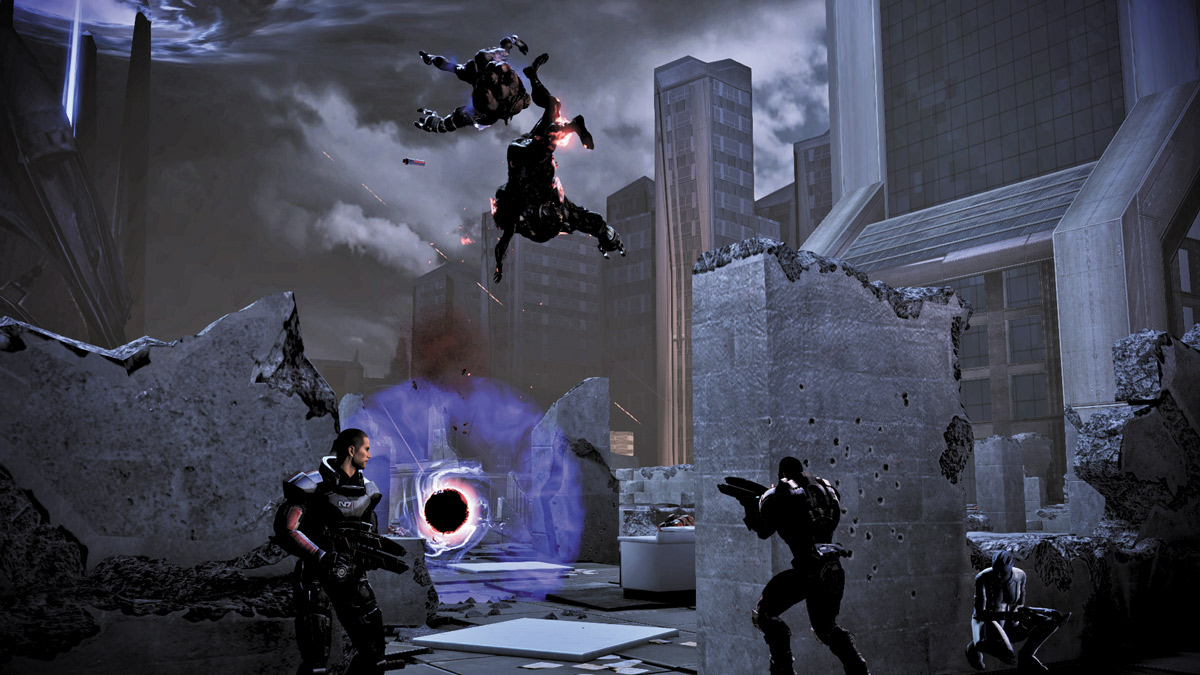
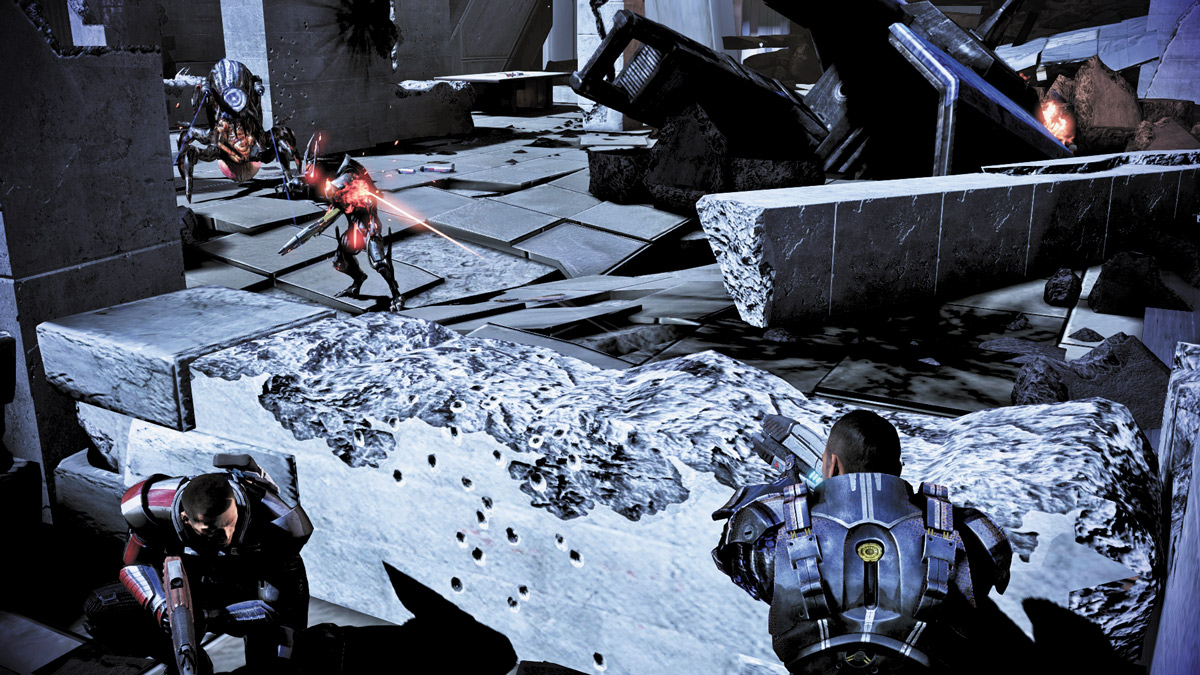
The shuttle crashed near the base of the Hades Cannon. From here, you can see the massive cannon, towering over the landscape like a high-rise.
The area is full of Cannibals, so take cover and wait for the cannon to stop firing. During the lull in cannon fire, pop out of cover and begin clearing a path toward the area’s right corner.
Soldiers can use Adrenaline to slow down time, while Infiltrators can sneak past several enemies at once with the use of their Tactical Cloak.
Similarly, Vanguards and Sentinels can get into the mix by rushing into the fray and using melee attacks to take them down.
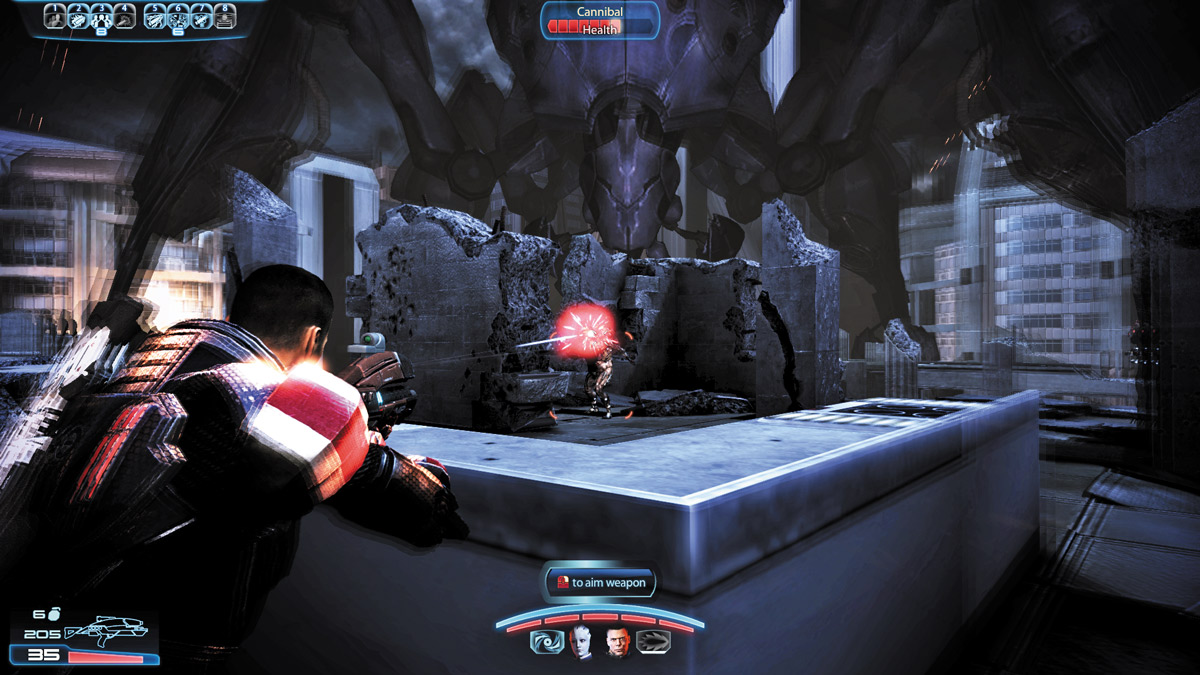
Engineers, or groups with Tali along, can send out drones to take some of the fire while you and your squad move toward your target destination—the far right corner.
There you will find the M-920 Cain.
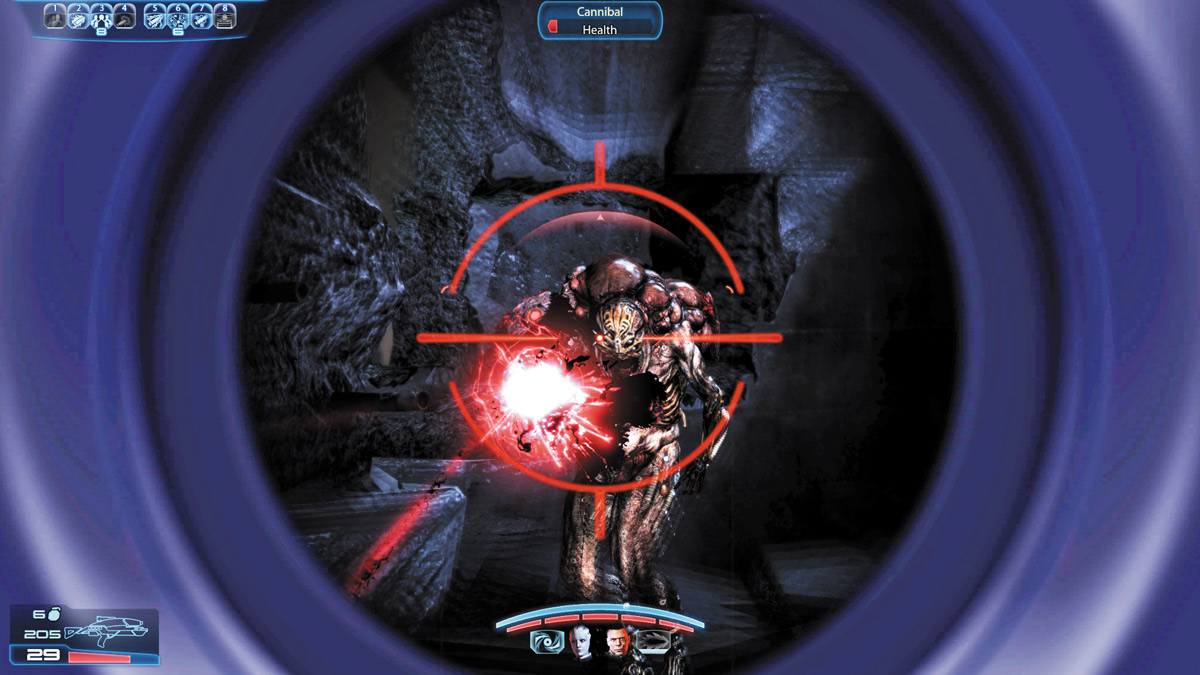
Stay behind cover as much as possible, and target the Cannibals first. They are more apt to rush you than the Ravager at the far end or the Marauders.
The Cannibals are also capable of resurrecting once they’ve been downed, so take them out quickly and don’t let them rise again.
Even though the area may be cluttered with debris, you can still use your sniper rifle to eliminate Marauders at the far end.
If you don’t have a sniper rifle, then use destructive powers like Incinerate, Cryo Blast, or Warp. Otherwise, things like Cryo or Incendiary Ammo work great during this encounter.
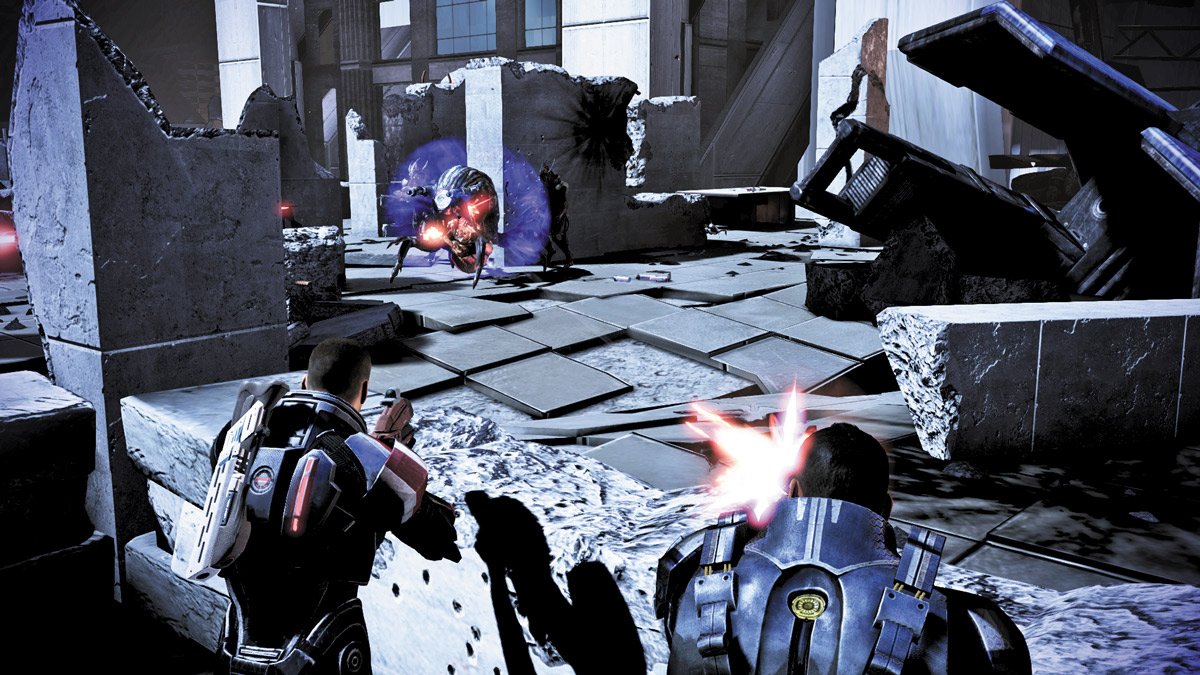
Leave the Ravager for last and use your entire squad’s combined powers to overwhelm it. Attack it from all angles, behind the safety of cover, and finish it off to get a clear path to the M-920 Cain.
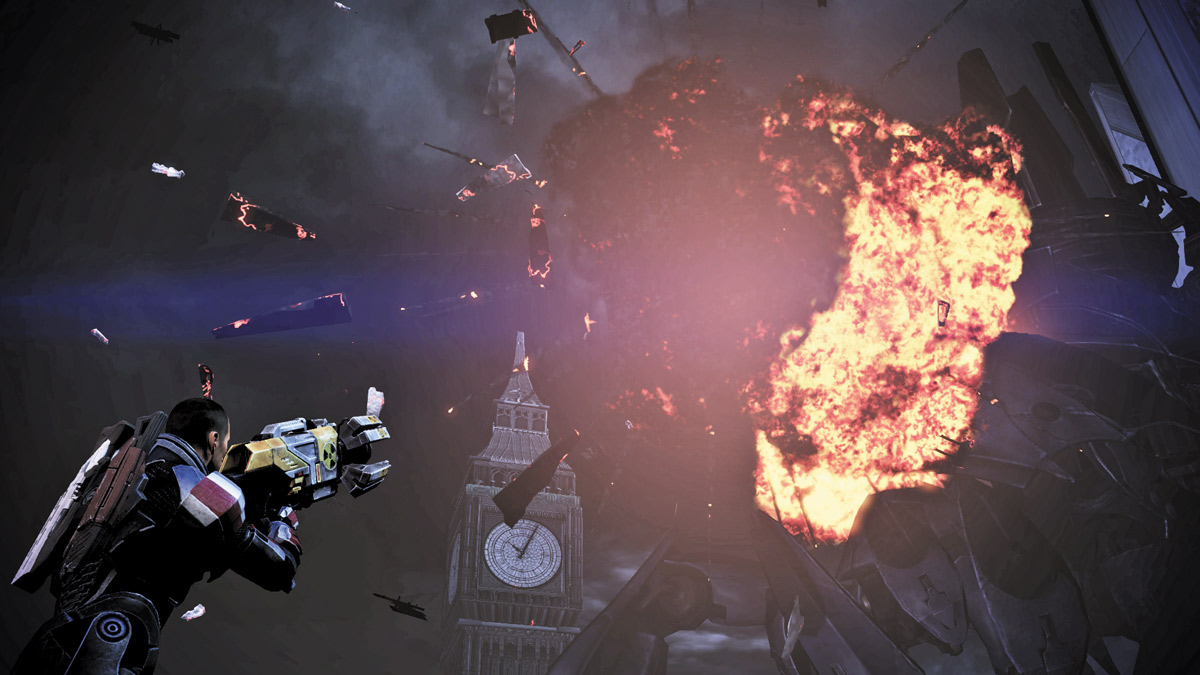
The M-920 Cain has only one shot, so aim at the Hades Cannon, charge the shot, and let it loose. It’ll hit the machine and destroy it instantly.
If you should miss with your first shot, pick up the other M-920 Cain and take a second shot. With the Hades Cannon down, you draw the attention of dozens of Reapers.
SURVIVE
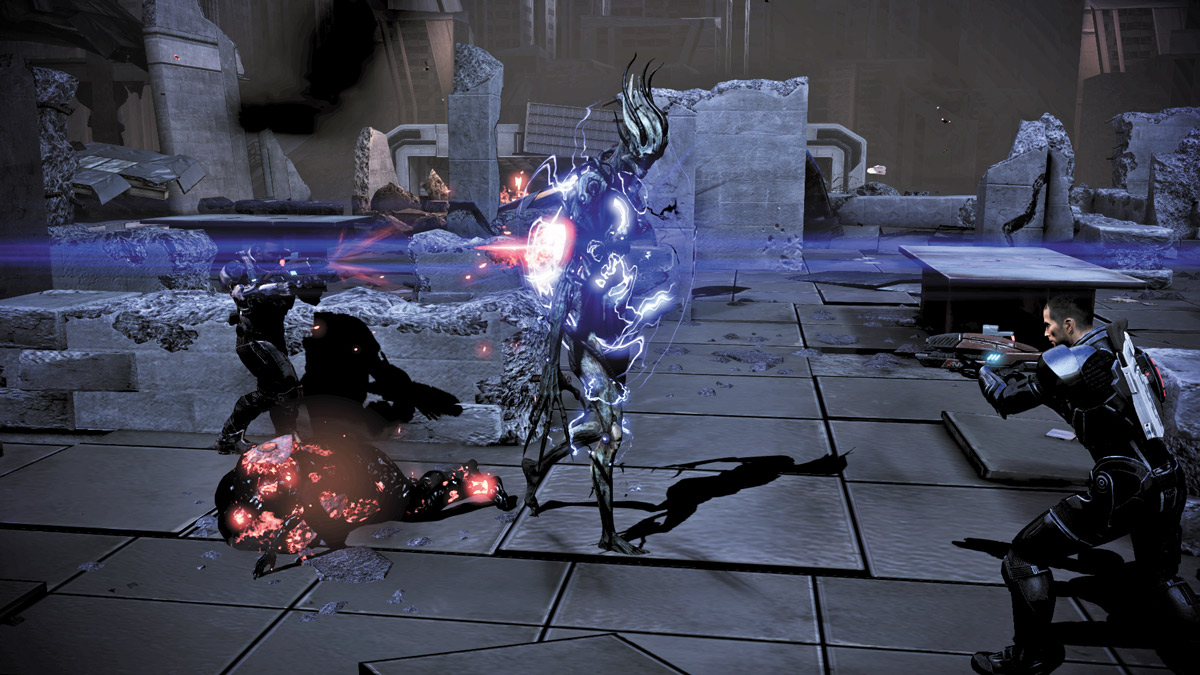
.jpg)
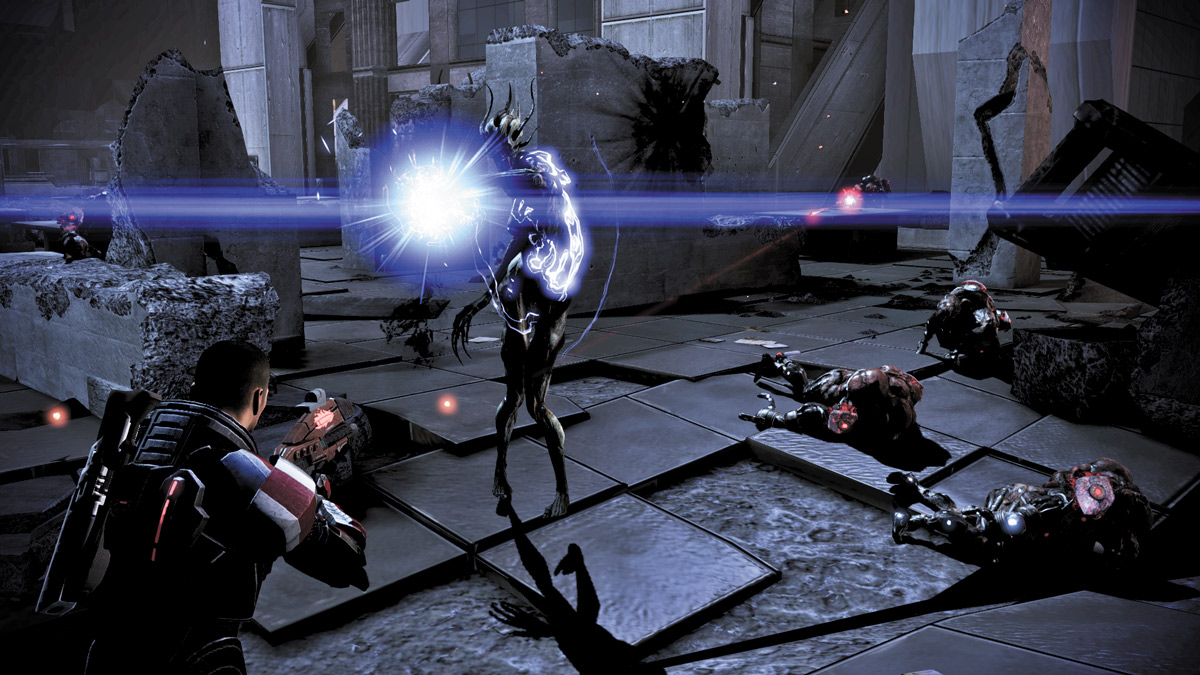
Your best bet for survival is to stay close together and fend off the swarms of Reapers as a team.
Don’t spread out too much in this mazelike area; instead, direct your squad to take cover behind the small table on the right and the short wall on the left and wait for the area to quickly become overrun by Cannibals from the opposite side and eventually, a Banshee.
Combine your firepower on the Banshee first. She’ll attack from the far right side, and her radial shock-wave attack can remove your entire squad’s shields, rendering all of you vulnerable to the Cannibals’ fire.
If you take her down first, you’ll have an easier fight ahead of you.
If you only used one Cain to take down the Hades Cannon, this fight can be made a lot easier by using the second Cain to kill the Banshee before she gets close.
Once the Banshee is down, carefully shift the entire squad behind cover, facing the area’s far right edge.
As soon as the escape shuttle arrives, hurl a grenade ahead of you to clear out some space between you and the shuttle.
If you don’t have any grenades, use either a power like Nova (if you’re a Vanguard) to create some room or use an explosive power combo.
Powers like Tactical Cloak or Adrenaline Rush can make it a lot easier to get through the Cannibals.
Reach the shuttle to escape, but don’t take too long: The Shuttle is under fire and will be destroyed if you don’t reach it in time.
ALLIANCE COMMAND CENTRE
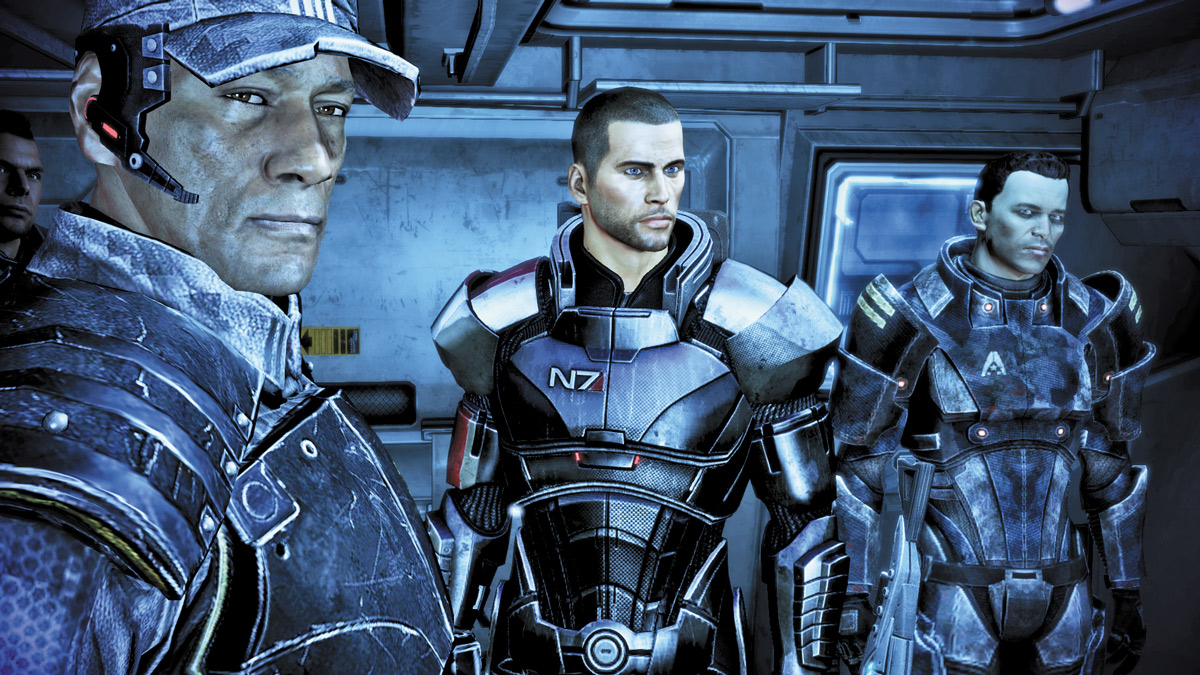
Admiral Anderson is aboard your escape shuttle, which grants you an opportunity for a Paragon interrupt moment.
You can ask the admiral about the heroism on Earth or steer the conversation directly to either a Paragon or Renegade conversation point.
The shuttle ushers you and your squad to the Alliance stronghold in London. From here you will stage the next phase of your attack. But first, take some time to speak with your comrades before you go.
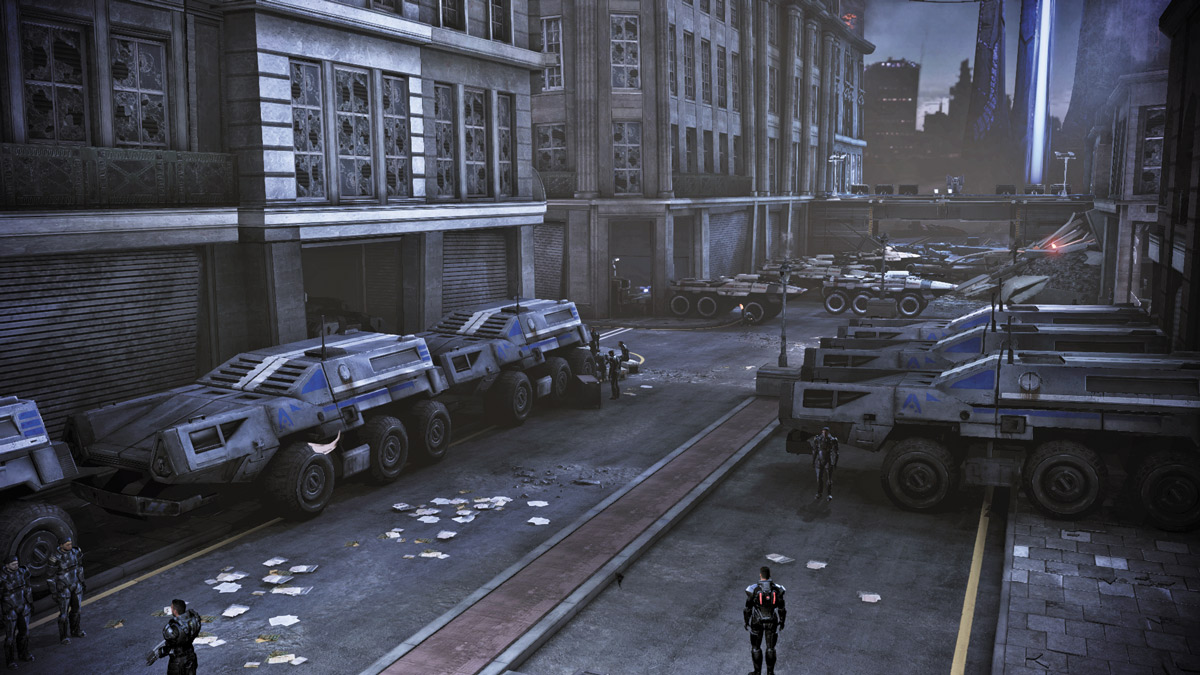
.jpg)
Before setting out and launching the next phase of this mission, take some time to explore the area around the command center.
You’ll find nearly every squad member and even some of the faces from past missions, like your krogan friend Wreav.
You don’t have to speak with anyone before engaging in the next phase of the mission, but doing so gives you the opportunity to accrue a few more Paragon/Renegade points.
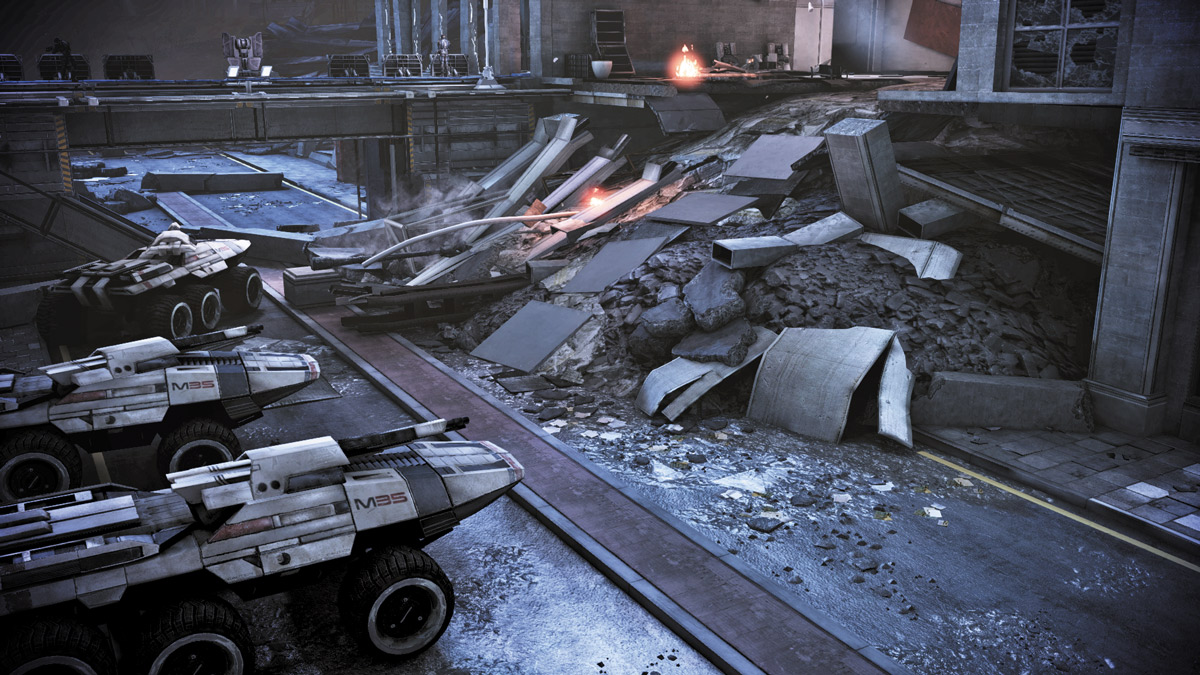
When you’re ready, go up the rubble walkway to the top floor of the building at the lwer end, then make a left into the next room.
Inside you will find Primarch Victus and some of his turian men. Exit through the door on the left wall to come upon a bridge leading to the command center.
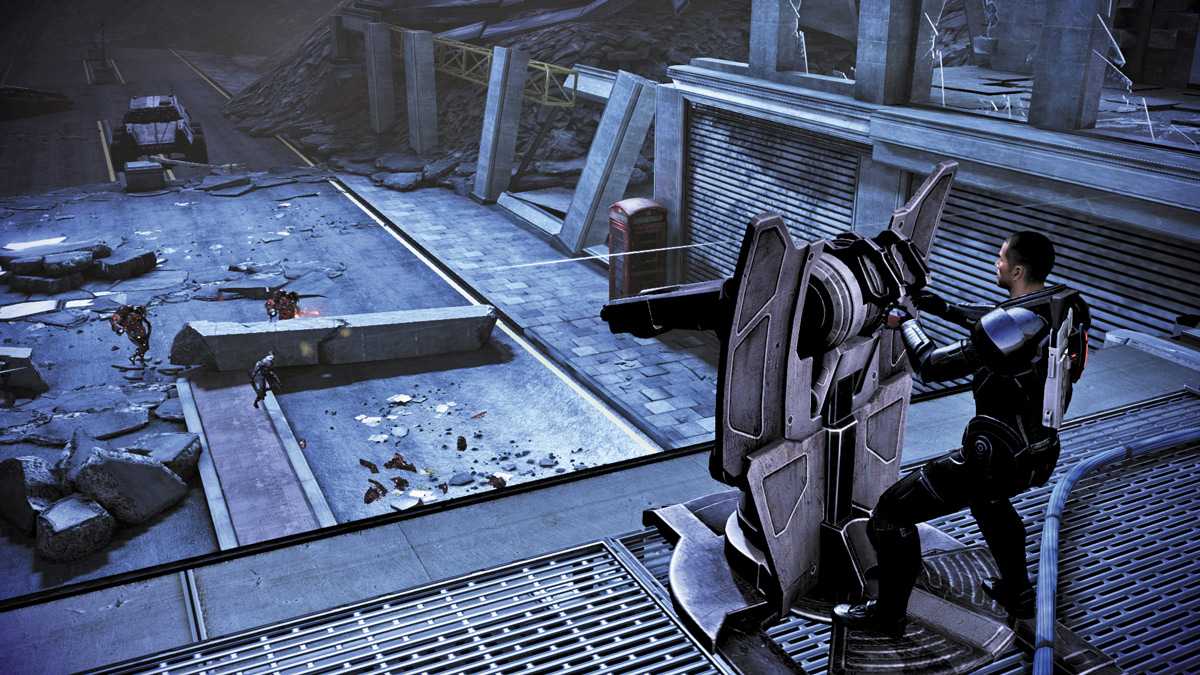
As you cross the bridge toward the command center, several Reapers attack from the area below. Take the turret near the bridge’s center and clear out the Reaper attack.
They’ll rush from the right and left of the long avenue below, so keep the turret moving back and forth until they stop coming.
Preventing too many Husks from entering the base provides a small XP bonus.
.jpg)
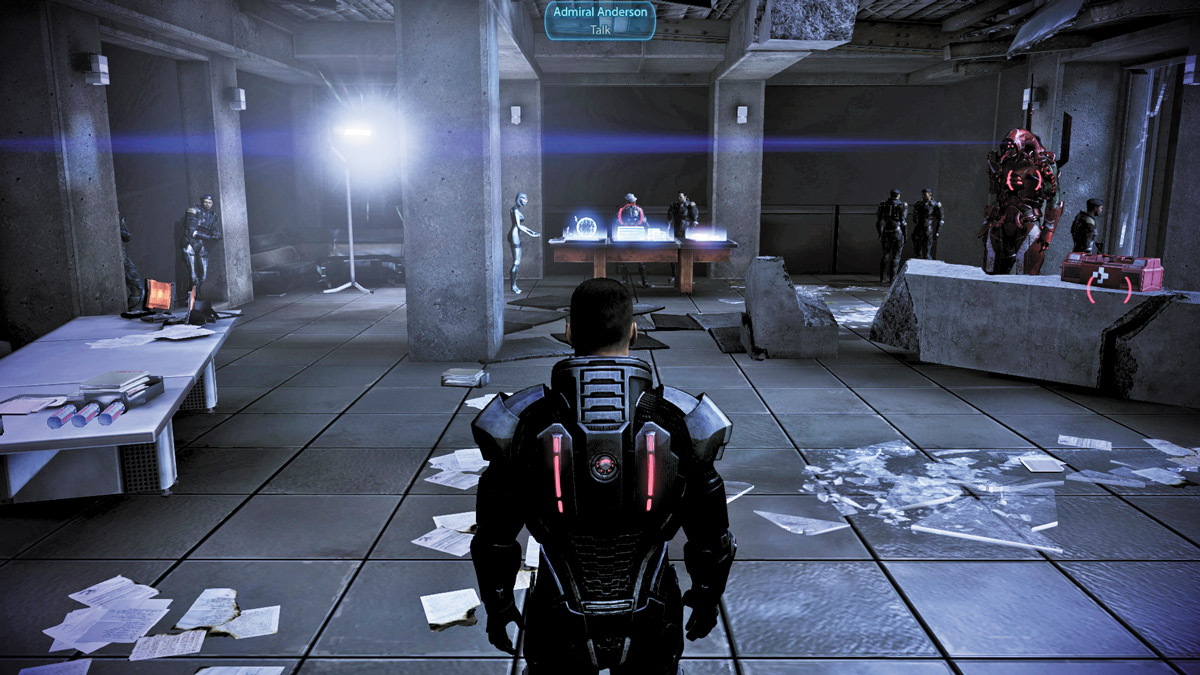
Follow the series of rooms out until you find Admiral Anderson standing over a staging table. Another Med Kit can be found in his room.
Speak with him to trigger the final speech before the mission. Despite missing the bulk of the forces expected, the mission is still a go.
The battalion leaders gather around the table and listen to the mission briefing.
The beam leading to the Citadel is guarded by a Reaper Destroyer. The only way to reach it is to cross No-Man’s-Land across the city and take it out on foot.
.jpg)
Before setting out on your mission, you have one more chance to speak to your entire squad. You can either treat them like friends and comrades or talk to them like your soldiers.
Your next few dialogue choices will gain you a few Reputation points. At your speech’s end, you can select your squadmates and prepare for the final mission.