
Mass Effect 3 Guide Walkthrough Act 2
Investigate Sanctuary
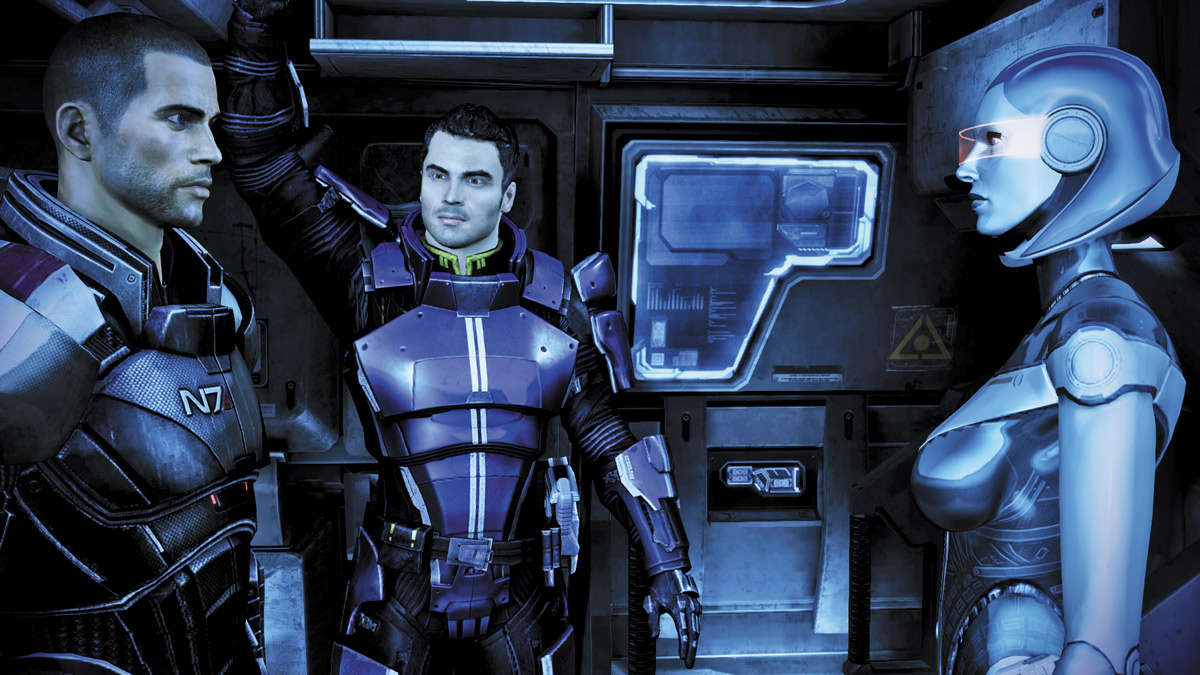
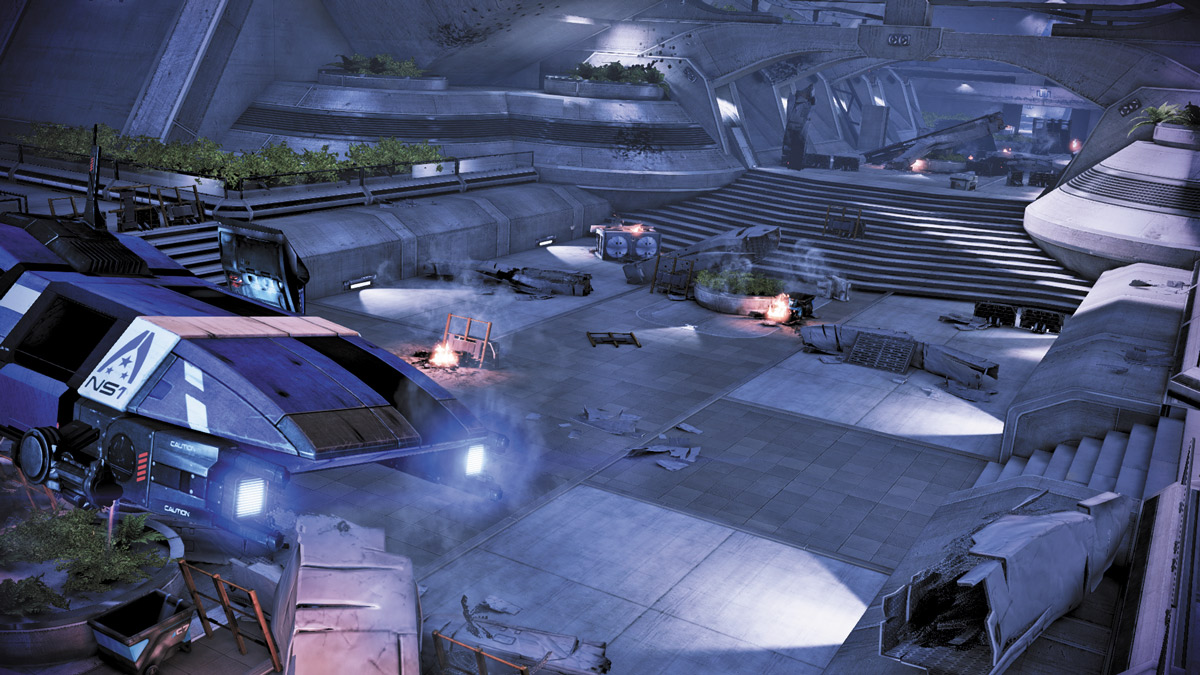
As you approach the Sanctuary, a place for war refugees on the planet Horizon, you get a distress call from the facility. It’s Miranda’s sister. She claims the facility is not safe and urges you to stay away.
The landing zone is clear when you touch down. Walk forward to explore the Sanctuary facility and go up the stairs. As you approach the top of the stairs, a Cerberus shuttle crashes directly ahead of you. It’s being chased by a Reaper Harvester.
The Harvester soon loses interest in the crashed shuttle, leaving the three Cerberus troopers to evacuate the downed transport unit.
SANCTUARY ENTRANCE
.jpg)
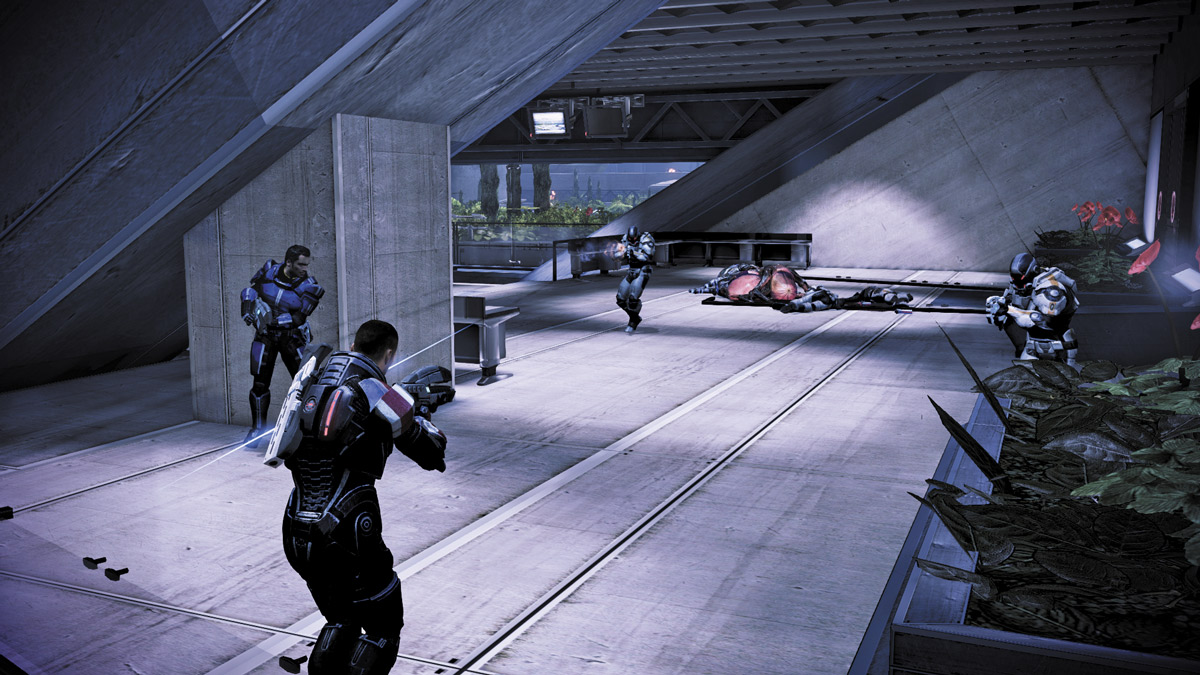
The entrance to Sanctuary is guarded by a sniper perched on the ledge with the crashed shuttle while two Phantoms approach you on the lower area. The area between you and the door is covered with rubble but flanked on the right side by a small hallway that provides excellent cover from the sniper.
The sniper, a Nemesis, is well trained and capable of depleting your entire shield with a single shot. If you engage the Phantoms while your shield is gone, they can slice through you with one swipe.
APPROACH 1: SIDE HALL COVER
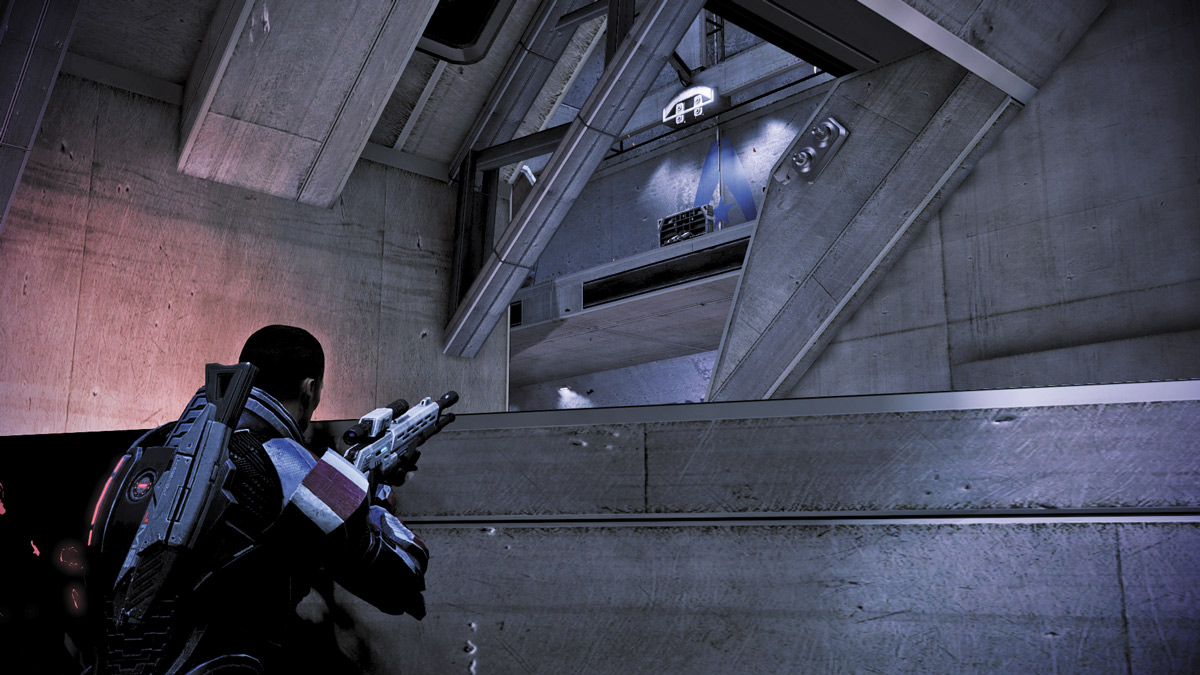
Rather than stay out in the open for the Nemesis to pick you off, order your squad behind cover while you rush into the side hall. From here, you can slowly peek your head out and open fire on the Nemesis in his perch.
Adept players can use Throw, Singularity, or even Pull to yank the sniper out of position. Other powers like Warp or an Engineer’s Overload can also shake the Nemesis out of cover. Follow up with explosive power combinations or weapons fire to take it out.
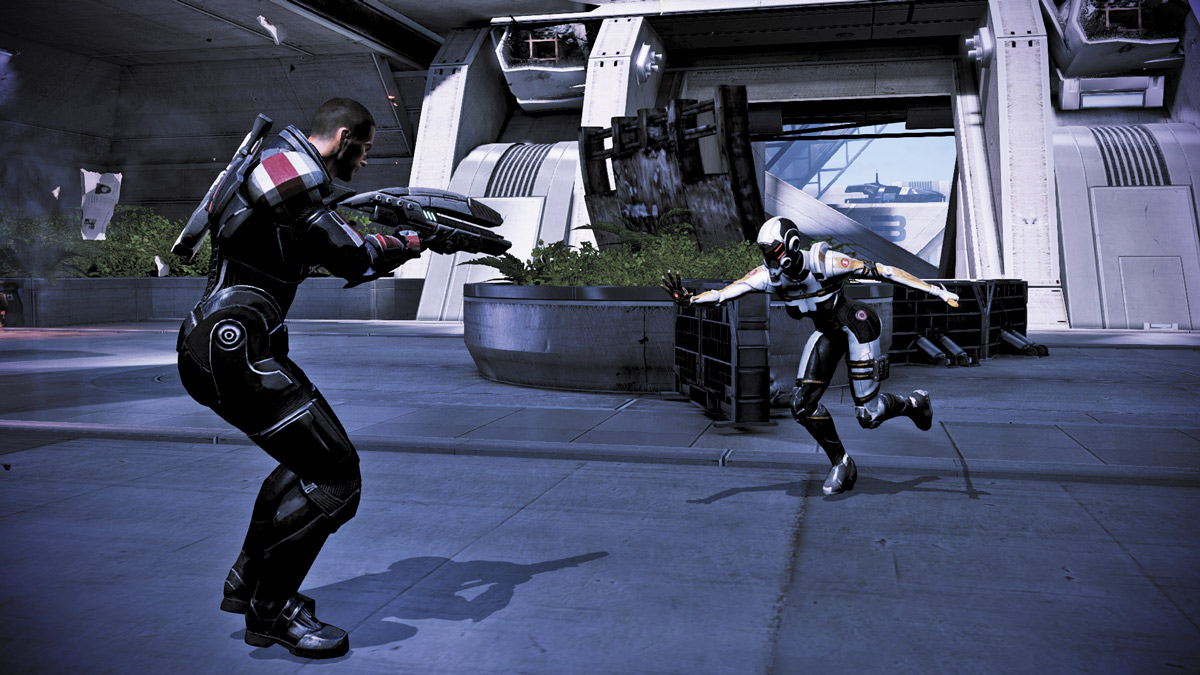
Once the sniper is out of the way, turn to the Phantoms and open fire. They’re slippery and hard to hit, so use powers to either slow them down, knock them off balance, or slow down time (if you’re a Soldier).
Combine your squad’s powers to maximize damage and stay on the move as much as possible to avoid getting sliced and diced.
APPROACH 2: FIGHT LONG-RANGE FIRE WITH FIRE
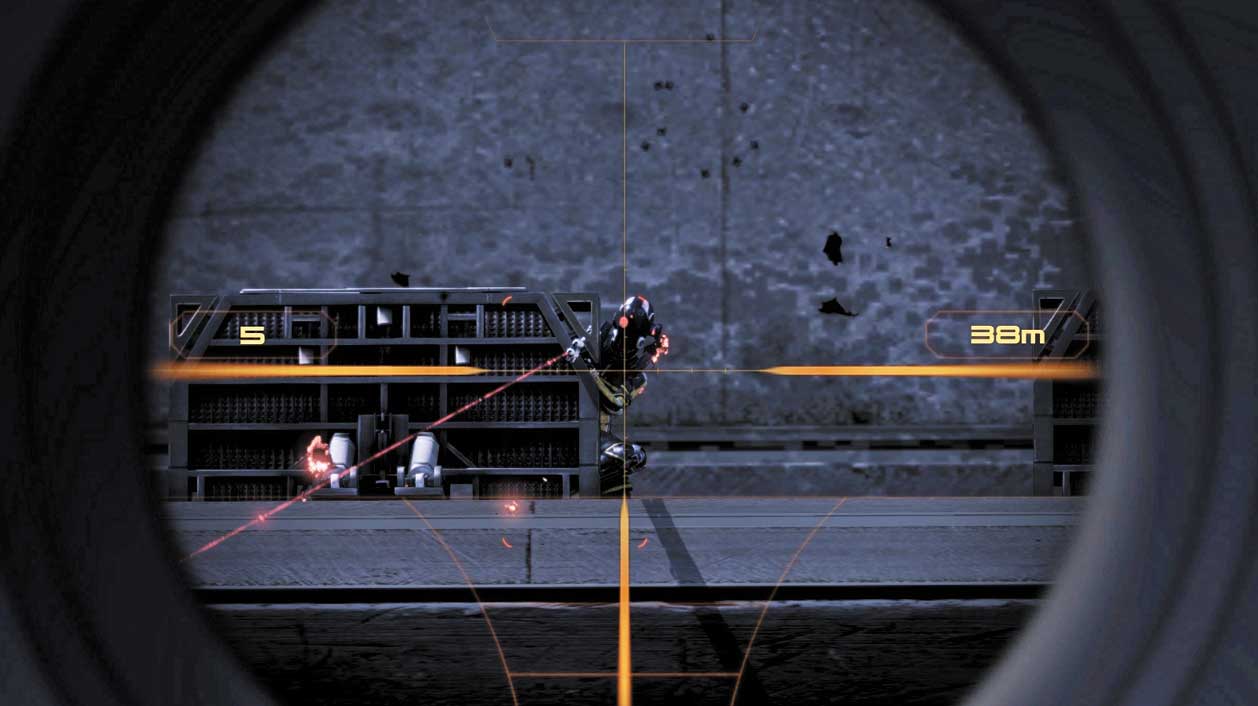
Nothing is more satisfying than beating a Nemesis at her own game. Sniper-proficient classes such as Infiltrators and Soldiers can equip their most powerful sniper rifle, such as a level IV or V M-98 Widow, and take aim at the sniper on the far ledge.
If you’re an Infiltrator, activate your Tactical Cloak before you zoom in. Soldiers should activate Adrenaline before taking aim as well.
If you’re another class such as an Engineer or Vanguard, use a combat drone or your squadmates as bait. Wait for the Nemesis to pop his head out to take a shot, then tag his head with a well-placed shot.
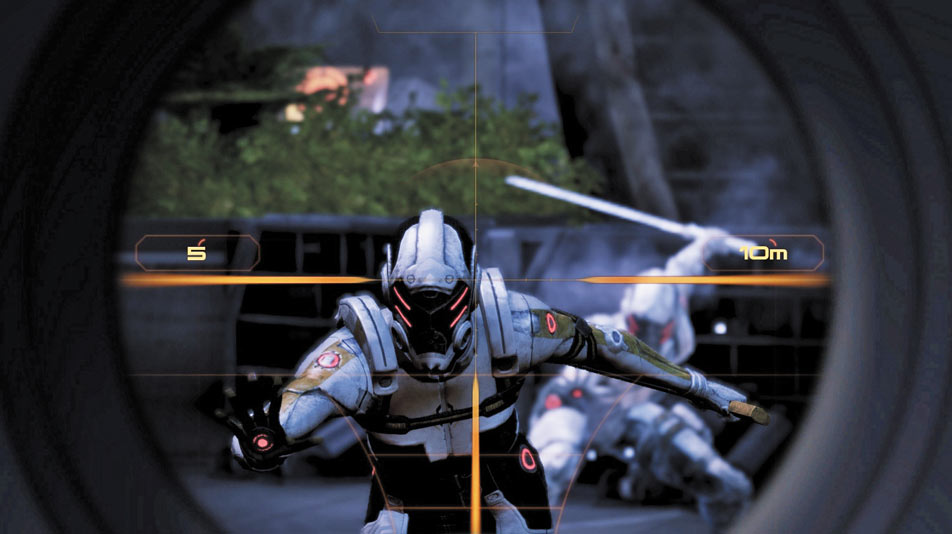
The Phantoms are also susceptible to a sniper’s headshots, but to ensure they die at the end of your sniper’s scope, order your squad members to attack them with power combos and weaken them prior to your shot.
Even if you don’t get a headshot, your squad’s attacks should either slow them down or bring them to the brink of defeat, so even a glancing shot will put them down.
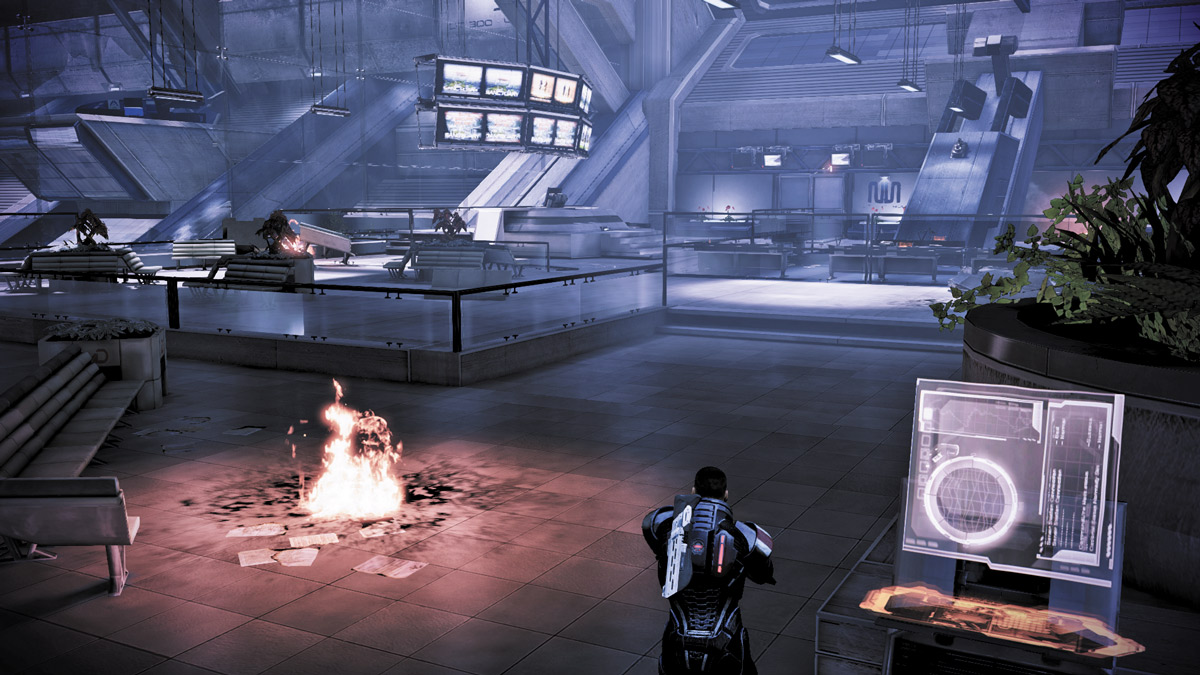
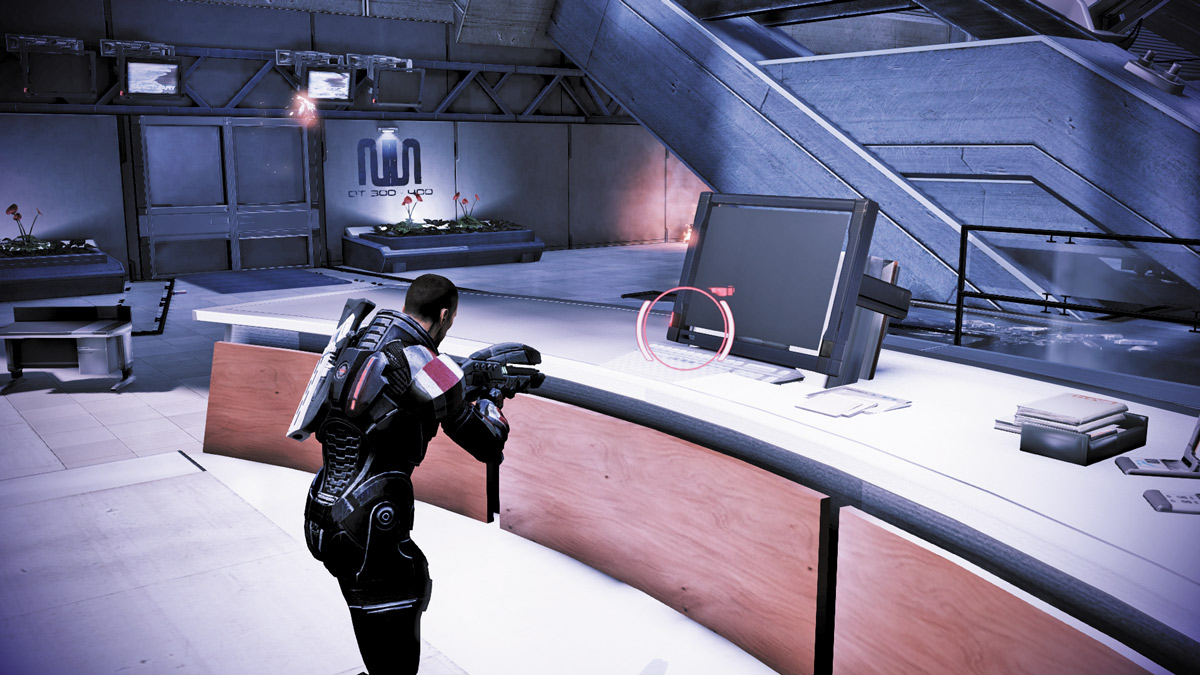
Enter the Sanctuary through the door at the far end. As you enter, you spy several more Cerberus shuttles departing from a distant tower. The area around you is quiet, however, so you’re free to explore.
Begin by checking the Log at the far left side of the reception area. It shows video footage of the hundreds of refugees seeking help in Sanctuary. When you’re done, walk over to the desk area on the right, just right of the stairs, and examine the Logs and the PDA there to get more information on Sanctuary.
Go downstairs and turn right into the next room. You’ll find several Cerberus Assault Troopers lingering about. They aren’t much of a threat, so overwhelm them quickly and clear the room.
.jpg)
Make a left into the next area and stop at the computer console near the entrance. Activate it to view a short video of Miranda. She claims that Sanctuary is not a refugee camp after all. It’s a Cerberus testing facility run by her father.
After watching the video, turn right and walk over to the water pump. Activate it to empty the large body of water nearby. It reveals a ladder going down to a secret passage leading to the facility interior.
FACILITY INTERIOR
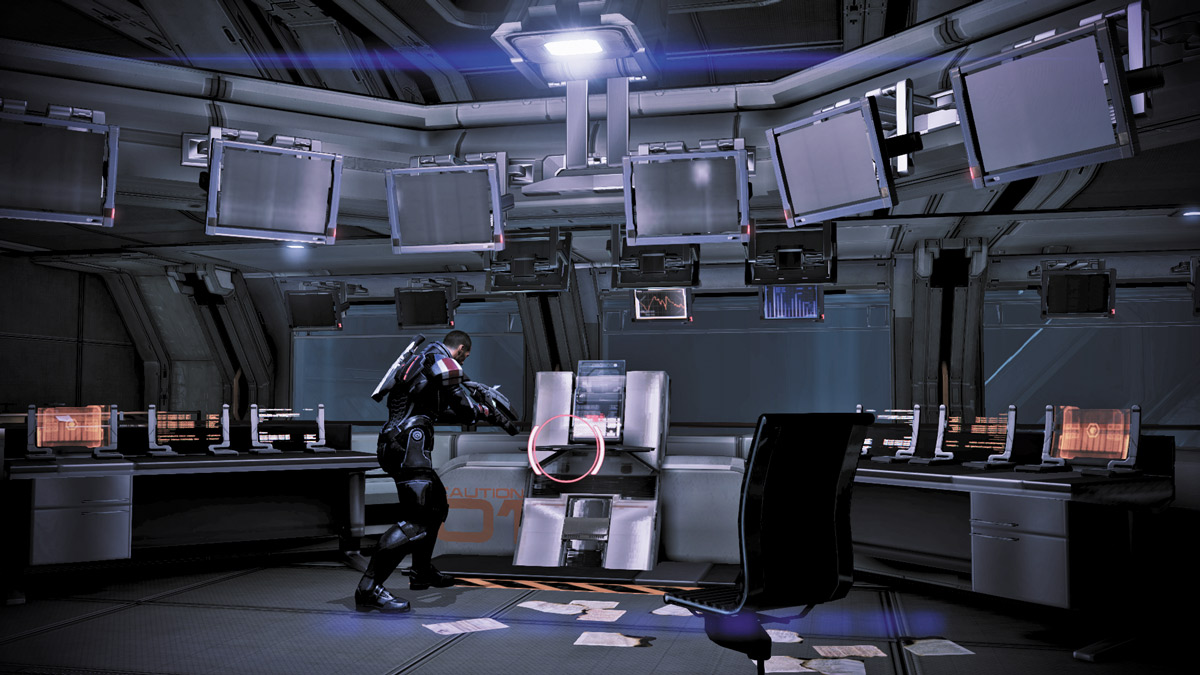
The facility’s interior is cluttered with machinery, computer consoles, and tanks for various types of strange experiments. Activate the center console in the first room to turn on all of the computer screens around you. One of the consoles turns the lights on in the next room, a massive chamber full of Husks.
It’s clear that Cerberus is not just studying the Reapers, but also experimenting on them, perhaps even creating them.
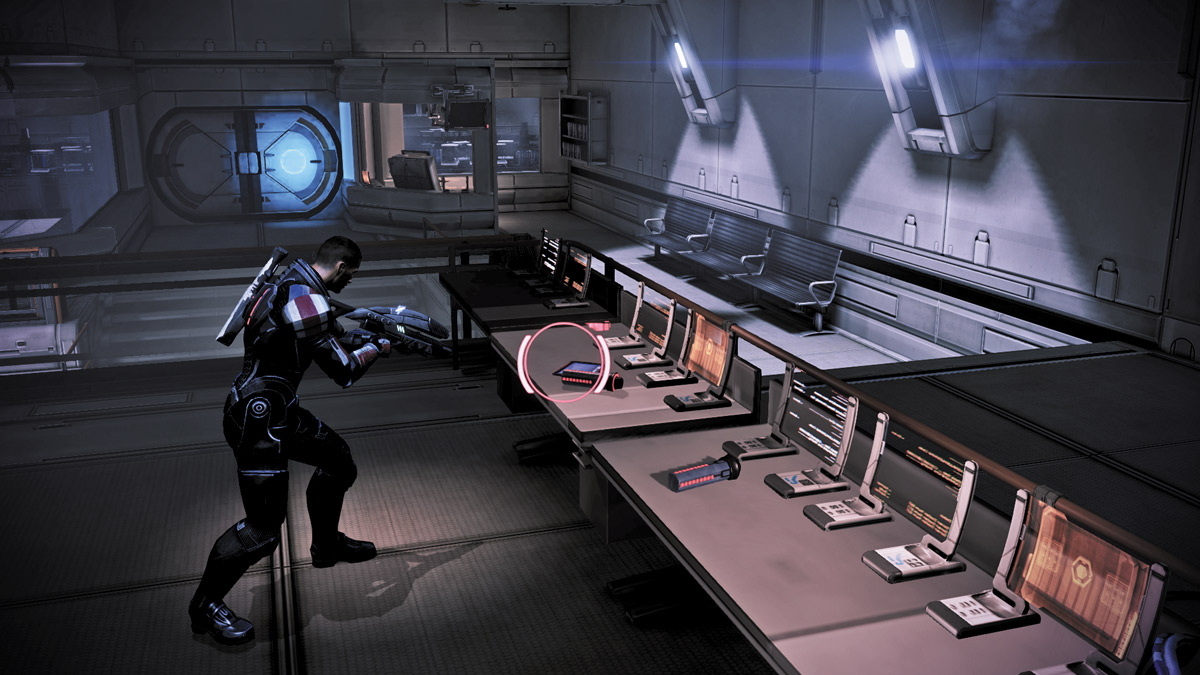
Walk into the next room and check out the PDA on the counter. Then go down a bit farther and activate the console on the far side. This plays a video of Miranda scrambling around the facility. Unbeknownst to her, she’s being followed by Kei Leng.
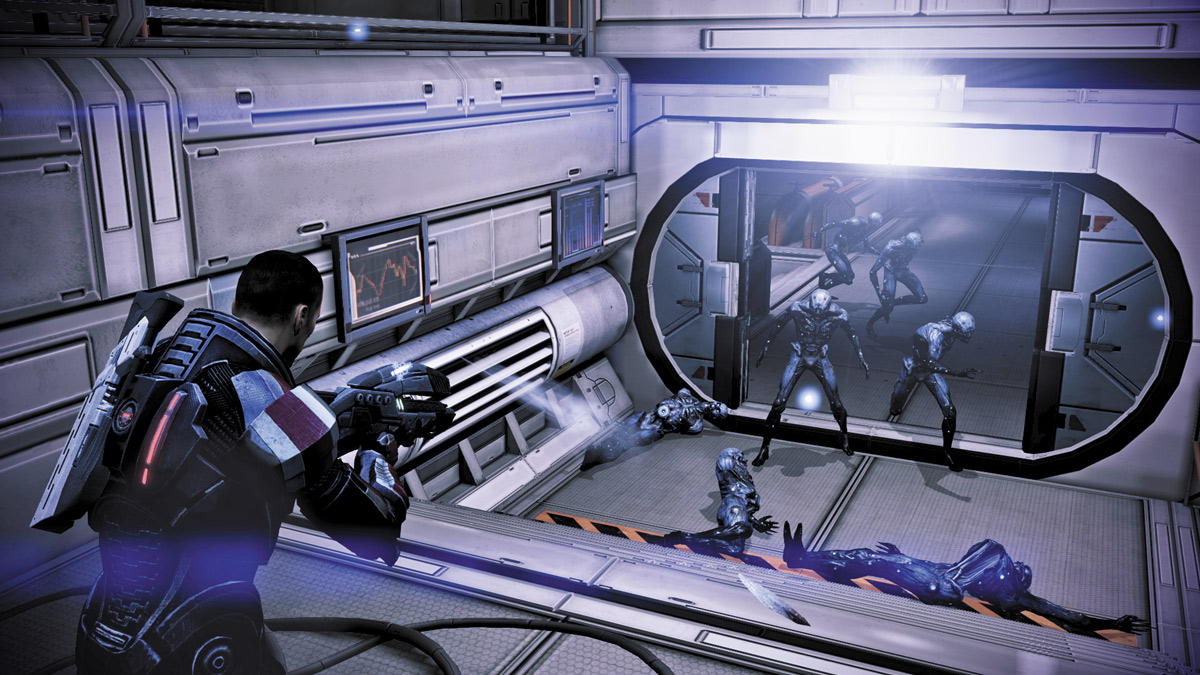
Go down the stairs and open the door. Several Husks pour in from the next room as the door slides open, so either back away as you shoot the attacking Reapers or use a power like Nova to knock them all away.
Charged melee attacks also work against these creatures, so eliminate them quickly before they can swarm around you.
Creep into the next room and turn left. There may be some more Husks rushing up the stairs toward you. Eliminate this group as well. With the room clear, continue downstairs and examine the two Logs on the desks before entering the long experimentation chamber.
EXPERIMENTATION CHAMBER
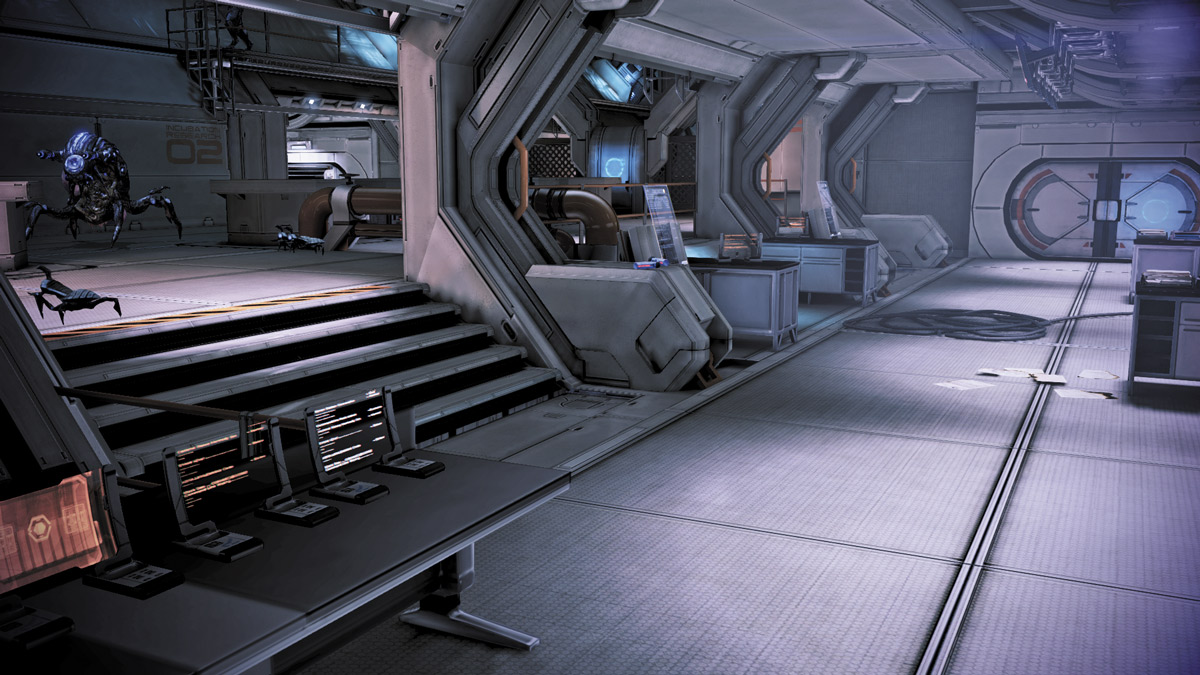
This long chamber is still crawling with Reaper forces from the invasion. The long, wide chamber has several platforms running along the top left and right where Marauders can attack from a distance.
Meanwhile, a Ravager and a Banshee slowly stalk up and down the center section of the chamber, launching their devastating assaults. The chamber, however, has a series of labs running along the right side that can provide a respite from the action and lots of tubes, consoles, and other equipment running down the middle that can provide cover.
APPROACH 1: STAY IN THE CENTER
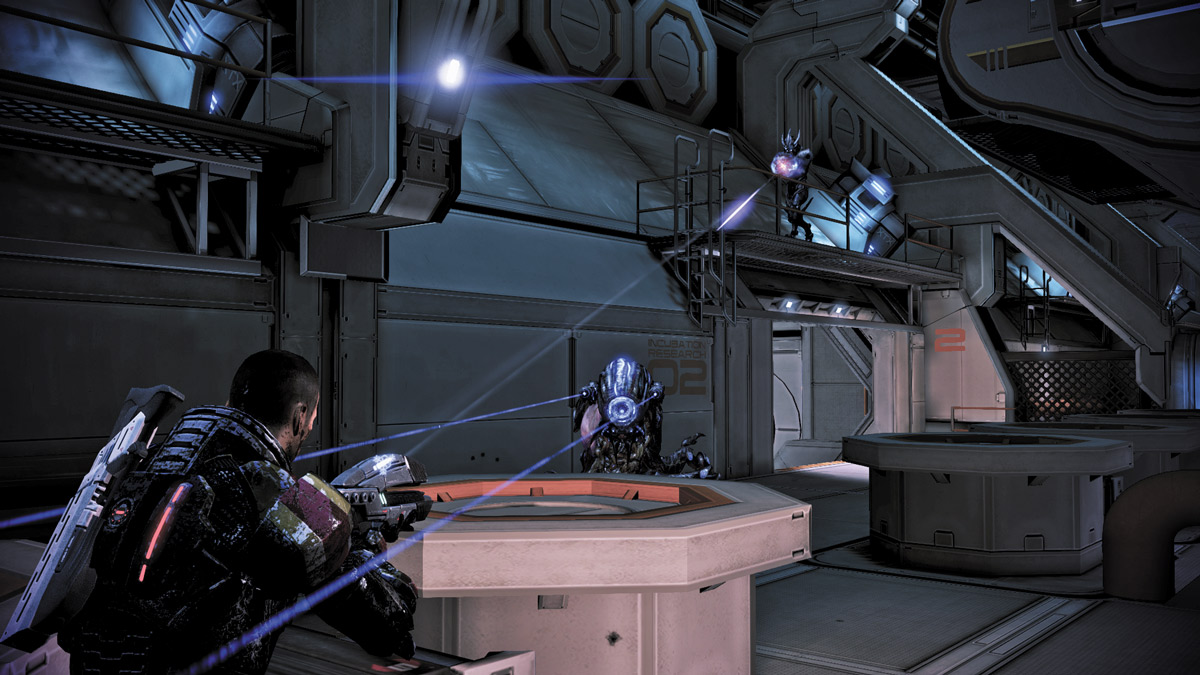
The long chamber has plenty of places for you and your squad to seek cover. Press your back against the center crates near the chamber entrance and get a good view down the length of the chamber.
Order your squad to engage the Banshee while you target the Marauders. Make sure to take them out first. They can create a lot of problems for you while battling the other Reapers on the lower level.
If any Marauders drop down to the lower level, use powers like Singularity to create choke points near the center aisle and redirect them. Eliminate the Marauders first, then turn to the Banshee.
Keep her off balance and split her attention by focusing all of your squad’s attacks on only her. Stay on the move—duck back into the first lab if necessary—and avoid the Banshee’s radial attack that removes your shields.
If you keep her off balance and follow up with heavy fire and explosive power combos, she’ll fall in no time. With the Banshee gone, you can now turn to the Ravager and destroy it from the safety of your covered position.
APPROACH 2: STALK THE LABS
.jpg)
If the center section is too crowded for your taste, use the labs running along the right side of the experimentation chamber to get a jump on the enemies in the center section. Open the door to pass from one lab into another, then turn left to face the chamber’s center section.
Stay behind cover of the consoles separating the lab from the center section, and launch your assault on the Ravagers and Marauders from here.
Since you’re behind decent cover in the labs, order your crew to attack the Marauders with power combinations or use powers to pressure them off their elevated positions.
When they come down, increase the intensity of your attacks by either lobbing grenades or using power combos of your own. If you get far enough in the second lab, you can get a good view of the Marauder perched atop the left side of the center section.
Bring him down if your squad hasn’t already, and exterminate it.
Once the Marauders are down, turn all of your attention to the Banshee. The Ravagers will continue to fire on you, but they won’t move as much as the Banshee will. The Banshee will attack you up close, so use powers like Concussive Shot, Shockwave, or Nova to keep her at bay and follow up with heavy fire and other power combos.
.jpg)
Finally, with the Banshee out of the way, turn on the Ravager. The lab provides an excellent vantage point from which to attack from a covered position and eliminate the Ravager’s missile attacks. Stay covered and pepper it with attacks until it falls.
.jpg)
Examine all the Logs in the room at the chamber’s far left end before exiting through the door on the right. This leads to a small laboratory with a computer console showing a static-filled screen. Fix the screen to show Miranda’s findings about the Sanctuary facility. After activating the console, examine the PDA on the desk on the left.
Go up the stairs on the left and begin searching the facility’s perimeter. Turn left at the top of the stairs and you’ll find entryways to two hallways, side by side. Each hallway leads into a bifurcated lab room full of Cannibals, Marauders, and barrier engines that feed their shields.
.jpg)
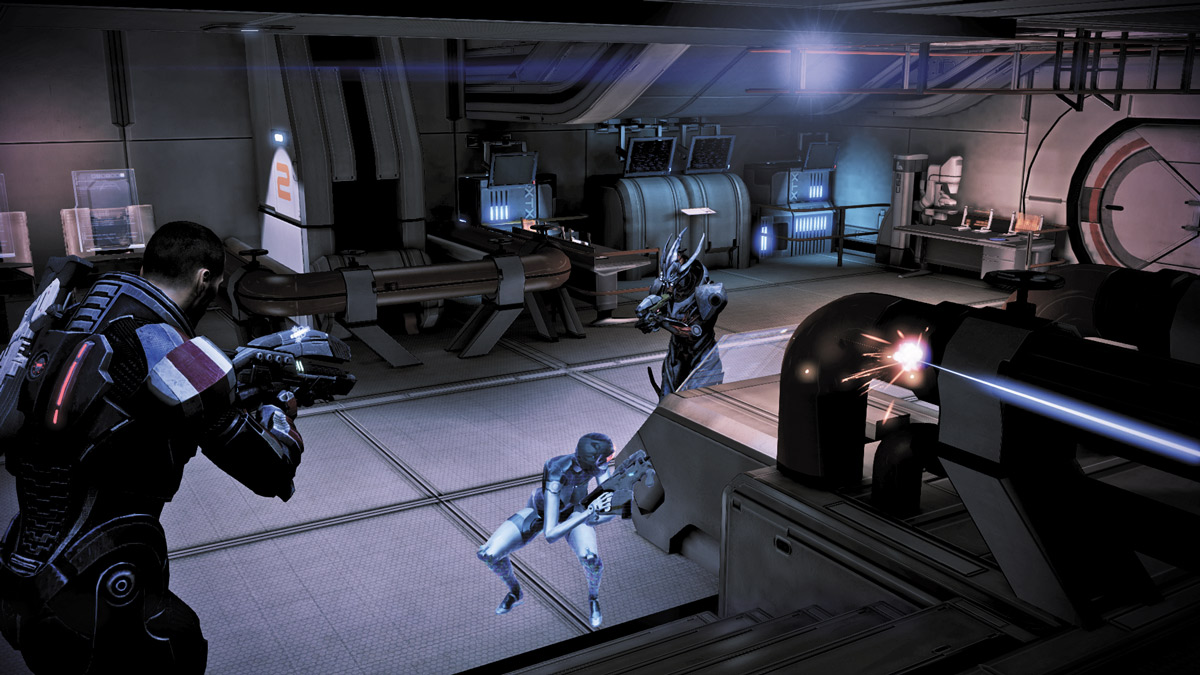
Station one or two squadmates near one hallway entrance while you take the other. Since the Reapers in the long halls are fed by barrier engines, eliminate the engines first. Once the barrier shields are down, turn your attention on the Reapers down the halls.
Hold your position at the entrance to the halls and let the Reapers come to you. Alternate between using heavy fire and power combinations to keep the Reapers away and steadily dwindle their health.
If you have the ability to use Defense or combat drones, launch one deep into one or both of the halls, and distract the Reapers even more. When the Reapers turn their backs to you to deal with the drones, increase your attacks to obliterate them.
When the Reapers bunch up together, take advantage and use explosive attacks to dish out damage to the group rather than just one foe at a time.
Also use powers like Shockwave and Throw to hurl enemies back down the hall and away from the entrances where you and your team are taking cover. Eliminate all the enemies, then go into the long bifurcated room.
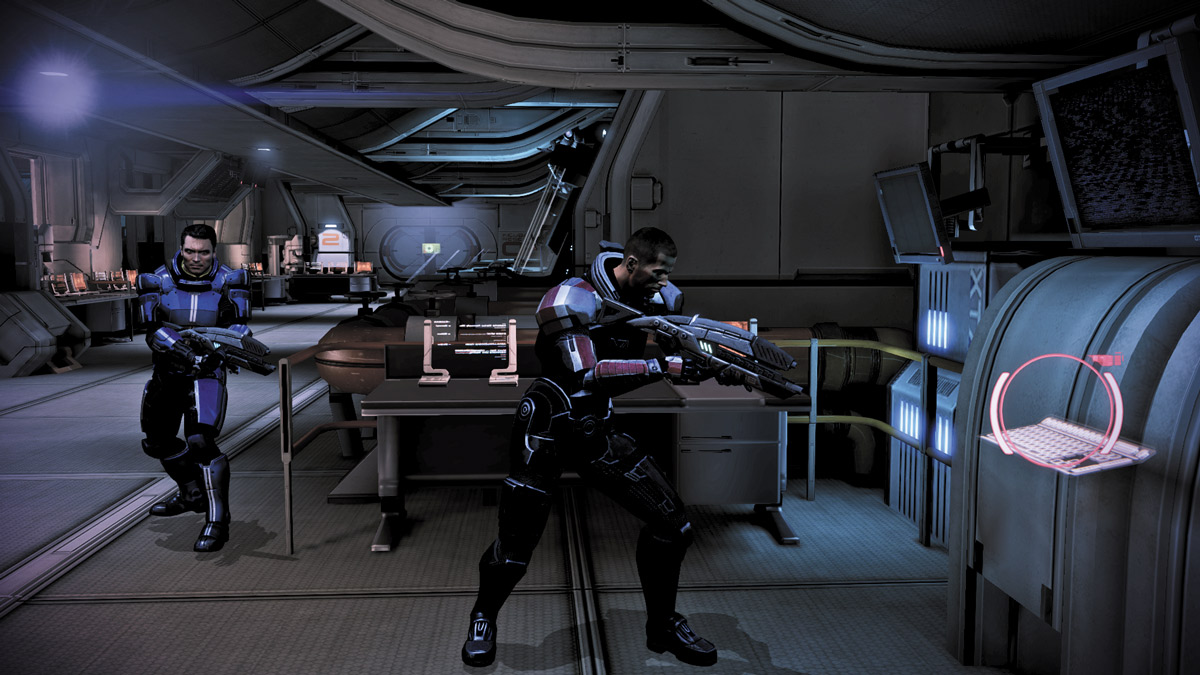
Examine all the Logs and the PDA in the room, then activate the console at the far left end. Watch a video recording of Miranda’s findings, then locate the ladder directly behind you. Go up the ladder to reach the next floor.
TOWER APPROACH
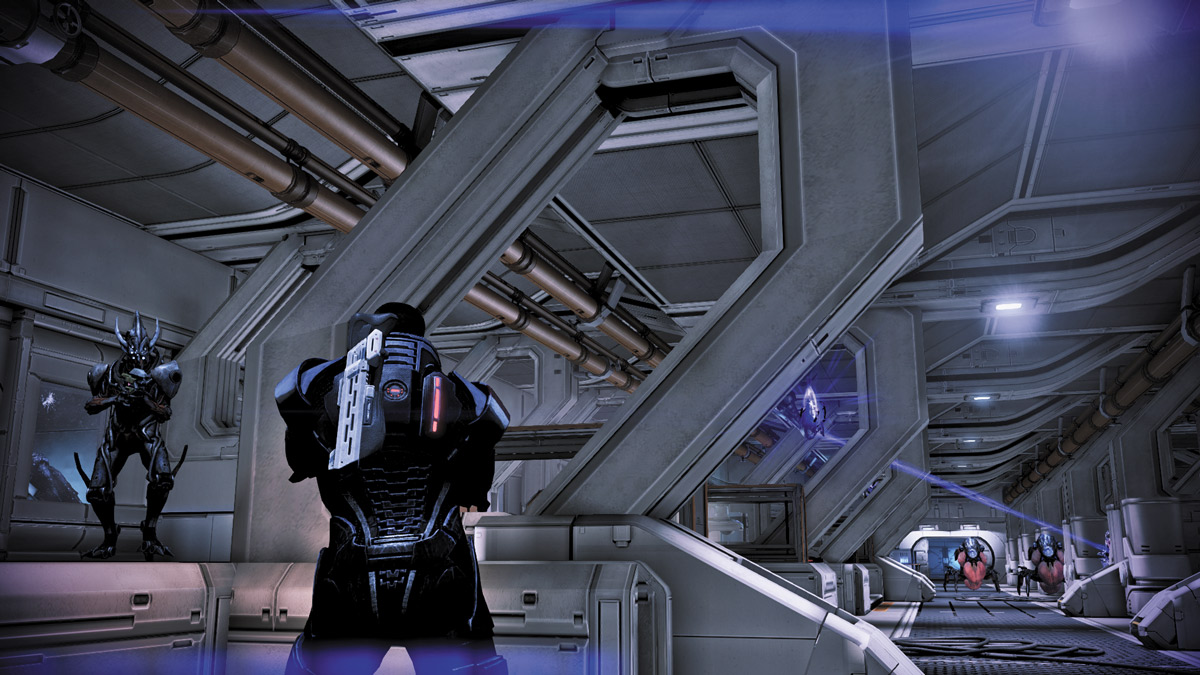
After climbing the ladder, you reach another long hallway. This hall, which is split into three parallel sections, leads to the tower access point. On the left is a raised platform running about three-quarters the length of the main center hall.
Down and on the right of the main hall is a side passage, split in the middle by a bridge. The passages on the right, however, are lower in elevation than the main hall. Between you and the tower access point are several Cannibals, Marauders, and Ravagers.
APPROACH 1: SPLIT UP
.jpg)
Since there are three ways to approach this section, and you have three members of the squad (including you), split the team among all three hallways sections.
This tactic is better suited for players who feel comfortable engaging in close-quarters combat, since you’ll have to slowly advance down the hall, pressing the action forward.
As you do, you’ll also need to direct your team from cover to cover, which may allow speedy Marauders or Cannibals to get within close proximity of your position. Knock enemies away and slowly march your entire team down all three sections of the hall.
Rely on disruptive powers to keep your enemies away while you advance down the hall, inflicting damage and putting them down with shotgun blasts or explosive power combos between your squad members.
APPROACH 2: USE THE TWO LEFT HALLS
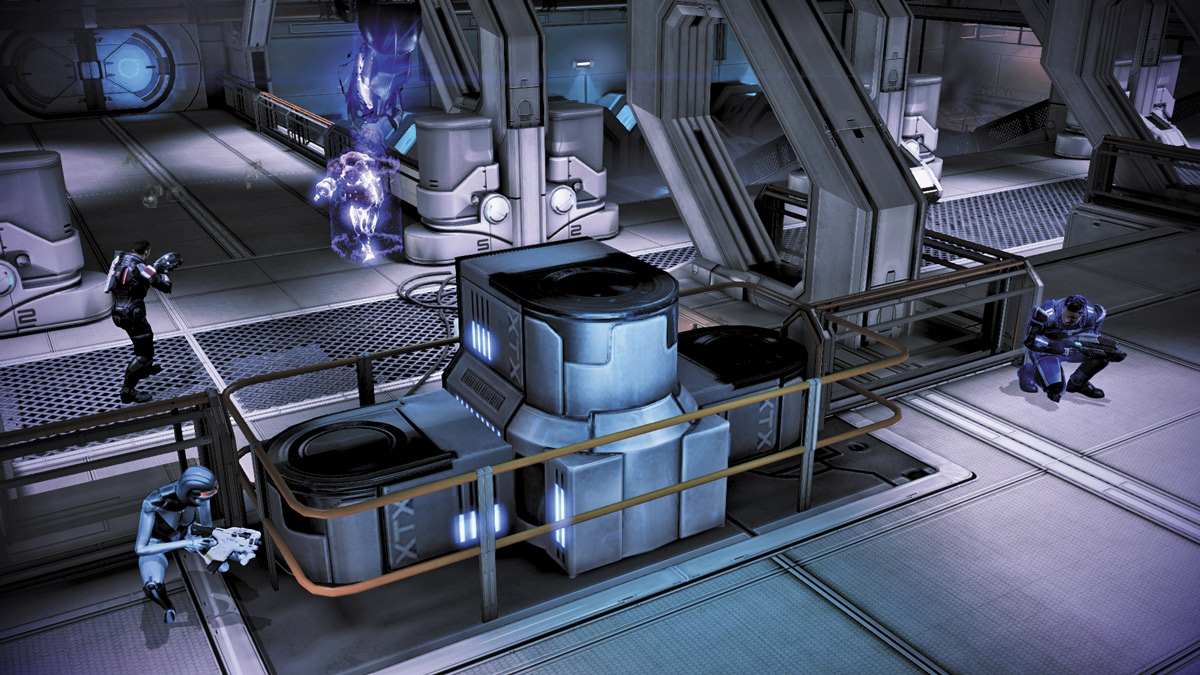
An alternate approach is to avoid the lower section of the hall altogether. Since it is at a lower elevation than the other two halls, you’ll gain a bit of cover, but at the cost of a better line of sight.
Instead, post two squad members near the beginning of the far left hall, while you take the fight down the center hall. Clear a path to the far end, then turn left and swoop back around the end of the hall’s far right section.
This way you’ll pinch the enemies attacking your squadmates in the far right hallway from both ends. Press the fire inward and wipe them out. This is also a good tactic for luring the Ravagers away from the center hall.
APPROACH 3: USE THE RIGHT HALL AND IT'S BRIDGE
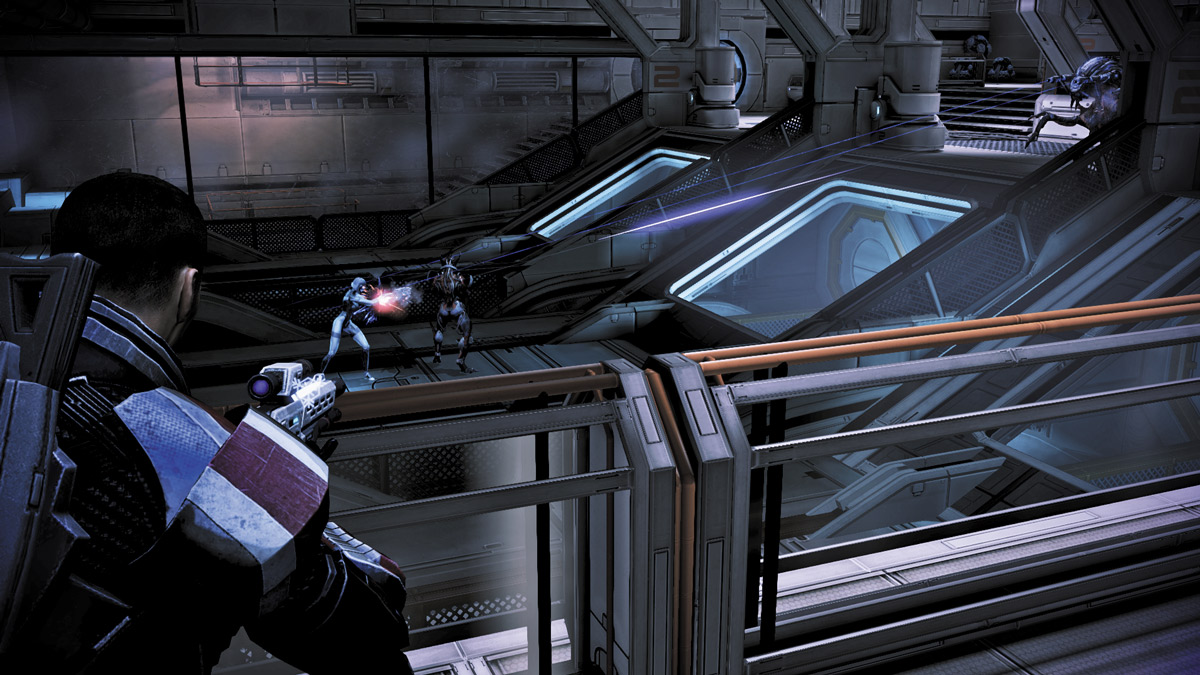
Sharpshooters can use their squadmates to lure some of the enemies down into the hall’s lower right section. As the Reapers engage your squad on the lower level, rush to the bridge that splits the lower hallway into two sections and open fire from above.
Snipers, assault rifles, and destructive powers like Cryo Blast or Incinerate will work wonders from this elevated position.
Just make sure you’ve got your flank covered, since clever Reapers like Ravagers or hungry Cannibals can still rush you from the center hall.
.jpg)
Pass through the next room at the hall’s end and make a right. On the other side of this door is a disabled tram. Hop onto it and shoot open the small control console at the front of the tram. Activate it and the tram speeds toward the tower entrance.
Jump off the tram to the left when it stops and enter another long testing room. This hall leads to the tower entrance.
TOWER ENTRANCE HALL
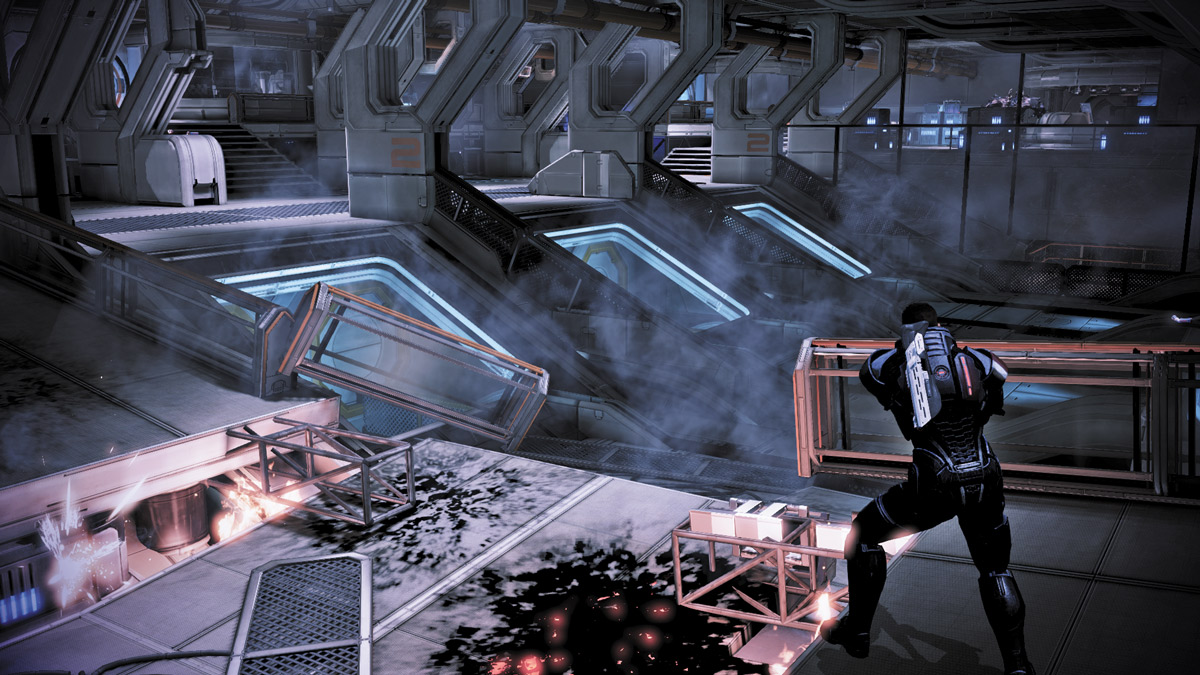
This long hall is not much different than that found in the “Tower Approach” section. The only difference is that this section is about half the length of the previous, and the lower right area is already partly demolished.
The main difference in this area are the enemies. Instead of Cannibals, Marauders, and Ravagers, you’re tasked with clearing out Brutes and a Banshee before reaching the tower entrance.
APPROACH 1: BRING OUT THE BIG GUNS
.jpg)
Since you’re facing several Brutes and a Banshee at once, your only chance to survive is to bring out all your big guns. Unleash everything from combat drones and decoys to Frag Grenades and Nova blasts to keep the Brutes busy.
Stay on the move as much as possible, and lead the Brutes away from the Banshee to create some breathing room. If you allow the Brutes and the Banshee to trap you, a single blast from the Banshee or a swipe from the Brutes will leave you defenseless. Once your shields are down, another attack can finish you off.
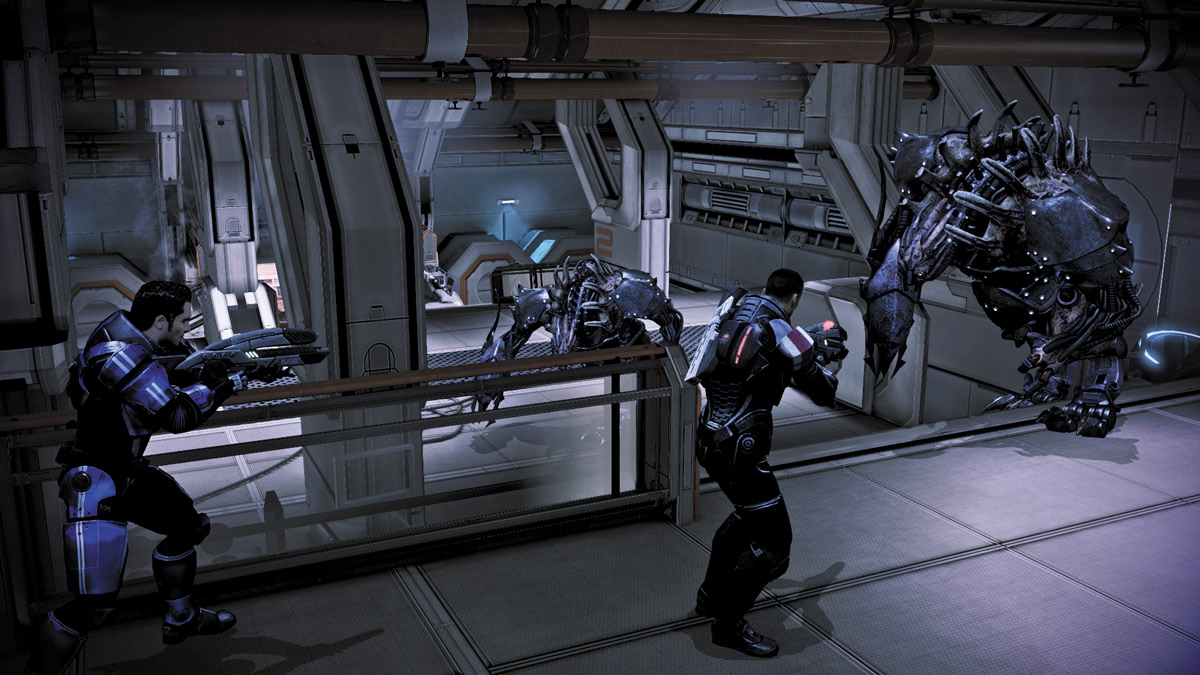
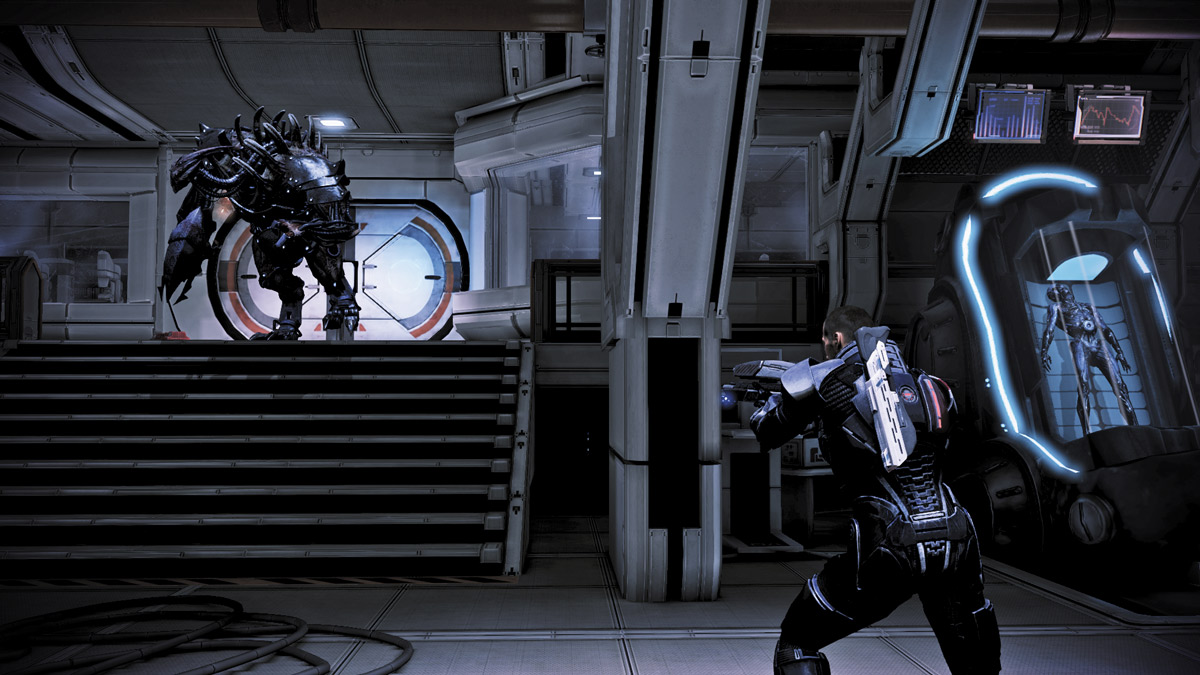
Blast the Brutes with everything you’ve got, then sprint past them to create some distance. Rush down empty sections of the hall, then turn around once you’re far away and resume your attack. If necessary, assign your toughest squad member to engage the Banshee and keep her busy momentarily while you carefully wear down the Brutes.
Use every section of the hall. Sprint across the lower right hall, up across the center section, and attack from the top left. As you dash around the entire area, the Brutes will stay on the chase and slowly lose ground. Eventually, you can put down all of the Brutes, leaving only the Banshee to contend with.
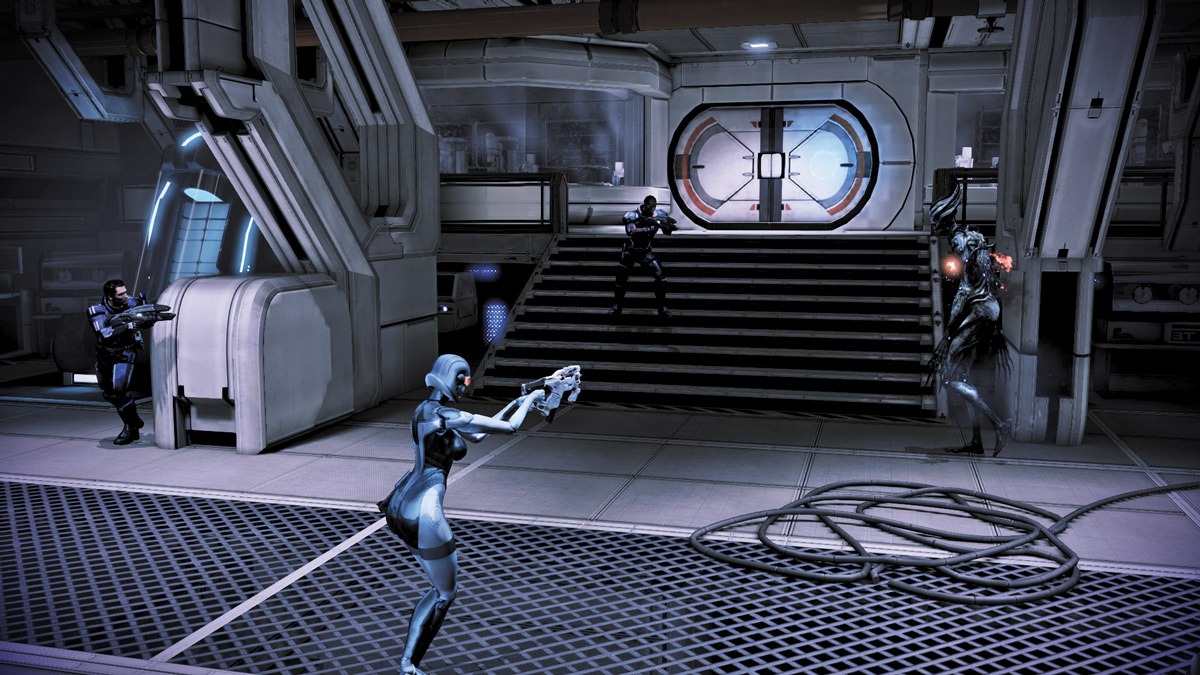
Split up your team and divide the Banshee’s attention across both ends of the main hall. Rush back and forth, using the left and right sections, between the front and back ends of the main hall as you steadily inflict damage on the confused Banshee. Keep picking away at her until she falls.
APPROACH 2: SPLIT UP THE ENEMIES
An alternate approach is to take down the initial two Brutes before proceeding too far into the combat. If you move too close to the preoccupied Brute and Banshee, they will turn their attention toward you instead.
This reduces the number of hard enemies you need to fight from four at once to two waves of two.
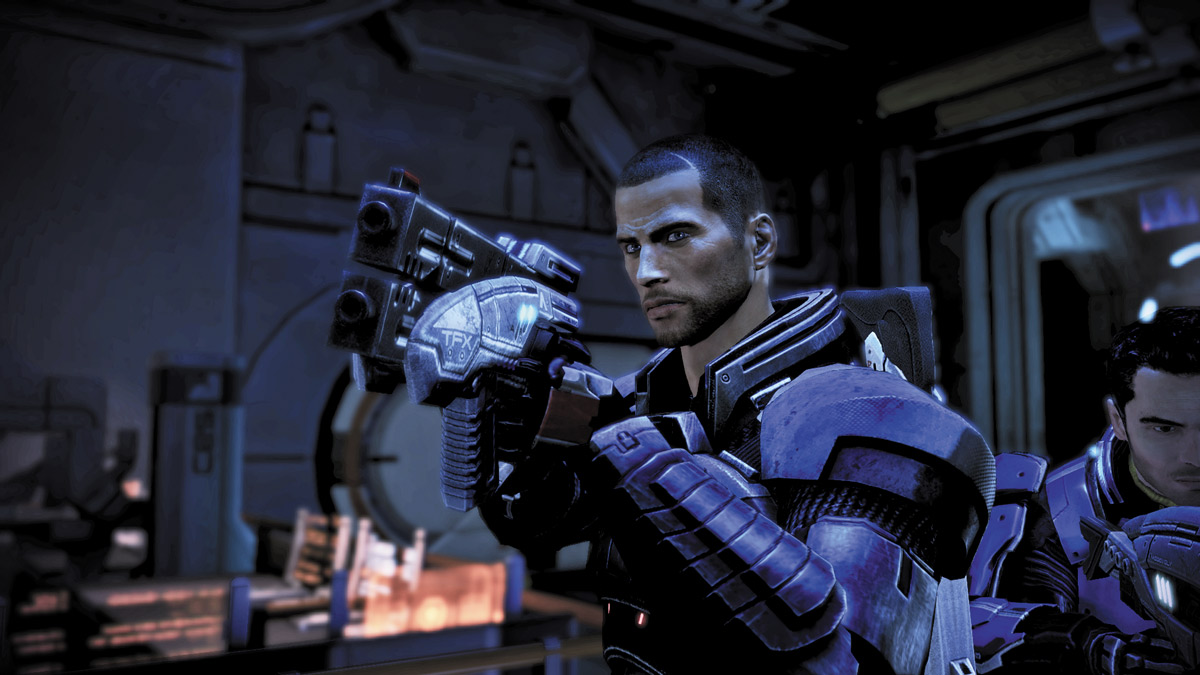
Turn right and step into the elevator leading to the tower. Upon reaching the tower, you find Miranda; her father, Henry Lawson; and her sister, Oriana. Henry is holding Oriana hostage, and it’s up to you to either talk him down or put him down.
The ensuing conversation can yield Paragon or Renegade points. If you try to reason with him, you can gain Paragon points. Threaten him, and you gain Renegade points. Regardless of what Paragon/Renegade decision you make, Miranda ends the conversation on her own terms.
BACK ON THE NORMANDY
.jpg)
Back on the Normandy, Admiral Hackett had reservations with your choice to visit Sanctuary. Still, thanks to Miranda, you’re now able to trace Kei Leng to the Illusive Man’s base. It’s time to take Cerberus out of the war.