
Mass Effect 3 Guide Walkthrough Act 3
Assault the Illusive Man’s Base
.jpg)
When you’re ready to assault the Illusive Man’s base, go to the galaxy map and fly to Anadius in the Horsehead Nebula. Land on Cronos Station to get a priority communication from Admiral Hackett.
He warns you that as soon as you launch the assault, there will be no hiding the Crucible from the Reapers, so you’ll be going “all in.”
If your mission on Cronos Station fails, then your only course is to launch an all-out assault on Earth and hope for the best.
LAST CHANCE FOR ROMANCE

If you’ve engaged in a romance with any character, your love interest will come to your cabin the night before the assault on the Illusive Man’s base and offer to spend the night. You can turn down the offer if you’d like, without the risk of losing the relationship, but you will lose the chance opportunity for one last chat the following morning.
DREAM SEQUENCE 2
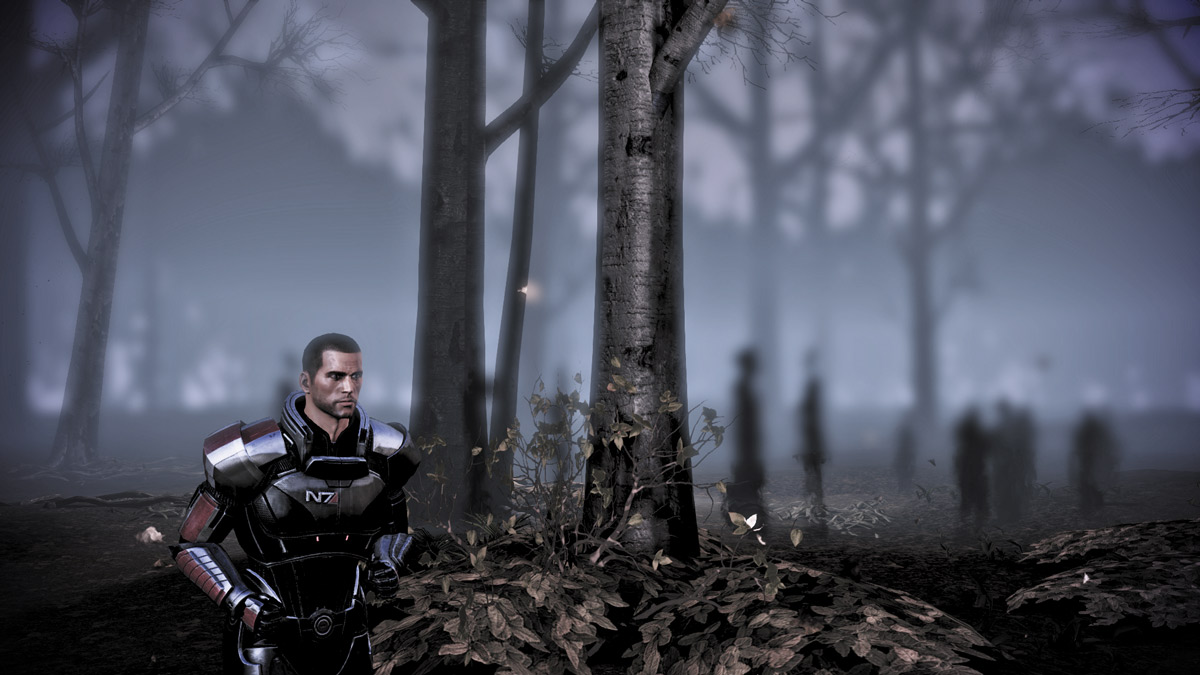
The weight of the galaxy is not easy for anyone to bear, even someone like Commander Shepard. At night, you’re haunted by another dream, this one more violent than the first two.
Once again, you have control of this dream sequence, but you don’t have to do much. Simply follow the child as he runs from place to place until the dream ends. If you’ve engaged in a romance with someone and asked them to stay the night, then speak with your lover one more time before setting out on the mission.
ALL FORWARD!
.jpg)
Prior to the mission, EDI meets you in the war room. She insists that she must accompany you on the mission in order to increase your chances of success. Given her history with Cerberus, she’s right. No other person on your crew has the wealth of information on Cerberus as she does. She’s also well equipped to hack any security systems that may be in place.
CERBERUS SHUTTLE BAY
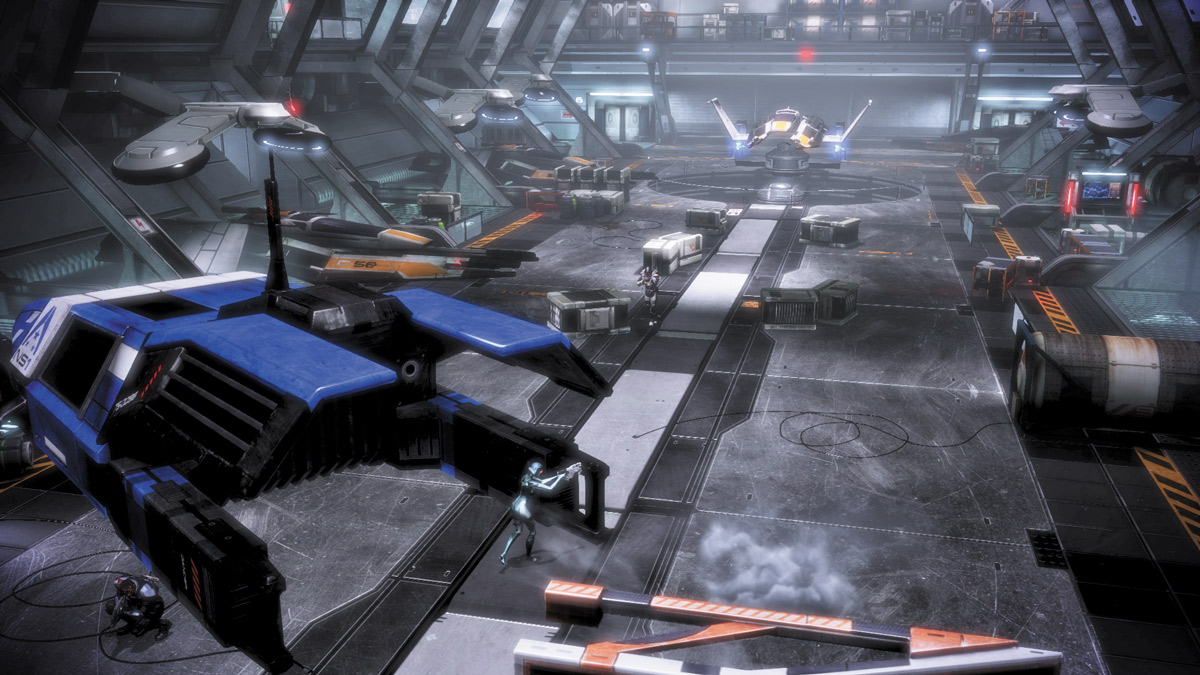
When you crash-land in the Cerberus base’s docking station, the troops are ready for your attack. The bay is guarded by Cerberus soldiers of nearly every type. The docking station is wide, with alleys along the left and right side where you can take cover behind partitions. The center has a large, circular ship-launching platform and several small crates surrounding it.
Approach 1: Take the Center
.jpg)
The majority of the Cerberus forces will scramble across the center of the docking station to take cover behind crates or the nearby alleys on either side. As they do, unleash your combined powers to slow them down, and follow up with weapons fire.
Take down as many Assault Troopers and Centurions as you can before the Atlas comes stomping toward you.
When it does, turn your squad’s full attention on it. Split up your team members across the length of the station to confuse the Atlas and split its fire. Keep your squad members on the move by ordering them to a different spot when the Atlas approaches them.
As it targets one of your squad members, it’ll frequently shift its position and expose itself to attack.
Keep behind cover as much as possible—there may still be a few troopers running around—and focus your attacks on the Atlas.
Approach 2: Use the Alleys, Cross Fire
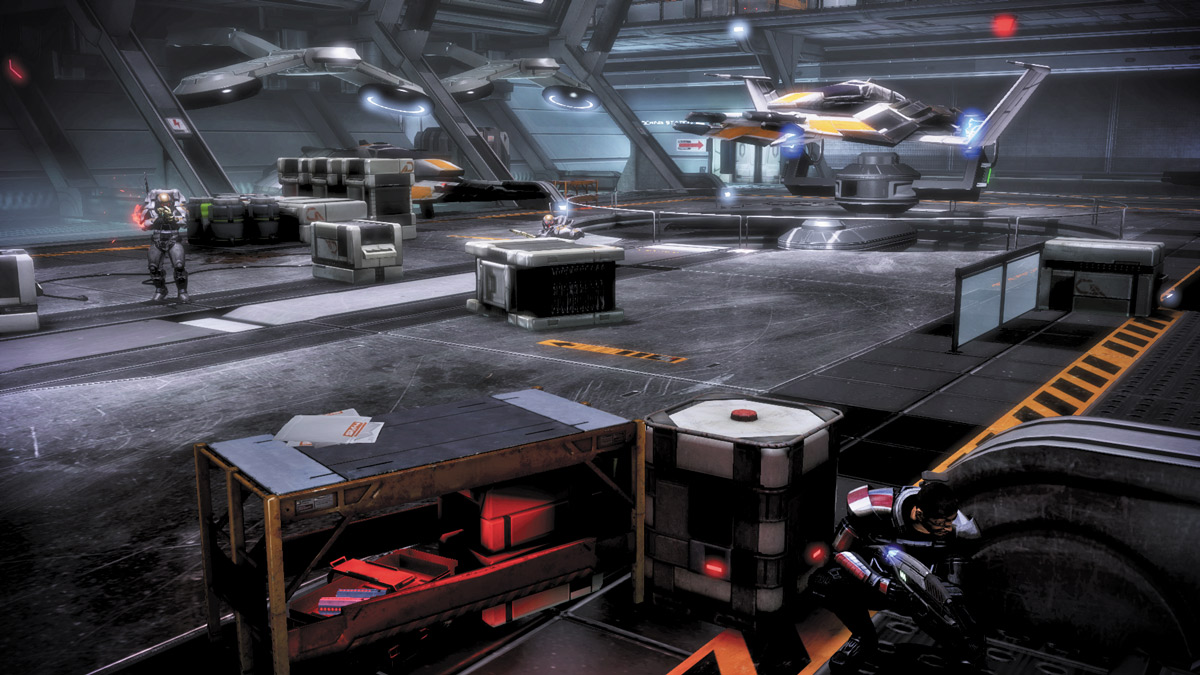
The alley on the right of your landing position is a perfect spot to take cover. Immediately press your back to it and take cover. If any Cerberus troopers are foolish enough to approach you, use a covert takedown to eliminate him quickly.
Carefully blast a path down the right alley, using the partitions as cover as you go. Order your squad into the right alley, while you then rush across the docking station to the alley on the opposite side.
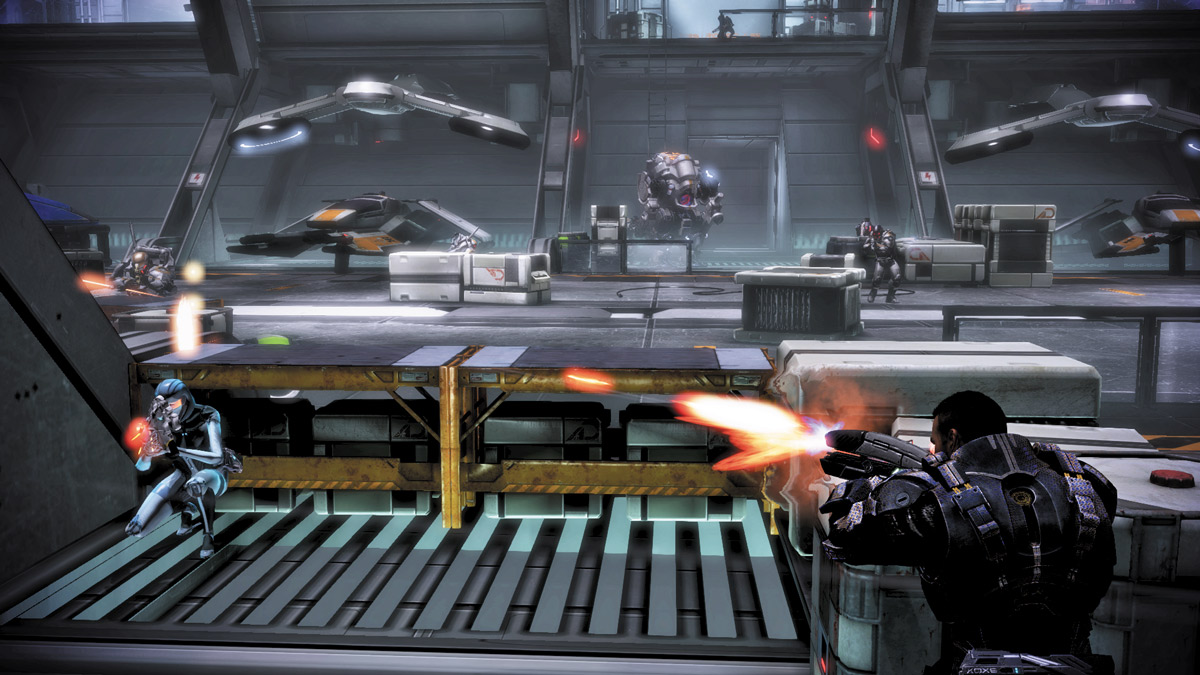
From here, you can begin moving up the alley to create a cross fire at the center of the docking station and trap all enemies. Trap the Atlas in your cross fire and force it to keep guessing as you move yourself and your squad up and down the alleys for cover.
No matter which option you take, when all Cerberus enemies are dead, Cerberus will attempt to vent the hangar. You have a limited amount of time to reach a control console and stop them from doing so.
CONTROL ROOM LEVEL
.jpg)
Go up the ladder on the left side of the docking bay and enter a small control room. Reach the Hangar Bay Compression Controls console and allow EDI to stop Cerberus from decompressing the hangar bay and blowing you out into space.
Despite EDI’s success in overriding their commands, she’s unable to open the hangar door into the main station. You’ll have to blast your way in.
When Cerberus realizes you’ve stopped their venting attempt, they send in reinforcements. Take cover near the door behind you and wait for the Guardians and Assault Troopers to come rushing in.
The area around them is tight and cramped, so either use explosive power combinations or toss a few grenades down the hall to blow them all up at once.
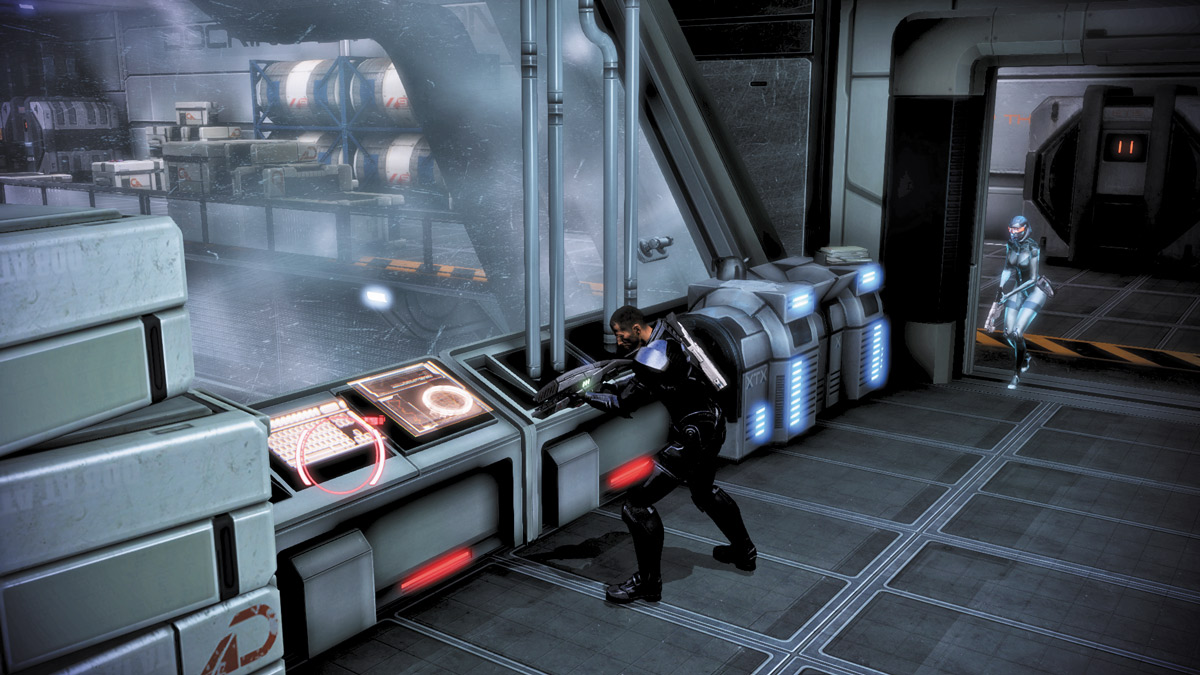
You can also aim through the Guardian’s vision slot to get a one-hit kill since he’ll be within close proximity. If not, then use powers like Pull to yank its shield away, or use Singularity, Throw, Shockwave, or Lift Grenade to hurl the enemies up and away.
Go down the hall and turn right into the next section. Here, another team of Cerberus goons attacks. This team is comprised of Centurions and a Nemesis. Similar tactics should do the trick here as well. Finally, make a right at the end of this section to find the Rotation Controls console.
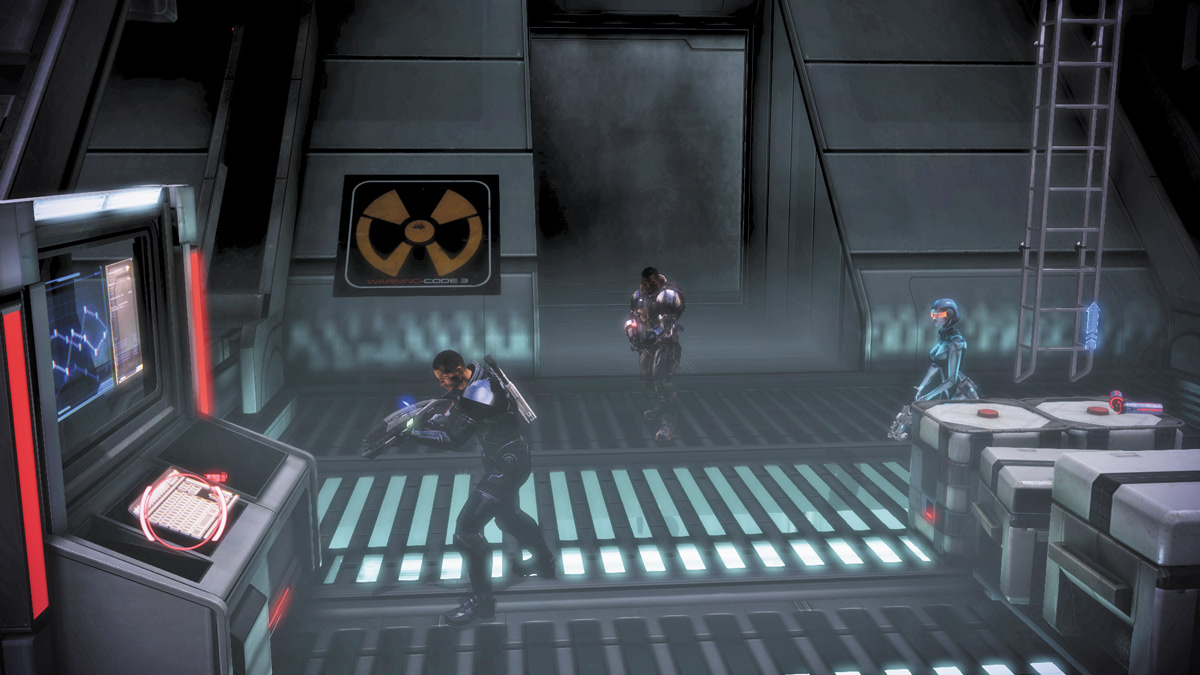
When you activate the rotation controls, the ship-launching platform turns 180 degrees and aims at the next fighter plane at the hangar doors. When the ship launches, it’ll slam into the doors and breach them.
Make a left and go through the next set of doors. They open to a ladder leading back down to the lower hangar level. Go down and hit the Clamp Release button at the base of the ladder to launch the fighter plane through the hangar doors and into the main facility.
Atlas Battle
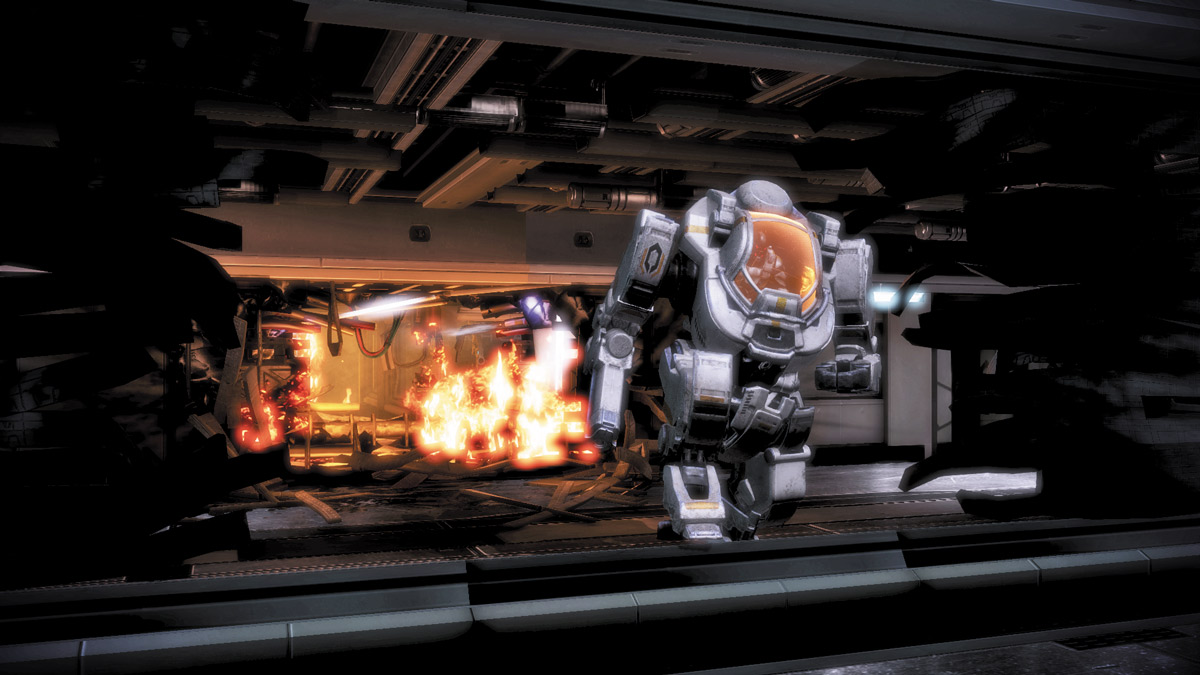
The explosion gets the attention of nearby Cerberus forces, and an Atlas Mech comes stomping in from the hole in the hangar door. At the same time, two Assault Troopers rush down the ladders from the levels above and make a mad dash to the bay’s left and right corners. The two Troopers are rushing to the empty Atlas Mechs in the corner of the room. Stop them.
.jpg)
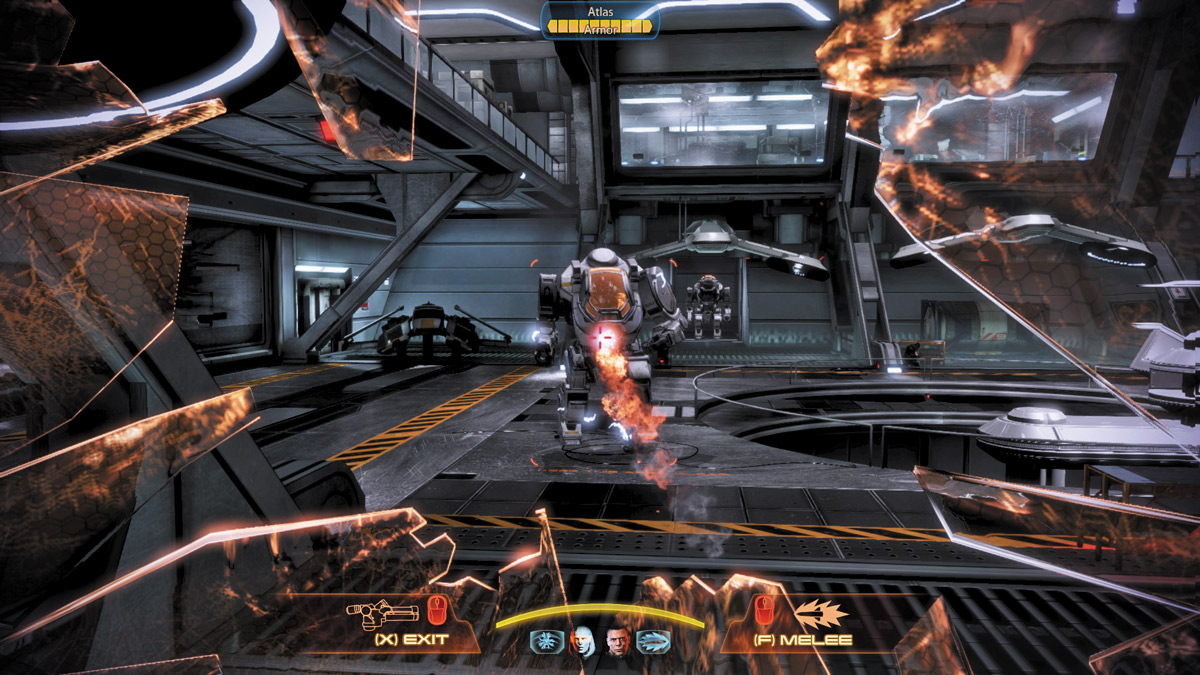
Immediately, order both of your squadmates to distract the Atlas while you use the side passage to reach the far end of the hangar bay. When you do, quickly overwhelm the Assault Troopers before they can get inside. Use power combos to blow them up, or use single power attacks like Stasis (or even Adrenaline Rush) to slow down the action.
Once they’re out of the way, get inside one of the mechs and turn its awesome weaponry on the Atlas attacking your team. A few well-placed missile shots should do the trick. Once the hangar bay is clear, go through the hole in the hangar doors toward the fiery blaze.
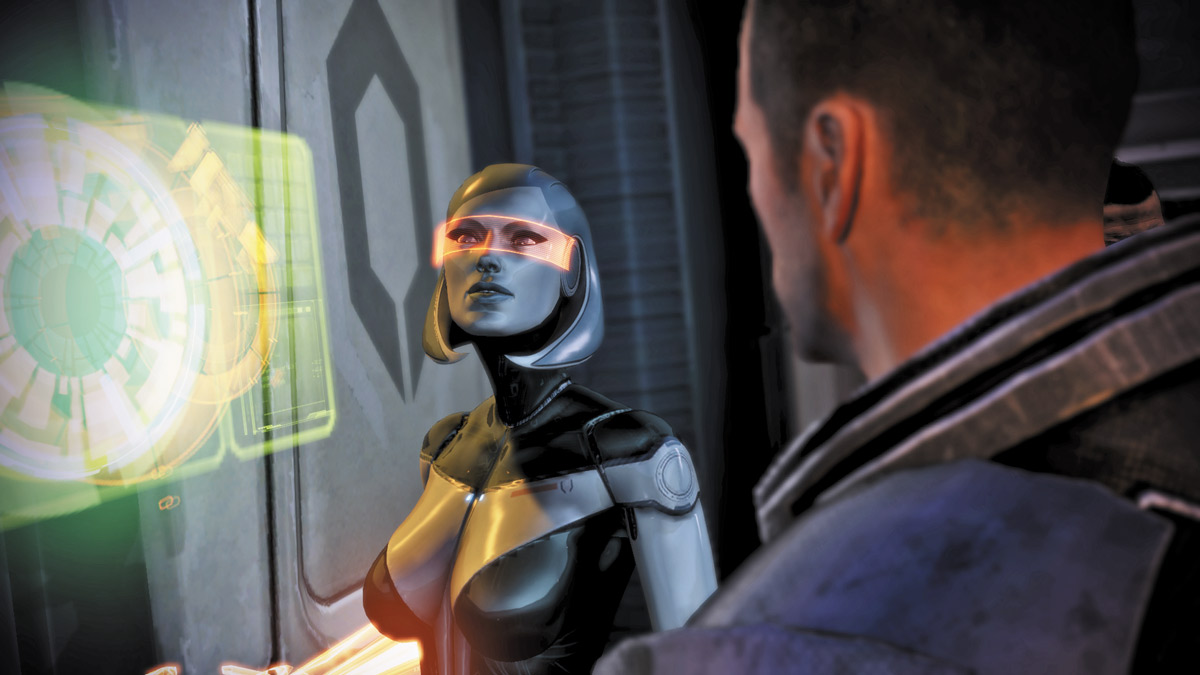
Order EDI to open the door on the left. As she does, she taps into the facility’s communications system and is able to spy on Cerberus’s movements about the base. She alerts you that Cerberus has redoubled its efforts to stop you, but with her on your side, they can only slow you down. Go down the hatch when you’re ready to proceed to the central lab.
Sublevel, Section 1
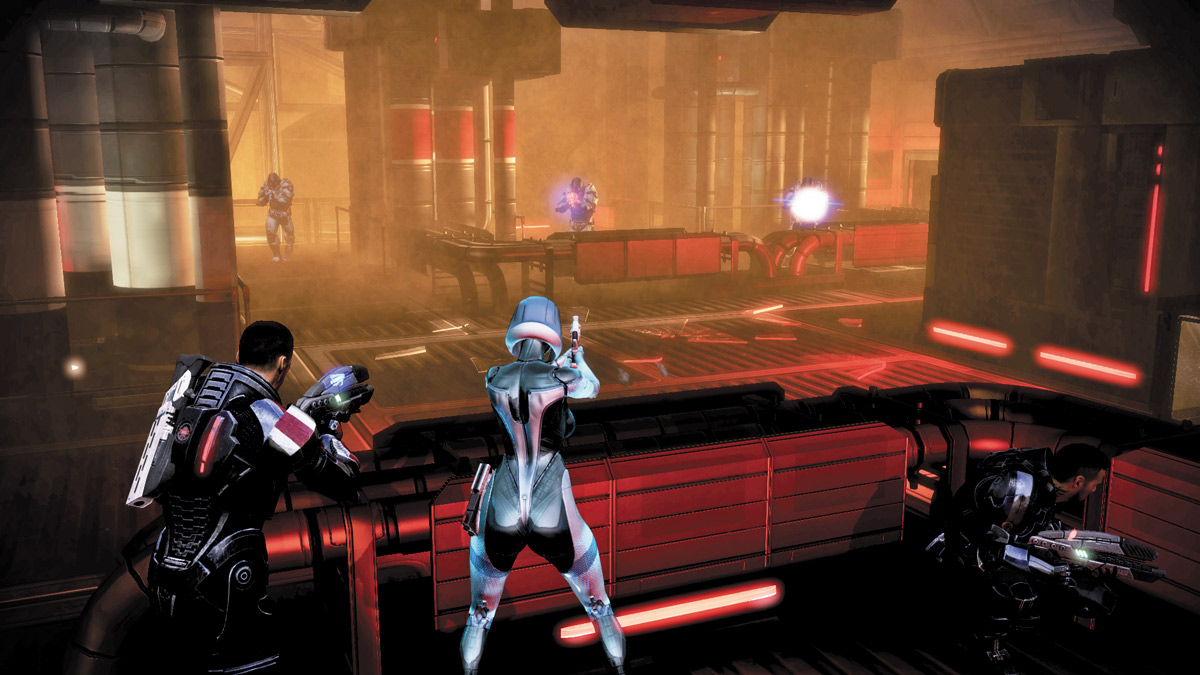
The sublevel of the base is dark and full of winding passageways. Before your arrival, Cerberus combat engineers took position inside and started getting into place, setting up turrets along the way. They’re accompanied by Assault Troopers and Centurions.
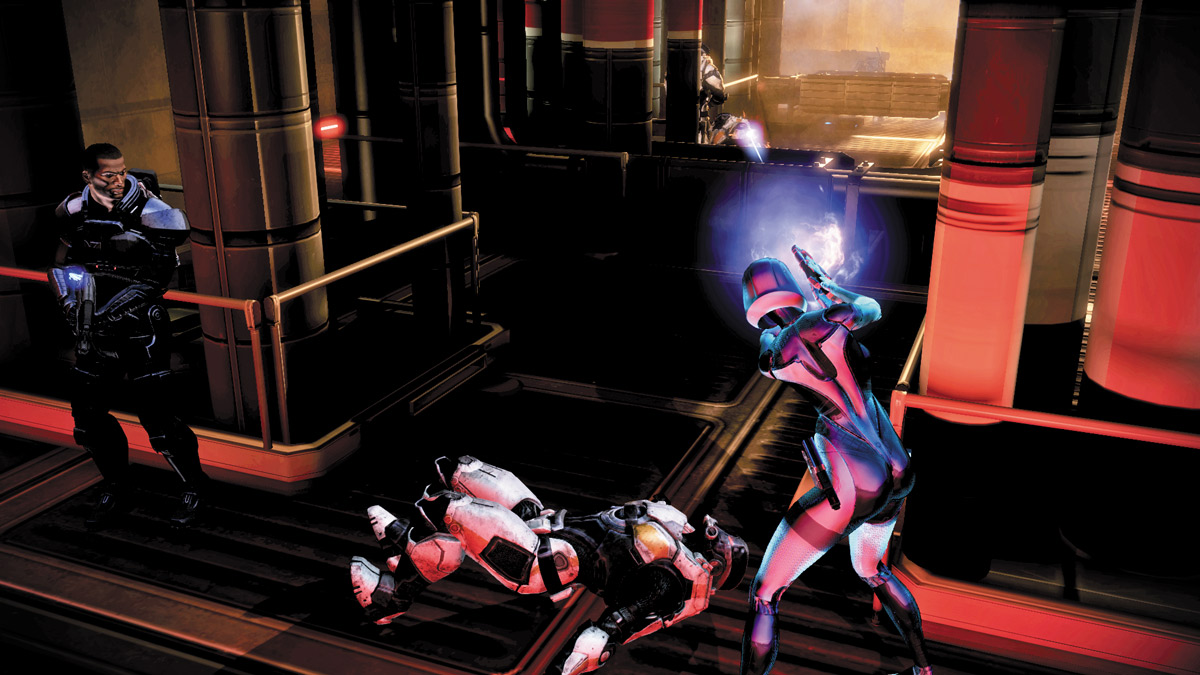
Despite being stuck in the base’s cramped lower level, you’ve got plenty of freedom to move around. The pipes running across the floor and the tanks lined in short rows allow for a wide enough path full of cover from which to safely attack and defend.
Take cover behind the pipes and follow them across the room, sidestepping the Cerberus troops.
Maneuver your group across the room, attacking as you go, until you spy the Nemesis at the level’s far end. When you do, take cover and flush it out of cover, then attack. If you’ve got a sniper rifle equipped, zoom in and take it out with a headshot.
.jpg)
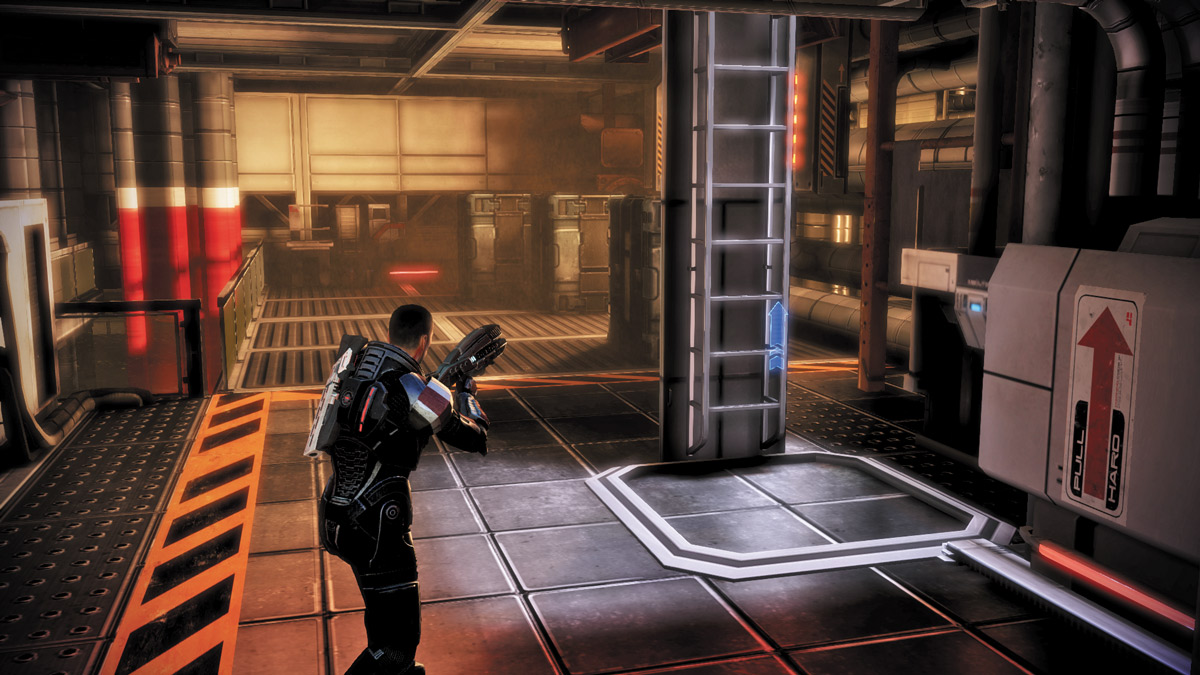
After you deal with the Nemesis, press deeper into the room and keep the pressure on the remaining Assault Troopers. Take cover near the L-shaped pipes that come down from the ceiling and flush out all remaining foes on this level.
Order your squad to take cover with you in this L-shaped cover; you’ll have a great place to fend off foes. Move from one side of the L-shaped pipes to the other, clearing out enemies as you go until the room is empty. Go up the ladder at the far end of the sublevel when you’re ready.
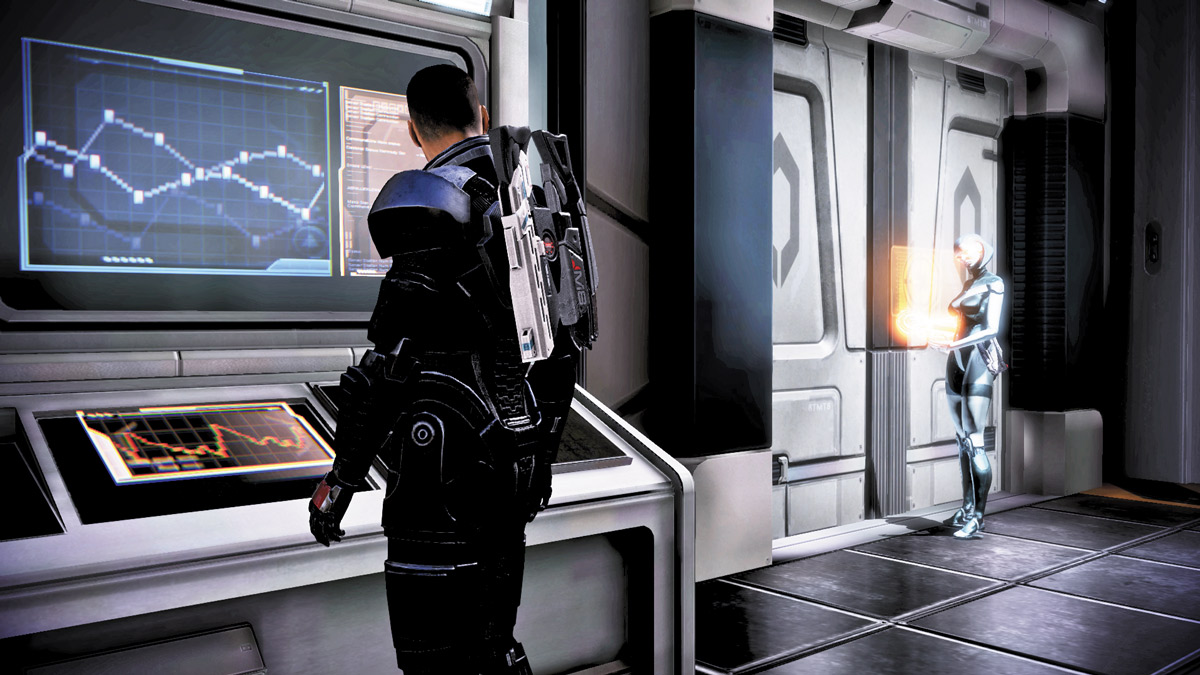
After climbing the ladder, stop by the computer console near the next doorway while EDI opens it. The console has three entries, all about Project Lazarus. You can check out all three or none if you choose.
When you’re done with the console, EDI will open the door and allow you access to the next area.
The trip to the top level doesn’t last long, as the next section has a massive hole in the floor. You’ll have to go back down to the sublevel for this next section.
SUBLEVEL, SECTION 2
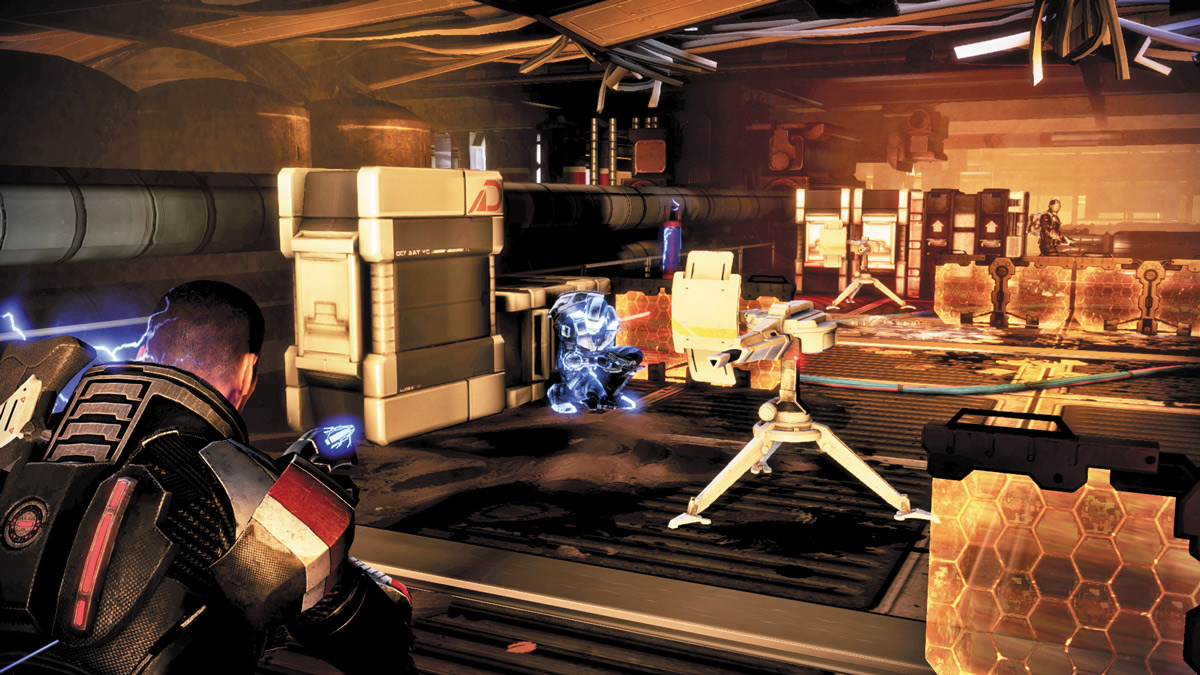
Turn right into the large burning section of hallway and follow it down to the next section of the sublevel. This sublevel isn’t lower than before; it’s just another section of it. When you set foot into this section, the Assault Troopers waste no time opening fire.
They’re the first line of offense as the Combat Engineers set up their turrets. Send your squad ahead and mow down the Assault Troopers on your way to the Combat Engineers. If you get past the first line quickly, you can reach the Combat Engineers before they’re able to fully deploy their turrets.
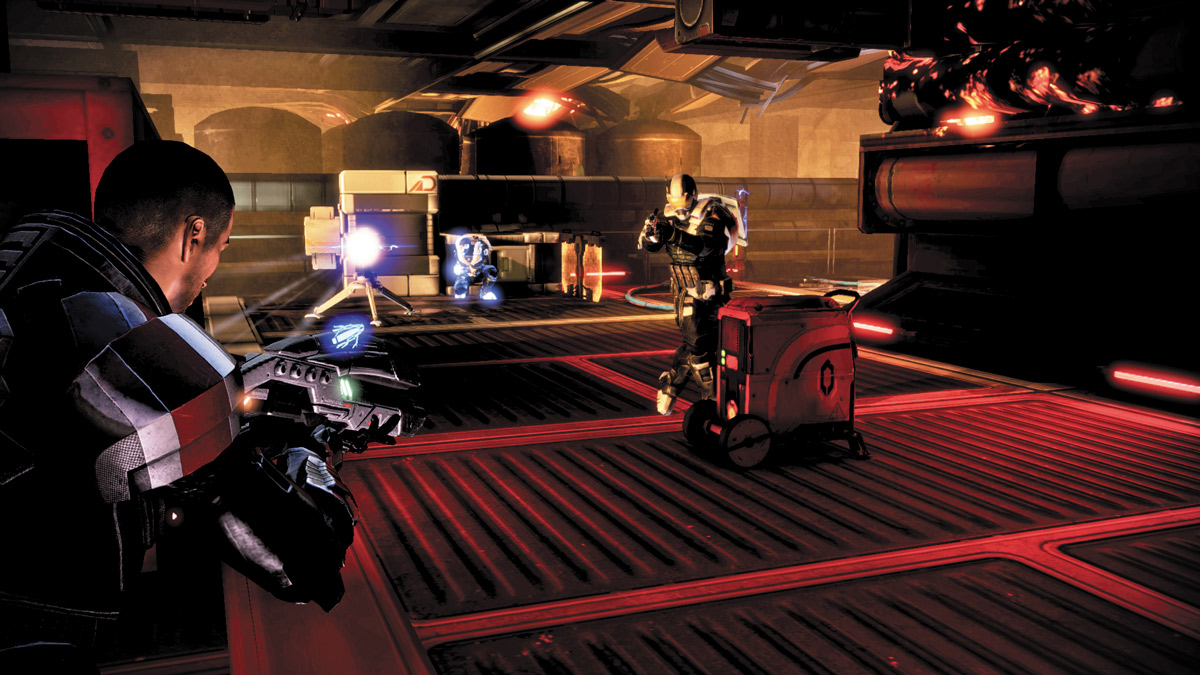
Fire on the Combat Engineers first to interrupt their progress and leave the turrets disengaged. If they manage to deploy the turret in time, hurl a grenade or use explosive power combos to blow them up. EDI’s Decoy ability can also help distract deployed turrets in this lower area.
Make a left and spot the next Combat Engineer. If they’re standing next to a shield pylon, destroy the pylon first (they work like barrier engines), then focus your fire on the nearby enemies. Continue carefully picking off turrets and Combat Engineers until the path to the far ladder is clear.
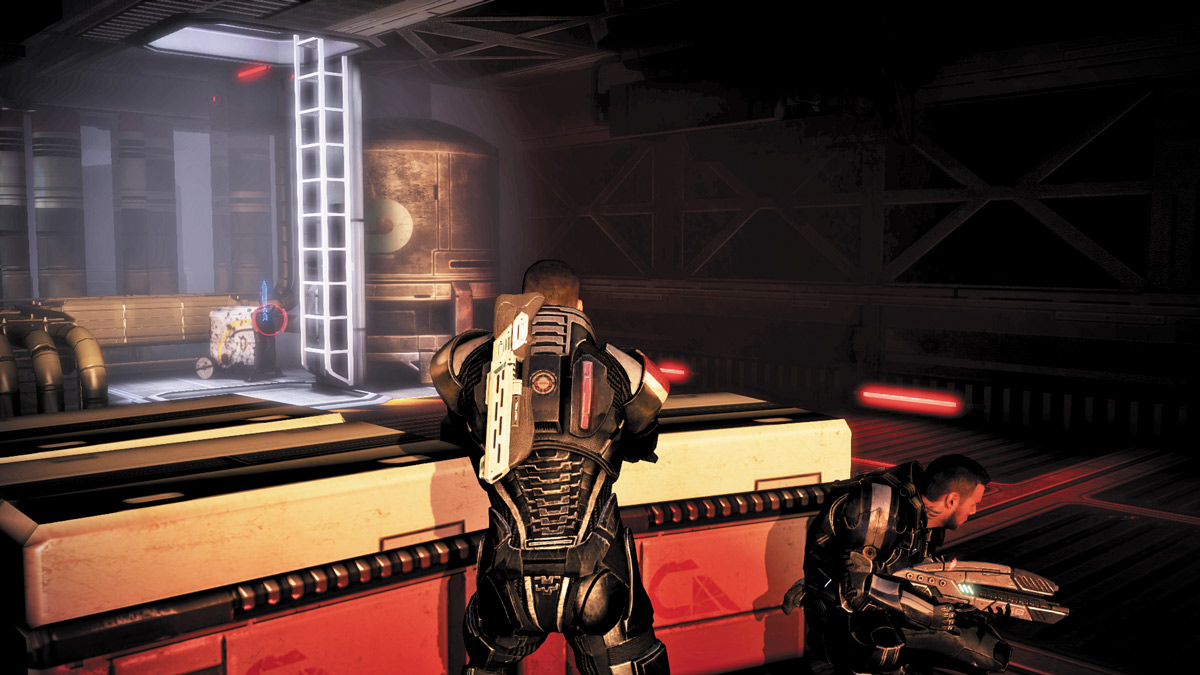
Stop when you reach the ladder to the top level and take cover. Wait for several Centurion soldiers to come rushing down the ladder. Ambush them as they descend. Go up the ladder to the top floor.
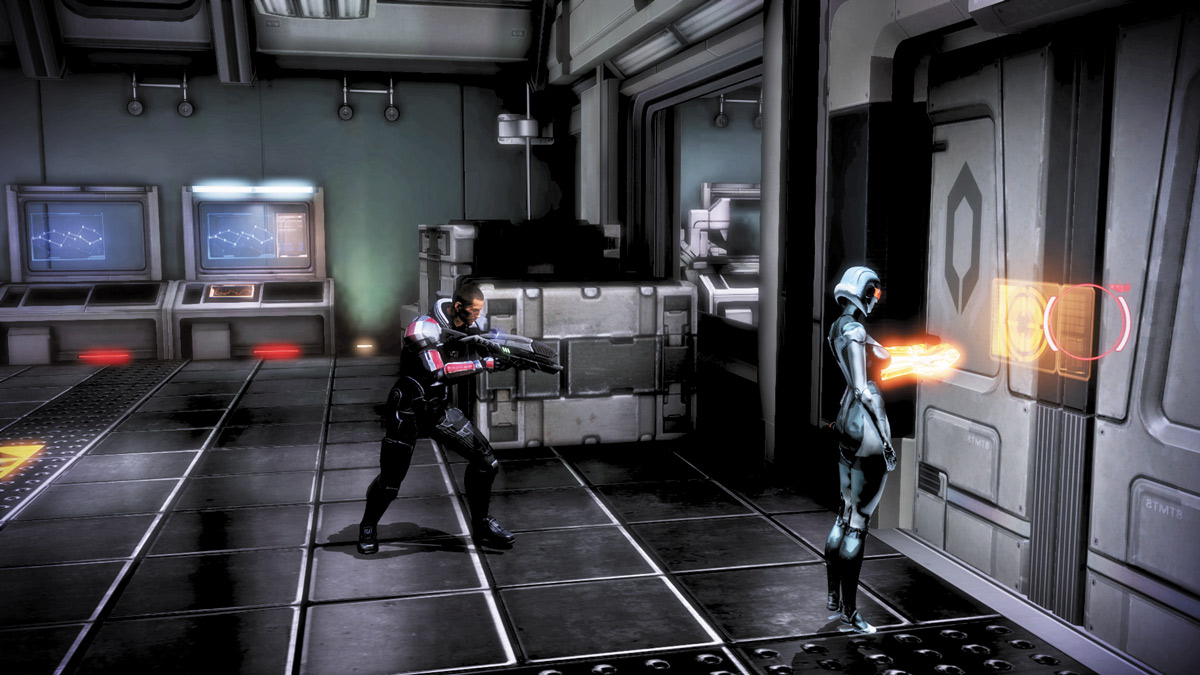
Once again, EDI needs to unlock the passage to the next area, and there is a video console nearby. Access the console to view up to three videos. This time, the videos are not about you or the Lazarus Project, but rather about EDI and Dr. Eva.
You don’t have to watch the videos, but if you do, you may gain a new appreciation for your synthetic ally. When you finish with the video console, EDI is done opening the passage to the next area.
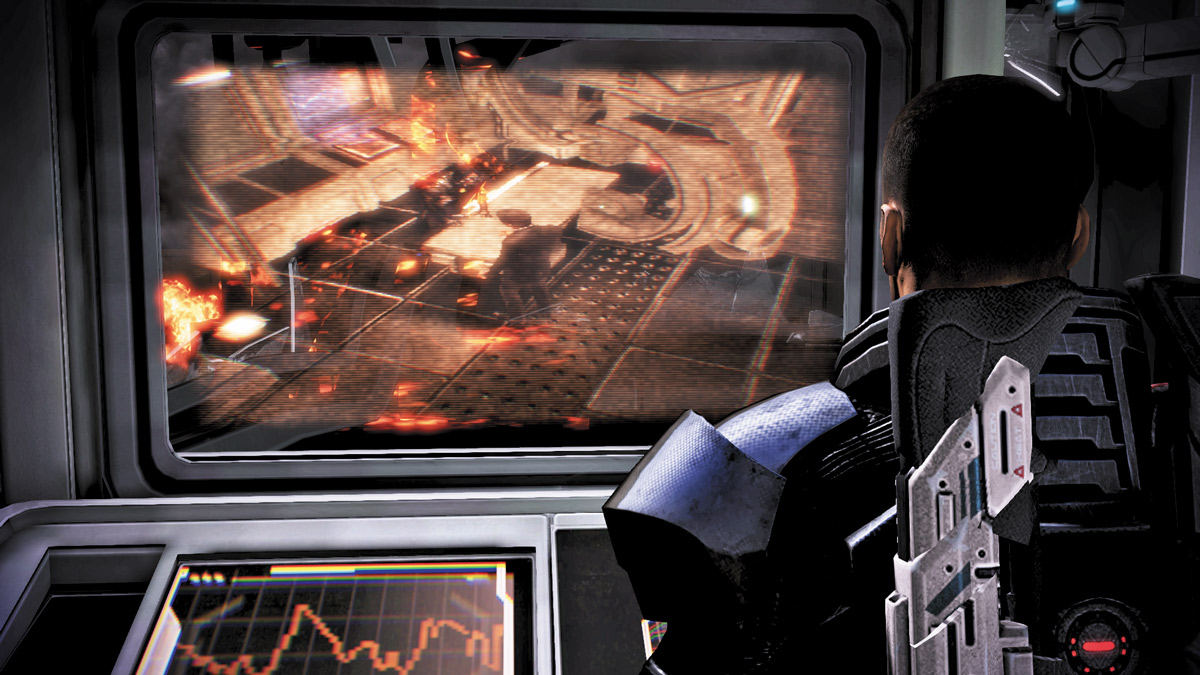
There is a third Cerberus Video Log console in the room attached to where you find the Med Kit and Demulcore Overlay. Access it and you’ll see video footage of the Illusive Man and, Kai Leng. Kai isn’t happy with the events on Thessia; he’s still itching for a fight
.jpg)
Back out in the main hall, you’ll find a blue-lit shaft leading down to the lower level again. Drop down to find a series of walkways leading up and out, past a large proto-Reaper dangling from the facility’s roof. It’s currently powering the facility and poses no threat.
The conversation between you and your squadmates may help shed some light on the Illusive Man’s current motivations. If you’ve brought Liara, she may even give you perspective from one that has lived in the shadows, just as the Illusive Man does.
PROTO-REAPER CHAMBER
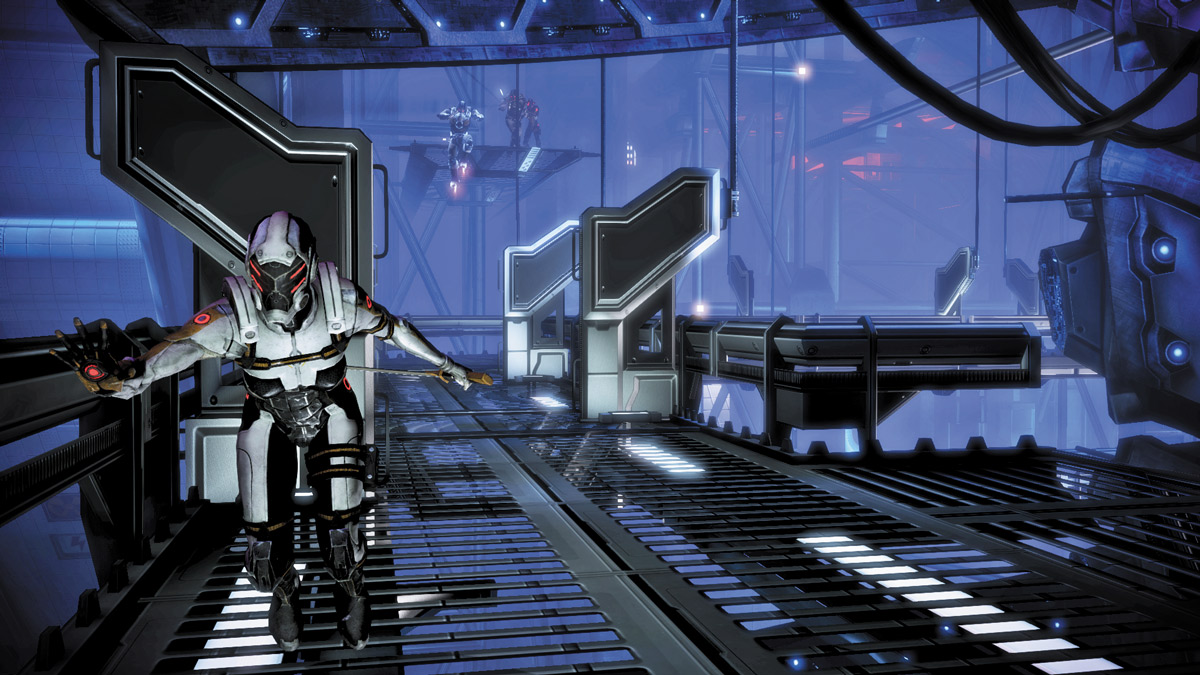
The walkways around the proto-Reaper’s chamber are narrow and don’t offer much cover, save for the small partitions along the sides. Luckily, you’ll be facing Nemesis Troopers, Assault Troopers, and Phantoms in this section, so they’ll be limited by the narrow catwalks just as you will.
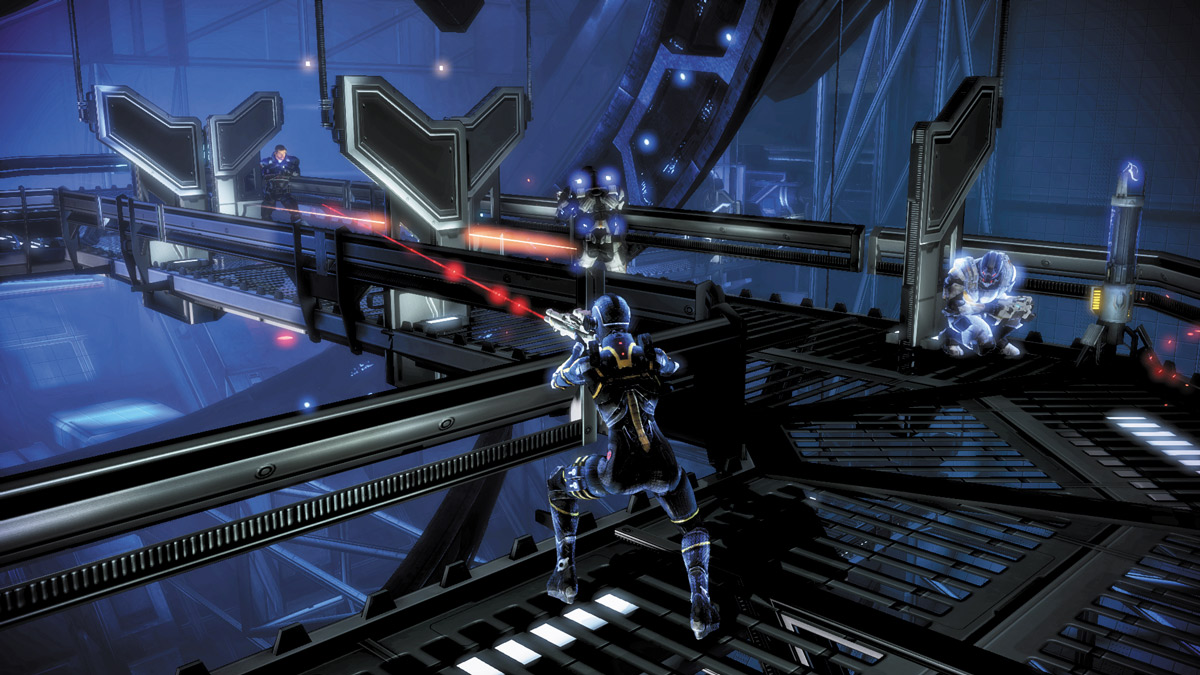
Turn left at the corner and begin walking down the catwalk. Target Phantoms and Nemesis soldiers first. Because the catwalks are so narrow, the Phantoms will be forced to attack you head-on.
Use your team’s powers (Singularity, Shockwave, Throw, etc.) to knock them off balance and off guard.
If you have grenades, use those as well. Once the Phantoms are vulnerable, unload heavy fire on them to put them down.
Nemesis soldiers will stay near the catwalk’s far end to maximize the length of the catwalk and snipe at you. Return the favor by using sniper-rifle fire or other long-range powers to take them out. Keep your squad moving down the catwalks steadily; this will pressure the Nemesis, allow you clean shots at the Assault Troopers, and keep the Phantoms readjusting to your movement.
.jpg)
As you progress, enemies will attempt to rush you from behind. There is a series of catwalks below you as well, and the Troopers will use them to run past your position and appear from behind you.
Keep your line staggered as you move so that you could easily keep an eye behind you as well. The closer together you are, the easier a target you become for the enemy.
.jpg)
Also keep an eye across the long U-shaped catwalk for enemies perched on the other side. Pick them off before they get you. Go all the way around the catwalks, taking out Troopers as you go until you reach the next ladder.
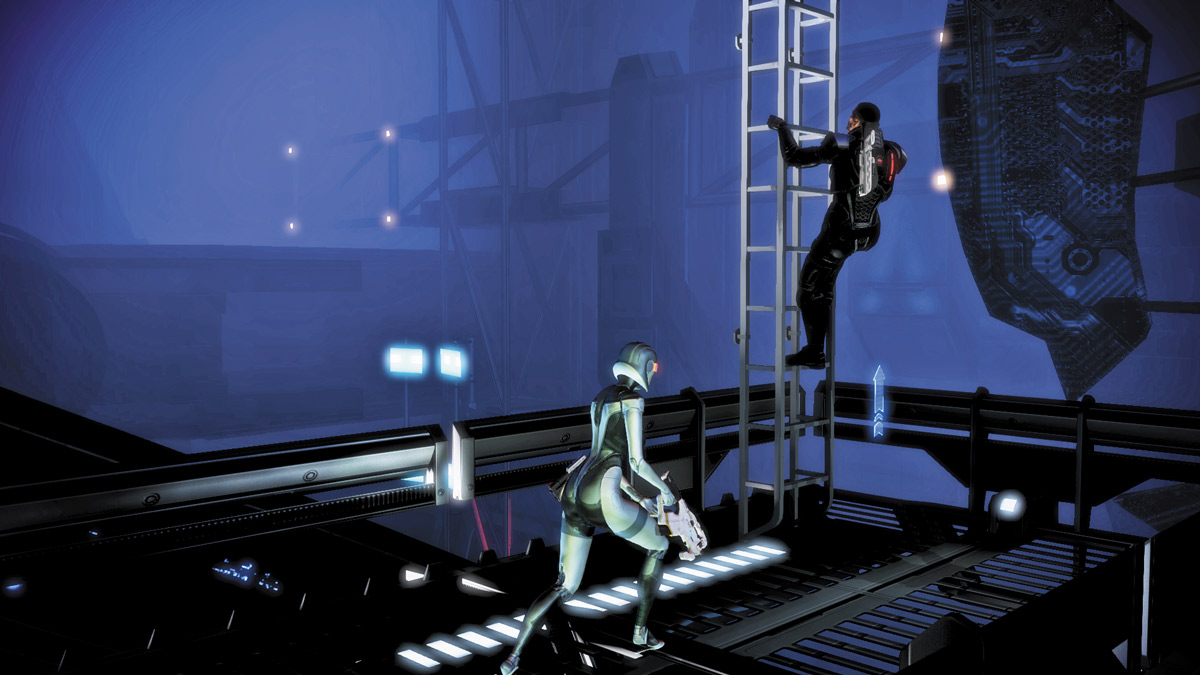
The top level has a few more Cerberus soldiers to contend with, but the path is much shorter. Overwhelm your enemies with close-range fire, power combinations, and grenades until you’ve cleared a path to the ladder at the other end.
If you need to stop and take cover, use the partitions on the left and right sides of the walkways to regenerate your shields.
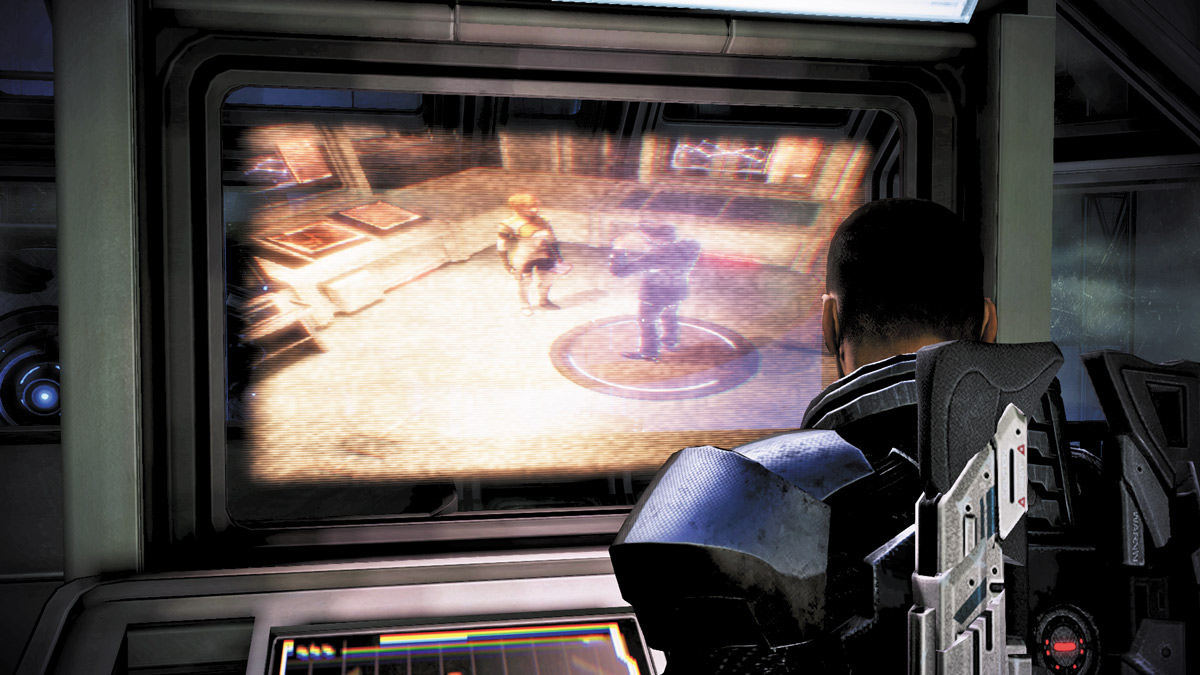
Make a left inside the next room and find another Cerberus Video Log console near the center of the walkway. Activate it to view three more video files. These videos are about Paul Grayson, a former Cerberus operative.
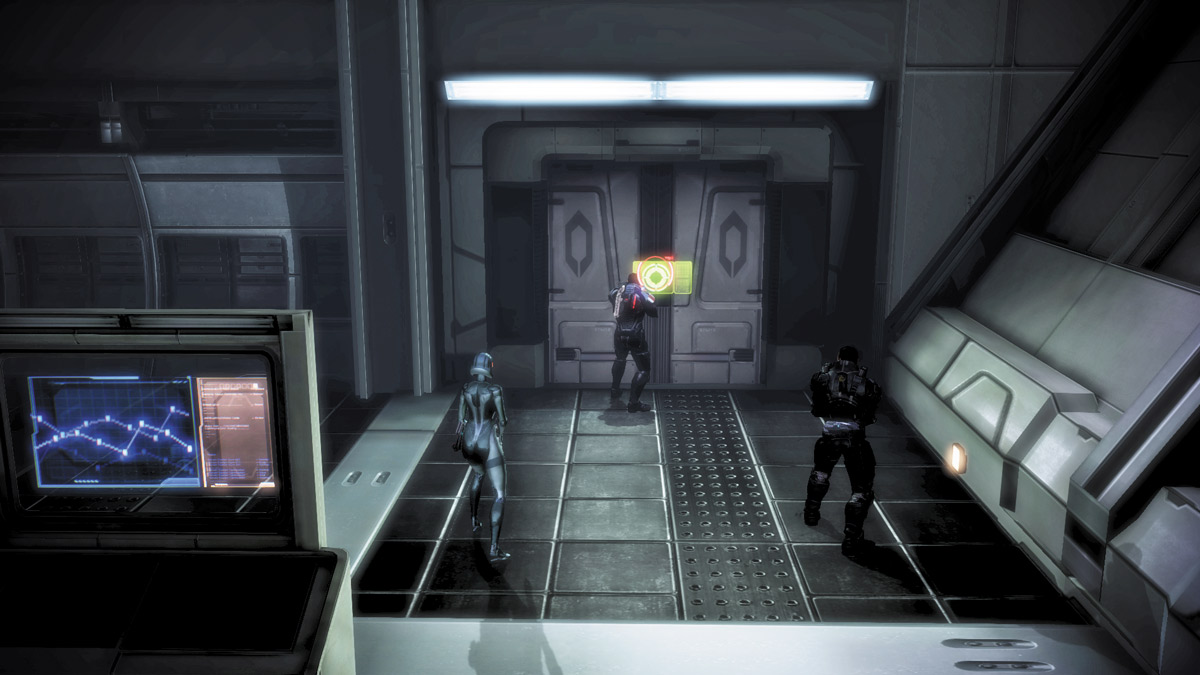
Go through the door at the end of this walkway to find the entrance to the Illusive Man’s main office.
ILLUSIVE MAN'S OFFICE
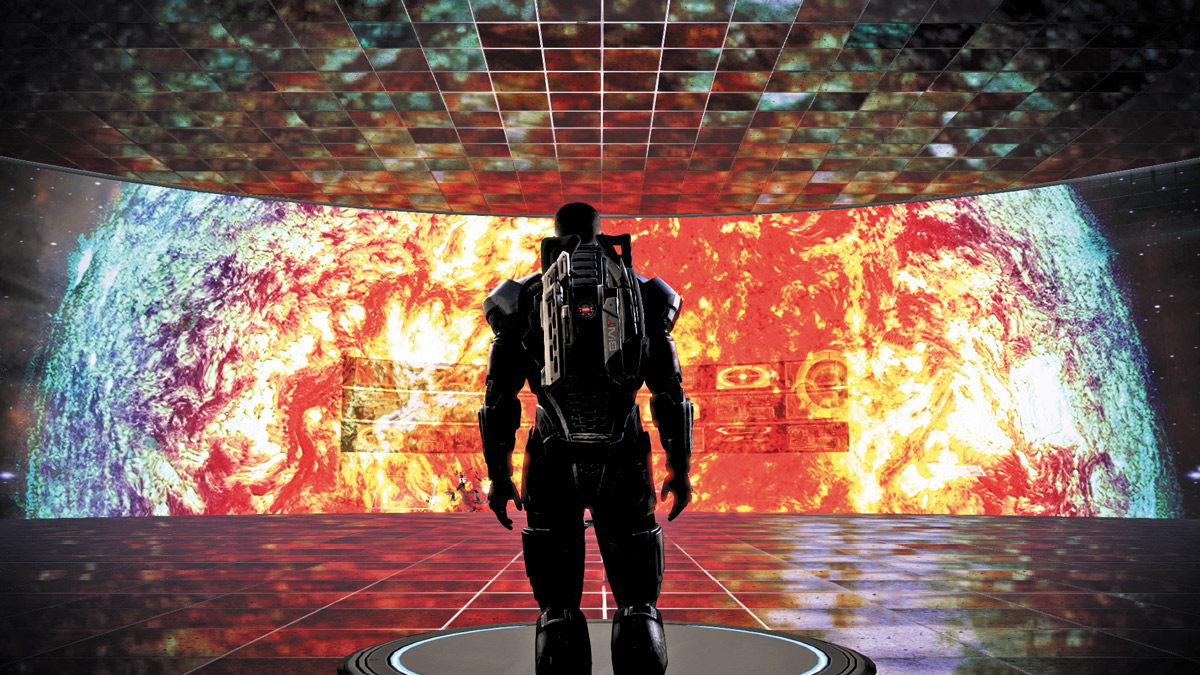
When you enter the office, you find it abandoned. The Illusive Man escaped before you arrived, but he’s still monitoring his base. When you try to access his computer to locate the Prothean VI, the Illusive Man appears through holo-communication.
Engage the Illusive Man in conversation during this confrontation and ask him what the Catalyst is. He won’t tell you, but he will encourage you to ask the Prothean VI. You can also engage him in a Paragon/Renegade persuasion.
The Illusive Man won’t change his mind about his plans to control the Reapers, so end the conversation according to your Paragon/Renegade leaning and resume your search for the Catalyst with the Prothean VI.
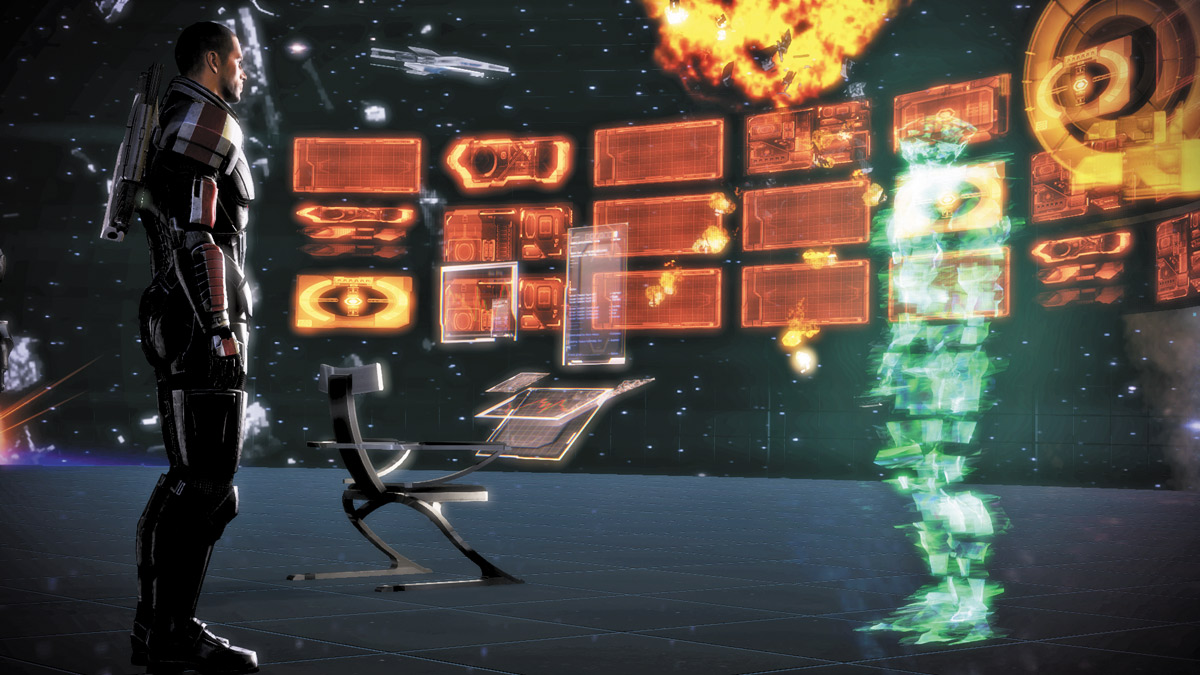
Listen to the Prothean VI’s explanation of what the Catalyst is, its history, and how it works with the Crucible to destroy the Reapers. Unfortunately, he explains that the Illusive Man has already informed the Reapers of your plans to use the Crucible, and they’ve taken control of the Catalyst before you can get to it.
Just then, Kai Leng arrives at the Illusive Man’s office. He’s ready to end this fight once and for all.
KAI LENG BATTLE
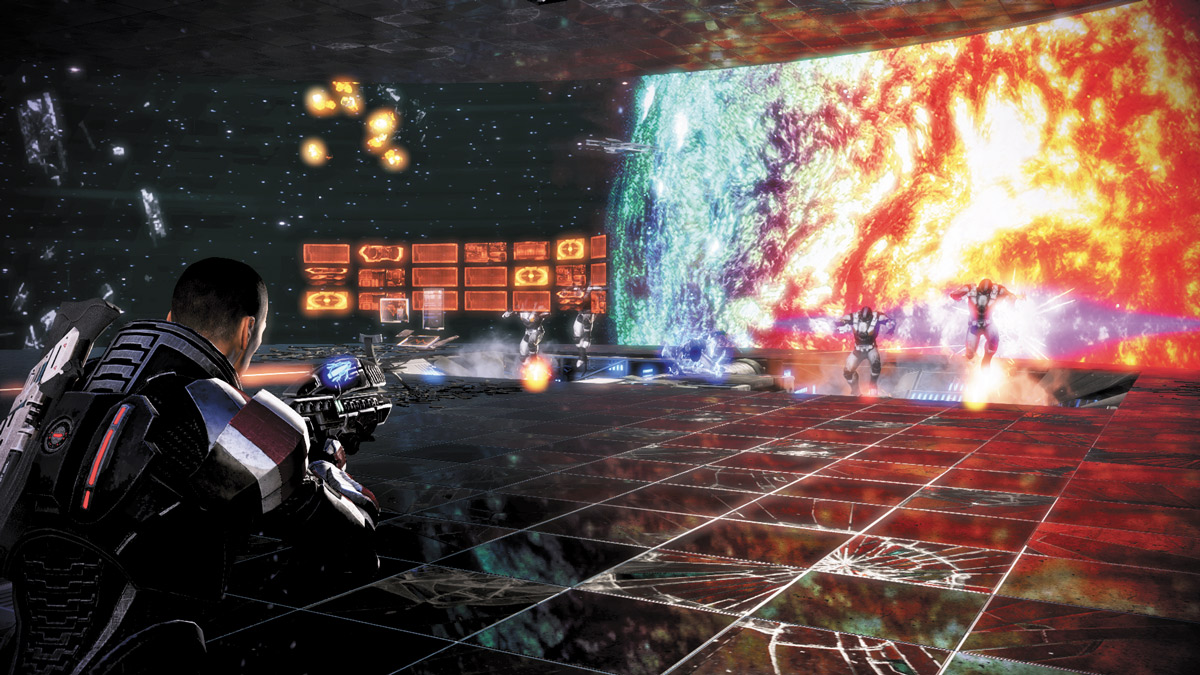
Kai Leng immediately attacks, so press the Melee button repeatedly to shake loose of his grip. When the battle begins, Leng is nearly across the entire office, so begin unloading on him from a distance and use explosive power combos to inflict as much damage as possible.
.jpg)
Activate EDI’s Decoy ability, and spread your team out across the now-darkened office to give Kai Leng multiple targets all at a distance. Soldiers can use Adrenaline to slow down time and get clean shots at the assassin, while other classes can rely on powers like Stasis, Warp, Throw, and Shockwave to keep Leng at arm’s length.
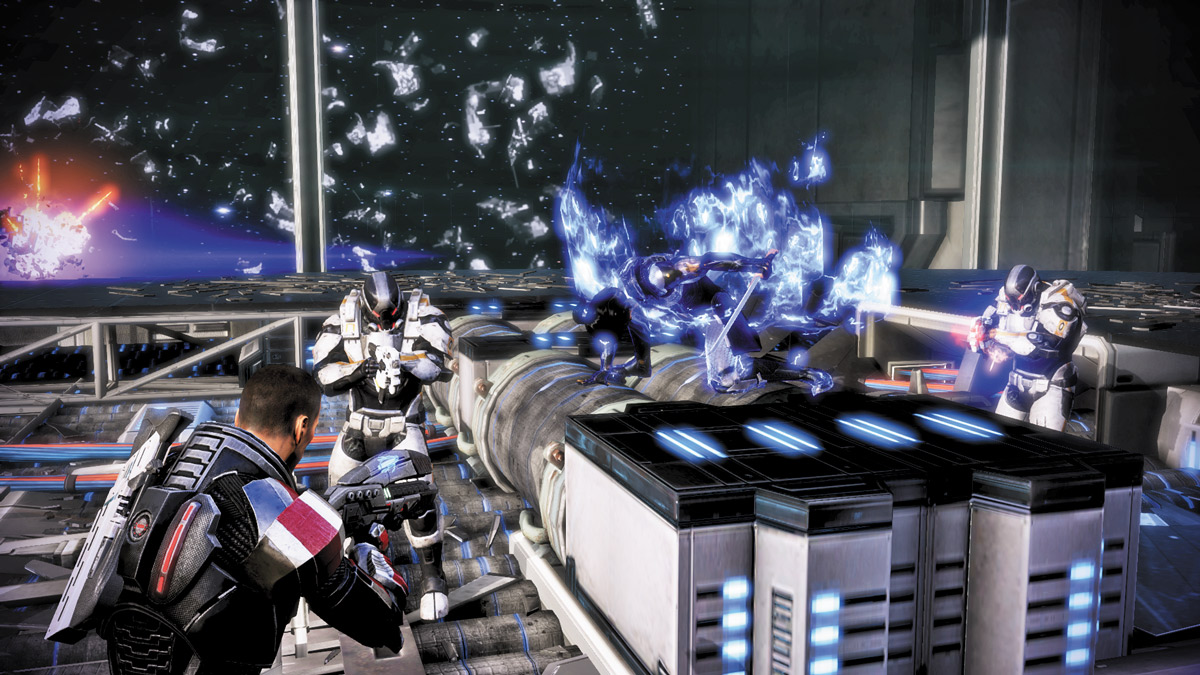
When Kai Leng charges his fist and prepares to recharge his shields, roll away and get out of the radius of his shock wave. He’ll slam his fist on the ground and unleash a radial shock wave that can deplete your shields and destroy the ground around him.
The shock wave is followed by the arrival of several Cerberus forces: Assault Troopers at first, then Nemesis, and finally Phantoms.
Launch a grenade or other explosive power at the soldiers as they arrive; eliminate them as quickly as possible. Kai Leng will continue to recharge a bit longer while his soldiers hold you off, so turn your attention to them and take them all out before Leng resumes his attacks.
.jpg)
Circle-strafe around the outer edge of the office area, keeping your gun and powers aimed at the enemies in the center and slowly work down Kai Leng’s health. Even though he has a long-range attack, Leng prefers close-quarters combat, so stay away (unless you’re a Sentinel or Vanguard), and pick him off until he falls.
ONE LAST CHAT
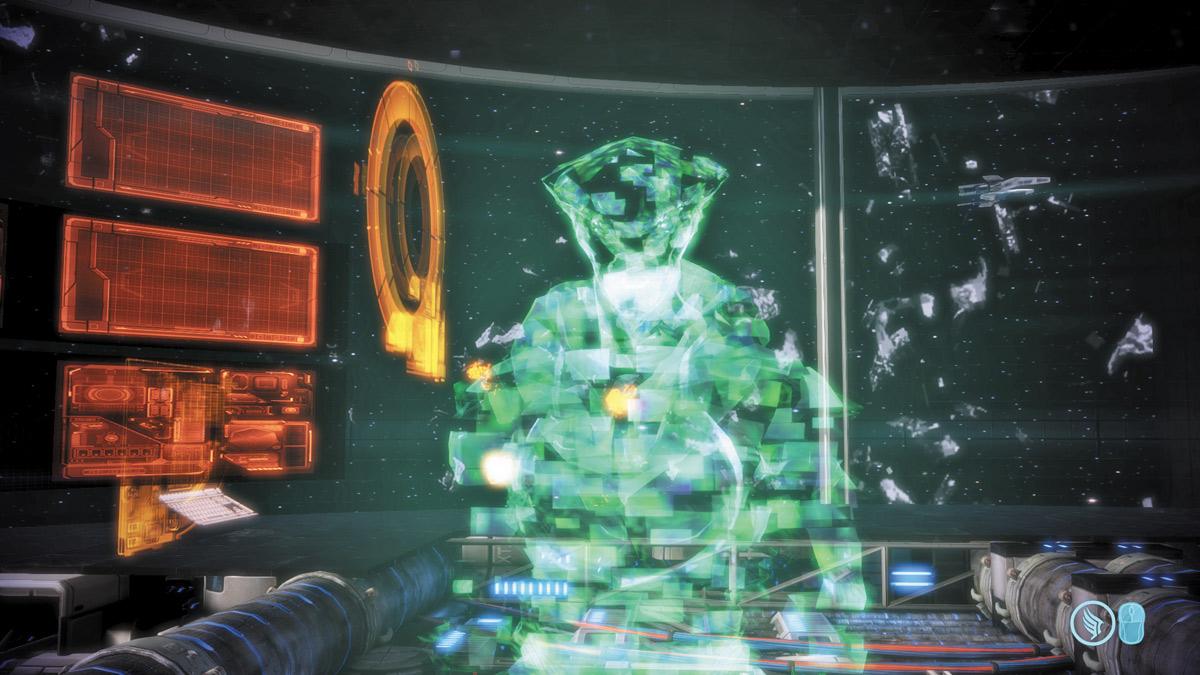
After defeating Leng, you can speak to the Prothean VI one last time. When you do, you’ll get a chance for one more Paragon/Renegade interrupt. Back on the Normandy, you speak with Admiral Anderson. He’s ready to launch the final attack on the Reapers...and it starts in London, England.