
Mass Effect 3 Guide Walkthrough Prologue
Fear the Reapers
.jpg)
.jpg)
It’s been nearly six months since the events of Mass Effect 2 concluded, and Commander Shepard has fallen out of grace with the Citadel Council and the Systems Alliance.
During a time when there should be galactic peace, only Shepard and a few others are fully aware of the menacing threat that looms over nearly every planet in the Alliance.
When you take control of Shepard, quickly orient yourself and follow Admiral Anderson. The next section will usher you out of Alliance HQ and into the war-torn Vancouver cityscape.
Keep up with the admiral as he leaps across the severed beams supporting the Alliance building. Almost immediately after starting to follow Admiral Anderson, a Reaper beam will fire at the building in front of you, forcing you to jump over a small gap.
Your goal is to reach the Spaceport and escape the Reaper attack. Follow the onscreen commands and stay close to the admiral.
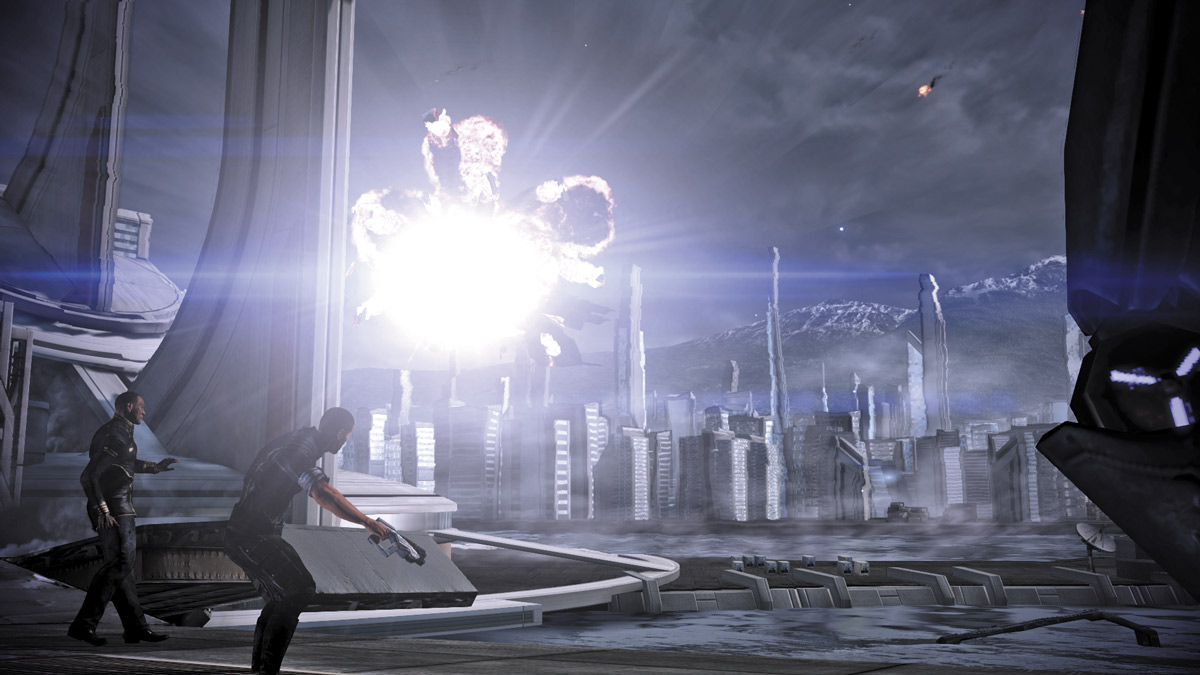
.jpg)
Shortly after climbing the ladder, hop atop the small structure and look right across the span connecting your building and the next to spot several husks. Take aim and open fire.
Pick off as many husks as you can, then drop down the ladder on the right, onto a small balcony. No sooner do your feet touch the ground than several more husks attack.
Use well-timed melee attacks to put them down. A Reaper dreadnought in the distance attacks but narrowly misses, instead blowing open the building in front of you. Venture inside.
Enter the building through the blown-open wall and pick up the Med Kit on the ground near the burning debris; then approach the damaged door across from you.
As you pry it open, a husk reaches through the gap and attacks. Give it a strong (charged) melee blow to knock it back, then open the door for Admiral Anderson.
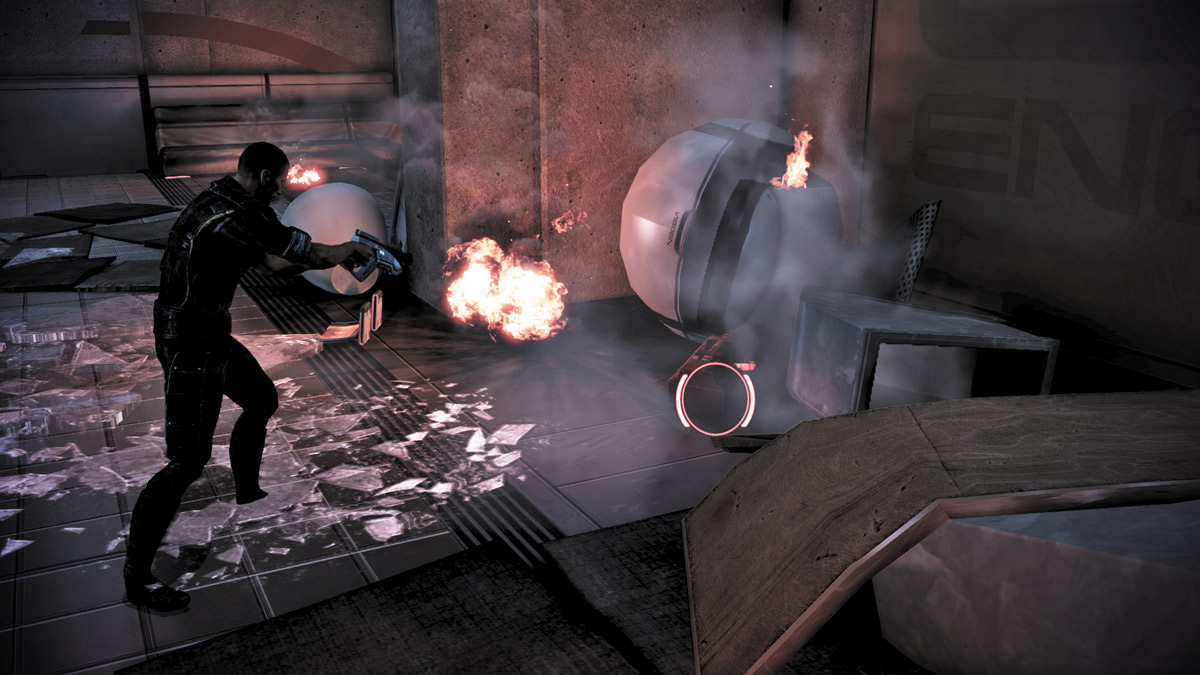
Once the admiral is through, you hear a small thump nearby that catches your attention. Examine the vent in the room to discover a panicked young boy looking for refuge.
The child is too scared to follow Shepard and escapes through the ventilation shaft in a direction that Shepard cannot follow, so move on and follow Anderson deeper into the burning debris of the Alliance HQ.
Pick up the ammo on the ground, reload your weapon, and follow the admiral out the window of the next building. Follow him down the exterior of the building to the area below.
As you do, a Reaper ship destroys an Alliance dreadnought in the distance, and the resulting shock wave crumbles the structure you’re on.
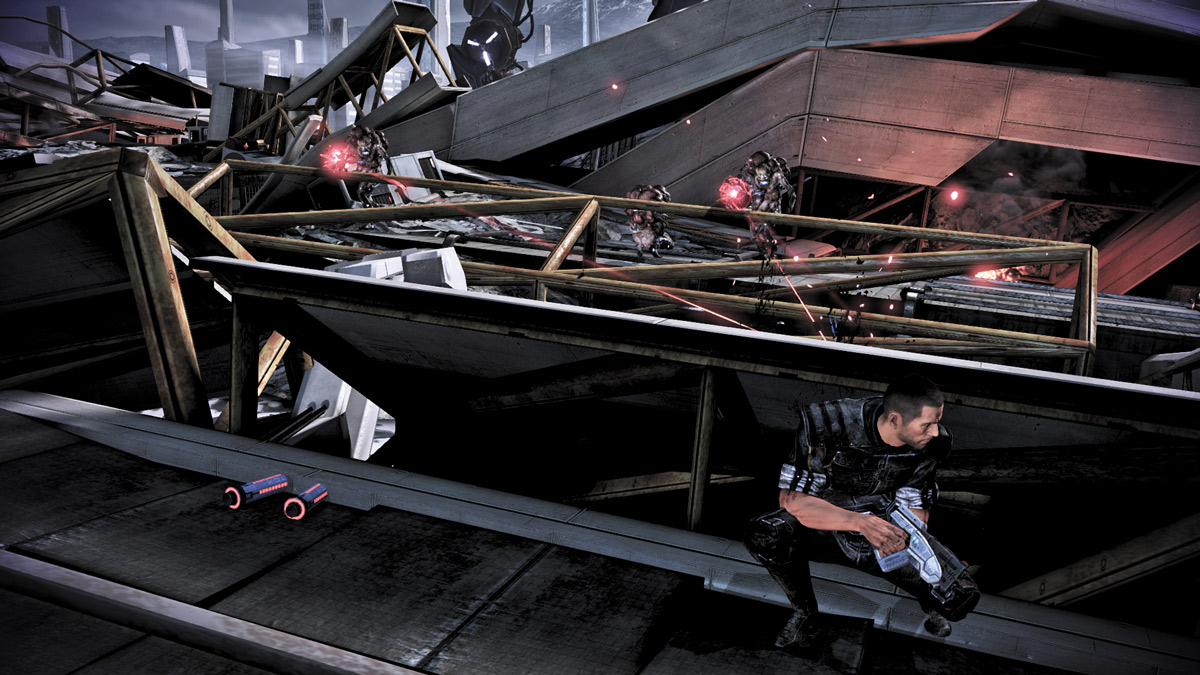
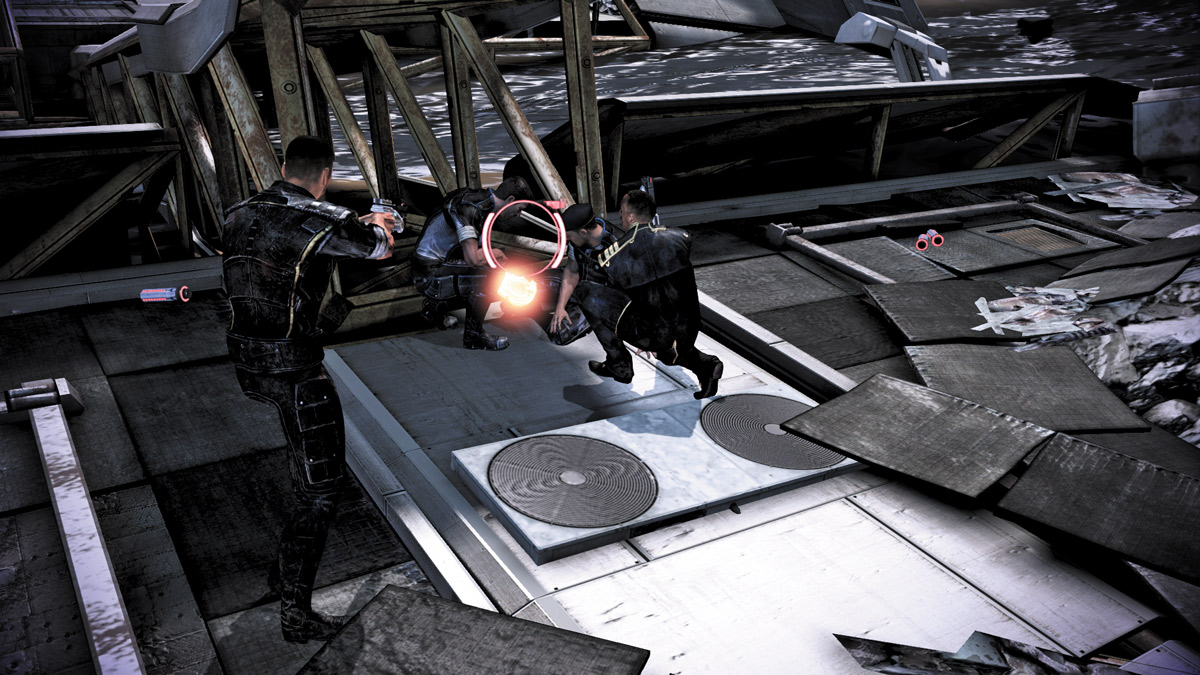
The tumble leaves you no worse for wear, so get up and immediately begin following Anderson again. He’ll lead you across more debris, over fallen beams, and down to a team of fellow Alliance soldiers pinned by Reaper cannibals. Speak to the injured soldier, then quickly take cover behind the fallen beam on the left.
Wait for the cannibals to open fire. When they stop firing, pop out of cover and return fire. Take careful aim at their heads and pick them off one by one.
The soldier explained that he and his group barely escaped the damaged gunship. The radio was left near the gunship, so you and Anderson volunteer to go retrieve it.
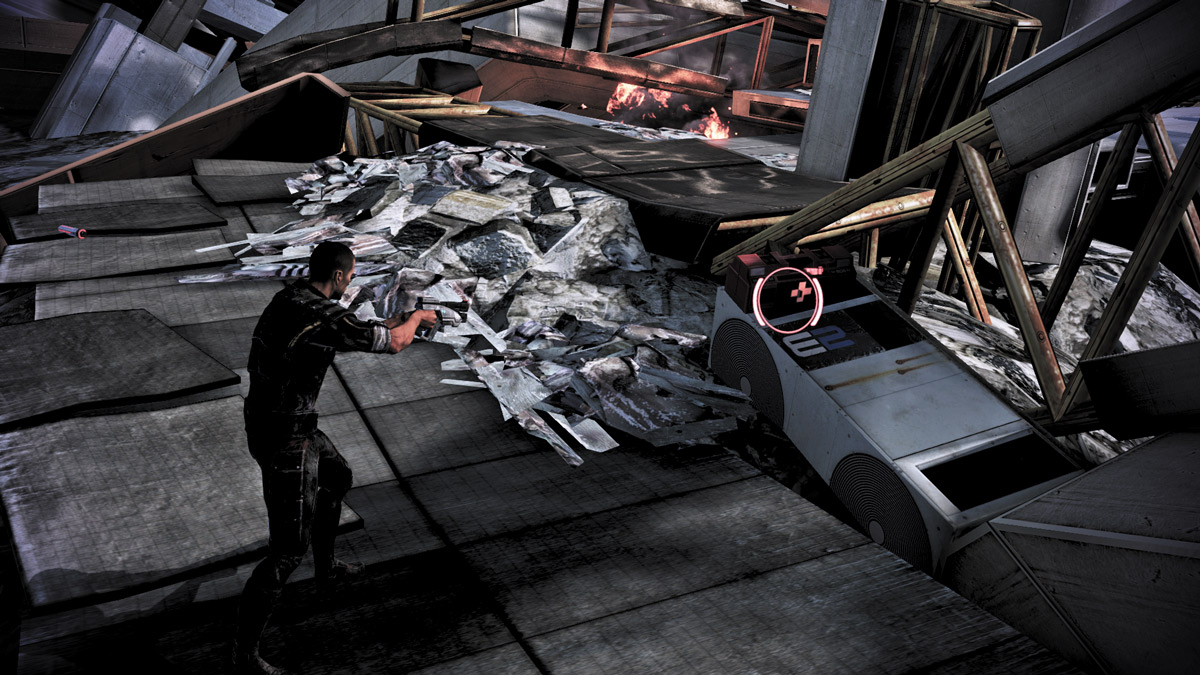
Follow Anderson across the makeshift bridge and turn left. Pick up the Med Kit on the right, then turn right to face several more cannibals. Take cover near the small debris wall and wait for the cannibals to pop out of cover before taking them down.
This is a great area to experiment with your class abilities. If you’re an Infiltrator, try using your Tactical Cloak to shift from cover to cover until you can get the drop on them. Vanguard-class players can begin to experiment with the Biotic Charge ability.
This is also a great area to begin getting accustomed to close-quarters combat. Charge strong melee strikes and knock back the enemies before taking cover and finishing them off with class-specific powers or weapons fire.
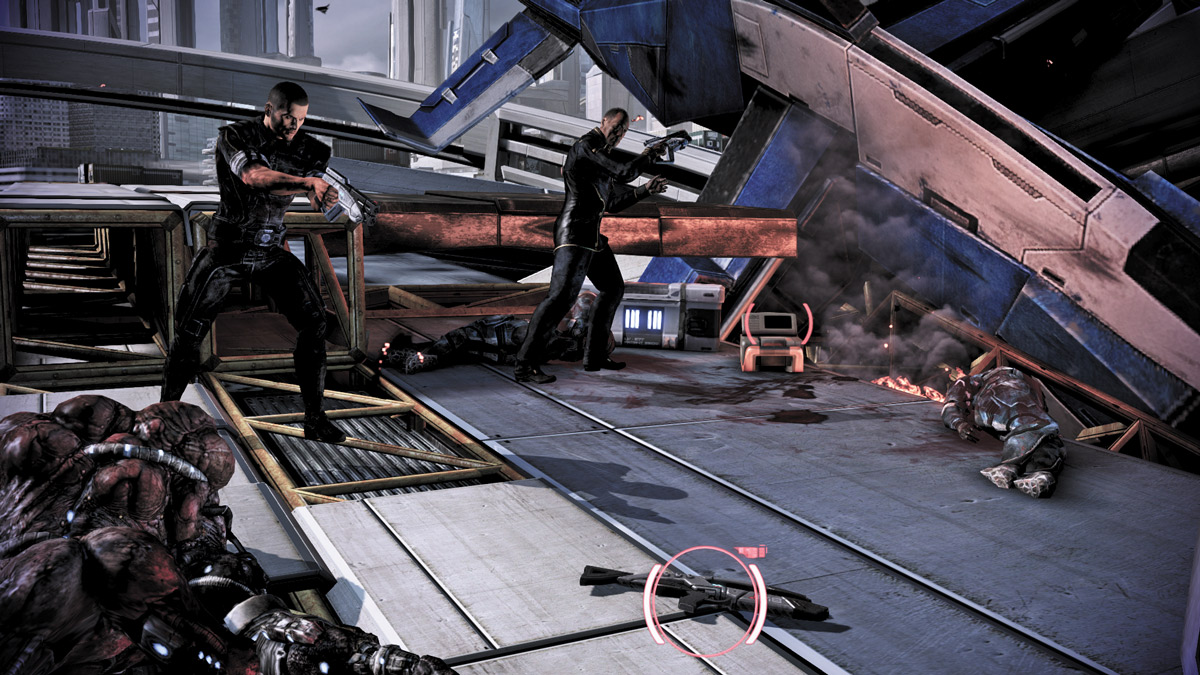
Once you’ve cleared the area, make a right, drop into the next area, and walk to the end to find both the radio and the M-8 Avenger assault rifle. Activate the radio to call for help.
The Normandy gets your distress call and comes to your rescue. Unfortunately, a group of cannibals arrives before your escape vessel, so take cover and hold your position until help arrives.
.jpg)
Several waves of cannibals will attack, but if you pick your shots carefully, you can hold them off. Keep the admiral behind cover to your right while you take the left.
If you want to leave your cover and use class-specific abilities, do so only after whittling down the cannibal numbers.
The gap between you and the cannibals is wide, and the Reaper attackers won’t leave their position to get too close to yours, so you have the advantage here.
Just as you run out of ammunition, the rescue ship arrives. Run to the nearby beacon for a pickup and escape to the Normandy. Before you go, however, Anderson reinstates you as an Alliance commander.
Welcome back.