
Mass Effect 3 Guide Walkthrough Act 3
No Man’s-Land
.jpg)
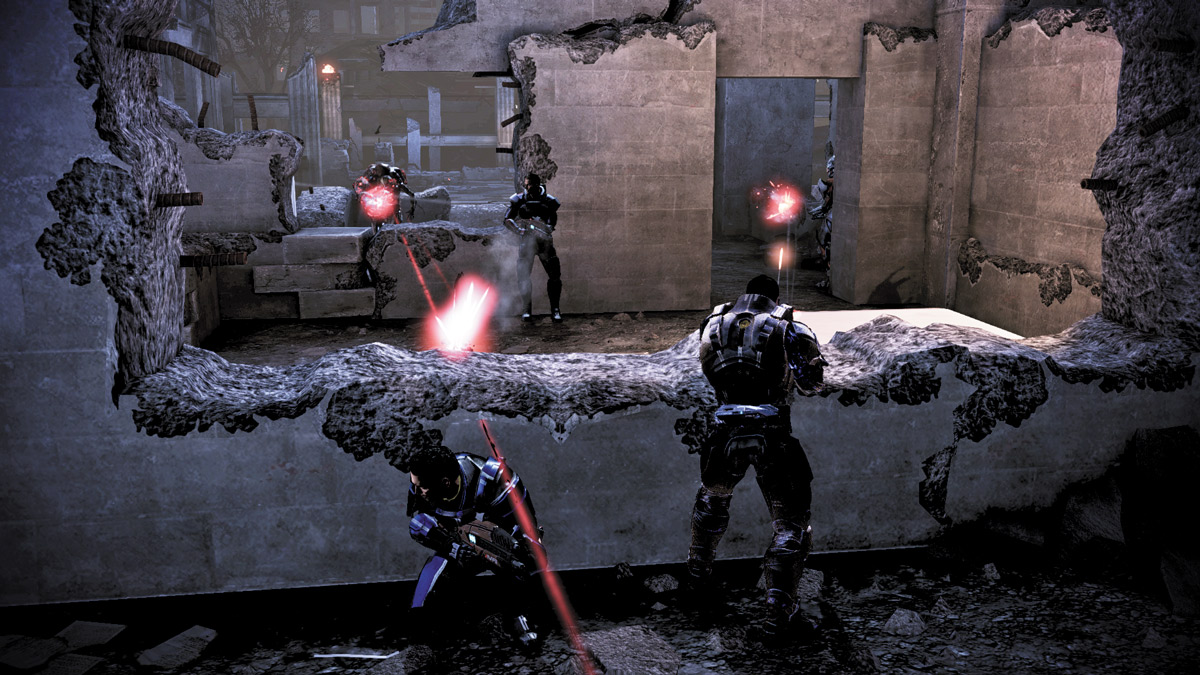
No-Man’s-Land is a long stretch of London torn apart by Reaper forces. Its path is cluttered with demolished buildings, city rubble, and the dead.
Worst of all, it is occupied nearly completely by the Reapers. Upon landing, you’re greeted by a line of enemy forces.
Duck behind the cover nearby and wait for the Reapers on the wall’s other side to pop out of cover.
Use close-range weapons to destroy the enemies nearest your wall, then switch to long-range weapons and powers to take out the enemies on the other side of the far wall.
If you need a better vantage point, clear out the area between the first two walls first, then rush across to the second wall.
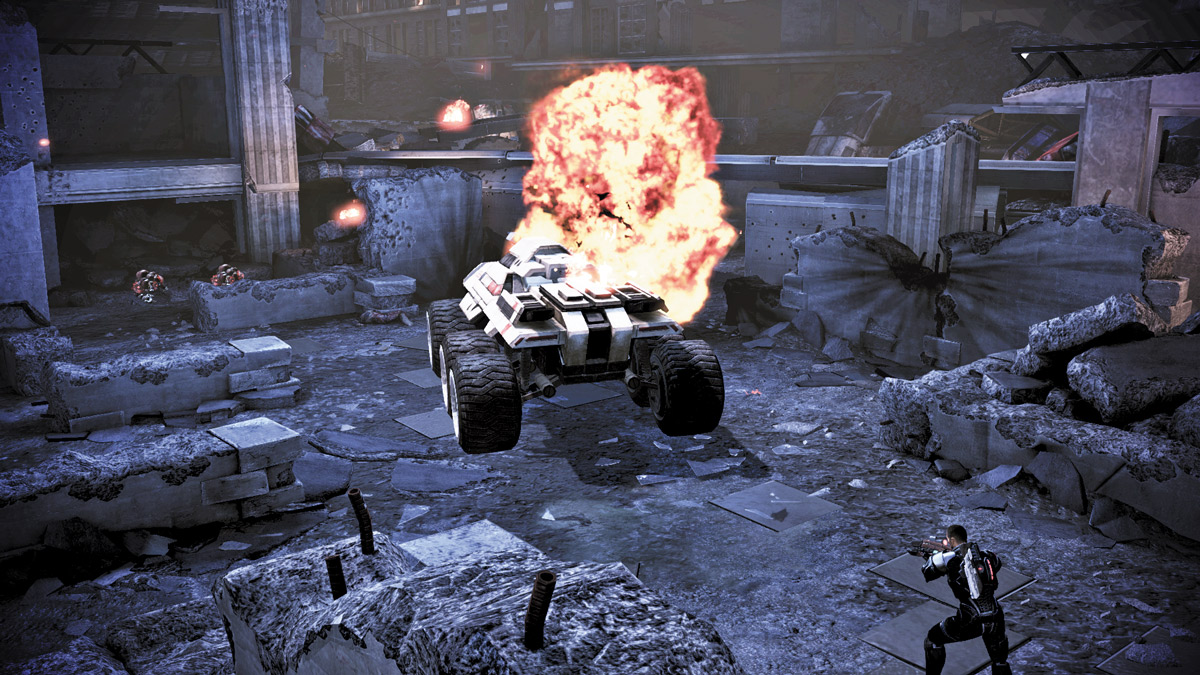
Keep your squad spread out across the entire length of the wall and eliminate all of the enemy Reapers on the landing zone area’s far end.
When you do, you can drop down and rendezvous with the Alliance vehicle ahead of you. Before it can get too far, the vehicle is ambushed and blown up, creating a small obstacle.
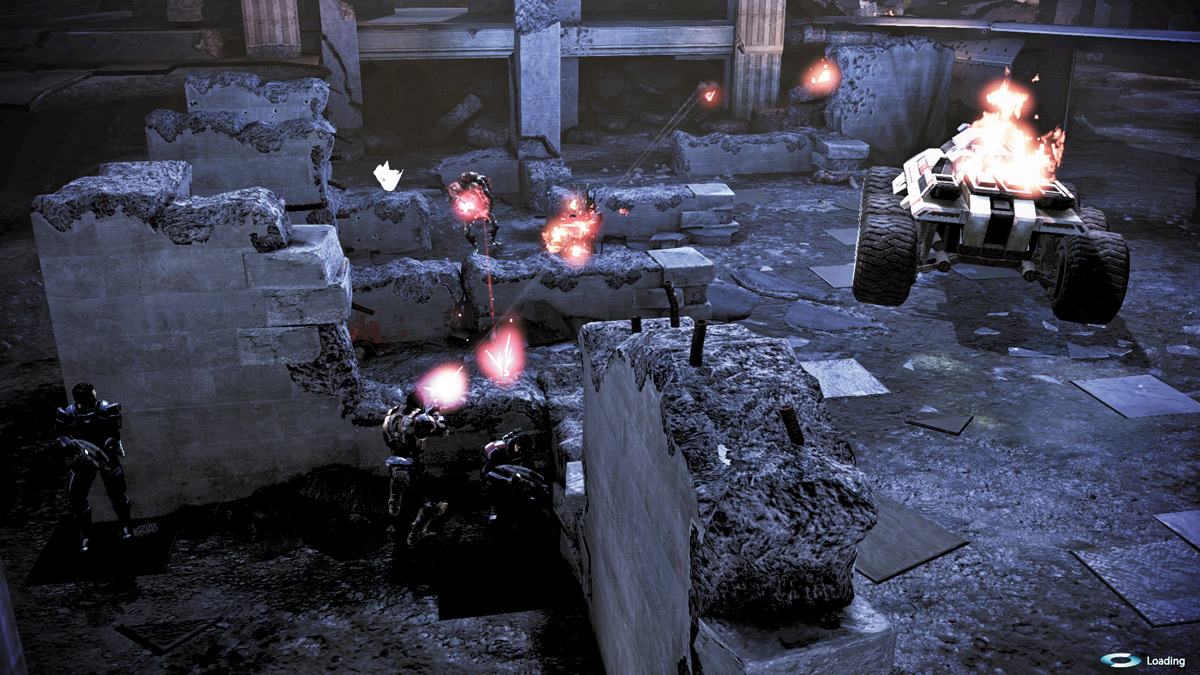
Stop well behind the burning vehicle and wait for the Reapers to begin surfacing from the rubble ahead of you.
Mow down the group of Cannibals that pop up on the left, and rush forward, just left of the vehicle, to find cover behind a small concrete structure.
From here, you can easily spot the Cannibals on the ground level and the Marauders on the ridge ahead of you.
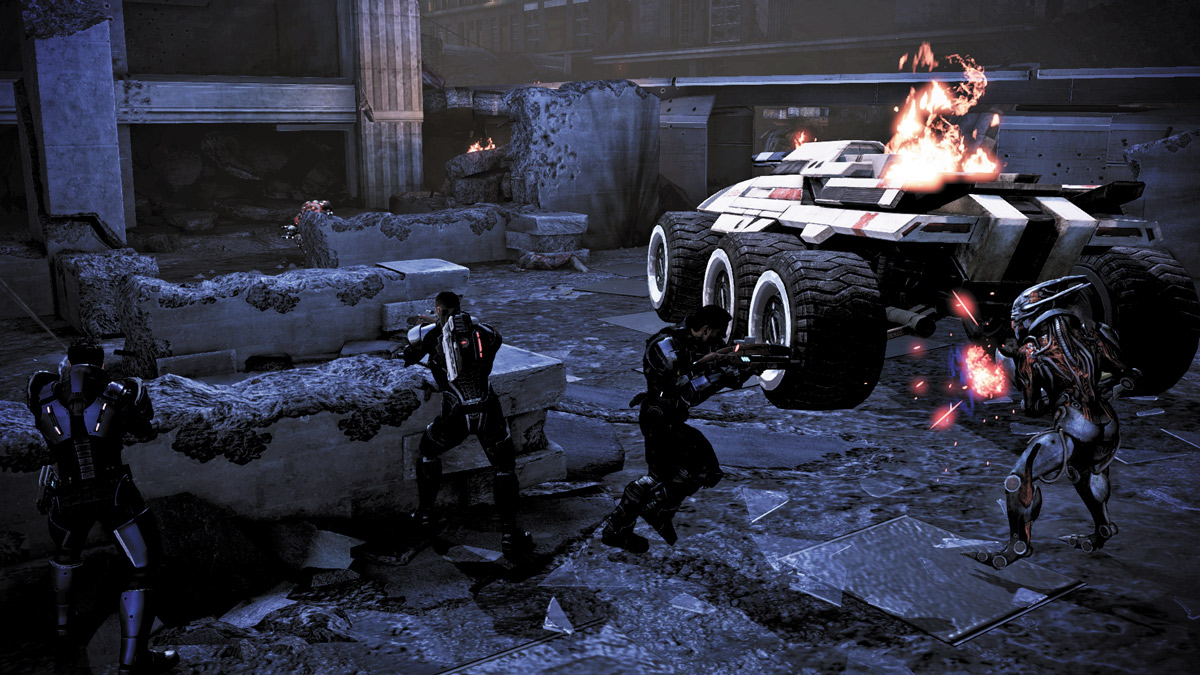
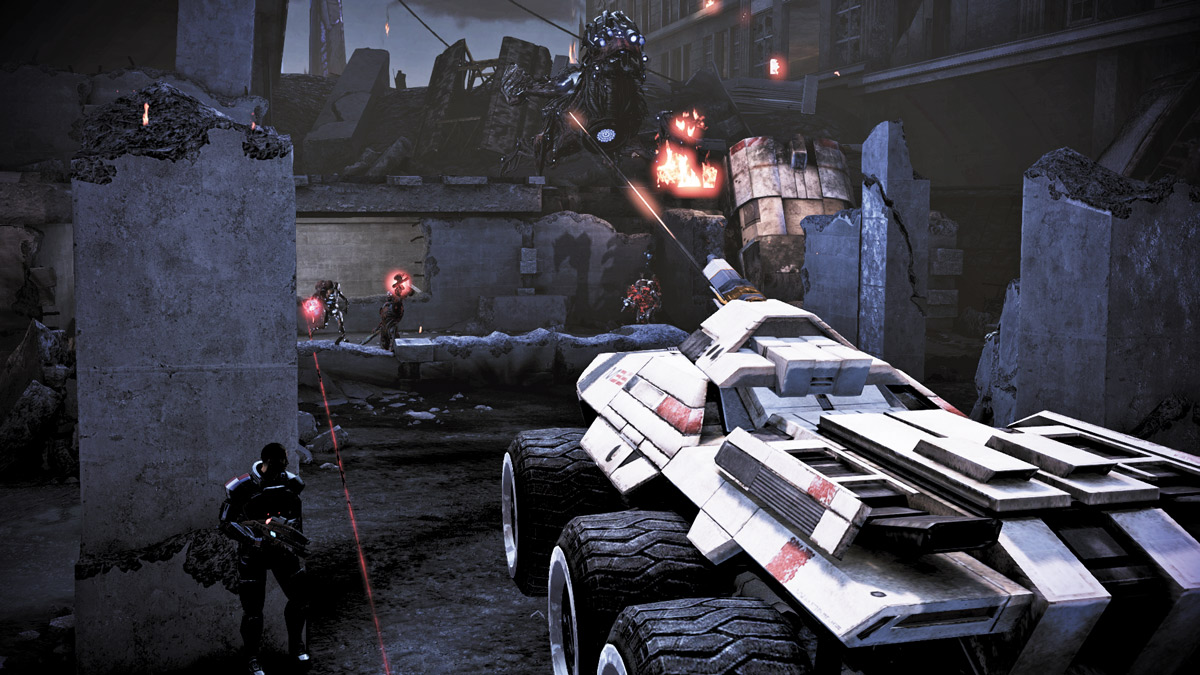
Send one or two of your teammates to cover the right side of the burning vehicle by directing them to cover behind the vehicle.
This way, when enemies approach from that side, they’ll immediately be ambushed by your squad.
Meanwhile, use powers like Singularity to redirect enemies on your side, out of cover, and into your line of fire.
Continue walking down No-Man’s-Land; this time, follow the new Alliance vehicle that pulls in from the right farther down the street.
As it does, a Harvester lands directly in front of it. Send your squad ahead of you and position them behind the next vehicle as the Harvester opens fire on the Alliance transport unit.
Focus your and your squad’s attacks on the ground forces, leaving the Harvester to the Alliance vehicle. After you diminish the enemy’s numbers, turn to the Harvester and open fire.
Concentrate on inflicting as much damage as you can with weapons fire, since powers and power combinations may not be as precise as well-aimed rifles.
Aim your weapons at the Harvester’s glowing blue node on its chest and unload on it. Without help, the Alliance tank will probably be destroyed by the Harvester.
If this happens, the Harvester will leave to find better targets. However, saving the tank will provide a small XP bonus and allow it to help you in your fight against the Banshee.
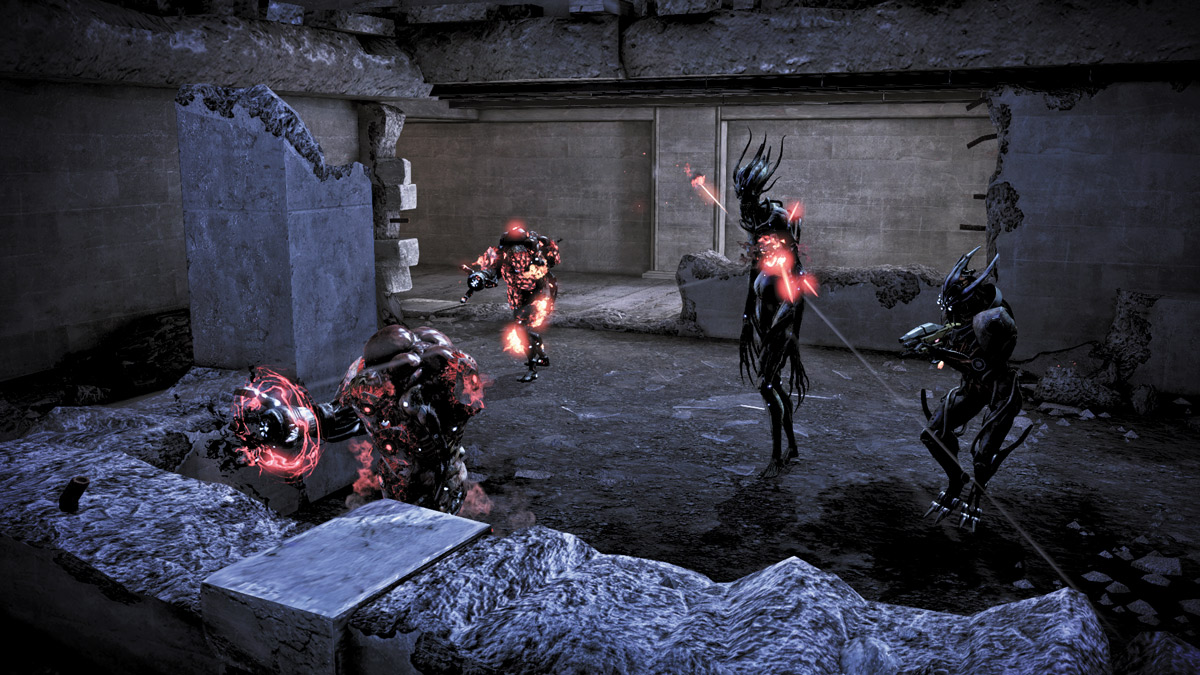
After sustaining too much damage, the Harvester departs, and a Banshee joins the fight.
Destroy any new ground forces that arrived with the Banshee, then turn on her.
Use decoys and drones to distract, then lead her around the vehicle in the center of the area to keep her at a distance.
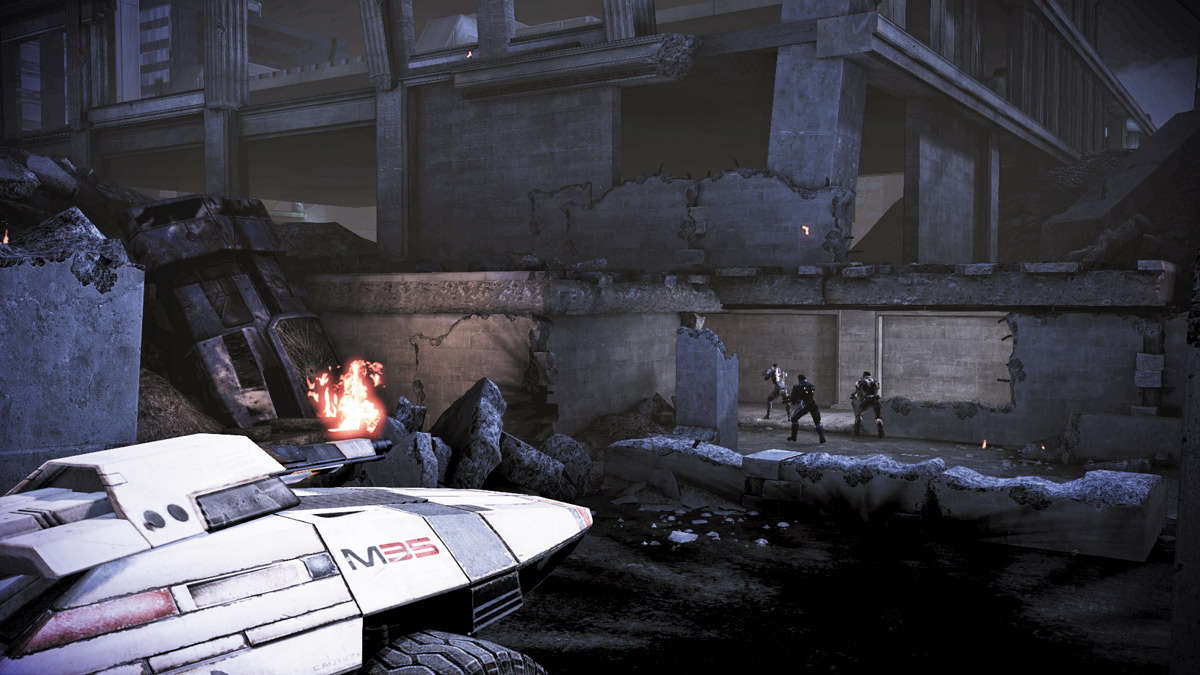
Blow her away little by little as you backpedal around the Alliance mobile transport.
Sidestep her projectile attacks and stay far enough away from her so her radial shock-wave attack doesn’t affect you.
Despite your best efforts to clear the area, the vehicle is still pinned by a group of Reapers in the building ahead of you.
REAPER STRONGHOLD
.jpg)
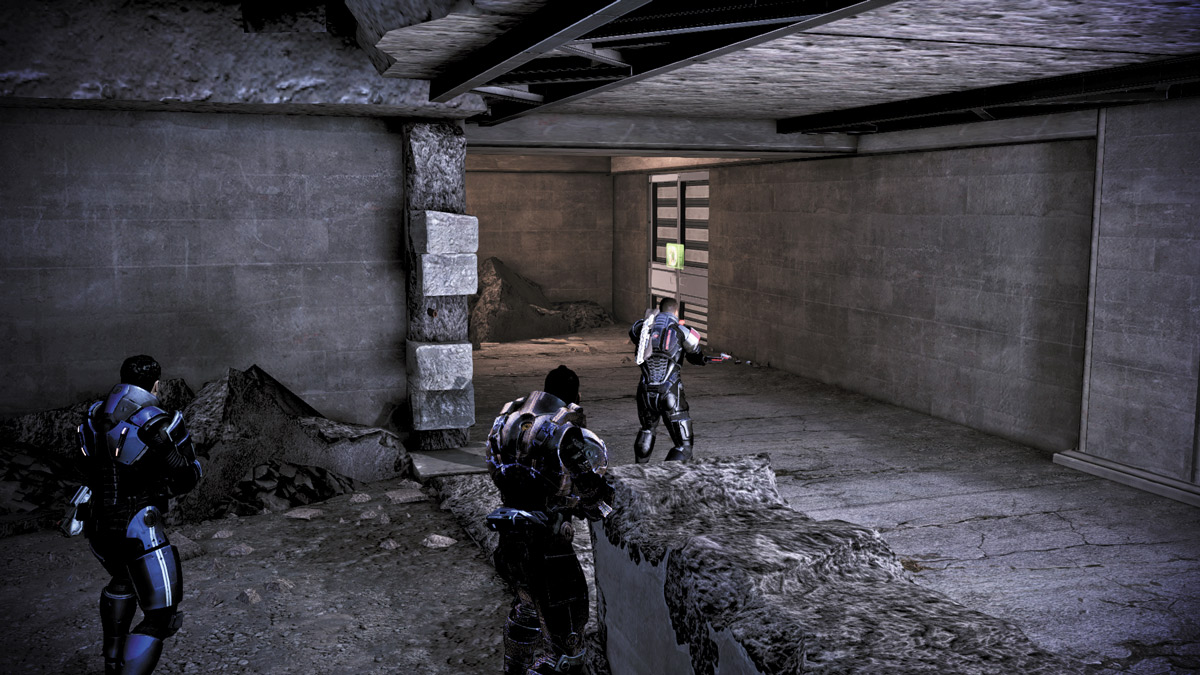
Enter the building through the door on the left and go in. Make a left inside the building and seek cover behind the small vehicle.
As you reach the near left corner, several Husks come rushing out of the far right corner. Toss a grenade ahead of you and blow up as many as you can.
If you don’t have grenades, use Singularity or Shockwave to knock them away. Follow up with a spread of weapons fire and clear them all out.
A pair of Brutes also comes rushing out shortly after the Husks.
Split them up by forcing your squad to attack one while you draw the attention of the other. Since the room is small and cramped, use the vehicles inside to your advantage.
Open fire on the Brute and wait for it to come rushing at you. When it does, execute an evasive roll behind one of the vehicles and dodge the monster. When you stand, continue attacking.
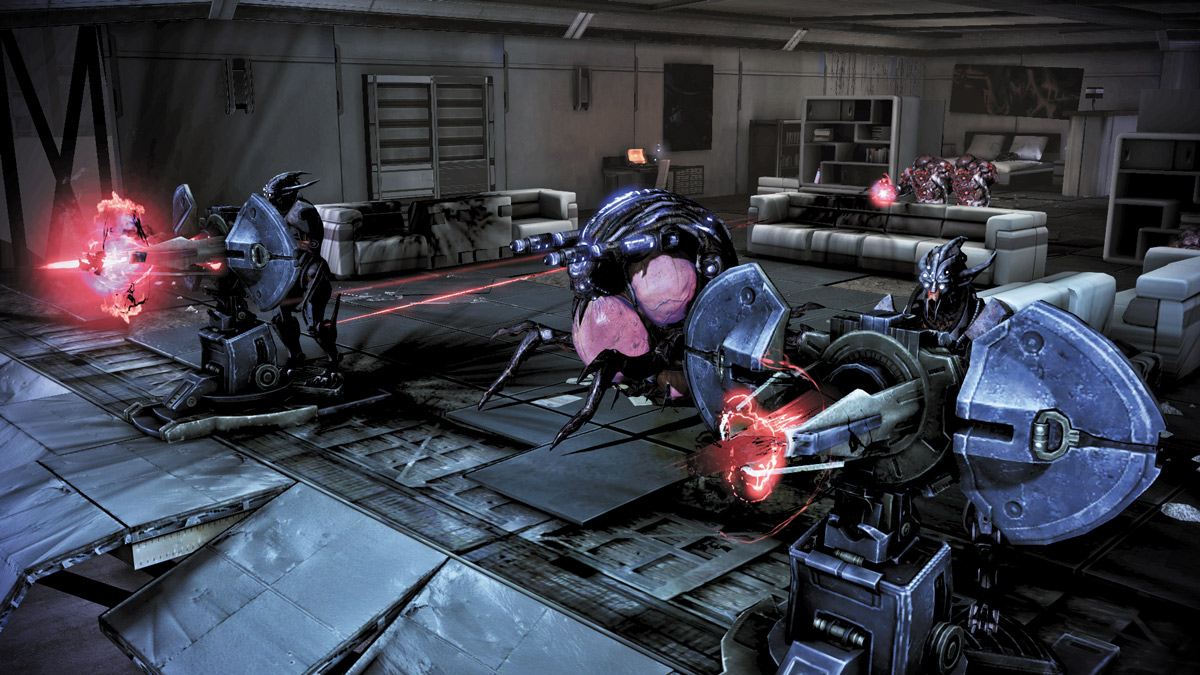
Continue evading the Brute, using the vehicles and pillars in the room to redirect the monster and attacking it as it approaches you until it falls.
After dodging and dropping one, turn to help the rest of the squad take down the second.
Go up the ladder at the room’s far end and reach the second floor. There are two turrets there being manned by Marauders.
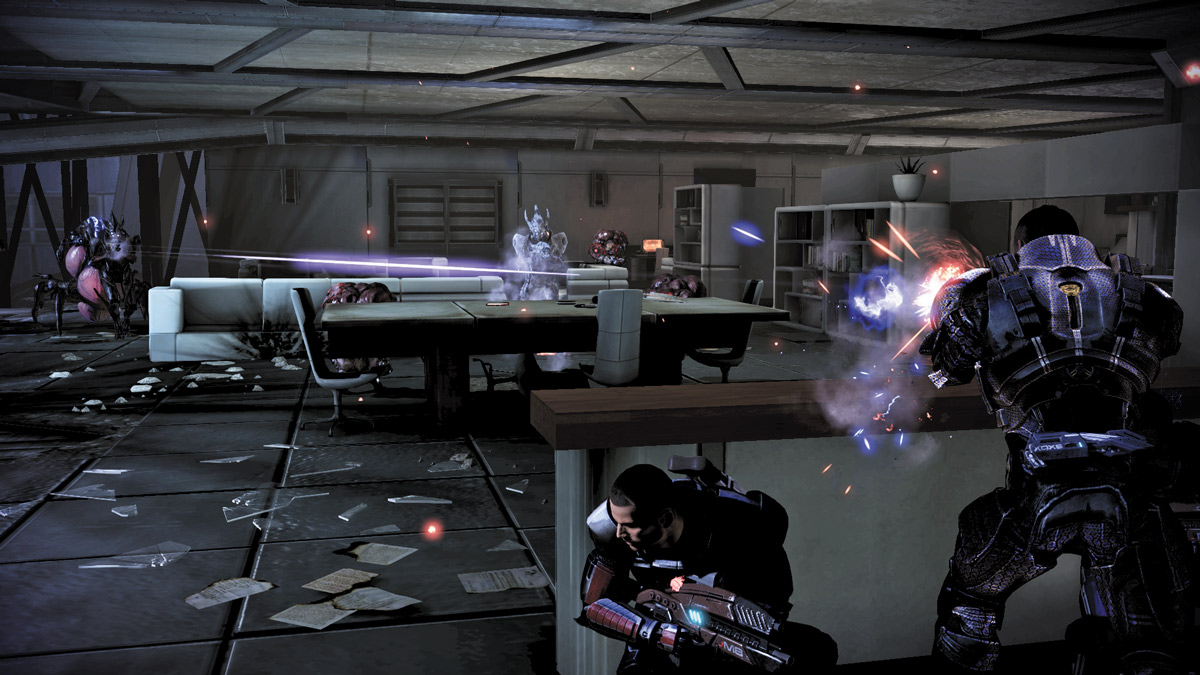
You have the element of surprise, so launch a surprise attack with your most power-explosive abilities.
Try to eliminate both Marauders, leaving only the Ravager and Cannibals to contend with. Rush inside and clear out the room to allow the Alliance transport vehicle to continue.
.jpg)
Open the damaged door on the right side. Destroy the Husk that tries to claw you, then follow up with a few headshots on the next two Husks.
Cross the short hall to the other side of the dilapidated building and drop down into a small avenue littered with concrete dividers and burned cars.
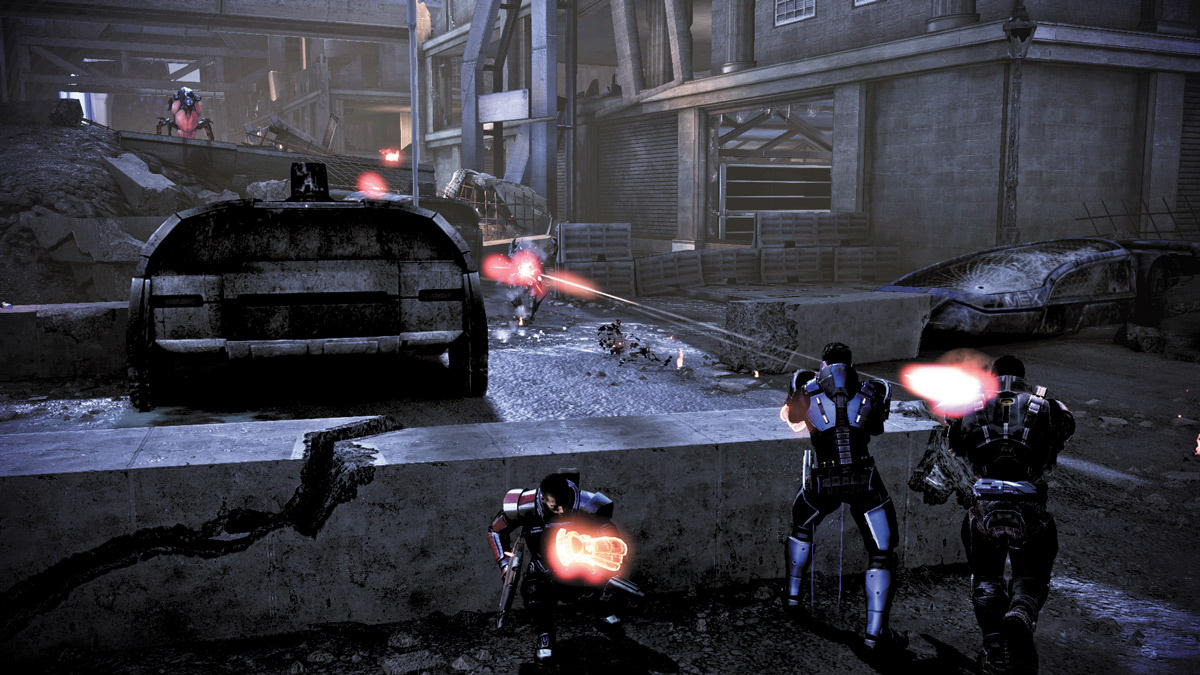
Rush up the street and take cover behind the concrete divider directly behind the large burned truck.
Use long-range weapons or power combinations to explode the Marauders and other Reapers that rush out of the building down the street on the right.
Slide left behind your cover and eliminate any Reapers to the left of the truck.
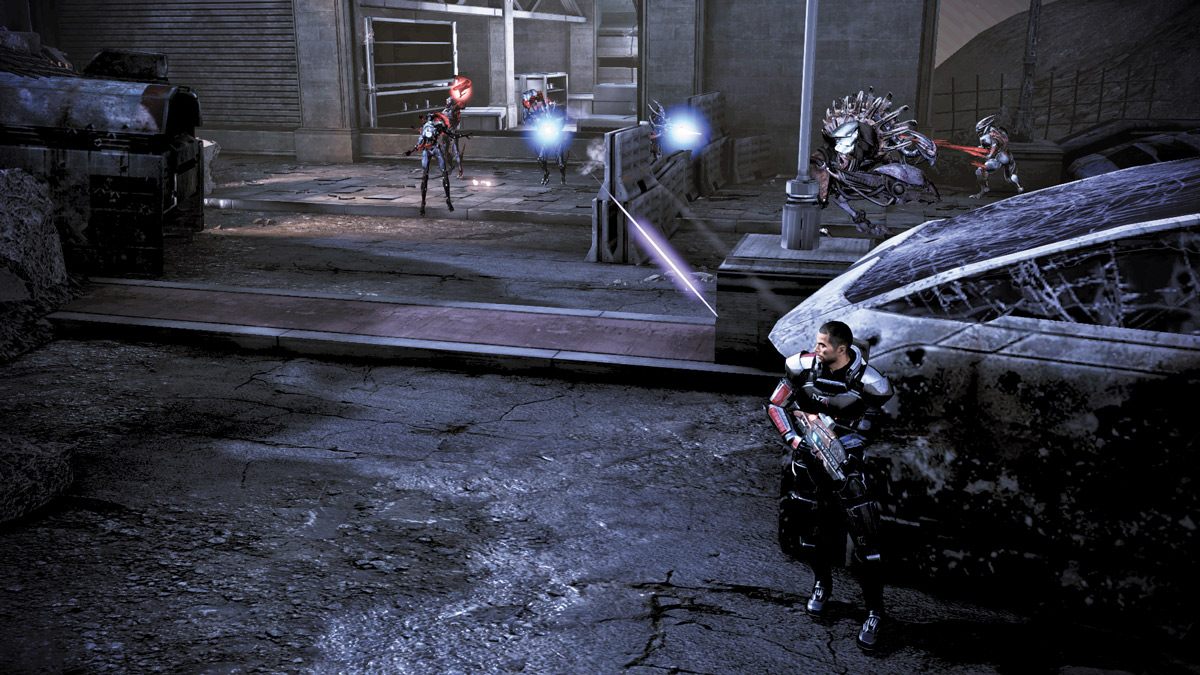
Leave your squad in cover behind the truck as you circle around the car’s left side and clear it out.
Press your back to the truck’s left side, then edge out toward the front to get a view of the inside of the building on the right.
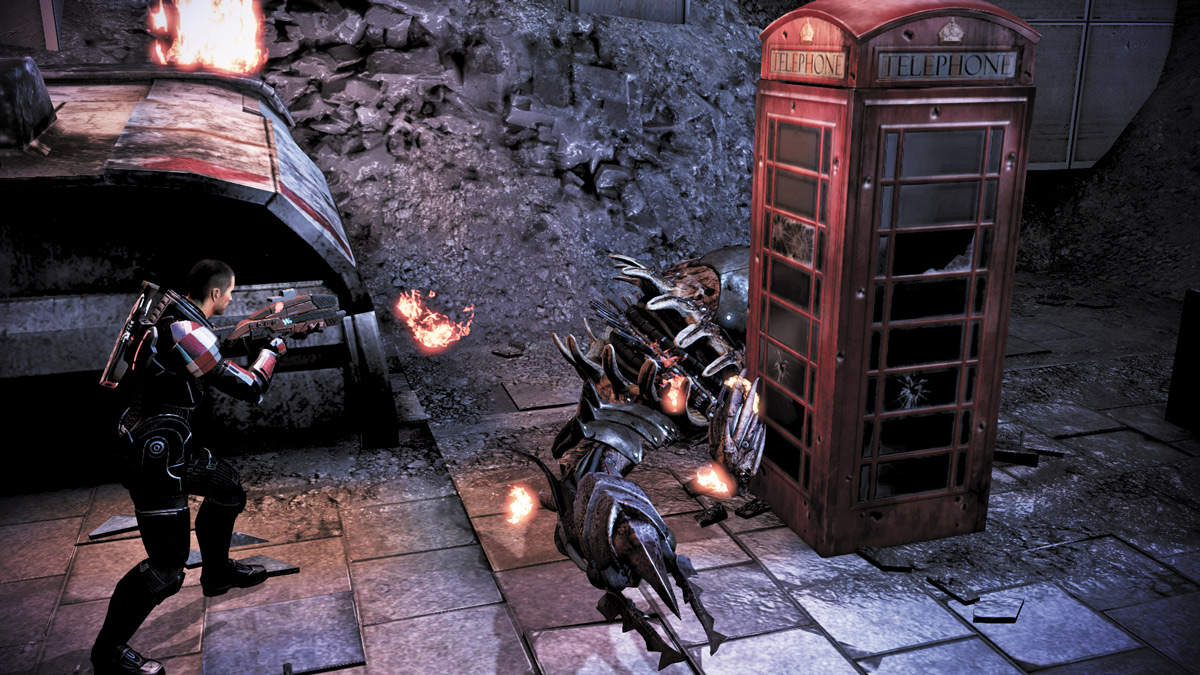
Open fire on the enemies near the front of the building, beginning with the Ravager. Defeat the Ravager and a Brute attempts to rush out of the building ahead.
Slow down the beast with disruptive powers and keep it from advancing into the street. Unload on its head while it’s slowed, and take down as much of its health as you can before it charges.
When it does, roll out of the way and follow up with weapons fire as it sprints past you. If you act fast enough, you can slow down the beast while it is inside the building and keep it from reaching the street at all.
If it does manage to reach the street, use your team (or drones) as lures, while you keep your distance and pick it apart.
Enter the building on the right and slide to the right side, behind several empty shelves.
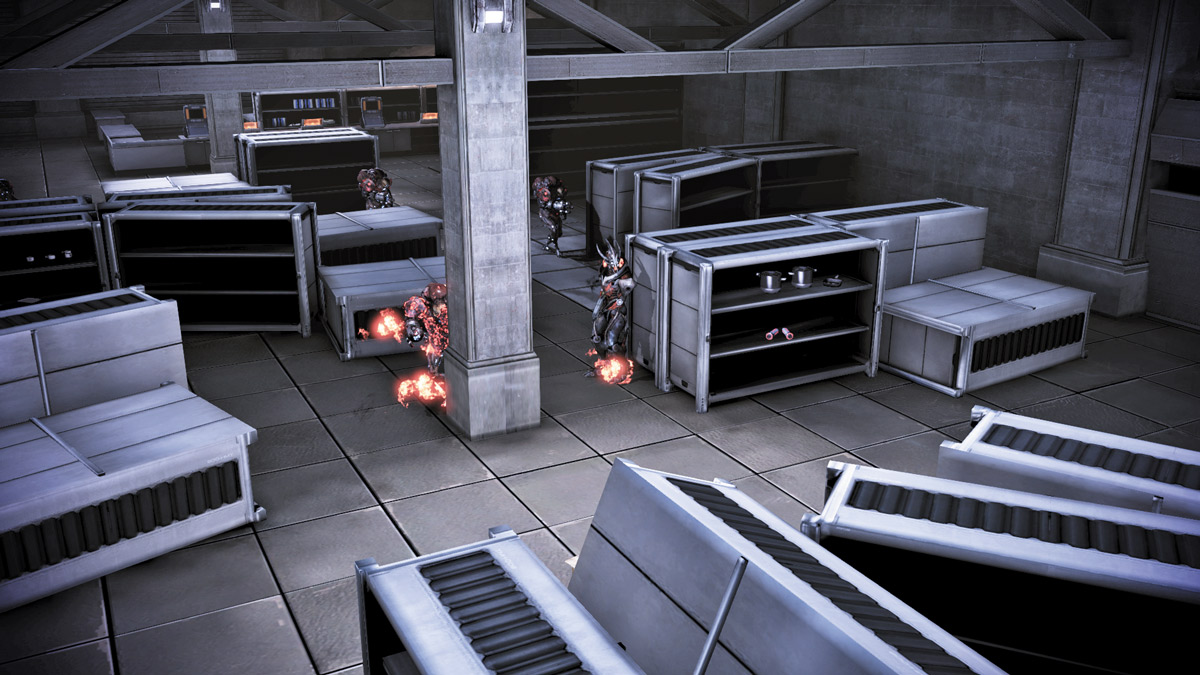
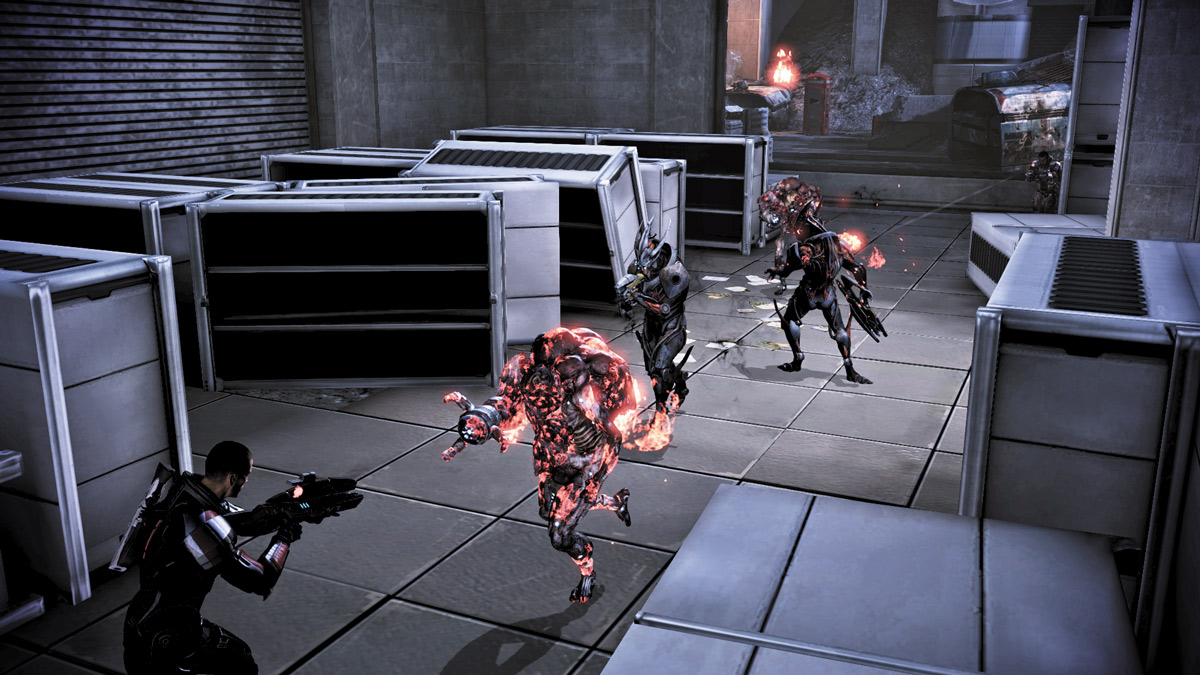
Use the rows of shelves as cover, and move between them to get a better view of the building on the left.
Follow the row of shelves to the room’s end, then turn around and face the entrance to the building to get a jump on the Reapers.
As they attack your squad near the entrance to the building, you can obliterate the Reapers from behind. Clear the room, then order your squad to join you, and turn your firepower on the next section of the room.
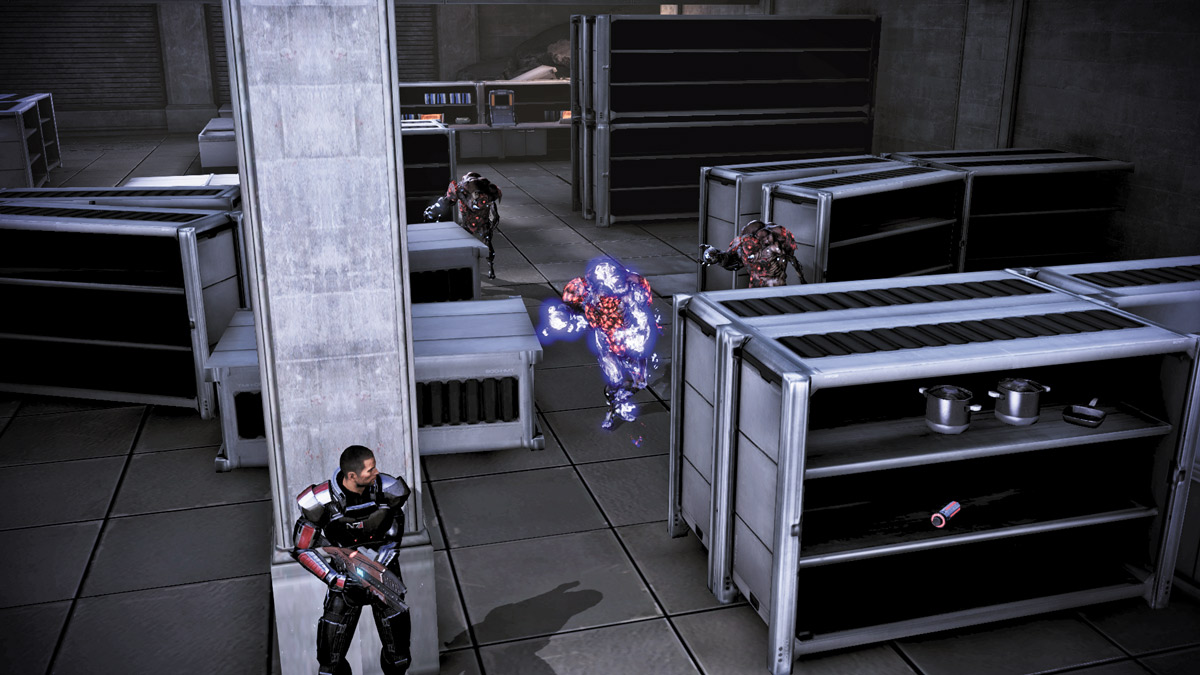
Press your back to the center pillar and get a better view of the room behind you. Keep your teammates on either side of you while you occasionally pop out of cover to destroy your enemies behind you.
Clear the room, then exit via the windows on the far left side.
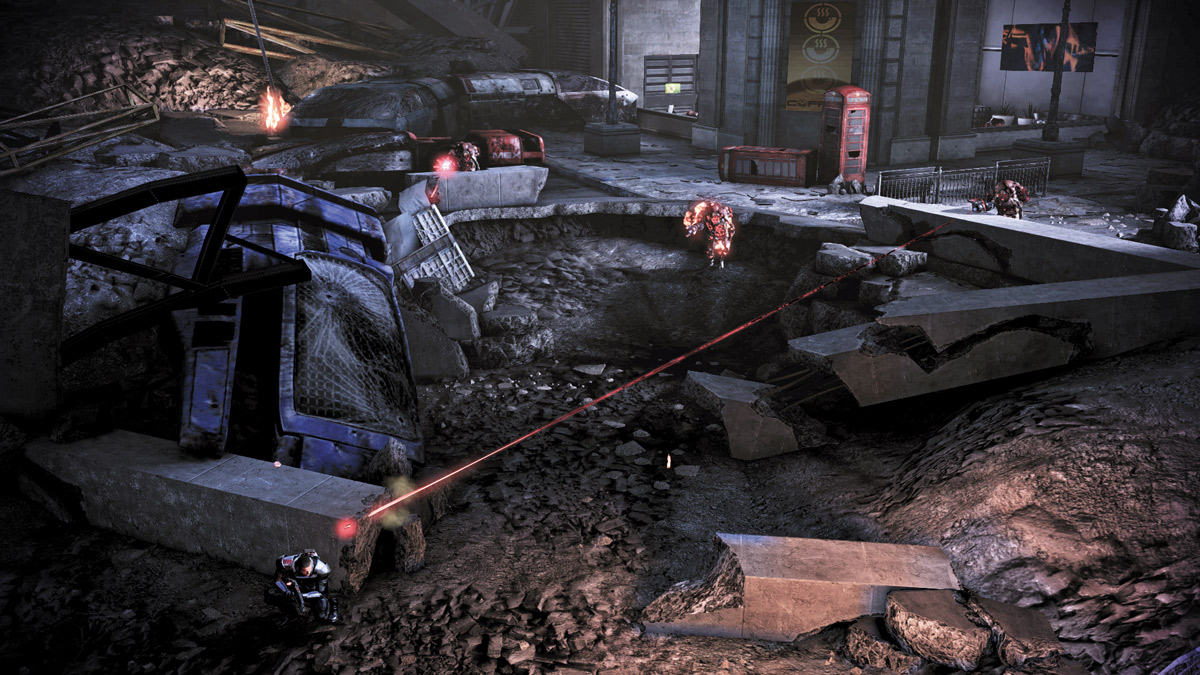
Just as you exit the building, you find a large crater ahead of you.
Don’t rush into the crater; instead, slowly approach its edge and send one squad member to the center of the crater.This will coax the enemies out of the side of the crater and they’ll rush the opposite edge.
Call back your squad member, then carefully begin fighting your way toward the crater’s center. Grab cover behind the fallen pillars and open fire on the enemies at the other side.
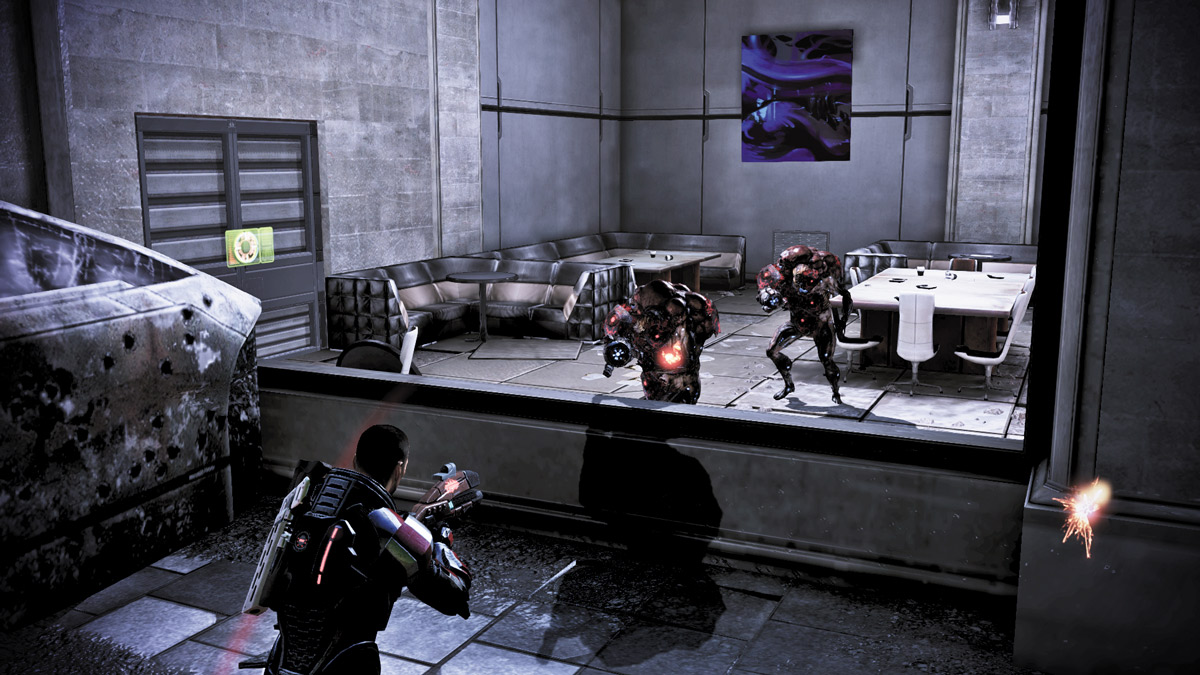
Stay behind cover as long as possible and fend off all of your attackers.
When you’ve diminished the enemy number to less than three, rush across the crater to its other side. Enter the building on the other side and go through the door.
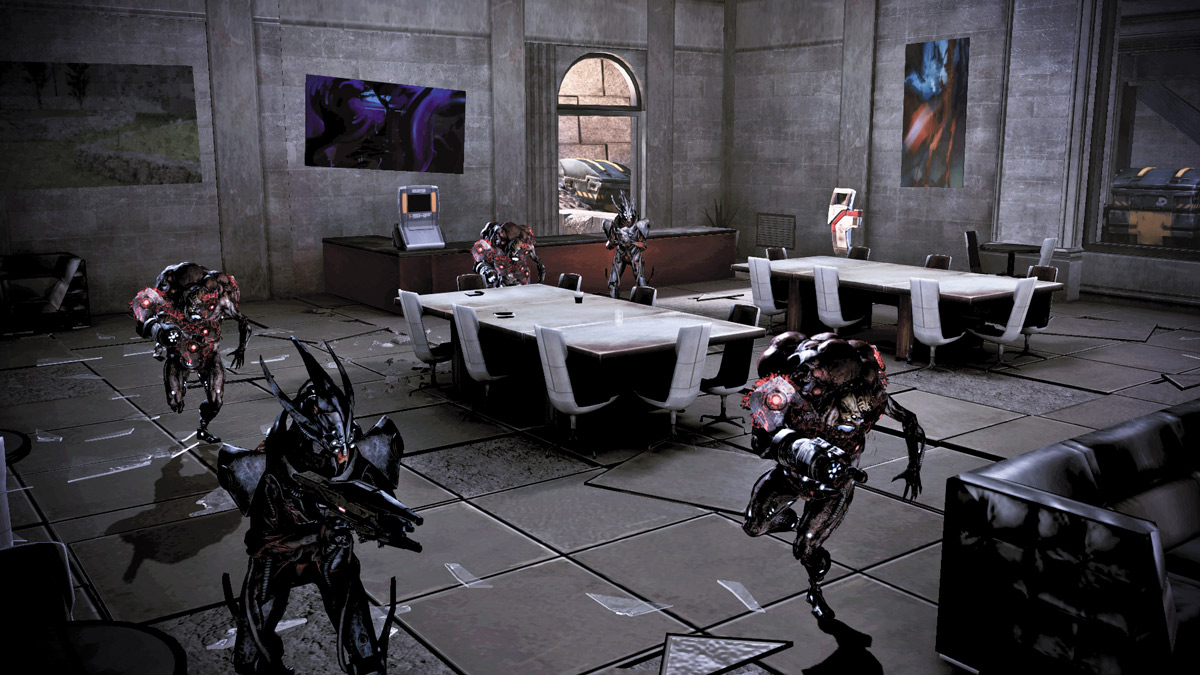
On the other side of the door is a small enemy stronghold. There are many Cannibals and Marauders here.
Stay behind the door’s left side and peer into the room. Send in combat drones to weaken the Reapers or use grenades to soften them up.
Slowly clear out the majority of enemies in the next room before entering and wiping them all out.
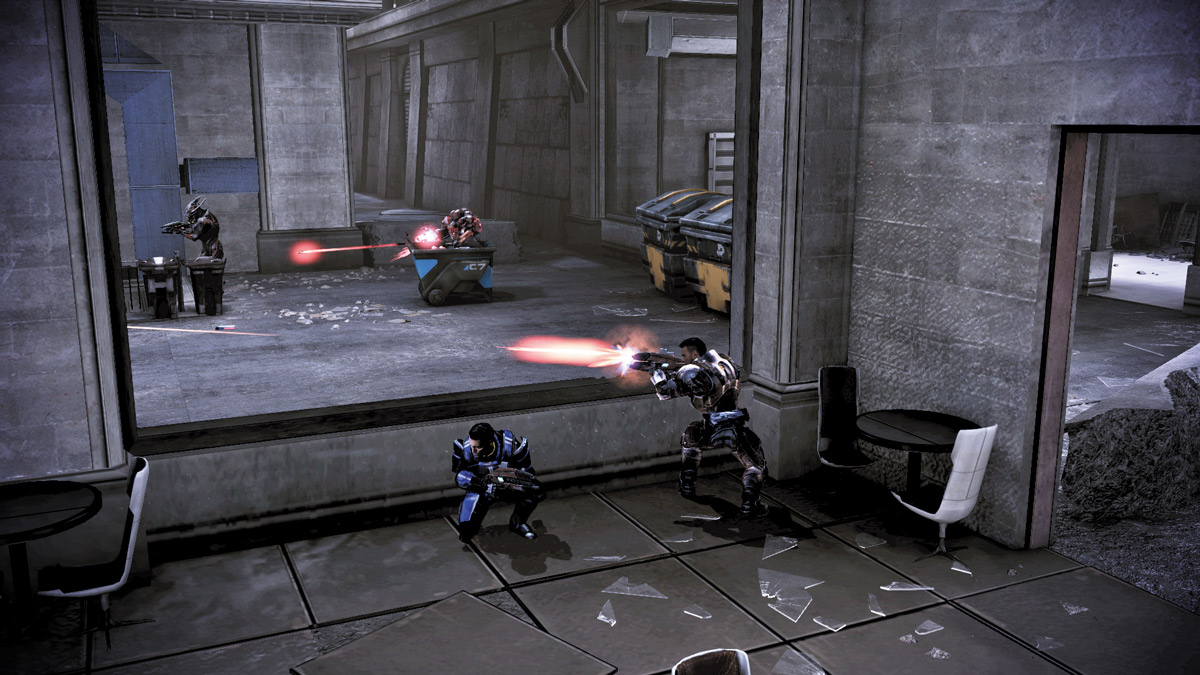
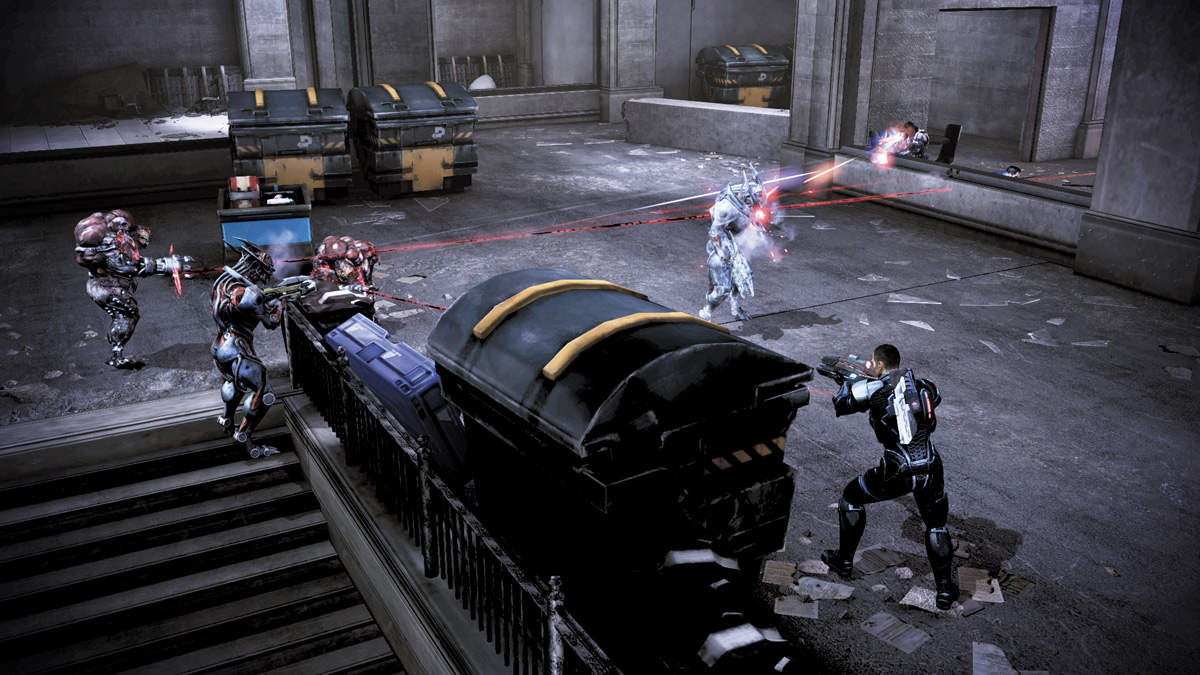
Make a right inside the next room and approach the window looking into the alley just outside. Spread your squad across the entire length of the window, and systematically destroy the Reapers in the alley.
Keep your weapon trained on the Reapers emerging from the stairs ahead of you and pick them off as they pop up.
If you want to flank the opposition, you can also exit via the door on the left and enter the alley from its left end. From here, you can surprise the enemies engaging your squad in battle.
When entering the alley behind the bar, a brute comes stomping down an intersecting alley ahead of you.
Combine all of your squad’s firepower on the Brute and destroy it quickly. Keep your team split up so it doesn’t maul all three of you at once.
Pick your attacks carefully, hitting it with explosive power combos or headshots.
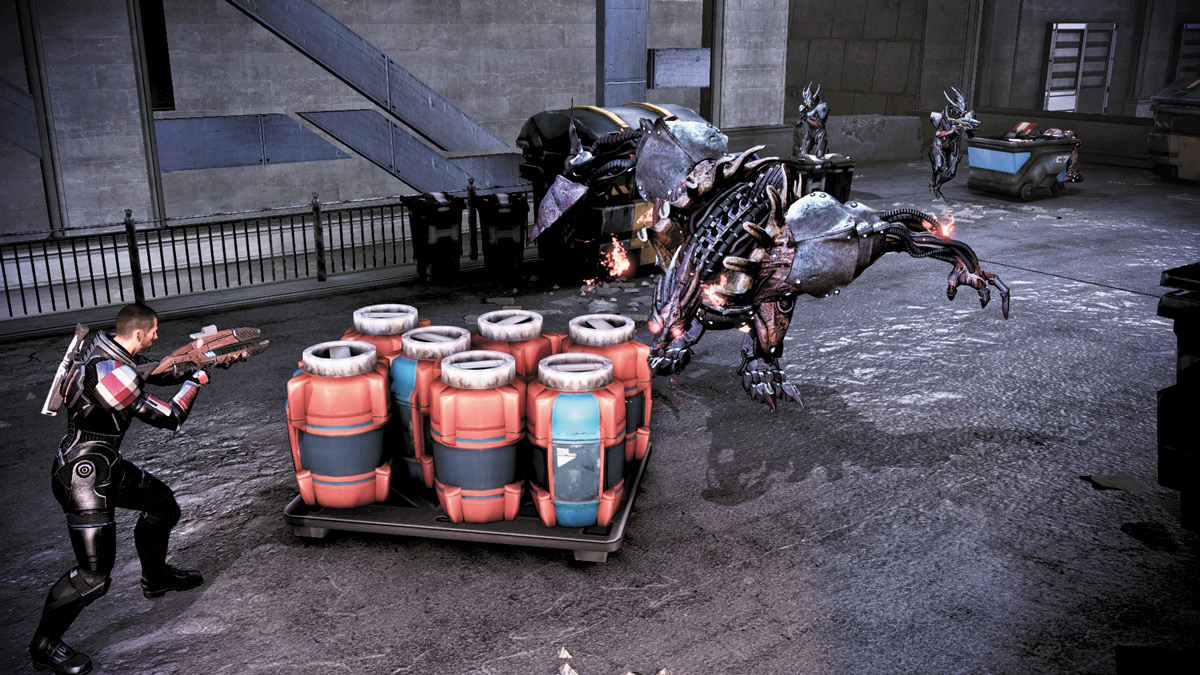
If you’re in the alley, keep the orange barrels between you and the Brute to keep it at a distance while you pepper it with attacks until it dies.
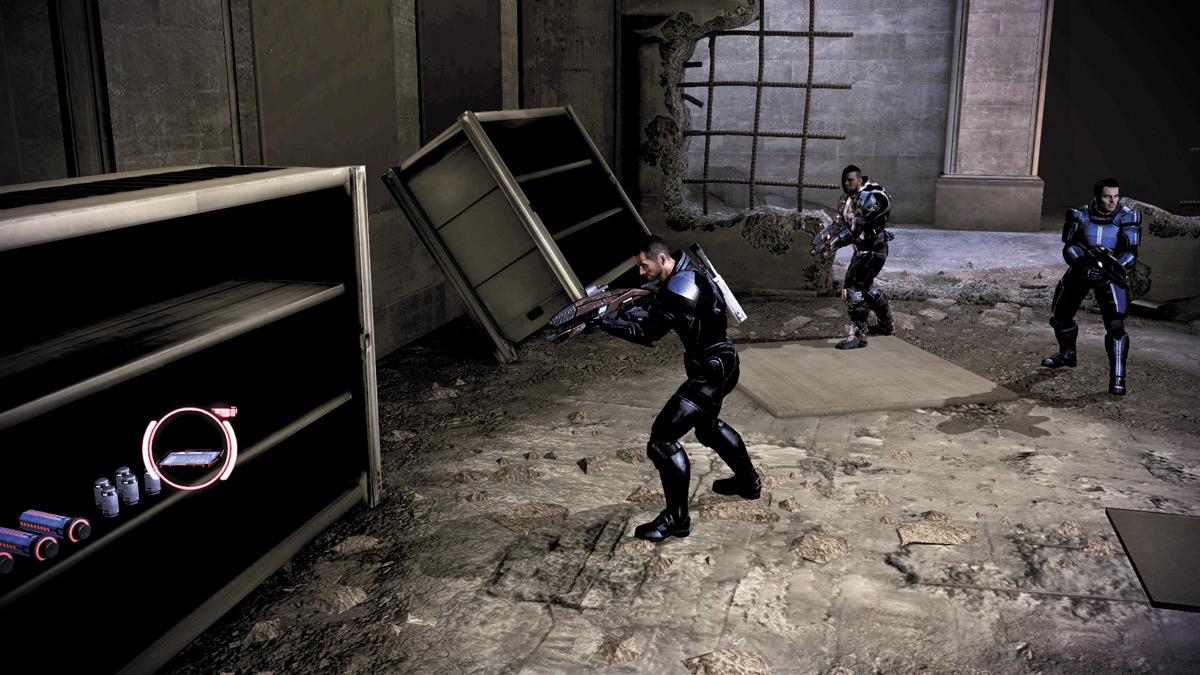
Walk up the adjacent alley. When you near its end, two Brutes will burst out of the wall on the right.
Turn around and sprint back to the alley’s far end, where you entered, and turn around to use the entire length of the alley to your advantage.
Open fire on the nearest brute, while also hitting it with disruptive powers to stun it or slow it down. As you do, the second Brute will be trapped behind the first.
Keep the pressure on the first until it falls, then turn on the second and do the same to it. If either manages to rush you down the alley, roll away and sprint past the second Brute to the alley’s opposite side.
Make a right at the alley’s far end and go through the door to reach the missile battery.
MISSILE BATTERY
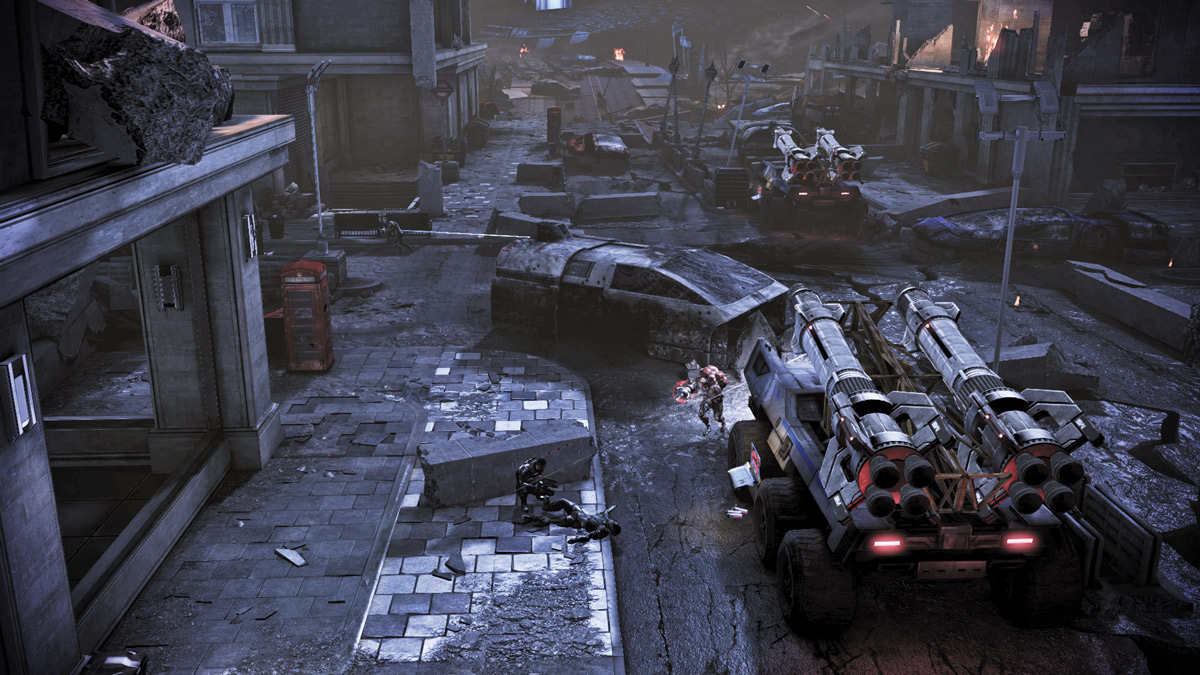
The area around the missile battery is flooded with Reapers. It's an intersection with three small structures at the corners; the fourth corner, the one at the top right, is slightly harder to reach since there is only one entrance to it.
Duck into the structure on the lower left corner of the intersection, an old shop with empty shelves, and hunker down. This small shop will be your safe point for the remainder of your battle with the Reapers.
Approach 1: Lock Down the Lower Left shop
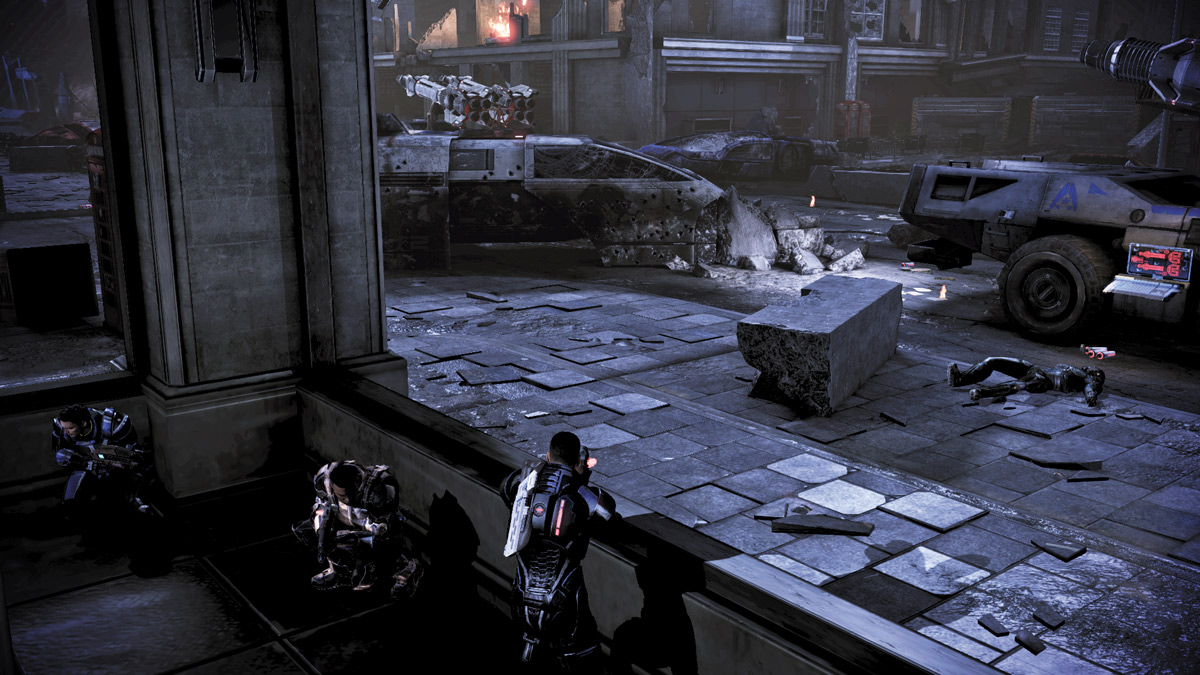
Your first goal is to clear the area of Reaper forces around the missile battery. Press your back against the wall facing the street and fend off Reapers as they attack.
Stay behind cover as much as possible, and use power combinations and grenades to fell multiple foes at once.
Order your crew to stalk one side of the shop while you take the other. By covering both edges of the corner facing out into the streets, you can hold your own and fend off the first wave of enemies.
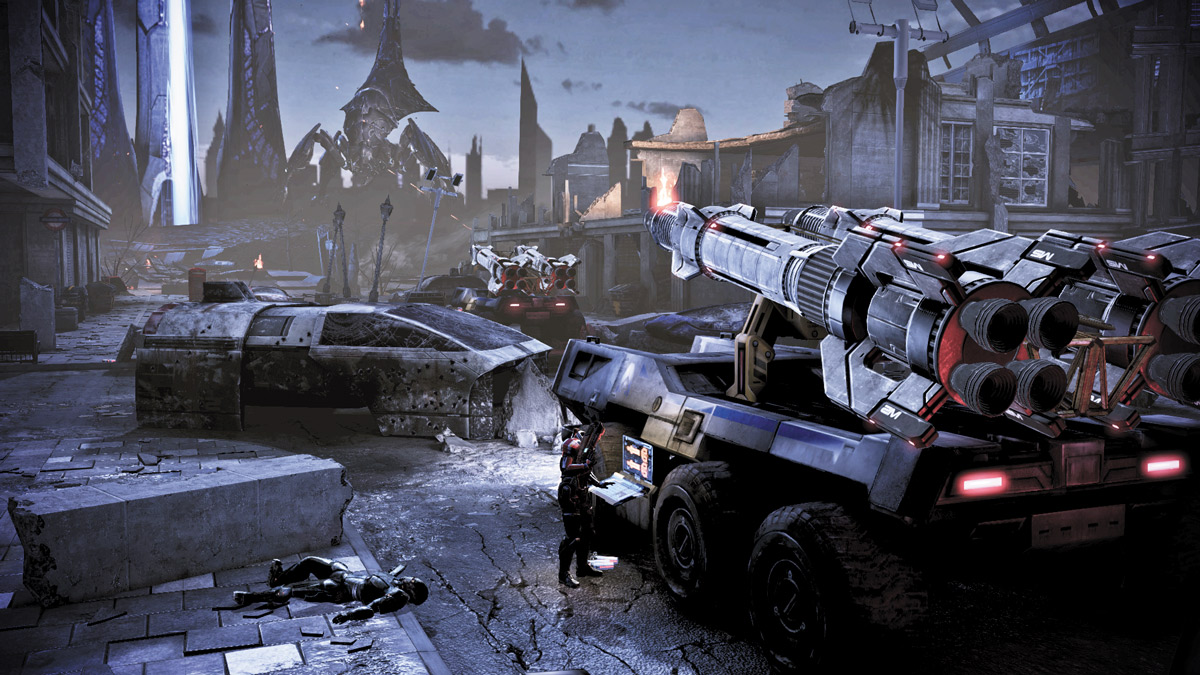
Once the first wave is destroyed, approach the missile battery and activate the firewall controls to allow EDI access to the battery’s targeting system.
Approach 2: Corner to Corner
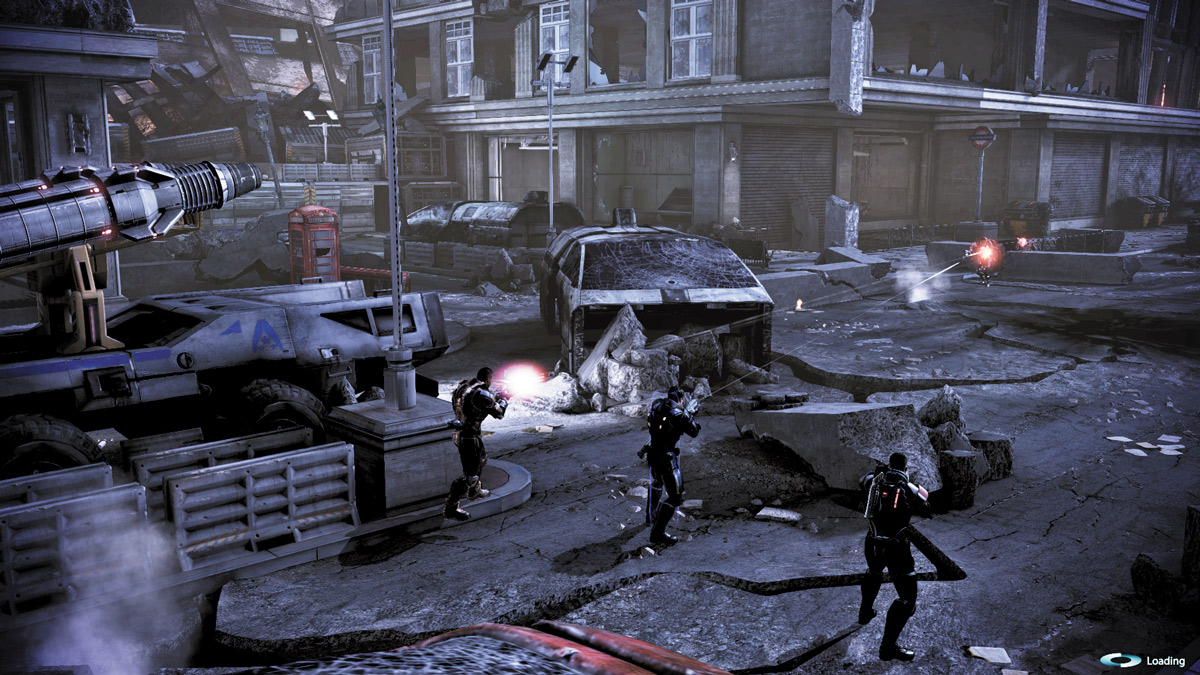
If you don’t want to keep your entire team in one area, you can shift them from corner to corner as you methodically eliminate enemies around each storefront.
Begin by taking cover in the lower left store and open fire on the enemies from the safety of your cover.
Pop out and over the ledges, and carefully cross the street in unison as you mow down any enemies on your way to the next corner shop.
When you reach the next corner shop, take cover, replenish your ammo, and allow your shields to recharge before exiting and marching to the next corner.
Continue patrolling the area this way until you’ve destroyed all enemies.
Stop at all cover spots and use cover takedowns in order to conserve ammo and eliminate enemies quickly.
When the coast is clear, approach the missile battery and activate the firewall controls.
Defend the Missile Batteries
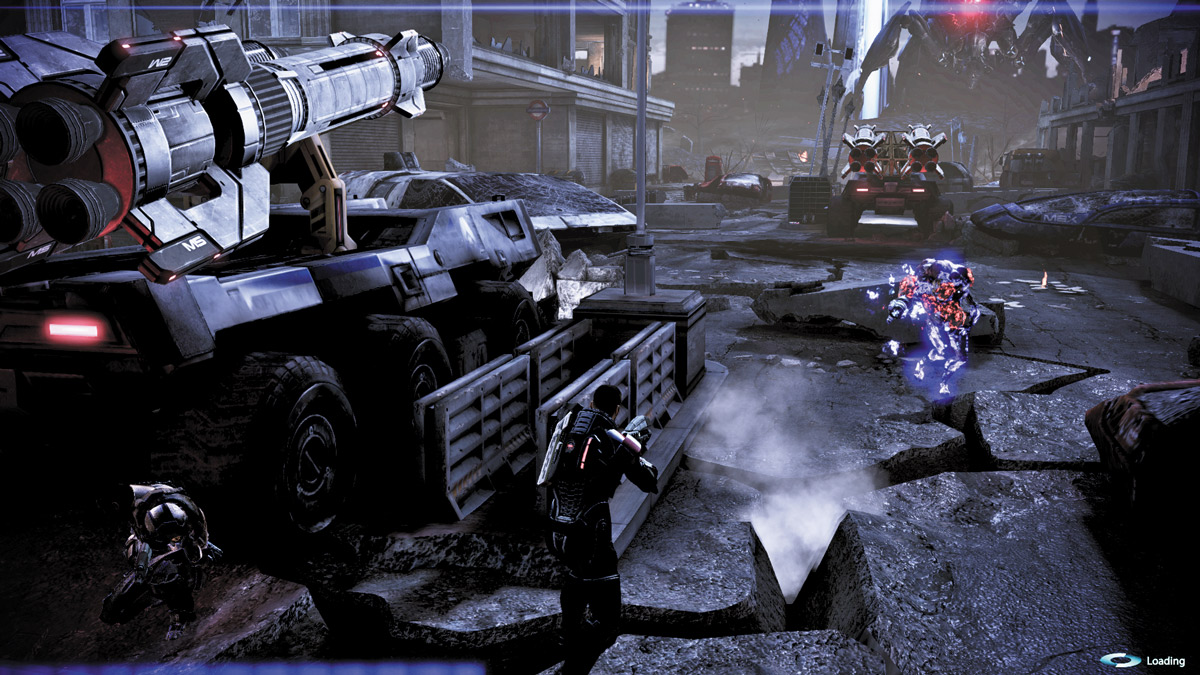
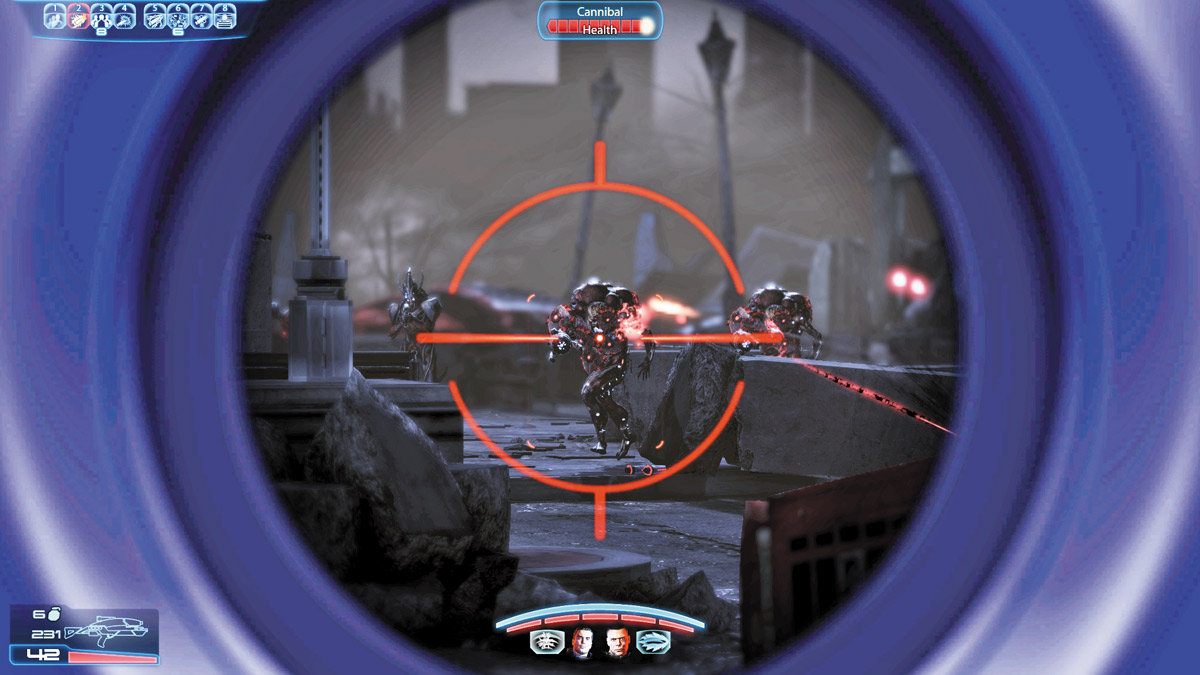
After activating the batteries, you must defend them long enough for them to fire. This time, the next wave of enemies comes marching down the center of the street on the intersection’s opposite side.
Duck into one of the corner buildings and begin sniping enemies from afar. If you can’t snipe, wait for them to get within striking distance and begin whittling down their health with power combinations.
Leave your squad inside the lower left building while you dash outside. Go around the right side of the first missile battery.
Take cover and open fire as the enemy approaches the center of the intersection.
Between your close-range fire and your squad’s combined powers, the second wave should not be able to reach the first missile battery at all.
Protect the Left Flank
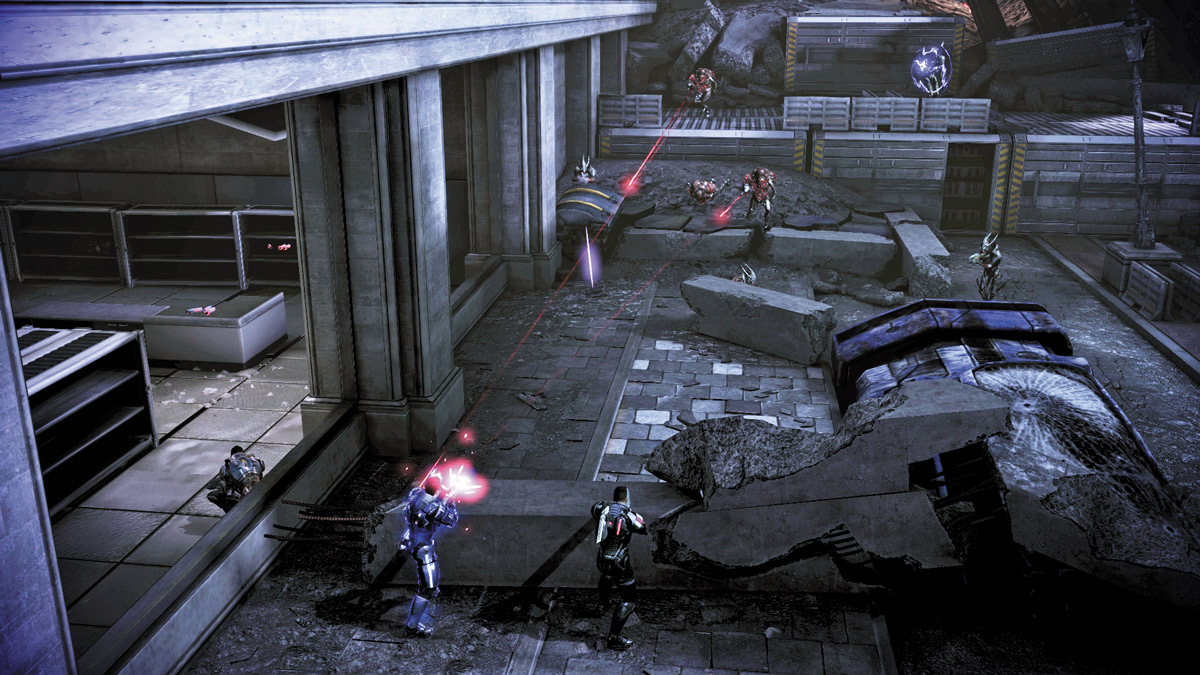
Eventually, the Alliance forces give way to the overwhelming number of Reapers, and several attack from your left flank. Order your squad to occupy both shops on the intersection’s left side.
Approach 1: Head-on
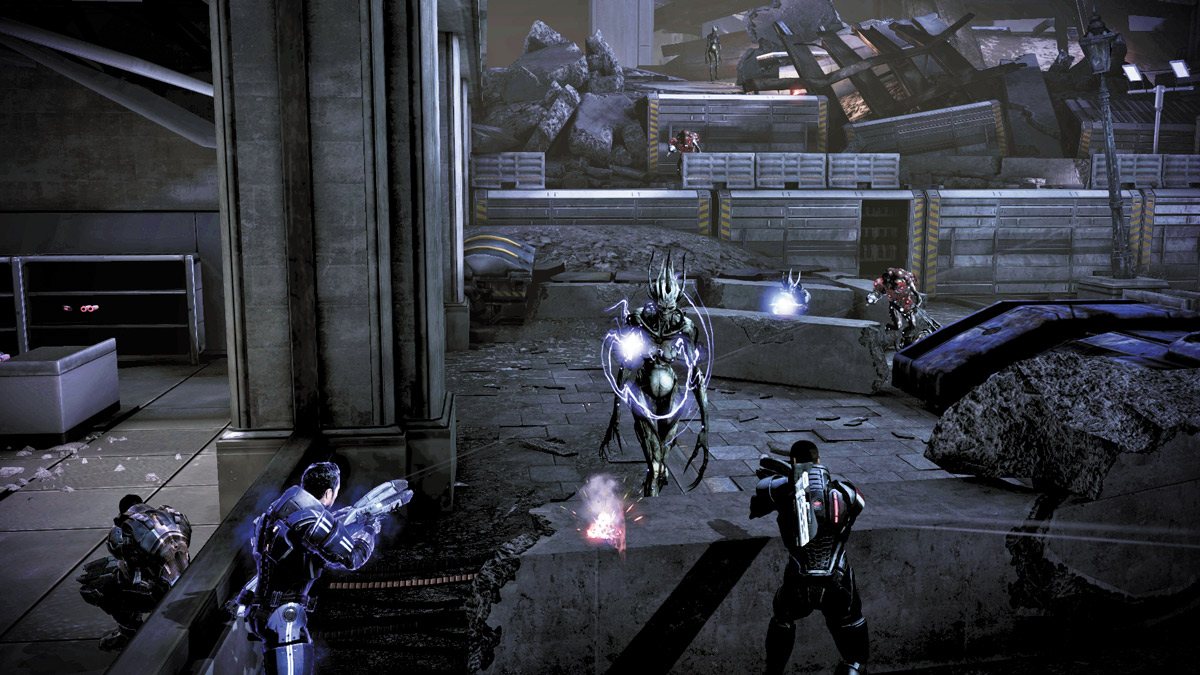
The Reapers attack from the left side and slowly come cascading down from the ridgetop on the left intersection.
Position your squad near the center of the intersection and face them right. This will give everyone a perfect view of nearly every enemy as it ambles into the intersection.
Concentrate your attacks on the Banshees when they come into play, and take them down quickly. Once they’re down, turn back to the Marauders and other foes.
Approach 2: Cross Fire
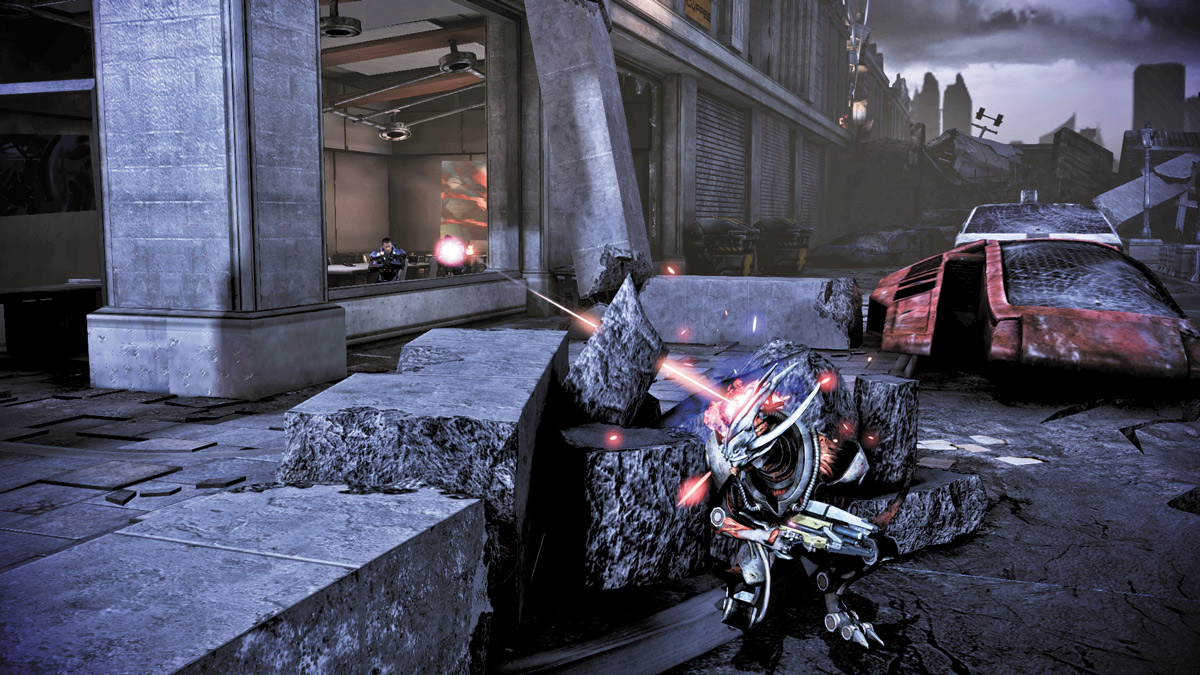
To create a cross fire down the left street, send your squad to one corner store while you cover the one on the opposite side.
This way you can pin the enemies in the street as they enter.
If you have a sniper rifle, you can even pick off a few foes with headshots as they stumble away from you and toward your squadmates.
When the Banshees walk into your line of fire, slow them (or time) down and hit them with as many headshots as you can.
Even from the cover of a corner store, you can still get headshots with something like an assault rifle or even a pistol.
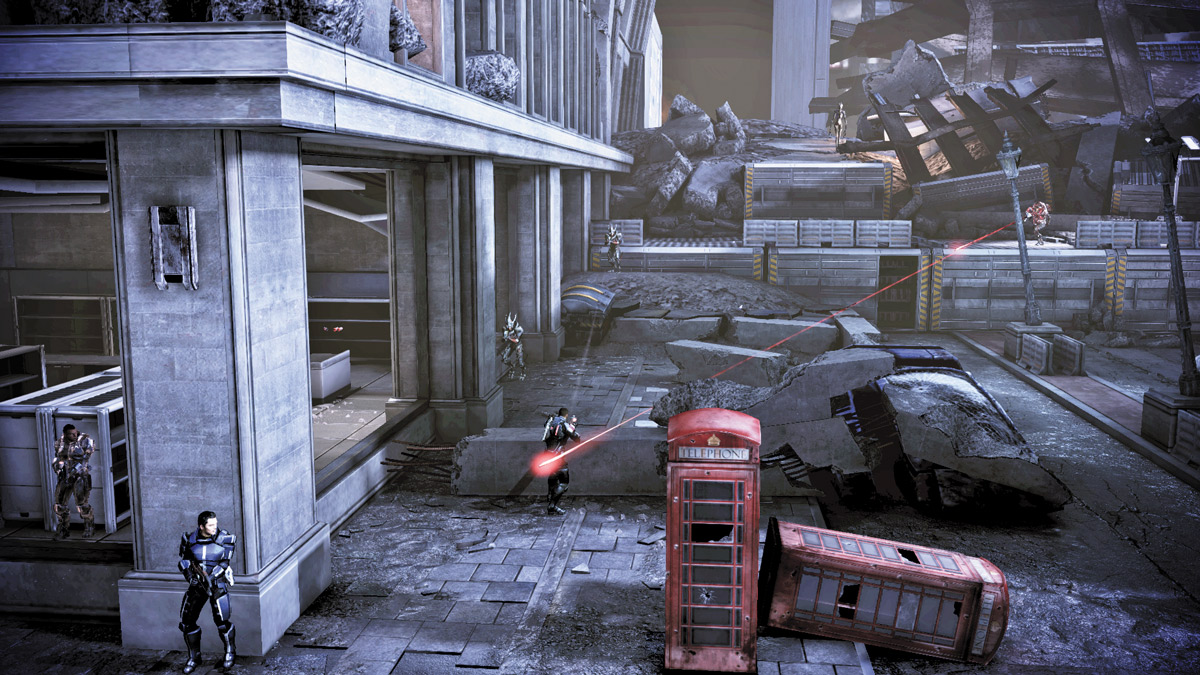
After squashing the attack from your flank, activate the missile controls to launch a missile attack at the Reaper Destroyer. The first attack misses, but that leaves the missile in the second missile battery across the street.
EDI needs you to draw the Reaper closer to you and away from the transport beam. However, Reapers are about to overrun your position.
Defend the Missile Battery
.jpg)
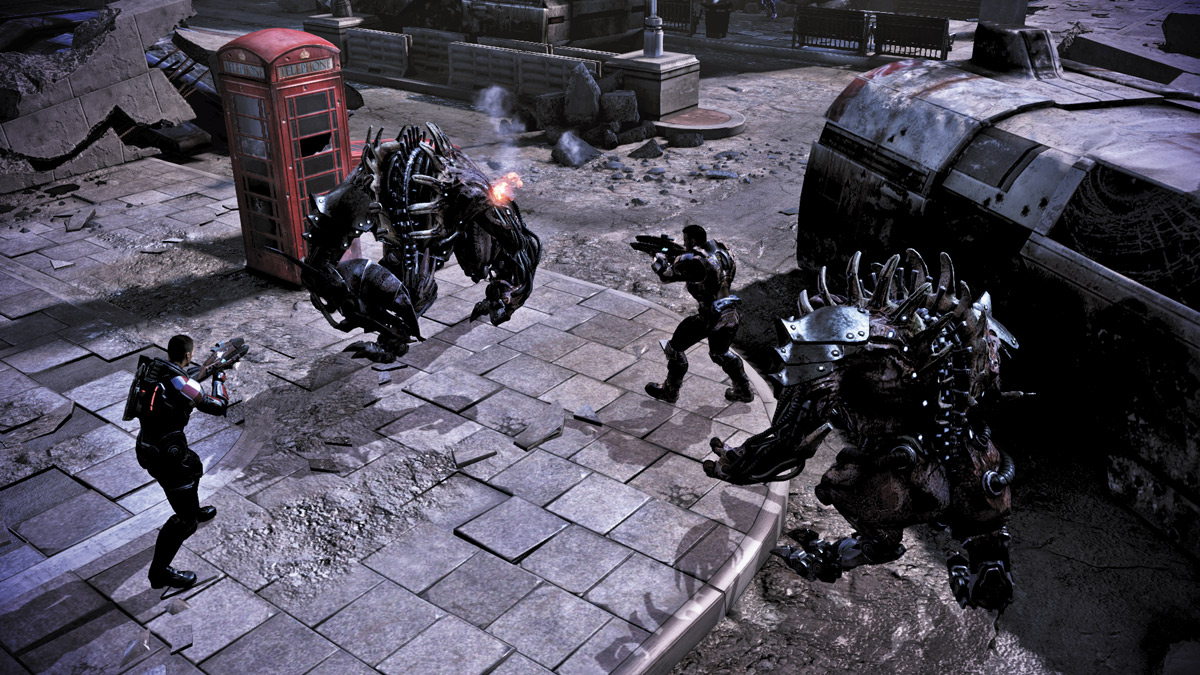
The next group of Reapers is comprised solely of Brutes. Use your speed to keep them on the move and away from you.
Guide your entire squad around the intersection, ducking from shop to shop as you slowly pick them apart. Use explosive powers and grenades when the Brutes are close to each other, and don’t stop moving and shooting.
Deploy as many disruptive powers as you can, from drones to Nova or decoys. The more targets they have, and the more staggered they remain, the harder it’ll be for the Brutes to reach you and your team.
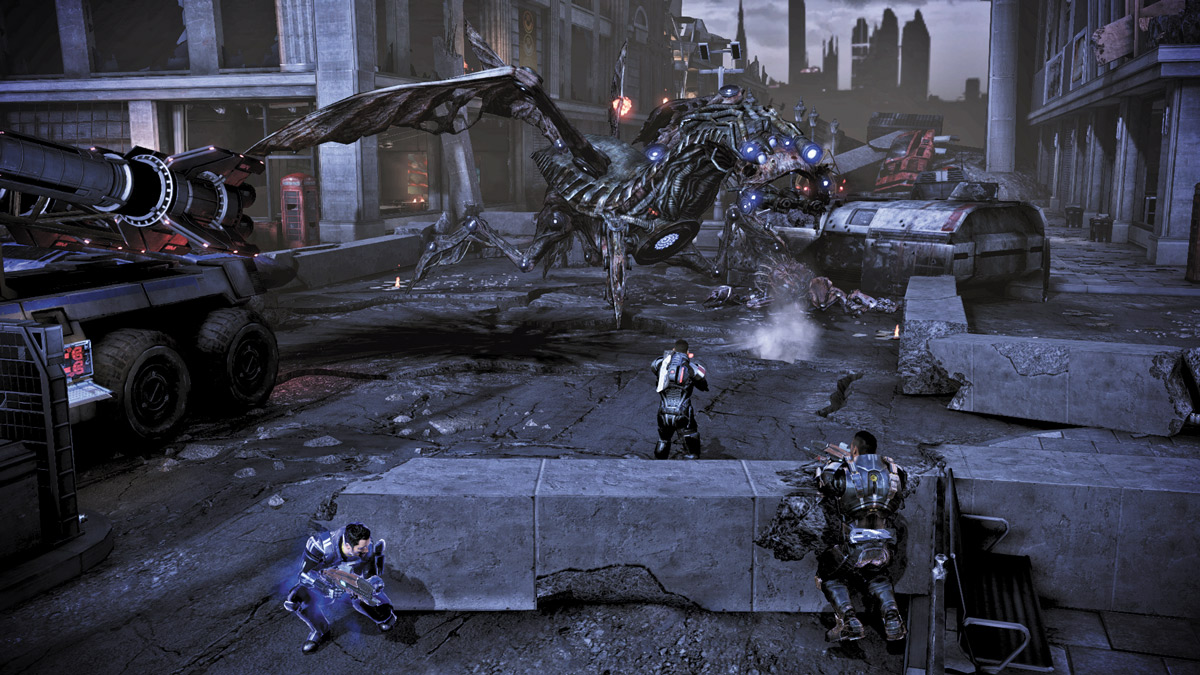
After dispatching several Brutes, a Harvester flies down and begins to attack the missile battery.
When the Harvester arrives, rush to the lower left corner shop and pick up the Hydra Missile Launcher. It has one shot, but that is all you need to defeat the Harvester instantly.
.jpg)
If you miss with the Hydra Missile Launcher, you can still defeat the Harvester by using conventional attacks.
You’ll have to eliminate every Brute, then split up your squad.
Order the squad to attack from the top left and top right corners while you engage the flying Reaper beast from the center of the street, just behind the first missile battery.
Keep the Harvester guessing while you keep attacking until you defeat it.
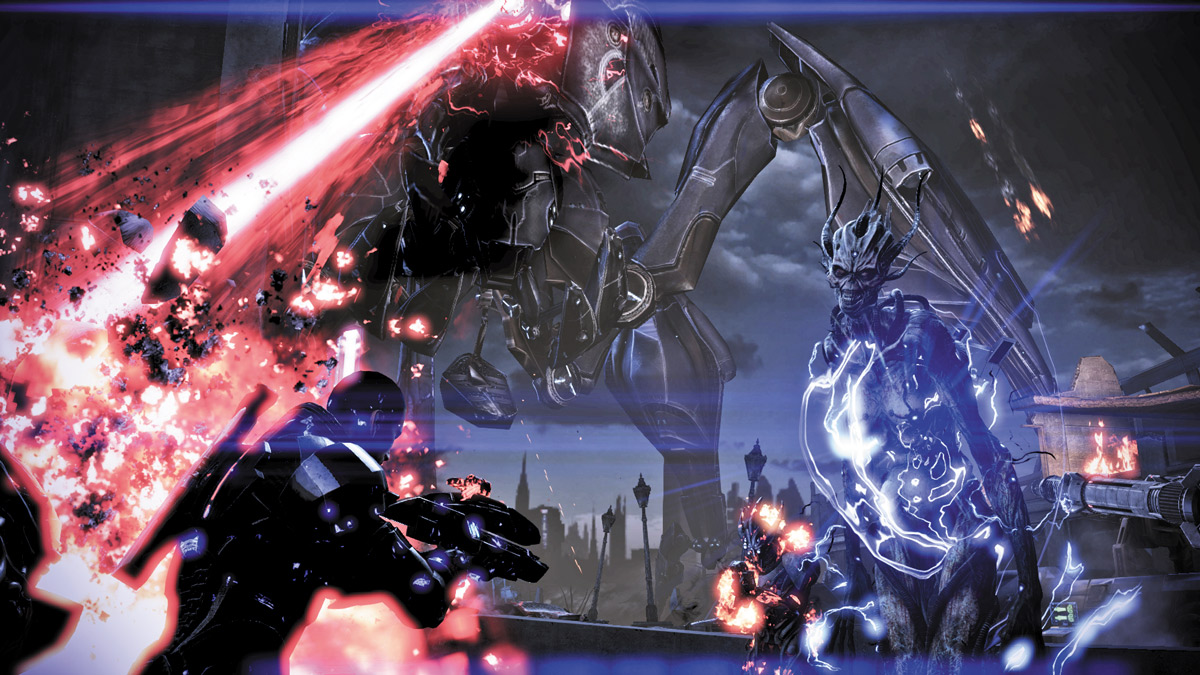
Defeating the Harvester causes the Reapers to attack with one final flurry. They send Banshees and Marauders in a concerted effort to wipe you out.
You don’t have to defeat every enemy from this point on; you need only survive long enough for the second missile battery to come online.
Stay on the move, dodging the Reaper Destroyer’s laser cannon blasts as you rush from one corner to another. Don’t stay out in the open and don’t engage the Banshees for longer than a few seconds.
If you’re going to defeat any Reapers during this final wave, make it the Marauders. They’re equipped with weapons and can have a greater range of fire.
Fighting from the side streets will prevent the Reaper from shooting at you. However, it will also make the run to activate the second missile truck more dangerous once they are ready to be fired.
When the missile controls come online, punch through the enemy forces and make a beeline to the controls on the second missile battery.
Cutting through the top-left building can be a good way to get past the Reapers if they are occupying the middle of the intersection. Activate the missile controls to end this battle.
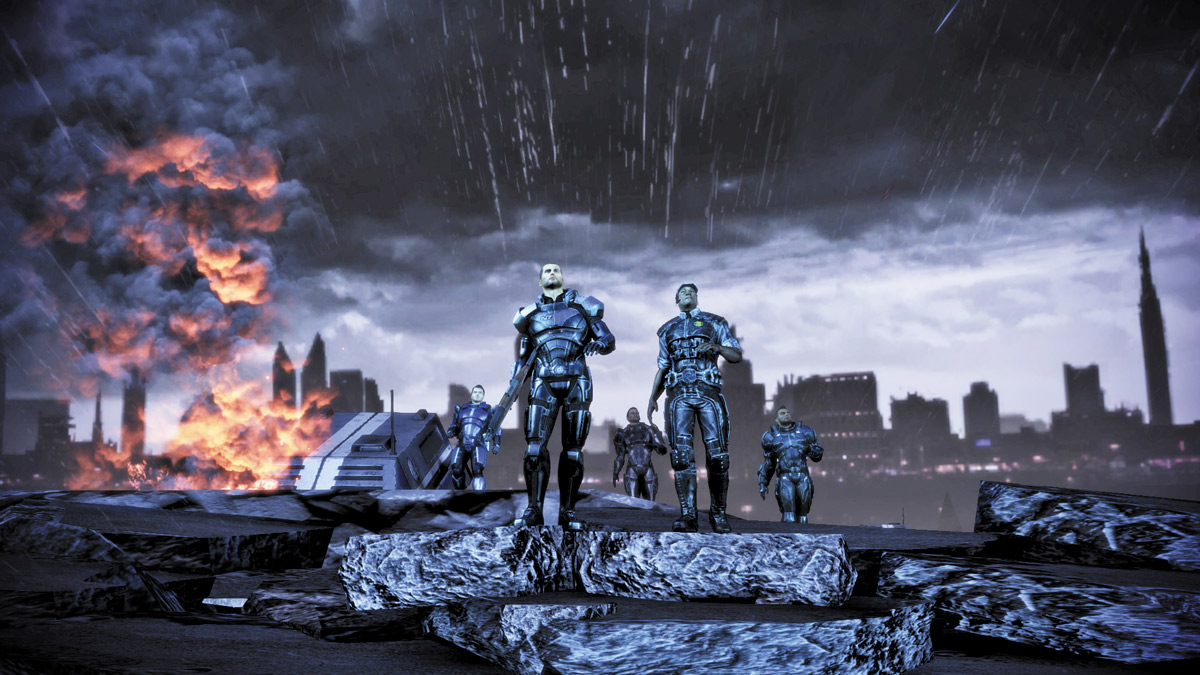
With the destroyer out of the way, Anderson can finally pick you up. You don’t have a lot of forces left, but you’ve got enough to launch one more assault.
The Crucible is sent toward the Citadel while the ground forces launch an all-out assault on the transport beam.
Despite the fact that Hammer has been decimated, Shepard’s efforts have got the attention of the Reapers. They are breaking off from their battle with the fleets to stop Shepard.
This has given Hackett the opportunity to send the Crucible to the Citadel. But it’s a desperate gamble.
If the ground forces can’t reach the beam and get to the Citadel to open the arms, the Crucible will be a sitting duck.
They know what you’re going to do and are intent on stopping you.
The Final Rally
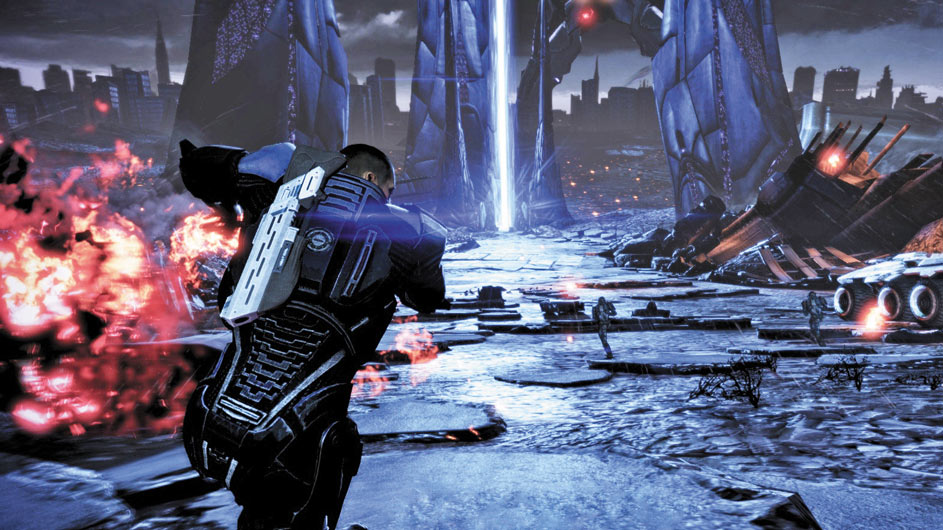
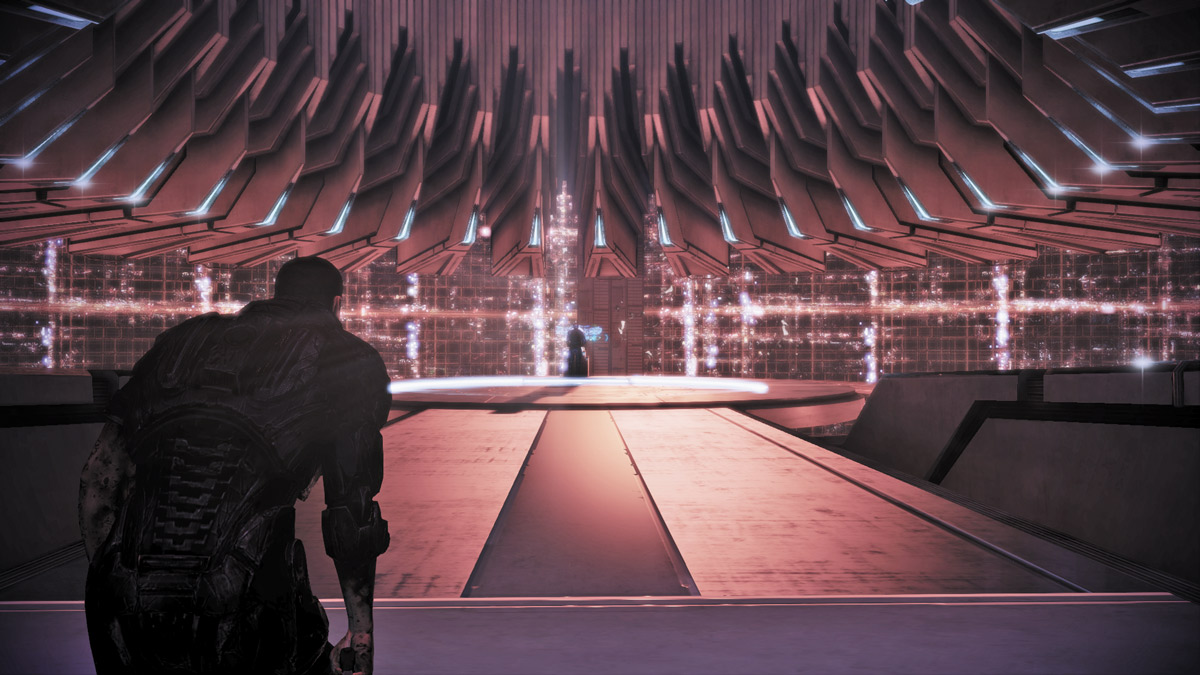
When you’re finally close enough to the transport beam, you make a mad dash straight for it.
The conduit to the Citadel is still heavily guarded as more and more Reapers arrive, and a nearby Destroyer randomly targets your assault team.
Even though you are in control, there is nothing left to do here but push forward.
Don’t worry about the laser cannon as it fires closely to you; it won’t hit you. Instead, keep your path focused directly on the beam and keep running.
There are a few last Reapers in your way, but you’ve got your pistol in hand. A few quick shots clears the way.
You’ll eventually reach it but when you do, it transports you to the Citadel.
The Citadel is a bloody mess, covered in dead bodies and transformed into something else.
Follow the bloody walkways up and around until you reach a final chamber of the Citadel. There, you will find Anderson...and the Illusive Man.