
Mass Effect 3 Guide Walkthrough Side Missions
Grissom Academy: Investigation
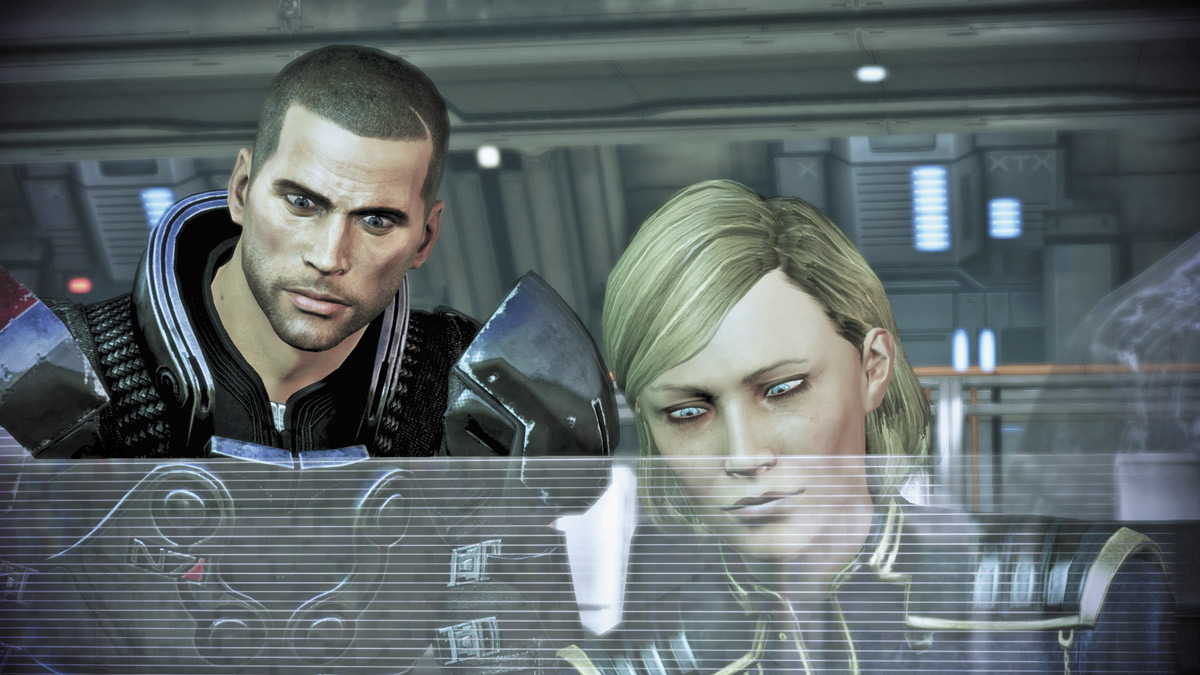
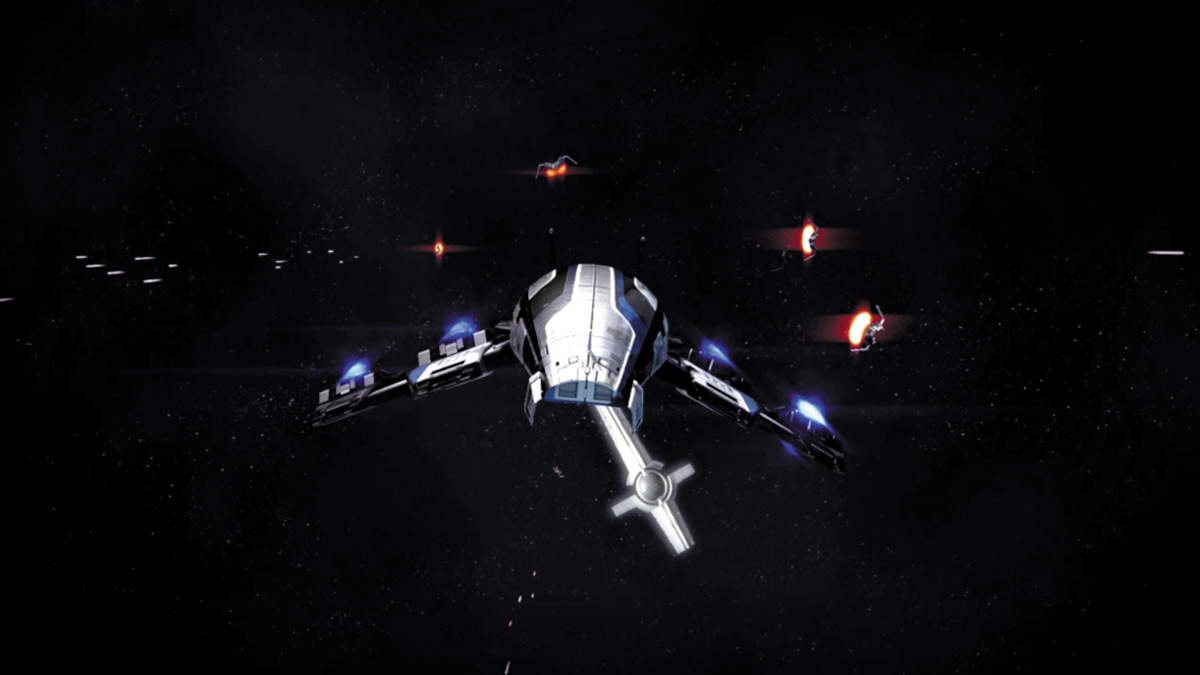
Grissom Academy is a special school for the best and the brightest of the Systems Alliance, specifically in the area of Biotics development.
Specialist Traynor picks up a distress call from the academy, as it lays directly in the path of the Reaper onslaught.
A turian cruiser apparently has responded to the call, but Traynor reveals that this is not the case. As you will find out, Cerberus is laying siege to the school.
Joker is forced to run a distraction with the Normandy while your team slips aboard to rescue the students.
INITIAL CONTACT
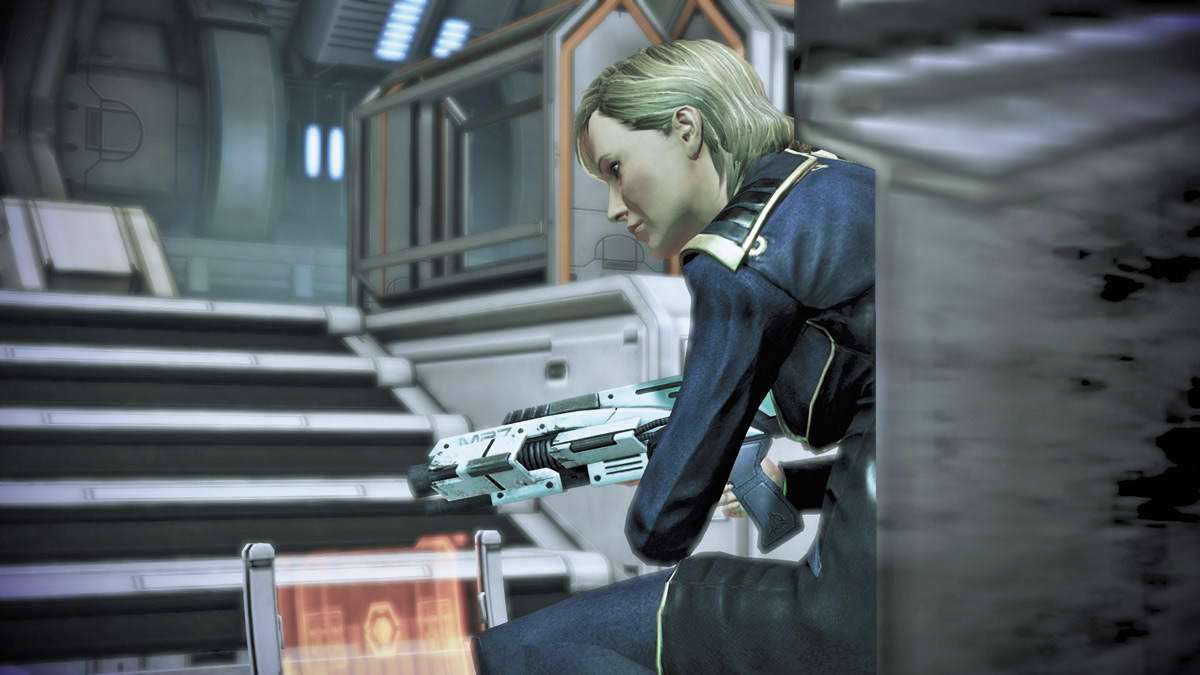
As soon as you arrive, Kahlee Sanders, an officer of the academy and the one who sent out the distress call, is about to be overrun by Cerberus troops.
After eliminating the threat, you have a chance to speak with her regarding the situation at Grissom. Your responses can earn you Paragon or Renegade points.
She mentions knowing Admiral Anderson, and if you inquire about that, she will give you a message to pass on to him.
Leave Sanders to her work, and follow her directions to reach the students pinned down by Cerberus in Orion Hall.
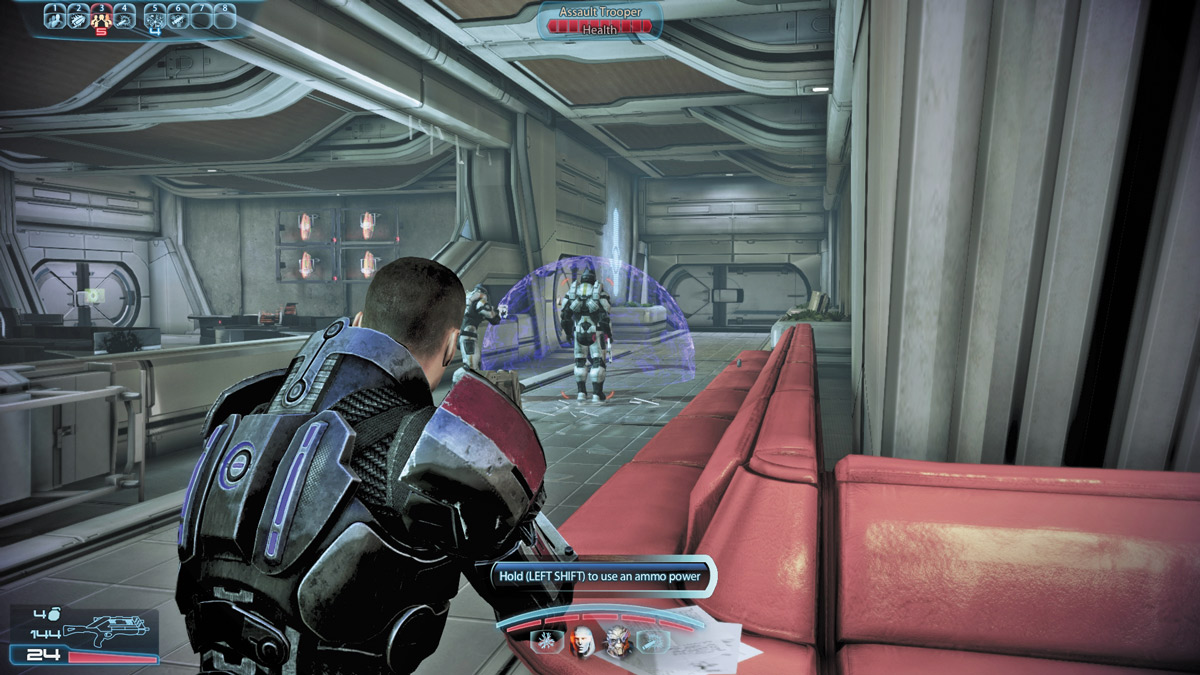
Eliminate them and speak with the student. His sister is missing somewhere in the academy, and you need to find her.
As you enter the room, check the corridor on the room’s far right to find a datapad worth 1,250 credits.
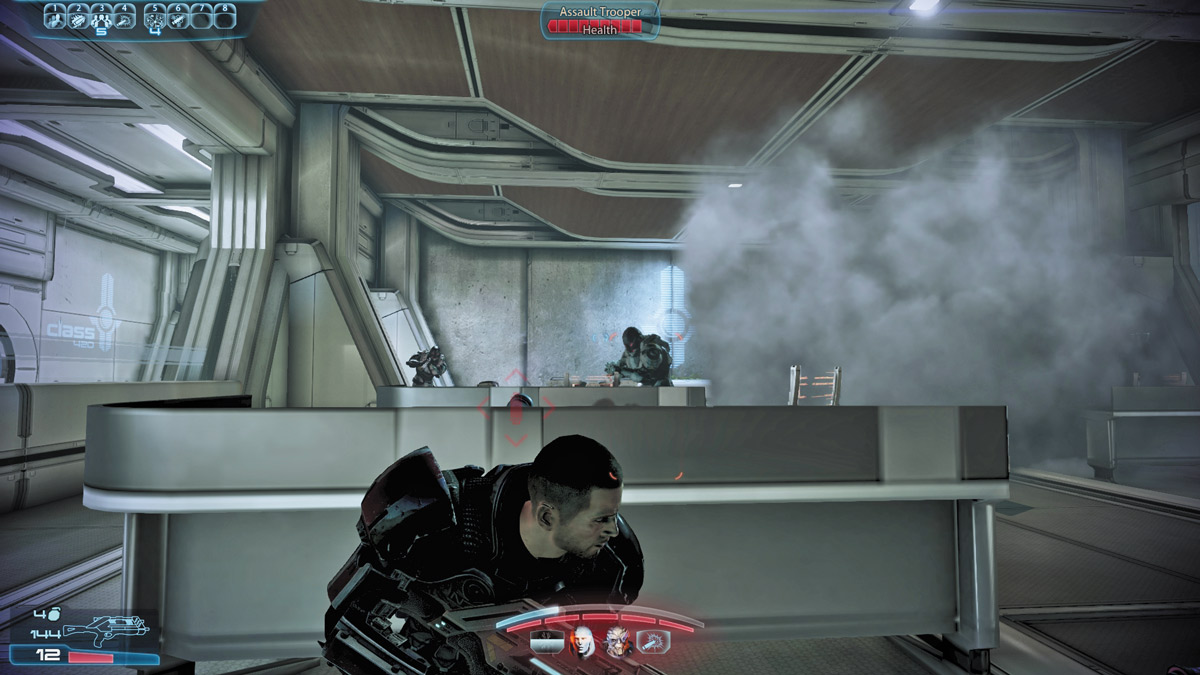
Cerberus troops gun down another student, then enter the room to check the body. You face a mix of Assault Troopers and Centurions here. Once you’re clear, enter the left side door to explore the hall that was blocked off by rubble.
Look for the locker near this student for another 1,250 credits. Once you’ve cleared the area of these items, move on to Orion Hall.
STUDENTS IN PERIL
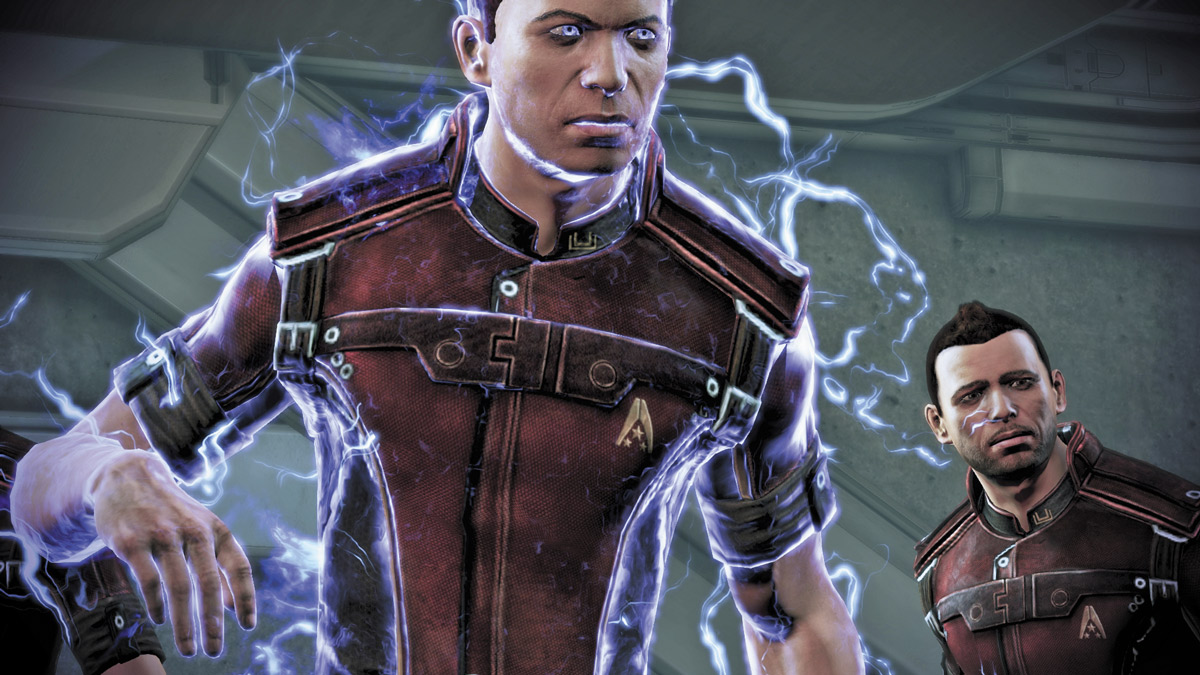
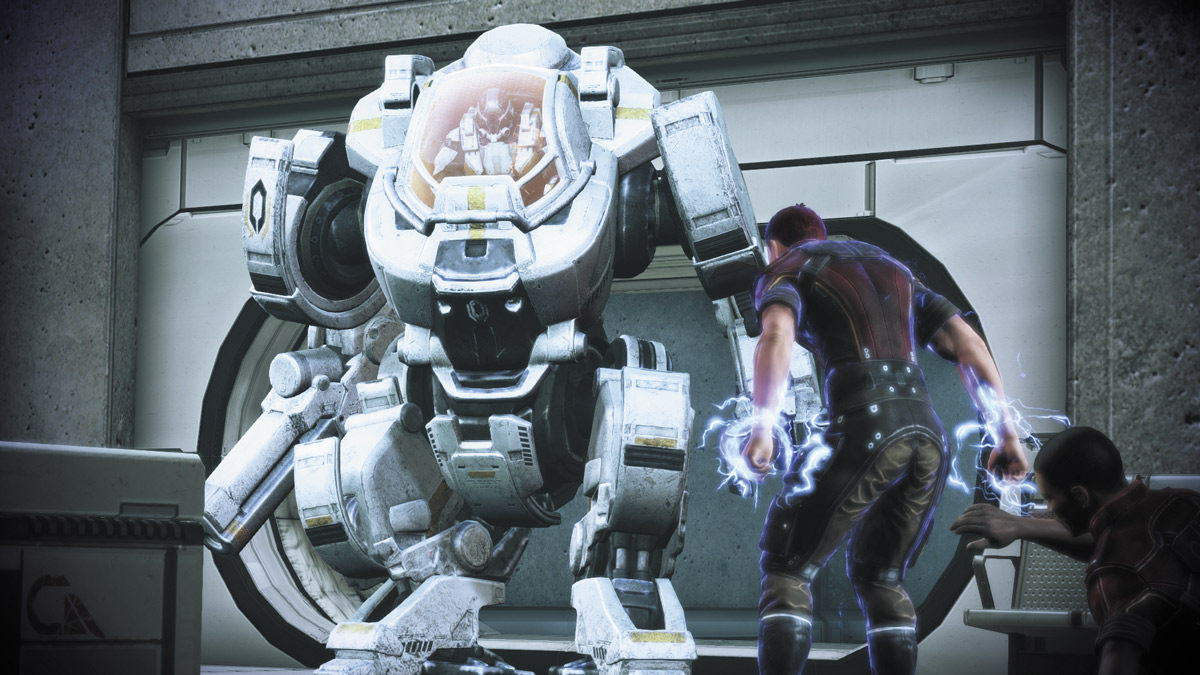
As soon as you enter Orion Hall, you see several students threatened by the enemy. They deal with the initial threat, but a Cerberus Atlas joins the battle.
The ensuing firefight will pit you against it and a mixed force of ground troops. Eliminate the Atlas first, focusing your entire squad on the machine.
Once it’s no longer a threat, concentrate on the Cerberus soldiers until the students are out of danger.
Note that a Students’ Barrier meter will appear at the top of your HUD. Should it be drained completely by hostile attacks, your mission fails.
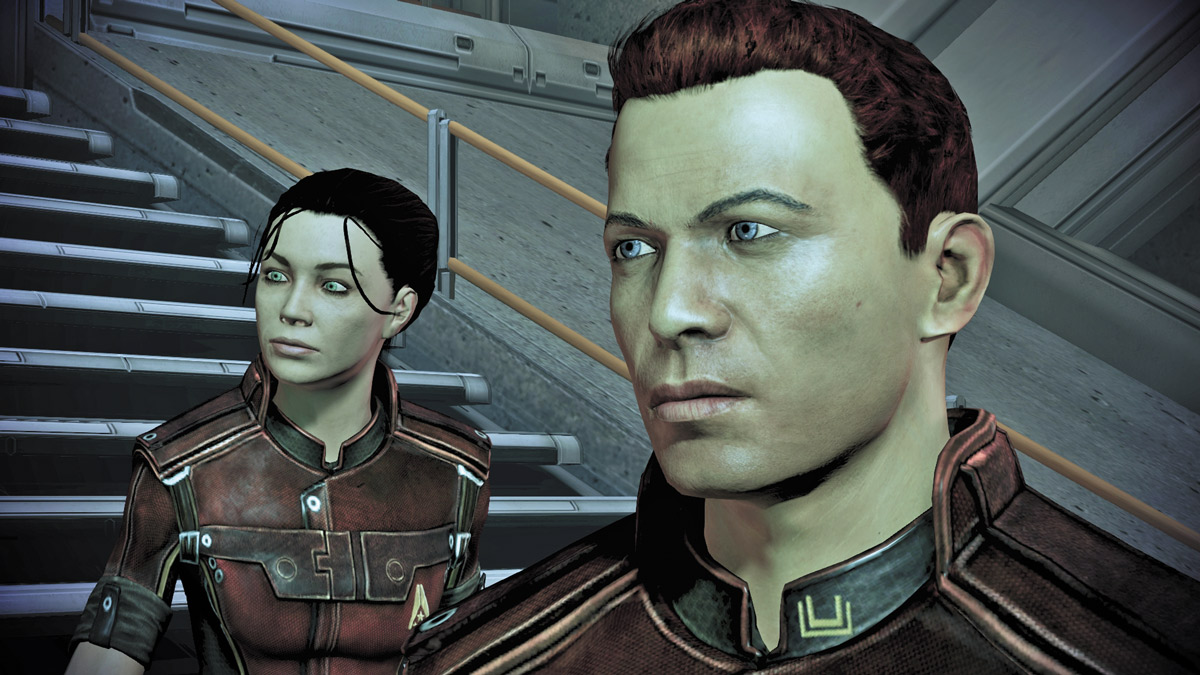
Ensign Prangley and Ensign Rodriguez are the two students in charge of the group. A conversation will ensue, allowing you to gain Paragon or Renegade points based on your responses.
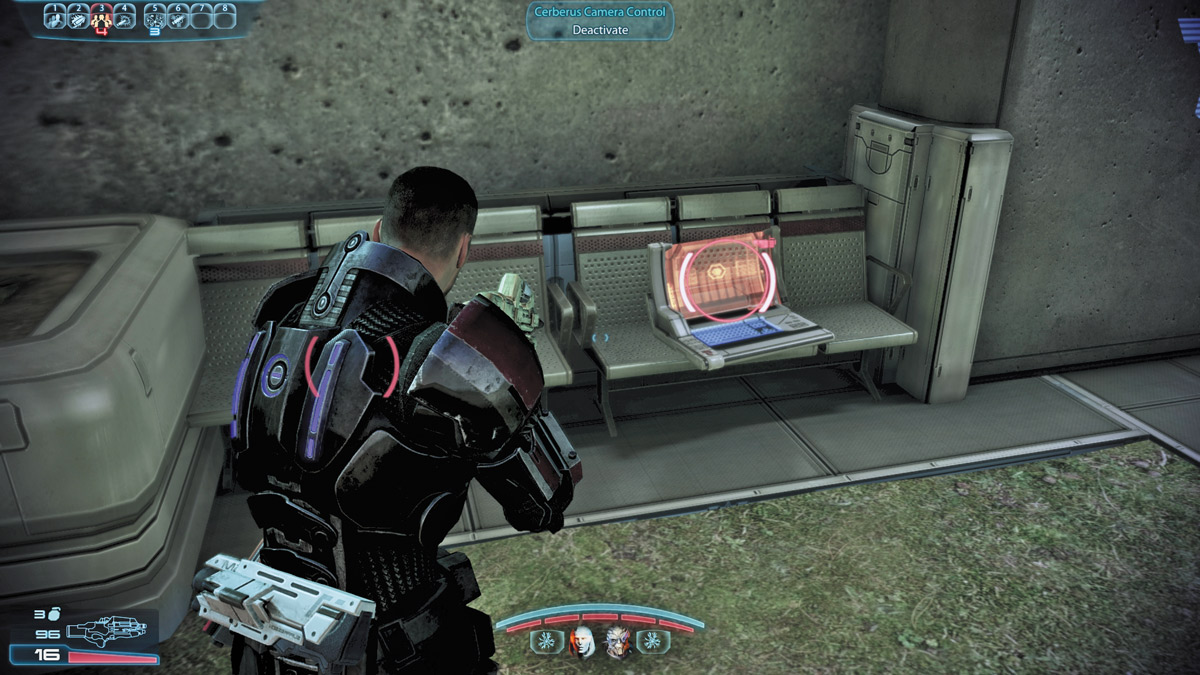
While the students take a badly needed break, you need to grant Kahlee Sanders camera access to the whole station, as Cerberus has it locked down.
Look for the Cerberus camera control near the door where the Atlas pushed through. A Med Kit is on the room’s opposite side if you need the supplies.
Once the camera controls are back with Sanders, go to the room where the students are to find another item and the door overrides. A datapad in the room also contains 1,875 credits.
After you activate the override, you can take the corridor below this room to a door and force it open.
You are given another conversation choice: The students can stay in cover and support you only when it’s safe, or you can tell them to go all out but risk drawing more fire.
Continue through the corridor until you reach a large atrium and a massive Cerberus force.
BRAWL
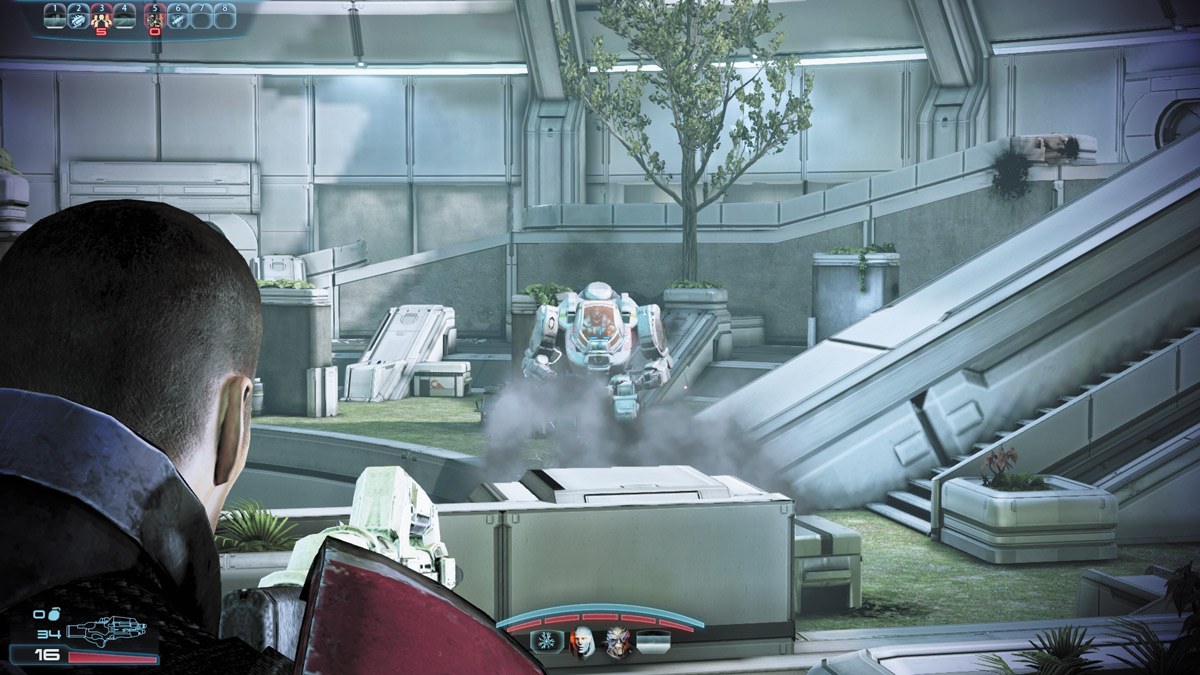
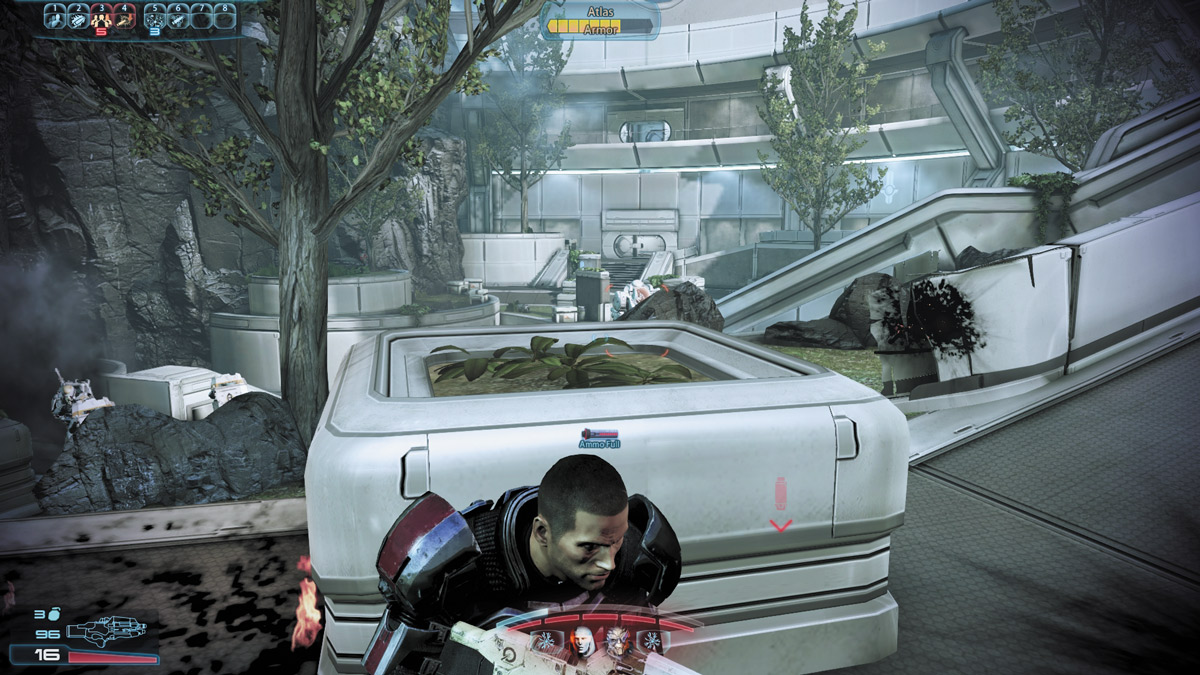
As soon as you enter this room, you will notice an Atlas in the distance, already facing you.
What you may not see are the Centurions, Assault Troopers, and Combat Engineers in the area just ahead of the cover in front of you; they are all supported by a series of shield generators that constantly provide additional protection to the enemy.
It is tempting to rush straight ahead to that cover to make your stand, but the enemy will encircle you and you’ll take fire from the Atlas.
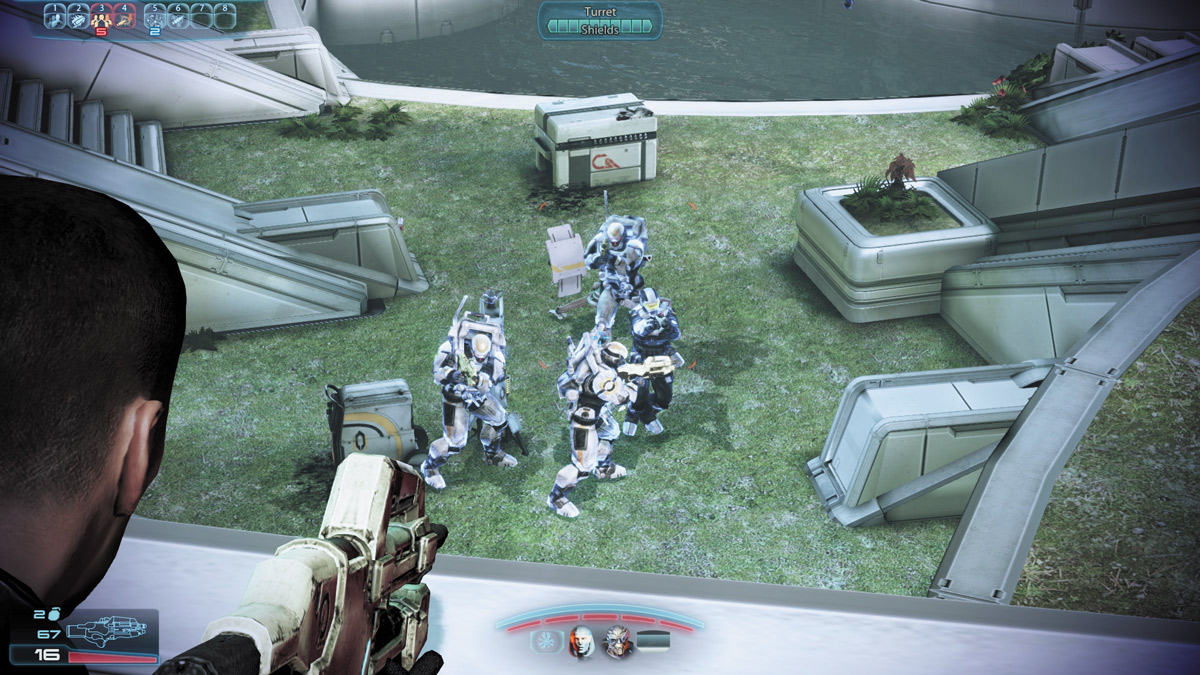
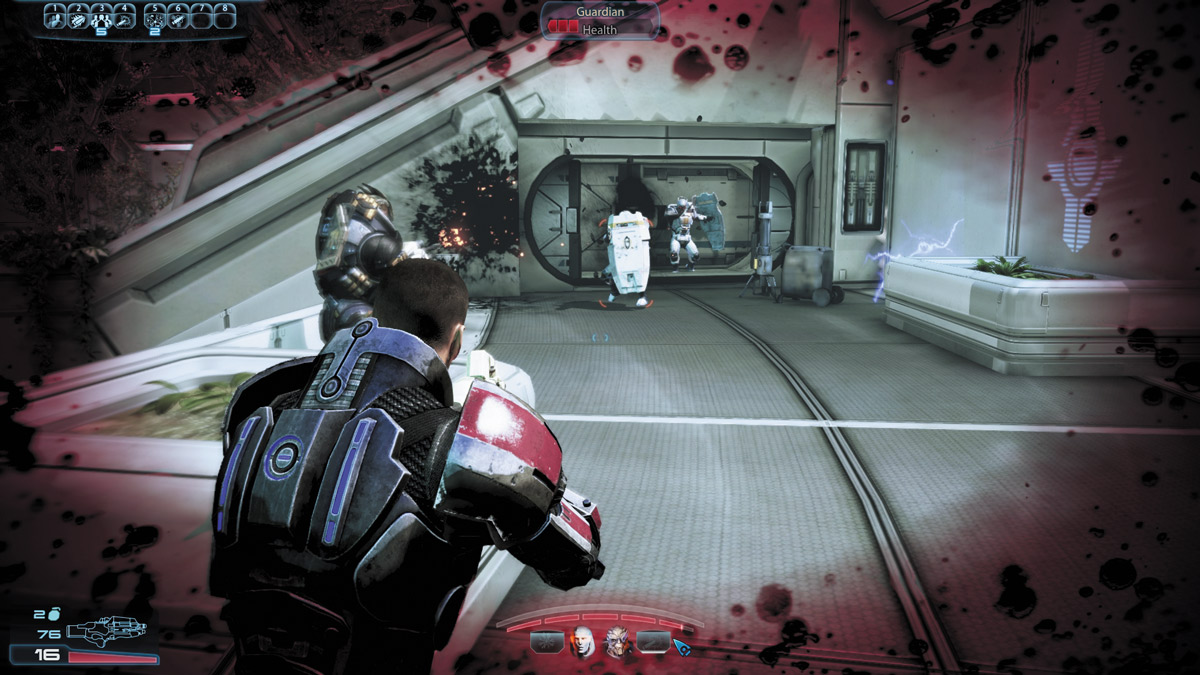
Your best bet is to immediately take the ramp to your right as soon as you enter the atrium. This will block the Atlas from getting a line of sight on you, while giving you the height advantage on the enemy.
Maintain control of this perch, and watch for Cerberus troops entering from a locked door at the top of the ramp. Fortunately, the students will be supporting you from on high with their Biotics; however, don’t count on them to win the battle for you.
After several waves of reinforcements, Cerberus stops sending in grunts, allowing you to destroy the Atlas at your leisure.
Scour the area of ammo if you need it, then proceed through the unlocked door to a small corridor leading to the next half of this battle.
A Med Kit awaits you inside if you need the supplies, and there’s a computer offering 3,750 credits.
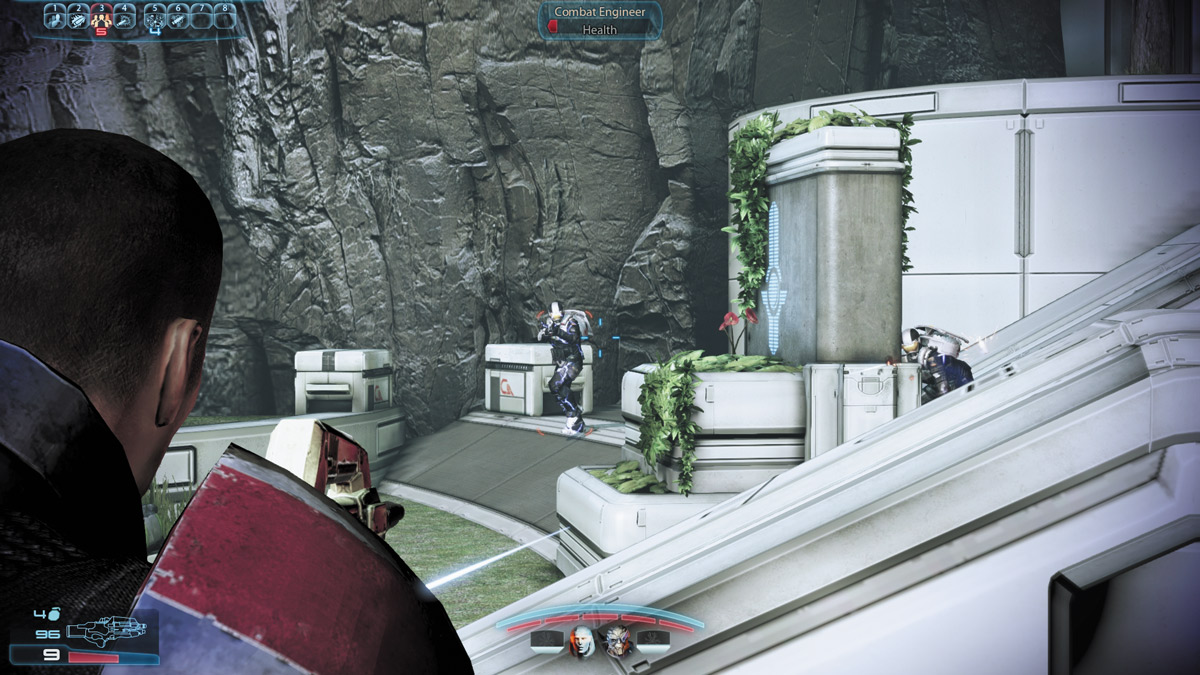
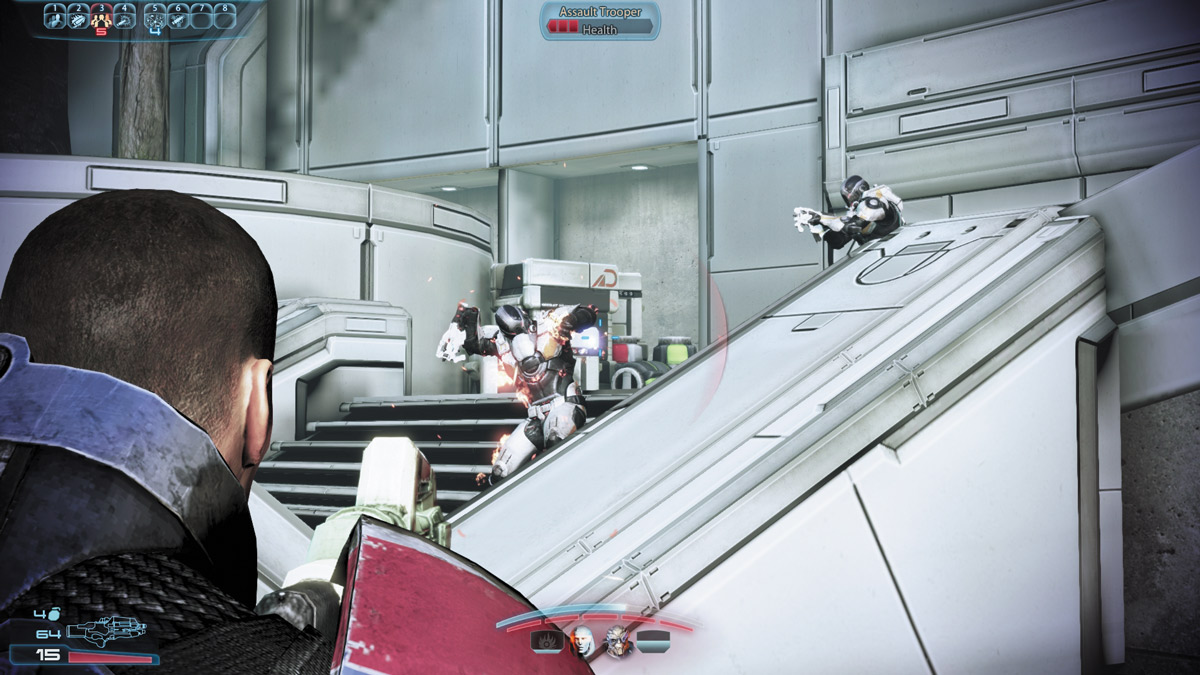
The next phase starts off with you at a distinct positional disadvantage. This other half of the atrium is similar to the first, but now you start off on the lower levels, and Cerberus controls the ramp to higher ground.
Combat Engineers also drop into the lower level as you enter and may already have sentry turrets up and running. Try to interrupt them if you can, and make them your priority targets every time they appear.
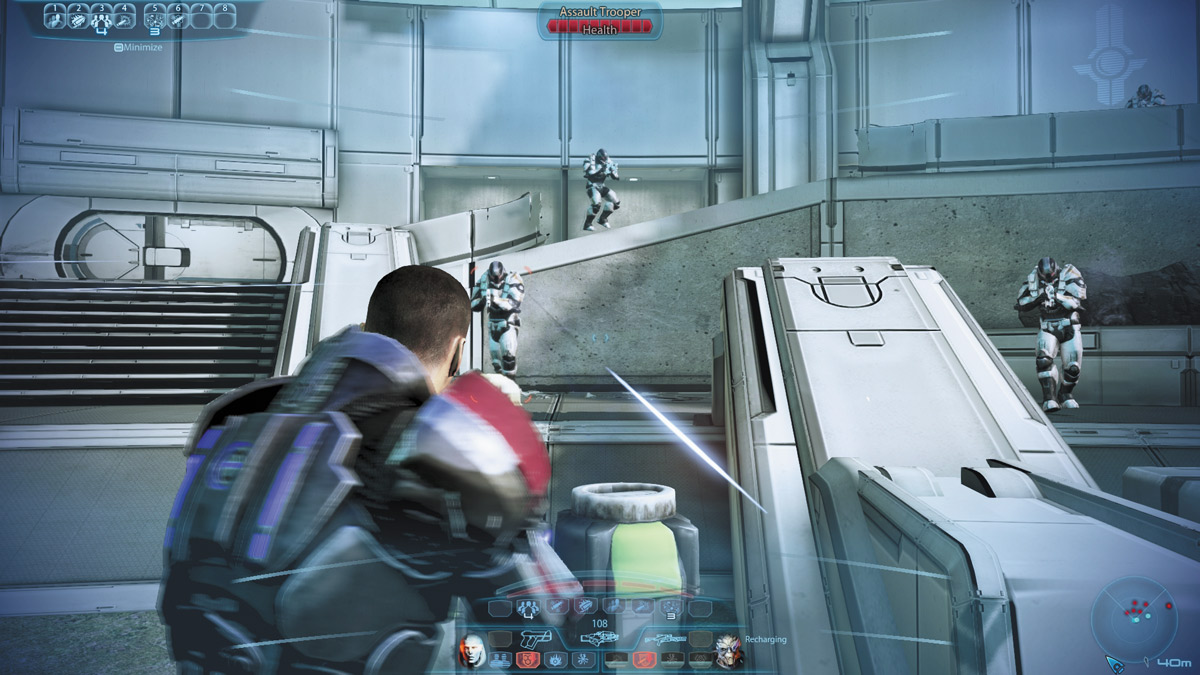
It might seem like a good idea to try holding the ramps during this phase, but this can actually be very risky, as Cerberus reinforcements drop in across the ramps and throughout the lower level.
This can leave your back exposed to attacks, and you may miss Engineers setting up turrets.
In the grassy area, find cover that faces the ramps for you and your squad, and engage the enemy as they drop in.Meanwhile, the students will continue throwing Biotic blasts to support you.
After many tense waves of reinforcements, Cerberus falls back, and the atrium is yours.
THE HOMESTRETCH
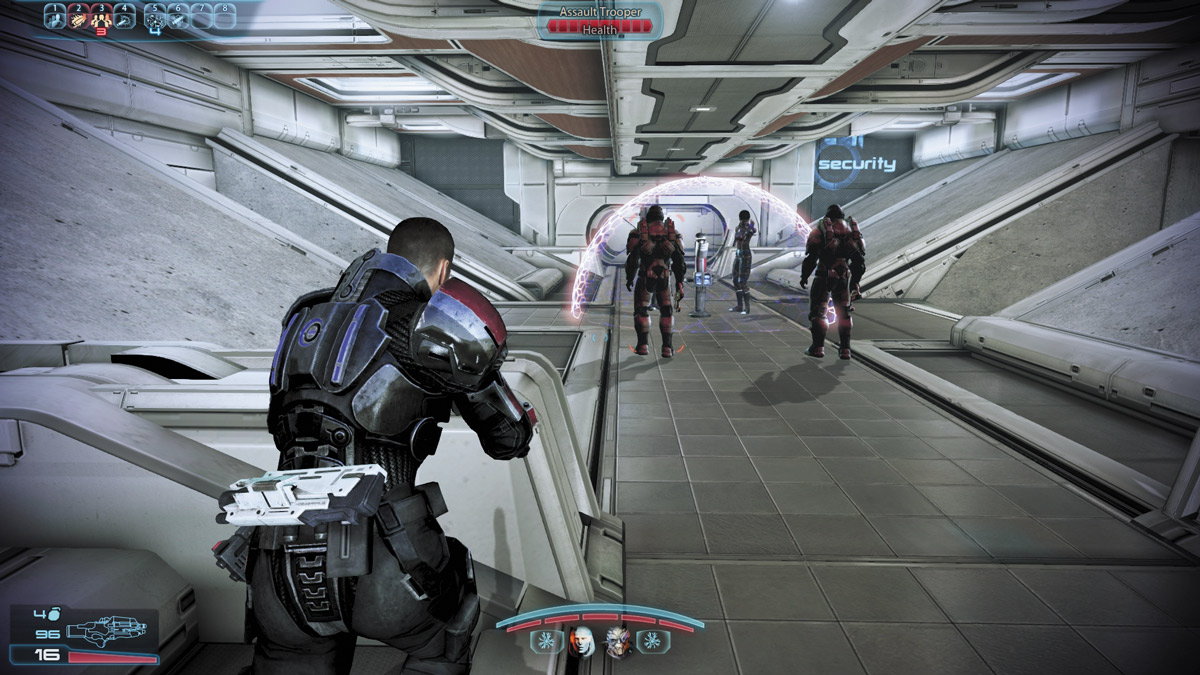
Leave the atrium via another corridor, and you’ll enter a larger passage. To your left, Cerberus troops are attempting to break through a barrier erected by students.
To the right is a computer that grants you 4,375 credits.Snag those before rushing the inattentive Cerberus guards and put them out of their misery.
The students are less than trusting of you, claiming that the Cerberus troops had tried to deceive them with false hopes of rescue, and they are not going to be fooled now. You’re given Paragon and Renegade options for how to deal with them.
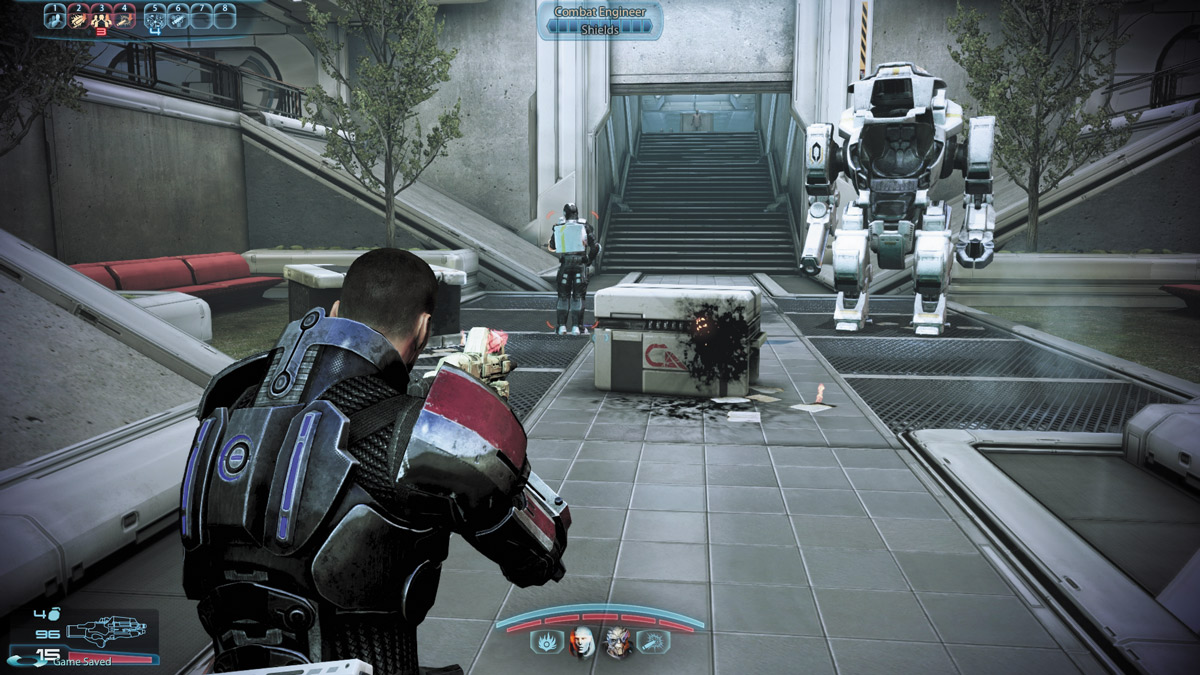
Past the room with the chestplate, you find a Combat Engineer with his back turned to you and an empty Atlas mech next to him.
Kill him before he gets the chance to jump in, and take the mech for yourself. Stomp up the stairs into the next room for the final battle at Grissom Academy.
PAYBACK
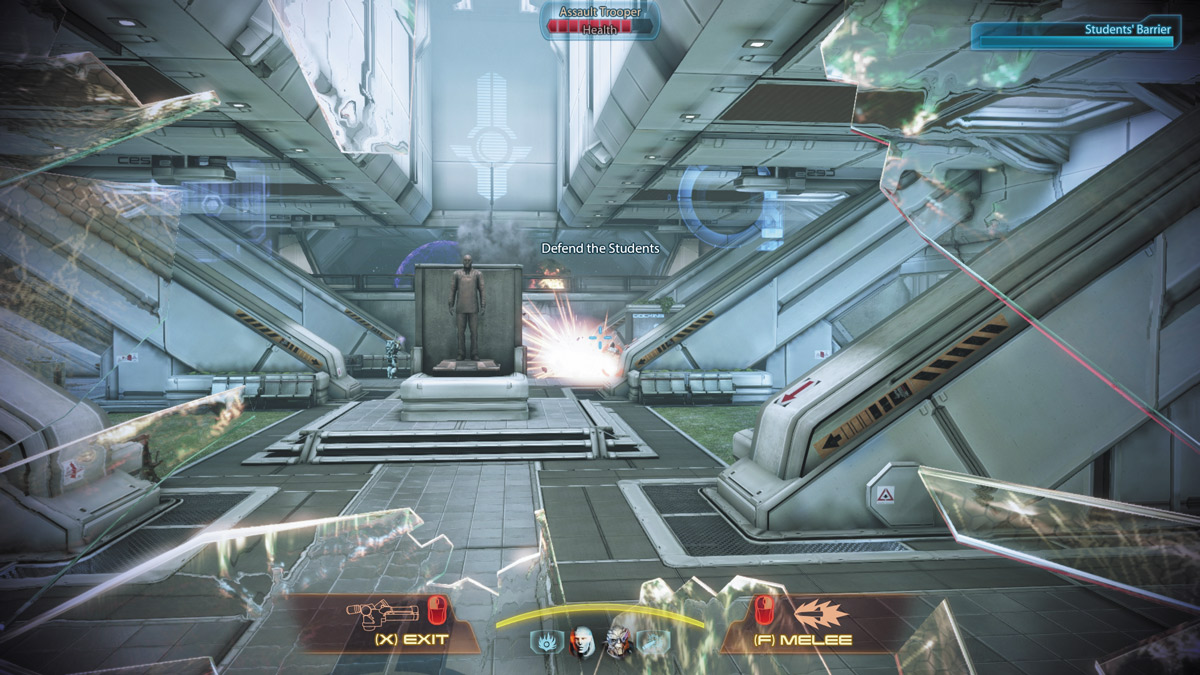
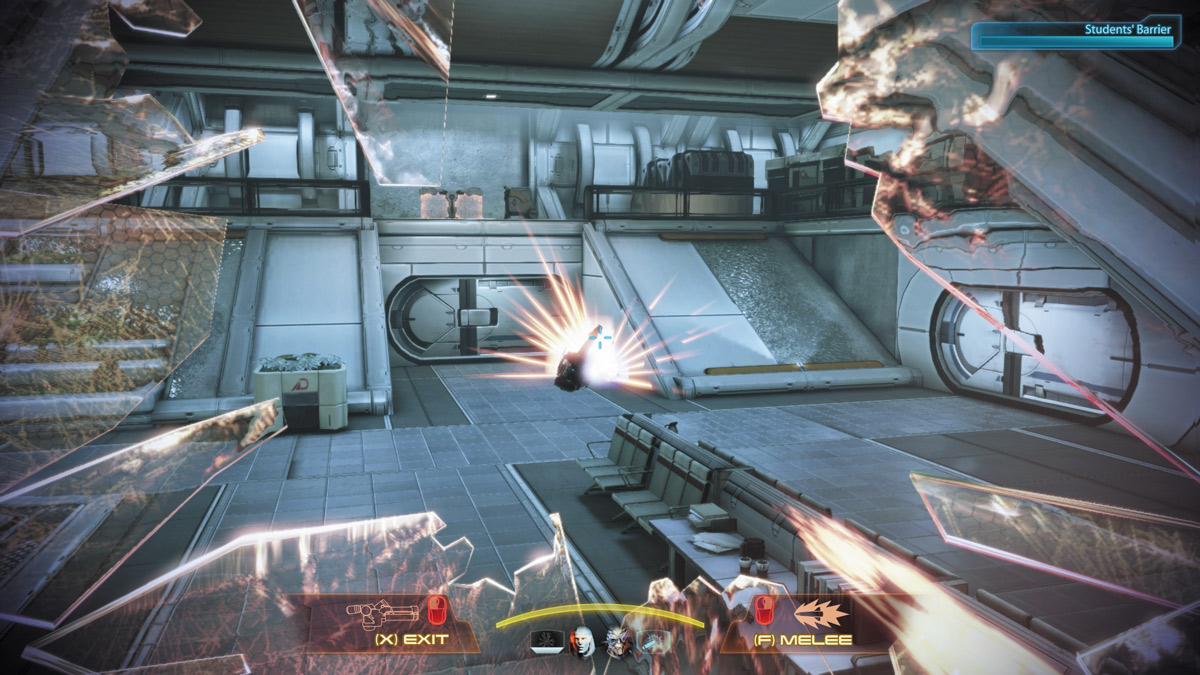
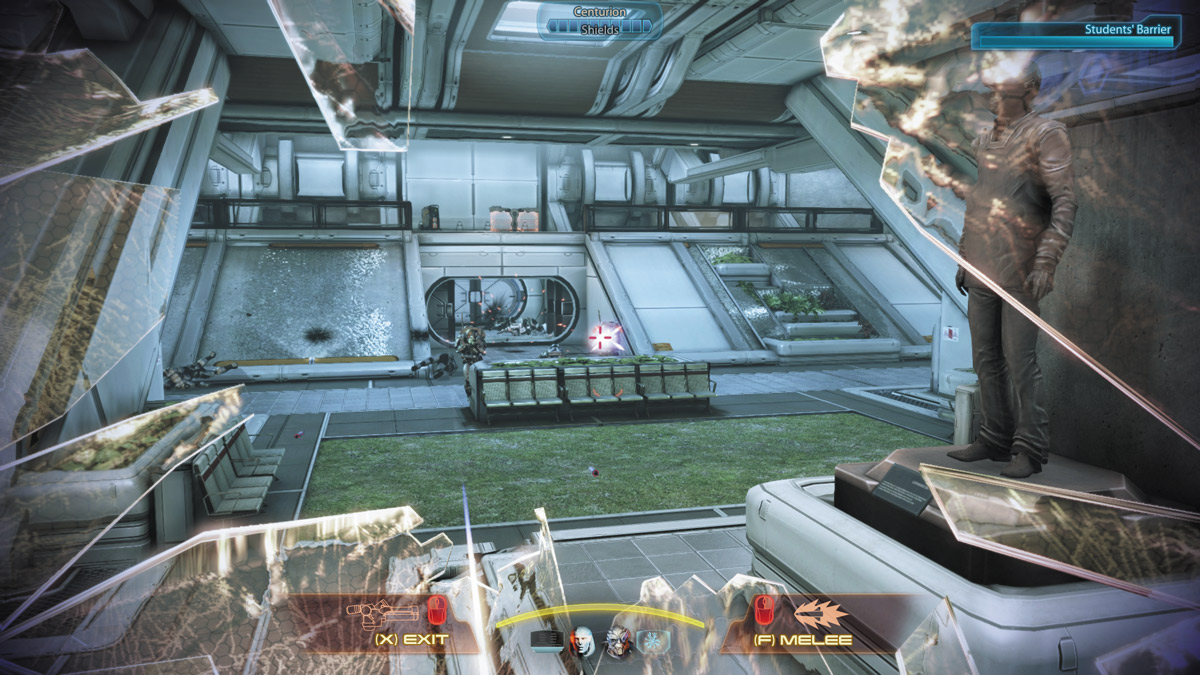
The Atlas mech is well armored and well armed. Your melee attack will flatten any soldier who gets close, your missiles have powerful area-of-effect blasts, and the main gun is accurate and can send the enemy flying across the room.
You will likely rely mostly on the gun, as it can be used while on the move. Slaughter the enemy troops as quickly as possible; if they get close enough to the students, they will start taking shots at their barrier. Don’t let that meter fall to zero.
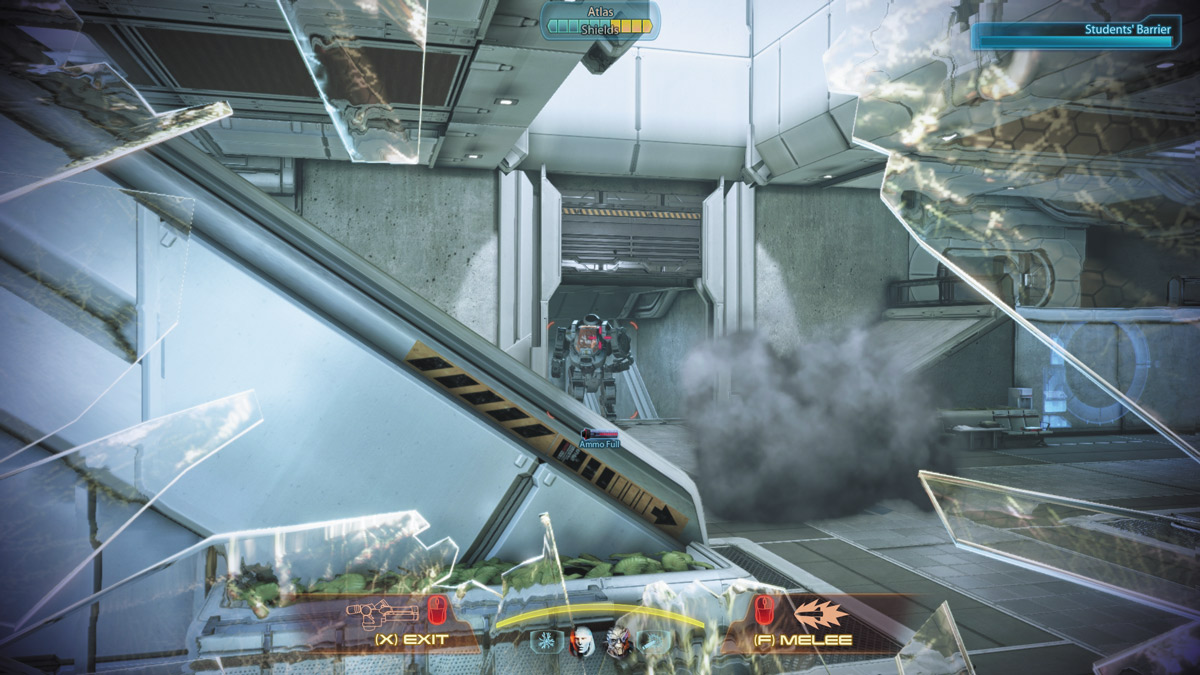
Eventually, Cerberus will send their own Atlas up the stairs you entered from to confront you.
If you have retained your own mech up to this point, you can kill the hostile quickly by focusing rapid cannon shots directly onto its canopy.
With the Atlas defeated, the students make a break for the shuttles and freedom, and you should join them.
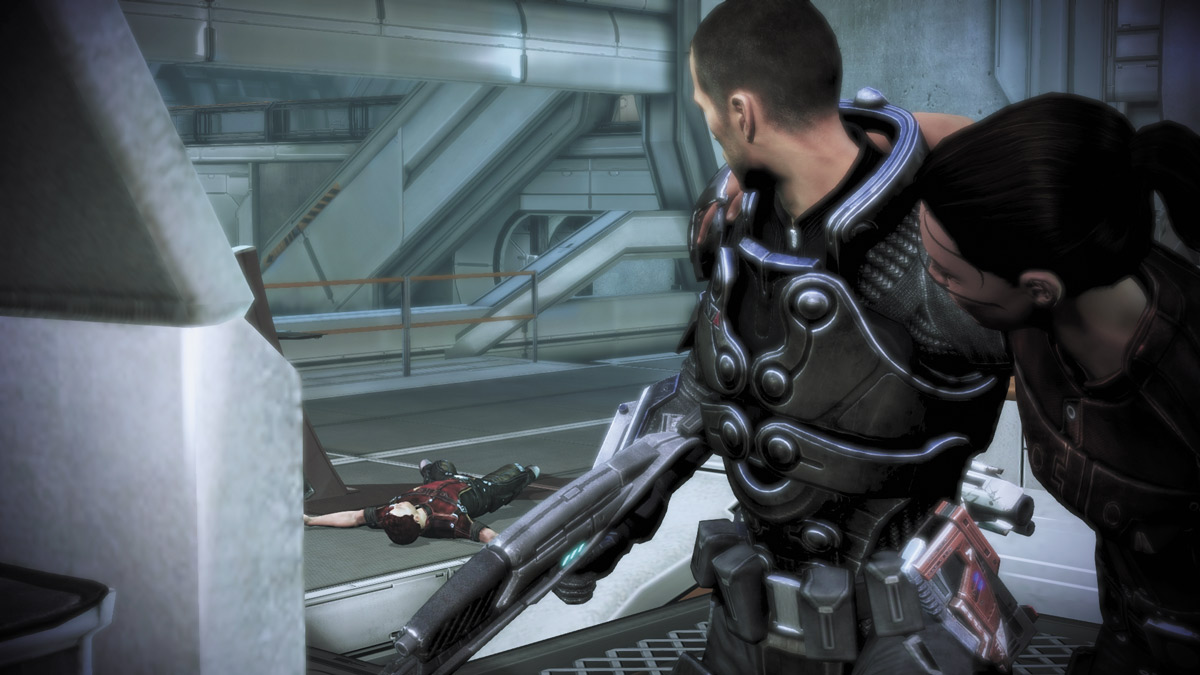
As you flee the academy, Cerberus gives chase, resulting in the death of Ensign Prangley.
As the shuttles fly back to the Normandy, you’re given another set of conversation options that will determine where the students will end up after Grissom Academy.
You can send them to the front lines for Renegade points, or you can find them a safer defensive role for Paragon points.