
Mass Effect 3 Guide Walkthrough Prologue
First Chance for Hope
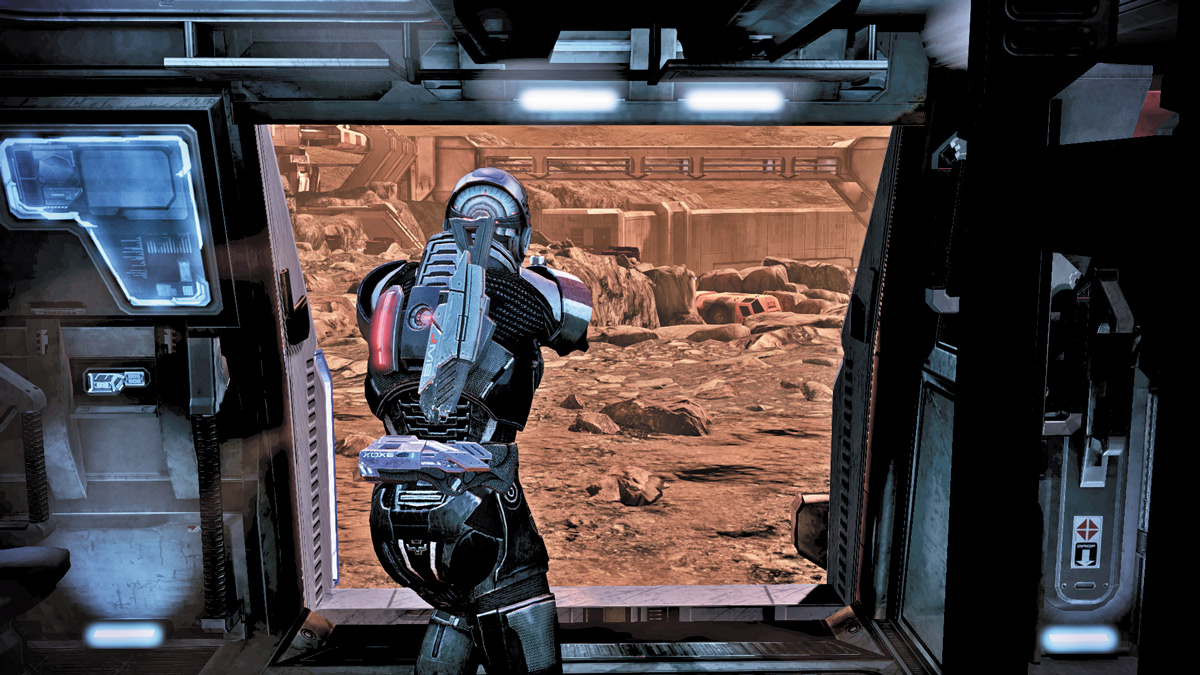
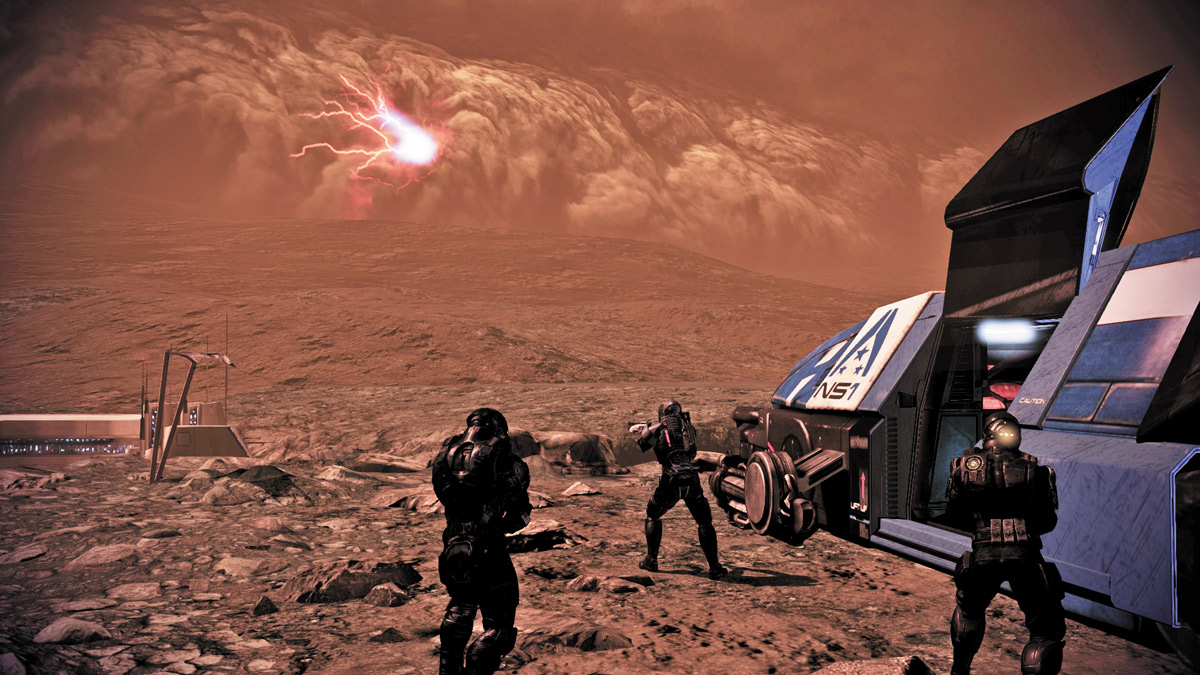
Immediately upon landing on the Martian surface, upgrade your abilities. You’ve acquired the first-level upgrade and now have the ability to beef up with five points for your powers.
The choice of upgrades should reflect your ultimate preference in play style (see our recommendations in the Squad section).
However, regardless of what your initial class choice was, we recommend using the first-level upgrade on your class’s specialty power, such as the Vanguard’s Biotic Charge, the Infiltrator’s Tactical Cloak, and so on.
The Martian surface is volatile, and a storm is rolling in from the distance as you land. Your time on this base will be limited.
Once you’ve upgraded your skills, turn right as you exit the shuttle and walk toward the oncoming storm.
Near the far end of the landing area, you’ll find a ladder. Climb down to find the first few signs of what happened at the facility.
RESEARCH FACILITY APPROACH
.jpg)
.jpg)
After descending the ladder, turn left and send James and Ashley ahead of you. Order them to take cover behind the short walls before sneaking up and taking cover as well.
As the path turns left toward the facility entrance, you spy several Cerberus Assault Troopers executing facility workers!
If you equipped the Mantis, you can zoom in with the sniper scope and take out one, maybe even two, Cerberus operatives before the rest rush for cover.
If you are using other weapons, remain behind cover and allow the Cerberus soldiers to rush toward your position.
Stay behind cover as they approach and allow them to get in range before popping out and firing. The Cerberus Assault Trooper is armored but susceptible to well-placed headshots or close-range shotgun blasts.
The area leading to the facility entrance is a short, narrow road with plenty of vehicles, crates, and small structures you can use for cover. After taking down the first wave of enemies, carefully lead your squad down the path past the large transport vehicle.
When you reach the area with the convoy, immediately order your squad to cover and wait for the Cerberus forces to rush out. Watch for the Cerberus troops to take position, then begin picking them off.
Approach 1: Close Quarters
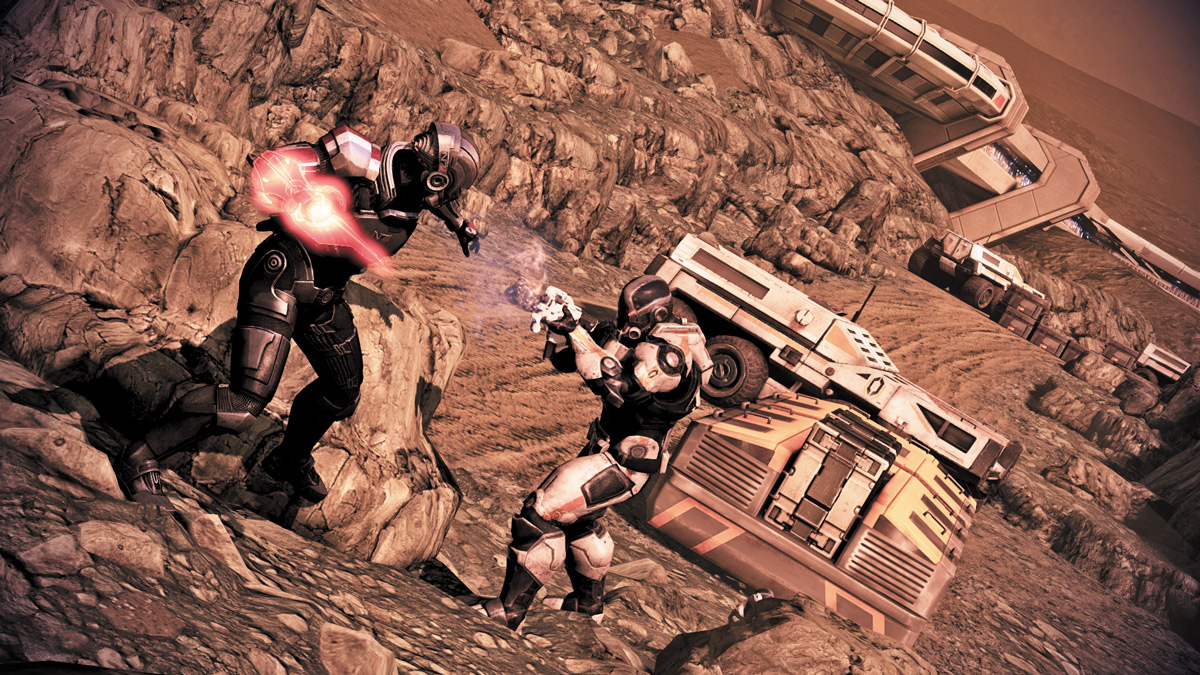
Players looking to get up close and personal can approach this area several ways. Vanguards can use Biotic Charge to dash from enemy to enemy and knock them off balance, following up with a shotgun blast to the chest.
Meanwhile, the rest of the squad can play cleanup, as they engage any soldiers you don’t. If you’re not a Vanguard, you can use your squad’s abilities to split the enemy forces.
Shift your squad left while you dash right, shifting from cover to cover, and get in close enough to decimate the enemy forces with your shotgun.
Approach 2: Slow and Steady
If close-quarters combat is too chaotic for your taste, you can also approach this battle from a more methodical standpoint. Use a medium-range assault rifle, activate Incendiary, Cryo, or Disrupter Ammo, and pick off your foes as they search for cover.
James’s frag grenades can also come in handy during this encounter, as he helps you flush out enemies from cover so you can pick them off from medium range.
If you’d like something a bit more reliable than frag grenades, Adept-class players can use Singularity to flush out enemies from cover, then pick them off while they float helplessly over the ground.
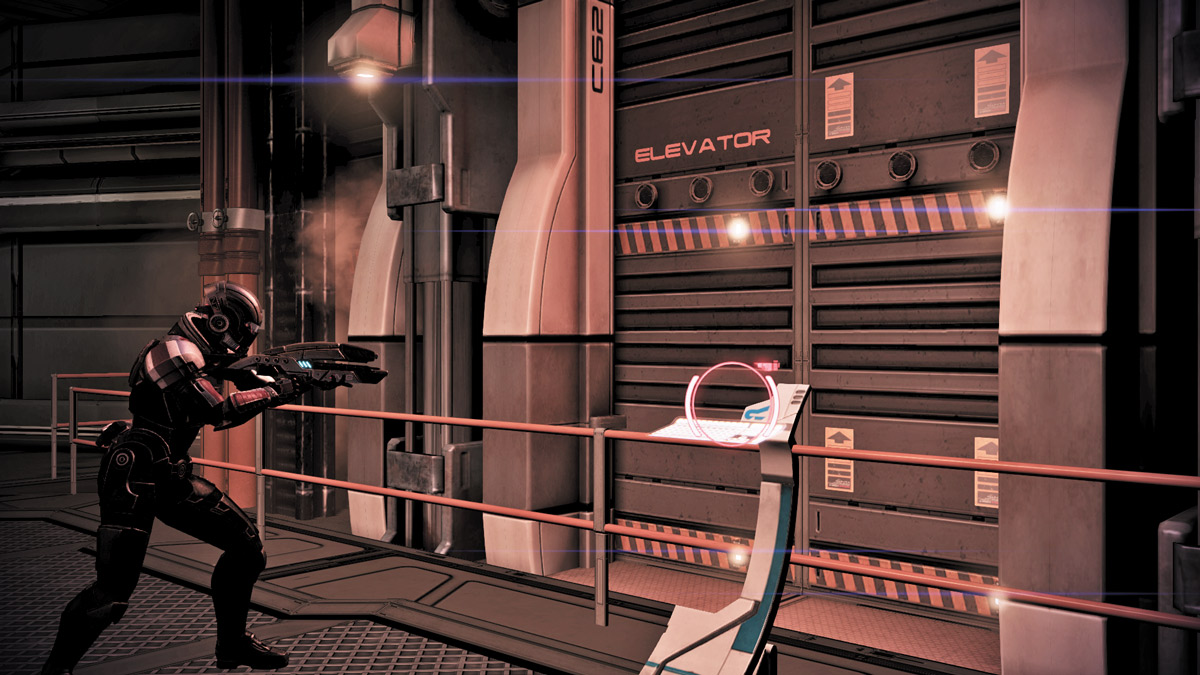
Once you’ve cleared the entrance area, make a right and take the elevator into the facility.
RESEARCH FACILITY INTERIOR
.jpg)
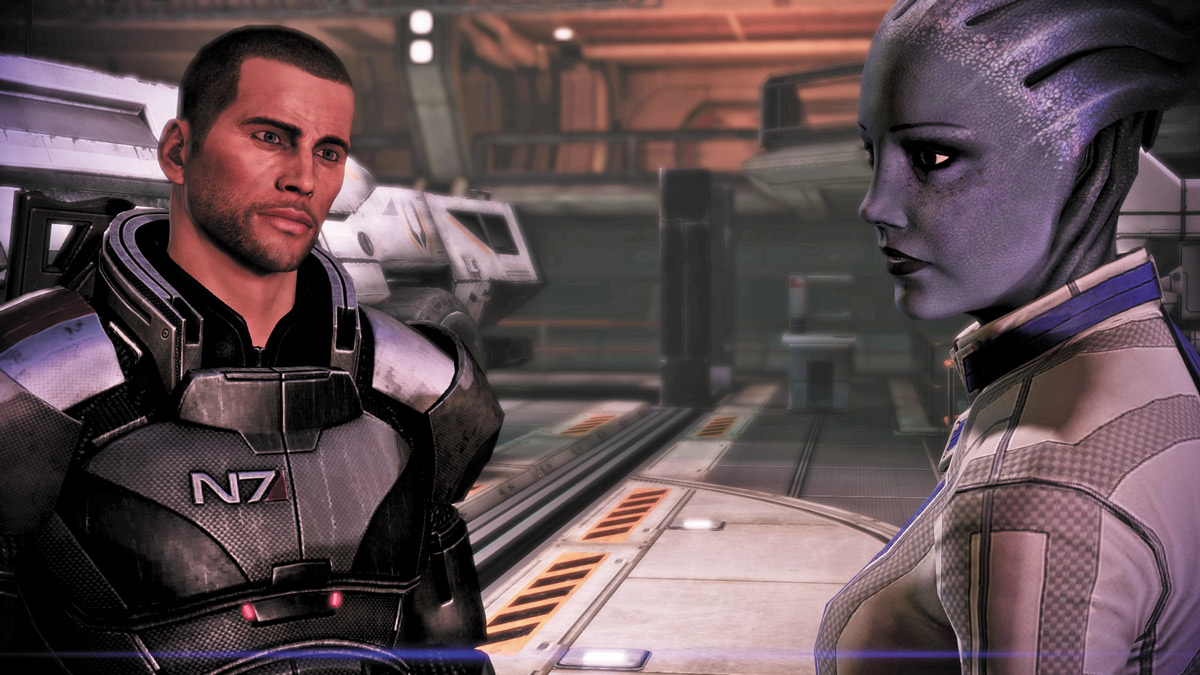
Upon entering the facility, you’re immediately reacquainted with an old friend. Cerberus troops give chase to Liara, but she deftly evades them and turns the tables on her pursuers.
Once she’s dispatched her Cerberus hunters, she informs you of her recent exploits. She’s after the same information that you are: plans for a Prothean device believed to be capable of stopping the Reapers.
The Archives holding the information, however, are across a long tramway. If Cerberus hasn’t locked down the area, you should be able to access the Archives and acquire the plans for the Prothean device.
Before you set out toward the Archives, a group of Cerberus Assault Troopers ambushes you. Shepard sends James back to get your escape shuttle ready while Liara takes his place on your squad.
.jpg)
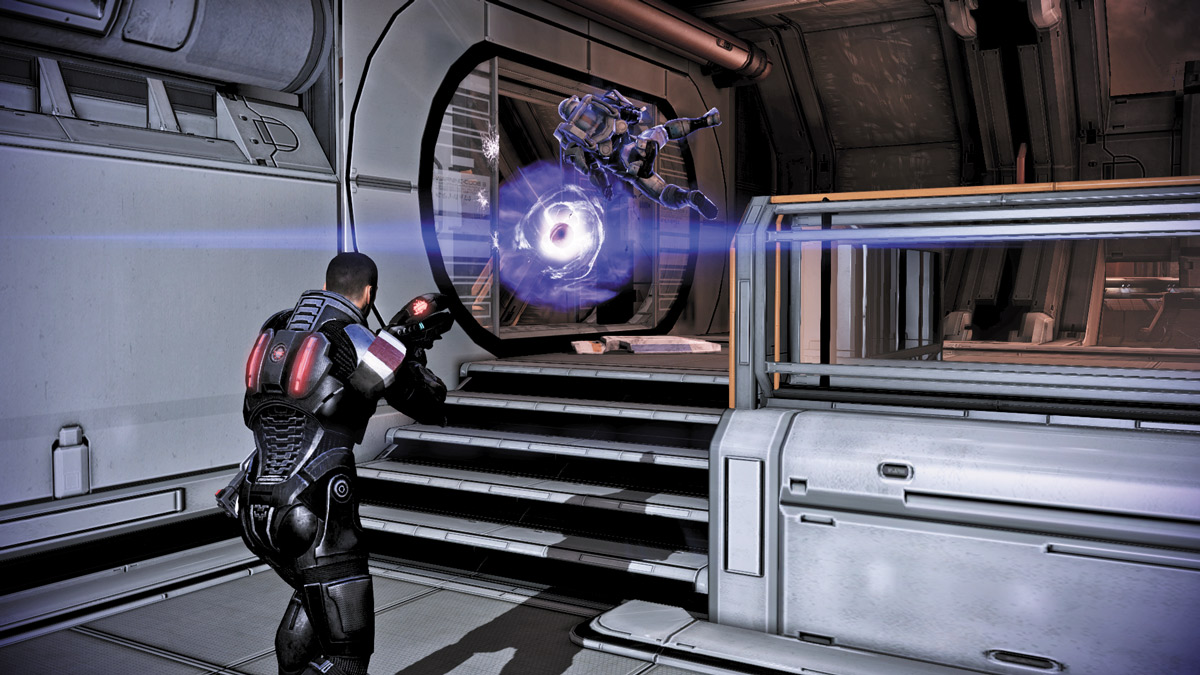
With Liara on your squad, you can now use her Singularity ability. No matter what class you’ve selected, Singularity is one of the most useful powers available to your squad.
Order Liara to use Singularity on the Cerberus soldiers on the deck above you, then pick them off with a weapon of your choice.
If any soldiers are still standing when Singularity wears off, stay behind cover and continue to pick them off. Take down the small squad of Cerberus soldiers, then find a way onto the catwalks above.
.jpg)
Don’t bother trying the elevator in this docking area. It doesn’t work. Instead, walk over to the vehicle lift controls and activate them. They’ll lift a nearby platform on the left, allowing you to jump onto the platform and reach the catwalk area overhead.
Follow the walkway to a closed door and open it. A small complement of Cerberus are stationed in this room, but they don’t see you enter, so you have the element of surprise.
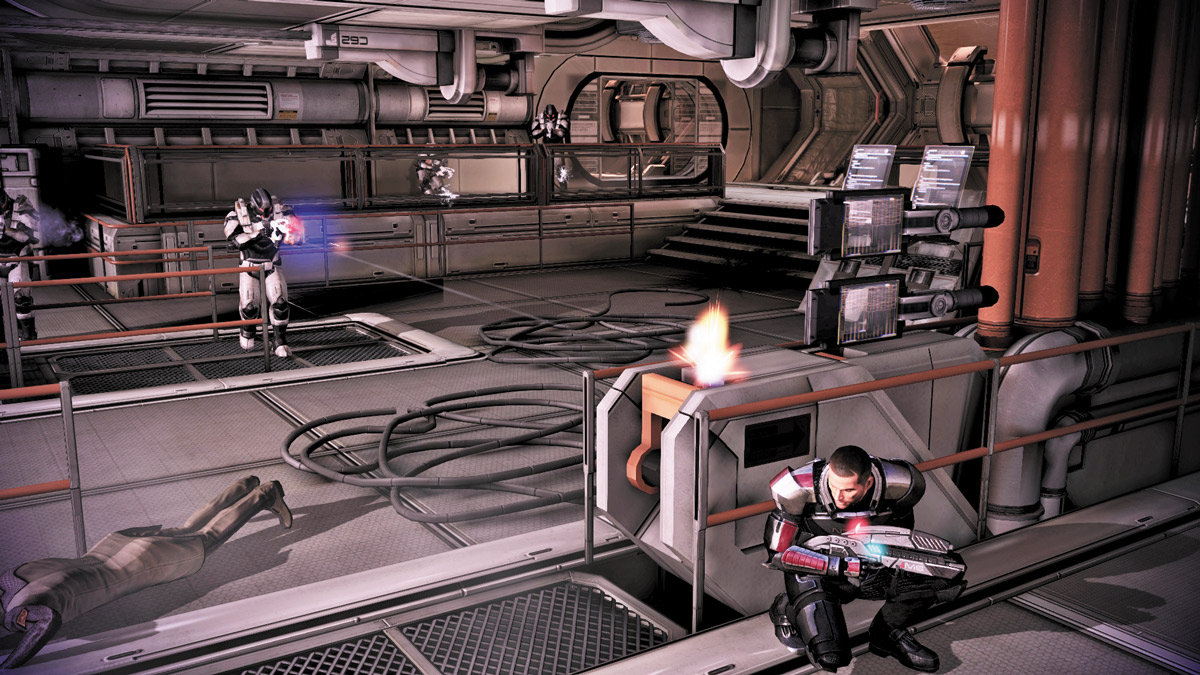
Quickly take cover and slide to the right so you’re positioned directly behind an Assault Trooper. Once you’re within striking range, follow the onscreen commands to execute a quick kill from cover. This will eliminate one of the soldiers immediately but will alert the rest.
With the hornet’s nest stirred, you’re free to rush out of cover and quickly put down the rest of the enemies in the room.
Exit this room via the door in the far corner and enter a larger room that resembles a waiting area.
.jpg)
Activate the security console in the small room to unlock access to the roof leading to the pedway. As you do, you spy a mysterious woman running around the facility. Exit through the now-open door to the exterior airlock.
.jpg)
Exit the hatch and venture out into the facility’s exterior. The storm is nearing, and the tramway has been activated.
Someone from the Cerberus team is en route to the Archives ahead of you. Drop down the ladder on the left and make a sharp left down the long walkway.
Go up the ladder at the walkway’s far end, then hop across the small gap toward the open hatch leading back into the research facility.
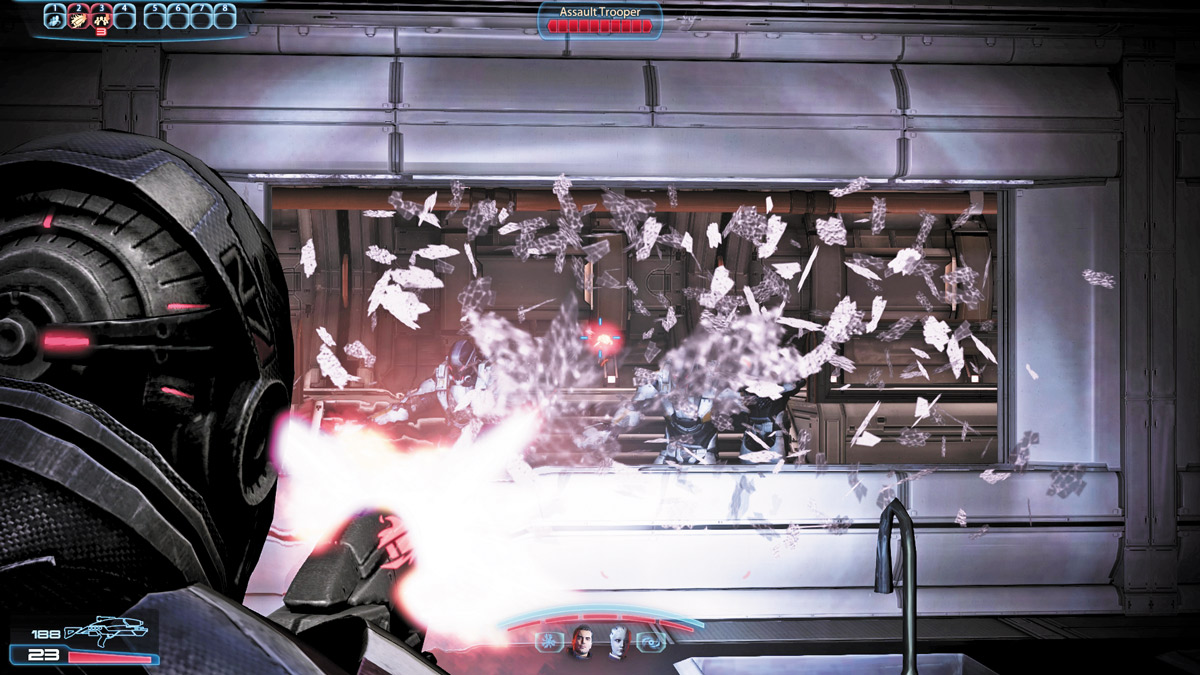
When you reach the bottom of the stairs, you can see several more Cerberus Assault Troopers on the other side of a window.
The window can be shattered easily, so either get a jump on the Cerberus using weapons fire or Biotics, or wait for half of the Troopers to leave once they’ve finished their conversation.
Singularity and Biotic Charge work really well here and maintain the element of surprise nicely. By the time the enemies realize they’re under attack, they’re either floating in the air helplessly or have been flung across the room.
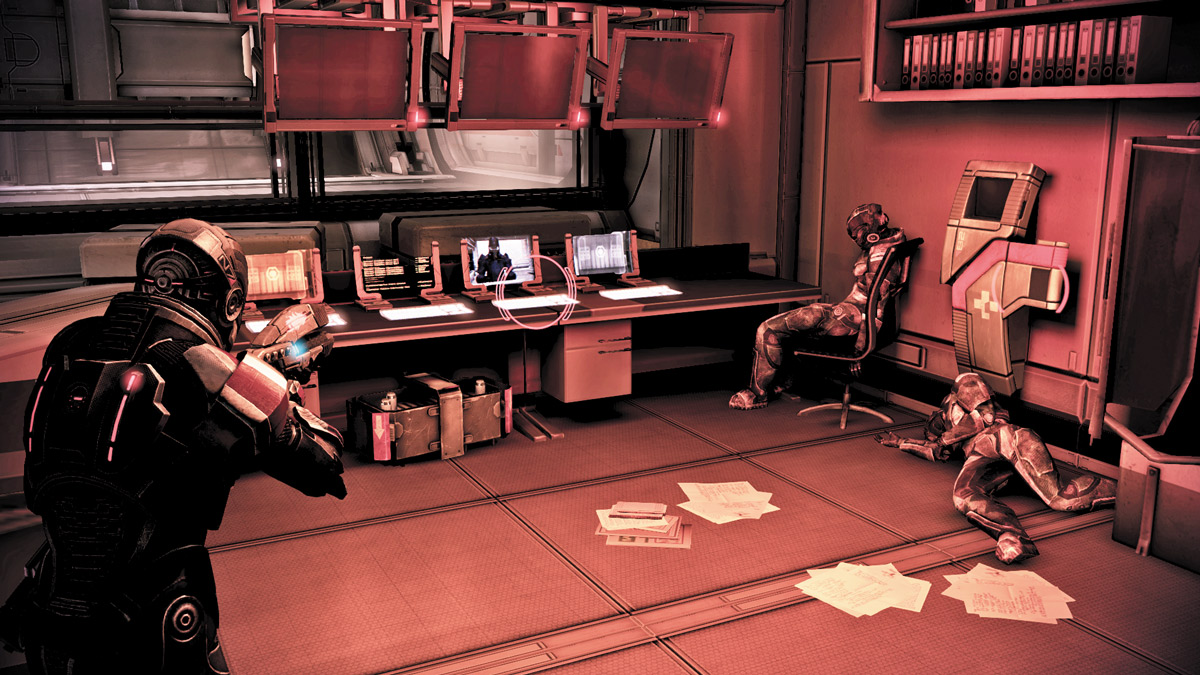
Climb over the small partition into the next room, where the Assault Troopers were, then activate the environmental controls in the small room to the right.
This repressurizes the room, and all of the lights come back on. A small security recording also reveals what happened in the facility prior to your arrival.
Liara opens the door leading out of this area and toward the core transportation section. Exit through the newly unlocked door on the room’s far side.
Go up the stairs on the right and open the door. At the walkway’s far end are several Cerberus Assault Troopers.
Approach 1: Bait and Snipe
.jpg)
One method for decimating the soldiers in this section is to keep your distance and pick them off using your sniper rifle.
The area between you and the Cerberus soldiers is sectioned off into smaller hallway compartments, each with its own open hatch. These areas provide plenty of cover that grant you a great view down the long hallway.
While you stay behind at a distance, use your “go to” command to direct your squad down the hall closer to the enemy squad.
As they draw the enemy fire, you can use your sniper rifle to pick them off when they pop out of cover to fire at your comrades.
When the Guardians rush out from down the hall, zero in through the small gap in their shield to get headshots with every shot. If you miss, the impact of your bullet will knock them off balance enough for your squad to fire on them while they’re exposed.
Approach 2: Rush and Attack
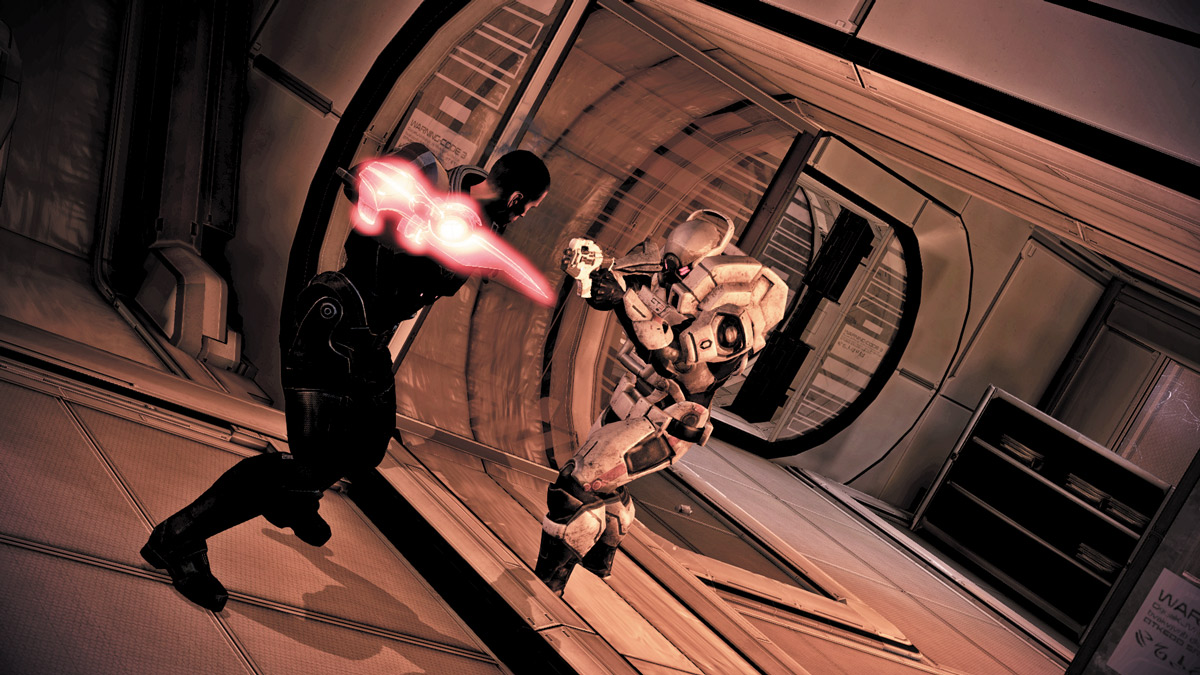
For Vanguards, an alternate approach would be to use Biotic Charge as soon as you see the enemies and catch them by surprise.
You’ll knock one down and eliminate him, while the others scramble for cover. The speed with which you close the gap will be too much for them.
Immediately open fire on the nearest foe while your powers recharge. When they do, use Biotic Charge again to take out another nearby foe.
When the Guardians show up, use Liara’s Singularity to separate them from their shields. They’ll float helplessly in the air, enveloped by a Biotic barrier. When they do, use Charge on the floating enemies to detonate them in midair.
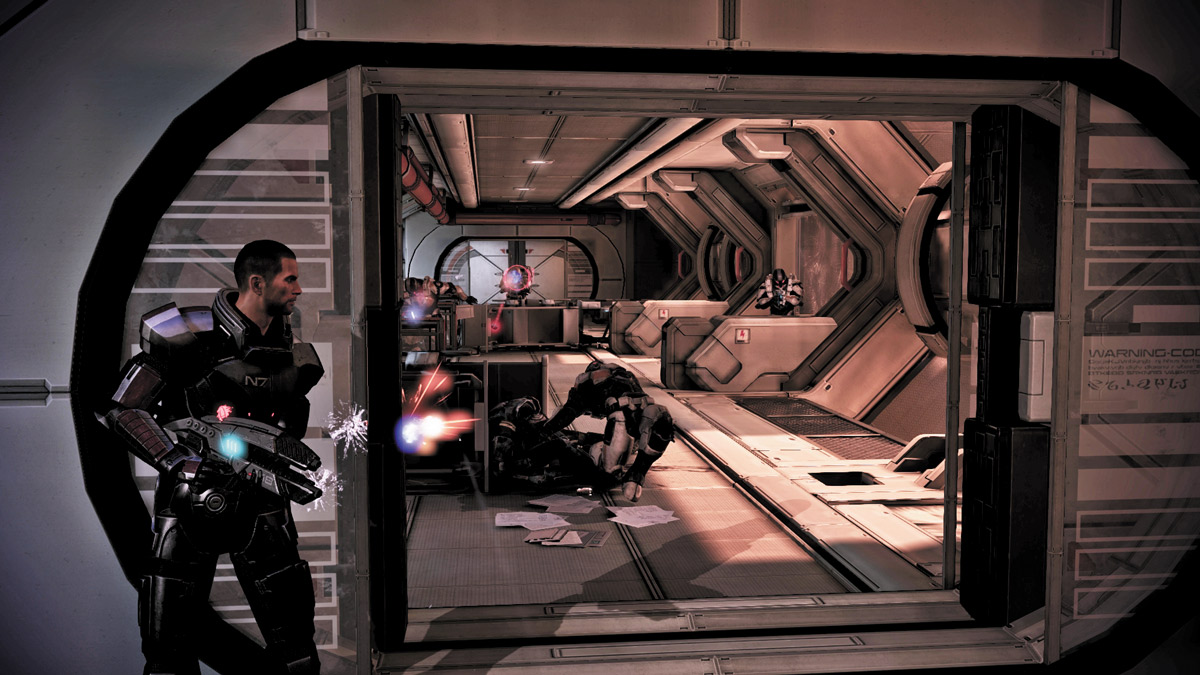
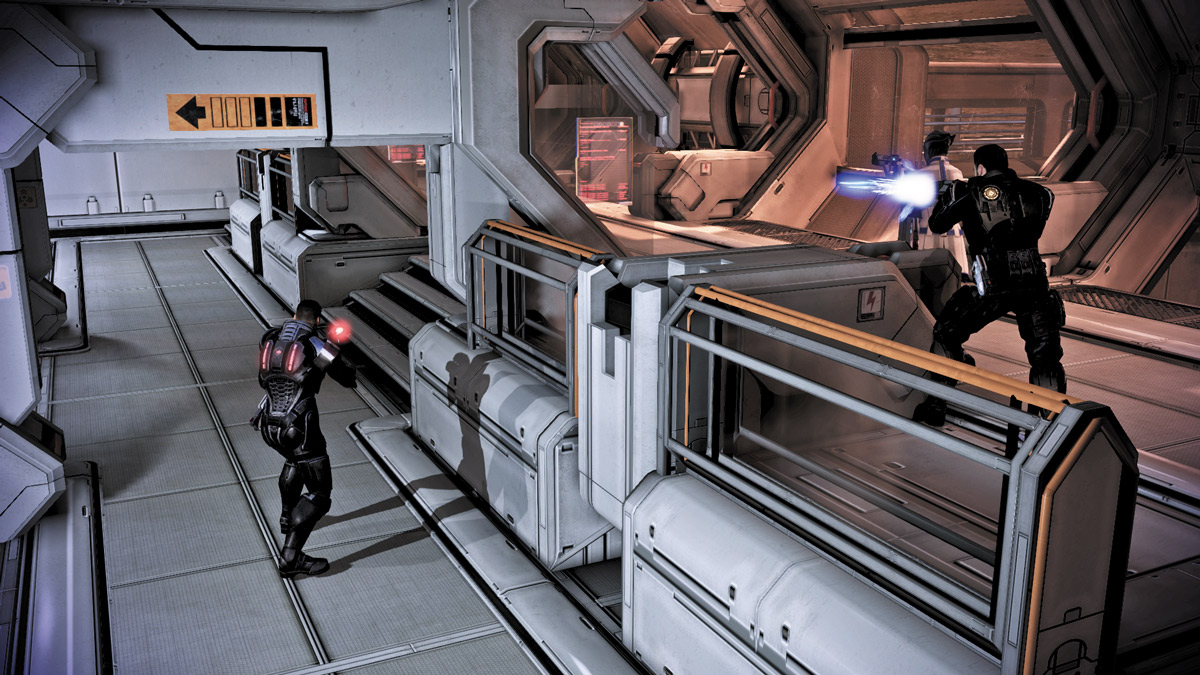
Make a sharp left at the hall’s far end and quickly take cover against a wall on either side of the hall. The next few sections of hallway are very similar to the first (prior to the sharp left turn).
However, each small section in this long hall also splits up into two sections, allowing you to venture down the main hall or slip through a small path on the left side of each section.
Depending on your class of choice, you can either take the fight into the hall or hang back while the Cerberus forces shift from cover to cover.
Approach 1: Snipe and Move
.jpg)
Soldiers and other weapon-proficient classes can use these long, narrow halls to their advantage by switching to a sniper rifle and picking off enemies from afar.
The Centurion enemies may make things a bit more difficult by filling the room with smoke and obstructing your view, but you can easily overcome this by using your squadmates to flush them out.
If you stay far enough behind the front lines of fire, you can wait for the smoke to dissipate a bit, then pick your shots.
Soldier-class players can use Adrenaline to slow time once the smoke is gone and get multiple shots between enemies. If you wait too long, the halls will fill with smoke again before you can take another shot.
Once the first section is clear, rush in behind your advancing squad, switch to a weapon with slightly better medium kill range, and pick another spot for cover. Continue moving down the hall this way until you’ve driven the Cerberus soldiers all the way back.
Approach 2: Slip In Through the Side Door
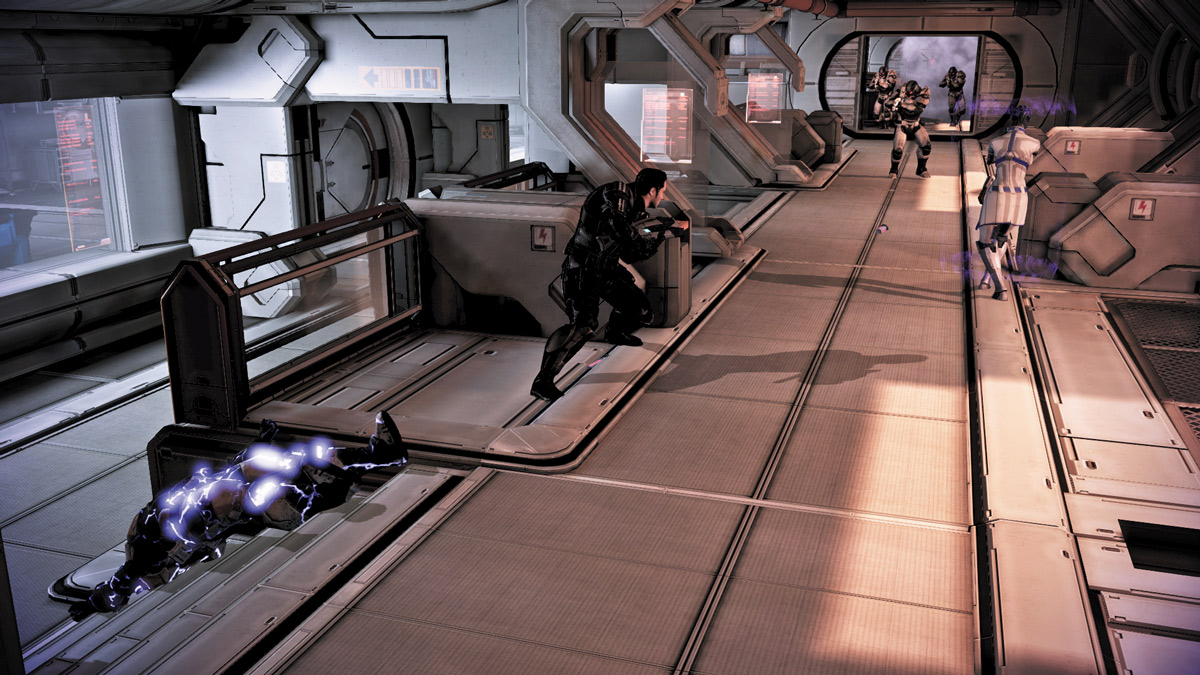
This approach is especially effective because it forces your enemies to split their attention. Begin by taking cover at the entrance to the first hall section, then direct your squadmates to go into the hall ahead of you and take cover behind the small crates on the hall’s right side.
As soon as they’ve engaged the enemy, rush in behind them and sprint down the stairs on the hall’s left side. This side runs all the way up the hall, bypassing a lot of firefight between you and the Cerberus soldiers.
When you safely reach the hall’s far end, you can engage the enemies from behind or flank them if they’re nearby.
Use a weapon with good close-range damage or combine your squad’s powers with melee combat to take out foes quickly.
Adept-class players can also make good use of the side hall. Rather than engage enemies at the hall’s far end with traditional weapons fire, use powers like Pull or Singularity to weaken the Cerberus forces for your squad to finish them off.
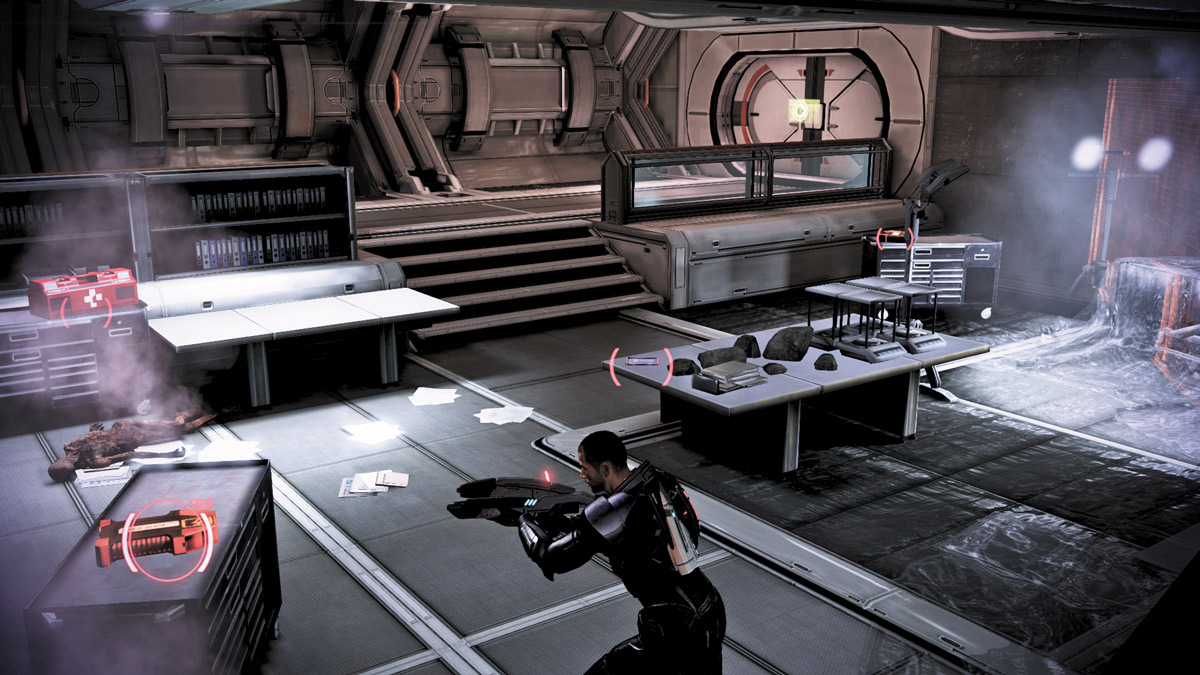
When you reach the hall’s far end, turn left to find room sterilizer controls for the next room.
Wait for the beams to sweep away from the center of the room and hit the controls when the beams are at their widest. Once they’ve stopped, go into the room.
.jpg)
Exit through the door on the far right side and follow the hall to a locked door. Open it to find a mounted cannon at the hall’s far end.
Take cover when it opens fire and follow the onscreen commands to shift from cover to cover down the hall. When you reach the far end, rush into the walkway and take cover behind the boxes in front of you.
Move left, rolling from cover to cover, and go around the walkway until you flank the wall-mounted machine gun. Once you’ve reached its left side, it can no longer target you, so it stops firing.
Unfortunately, this leaves the security room full of Cerberus troops for you to contend with.
Leave your cover and open the door into their security room. They’ll immediately open fire, so take cover behind the wall while your squad moves into position.
Peek out of cover and take out the Trooper closest to you. Order Liara to use Singularity near the center of the room to create a bottleneck in case the enemies attempt to advance. Once you’ve thinned their numbers, rush in and finish them off.
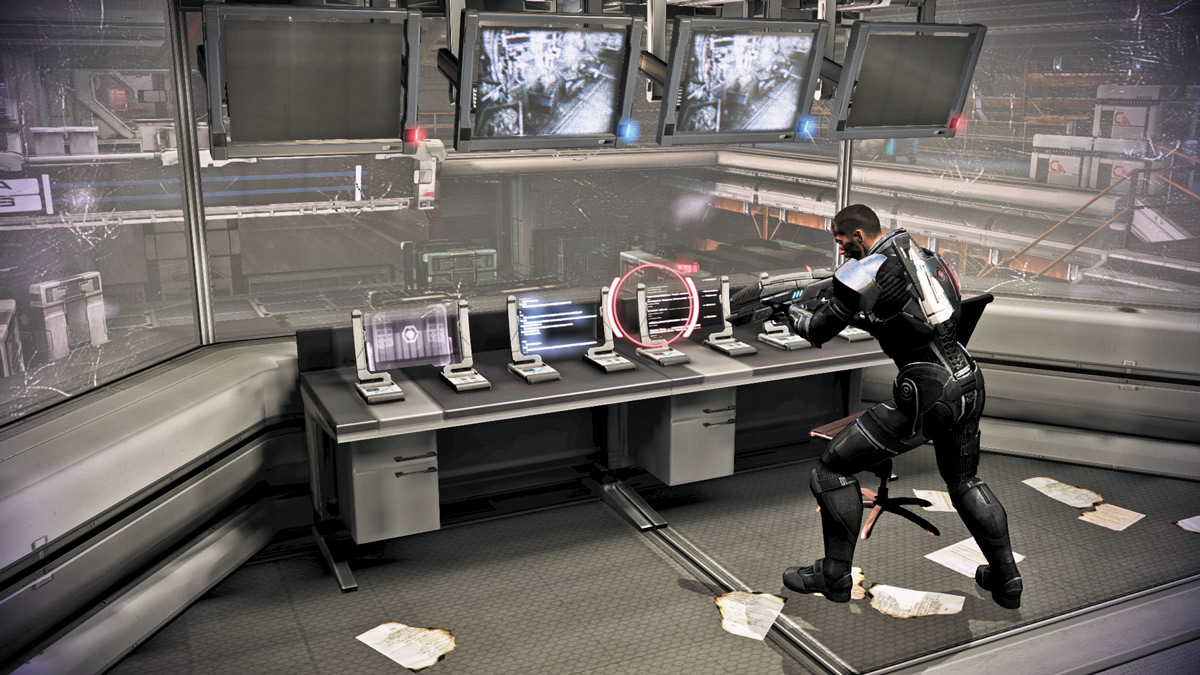
Activate the console in the room to trigger a security video of the Archives. The video feed shows the mysterious woman from earlier, now known to be Dr. Eva.
Clearly a member of Cerberus, the doctor orders her troops around while you remain locked out of the Archives.
A bit of quick thinking on the part of your squad, however, fixes that as you fool the Cerberus troops to send you a tram.
Before the tram arrives, you have enough time to formulate a plan of attack and set up an ambush on the incoming Cerberus forces.
APPROACH 1: FLANK
The easiest way to ambush the troops is to order one squadmate to the left side of the warehouse and another to the right.
You can either take position with one of your squadmates or entrench yourself near the top of the stairs at the center of the room.
While your squadmates flank the enemy forces from both sides, you can open fire from directly ahead of them, creating a 180-degree wall of fire.
As the Cerberus troops rush out of the tram, they’re instantly mowed down by your coordinated, triangulated fire.
APPROACH 2: HEAD-ON
.jpg)
If you prefer a more direct approach, order your entire squad to the lower level where they can take cover behind many of the crates directly in front of the warehouse entrance.
While this may not be the most dynamic way to ambush the enemy, it does provide you a direct way to engage them without any obstacles in the way.
Also, by bringing the fight to them on the lower level, you have a better line of sight to your squad so you can direct their movements easier. Combine powers here to maximize your damage output and keep a steady stream of fire on them.
APPROACH 3: DEATH FROM ABOVE
.jpg)
Perhaps the safest way to engage the enemy is to maintain the higher ground. Switch to a sniper rifle and use your team’s powers to weaken the Cerberus soldiers as they approach.
While the enemy rushes out, your squad can slow them down, allowing you to pick them off from the top level.
Squadmates must start on the lower level, to the left of the tram door. The tram will not come unless both squadmates are on the left.
.jpg)
.jpg)
After you dispatch the soldiers, get on the tram and use the cable-car controls to get moving. When Cerberus’s attempt to stop your cable car fails, they send another tram to finish you off.
Open fire on the soldiers as they approach on the tram, and use Singularity to lift them up while the tram continues to move.
Fire on the floating foes and use other powers to take them out. If any remain when it pulls up next to you, hop into their cable car and use charged melee blows to finish them off. Use the controls on the new cable car to finish your trek to the Archives.
ARCHIVE DOCKING STATION
.jpg)
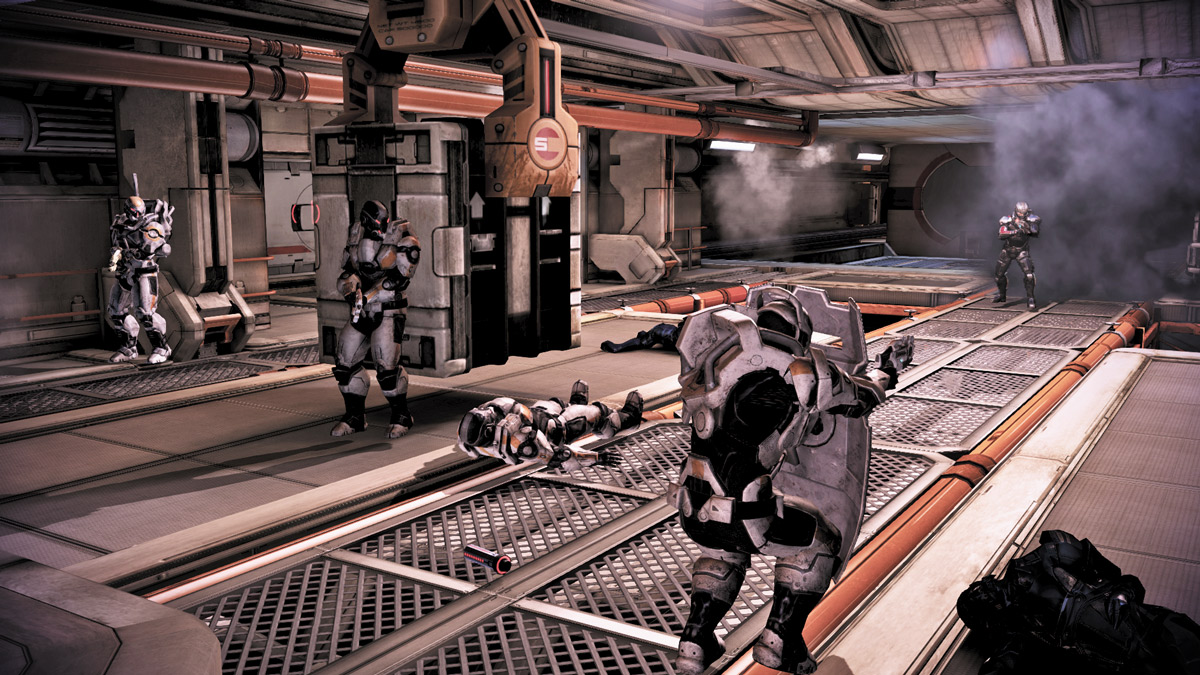
The Archive docking station is swarming with Cerberus troops. Leave your squad in the cable car while you take cover in one of the depressions in the docking area.
Your enemies will have a slight height advantage, but you’ll have good cover and enough clear line of sight to open fire on them from your lower position.
Shift left and right in the depression, using a combination of weapons fire and powers to take down each Cerberus soldier in the room.
If they pop smoke, order your squad out of their position and closer to you. When enemies emerge from the smoke, focus your fire and powers on that foe to make short work of him.
The second wave of enemies takes a bit more effort to take down. The combination of Guardians and Centurions makes things a bit more difficult with minimal cover. If you stay in the depression, the Guardians will slowly advance and make life difficult.
Rely a bit more on your powers during this wave to either pull away their shields or knock them off balance. Once the Guardians are exposed, they’re not much more difficult to defeat than Assault Troopers or Centurions.
Clear this room of the second wave to gain access to the Archives.
ARCHIVES
.jpg)
.jpg)
Go through the door at the back of the room to enter the Archives. Inside you find that someone has beaten you there. Not only is the information from the Archives being erased, but you’re also greeted by an old “friend.”
If you want to trigger an opportunity to make a Paragon/Renegade decision, select the “You’re wasting time!” dialogue option.
This opens up a slightly different decision tree where you can either attempt to recruit the Illusive Man or blow him off.
Once this conversation concludes, the Virmire Survivor encounters Dr. Eva as she attempts to download the Archive information. She escapes, so give chase!
.jpg)
During this chase sequence, your only priority is to keep up. You can’t stop her or catch her, so don’t bother shooting at her or attempting to melee her if you get close enough.
Simply keep up so she’s always in your field of vision until she reaches the end of the line.
She’ll board an escape shuttle, but James has other plans. He rams her shuttle, creating a huge explosion and slowing her down.
.jpg)
Eventually she emerges from the wreckage, revealing herself as not human at all.
No matter who you chose to be your third companion in the beginning of the game (Kaiden or Ashley), Dr. Eva grabs them and nearly crushes their skull. Open fire on her head when she charges at you.
With your third squadmate on the brink of death, the Mars Archives almost entirely erased, and the Reapers arriving on the small red planet, you leave the Martian surface with Dr. Eva’s body in hopes of recovering the Prothean data and conclude this mission.