
Mass Effect 3 Guide Essentials The Squad
Engineer
 Engineers are tech specialists, the most effective class at disabling the defenses of the toughest enemies or incapacitating them to render them harmless.
In combination with their weapons training, Engineers have the unique ability to spawn combat drones, which can harass enemies or force them out of entrenched covered positions.
Having an Engineer in the squad is like having an extra two, three, or even four people fighting alongside you. With their affinity for drones, turrets, and enemy AI hacking, Engineers can turn a lopsided situation into an advantage.
However, even Engineers who don’t use additional units in battle can still wreak havoc on the battlefield.
Powers like Incinerate and Cryo Blast can inflict a decent amount of damage on all types of foes, but their ability to function as source powers makes Engineers a bonus to have in any squad.
Equip your Engineer with shotgun and pistol combinations if you don’t plan on using powers very frequently in battle or in quick succession. Similarly, a light (low weight) assault rifle can help keep weight down to allow nearly any Engineer build be successful.
POWERS
Incinerate
Burn your opponents and incinerate their armor. Heavy damage to health and armor. Make an enemy panic, stopping health regeneration.
Ranks 1 through 3 Analysis
Incinerate is a most destructive power. Because it can function as both a source and detonator power, it is always a good idea to upgrade this to at least Rank 3. Of course, it can also be used as a destructive, stand-alone power.
If that’s your goal, don’t stop upgrading at Rank 3. Even at Rank 1 it can be used to create explosive fire combinations, but always consider upgrading to Rank 3.
Rank 4 Analysis
To increase the damage output of Incinerate up to 450 points of damage, select Rank 4a. The 30 percent increase is substantial enough to take down lesser enemies while inflicting large amounts of damage on tougher foes.
Your other option is to increase the impact radius of Incinerate in order to scorch more enemies with every blast.
Your choice here should depend on whether you want to be a main damage-dealer or complement the rest of the squad by softening multiple enemies at once.
Rank 5 Analysis
Players hoping to maximize Incinerate’s damage potential should invest in Rank 5a, Burning Damage. This upgrade increases the damage over time and burns enemies past the shot’s initial impact.
When coupled with Incendiary Ammo or other detonator powers, this combination can lead to dazzling explosive results. Your other option at Rank 5 is to increase the recharge speed of Incinerate.
This will allow you to use Incinerate more often in battle and become a deadly weapon, especially in squads with Biotic specialists.
Rank 6 Analysis
Rank 6a increases damage to frozen and chilled targets by an additional 100 percent. So if you plan on using your other elemental power, Cryo Blast, select this rank upgrade to benefit from cross-power upgrade bonuses.
If you don’t frequently use those freezing skills, then don’t waste precious upgrade points on Rank 6a. Instead, use those points on Rank 6b and gain a very useful damage increase to armored targets.
Overload
Overload electronics with this power surge, stunning your enemy. Effective against shields, barriers, and synthetics. Not as effective against organics.
Ranks 1 through 3 Analysis
By far one of the most useful powers against synthetics, Overload can temporarily fry electrical equipment like turrets and can singe synthetic foes.
At Ranks 1 through 3, you gain a standard recharge speed and damage increase, so stop upgrading at Rank 3 if you don’t plan on making Overload an integral part of your attack arsenal.
However, during missions where you encounter geth or other synthetic opponents, you can still prove to be very useful.
Rank 4 Analysis
If you do make Overload a more integral part of your attack arsenal, then consider upgrading to Rank 4a. This will increase the amount of targets you can affect by one.
So instead of overloading only one enemy at a time, you can stun multiple enemies with each Overload blast. Rank 4b is a standard damage increase. Select this if you want to focus on dealing more damage to individual enemies.
Rank 5 Analysis
At Rank 5, you gain the option to stun organic foes as well as synthetics. The Neural Shock ability will expand your role across several missions since Overload power will no longer be effective against synthetic targets alone.
Rank 5b increases Overload’s recharge speed, allowing you to use the skill more frequently in battle.
The trade-off between Ranks 5a and 5b are simple: If you want to use Overload against more varied types of enemies, select 5a. If you want to use it more frequently in battle to stun enemies en masse, select Rank 5b.
Rank 6 Analysis
Like Rank 4a, Rank 6a will increase how many targets you can reach with an Overload blast by one and will increase the damage it inflicts by 15 percent.
The choice is simple: If you selected Rank 4a, make the same selection here and you can stun small groups of enemies with one Overload blast.
Not only will you incapacitate more enemies at once, but also you’ll expend less power to do it. At Rank 6b, you can increase the damage dealt to barriers and shields, becoming extremely effective against all shielded foes.
Cryo Blast
Flash-freeze and shatter unprotected enemies. Slow down the rest. Weaken armor. Frozen targets won’t regenerate health.
Ranks 1 through 3 Analysis
By upgrading Cryo Blast to Rank 3, you can increase the duration of freeze effects to nearly 6 seconds while decreasing the recharge speed for the power to 3.2 seconds.
That means that if you use Cryo Blast heavily, you can fire a blast nearly every few seconds and freeze enemies for about the same time.
So if you time things properly, you can theoretically keep a target frozen indefinitely until the rest of the squad can finish them off.
This skill also works as a “source” power for cryo explosions. Once affected by Cryo Blast, targets can then be detonated using a detonator power like Concussive Shot, Shockwave, or Incinerate.
Most importantly, if you plan on creating an Engineer who can deal damage using powers alone, invest heavily in Cryo Blast as well as Rank 6a of Incinerate.
Rank 4 Analysis
The main benefit of Cryo Blast is that you can slow enemies and potentially freeze them in place, removing them from the equation on the battlefield.
At Rank 4, you must choose whether to slow singular enemies for longer periods of time (great against larger, more powerful enemies) or to slow multiple enemies for less time.
Make your selection here based on whether you want to focus more on crowd control or damage output.
Rank 5 Analysis
At Rank 5, you can add an explosive effect to Cryo Blast with Rank 5b. Once the enemy is frozen or chilled, the cryo effects increase all damage to the enemy by 10 percent. If crowd control is your goal, select Rank 5a.
This slows down enemy movement by an additional 20 percent, making foes move 35 percent slower overall. When combined with Rank 4a, the decrease in movement speed makes for an overwhelming advantage on the battlefield.
Not only will foes move slower, but also they’ll do so for nearly 7 seconds.
Rank 6 Analysis
Engineers who want to focus on using more powers over drones and sentries should select Rank 6a. This will increase the recharge speed for Cryo Blast and allow you to use it far more frequently on the battlefield.
This is best when trying to focus on crowd control. However, if you want to become an explosives specialist, select Rank 6b to increase the target’s vulnerability.
When used in conjunction with Incinerate, you can obliterate enemies on the battlefield with ease.
Combat Drone
Deploy this attack drone to stun targets and draw enemy fire.
Ranks 1 through 3 Analysis
Combat Drone is one of the Engineer’s most useful powers. With it you can summon a drone capable of distracting and destroying foes at higher ranks.
At Ranks 1 through 3, the combat drones won’t inflict much damage on foes, but it will serve as a worthwhile complement to any squad.
After all, even though it won’t dish out much damage, it will absorb up to 650 points of damage. That’s 650 points of damage that you or your squadmates won’t have to incur.
Rank 4 Analysis
Rank 4a increases the drone’s damage output and shields, meaning it can inflict more damage while taking more damage.
This upgrade is worthwhile in all cases, whether you’re using the combat drone as a defensive decoy or as a damage-dealing complement to your squad.
If you want to use the drone as more of an offensive weapon, then select Rank 4b. This adds a detonate ability to the drone to make it blow up when destroyed and inflict up to 156 more points of damage on foes up to 5 meters.
Rank 5 Analysis
Another upgrade to shields and damage, Rank 5b can maximize the drone’s damage at 88 points per attack and an impressive 1,100 shields—that is, of course, only if you chose Rank 4a.
With 1,100 shields, the combat drone will sustain an impressive amount of damage and stay longer on the battlefield. Your other option is to add a Shock ability to the combat drone’s arsenal.
With it, the drone will be able to deal even more damage (adding 170 points of damage) and stun foes for a short period of time.
Rank 6 Analysis
The final two upgrade options for the combat drone are both offensive abilities. Rank 6a adds rockets to a potentially already lethal weapon.
Each rocket will inflict 220 points of damage on top of the drone’s base damage (or augmented damage if you upgraded Rank 4a and 5b).
This is another useful upgrade for players who want to become a drone/damage-dealing specialist since the rocket upgrades range is considerably higher than the drone’s other attacks.
If you’re going to also invest in your Sentry Turret power, then consider upgrading Rank 6a. Otherwise, select Rank 6b. With it, your drone will be able to jump and hit three additional targets, allowing for better crowd control.
Sabotage
Sabotage weapons and hack synthetics. Compromised synthetics fight on your side. Affected weapons overheat.
Ranks 1 through 3 Analysis
Sabotage is a useful skill whenever facing synthetic life-forms like the geth, Cerberus Engineer turrets, and Cerberus Atlas mechs.
With it, you can overwrite their programming and turn enemies into allies. While this is already extremely effective in evening things out, the added explosive backfire can also help dwindle enemy numbers.
At Rank 3, Sabotage can impact enemies within a 3.25-meter radius and hack them for 12 seconds.
Rank 4 Analysis
At Rank 4, you can choose to either increase how long enemies remain hacked (Rank 4a) or how much damage they cause enemies when their weapons explode (Rank 4b). Make your selection here based on your eventual role in combat.
If you want to be a crowd-controlling Tech maven, select Rank 4a. This will keep the drones in the field longer and allow you to control your foes.
If you want to concentrate on damage-dealing, then select Rank 4b, Backfire. This will increase the amount of damage enemies sustain to 195 points of damage.
Rank 5 Analysis
Rank 5 has two more upgrades similar to Rank 4. Choose Rank 5b to increase Sabotage’s recharge speed. By doing so, Sabotage will be ready for use in under 11 seconds.
This may seem like a long time, but when the effect lasts 12 seconds, the benefits are clear: You’ll be ready to launch another Sabotage attack before the first one completely wears off.
If you choose Rank 5a, then the Sabotage will gain an explosive hack upgrade. Affected synthetics will explode at the end of the hack and inflict an additional 120 points of damage to enemies within a 3-meter radius.
If you want to concentrate on dealing damage, select Rank 5a—the added damage is worthwhile.
Rank 6 Analysis
The final upgrade selection for Sabotage can either bolster your hacked allies (Rank 6a) or increase all Tech damage done to the affected enemy for 10 seconds (Rank 6b).
If you want to use all hacked enemies as long as possible and turn them on their comrades, then select Berserk (Rank 6a). This will turn hacked foes into formidable allies.
Otherwise, select Rank 6b, Tech Vulnerability, to increase the amount of damage you can inflict. This is best for players who don’t want to bother with crowd control and instead want to focus on damage-dealing.
Sentry Turret (Unique)
Deploy this heavy-weapon turret for cover fire.
Ranks 1 through 3 Analysis
Aside from the combat drone, the Sentry Turret is one of the Engineer’s most valuable power.
Like the combat drone, the Sentry Turret can serve as a secondary damage-dealing weapon, one capable of inflicting damage while simultaneously distracting foes.
Where the combat drone moves around the battlefield, the Sentry Turret stations itself wherever you deploy it. Luckily, its damage output more than makes up for its lack of mobility. Tacticians can use the Sentry Turret to either pin down enemies or divert them around the battlefield.
Rank 4 Analysis
At Rank 4, you can either increase the shield and damage output for your turret (Rank 4a) or add a shock ability to stun foes.
This function works exactly as it does with the combat drone, so if you want to focus on crowd control and have selected it for your combat drone as well, then do so now.
The added shock attacks will be very helpful when both the combat drone and the Sentry Turrets are deployed.
If you feel comfortable with only one Shock upgrade (on your Combat Drone), then select Rank 4a. The added damage for your Sentry Turret will make it a formidable ally on the battlefield.
Rank 5 Analysis
An added ammo upgrade can prove very useful in battle. If you don’t want to invest in Cryo Blast, consider selecting Rank 5a.
If the Cryo Ammo manages to freeze a target, then follow up with Incinerate (especially if it has been upgraded to Rank 6a) and shatter your foes.
If you want to gain a substantial advantage over armored foes, and you’ve invested in Cryo Blast, then select Rank 5b.
Rank 6 Analysis
The final rank upgrade depends on whether you want to use the Sentry Turret in close- or long-range combat. The rockets upgrade of Rank 6a allow you to obliterate enemies from afar.
Select this upgrade to use your Sentry Turret to whittle down foes as they approach, usually as the turret is deployed near you. To pin enemies down before they can attack, select Rank 6b to gain a powerful flamethrower ability.
With it, you can keep the turret away from you and allow the flamethrower to inflict damage at close range. This will force your foes to engage the turret and keep a distance from you.
Tech Mastery (Unique)
Be an expert tactician on and off the battlefield. Faster and stronger Tech powers. More dexterity. More charisma.
Ranks 1 through 3 Analysis
The Tech Mastery passive power can be upgraded to benefit any number of varied Engineer builds. However, at Rank 3, the reputation, power damage, and weight capacity bonuses can benefit any Engineer.
Rank 4 Analysis
At Rank 4, you must choose whether you’ll focus on power-damage or drone/sentry damage. It you select Rank 4a, Power Damage, powers like Incinerate and Cryo Blast will become all the more destructive.
At Rank 4b, you can increase the duration of all powers, including Combat Drones, Sentry Turrets, and Sabotage attacks. Select Rank 4b to keep your one-man army on the field longer.
Rank 5 Analysis
Rank 5a will grant your squad a bonus, increasing the force and damage of their powers. This is helpful if you want your teammates to use their powers in combination with yours.
While this rank upgrade won’t benefit you directly, the added power damage from your squad will help when your drones have weakened enemy forces.
Select Rank 5b to increase power damage and weight capacity. This will help increase your power recharge speed and damage, making skills like Incinerate all the more lethal.
Rank 6 Analysis
For Engineers who want to focus on drones and sentries usage, select Rank 6a. Drone Mastery will increase the effectiveness of both the drone and the sentry’s shields and damage significantly.
With this upgrade, you can maximize the amount of damage your damage-dealing manifestations can inflict and sustain. If you want to focus more on using powers like Incinerate and Cryo Blast, select Rank 6b instead.
The bonus to damage and duration will allow your squad to combo more effectively when you unleash your elemental powers.
BUILDS
One-Person Squad
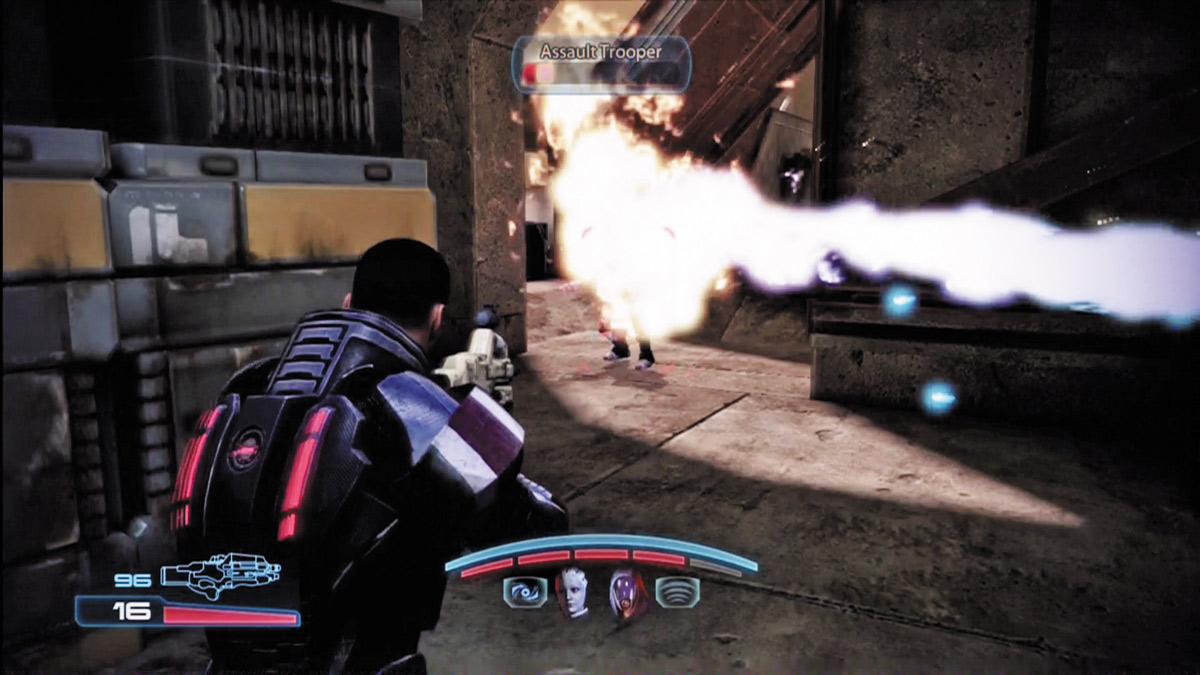
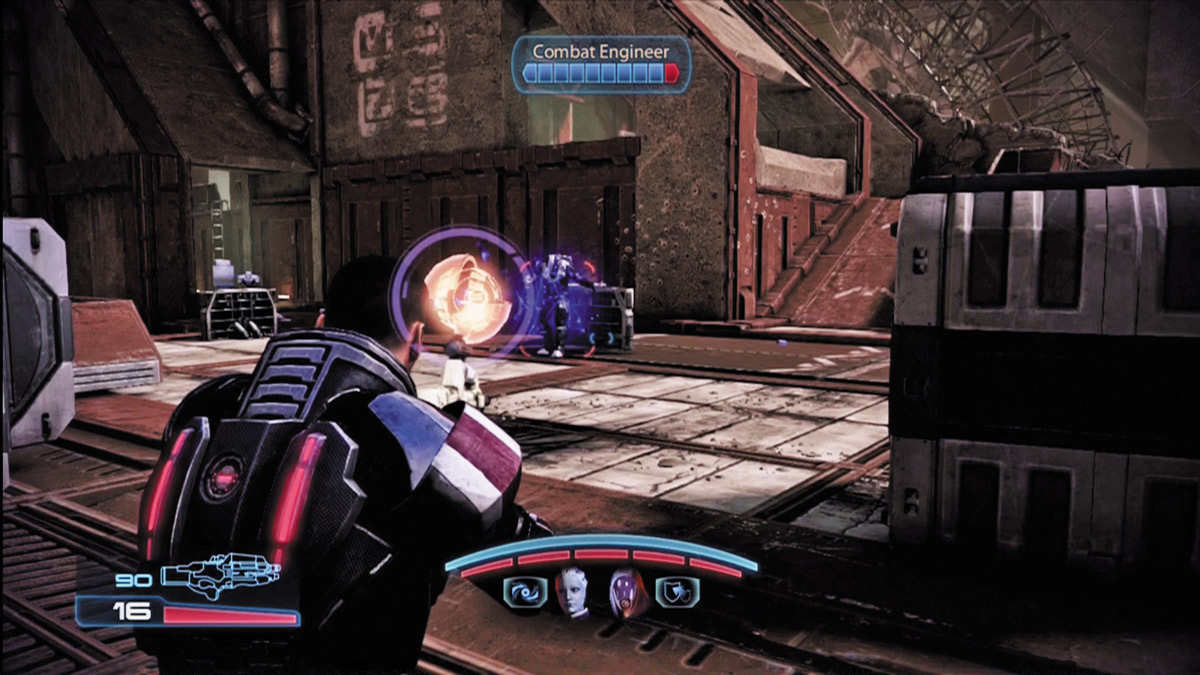
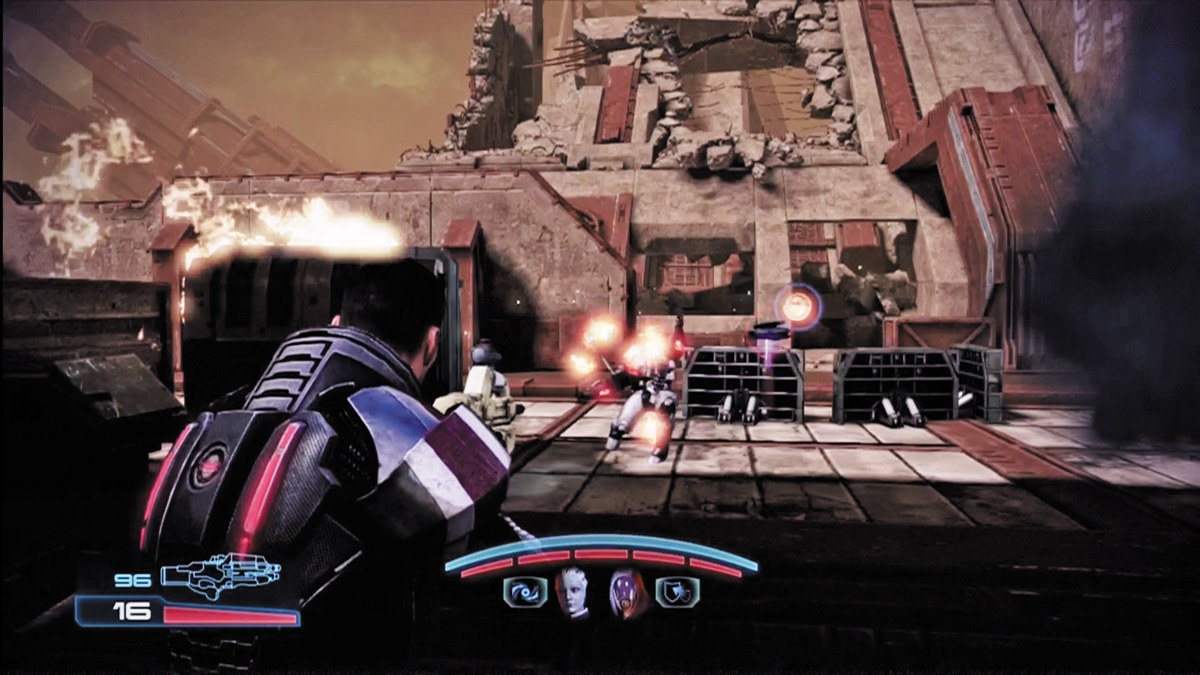
The one-person squad Engineer relies heavily on three main powers: Combat Drone, Sentry Turret, and Sabotage.
With these three power combinations, you can unleash additional damage-dealing units into the field to inflict damage, distract foes, and create tactical nightmares for the opposition.
Additionally, when using Sabotage on synthetic enemies, a talented Engineer can also turn mechanical foes into friends, increasing the number of fighters on the squad even more.
There are few things as impressive as walking into battle while a turret scorches foes up close, a combat drone unleashes rockets from afar, and an unsuspecting geth turns on its own squad to fight for you.
Adeptlike Damage-Dealer (Crowd Control)
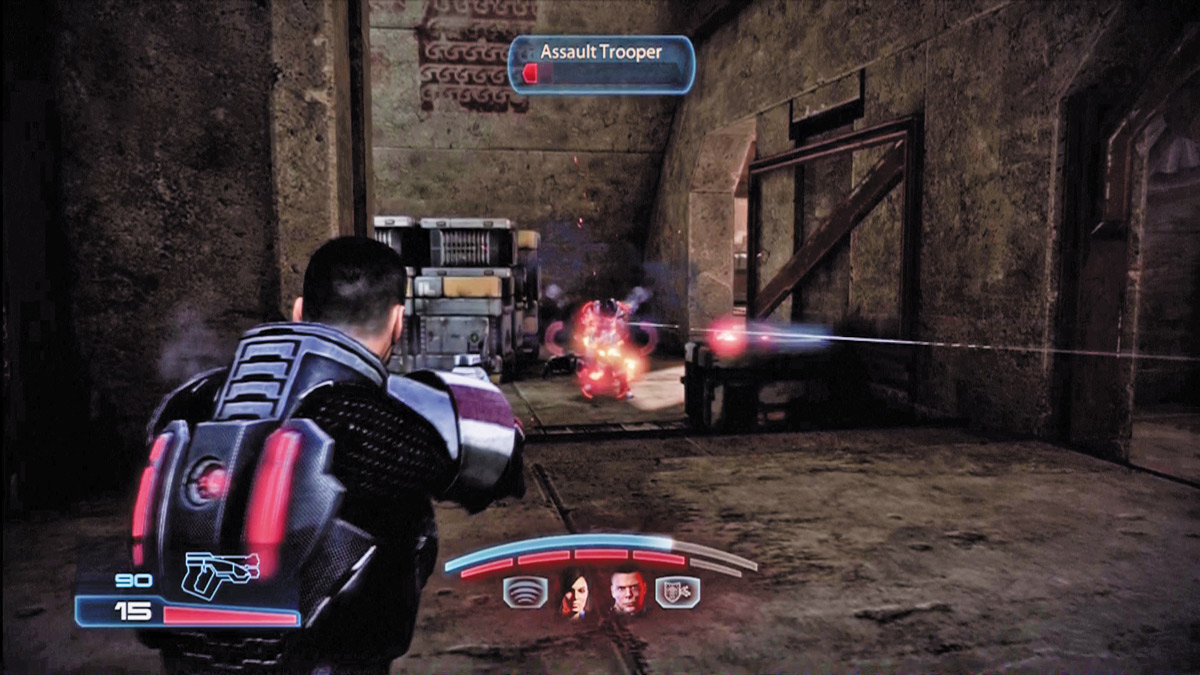


If increasing your numbers isn’t a battle tactic you want to employ, then focus on using destructive and disruptive powers instead. Invest upgrade points in powers like Overload, Incinerate, and Cryo Blast.
With these powers, you’ll be able to create multiple explosive power combinations. Upgrade Incinerate to Rank 6a and you’ll be able to maximize the effectiveness of Cryo Blast as well, since you’ll be able to slow enemies, then detonate them in magnificent explosions.
If you don’t want to focus on power damage, use your three powers to slow and disrupt enemies in a crowd-control capacity.