
Mass Effect 3 Guide Multiplayer The Battlefields
Location: Ghost
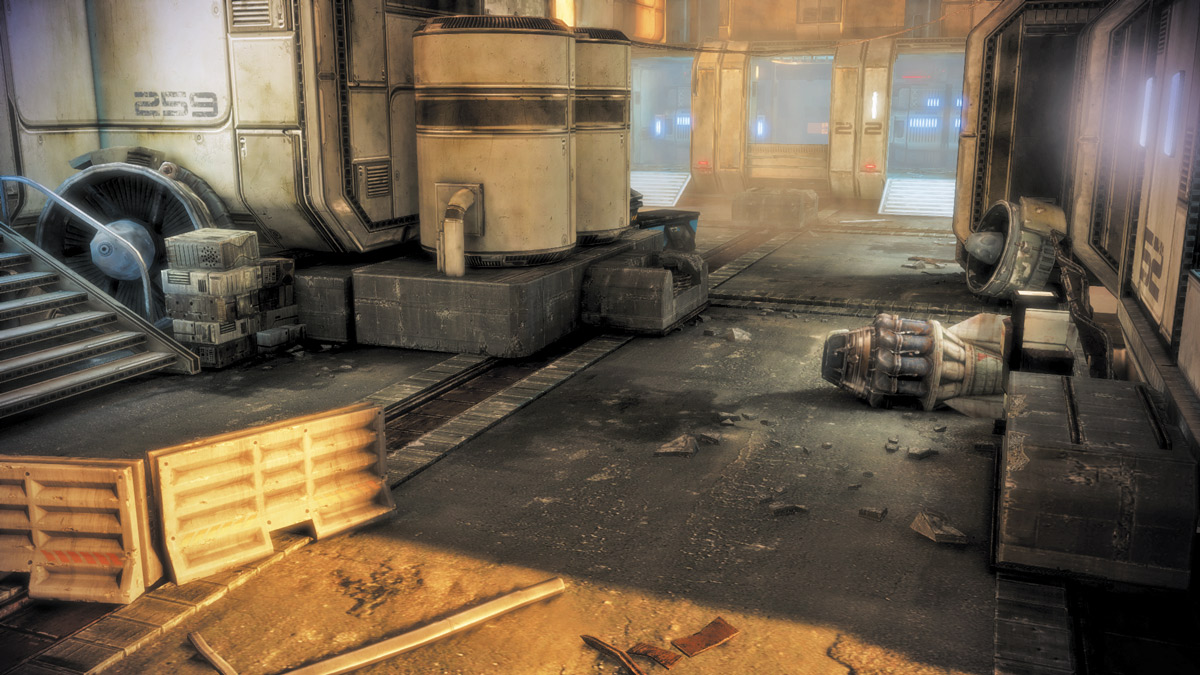
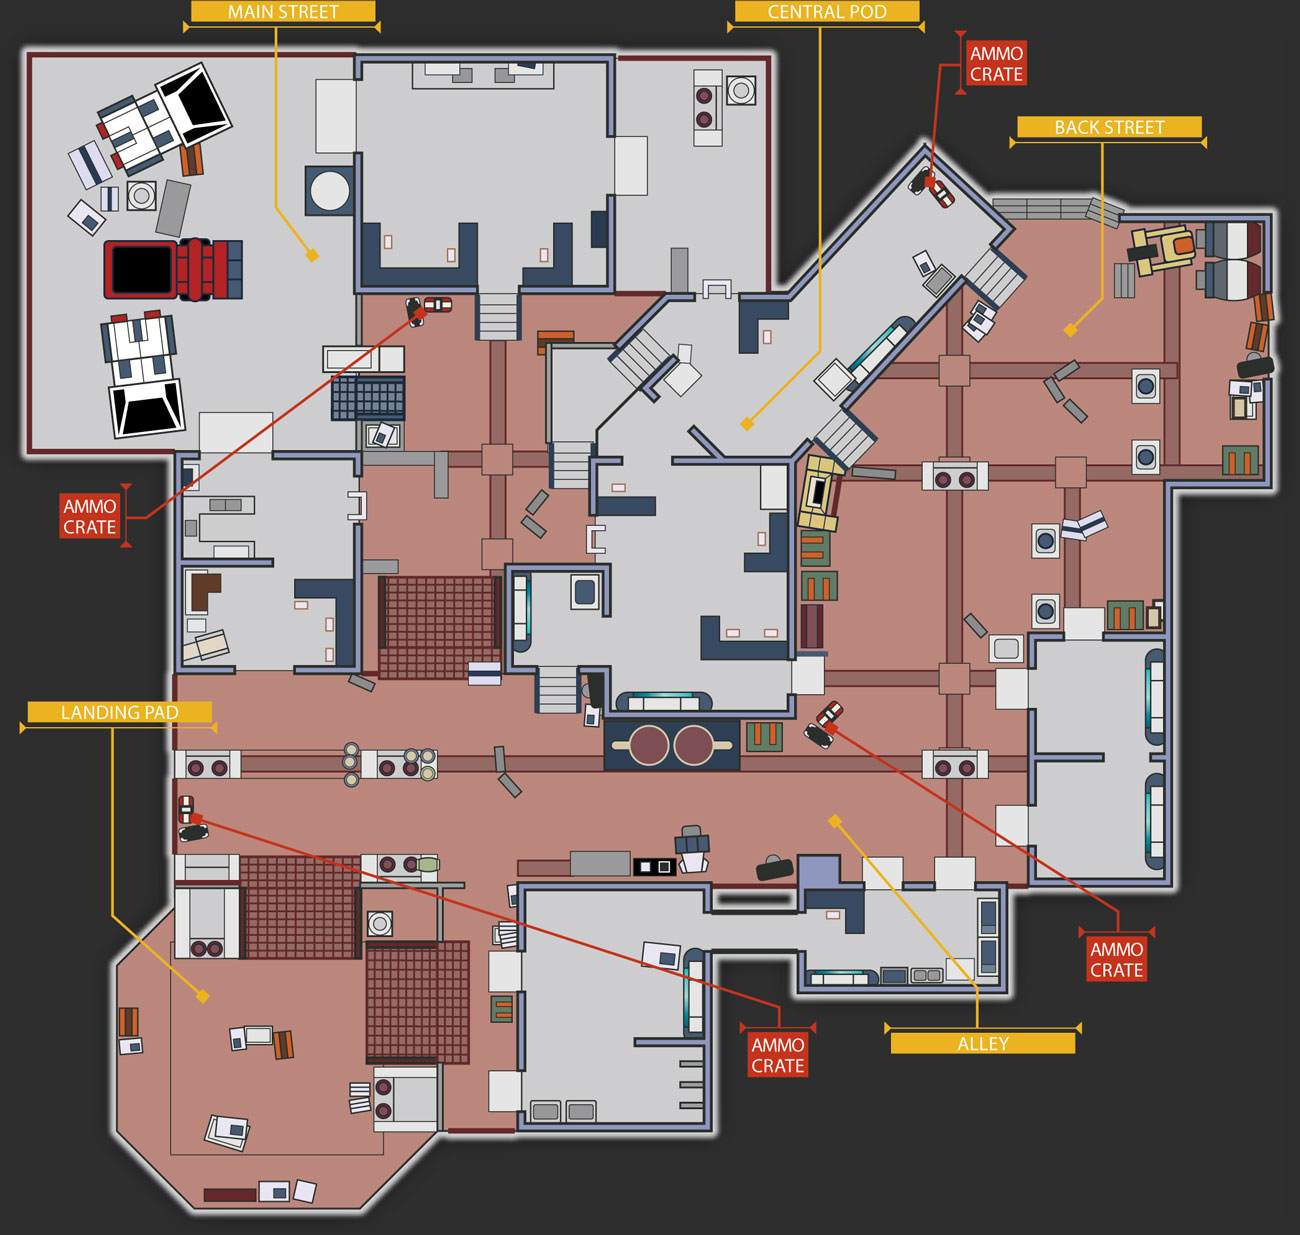
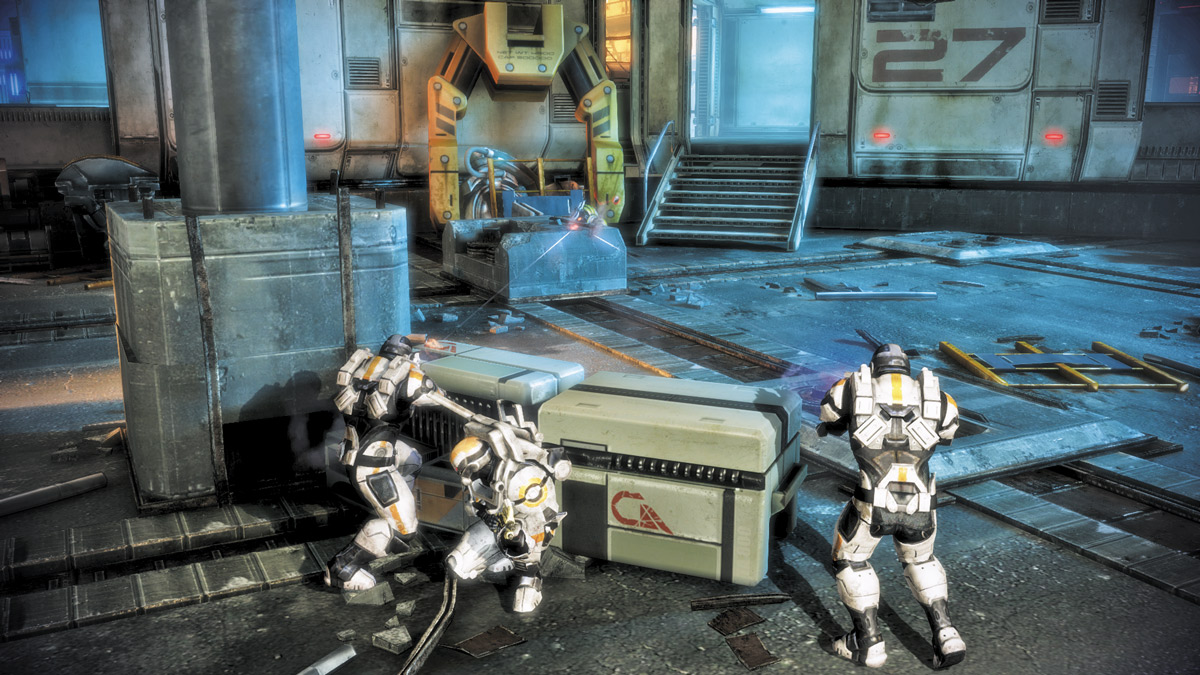
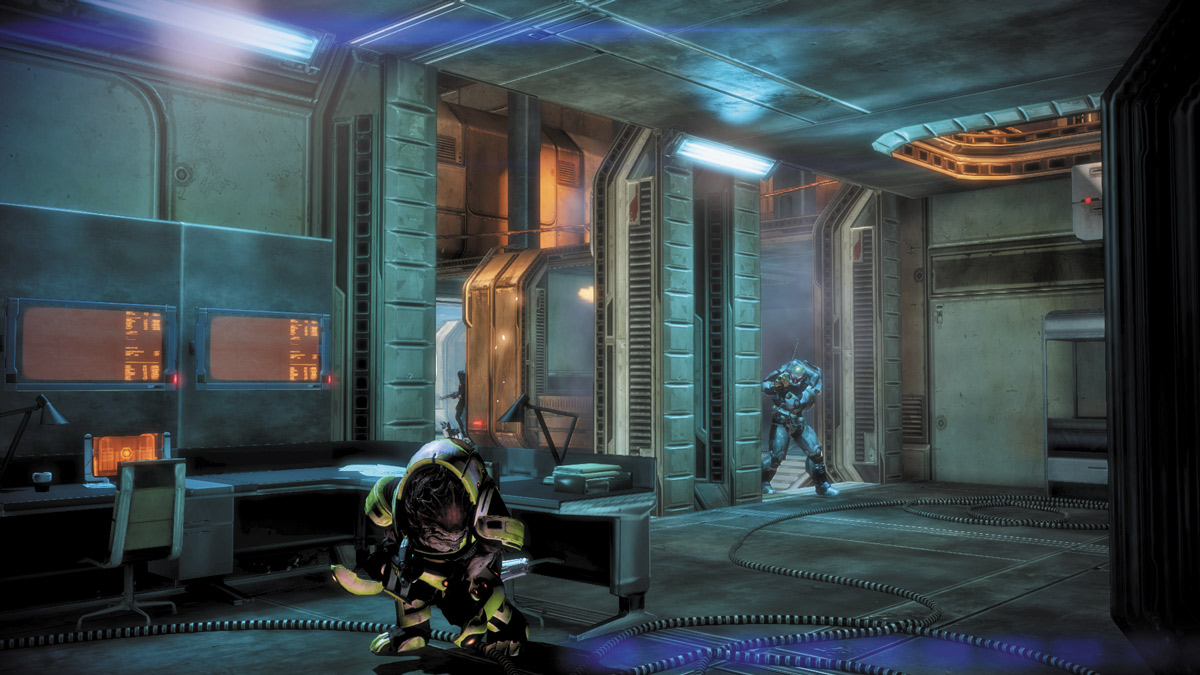
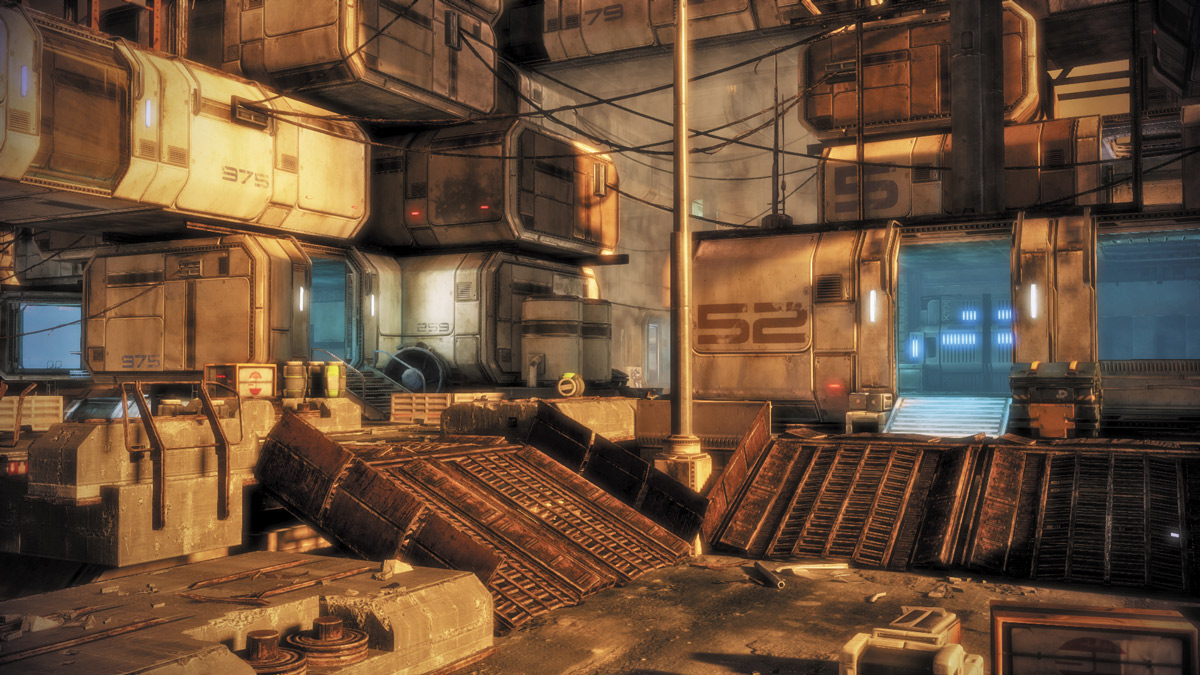
Ghost takes place in the slums of a fallen colony within Alliance space.
There are alleys and small living spaces that lead into wide-open spaces, with plenty of cover strewn throughout.
A distinctive feature of this map is its vertical nature. Cerberus in particular has units capable of leaping to the upper decks of the living quarters, well outside of physical reach, to rain fire down on players.
Each building is a very tight space with little room to maneuver, forcing melee-range combat, while the more open spaces are typically surrounded by positions from which the enemy can maintain overwatch.
Ghost makes a good map to familiarize players with how all the enemy forces act at various combat ranges.
Ghost has five sections: Alley, Back Street, Central Pod, Landing Pad, and Main Street.
Alley
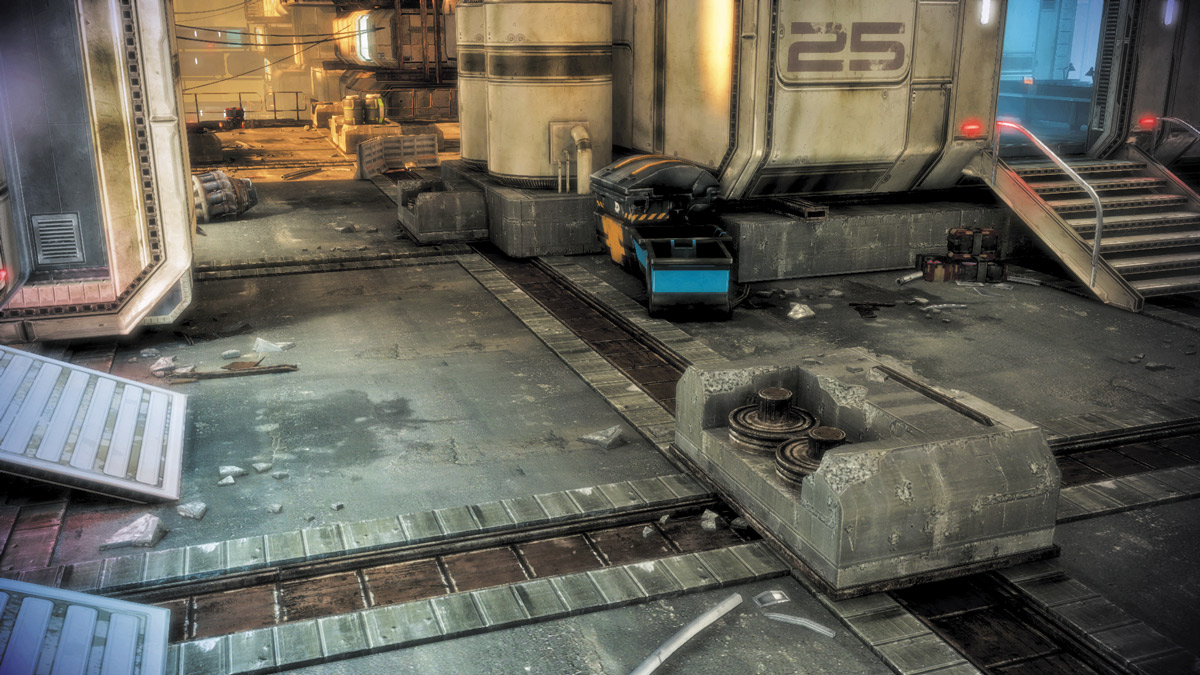
The Alley is potentially one of the most hotly contested areas of the entire map.
Acting as a connecting area to the Central Pod, the Landing Pad, and the Back Street, this dirty strip and the small building it borders can act as a major choke point for both players and opposing forces.
If the player squad loses control of the Alley and is pushed back toward the Landing Pad, the team can find themselves surrounded from every possible entry to the Pad, with enemy troops getting not only the height advantage, but also the cover advantage.
Squads should endeavor to take control of the structures lining the Alley, using the tight quarters to funnel in the enemy, while also taking advantage of the ample cover the structure provides.
On higher difficulties and later waves, the streets can be a bloodbath.Atlases will break into any structure on the map, and their sheer size can cut off an escape route.
There’s not much you can do about that beyond killing them as quickly as possible.
Cobras in close quarters are a risky prospect for the person firing them, but you can also clear whole rooms of resistance this way.
Back Street
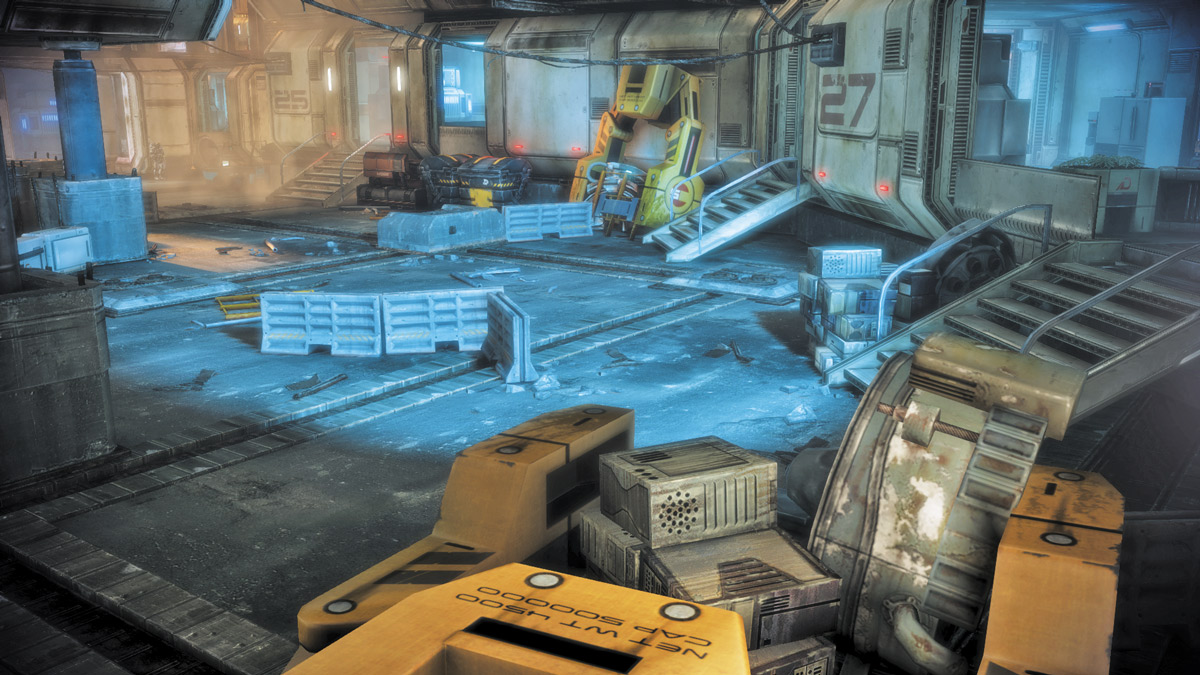
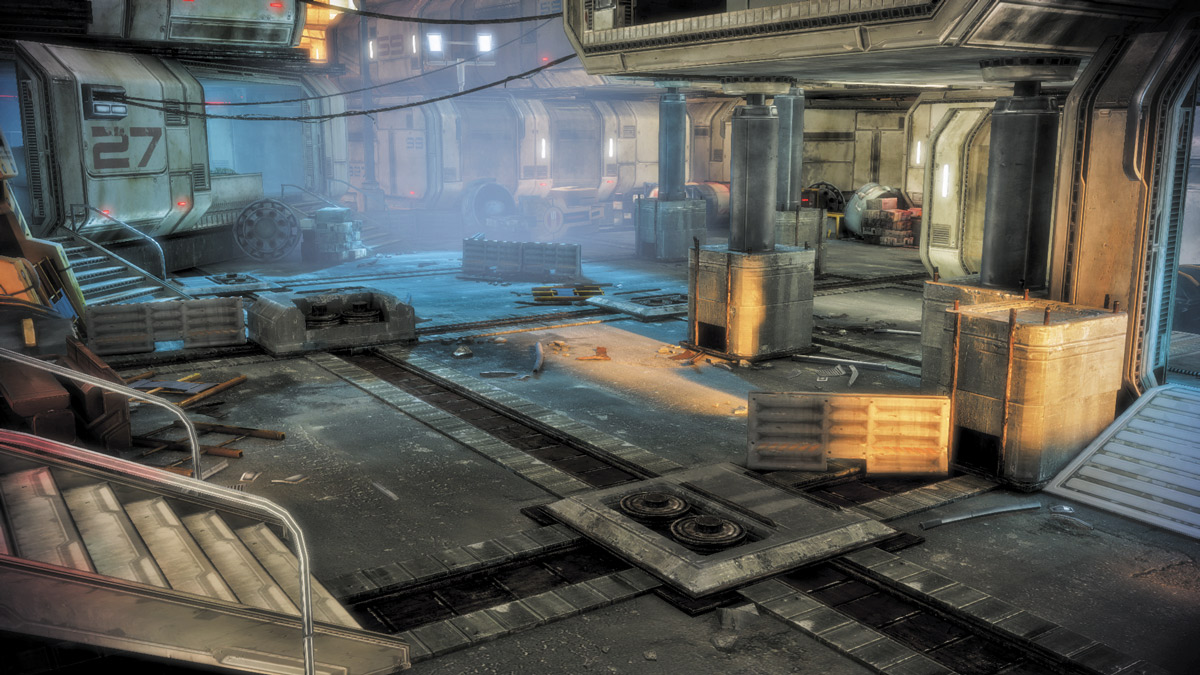
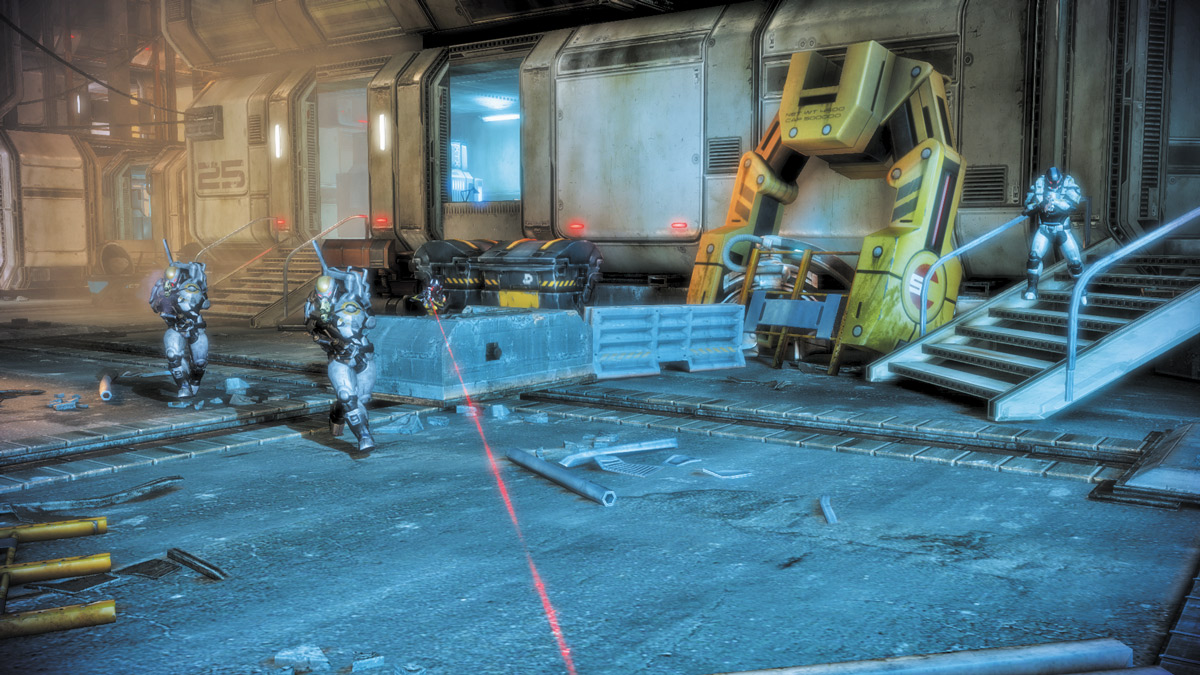
Tied directly to the Central Pod and the Alley, the Back Street is one of the more open spaces on the map.
There is plenty of cover in front of the entrances leading to the Central Pod, including the pillars, which make good cover spots for squad members and enemies alike.
If your back is to the Central Pod entrances, watch for enemies coming through there from Main Street or the Landing Pad.
They also will come from the Alley section after spawning in the buildings there or from the Landing Pad.
The Back Street is surrounded from above and has many convenient sniping positions for enemy forces, Cerberus in particular, to use to force defenders back into the Central Pod or any of the other buildings lining Back Street or the Alley.
Be especially vigilant regarding this!
Central Pod
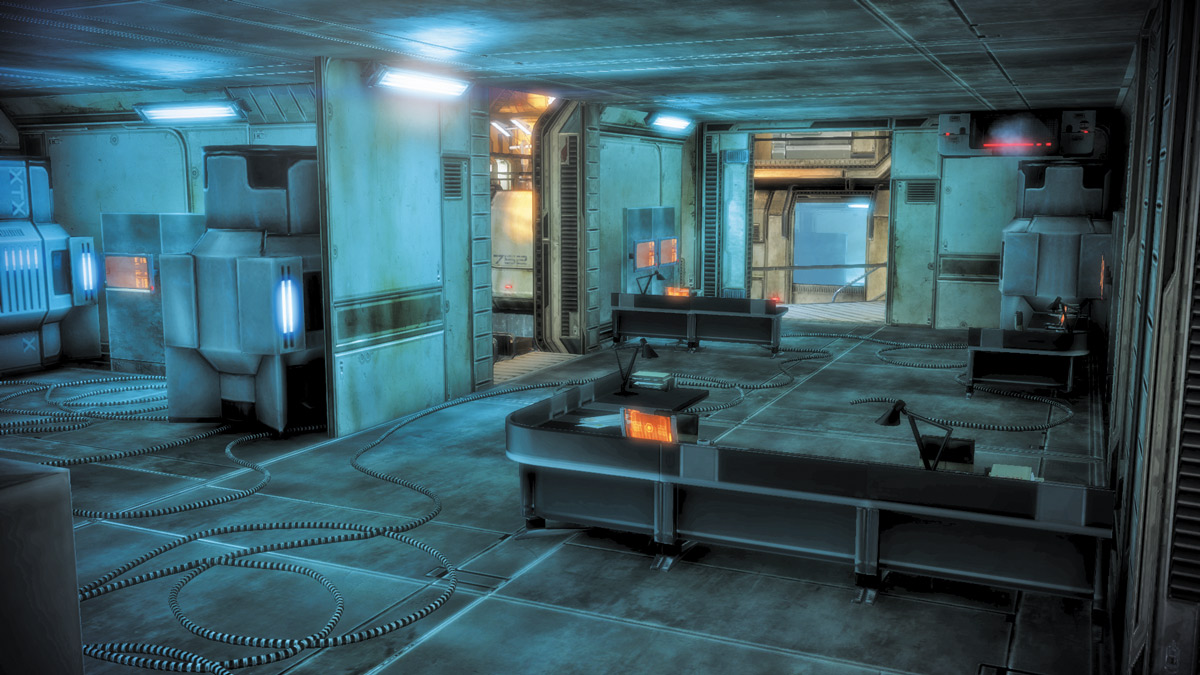
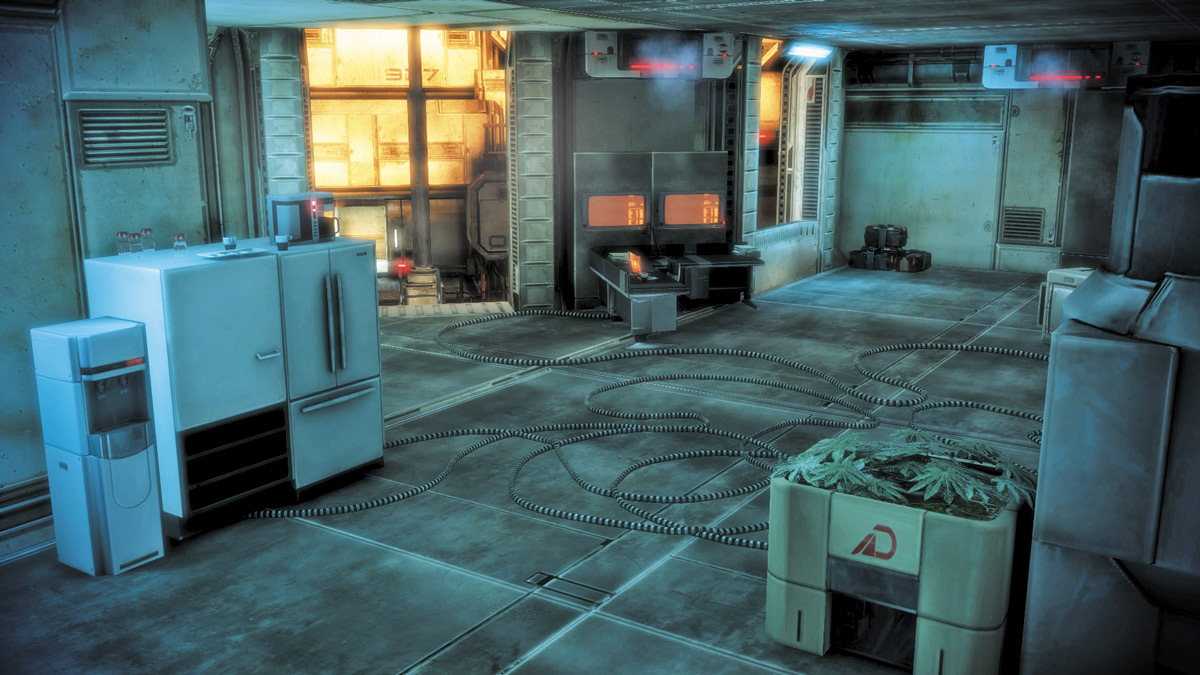
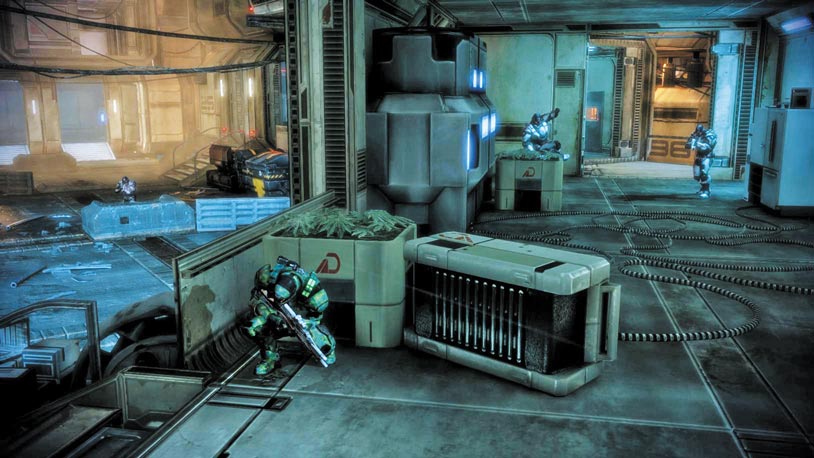
The central living space sandwiched by the Alley, Back Street, and Main Street, the Central Pod structure is a long building broken into a pair of rooms.
The Alley-side room is the larger of the two; the smaller room is between the Back Street and Main Street, with ramp and ladder access to both.
While the Central Pod does provide protection from rooftop snipers, battles for control inside the structure can get very messy.
There’s not a whole lot of room to maneuver in either of the Pod’s main rooms.
The smaller of the two can be easily compromised by determined pushes from the multiple entryways.
On later waves or difficulties, minimize the time you spend in the Central Pod unless you are confident in your firepower and your squad’s ability to lock down the many entryways the enemy can take inside.
Landing Pad
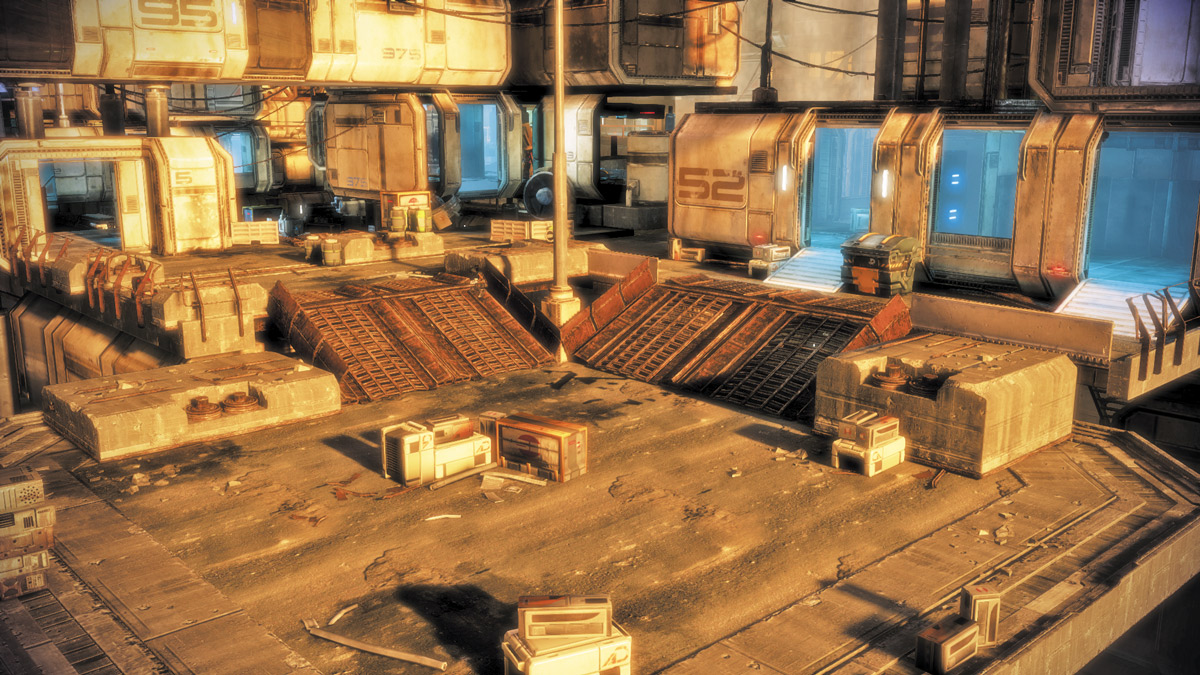
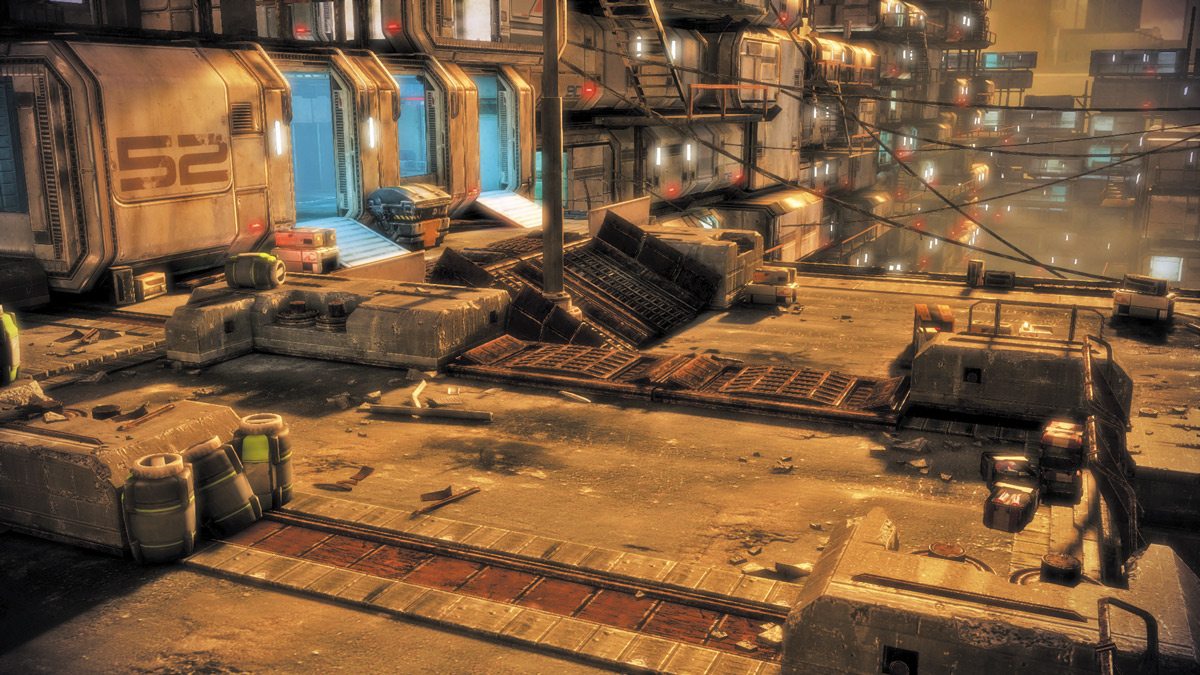
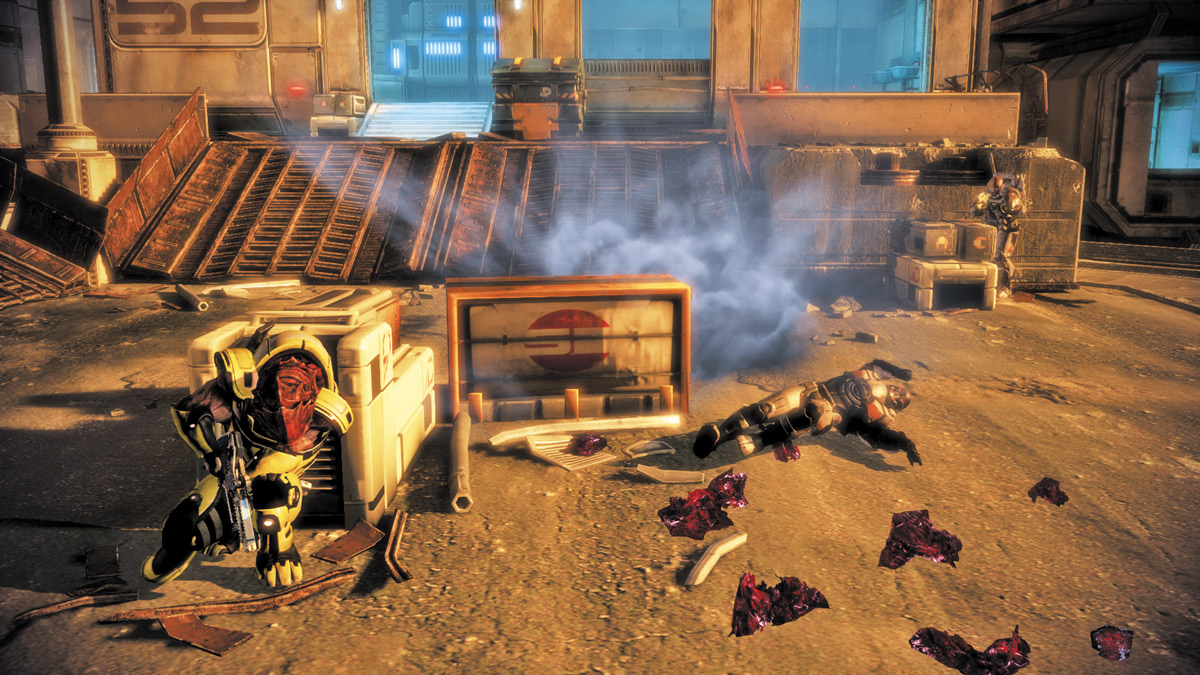
Battles at Ghost begin and end at the Landing Pad.
By far the most open and accessible part of the map, the Landing Pad has little in the way of hard cover.
The ramps leading away from it are elevated, meaning that the real danger here is getting pinned down on the pad while enemy forces use the walls on the elevated areas; the buildings leading to Main Street, the Alley, and the Central Pod; and the rooftops to gain excellent overwatch on the entire pad.
If you have to make a stand near the Landing Pad, do it on the elevated section, either in the building leading to the Alley or on the side closest to the ammo crate.
Use the boxes and the building next to them that overlooks Main Street to help maintain a kill zone over the Alley, the Central Pod, and anything traversing the lower levels.
The Pad has no easily accessible supplies, which can make holding the extraction point on Wave 11 difficult.
Main Street
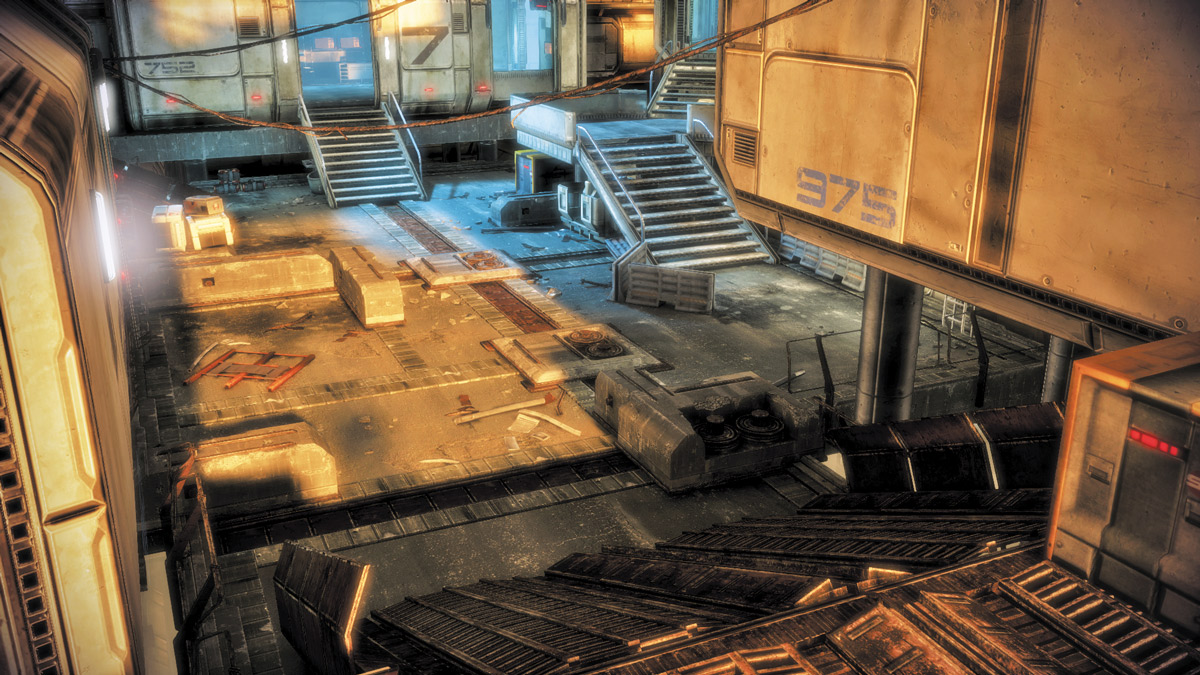
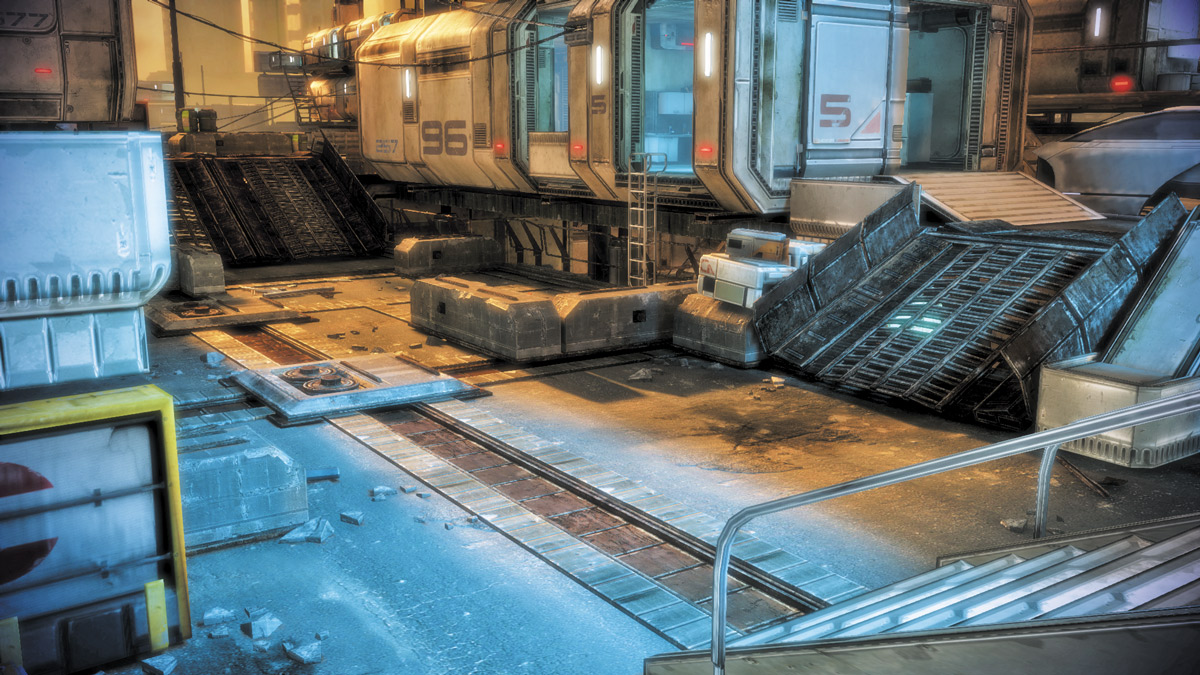
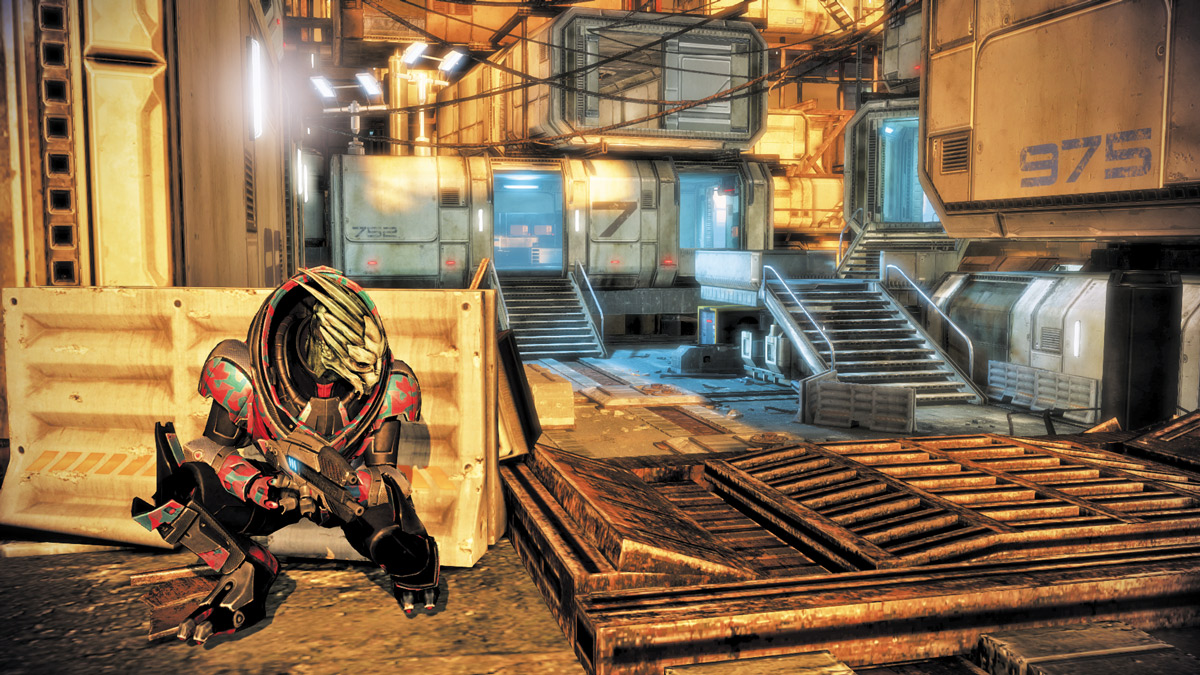
Also called “Broadway” by some of the testers at BioWare, Main Street is similar to the Landing Pad in that the central location is at a lower elevation to everything surrounding it.
However, it is worse off because the differences in height are much greater.
Couple this with multiple infiltration routes from structures surrounding the area and you’ve got a tactical nightmare waiting to unfold.
Your best bet is to stick to the buildings and walkways across from the Central Pod.
You’ll have easier access to ammo from the box located at the Landing Pad and cover from snipers, and a squad can manage the fewer paths of entry the enemies can take with greater ease.
As with any of the structures on Ghost, your greatest danger is getting cut off inside any of the buildings by heavy units, like the Atlas. Try to prevent them from getting that close.