
Mass Effect 3 Guide Walkthrough Act 1
Free the Krogan Females
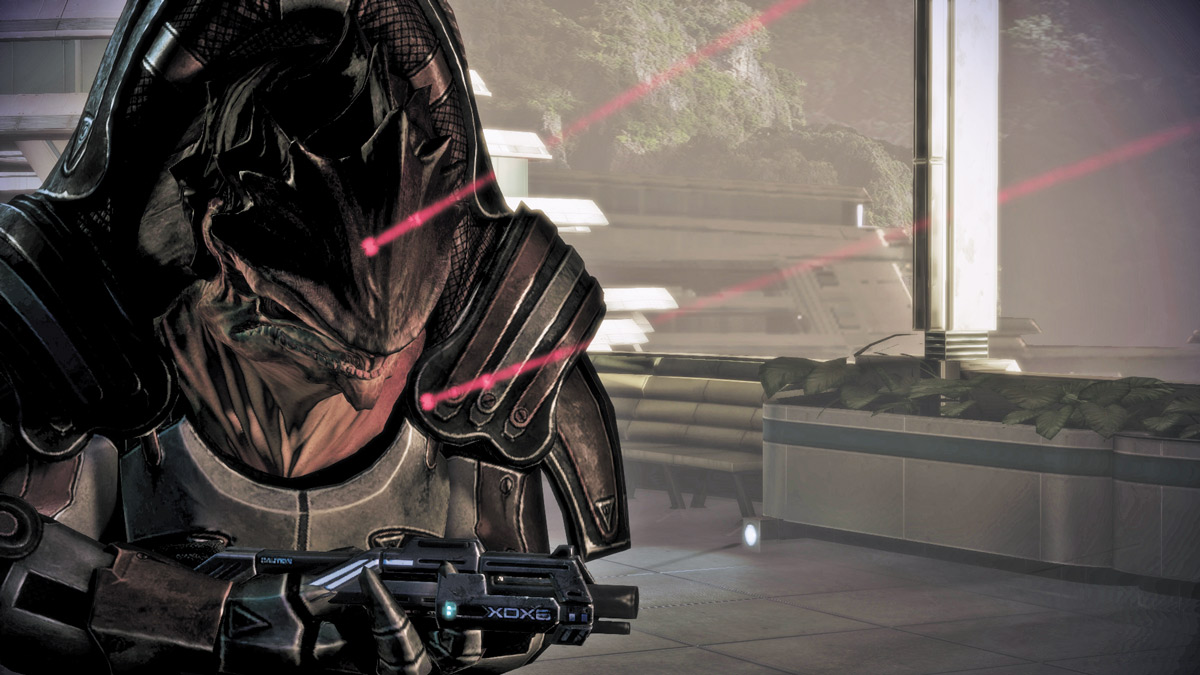
Upon arriving, the salarian security refuses to allow you to land. That won’t stop the krogan Wreav, though. He slides open the shuttle hatch and leaps out.
Rather than let him loose on the salarians, you jump out of the shuttle behind him.
This marks the beginning of your Paragon/Renegade decisions during this mission. If you choose to intimidate and confront the salarians, you’ll earn Renegade points. If you handle the situation diplomatically and keep Wreav on a leash, then you can earn Paragon points.
MEET WITH PADOK WIKS
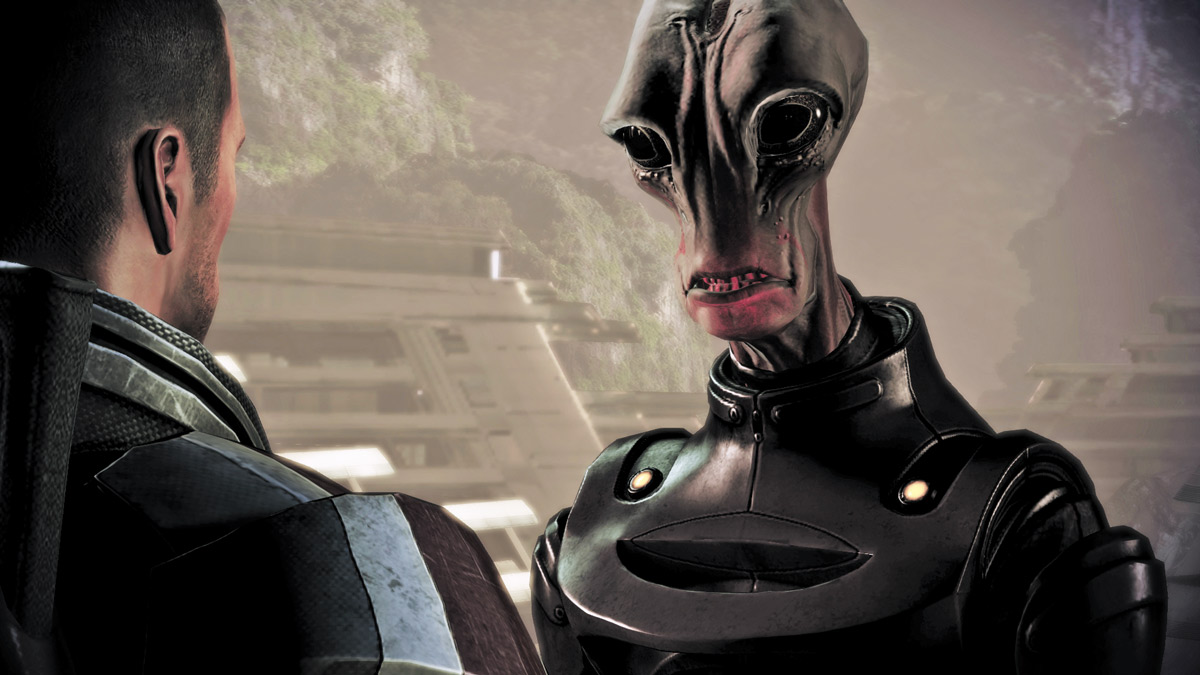
After your initial conversation with Padok Wiks at the landing zone, he allows you to roam the area before heading into the facility.
There isn’t much to do here, except speak with Wreav and a salarian Lieutenant named Tolan near the entrance.
The mission to cure the genophage has a lot of deep-reaching repercussions, so take a minute to get as much information about the situation as possible.
Tolan and Wreav each offer great perspective on the situation if you take a minute to listen.
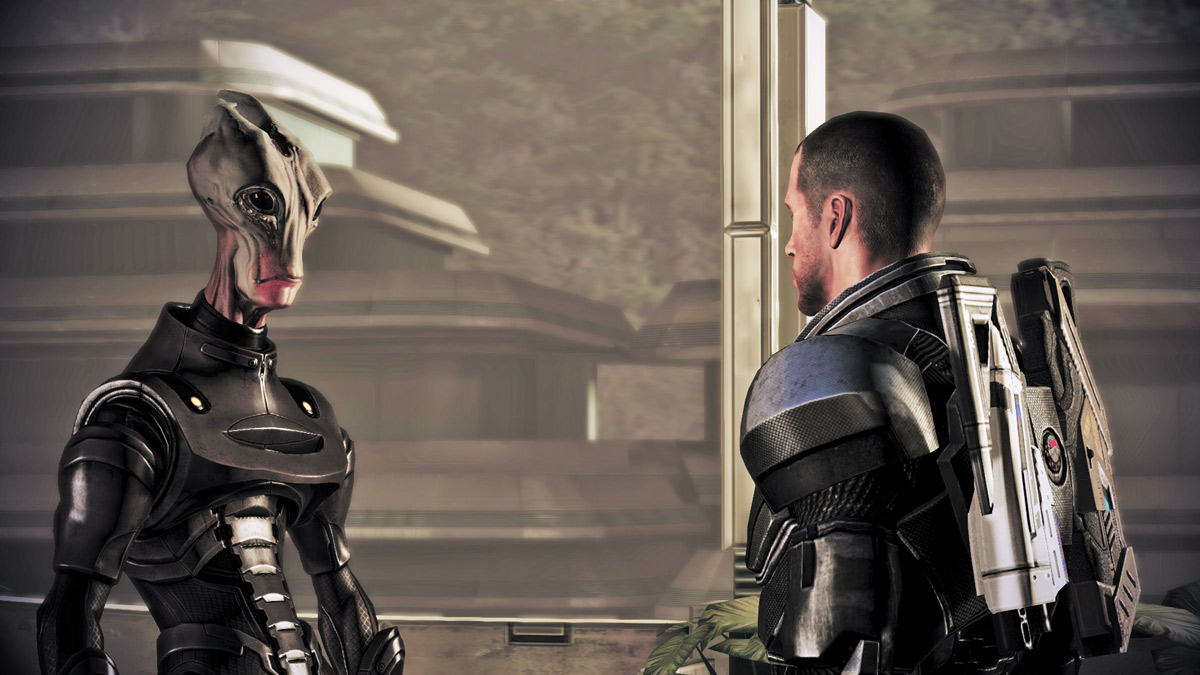
Speak to Padok Wiks when you’re ready to go into the facility. As you prepare to go down to the female krogan holding area, the facility’s perimeter alarms go off. A threat is nearing and you’re now working on borrowed time.
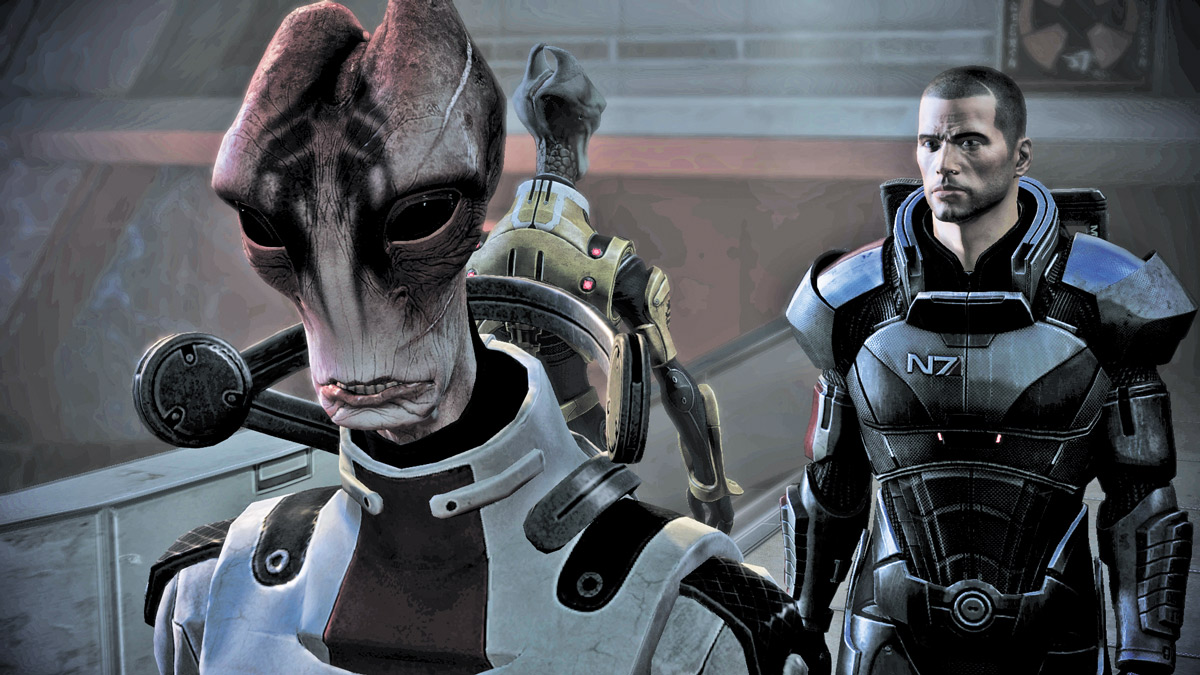
Down in the facility, you run into your old friend Mordin Solus, who admits to being Wreav’s inside informant.
You learn that only one krogan female survived, so speak to her and prepare to move her out of the facility. Your tone with the female will dictate whether you earn more Paragon or Renegade points.
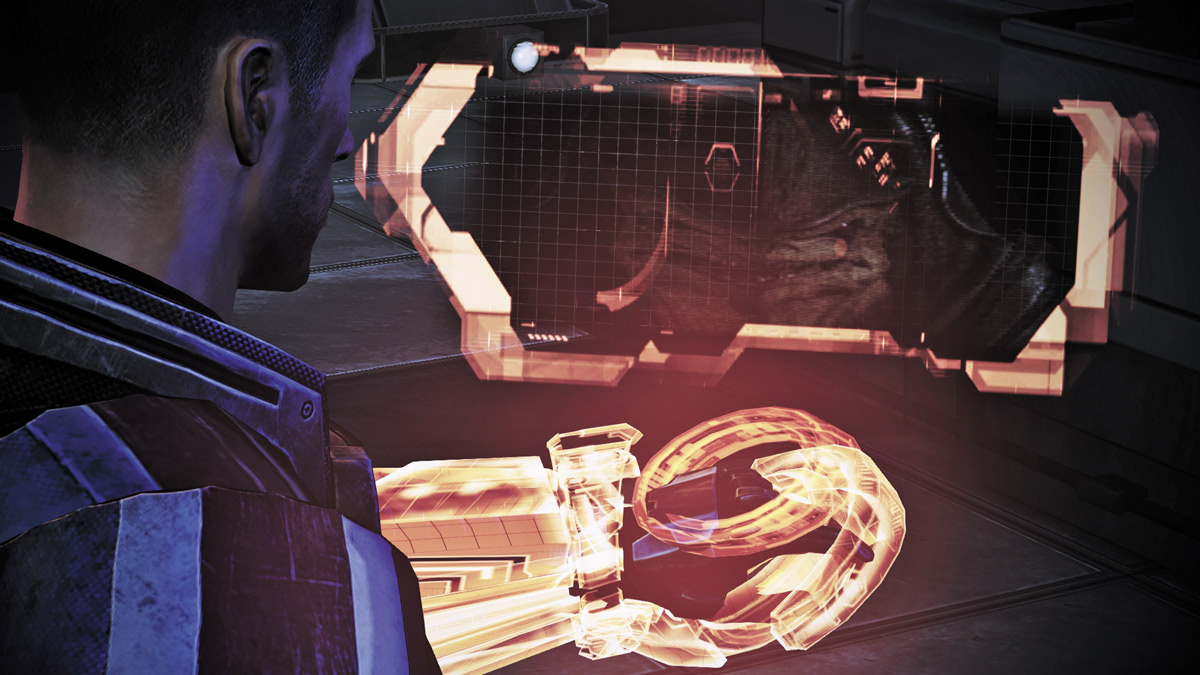
Before you can continue on your mission, however, Wreav urges you to free the female krogan before the intruders, now revealed to be Cerberus, infiltrate the facility.
In order to free the female krogan, Mordin Solus must accompany her containment pod across several checkpoints to make sure it maintains integrity.
You must rendezvous with the pod at each checkpoint to make sure the Cerberus attackers don’t destroy it and the genophage cure.
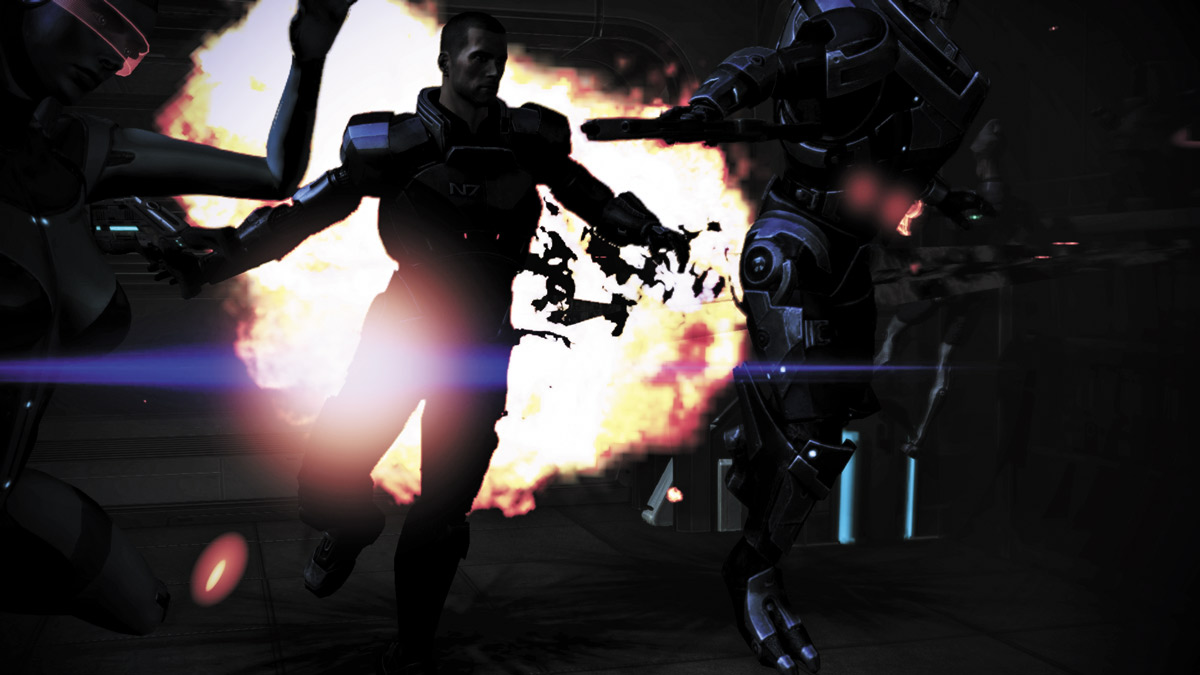
Cerberus manages to infiltrate the facility quickly and blocks your only path out of the lab. Activate the elevator to find a bomb.
The explosion leaves the elevator inoperable, so your only way out is via the emergency exit at the rear of the room.
Exit the lab and take the ladder up to the next level. The first checkpoint is already under attack, so you’ll have to rush up and relieve the pressure from Mordin and the pod.
CHECKPOINT 1: LEVEL 1
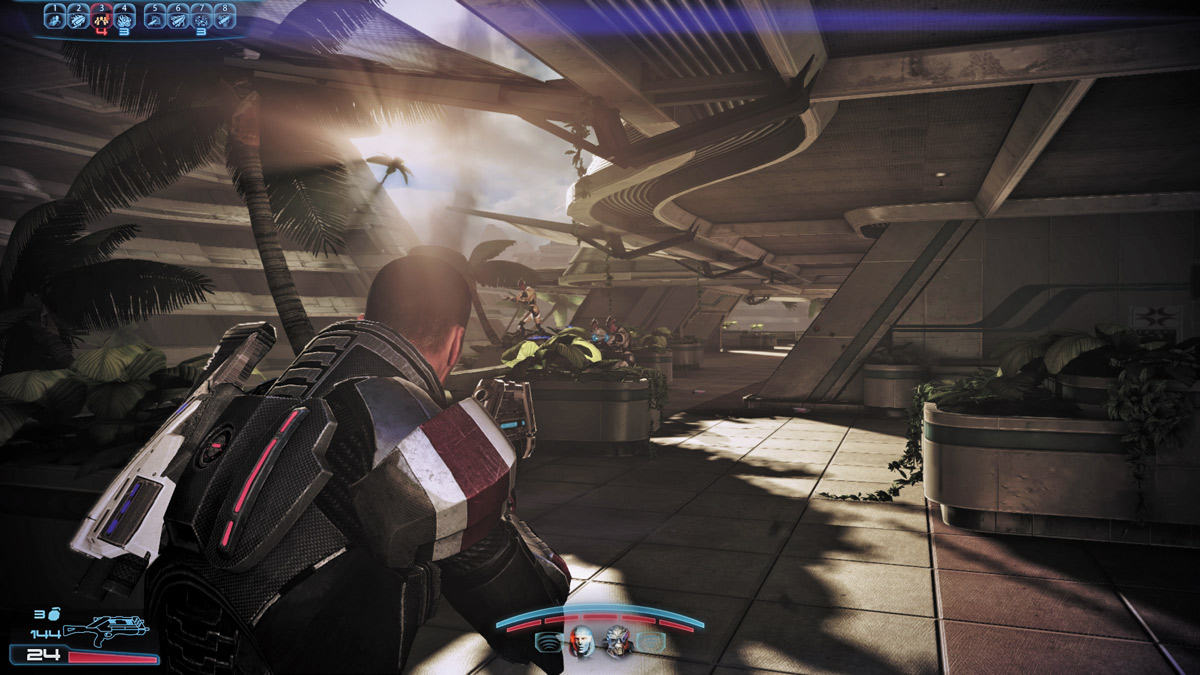
As soon as you reach the top of the ladder, round the corner and prepare for battle with the Cerberus forces.
The facility’s halls are typically split into two sections, the outer passage nearest the balcony and the inner hall where most of the research seems to take place. As soon as you reach the first floor, Cerberus Assault Troopers attack.
APPROACH 1: LEAPFROG DOWN THE HALL
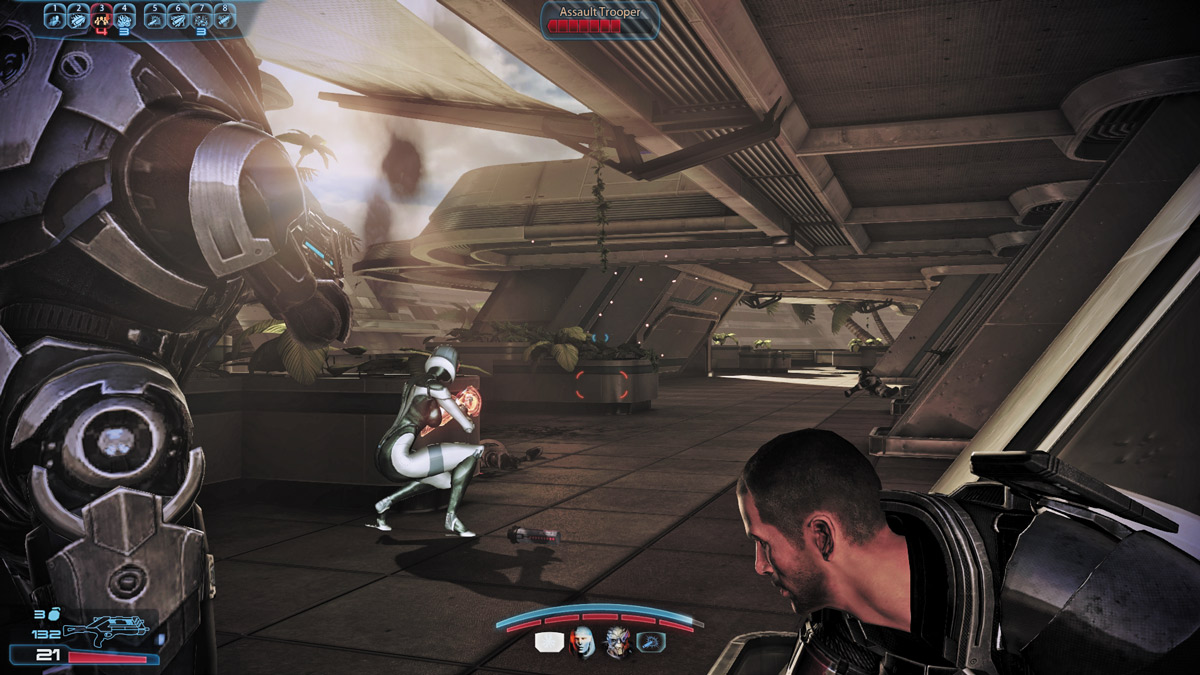
A tried-and-true method for advancing across long battlegrounds is to use a leapfrogging technique where the squad staggers their position in a vertical line down the battlefield, then moves one soldier at a time, from the back of the line to the front.
In this case, begin by ordering your squad to take cover ahead of you and allow them to engage the enemy. As they engage, move from the back to the front of their covered position, taking down enemies as you go.
This first engagement can be easily won without getting too fancy.
APPROACH 2: FLANK
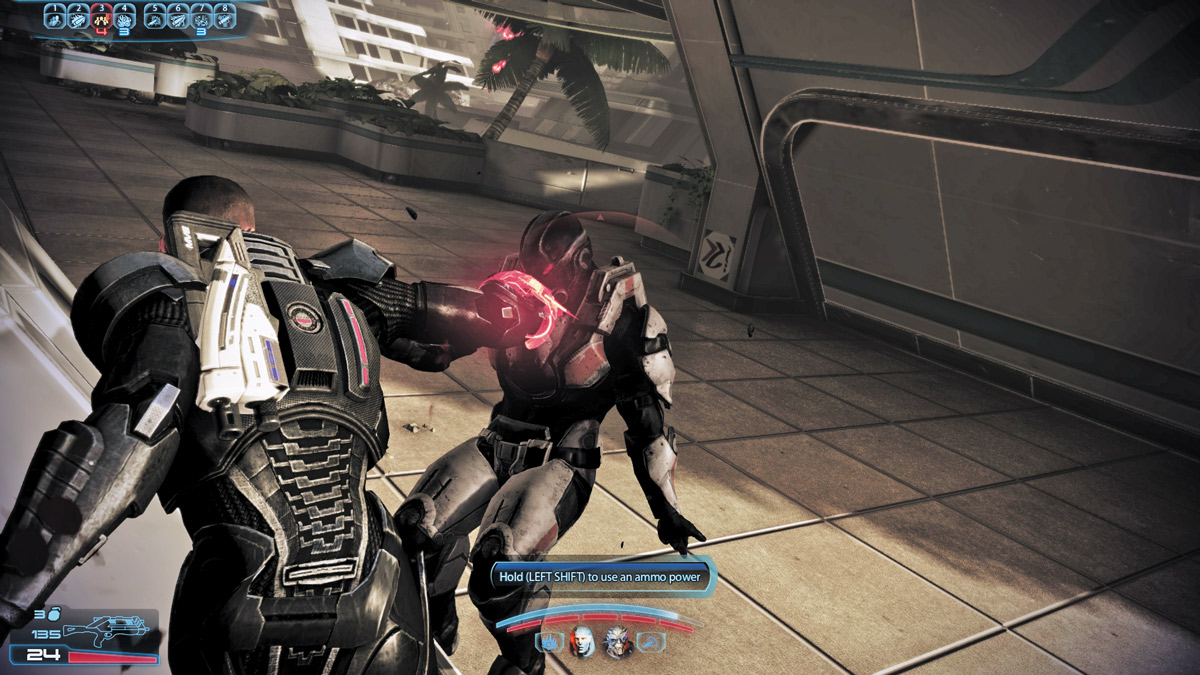
Another approach is to use the inside hall to outflank your opponent. While this first encounter may not require an intricate, well-executed flank, this is a great time to practice the maneuver in this environment.
It will help in later levels during this mission if you have a solid flanking maneuver in your battle repertoire.
At the beginning of the battle, direct your squad to the inside of the lab area (the inside hall), while you engage the enemy in the outer hall.
Slowly approach the enemy down the hall, using a combination of weapons fire and powers such as Singularity, Stasis, and Overload to slow and stun the opposition.
APPROACH 3: SEND IN THE TROOPS; YOU HANG BACK
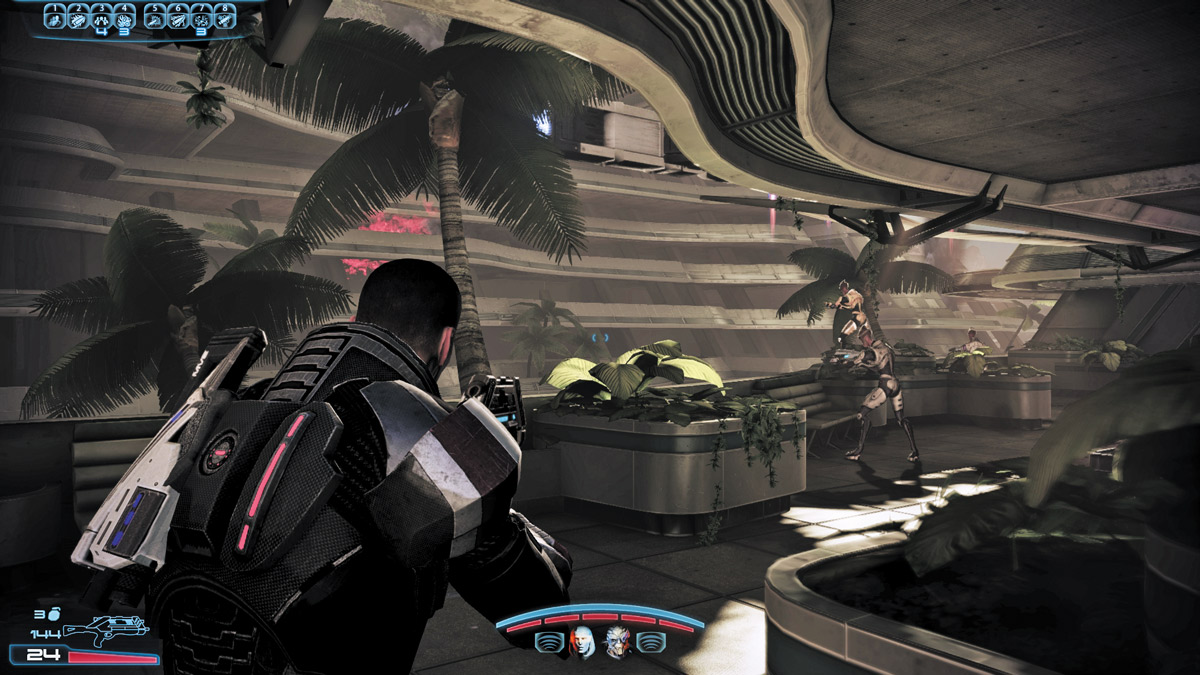
Sniper-friendly classes like Soldiers and Infiltrators can hang back and carefully pick off enemies at a distance while the other two squad members take the fight to the Cerberus soldiers.
This can get a bit tricky when the second wave of Cerberus troops arrive and take the inside of the lab.
If they do, either switch to a better close-range weapon and pick them off from the outside, or go into the lab area and use power combinations to take them down.
Infiltrator-class players can use Tactical Cloak to sneak up on enemies and dispatch them from behind.
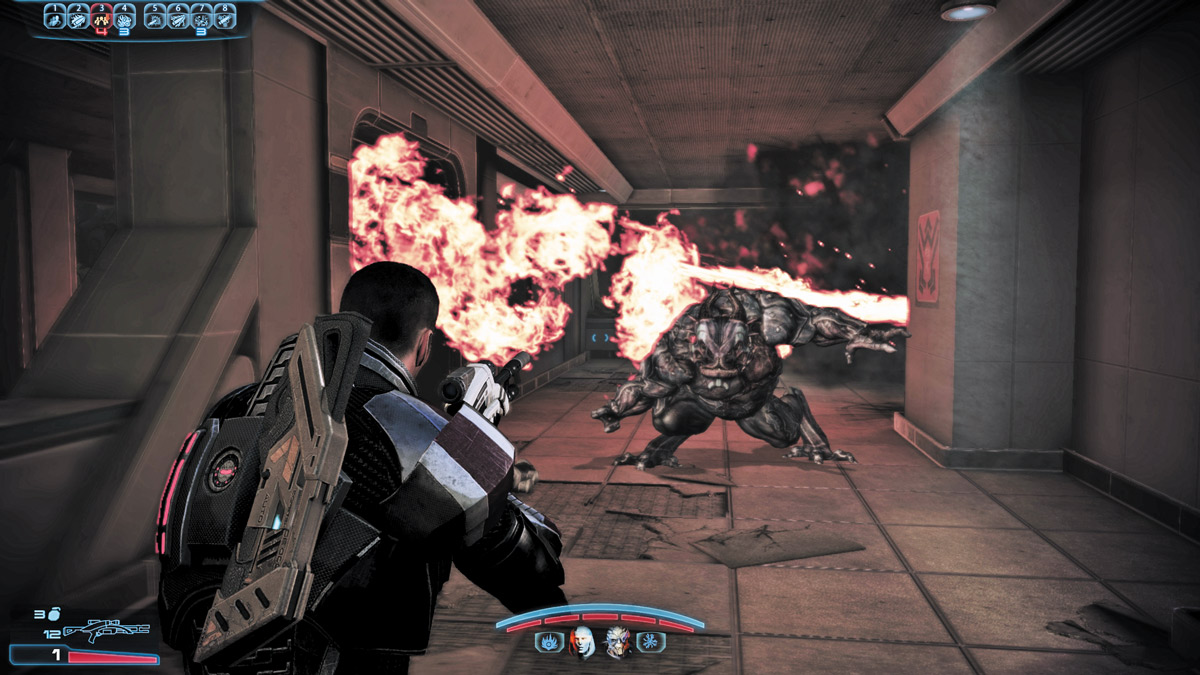
Exit this floor via the rear door, and stop as a rogue yagh escapes from its containment cell and wreaks havoc across the facility.
Make a left and jump over the small wall, then make a right and leap over the gap to bypass the jet flame from the demolished wall. Leap over the wall on the right to get back onto the main hall and go up the stairs.
CHECKPOINT 1: LEVEL 2—POD
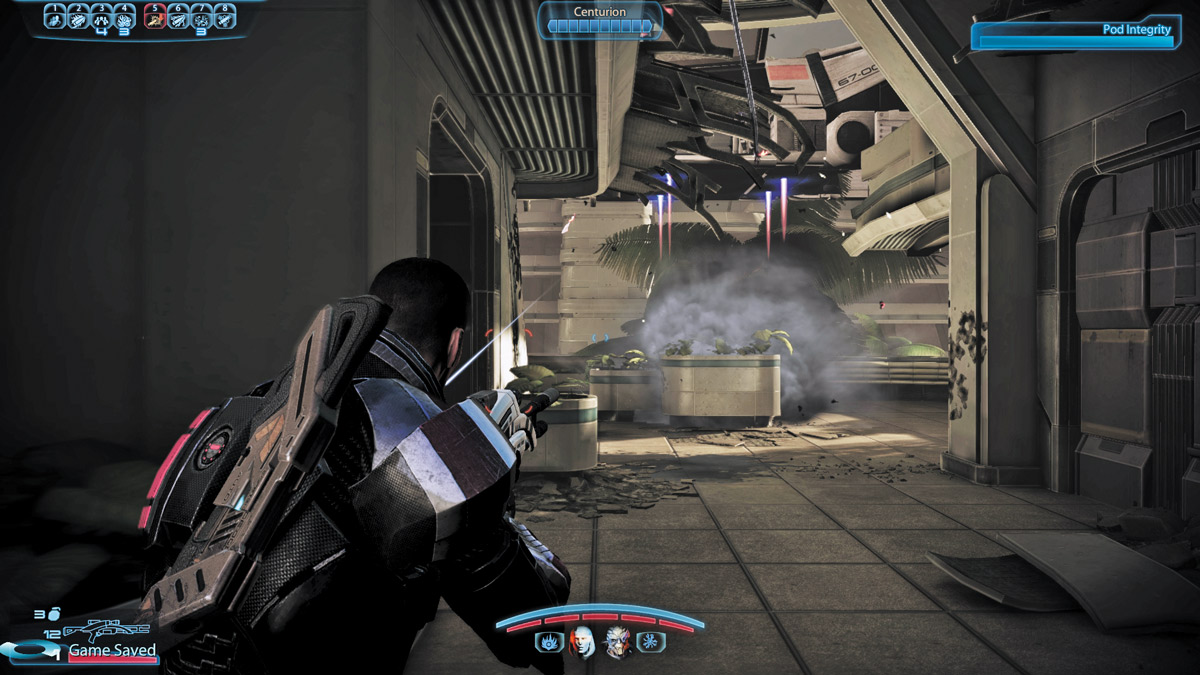
The second level of Checkpoint 1 is where the pod must stop. To keep it from being destroyed, you must clear the area of Cerberus troops and activate the pod controls to advance it to the next checkpoint.
The battle for the pod begins as soon as you reach the top of the stairs to Level 2, as several Centurions and other Cerberus troops are dropped off by a transport shuttle.
APPROACH 1: LEAD WITH EXPLOSIVES
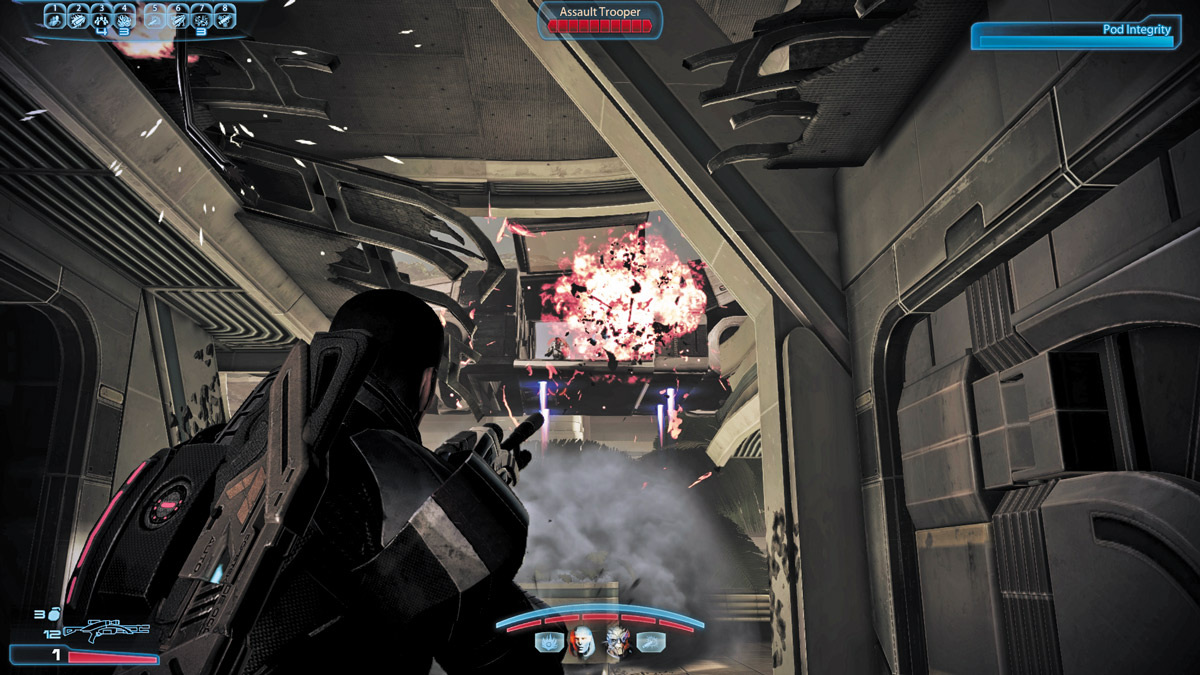
As soon as you reach the top of the stairs, a group of Cerberus troopers attacks behind the safety of their smoke grenades.
Rather than rush in and potentially encounter a Centurion at close range, either toss a grenade into the smoke or use an Explosive Power combo like Singularity and Warp on the nearest enemy.
Let the smoke dissipate, then quickly shoot your way into position where the smoke once was. Take cover behind the planter and aim down the long hall, watching for Cerberus soldiers to give away their positions.
Once you’re clear, begin moving your squad down the outer hall (it’s the wider section of the two), and lead their movement with more explosives.
Clear out a section with an explosive (or flush out the enemy), then mow past them with weapons fire.
APPROACH 2: TAKE THE INSIDE HALL
An alternate approach, one friendly to players using weapons-heavy builds, is to give up the outside hall and direct the entire squad into the inside hall (the lab area).
Once inside the lab area, use the partition wall as cover and pop out to open fire on the enemies nearby.
Shotguns and assault rifles are the way to go with this approach, since they’ll offer the best chance of maximizing damage at close range. The benefit of this approach is that the outside hall has less areas for the enemy to use as protective cover.
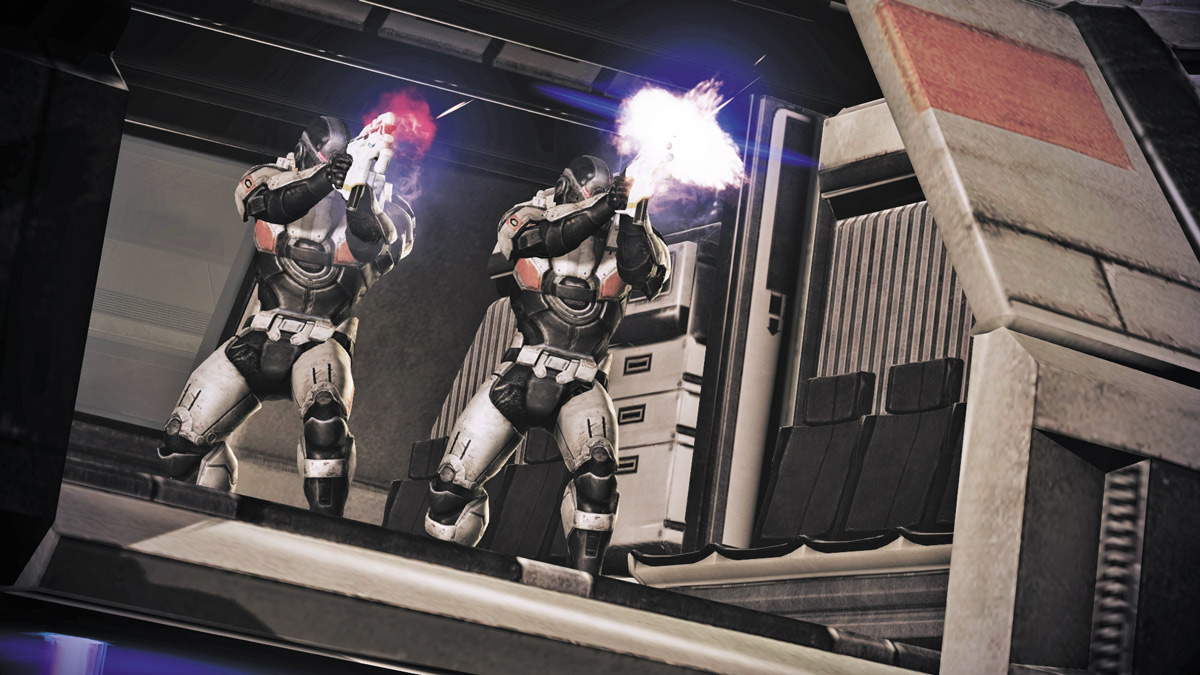
Activate the pod when the coast is clear, and send Mordin up to the next level. An explosion rocks the elevator as a Cerberus transport blows open a hole in the wall.
Take cover and use your preferred method of destruction to take out the two Cerberus Assault Troopers on the shuttle. With them out of the way, you can go through the new hole in the wall and make a left toward the next area.
CHECKPOINT 2: LEVEL 1
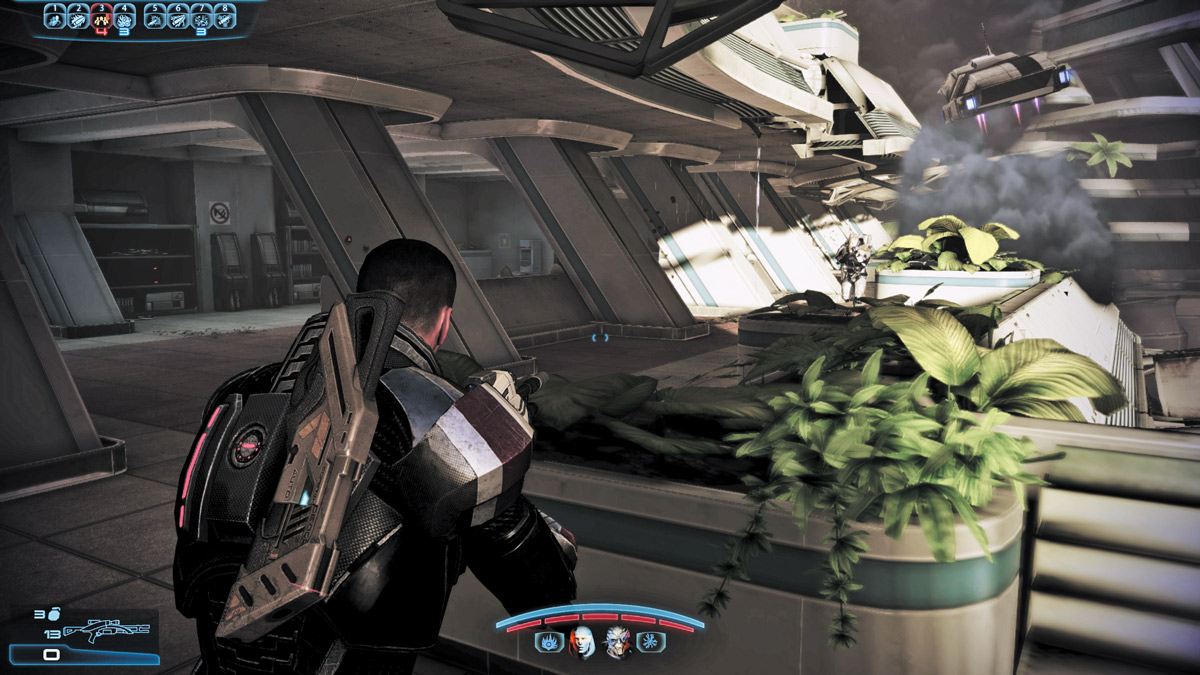
This next hallway is the beginning of the approach to the next checkpoint. Quickly take cover and wait for the Cerberus troops to deboard their transport shuttle down the hall.
APPROACH 1: FLANK
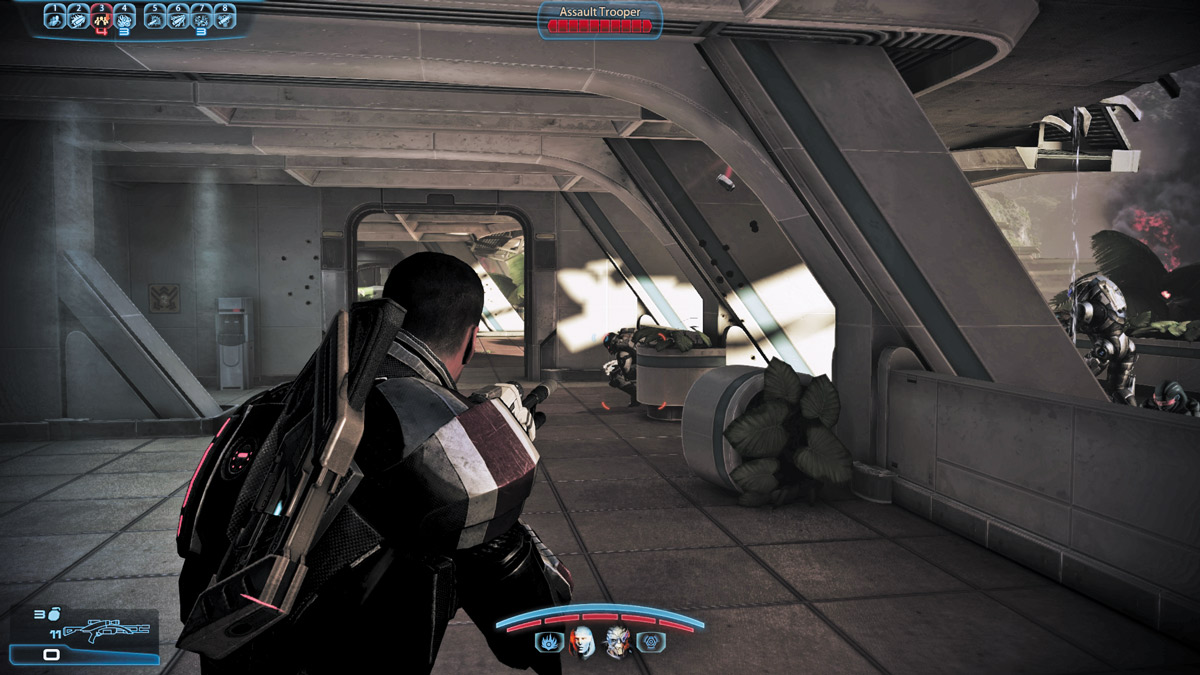
As soon as you enter this section, rush across the hall and leap over the partition into the inside hallway. Leave your squad to advance down the long, outer hall while you pick off enemies from the inner hall (the lab area).
Don’t hesitate to get ahead of your squad as you execute a deep flank to surprise the enemies from their right side. As the Cerberus forces engage your squad in the outer hall, you can pick them off from the inside hall.
If you eliminate the enemies farther down the lab area, you can even exit out the back end of the lab and pinch the enemy from behind in the outer hall area.
APPROACH 2: OCCUPY THE LAB
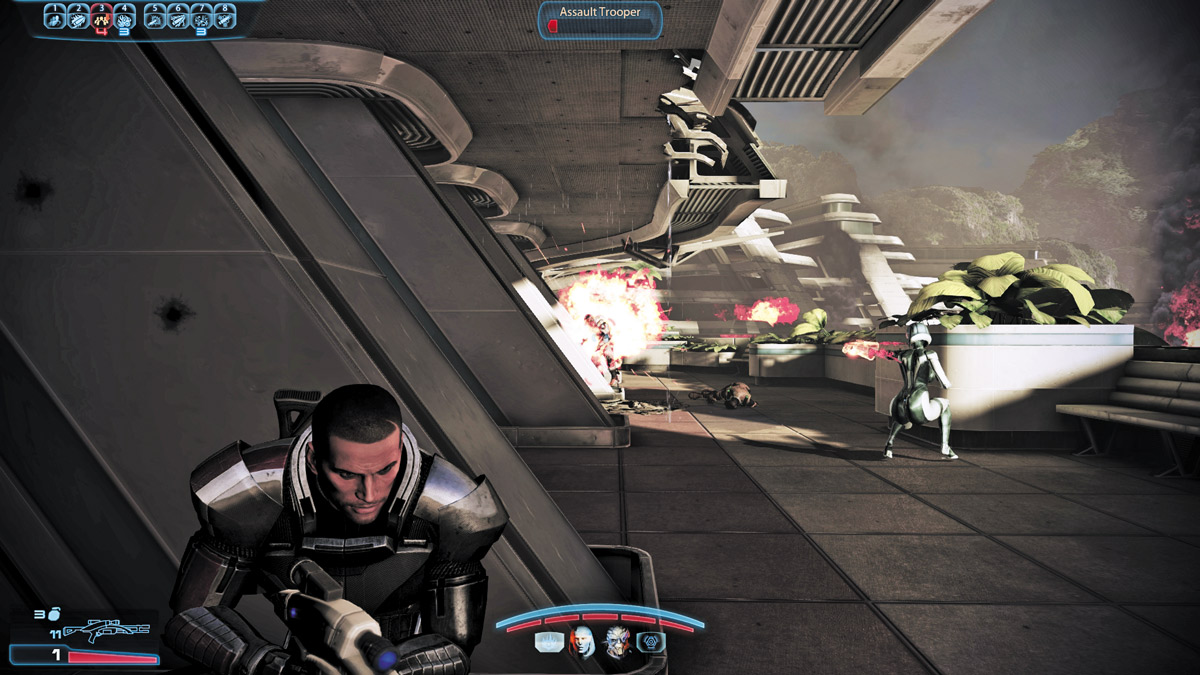
An alternate approach is to direct the entire squad into the lab area and use the inside wall supports as cover from the enemies down both sides of the hall. The partition between the two sections will also provide decent cover if you choose to split your squad between both sides of the inside hall.
Lead with explosives as you approach down the lab area and exit through the rear of the hall. Then sweep out and around as you rush any remaining enemies.
With the area clear, you can exit the floor through the rear door and go up the stairs to the next level.
CHECKPOINT 2: LEVEL 2—TURRET
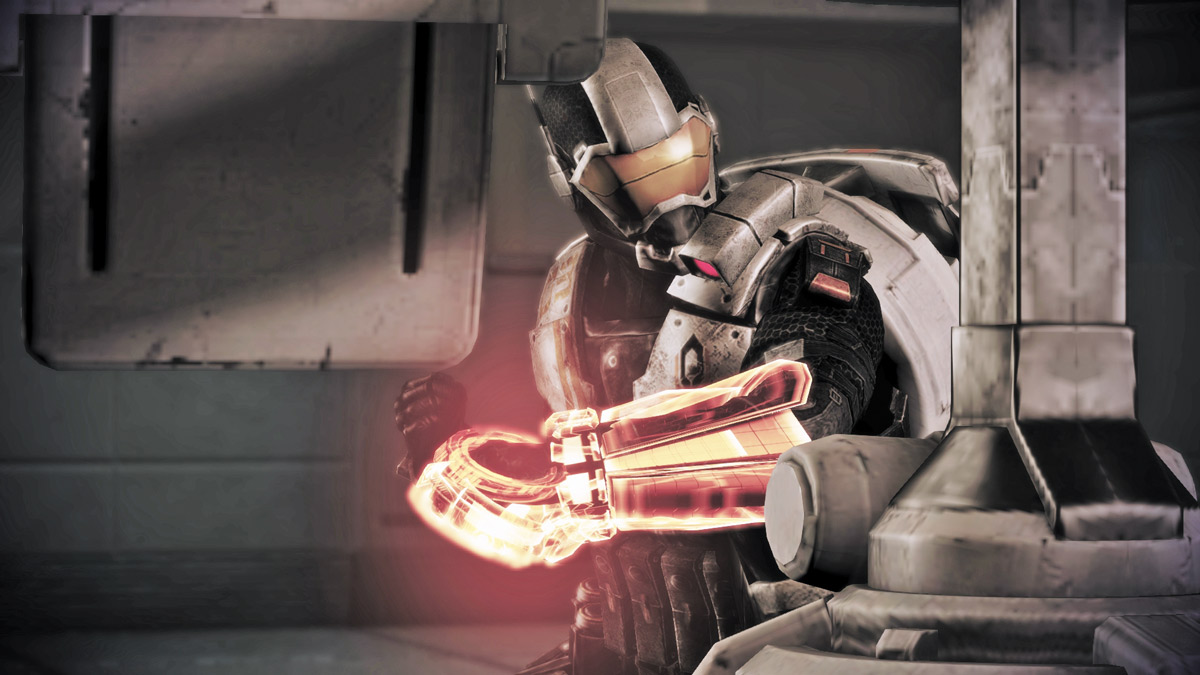
On this level, you’re greeted by a Combat Engineer and his assault turret down the hall, as well as several other Cerberus soldiers.
If you exit cover for longer than a few seconds, the turret can make very short work of you and your squad. This next section will be tricky.
APPROACH 1: FLANK
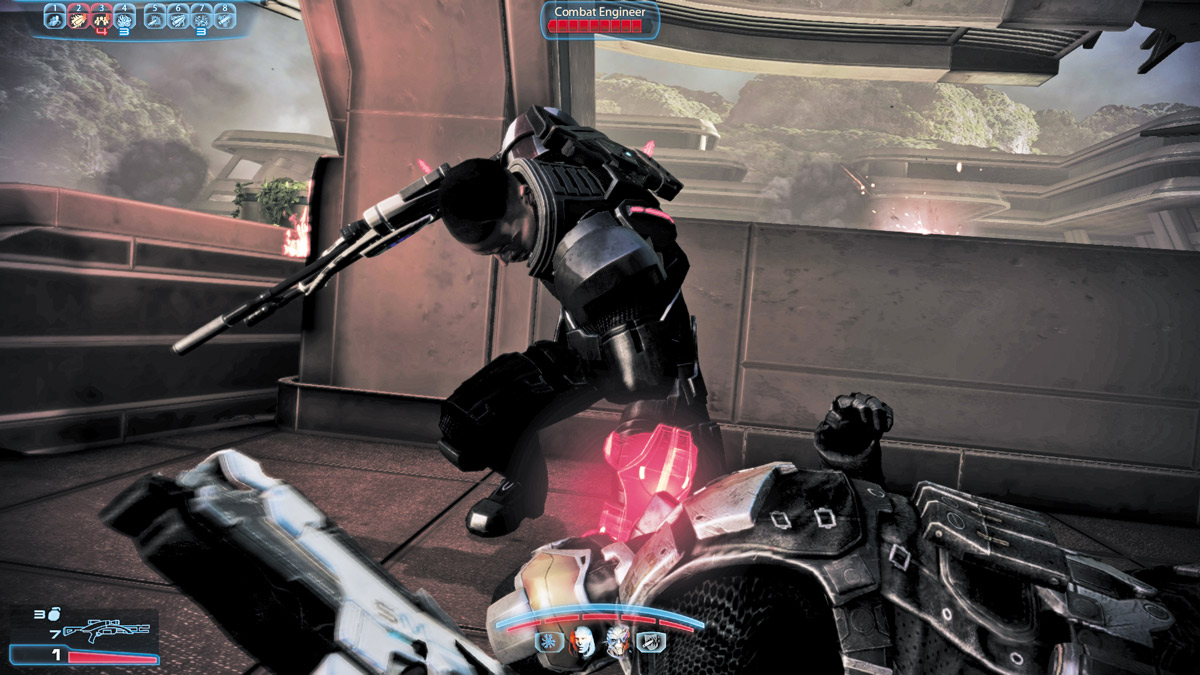
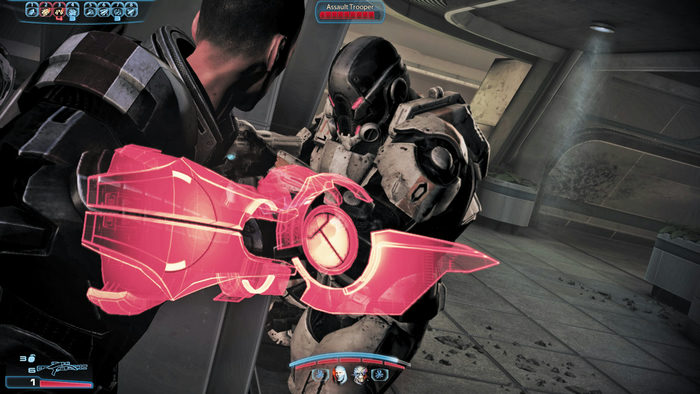
The most successful approach for this level is to use a well-timed flanking maneuver to avoid turret fire.
As soon as you enter into cover on the hall’s right side, the turret opens fire. Wait for the turret to temporarily shift targets, then dash across the hall to take cover on the left side.
Wait here until it shifts again, then dash down and to the right, into the lab area where you’ll have much more cover and the entire length of the lab to flank the turret and the rest of the Cerberus squad.
Once you’re safely behind cover, advance down the lab until you can focus your attention on the turret. Engineers can use their drones to distract the turret while you inflict direct damage on it.
Similarly, if you brought EDI with you as a squad member, her Decoy ability can also relieve some of the pressure from you while you attack.
Use Overload, or close-range weapons like shotguns, to quickly destroy the turret. If you don’t have a shotgun, use your assault rifle in short controlled bursts with special ammo such as Warp, Disrupter, or even Cryo Ammo.
As soon as you destroy the turret, turn to the Combat Engineer and eliminate him too. If you let him linger, he’ll spawn another turret and you’ll have to start all over again.
APPROACH 2: INFILTRATE OR CHARGE
Close-quarter-combat classes can approach this battle a bit more dangerously. Vanguards and Infiltrators can use Biotic Charge and their Tactical Cloaks, respectively, to close the distance between you and the turret.
As an Infiltrator, activate your Tactical Cloak and either get in position to flank, or directly attack the turret with your strongest weapons.
The turret will immediately target you and you’ll be in direct contact with any of the Cerberus troops, but your squad can help alleviate that contact.
As a Vanguard, use Biotic Charge to zoom to either the turret or the Combat Engineer, then follow up with Nova to execute a devastating radial attack on all nearby enemies. Follow up with a few close-range shotgun blasts to the turret and finish it off.
Exit via the door at the end of the hall and follow the short hall into another section of the facility.
CHECKPOINT 2: LEVEL 3—TWO-STORIED ROOM
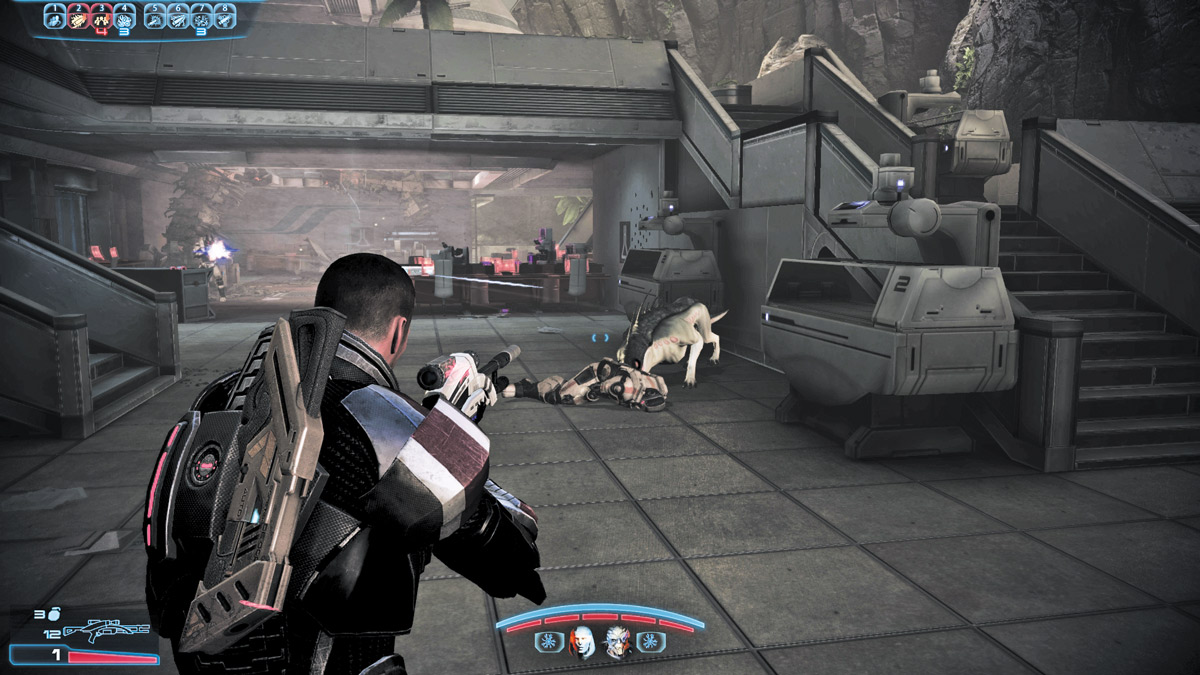
This next section is a demolished room with stairs leading up to a second level. As you enter the room, a wild beast mauls one of your would-be Cerberus ambushers.
Take advantage of the beast’s surprise attack and get into position.
APPROACH 1: DEATH FROM ABOVE
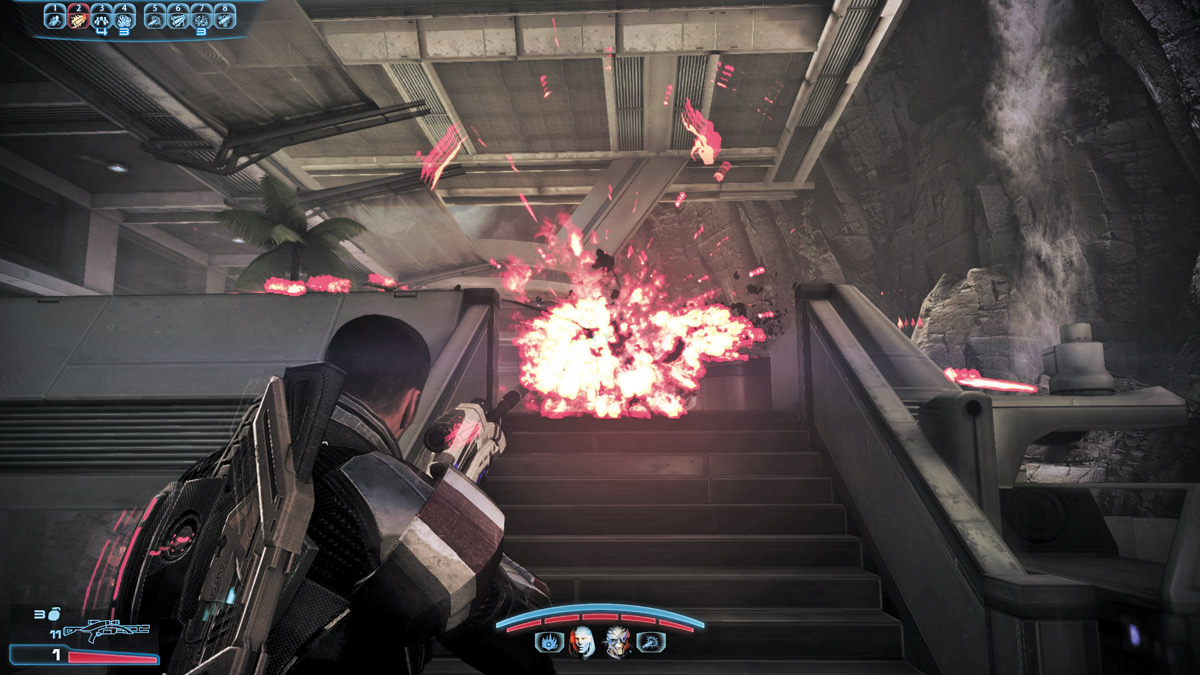
As soon as you enter the room, direct your squad to take cover behind the small set of steps on the left while you dash up the stairs on the right. Open fire on the Cerberus troops as you rush up the stairs and quickly clear out the top level.
While you do this, your squadmates will engage the enemies on the level below and keep them at bay. With the top level completely in your control, position yourself above and behind the enemies on the lower level and aim at their backs.
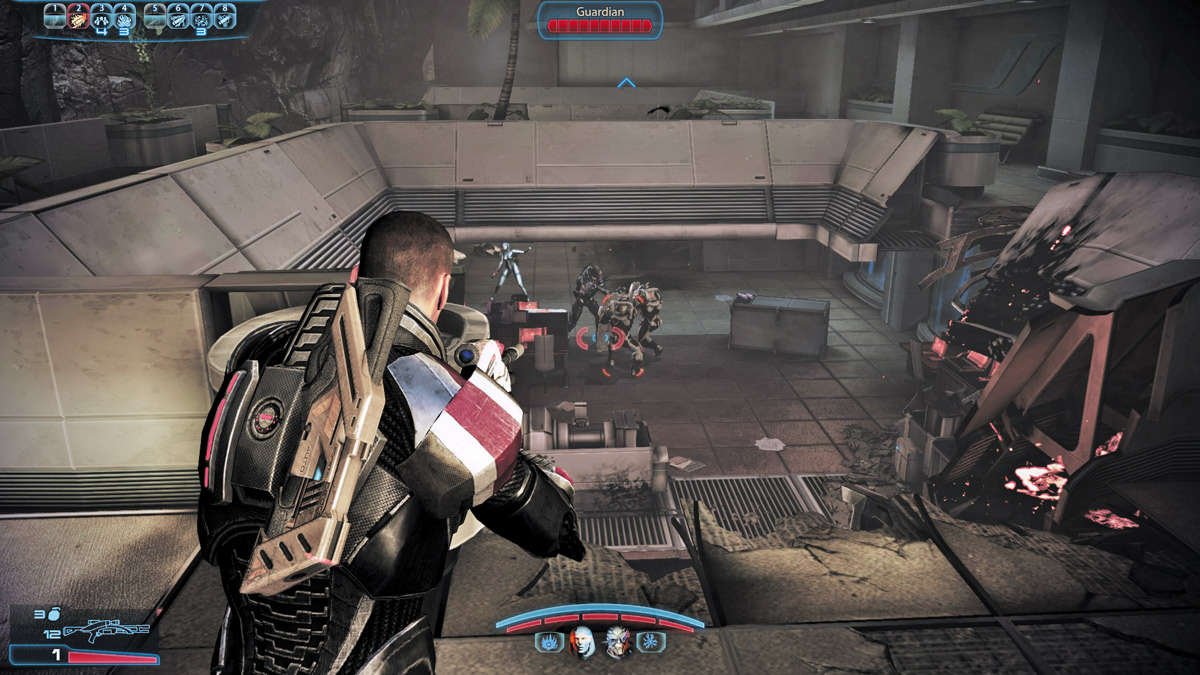
If any Cerberus Centurions attempt to reach you, shoot them down, then open fire on the enemies below as they approach your squadmates.
When the two Guardians begin to slowly approach your squadmates, either blow them away from behind with a grenade or use standard weapons fire to get clean headshots.
If you’re an Adept-class player, then use powers like Warp to inflict damage.
APPROACH 2: COVER FIRE
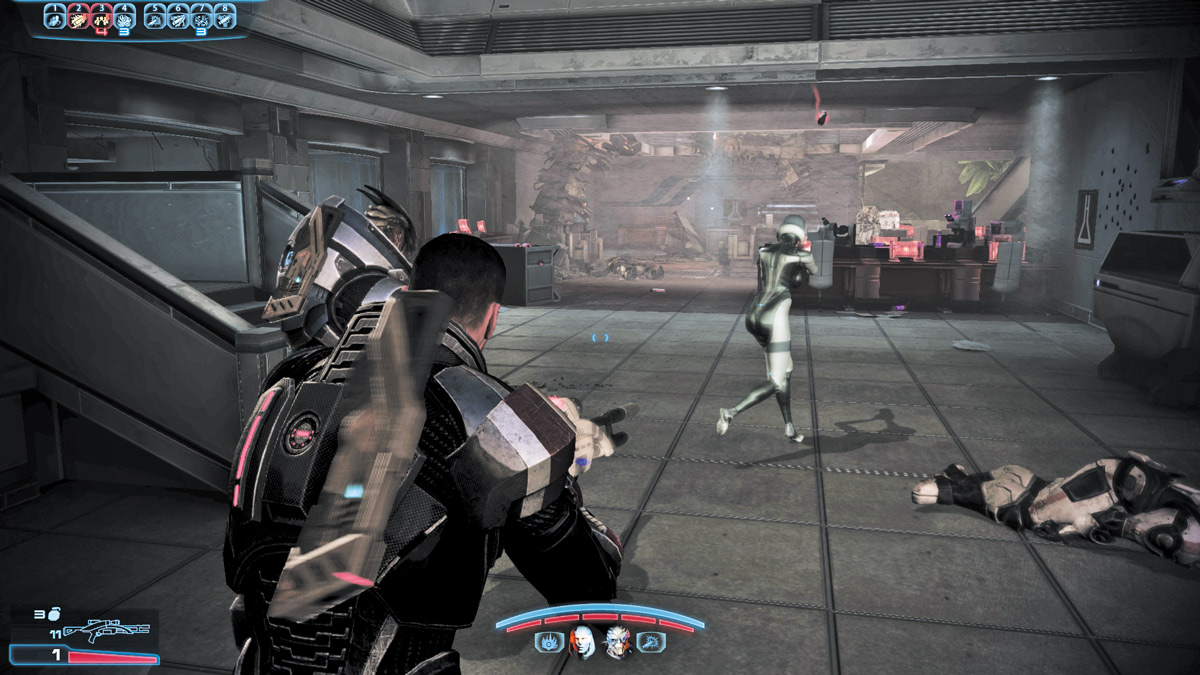
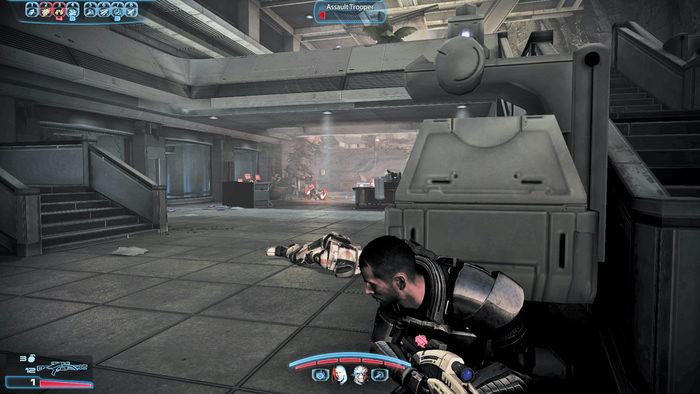
Another approach to this firefight is to take cover on either side of the entrance area. Direct your squad to take cover on the steps on the left while you take cover behind the structure on the right.
Stay behind cover and use a combination of powers and weapons fire to eliminate enemies as they approach.
When the Guardians approach, use your squad’s powers to slow them down while you pepper them with weapon fire. If you are an Adept, use Pull to yank their shields off, then follow up with fire.
If you’re a Soldier, you can use Adrenaline to slow time, and carefully place a few bullets between the enemy’s vision slots to blow them up. As always, Singularity can help remove a Guardian’s shield just as well as a well-tossed grenade.
When you’ve cleared the entire area, go to the top level and through the door.
CHECKPOINT 2: LEVEL 4—POD
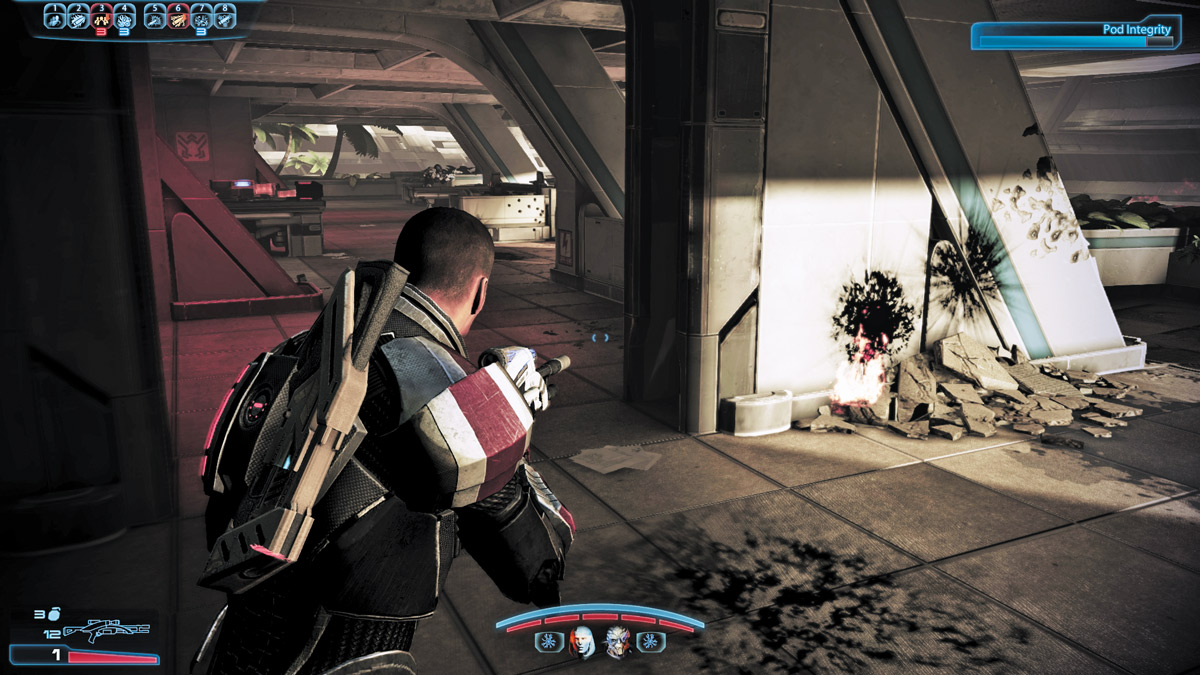
The fourth level has the containment pod. When you reach it, the Cerberus troops are busy attacking the pod and fail to notice you right away. You have the advantage.
APPROACH 1: SURPRISE ATTACK, OUTER HALL
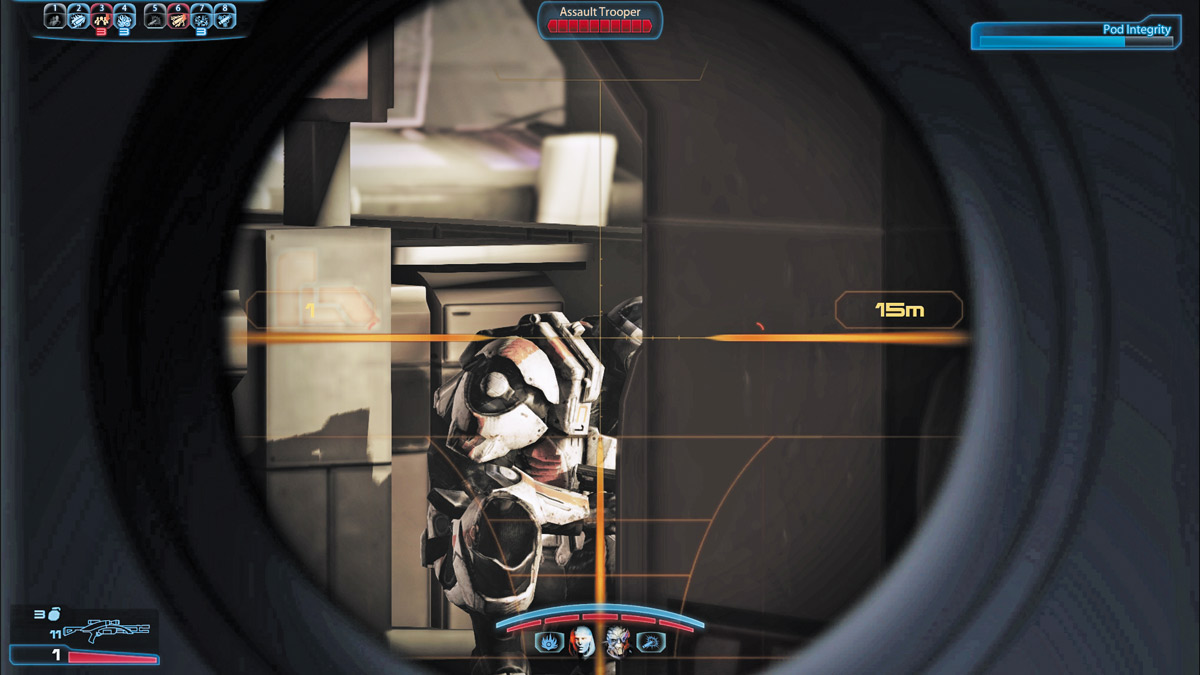
Since the Cerberus troops are focusing their attention on the pod, you can lead your squad down the outer hall directly toward the troops near the pod.
Rush the troops using medium-ranged weapons and damaging power attacks like Warp, Incinerate, or Cryo Blast.
You’ll incur a lot of fire as soon as they spot you, but at least they’ll take their attention away from the pod for a moment.
When they do, take cover and begin picking them off. If any enemies shift their focus back on the pods, take them out first despite the rest of the squad shooting at you.
APPROACH 2: SURPRISE ATTACK, INNER HALL
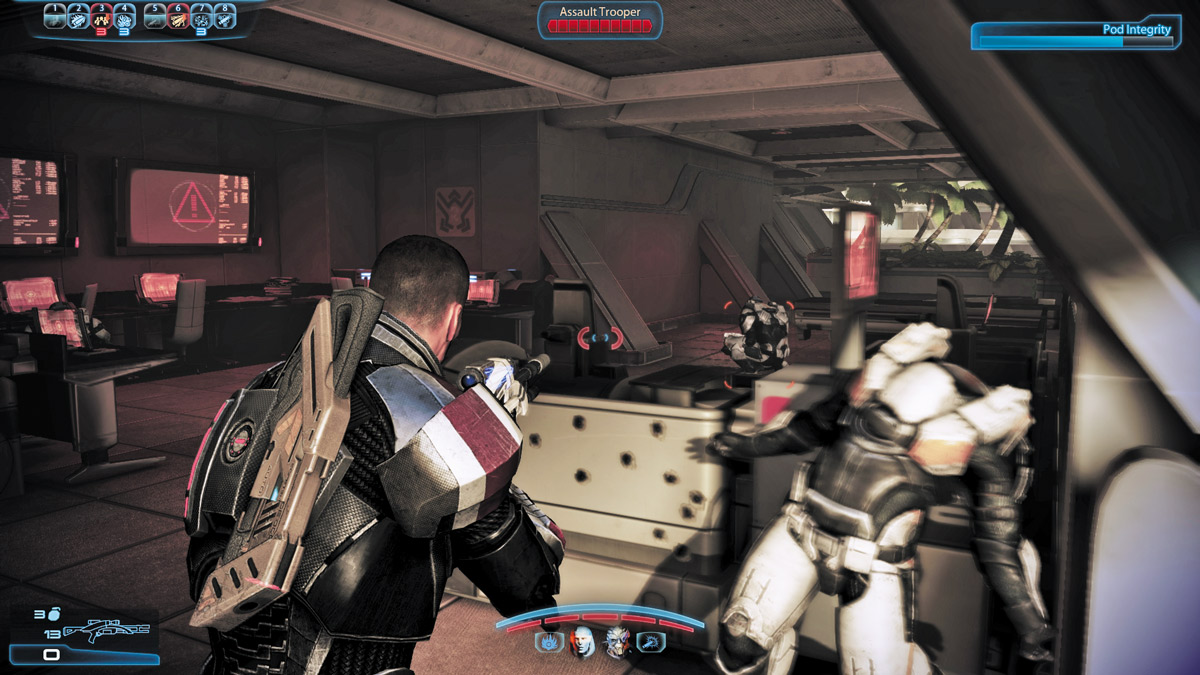
An alternate approach is to attack from the inside hall. The assault is the same as in Approach 1; the only difference is that you’d have slightly more cover at the cost of a better line of sight to the pod that is under attack.
The lab also provides you a better approach to the rear of the pod’s attackers as opposed to their flank.
If you take this route, however, you’ll be able to approach the enemy a bit quicker if you sprint down the center of the lab. The faster you reach the enemy and divert their fire, the less damage the pod will take.
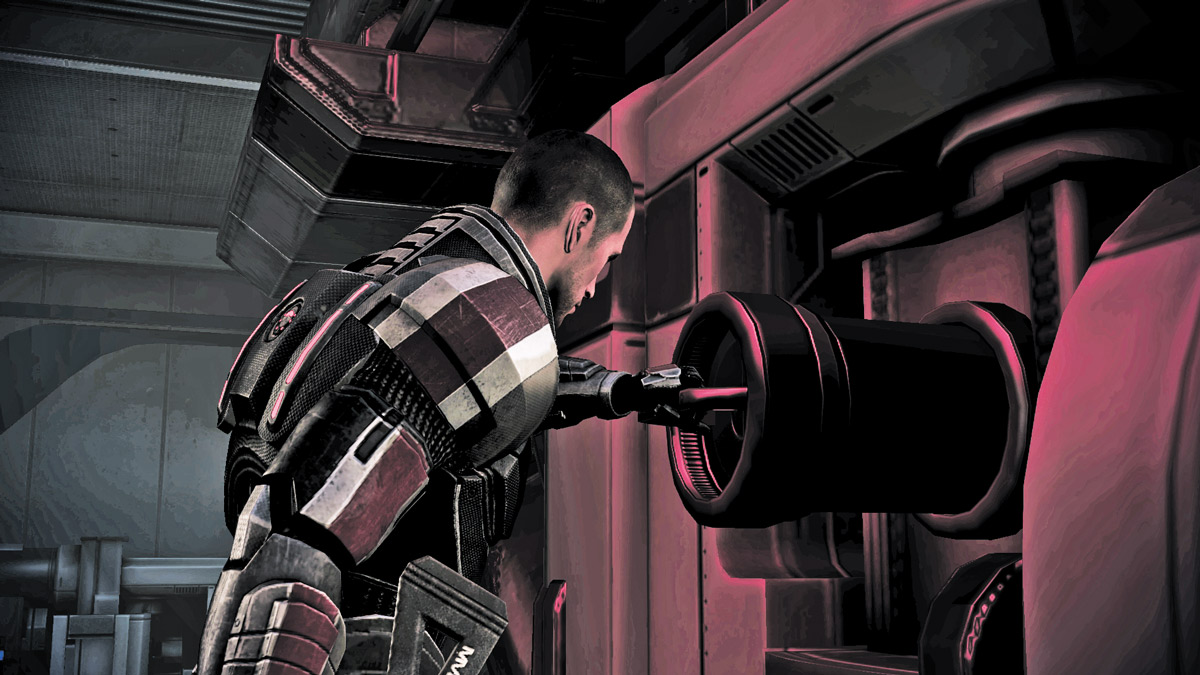
Before you can activate the pod, you must reestablish power using the power terminal in the small room at the end of this section.
Place the power terminal back in place, then return to the main room to fend off several more Cerberus goons.
APPROACH 1: SCORPION
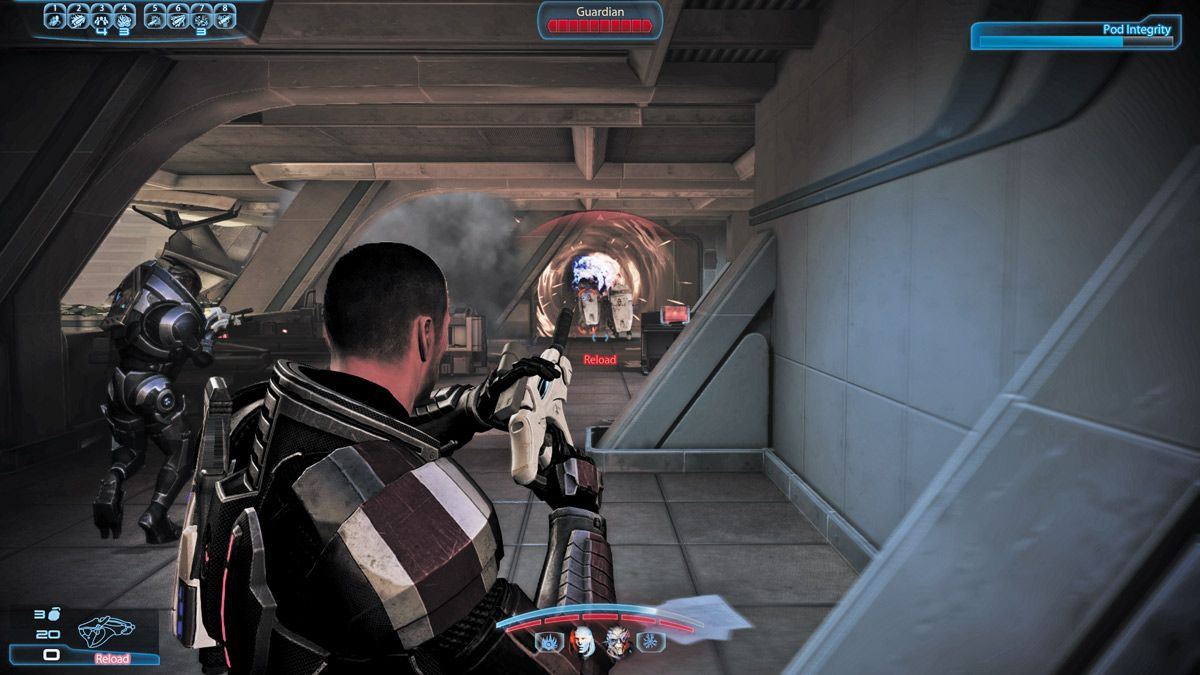
If you’ve equipped the Scorpion, then the next battle can be a lot of fun. Take out the Scorpion and begin firing at the Cerberus troops as they move from cover to cover.
The Scorpion’s ammunition works similar to sticky grenades: They attach to whatever they hit; then, after a few short seconds, they explode, causing major damage.
If you stick the miniature projectiles on an enemy, it’s only a short matter of time before they explode. The more projectiles you attach to a target, the bigger and more deadly the explosion.
You don’t have to stick the projectiles onto the enemies themselves. You can also place them on nearby walls, their shields, and other objects so the explosion causes some amount of collateral damage.
Guardians in particular can be undone by the Scorpion’s unique ammunition. Place a Scorpion shot near or slightly behind the Guardian so that the explosion happens behind their shield, either killing them or knocking their shields away.
APPROACH 2: HOLD POSITION, LET THEM COME TO YOU
An alternate approach is to rush up to the pod’s control console and wait for the Cerberus troops to get near. As they do, pop out of cover and open fire.
Their goal is to destroy the pod, so as long as you stand between them and the pod, you’ll have the better position. From here, you can direct your squad back near the rear end of the lab, closest to the pod.
This will lure the Guardians down the lab while you and the squad could surge around the outer hall and attack them from their weak side.
With the floor under your control, walk up to the second checkpoint and activate it, sending the female krogan and Mordin on their way.
A third wave of enemies attacks once the pod is on its way to the landing area. Take cover and open fire. It’s only a small complement of soldiers, so keep it simple. Overwhelm them with cover fire and clear the way back to the elevator.
FINAL CHECKPOINT: LANDING AREA
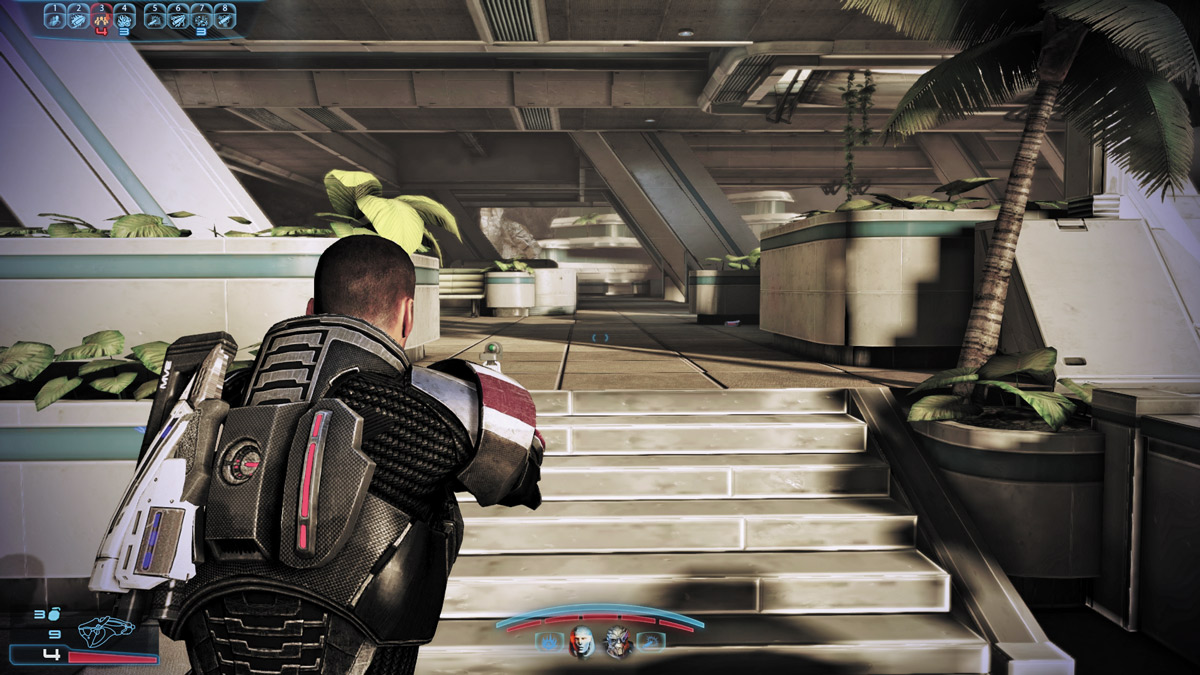
Take the ladder elevator to the final checkpoint—the landing area where you first touched down. There you’ll find the Cerberus soldiers already laying heavy fire on the pod.
Luckily, you’ve got the advantage: You have an elevated position and the element of surprise as you arrive behind them.
APPROACH 1: ABOVE AND BEHIND
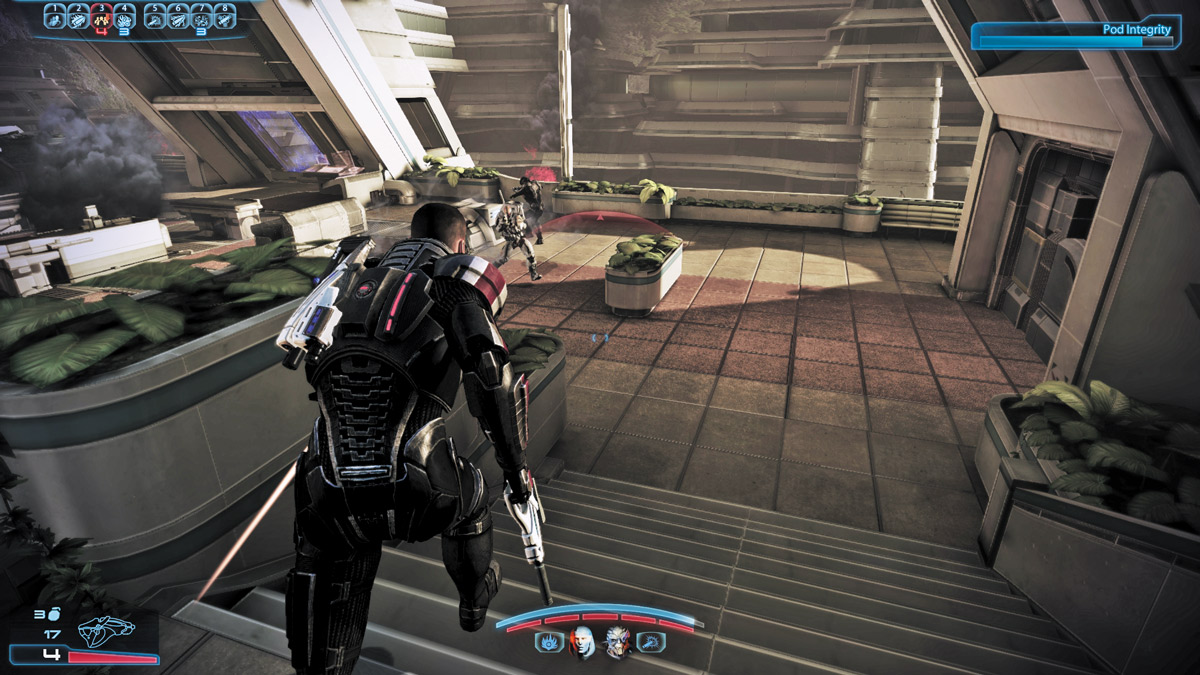
Maintain your advantage by running across the upper walkway before you open fire. Station your two squadmates along the upper wall and create a long wall of fire when you finally open up on them.
Your elevated position should allow you enough of a vantage point so you can fire on them and eliminate their cover.
If any Cerberus Centurions or Assault Troopers attempt to rush up the steps and engage you, mow them down or use a power like Shockwave to knock them away.
APPROACH 2: RUSH
If you want to confuse the enemy, you can create two fronts of fire by ordering your squad down the nearest steps while you rush across the upper walkway to engage the enemy from the far side.
You can pinch the enemy on two sides this way and divert their fire away from the pod.
Finally, activate the last checkpoint and send the female krogan away safely. When you do, an Atlas and a few more Cerberus soldiers arrive.
ATLAS BATTLE
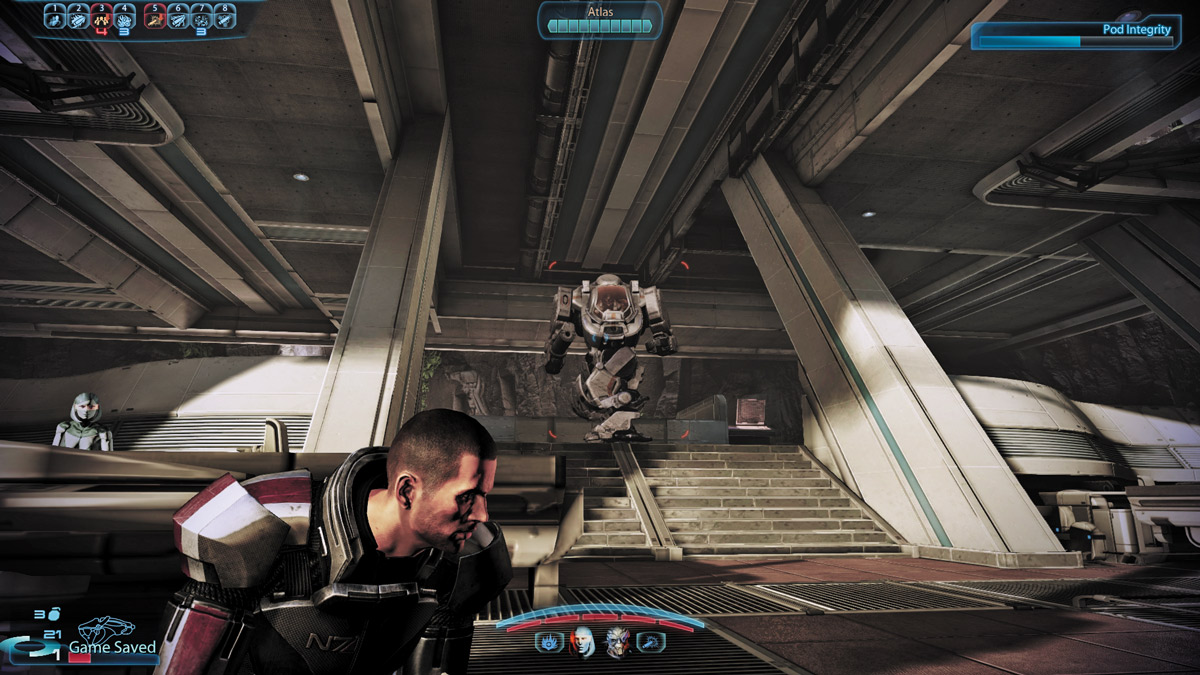
There are several ways to take down the Atlas. Since they’re slow lumbering mechs, most classes can easily outrun the Atlas and take cover as it ambles toward them.
However, in small cramped spaces such as this, you must be able to move deftly from cover to cover to avoid getting blown to pieces.
APPROACH 1: CAT AND MOUSE
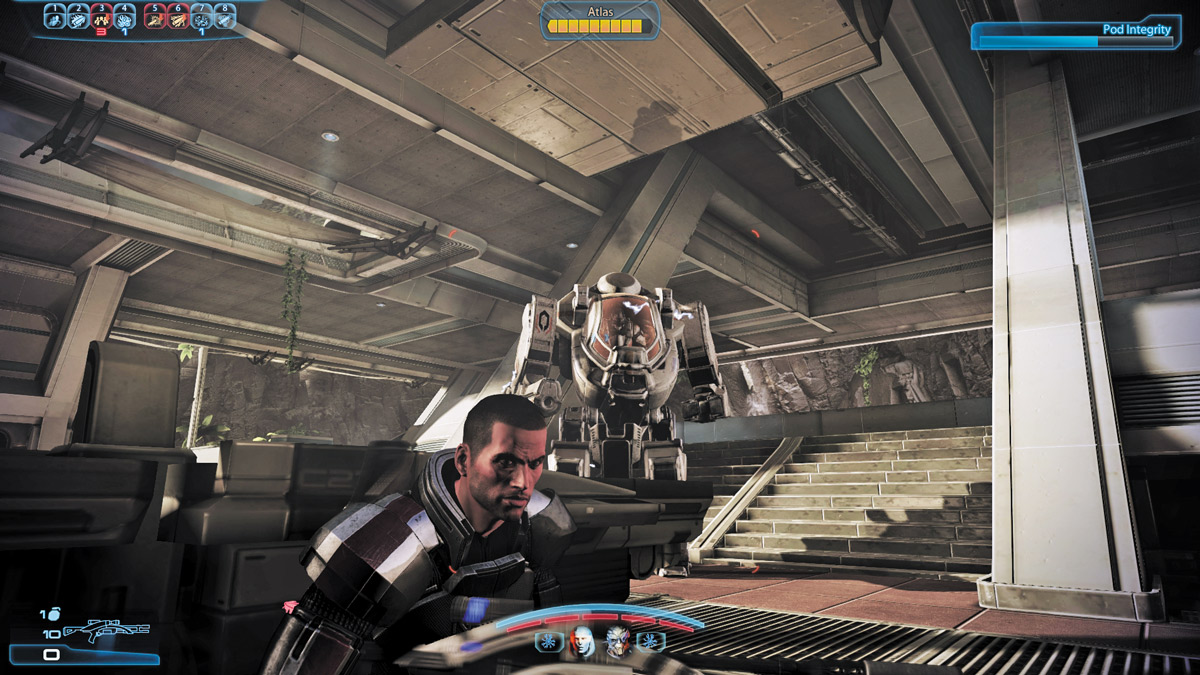
The most reliable way to eliminate an Atlas is to play cat and mouse with it. Take cover as soon as it begins stomping in your direction.
Duck left, and move from cover to cover, using the small tables and consoles to guide you back to the upper level.
The Atlas will give chase, but you’ll have the entire length of the walkway to take cover and open fire on it. Pick your shots carefully and don’t stay out of cover for too long or you’ll risk taking missile fire from the metal beast.
While you engage the Atlas, order your squadmates to take out the other Cerberus troops. They should be able to keep them off your back long enough for you to eliminate the Atlas.
APPROACH 2: TAKE CONTROL*
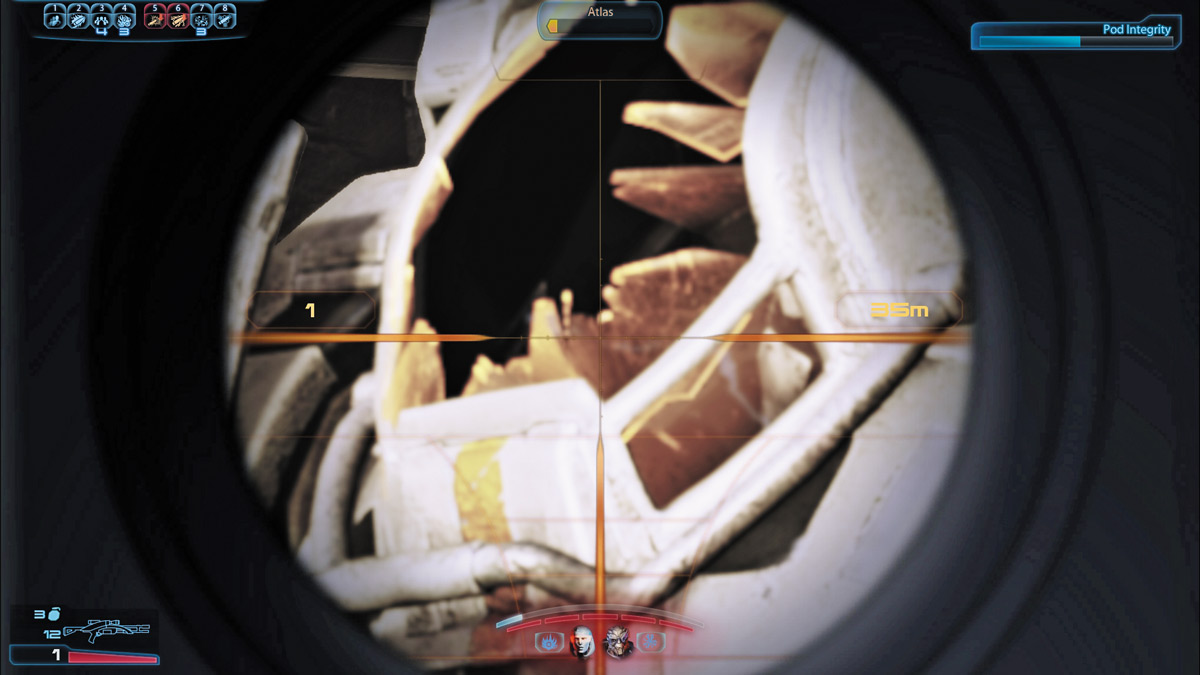
This method requires a high-powered sniper rifle and a lot of speed. Soldiers, Infiltrators, and Vanguards can have a much easier time doing this, as long as their squadmates distract the other soldiers enough.
Begin by equipping your sniper rifle before the Atlas arrives. Once it does, either use Charge, Tactical Cloak, or Adrenaline to rush the Atlas mech. Get directly underneath it and zoom the sniper scope on the Atlas’s protective glass, and fire.
Continue picking apart the glass until it shatters, leaving the Atlas pilot exposed. Snipe the pilot one more time to leave the Atlas untouched and ready to hijack. Finally, hop inside and turn the mech against the remaining enemies.
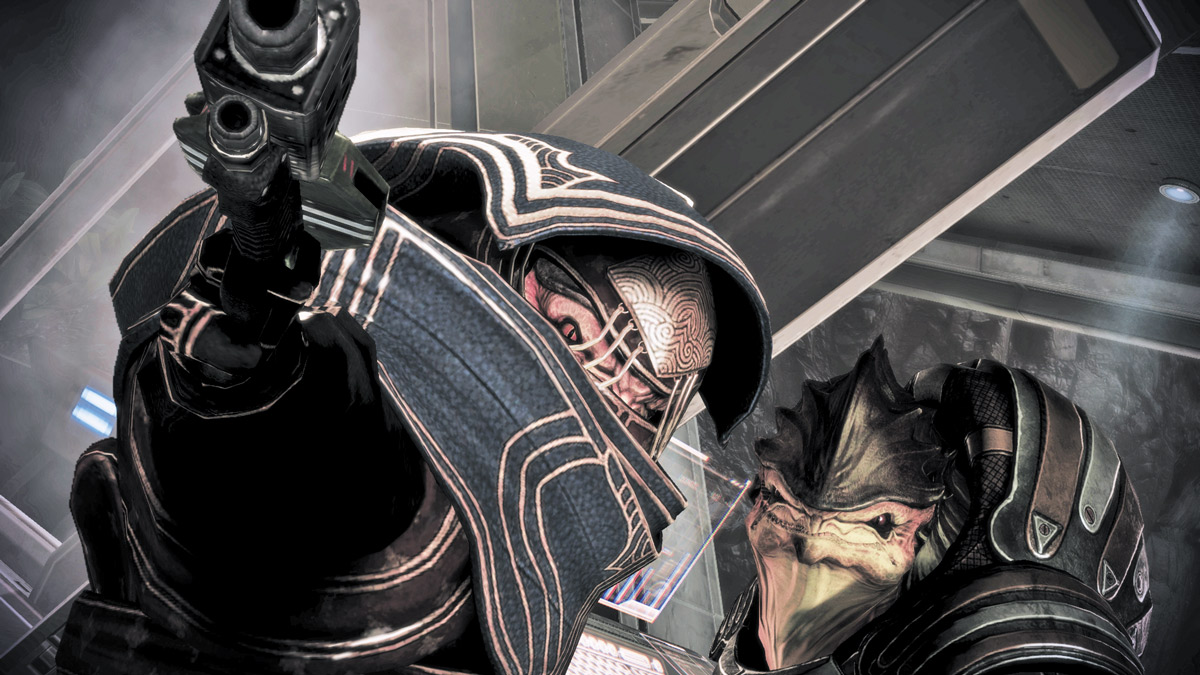
With the Atlas down and the female krogan and Mordin safe, Mordin can continue his work generating the genophage cure. Back on board the Normandy, Wreav and Primarch Victus both have issues they’d like to discuss with you in private.