
Mass Effect 3 Guide Multiplayer The Battlefields
Location: Glacier
.jpg)
.jpg)
.jpg)
Researchers in this Cerberus facility once conducted dangerous experiments in which they applied Reaper technology on its people.
Now abandoned, the small facility is the background to vicious struggles. Glacier is the smallest map of the game, and it shows the moment the action starts.
Enemy spawn points are all located relatively close to each other, meaning that there is often little delay once a wave begins, as contact is almost always immediate.
On higher difficulties, players must be capable of killing quickly to offset just how close the enemy often starts.
Later waves against any of the three opposing forces are especially dangerous, because it is very possible to have heavy units like the Atlas or the Banshee start close to the squad.
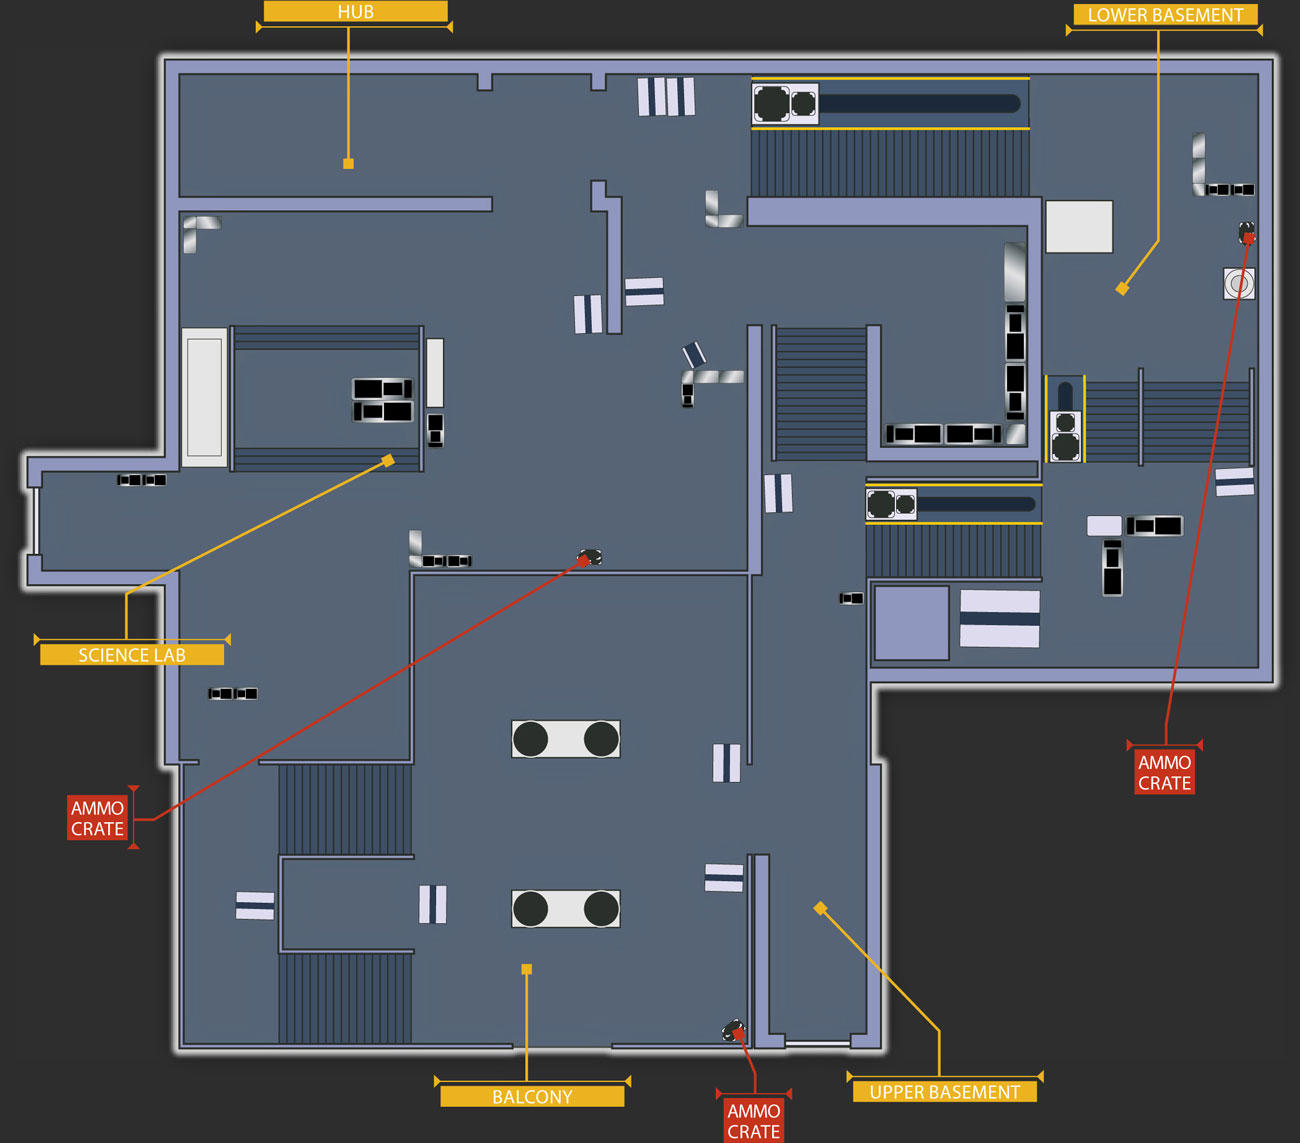
Glacier has five sections: Balcony, Hub, Lower Basement, Science Lab, Upper Basement
Balcony
.jpg)
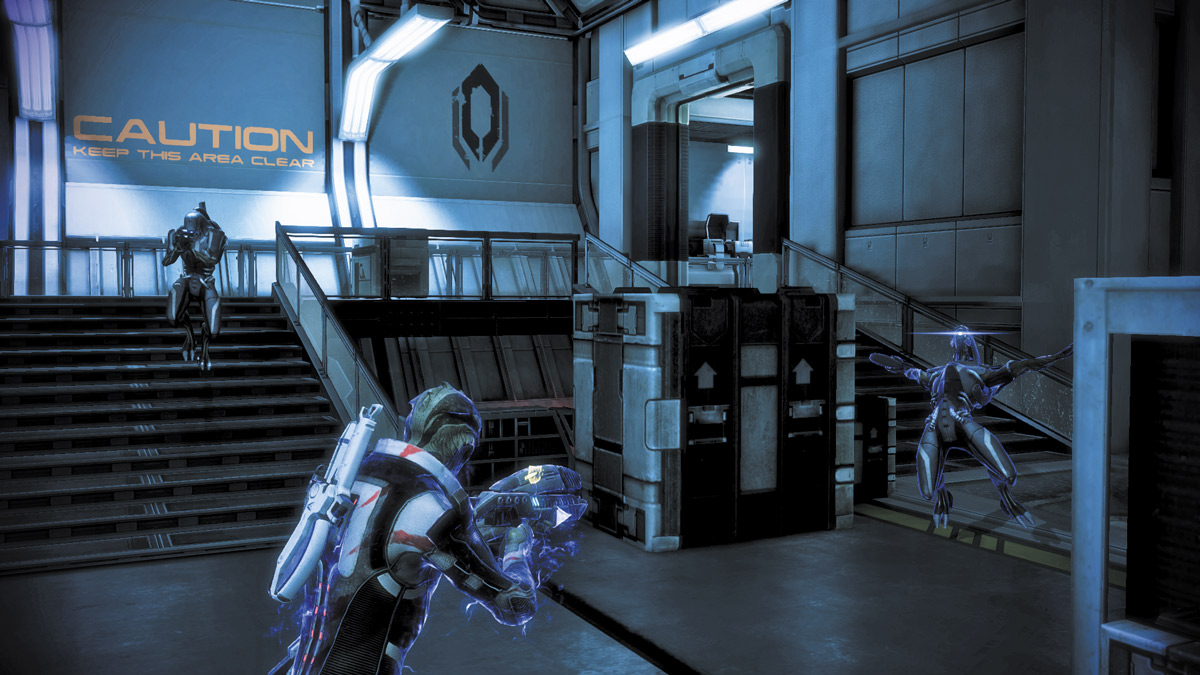
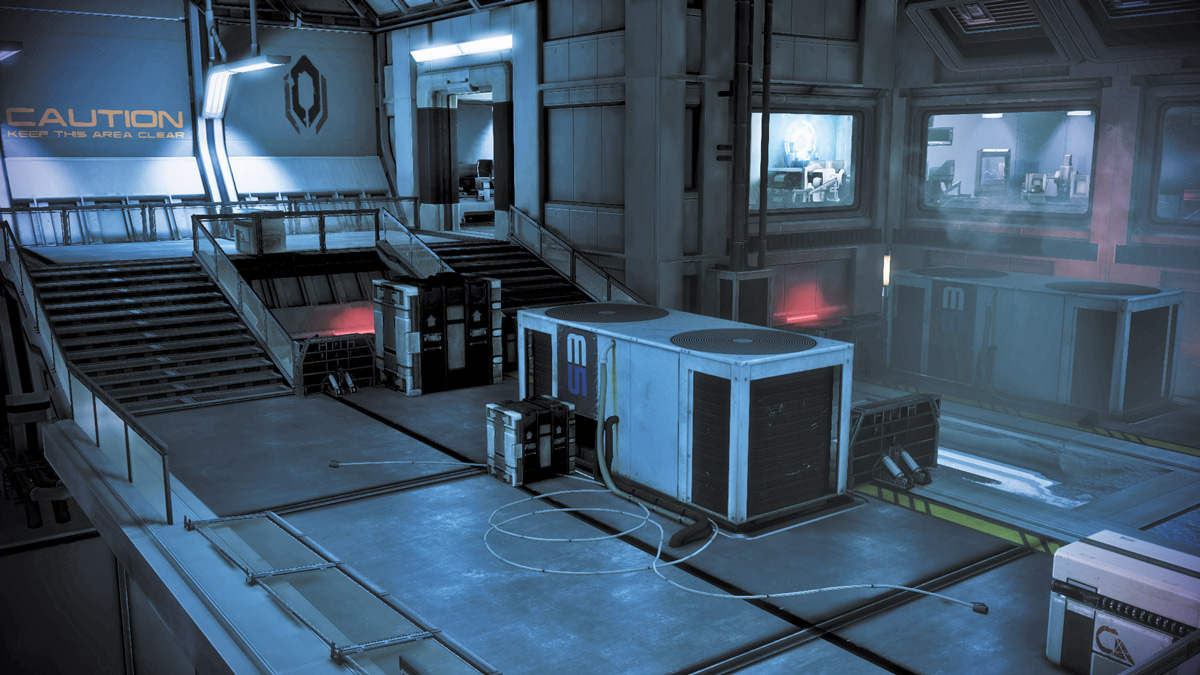
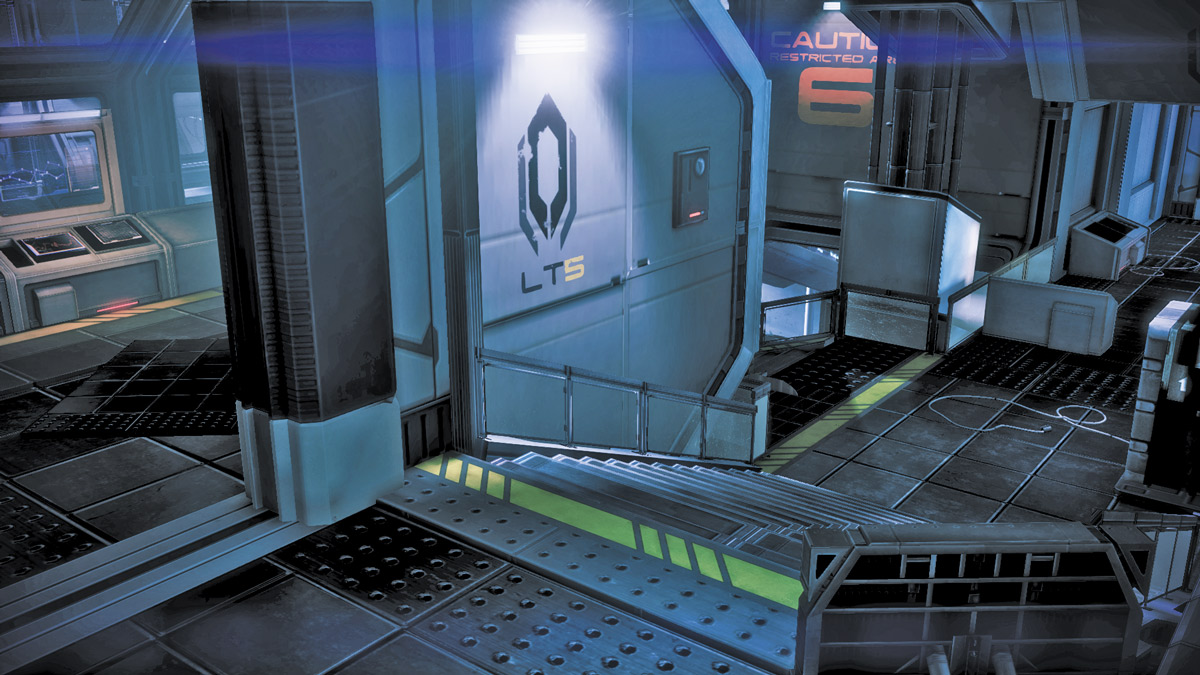
Acting as the starting area and extraction point, the Balcony connects to the Lower Basement and the Science Lab.
With its windows on a higher elevation, the Science Lab has good sniping posts overlooking the lower portion of the Balcony (if you’ve got the firepower to break through the glass), but there’s enough cover on the Balcony to negate that particular advantage.
The Lower Basement entrance can be problematic to defend, as it is large enough to allow an Atlas easy passage through it while still allowing other troops to slip around it.
If enemy reinforcements are arriving at the Balcony, try to use the stairs leading to the Science Lab for the height advantage, but be mindful of the lack of available cover when doing so.
Hub
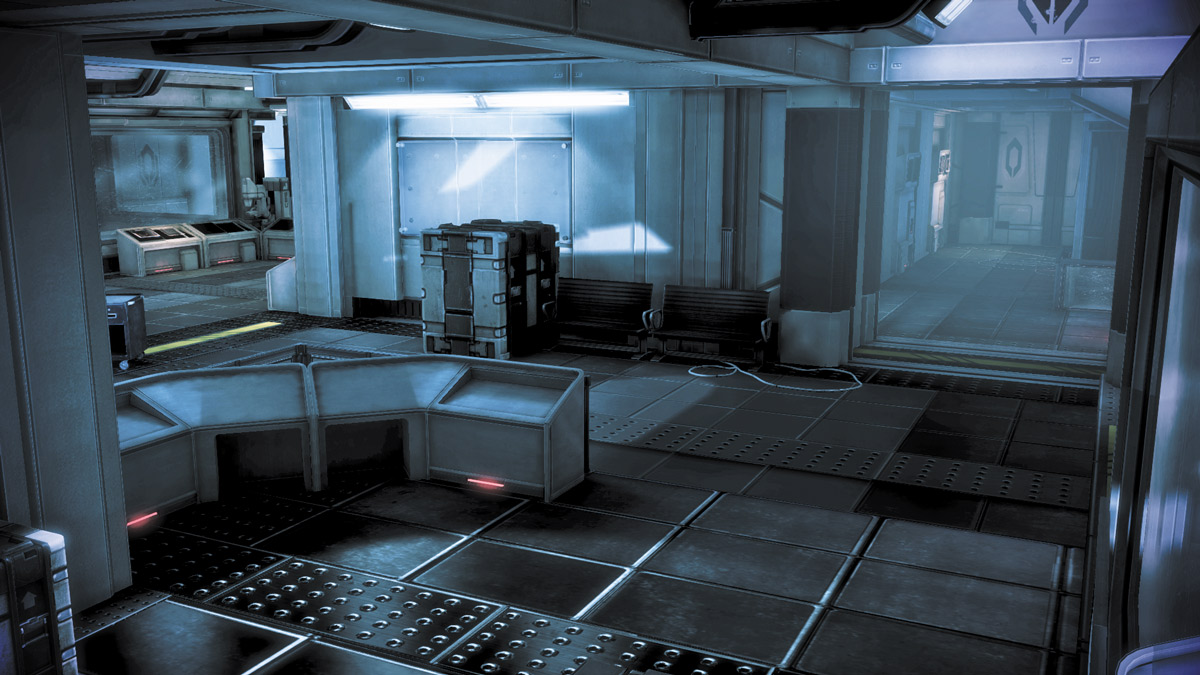
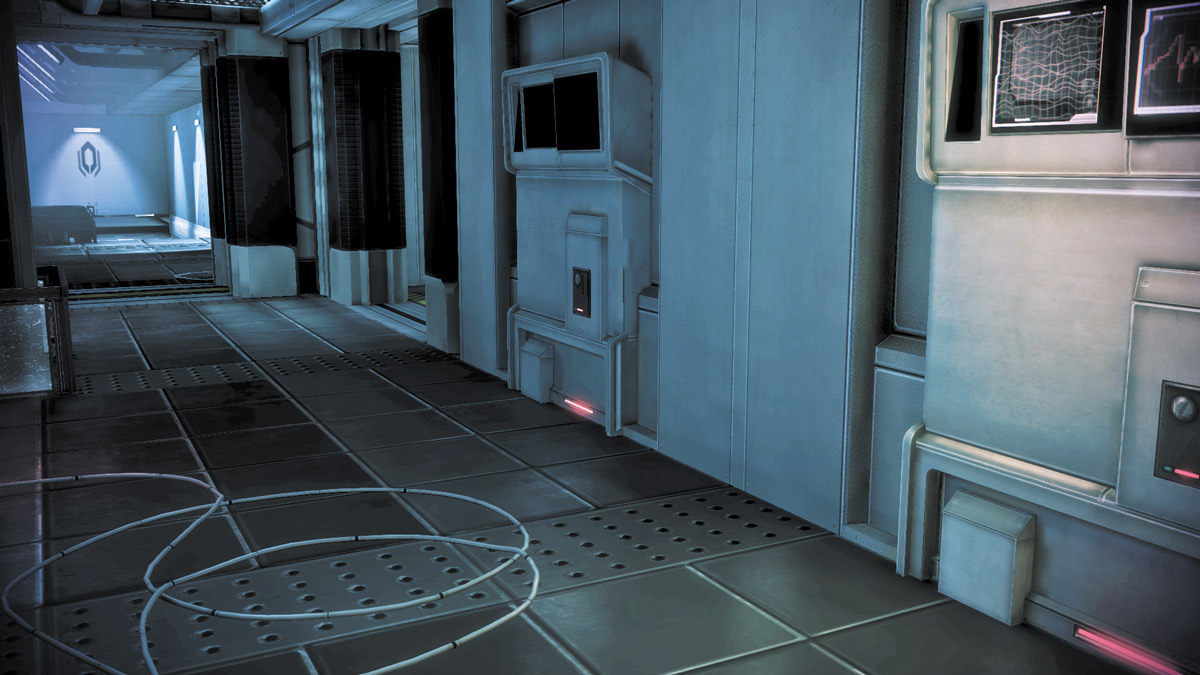
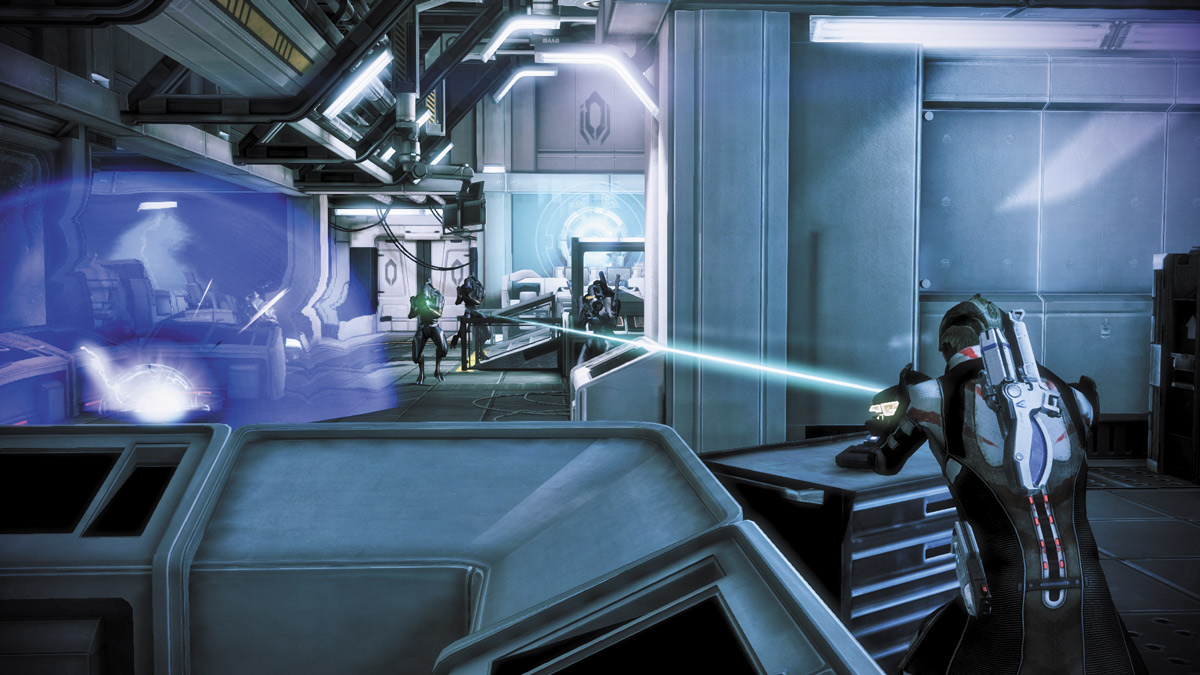
Hub is a connecting area between the Upper and Lower Basements and the Science Lab.
It is not a particularly safe location to be tied to, as you could be surrounded entirely by enemy spawns.
This, of course, means that Hacking and Enable/Disable Devices objectives can and do appear here.
Players can use some of the control panels for cover in the corner of Hub near the windows overlooking the Balcony but should be prepared to move to the Science Lab if things start getting tense.
Lower Basement
.jpg)
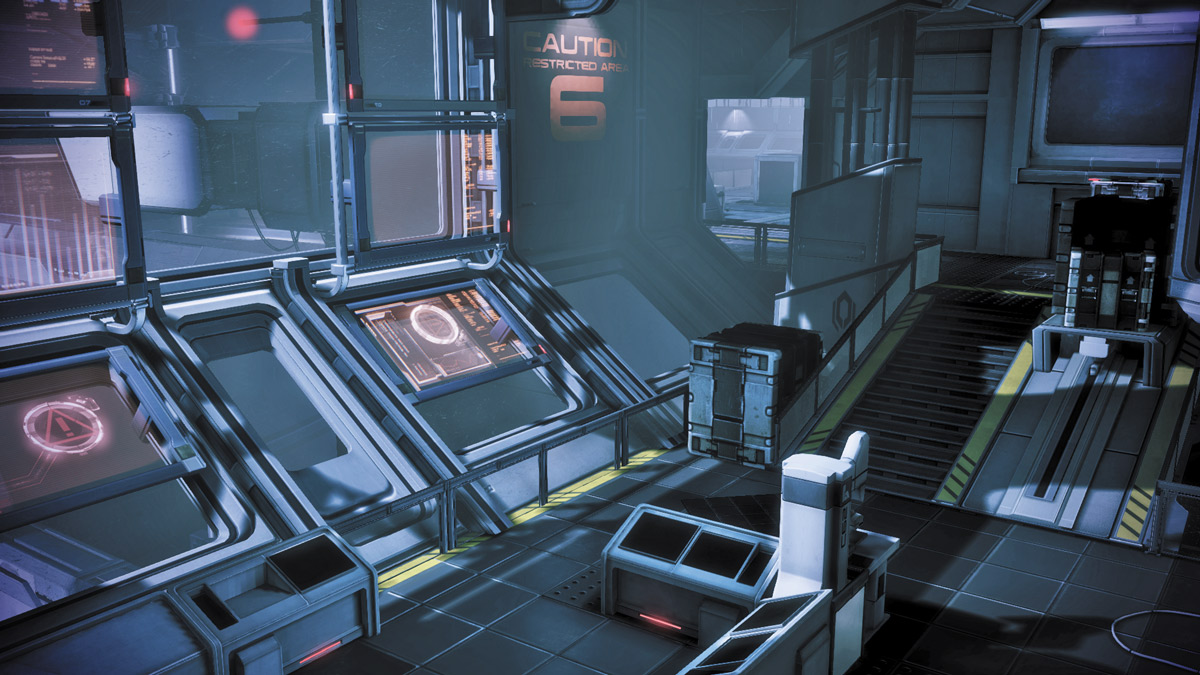
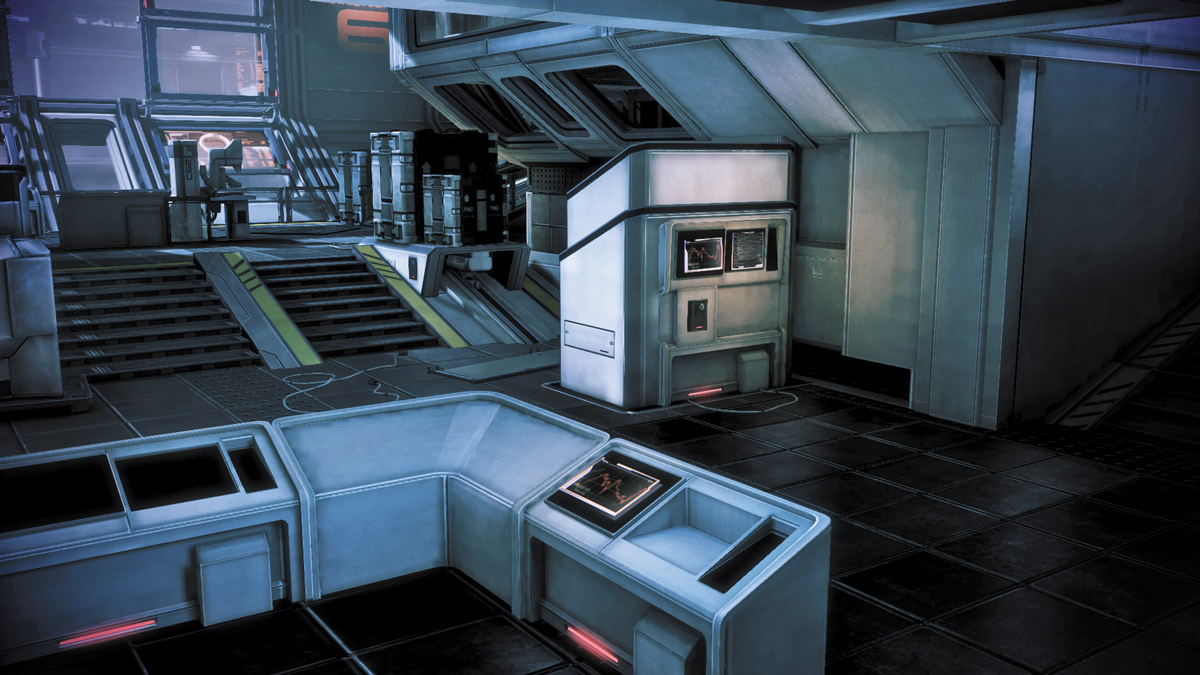
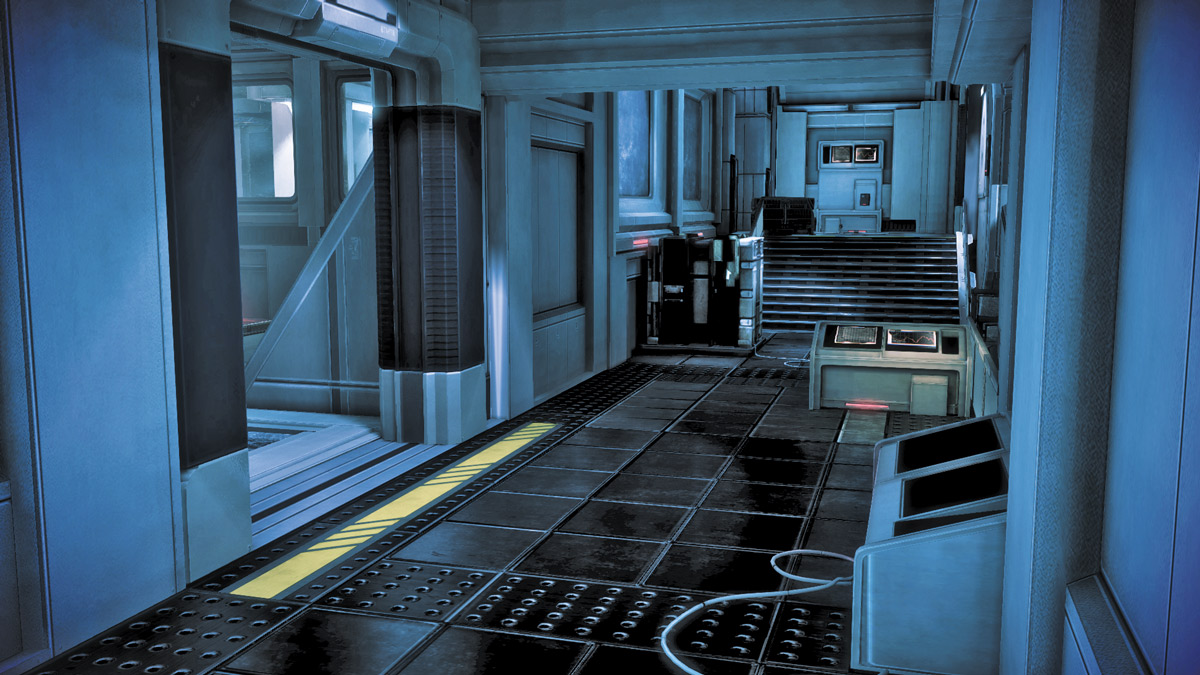
This section of Glacier has a decent amount of cover spread throughout the three “levels” it is divided into.
It is possible to get cornered here if the enemy is able to put together a two-pronged assault from the stairways leading to the Hub and the Balcony.
Fortunately, there’s plenty of cover to allow players a chance to move from one safe spot to the next while neutralizing threats.
This, of course, works for the enemy, so be mindful of your advances.
The darker parts of the Lower Basement, combined with some of the colors of the facility, make it easy to overlook cloaked enemies like the Hunter or the Phantom if a player is in a hurry, so keep your eyes open during later waves of Cerberus or geth.
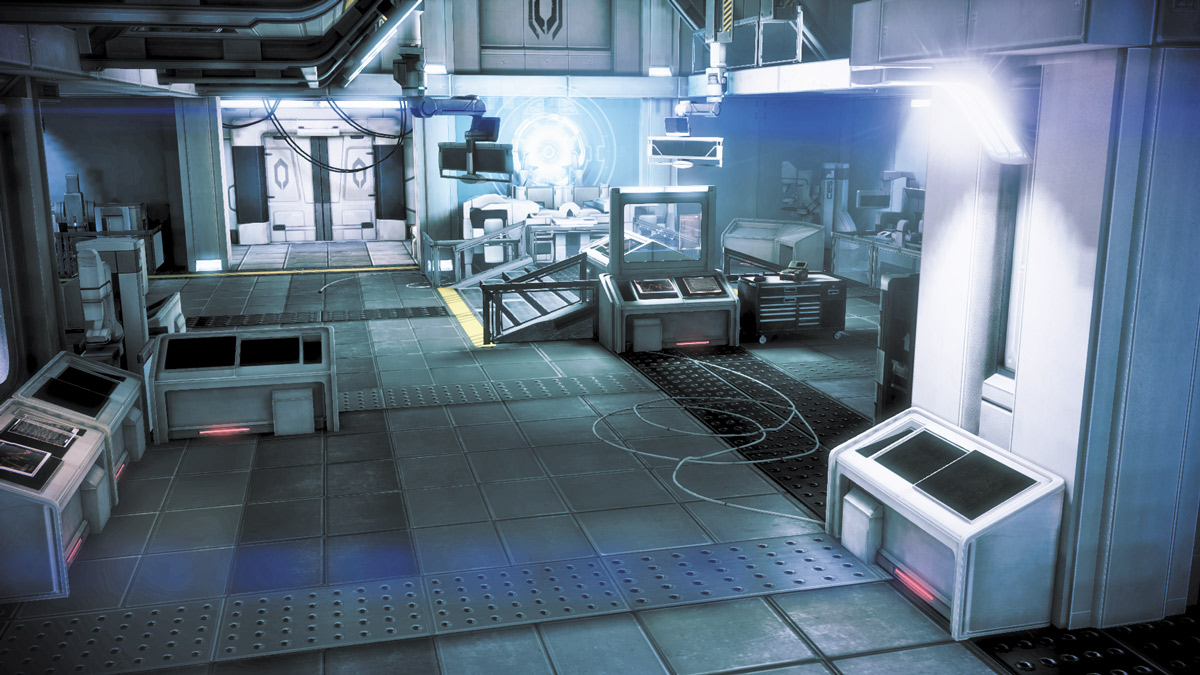
Science Lab
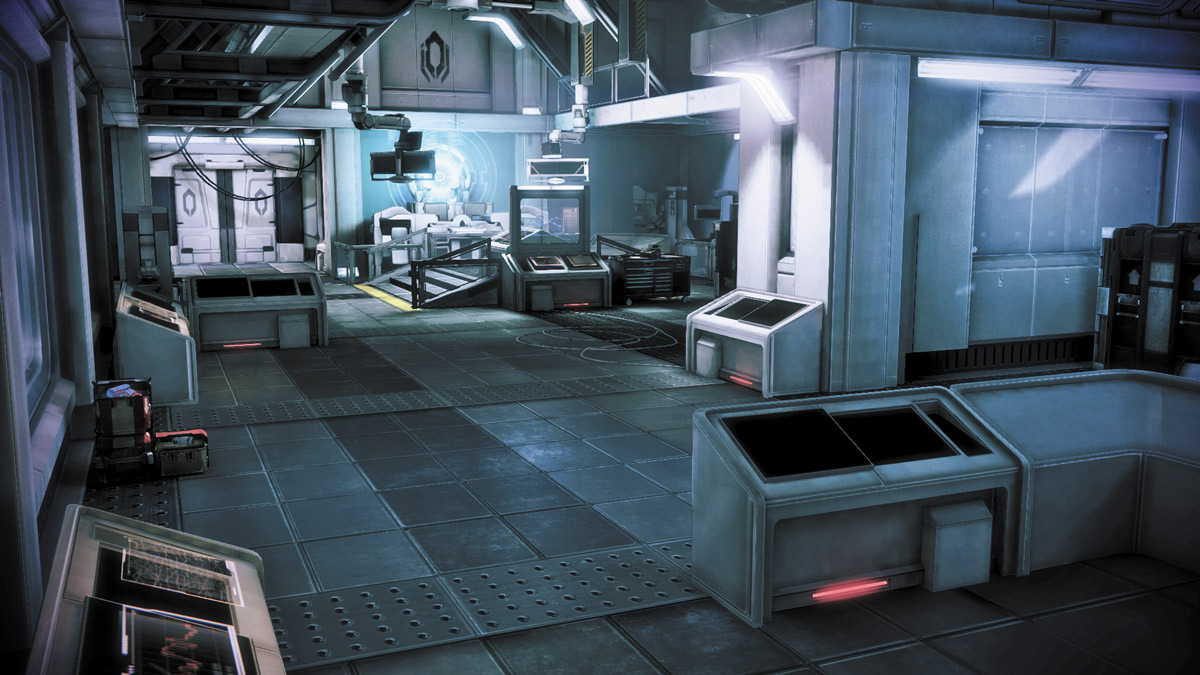
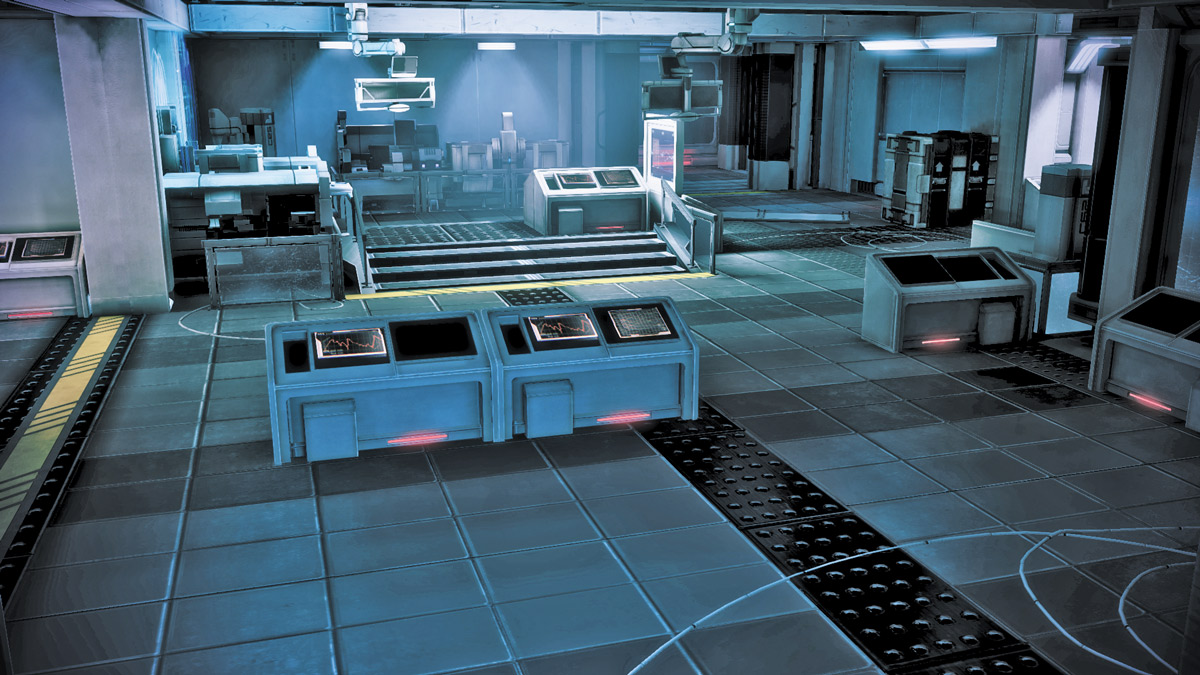
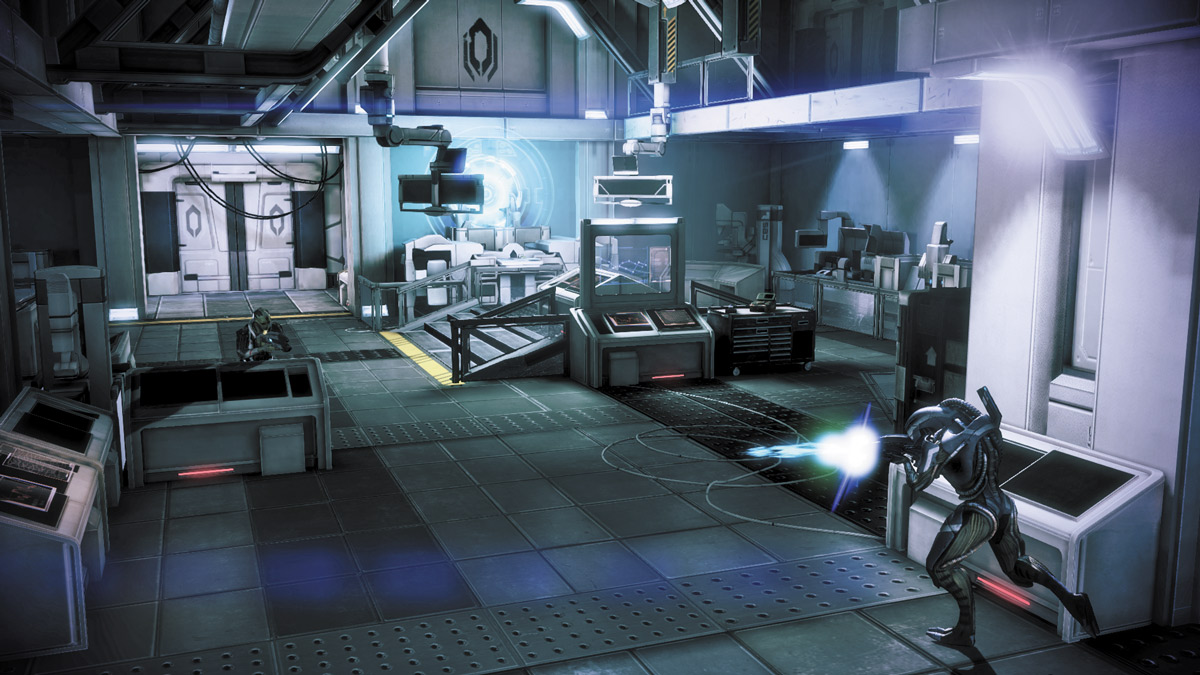
The Science Lab contains mostly flat surfaces, combined with pieces of lab equipment strewn about.
These work together to make the Science Lab the stage for some of the more intense firefights possible in all of Glacier, particularly against the cover-happy Cerberus troops.
There is not a lot of ground between pieces of cover, and just about any spot in the room allows players and enemies alike to see anyone else in the room, which makes moving during shoot-outs dangerous.
If a Hacking objective is being held here, Sentry Turrets facing the Hub-side and Balcony entrances can help soften up attackers.
Upper Basement
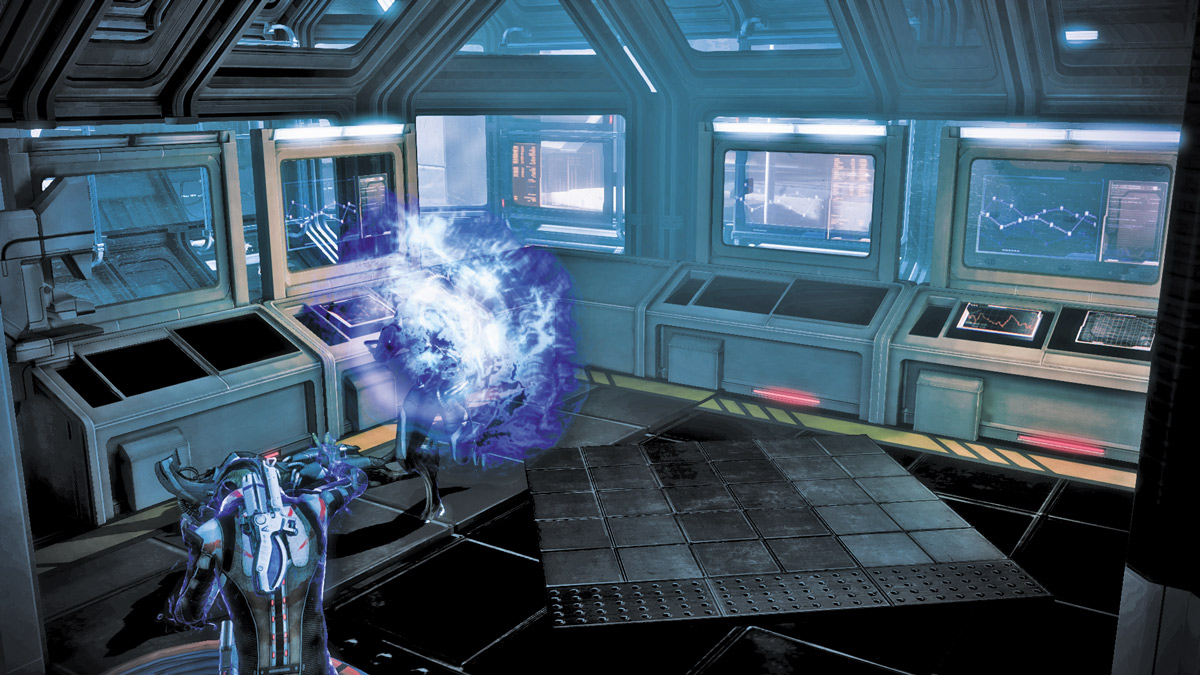
Even smaller than the Hub next to it, the Upper Basement consists primarily of a small office that overlooks the Lower Basement.
Despite its height, the Upper Basement provides no real sniping advantage for either side during battle.
It isn’t recommended that players stay in that small room unless an objective is involved or unless they need a breather to recharge their shields before moving on.
On higher difficulties and in later waves, getting stuck in there almost constitutes a death sentence.
The Upper Basement also includes a stairwell that leads to the Lower Basement and the Balcony.