
Gears of War 3 Guide Multiplayer
Multiplayer Modes
You can play several different modes in multiplayer matches. While the fundamentals we stressed at the beginning of this chapter are important in all multiplayer modes, you should remember a few mode-specific considerations when you play.
Warzone
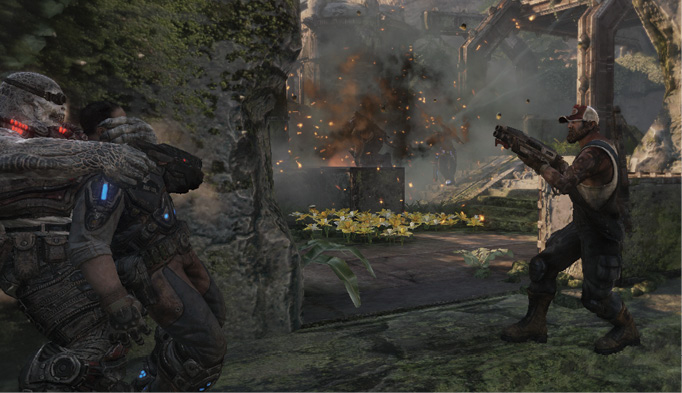
> Warzone is a brutal last-man-standing competition. Each player has one life. Dying knocks you out for the remainder of the round.
Caution and teamwork are crucial in Warzone. Rushing alone, headlong into a fight with multiple enemies is a quick way to spend the rest of the match spectating. Try to coordinate your movement with your teammates. If possible, decide which power weapons or area of the map you want to control. Close-range fights are even more dangerous here than in other modes, as there is almost no chance to be revived if you’re downed in a shotgun duel.
Execution
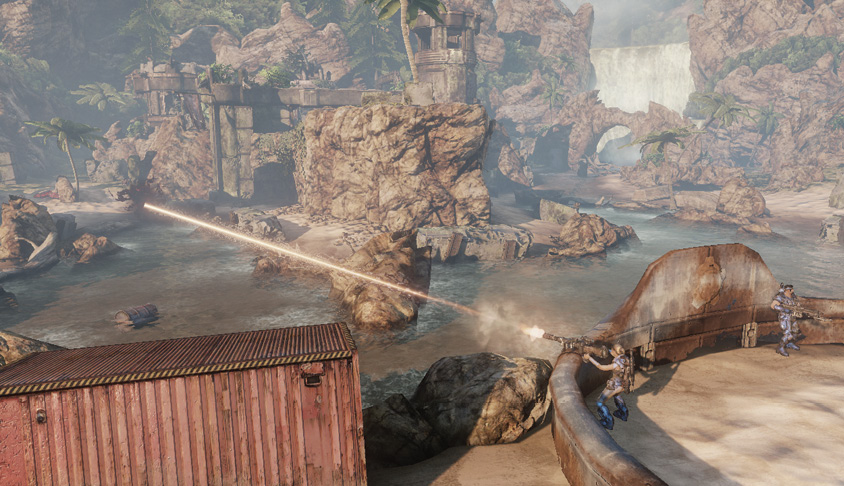
> Execution is identical to Warzone with one key exception: with a few exceptions, only Executions can finish off players.
Note that instantly lethal power weapons, such as the Boomshot, Digger, or a headshot, chainsaw or bayonet kill, still slay a target immediately. Otherwise, if you down a target at range with simple rifle fire, you can’t finish him or her without getting closer. As a result, Execution matches are a real test of your close-range firefighting skills. Expect a lot of shotgun blasts in this mode!
Wingman
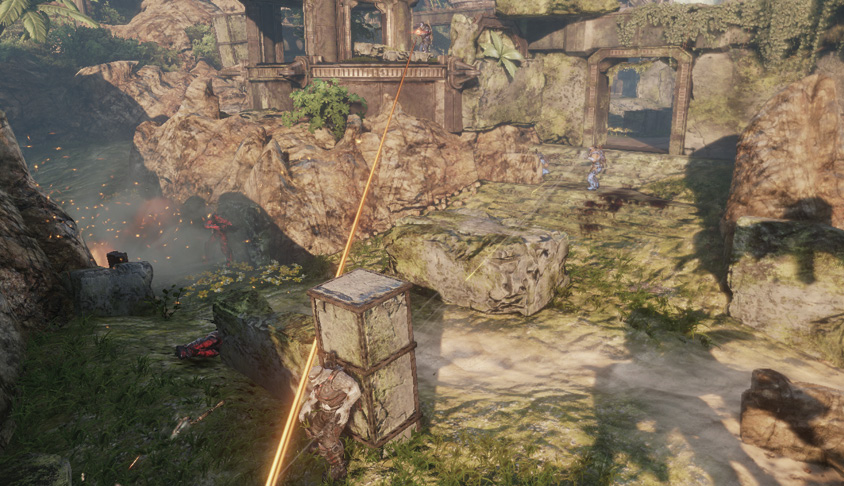
> Wingman mixes up typical team-based gameplay by pitting four teams of two against each other. The team with the highest overall score wins the match.
Because teams spawn all over the map, weapons spawn after 30 seconds in this mode. It should be obvious, but just to be clear, teamwork is essential in this mode. Stay with your partner at all times unless you’re playing with a friend, and you both know exactly what you’re doing when you split up.
Team Deathmatch
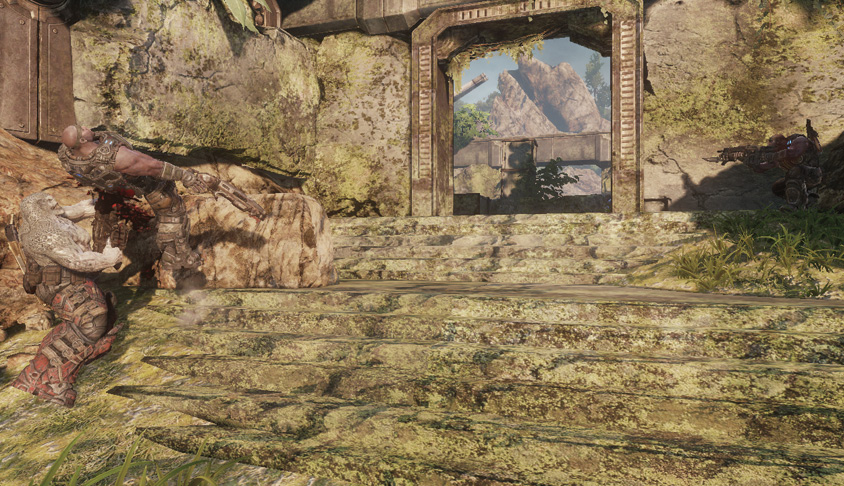
> Team Deathmatch plays like Warzone with two teams going at it. However, unlike Warzone, TDM has respawns enabled.
Each team has a stock of lives. Once those are depleted, the match becomes a Warzone challenge for the remaining combatants. Because of this, suicidal tactics are ill-advised. The effects on your team are less obvious than dying immediately in Warzone. But if you go negative in a TDM match, you’re hurting your team’s chance for victory.
However, you can afford to be somewhat more aggressive as a team, particularly when it comes to securing key power weapons or tactical terrain. It’s worth a few casualties to secure a Boomshot or high ground. Remember that you can self-revive fairly easily if you are downed at a distance. However, you aren’t playing Execution rules in TDM, so being downed by medium- or long-range fire in the open still means death if a teammate doesn’t pick you up quickly. Don’t expose yourself unnecessarily!
If your team loses control of an area, be very careful about rushing in solo. You want to move together in a wave, launching multiple grenades for cover and pushing as a group. Trickling in as ones and twos is a good way to feed the enemy easy kills, especially if their whole team is entrenched in a good defensive position.
Work with your team, mark targets continually, and pay careful attention to lines of battle. Flanking is just as important as it is in Warzone, if not more so. You can potentially flank the enemy team several times in a single match, usually resulting in a very positive kill ratio.
capture the leader
> Capture the Leader is a meatier, fleshier version of traditional capture the flag game modes.
In Capture the Leader, one player is chosen as Queen Myrrah, and one player plays Chairman Prescott. Both Leaders have an enhanced Tac/Com that can see all enemy positions through walls. They cannot be killed, only downed or meat-shielded.
To win, you must restrain the opposing Leader in a meat shield hold while your own Leader is free; you must maintain this status for the duration of a countdown timer. If both Leaders are held, the timer freezes until one leader is freed. Overtime in this mode causes the timer to count down extremely quickly.
Communication and coordination are critical in this mode. Protecting your Leader with the entire team is rarely a winning strategy, unless the opposing Leader is very impatient. You usually want a mix of offense and defense, preferably with three players on offense and one player guarding the Leader. Remember that you can trade weapons. This is especially important for supplying the Leader with more ammo. Because the leader can’t die, he or she can easily run out of ammo. Try to provide the Leader with a long-distance weapon whenever you can.
There are no kill count concerns here; only the Leader matters. Don’t let this lead you into suicidal, lemming-style charges. However, prioritize protecting your Leader or opening a gap in the enemy Leader’s defenses ahead of your own safety.
Both Leaders’ positions appear on all players’ HUDs, so you can’t hide as the Leader. You can hole up in a defensible position, but be wary of choosing a location with no exits or a spawn zone. If you get overwhelmed, your enemy will then be holding you in a defensible position!
While a captor restrains you as the Leader, you can sporadically ‘melee’ to struggle, briefly stunning your captor. Save this struggle for when a teammate engages your captor, because you can do it only occasionally.
When you’re on Leader-recovery duty, remember that all grenade types can instantly free a held Leader.
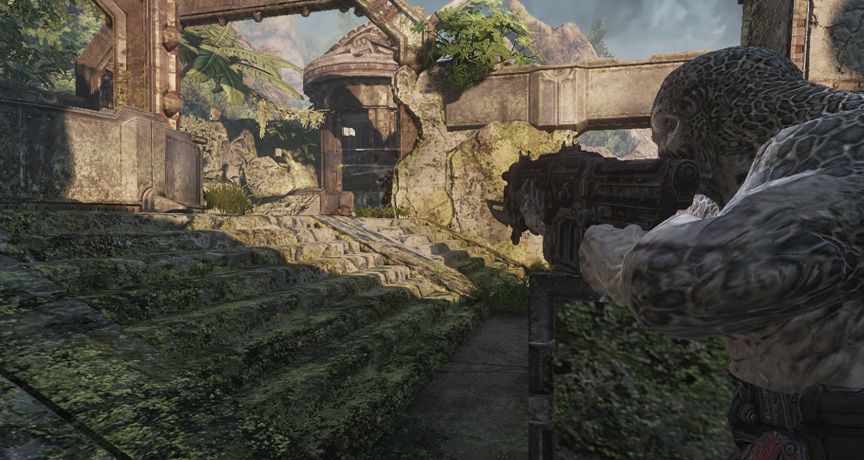
king of the hill
> King of the Hill is a mad dash for the rings. The winning team holds the rings long enough to reach a target score.
To secure a ring, a team member must stand inside the ring for a few seconds. More teammates yield a faster capture. If you enter an enemy ring, it instantly resets to neutral and you get a ring-breaker score bonus. Each ring appears only for a limited time on the map before it moves. All rings are visible on all players’ HUDs at all times. When you reach overtime in KOTH, the rings begin to count down faster, and they move around the map more quickly.
King of the Hill requires good team play. You need to secure ring positions, fight off waves of incoming enemies, and quickly relocate when the ring is on its last seconds of life, so that your team is in position to capture the next ring.
Suiciding solo is usually a very bad idea. However, if the enemy team is close to winning, you can always go for a suicidal Smoke Grenade charge to try for a ring break.
Area-effect weapons are extremely powerful in this mode, as so many people tend to cluster around the ring. Watch out for Boomshots, Frag Grenades, Mortars, and the like. Because the ring moves around the map, its position relative to the power weapons changes constantly. At each ring spawn, you must decide whether to go for the ring itself or for a power weapon to try to attack or defend the ring.
If your team is forcibly ejected from a ring, regroup and try to stage a coordinated assault. Much like TDM or CTL, it’s a bad idea to assault a defended position alone or with a small group when the whole enemy team is standing.
Be sure to get moving when the point counts down the last few seconds. You need to get into position to jump on the next point before the enemy team arrives! Power weapons are key for breaking the enemy’s hold on a point. Take the time to pick them up, and use them to clear out enemy forces so your team can safely capture the point.