
Gears of War 3 Guide Campaign Walkthrough Act 1
Chapter 2: Abandon Ship
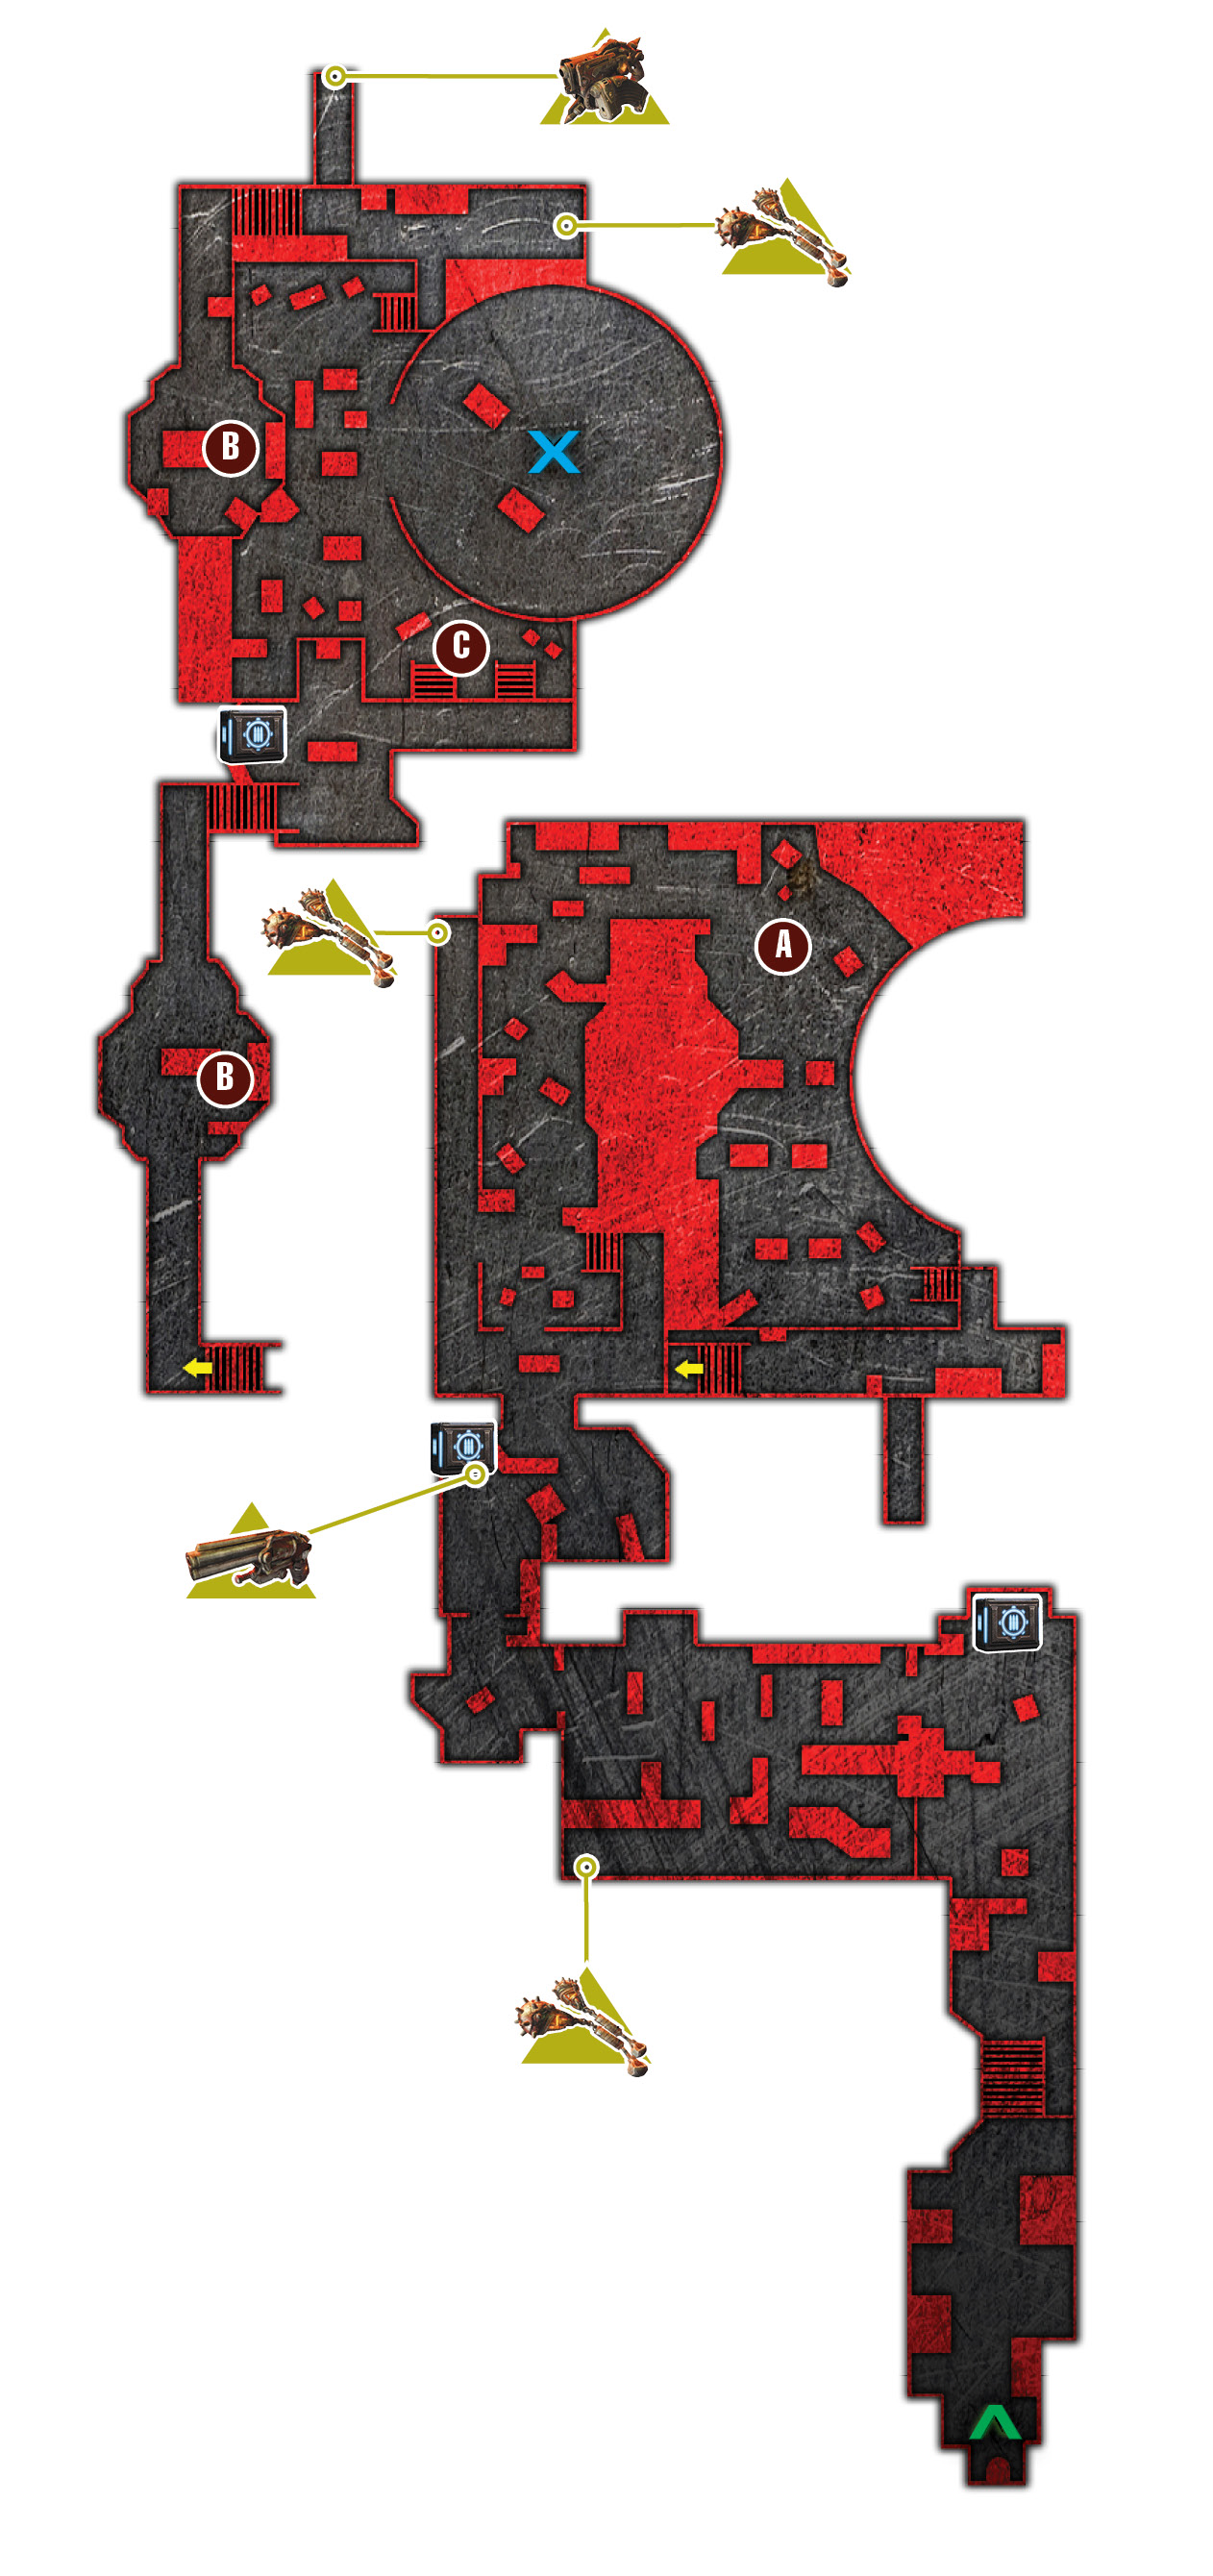
Objectives
Collectibles
|
 Get to the chopper.
 Activate the lifts.
 Defend against the Tentacle.
 Open the irrigation valves.
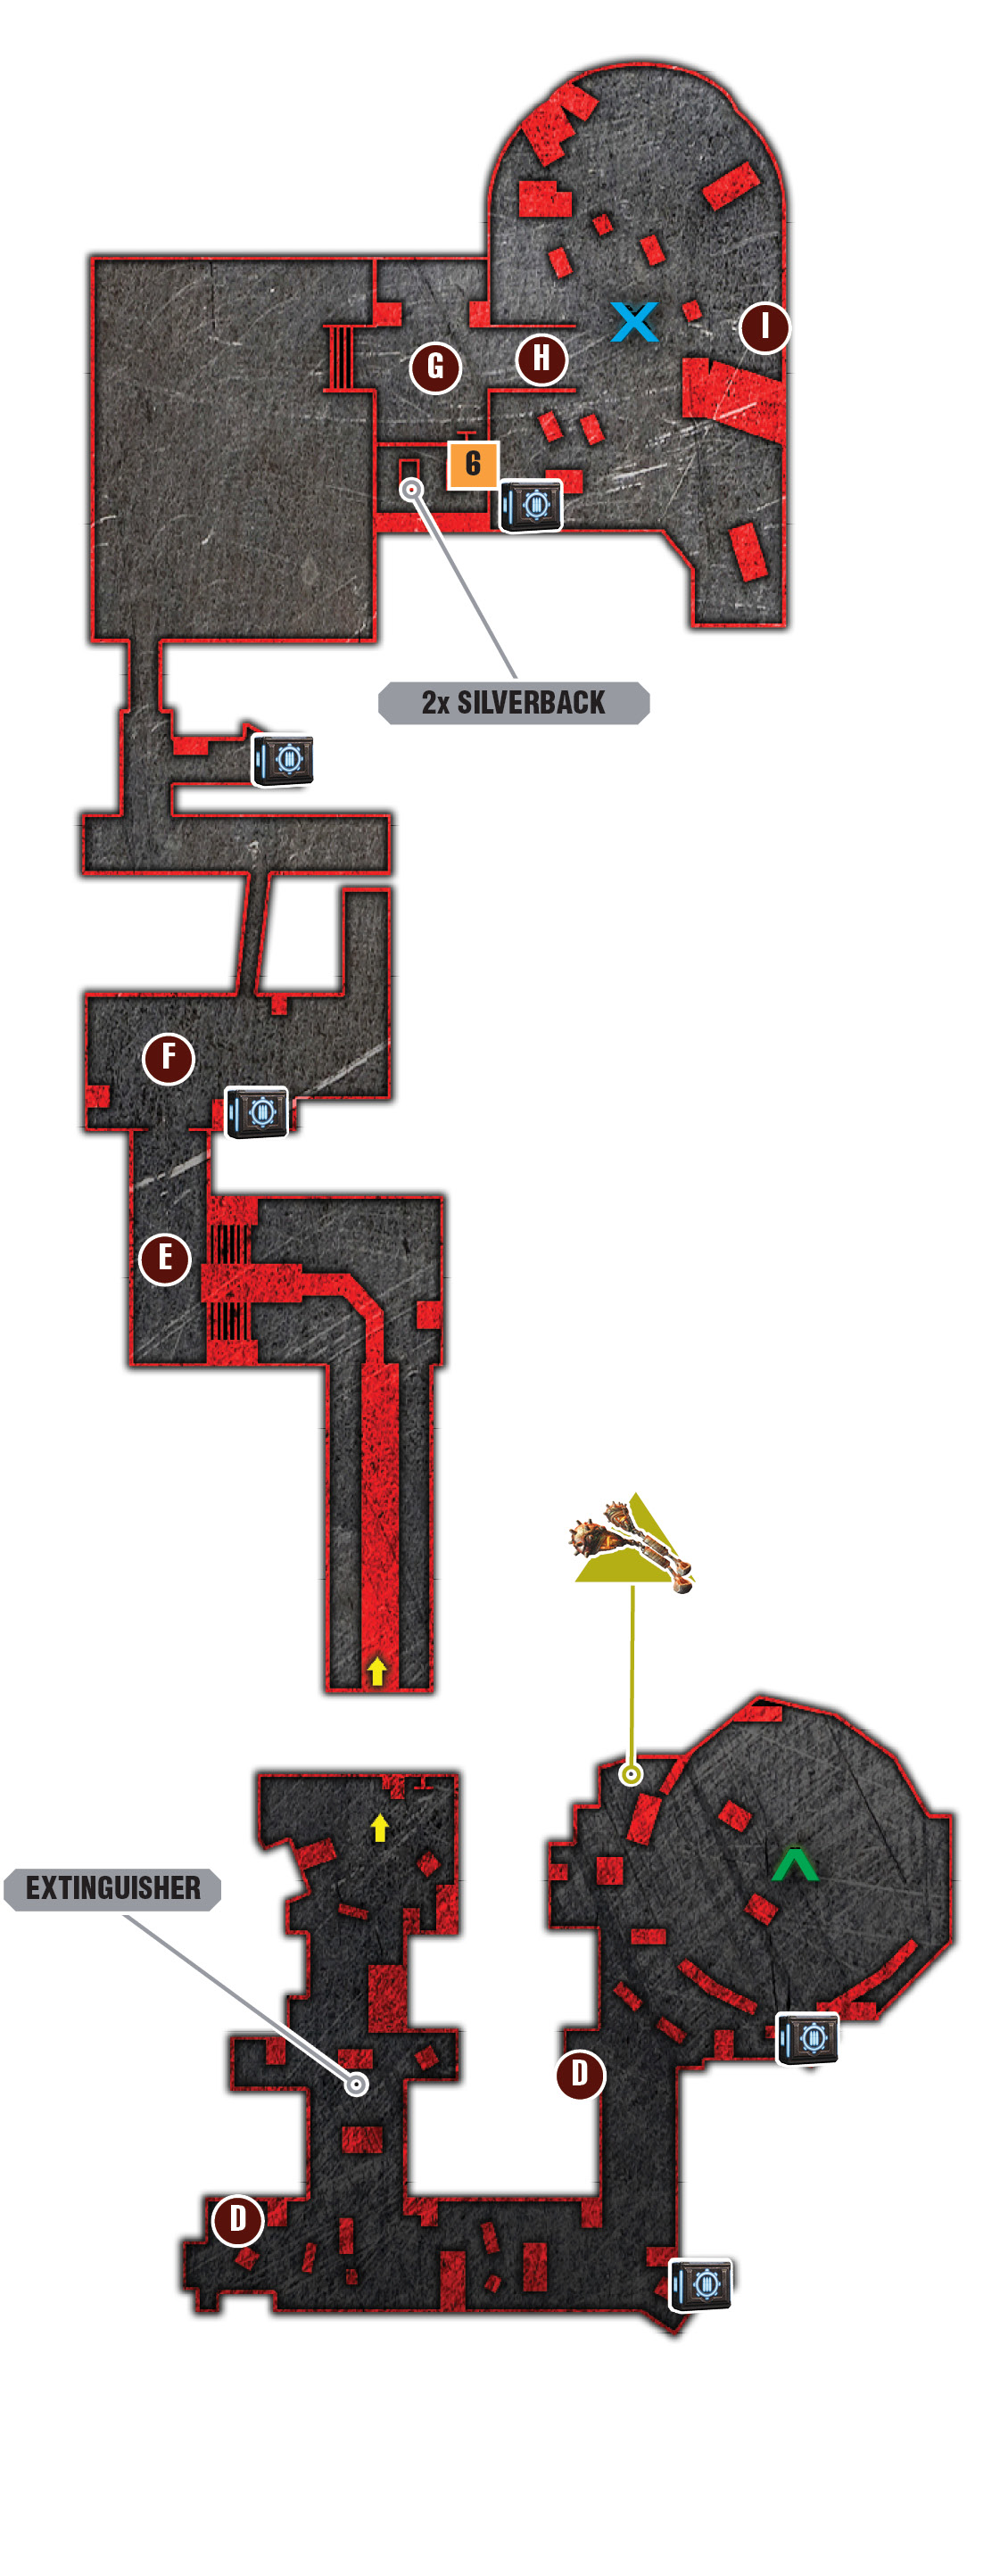
 Reach the top deck.
 Reach the top deck.
 Find the Silverback storage bay.
 Use a Silverback to move the obstacle.
 Dislodge the Leviathan from the ship.
 Silverback Manual
Michaelson is dead and Prescott injured. Coincidence or not, Prescott’s Raven certainly drew the attention of some rather nasty Lambent. Prescott has some extra time to rehearse his explanation—and any apologies he may feel obliged to offer—while Marcus and the others return to the deck and try to save the ship.
CNV Sovereign
 Get to the Chopper
The squad is still below deck when they get a call to assist the pilots of two Ravens trying to evacuate the ship. There aren’t many Ravens left these days, and they can’t risk losing the few they have! Use the Lancer against the Polyps that pour forth from the overhead pipes, and advance to the mess hall on the left.
Slide into cover against the table near the vending machines, and watch as Marcus automatically flips over the table for protection. Note the location of the two propane tanks in the back right corner. Avoid shooting them until a pair of Drudges enters from the other side. Use the Lancer to eliminate the first wave of Lambent and detonate the tanks to kill the second wave. Collect the Frag Grenades behind the kitchen counter, and consider picking up the Boltok Pistol lying near the first table.
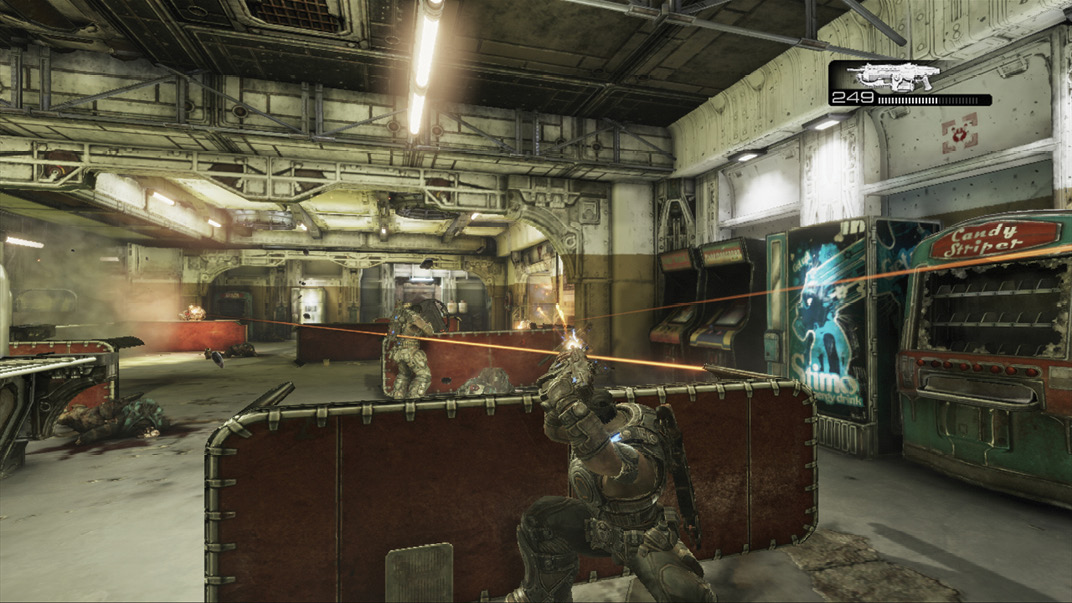
Open the doors to the store room where several Stranded have barricaded themselves inside. Grab the ammo on the left, then climb over the obstacle and wait for the Stranded to slide the toppled vending machine out of the way.
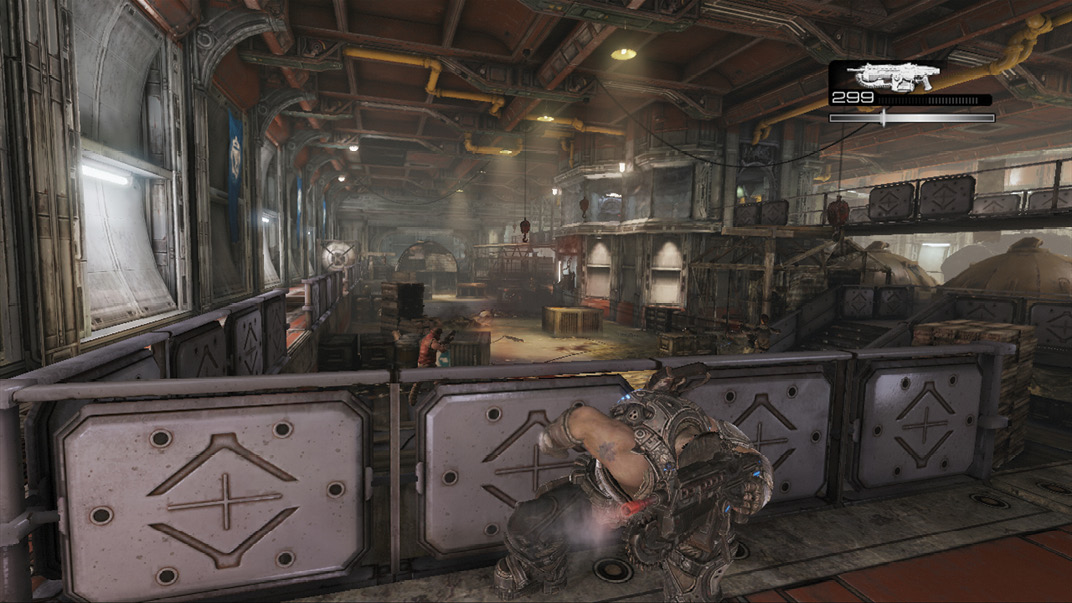
Proceed to the hangar bay. Multiple Lambent are on the floor, as well as a Dark Drone up above, to the right. Take cover near the entry and use the Boltok to headshot the enemy up above. Toss a grenade at those on the floor and flank around to the left, using the metal panels along the walkway for cover. Additional Frag Grenades are at the end of the walkway on the left.
 Activate the Lifts
The hangar contains two helipad lifts. Marcus needs to locate the two levers, one for each of the helipad lifts, and raise them so the birds can get away. Round the corner past the first Raven, rush to cover behind the barrels in the center, and ready a Frag Grenade. Time your throw to hit the Lambents as they break down the door.
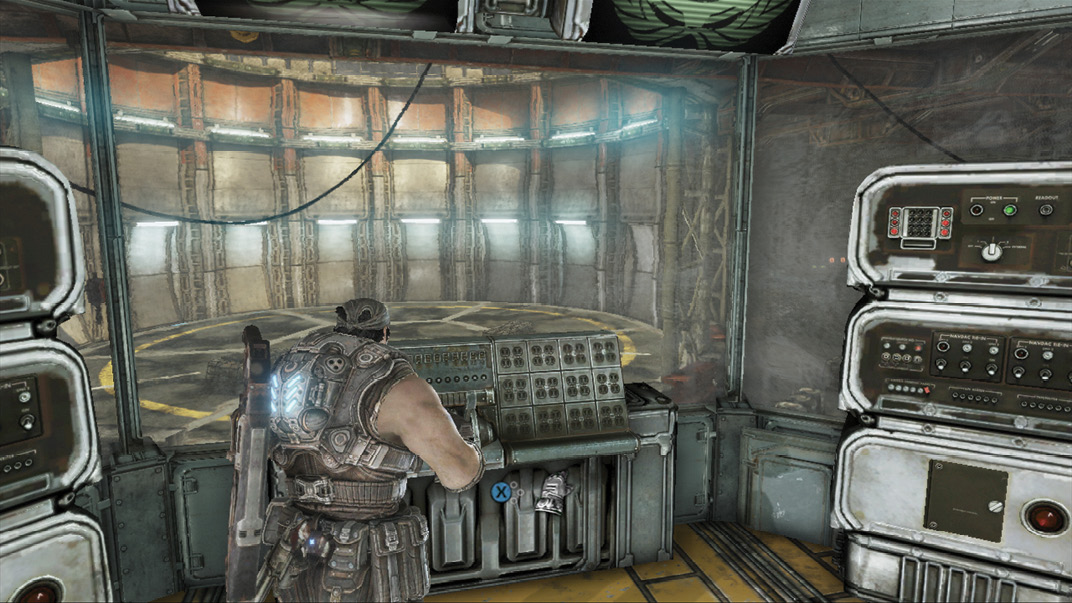
Rush up the stairs on the left, cross to the second set of stairs, and ascend to the control room. Take cover outside the door and blind fire the Drudge behind the table. Pull the lever to activate the first lift.
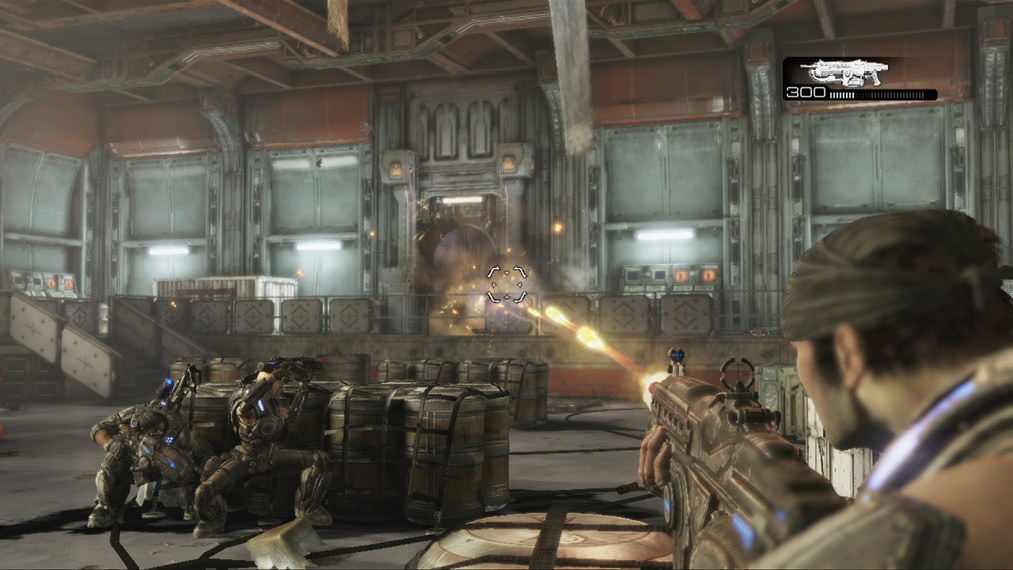
Exit the control room through the far door and run along the walkway toward the other Raven. Fire on the Dark Drones in the distance, but refrain from using a Frag Grenade here, as it comes in handy shortly.
 Defend Against the Tentacle
A massive Tentacle emerges from above and slams the Raven to pieces. Dozens of Polyps emerge from the Tentacle each time it slams the ground. The rest of Delta Squad fans out to tackle the Polyps on the other side of the lift. Backpedal up the stairs leading back the way you came. Along the way, hip fire the Lancer at the Polyps to keep them at bay. Aiming reduces your field of vision, and the additional accuracy isn’t needed for Polyps, as they explode with minimal damage.
|
 CO-OP TACTIC
Cross the floor, past the other helipad, and fight your way up the stairs on the right, past the final Lambent—use the Gnasher if you get into cover atop the stairs. Loop around to the left to enter the control room atop the other stairs. Pull the lever to have the squad ride the lift to the upper deck.
 Open the Irrigation Valves
Fire is spreading across the upper deck—the only chance to save the ship is by releasing the irrigation valves. Open fire on the Drudge and Dark Drones as the lift rises, and take cover near control tower to the left. Clear out the enemies, and then locate the first irrigation valve near the wooden garden shed.
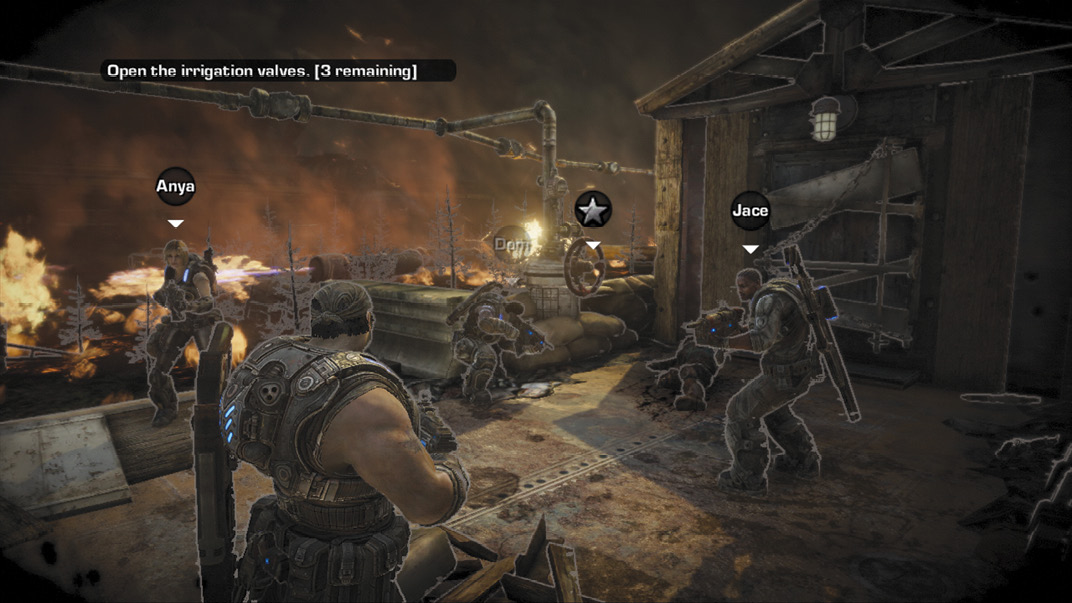
Wait for the water to extinguish the first set of flames, and then continue around the corner to the left. The second irrigation valve is near the wooden structure to the left of the next set of flames.
The flames are spreading across the planting patch to the fuel tanks, and a Stranded gets killed trying to extinguish them. Pick up the victim’s dropped Fire Extinguisher and douse the flames to clear a path to the third irrigation valve.
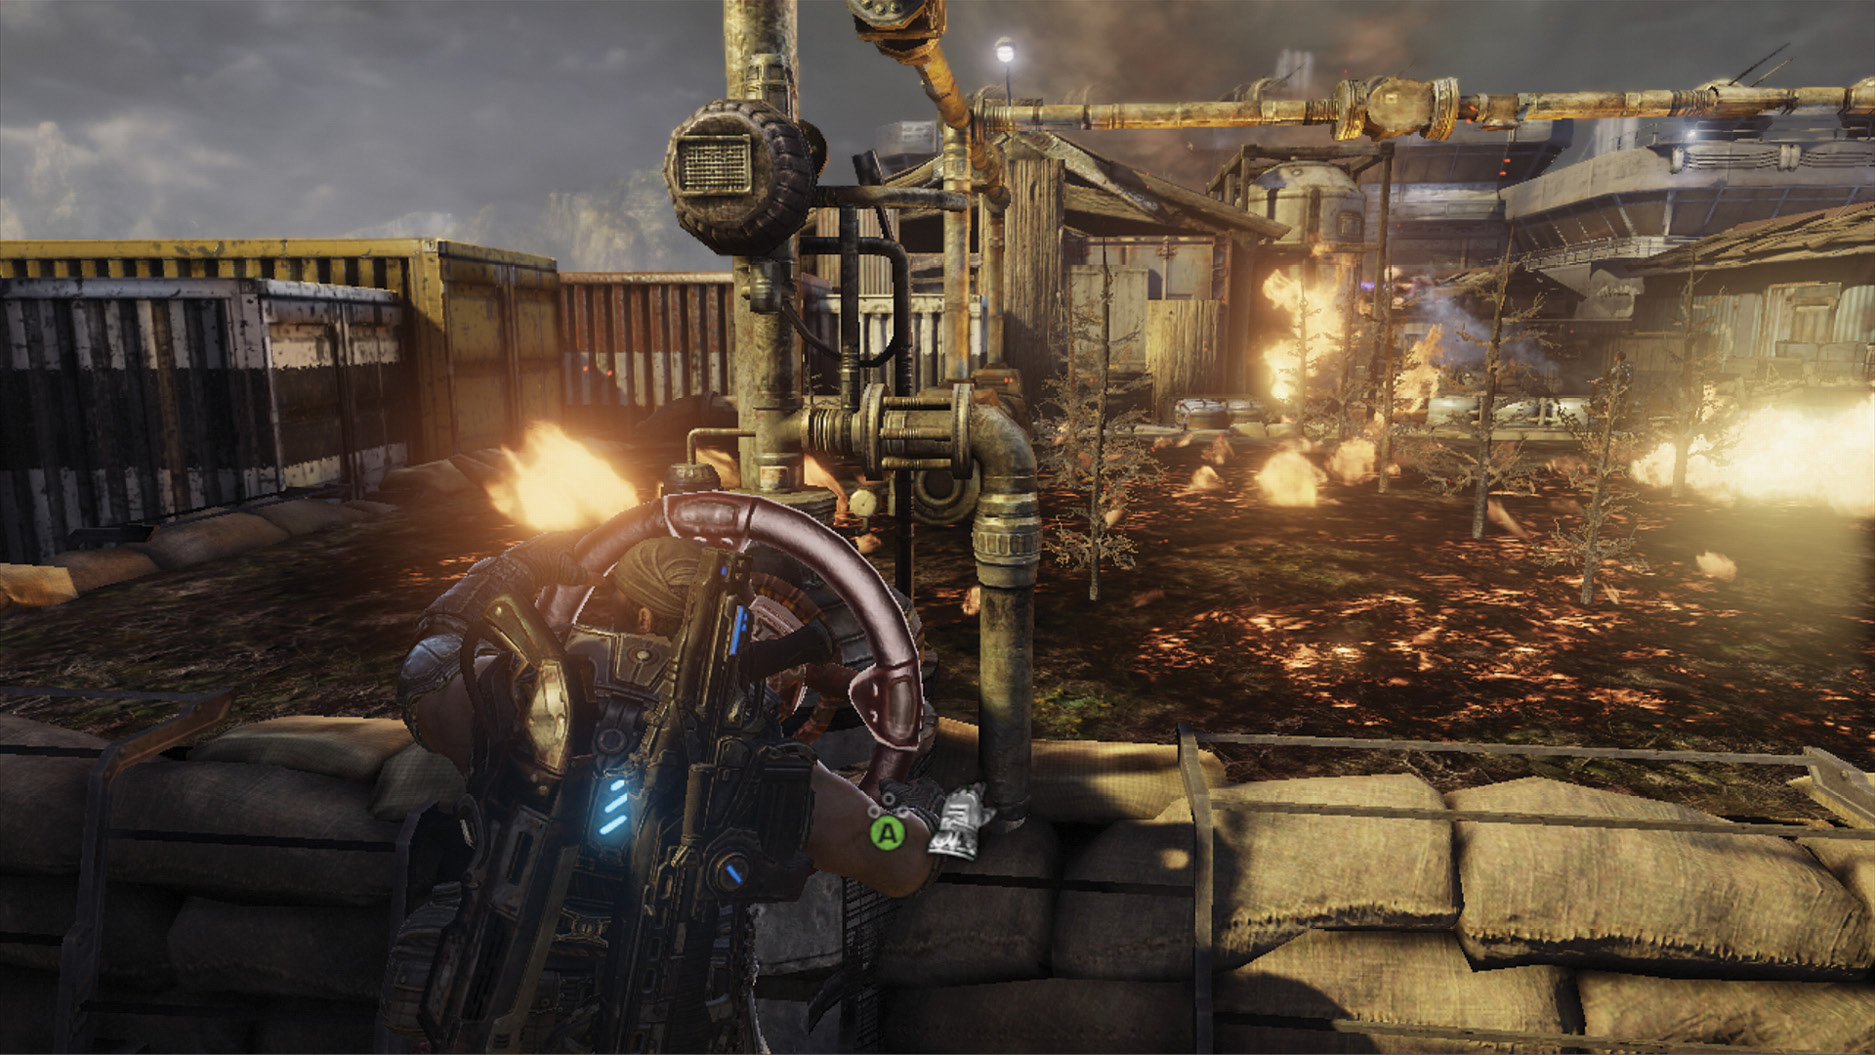
 Reach the Top Deck
The Leviathan appears as you approach the third irrigation valve. It smashes a hole in the deck, plummeting Delta Squad into the CNV Sovereign’s engineering room. They need to get back to the upper deck pronto!
Run down the hall to the right and kick open the broken bulkhead door. Approach the U-shaped section, where there seems no way to continue. Take cover on the right in anticipation of the Lambent that attack from the unreachable lower walkway.
 Defend the Raven’s Nest
Another Tentacle appears and inflicts more damage to the ship, this time ripping large gashes in the structure and collapsing walkways. Multiple Polyps emerge each time the Tentacle slams the floor. Face the Polyps and open fire with the Lancer from the hip. Don’t get too close, but stay in front of allies to ensure you get the lion’s share of the points.
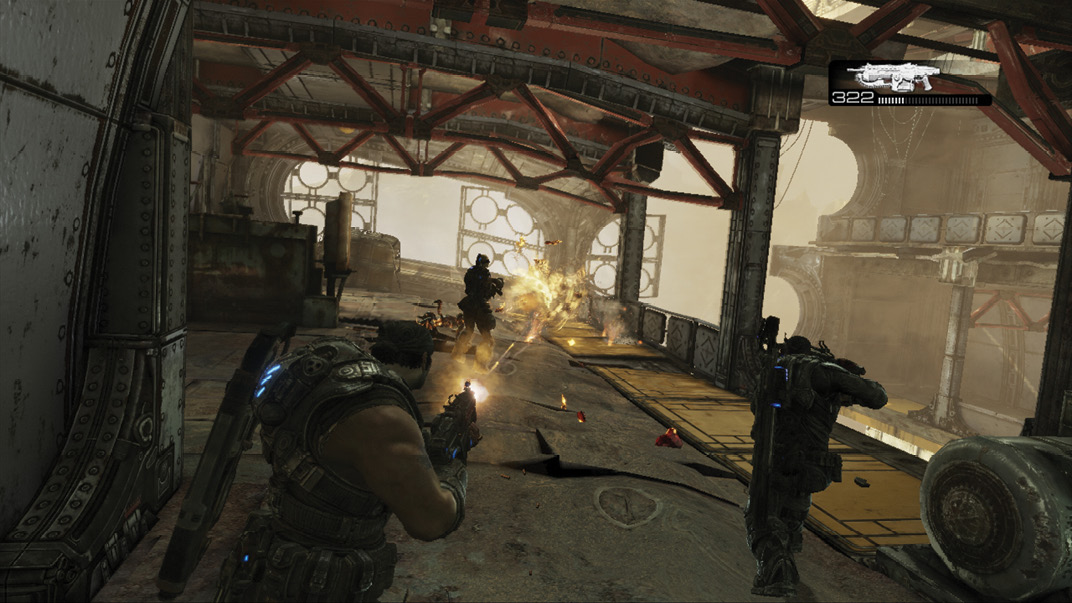
The Tentacle eventually knocks a makeshift bridge into position. Ascend to the upper level and continue through the fiery hallway, to the bulkhead door directly ahead. This leads out onto the upper deck.
 Find the Silverback Storage Bay
Cole and Baird are on a bridge just upriver of the CNV Sovereign. They need Marcus and the others to lure the Leviathan under the center of the bridge—it’s time to get the Silverbacks!
Two Tentacles slam down onto the deck just as Marcus and his squad exit the ship’s interior. The Tentacles sweep across storage section, sliding a tangle of shipping containers across the deck in an attempt to crush the Gears as they run for the maintenance bay. Immediately Roadie Run across the deck on a slight angle to the left. Aim for the steps just left of the large, yellow pipe in the distance. Follow Anya and Jace, and quickly descend the stairs to avoid being crushed.
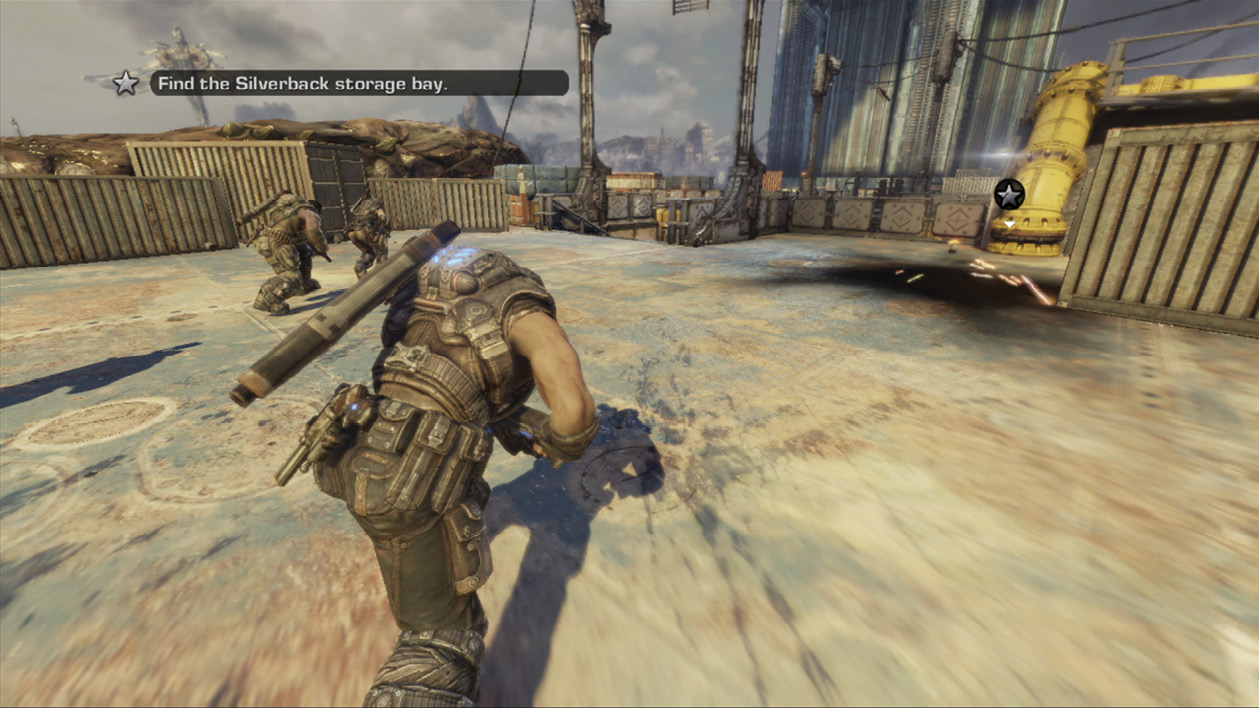
The Silverbacks are in the maintenance bay on the right, just beyond the container slide section. Pull the lever left of the door to open it.
 Use a Silverback to Move the Obstacle
Get a feel for the Silverback controls. Crates on the far side currently block the gate leading to the ship’s bow. Approach the gate and press the Melee button to make the Silverback kick open the gate.