Gears of War 3 Guide Campaign Walkthrough Act 2
Chapter 7: Touchdown
Objectives
|
 Eliminate incoming Gas Barges.
 Survive the Tempest attack.
The Locust army is well aware that Marcus and company have hijacked one of their Gas Barges, and they have a pretty good idea where they’re headed. The Gears must defend their Gas Barge from an entire squadron of Locust Gas Barges and Reavers. And that’s just the beginning…
En Route to Anvil Gate
 Eliminate Incoming Gas Barges
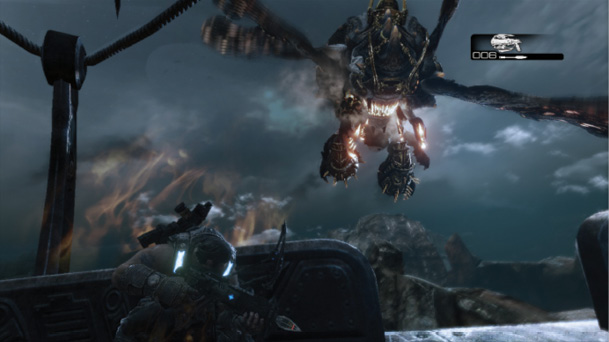
Nav system or not, the COGs don’t get far before enemy Gas Barges and Reavers attack from all sides. Focus on the Gas Barges first before you turn your attention to the Reavers…that is, unless you happen to get a clean shot on a Reaver.
The cannons mounted on the Gas Barge fire Boomshot rockets. You can use them to take out the incoming Gas Barges. You needn’t hit ammo crates to knock the Gas Barges out of the sky when you use the mounted cannons—go ahead and aim for the blimp-like sac keeping the barge aloft.
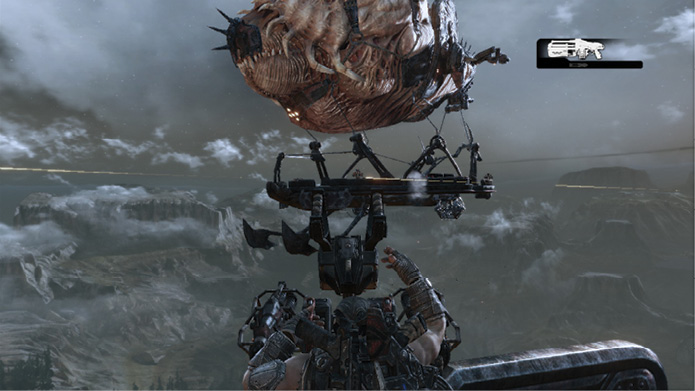
Some players prefer moving with their handheld weapons over being locked to a fixed position. That works too. Just use the Torque Bow or assault rifle. Train your sights on the ammo crates aboard each Gas Barge. If you use the Torque Bow, be sure to charge the shot to ensure the bolt sticks into the crates and detonates the ship.
You must bring down four Gas Barges, and the final one is crawling with Palace Guards that fire cannons at you. It’s very difficult to get a clean shot. Be ready with a Torque Bow bolt or your Lancer, and fire at the ammo crates the first chance you get.
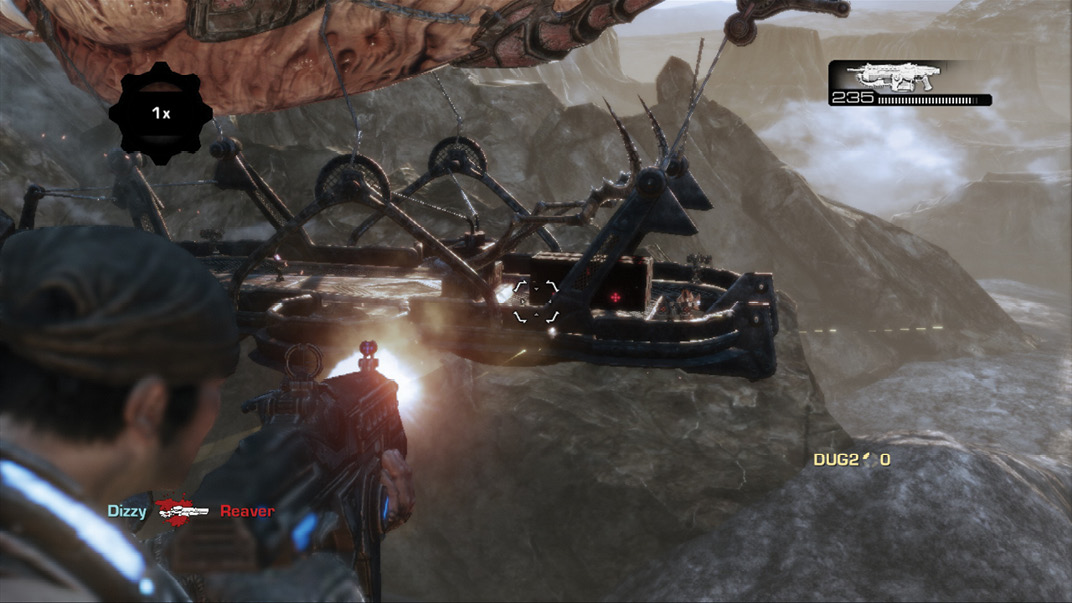
For the final Barge, take cover at the ship’s opposite end and fire at your target from afar. Don’t get close to it, or you’ll certainly get cut down and risk the rest of the team getting killed.
Unless the enemy Barge is directly adjacent to your Barge, Frag Grenades probably won’t reach the enemy deck. Early in this encounter, move around the perimeter to follow the Gas Barges (and Reavers) as they circle the ship. Maintain cover behind the ship’s rail during the final Gas Barge attack.
 Survive the Tempest Attack
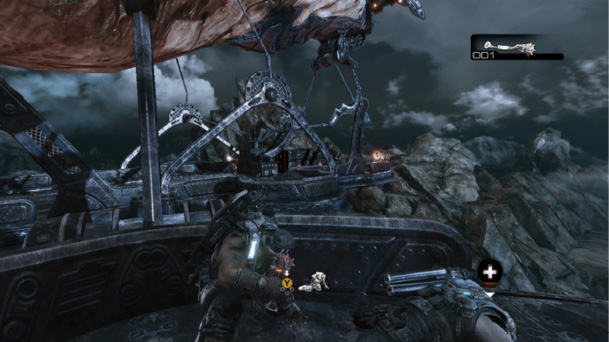
Queen Myrrah is back, and she’s mad as hell. Riding a massive Locust insect known as the Tempest, she strafes back and forth, using a powerful beam to set the Gas Barge on fire.
Don’t waste any ammo on her! Just take cover behind the rail on whichever side of the ship she’s on to avoid her powerful beam. She isn’t focused on attacking individual squad members; she’s trying to knock the ship out of the air, which she does quite effectively.
The crew crash lands a ways from the entrance to Anvil Gate. Hoffman and crew arrive on the scene expecting to put a few Locust out of their misery, only to find the members of Delta Squad.