
Gears of War 3 Guide Campaign Walkthrough Act 3
Chapter 2: Rescue
Objectives
Collectibles
|
 Rescue Sam and Anya.
 Protect Sam and Anya as they return to the fort.
 Defeat the
  Journal
 COG Tag
There’s no time to see if the key from Prescott works. Anya and Sam got caught outside Anvil Gate during the Locust invasion, and they’re pinned down. There aren’t many Locust left outside the fort, but the squad can’t take any chances botching the rescue. Marcus and Dom split up to lead smaller teams to coordinate the rescue. Two stay on the wall and provide cover fire while the other pair heads out in a truck.
Outside Anvil Gate
 Rescue Sam and Anya
The Hammer of Dawn’s targeting system is on the fritz, causing it to fire erratically. Baird works on fixing the weapon’s satellite connection, leaving Bernie to fill in for him on this mission. The rest of the squad splits up to bring Sam and Anya back safely.
 Protect Sam and Anya as They Return to the Fort
Split Path: Provide Covering Fire from the Fort Walls
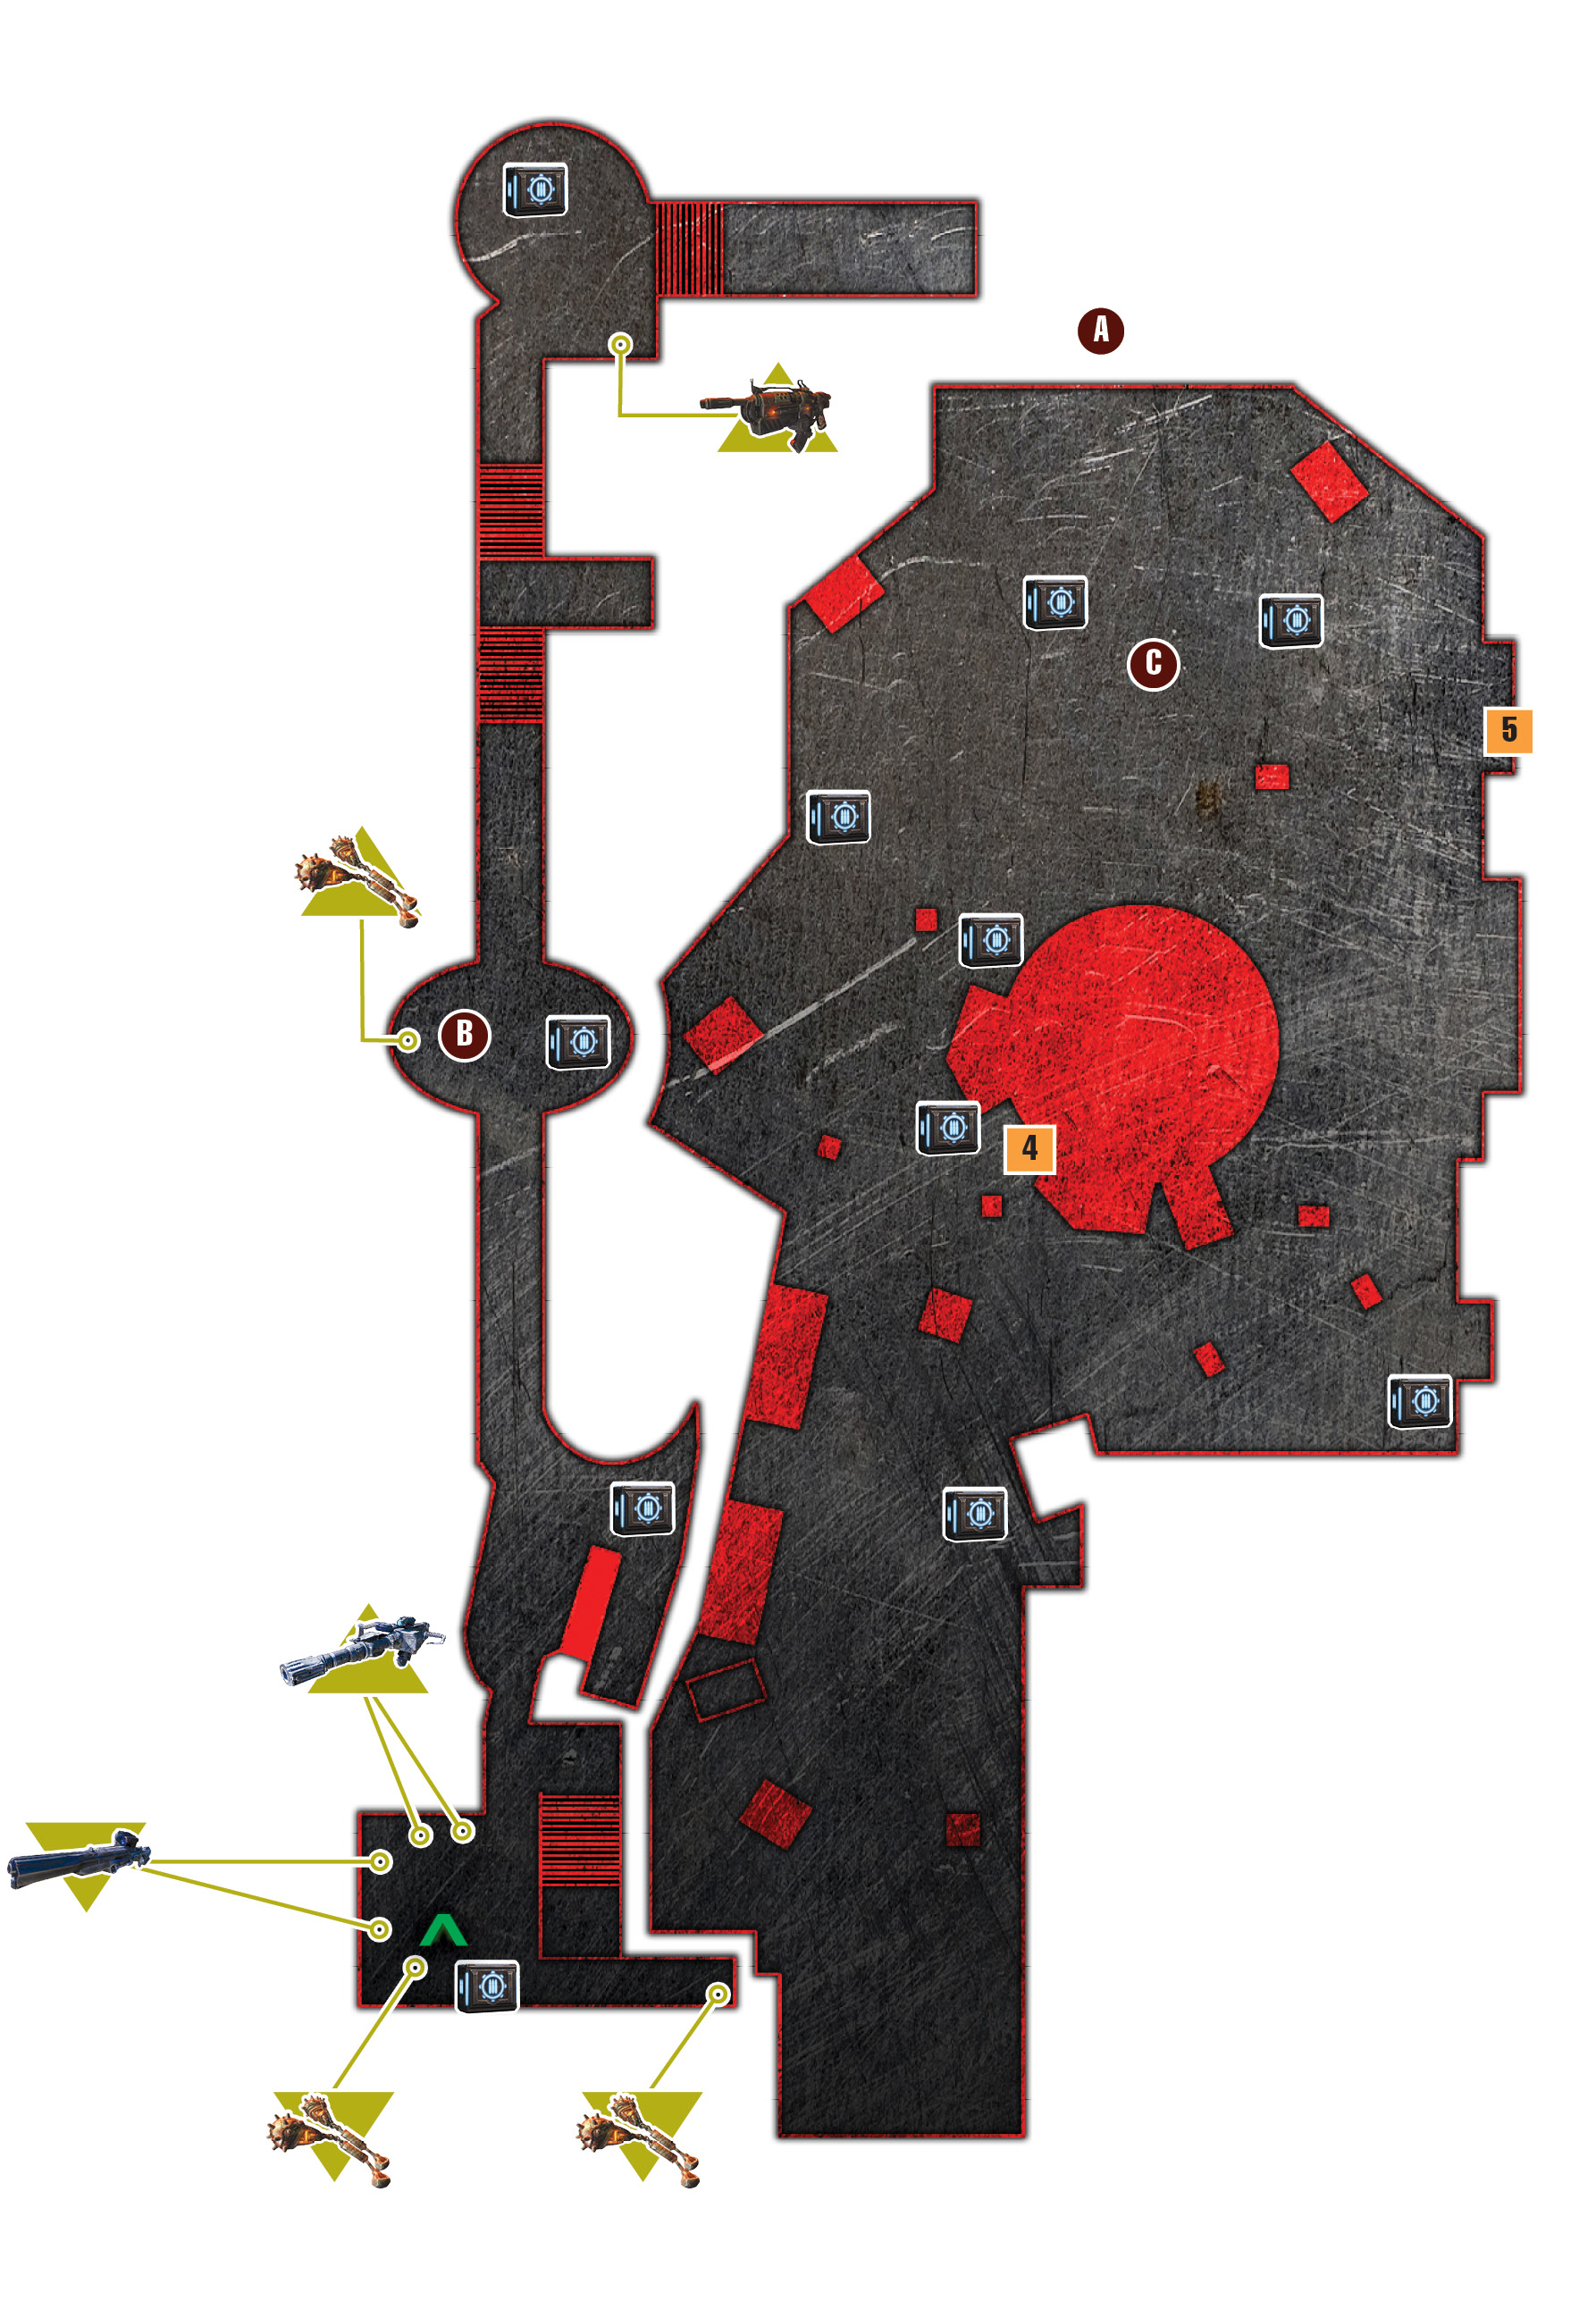
Bernie and Dom head off in a truck to rescue Anya and Sam, leaving Marcus and Cole to provide covering fire from atop the wall. Use the Lancer to cut down the attacking Grenadiers as the truck drives to Sam and Anya. Locate the OneShot atop the wall, but don’t pick it up just yet. It comes in handy once the truck crashes amid additional Locust attacks.
Continue to offer fire support, and use the OneShot to take out the Boomer in the far distance. Dom and Bernie make it to where Sam and Anya were pinned down, but now they have to return on foot! Two Lambent Stalks appear, spawning Dark Drones and Drudges. Use the OneShot to take them out.
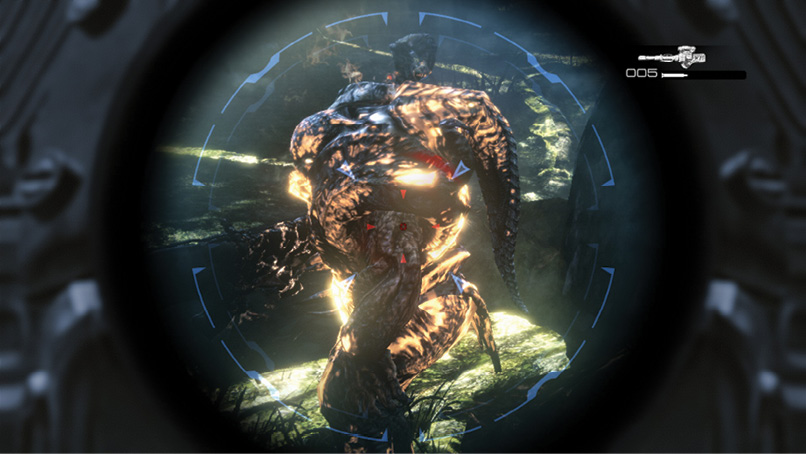
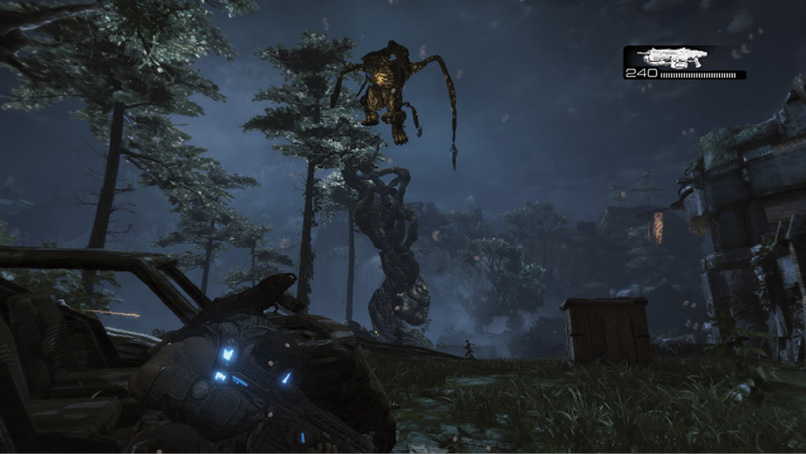
The second Lambent Stalk affixes itself to the fort wall, and several Dark Drones spawn atop the wall near Marcus and Cole. Watch for this and quickly turn to offer support if Dark Drones are nearby.
The foursome sprint back to the safety of the fort, but they encounter a Lambent Zerker along the way. Fortunately, Baird works his magic and gets the Hammer of Dawn up and running in time to deal with it. Or so they think…
Split Path: Ride Out in the Truck to Get Sam and Anya
Selecting the second option sends Marcus into the truck with Cole. Use the Lancer to fire on any Grenadiers you spot along the way, but don’t expend too much ammo. The truck is soon hit by a Digger, killing the driver and causing a crash; Cole and Marcus must escort Anya and Sam back to the fort on foot. First things first; take cover behind the brick wall and fire on the Grenadiers and Boomers in the distance beyond the crash. It’s important to make sure that no Locust follow you.
Now, turn and start to fight your way back on foot. The first of three Lambent Stalks appears on the right. Target the Stalk Pod, then the Dark Drone, and move on. Collect any Lancer ammo you see, as you likely need it after defending the fort in the previous chapter.
The second Lambent Stalk spawns a Drudge. Try to take it out quickly if you can, but don’t focus on taking it out alone. Look for support and spend some ammo to see if you can kill it quickly while no other enemies are nearby, then take off running.
The third Stalk spawns a Lambent Zerker. Don’t even think about fighting it; leave it for Baird and the Hammer of Dawn. The Hammer of Dawn isn’t working perfectly, but Baird fires it three times. The first strike hits way off in the distance. The second strike focuses on the Dark Drones beyond the Lambent Zerker, near the gate leading back into the fort. The final strike annihilates everyone outside the fort.
Marcus and the others must get back inside the fort before the third Hammer of Dawn strike fires. Sprint past the Lambent Zerker and hug the fort’s wall on the right as you round the corner. The fort’s entrance is on the right around this corner—stick close to the wall to avoid the second Hammer strike as it takes out the Dark Drones in the distance.