Gears of War 3 Guide Campaign Walkthrough Act 2
Chapter 1: Shipwreck
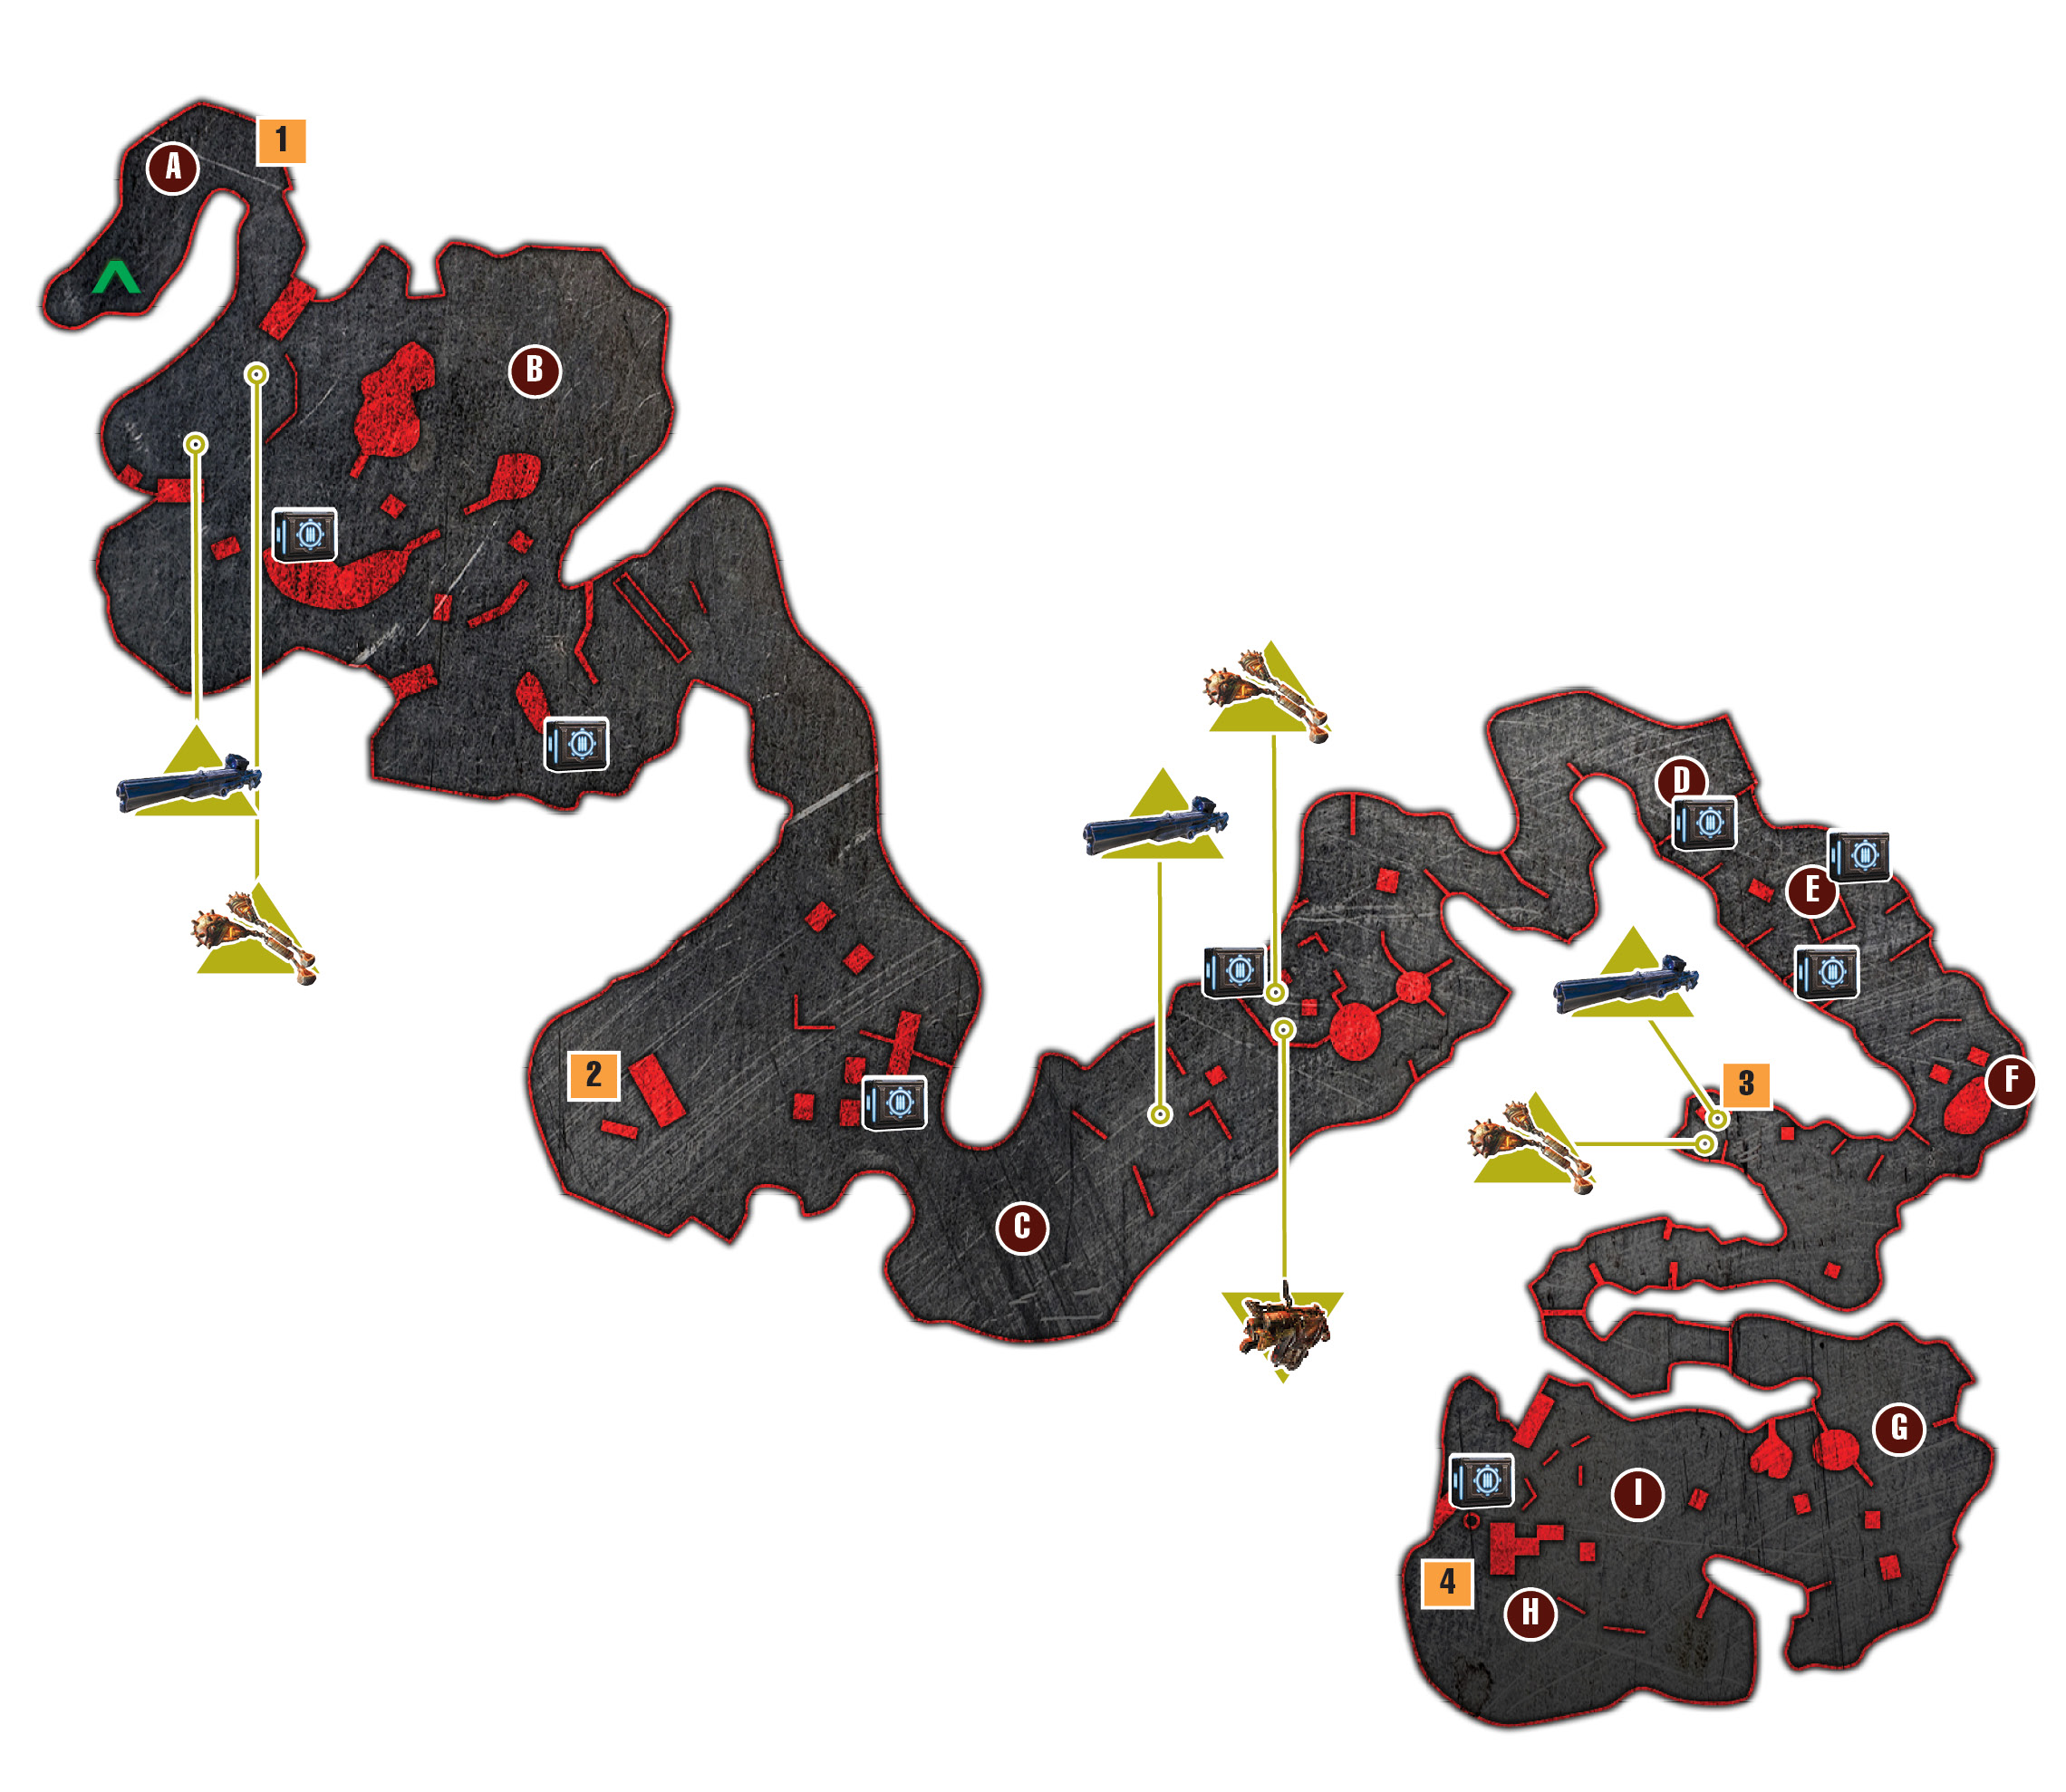
Objectives
Collectibles
|
 Pick up the dropped
  Search for the Raven’s Nest.
 Kill the Savage Boomers.
 Destroy the Siege Beast crew.
 Destroy the other Siege Beasts.
 Kill the Brumak.
 Regroup with Anya and Jace.
 Defend against the attacking
  Destroy the Brumak.
 Tomatoes: A Beginner’s Guide
 Octus Medal Diploma
 Captain’s Log
 COG Tag
If there was ever a plan that worked too well, it was Baird’s idea of dumping dozens of Tickers onto the Leviathan. Sure, it killed the Imulsion-fueled sea creature, but it did a number on the CNV Sovereign and Centennial Bridge as well. Cole, Baird, and the others were lucky to hit a soft patch of river when they plummeted from the bridge. And they were even luckier to wash ashore on the Hanover coastline without further injury. The ship’s wreckage is everywhere, but there’s no word from Marcus and company. The squad must search the coastline for their comrades…and hope they’re all right.
Wreckage Site
 Pick Up the Dropped Weapons
Cole’s squad washes up on the Hanover Coast, not far from the smoldering husk of the CNV Sovereign. They must fight their way to the ship to see if there are any survivors. And if they’re going to do that, they had better find some weapons!
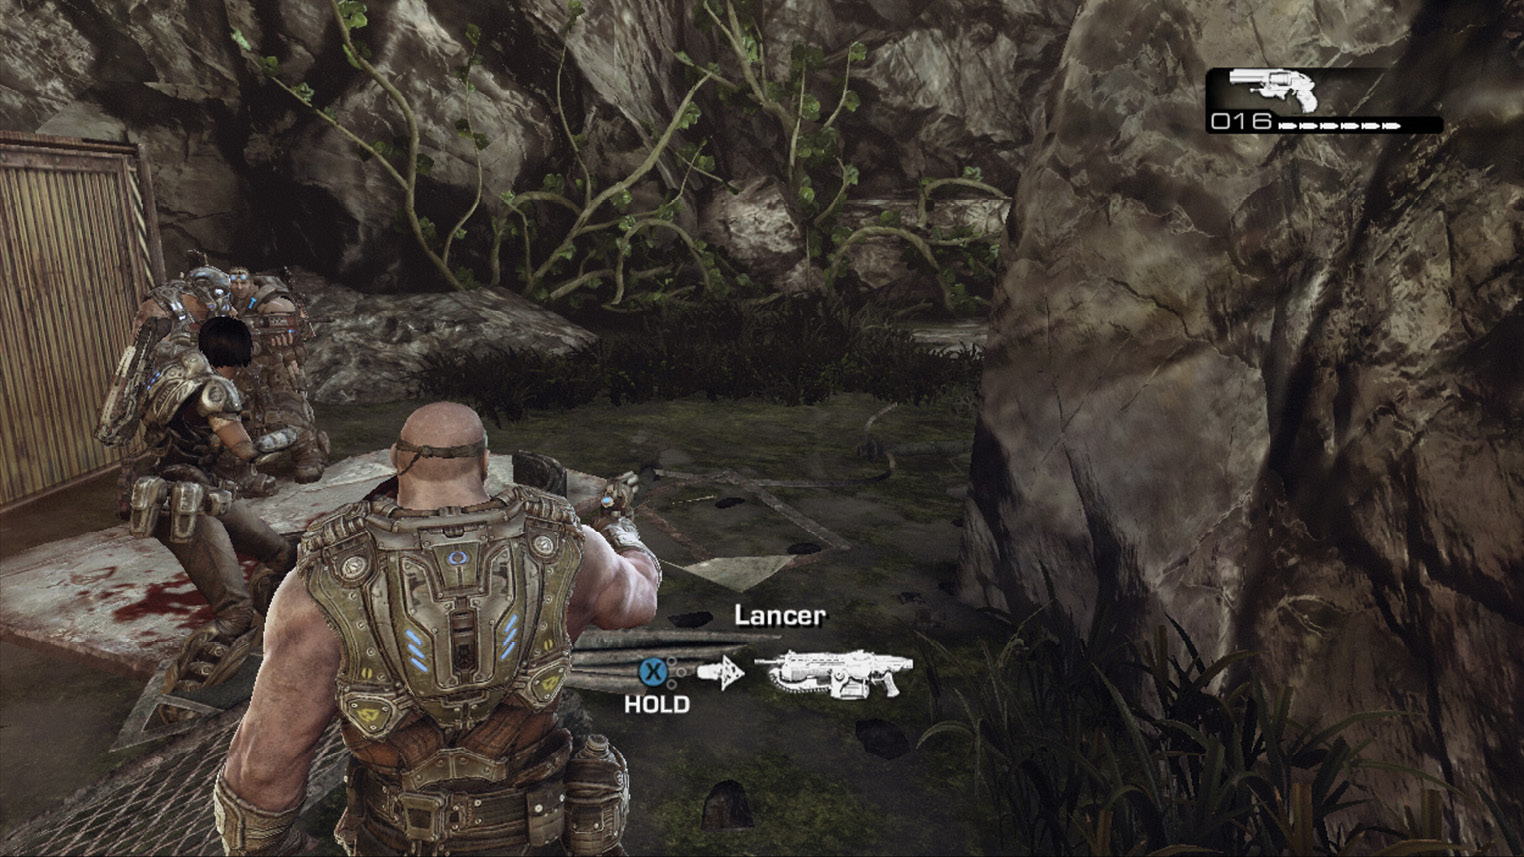
Cole managed to hold onto his Boltok during the plunge, but that’s it. Walk up the path and find a Lancer, then a Gnasher and a Snub Pistol. You might consider holding onto the Boltok for now.
 Search for the Raven’s Nest
Continue along the path to the Frag Grenade pickup, and then sprint straight ahead to find even more Frags and a Longshot in the distance. Grab these extra weapons before you engage the Locust up the slope to the left. Once you grab the Longshot, quickly take out the first sniper up high on the overhead bridge.
Use the rocks for cover and toss one or two Frag Grenades if the Locust bunch together. Otherwise, rely on the Longshot to off pick enemies from afar. A second Locust wave appears and knocks over a large, metal barricade upslope to the left. Rush to cover near the metal platform, and toss a Frag Grenade at them as they climb onto it. You can also shoot through the platform’s supports, hitting the Savage Drones in the feet and legs, if they try to take cover behind it.
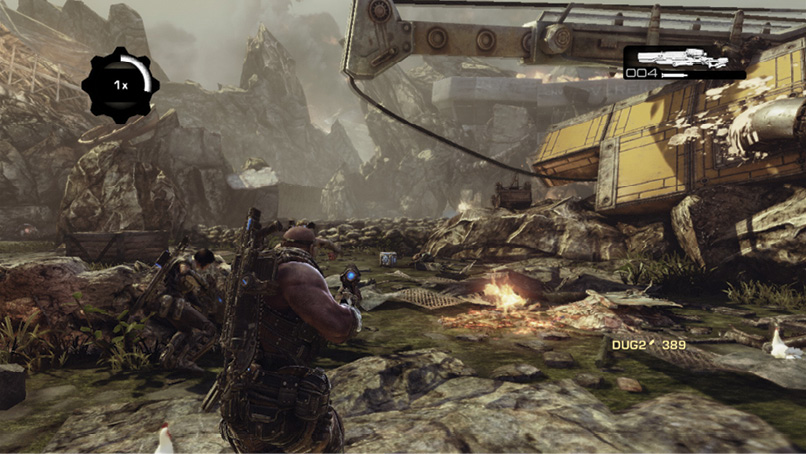
Continue around the bend and down the slope, toward a downed Raven’s crash site. Fend off the small group of Locust to secure the area.
Marcus and Dom washed up on the beach just around the bend, near the second downed Raven. Anya and Jace are pinned down near the ship and are taking heavy fire. Marcus instructs Carmine and Sam to head straight to the lifeboats along the beachfront. Meanwhile, Marcus and the others will fight their way there via the inland route.
 Kill the Savage Boomers
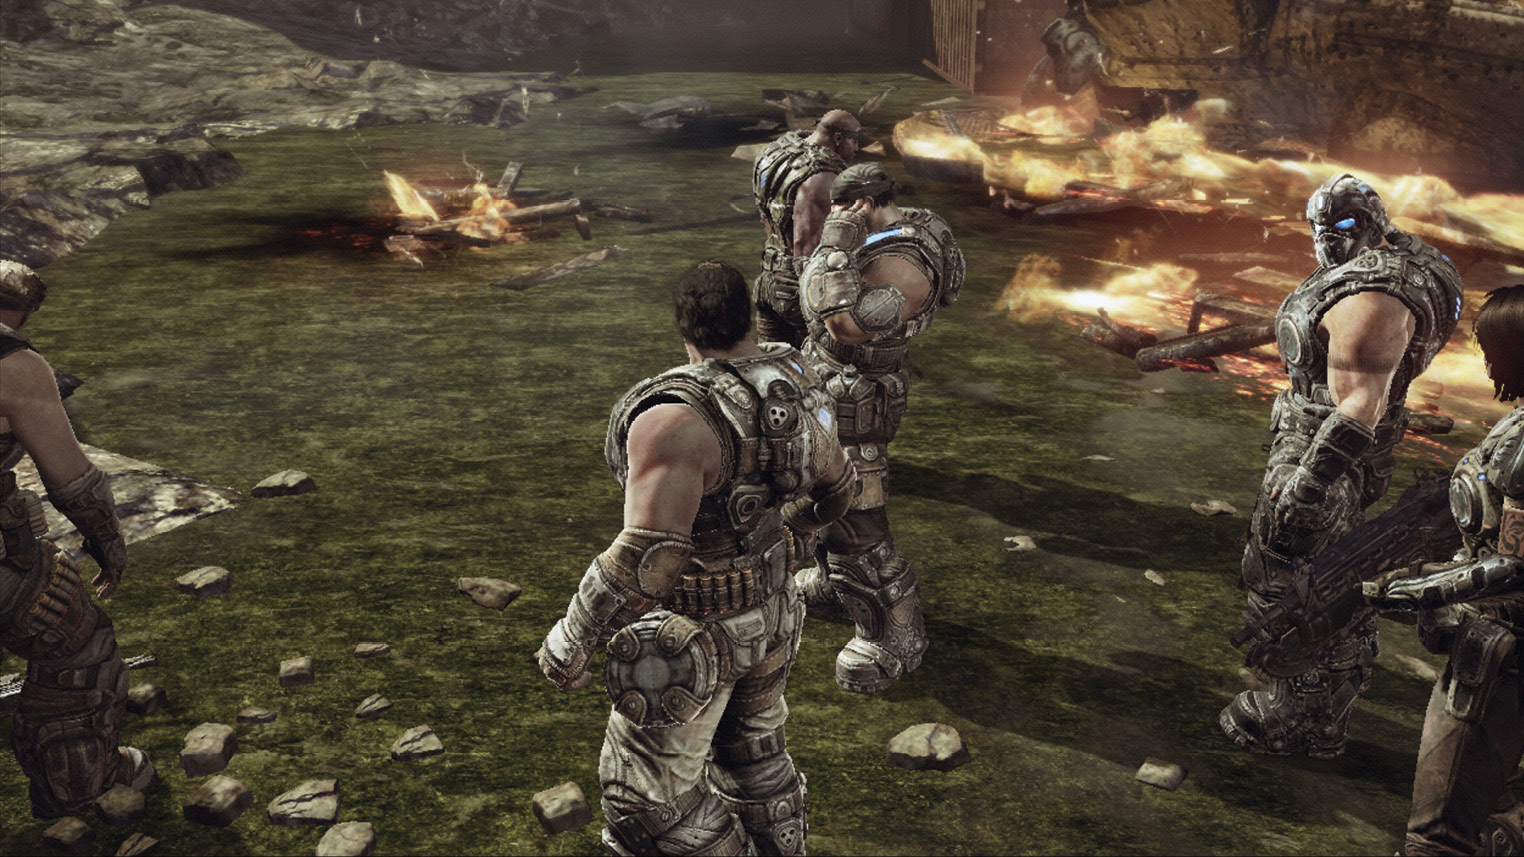
Pick up the Longshot and take cover near the two rock walls below the Savage Boomers’ ledge. Then toss a Frag Grenade up at them, and use the sniper rifle to pick off several of the Drones. If you’re unsure when to flank, listen for Dom’s signal. Two Locust attack along the path, so keep the Gnasher handy. Flank around toward the third Savage Boomer hanging back from the others. Use the Gnasher to kill it, and then use its Digger Launcher to kill the foes near the ledge to the left.
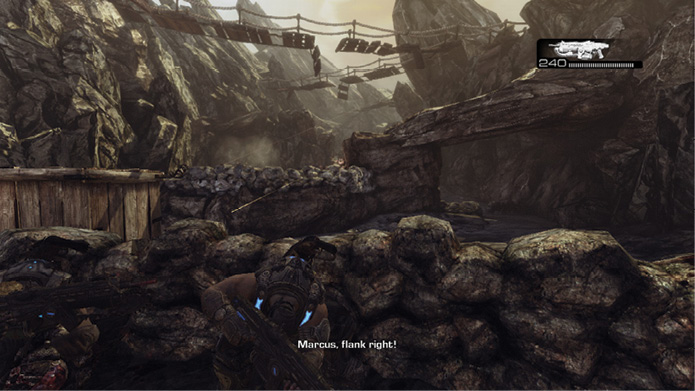
Rush to gather the ammo from the other two Digger Launchers. However, beware that Savage Grenadiers will most likely spawn behind you in an attempt to trap you against the ledge. Quickly take cover and use the Digger Launcher (save some ammo for later) on these Locust that spawn further up the path. It’s possible to grab the Digger Launchers and sprint back to the others to avoid being cornered.
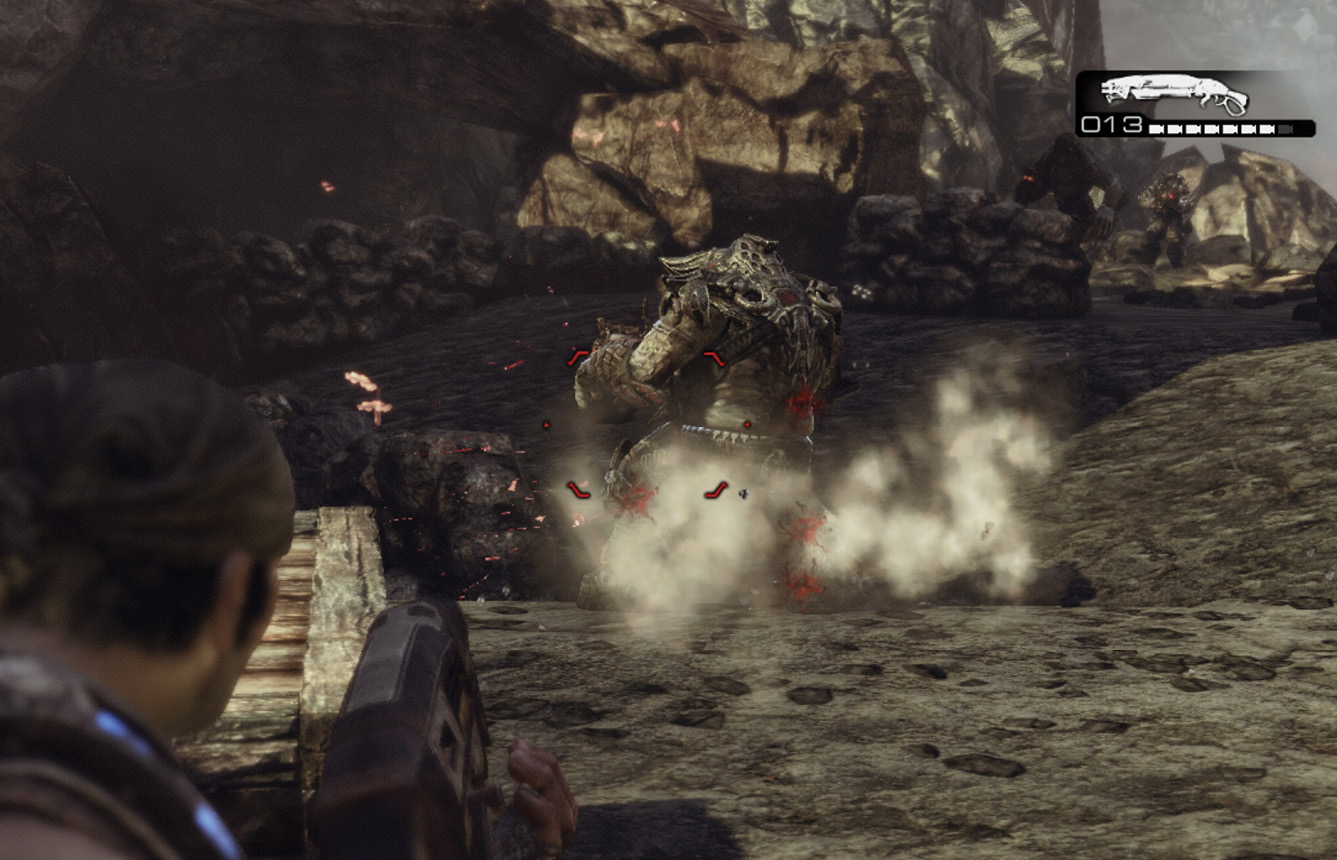
Temporarily swap out your assault rifle or Gnasher for the Longshot. If one of your squad mates hasn’t done so already, use it to take out the two Snipers on the rickety rope bridges above.
 Destroy the Siege Beast Crew
Multiple Savage Drones and Grenadiers man a Siege Beast up ahead. Move in and use the Digger Launcher to clear them. This shouldn’t be hard, as they’re dutifully focused on prepping the Siege Beast to assault the wreckage site.
 Destroy the other Siege Beasts
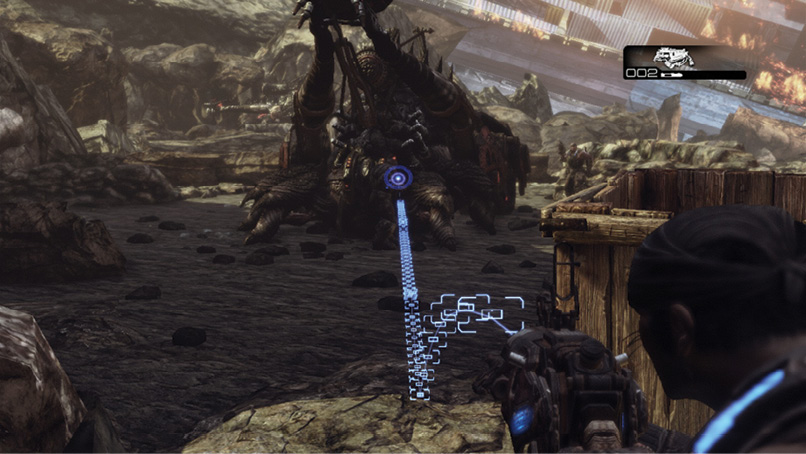
The Siege Beast is a giant catapult that comes with one massive fireball pre-loaded and ready for launch. Approach the rear control levers, and aim at the right-hand Siege Beast in the distance. Fire the catapult when the reticle turns red.
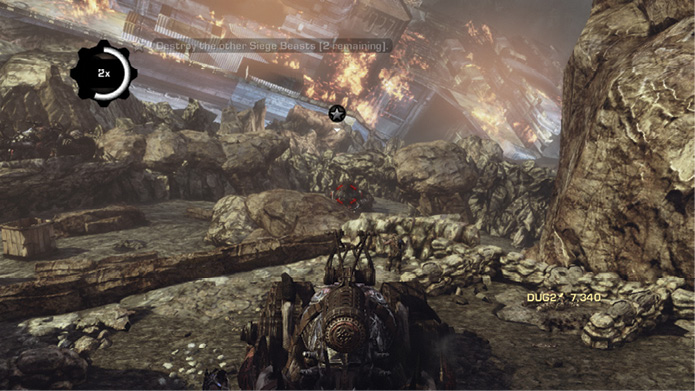
The second Siege Beast to destroy is further away to the left. Release the aiming controls and wind the catapult via the crank on the Siege Beast’s right or left (if no teammate does it for you). Aim your Siege Beast and fire.
While you use this Siege Beast, the other COGs fend off the Locust that attack. Don’t delay, or you risk being overrun by the Locust. Use the Siege Beast for cover and crank the arms on the side opposite incoming fire.
 Kill the Brumak
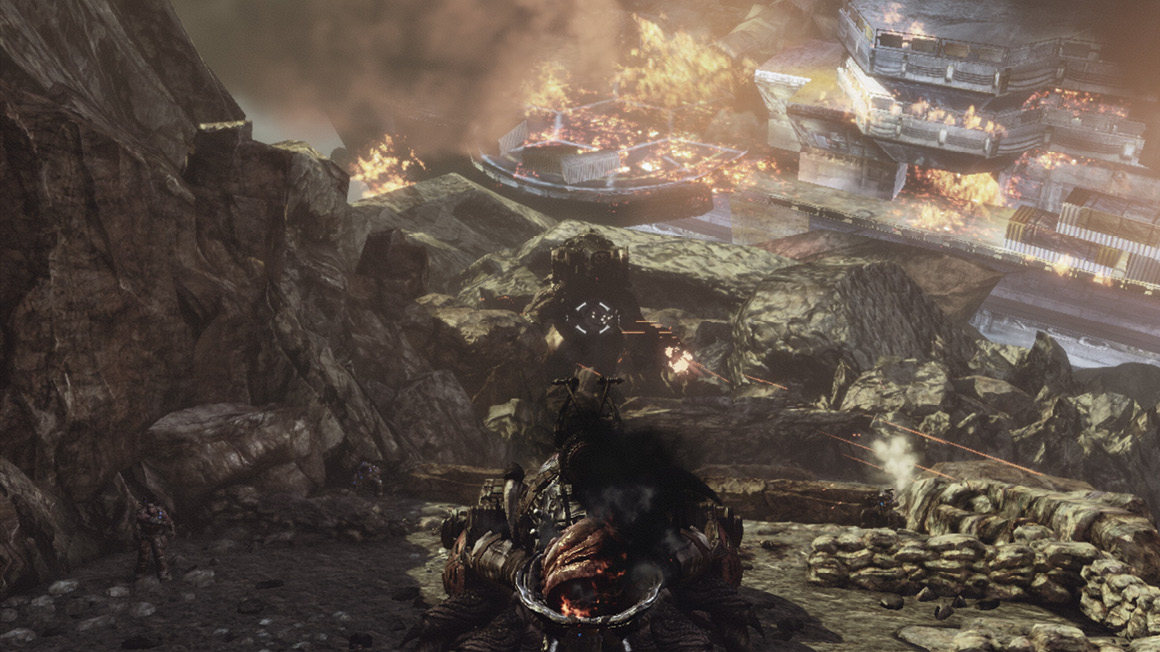
The two Siege Beasts aren’t the Locust’s only heavy weapons in the area; they also have a Brumak nearby! If there is any question about the Siege Beast’s power, this should lay it to rest. Wind up the Siege Beast and aim for the Brumak’s head. The reticle should turn red, but slightly anticipating the Brumak’s movement while you aim is a good idea, as the projectile fires slowly. Destroying the Brumak takes only two direct hits on all but the hardest difficulty setting.
 Regroup with Anya and Jace
Anya and Jace aren’t far from here, but a number of Locust are in the way. Descend the path around the bend to the right, where two Locust are holed up behind small rock piles. Take them down with the Digger Launcher, and then swap it for the Longshot in this area.
The path to the beach splits up ahead. Turn and snipe the Locust taking cover just down the hill to support Anya and Jace. Then snipe those to the right. Climb over the rocks to where the Locust you just killed were hiding. Marcus can’t mantle over the next wall of rocks, but this is a great spot from which to snipe the enemies on the beach—especially when playing Arcade mode, as headshots earn more points. Loop up and around to the left, through the arch, to access the beach. More Savage Drones attack on the beach near the containers, so be ready for them. It’s best to circle wide to the left and let the other COGs take the direct route to Anya.
Cross the beach toward the green smoke signal, leaving the remaining one or two Locust alive for your squad to dispatch. This gives you time to gather ammo and search for the COG Tag near the wreckage. Prescott’s injured body is lying near the smoke signal—it’s time for that chat.
 Defend Against Attacking Locust
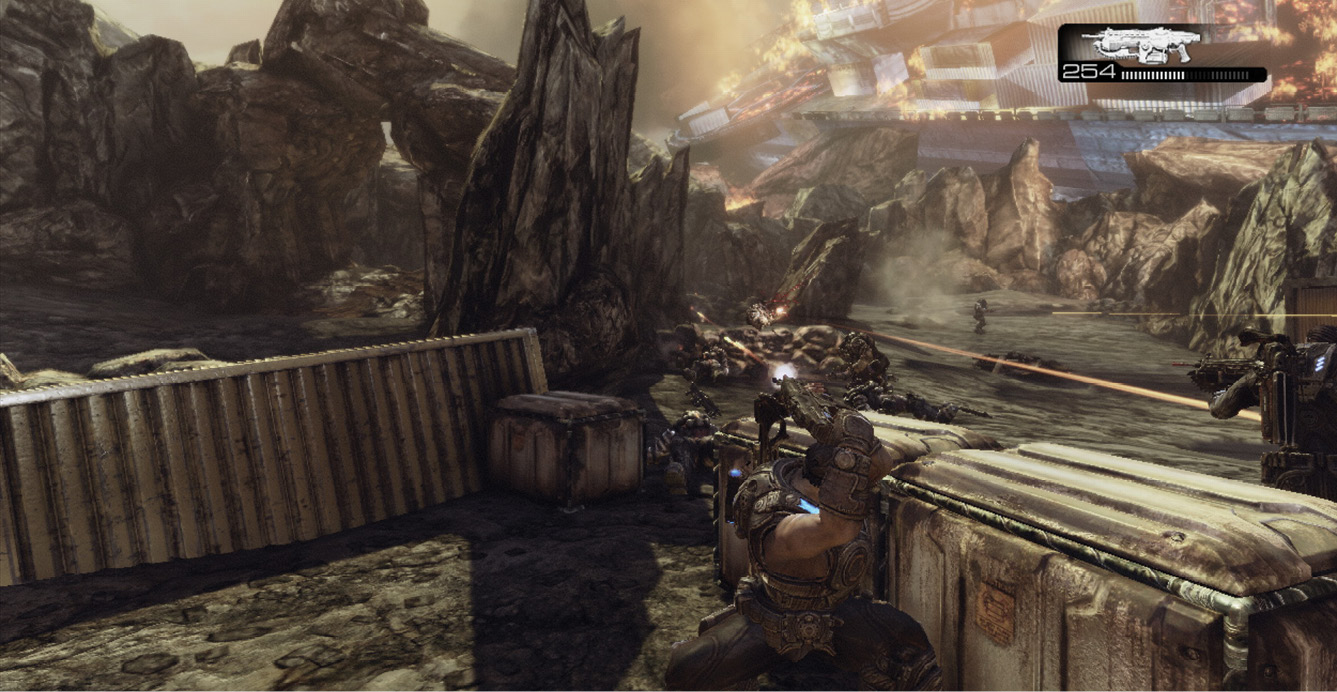
Before long, a band of Savage Drones interrupts the discussion. Use the Frag Grenades and assault rifle to take out the Locust wave that attacks after the meeting with Prescott. There are quite a few of them. Before you kill the final Locust, gather all available ammo and make sure you equip an assault rifle, such as the Retro Lancer.
 Destroy the Brumak
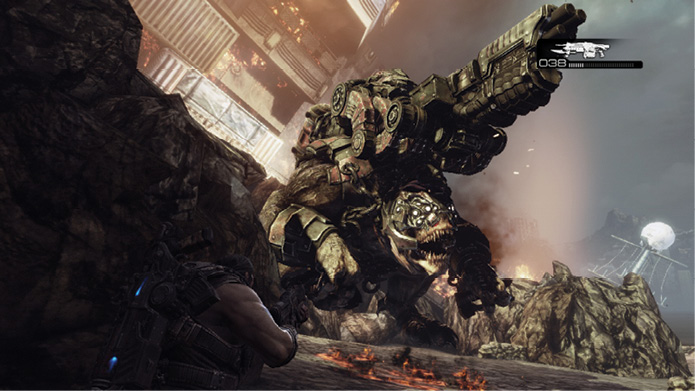
With the help of a Siege Beast, the squad dealt with a Brumak earlier, but now it’s time to take one down with conventional weapons. The Brumak has a massive amount of health, but you can inflict extra damage to it by targeting the guns on its arms and the rocket launcher on its back.
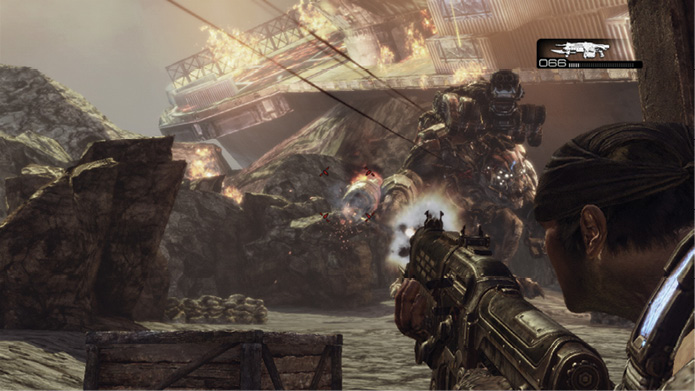
Immediately take cover inside the open shipping container, and use the Retro Lancer to fire on its right-hand gun. Lean out the container’s far left side to line up a clean shot. Next, slide deeper into the container and shoot from its middle opening at the Brumak’s left-hand gun. Destroy both wrist-mounted guns to make attacking on foot less dangerous.
Now it’s time to flank the Brumak and attack the rocket launcher on its back. Exit the container and sweep wide to the left, around the rocks, to get into position. Roadie Run and somersault to cover ground quickly. Then open fire on its dorsal-mounted rocket launcher.