
Gears of War 3 Guide Campaign Walkthrough Act 1
Chapter 1: Anchored
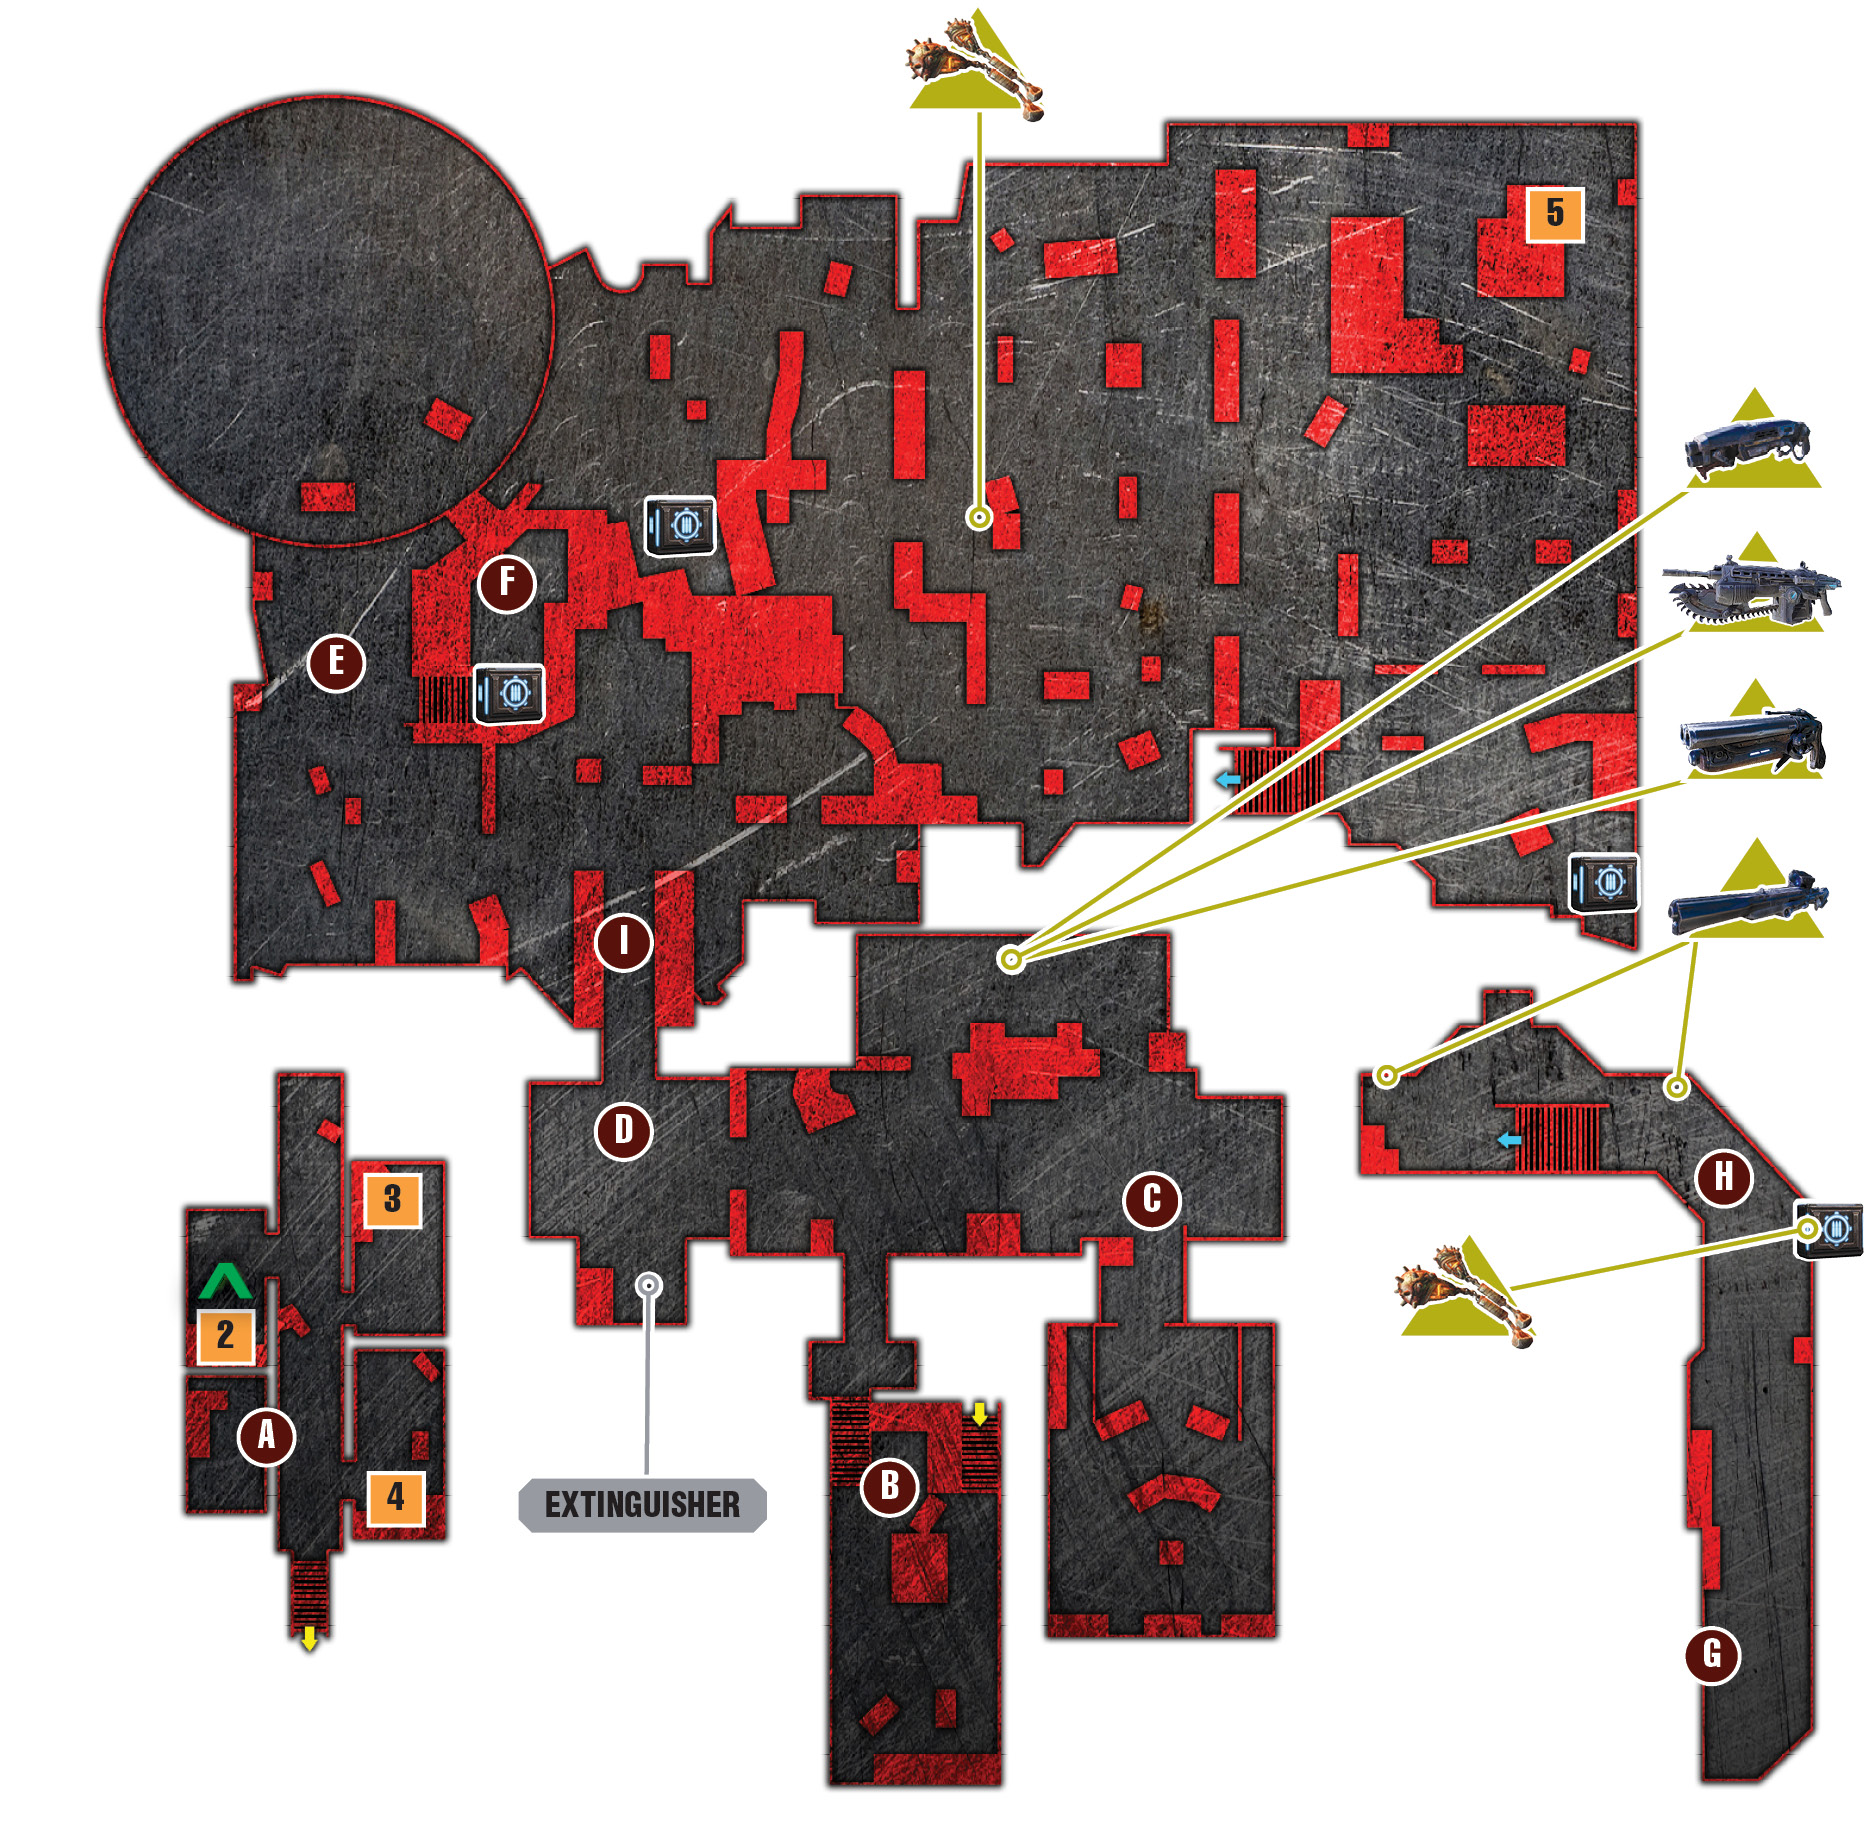
Objectives
Collectibles
|
 Get Dom.
 Get Jace.
 Meet Anya.
 Meet Prescott on the helipad.
 Secure the deck.
 Raise the deck lift.
 Head to CIC to view Prescott’s message.
 Defend the Raven’s Nest.
 Get to the captain’s quarters.
 Use the fire extinguisher to put out the fires.
 Twenty Dollar Bill
 Dom’s Psych Report
 Requisition Form
 COG Tag
The sinking of Jacinto brought a temporary triumph in the war against the Locust, but not without significant cost. The surviving citizens, along with the remaining members of the Coalition of Ordered Governments, abandoned their homes to relocate to the island of Vectes, beyond an ocean trench too deep for the Locust to burrow under. The island’s naval base and obsolete fleet of Raven’s Nest warships helped ensure a safe exodus from the Sera mainland. Not all of these newfound Stranded took to dry land, however. Some, including Marcus and the surviving members of Delta Squad, moved into permanent residence aboard the CNV Sovereign, a rusting helicopter carrier nearly fifteen years past its expiration date.
CNV Sovereign
 Get Dom
The Sovereign has entered hazardous waters, and a crew is needed for watch duty: Marcus Fenix, Dominic Santiago, Anya Stroud, and Jace Stratton. Naturally, it’s up to Marcus to wrangle up the others. Exit the cabin and turn to the right. Dom’s cabin is adjacent to Marcus’s cabin, as indicated by the sign above the bulkhead door.
 Get Jace
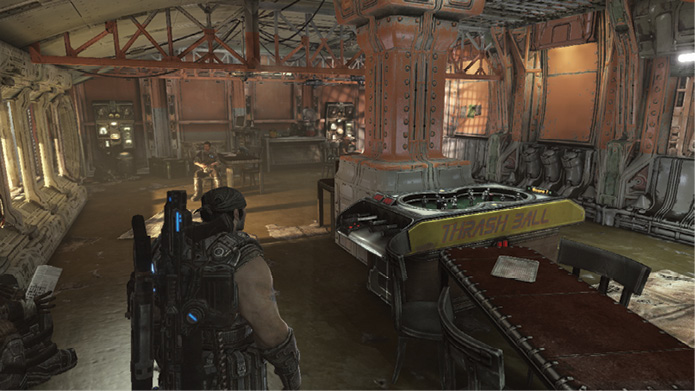
Lead the way up the stairs to the recreation room on deck two. Jace is off to the right, banging away on the Candy Striper vending machine in hopes of getting its last pack of gum. Note the desiccated Lambent Stalks out the window, and round the column to meet up with Jace. Give the machine a swift kick to show the corporal how it’s done.
 Meet Anya
Lead Dom and Jace up the stairs toward the captain’s quarters. Lieutenant Anya Stroud is just around the corner, being briefed on a current inbound Raven. She fills in Marcus and the others on the surprise radio contact they’ve received—they can’t believe who’s aboard that chopper…
 Meet Prescott on the Helipad
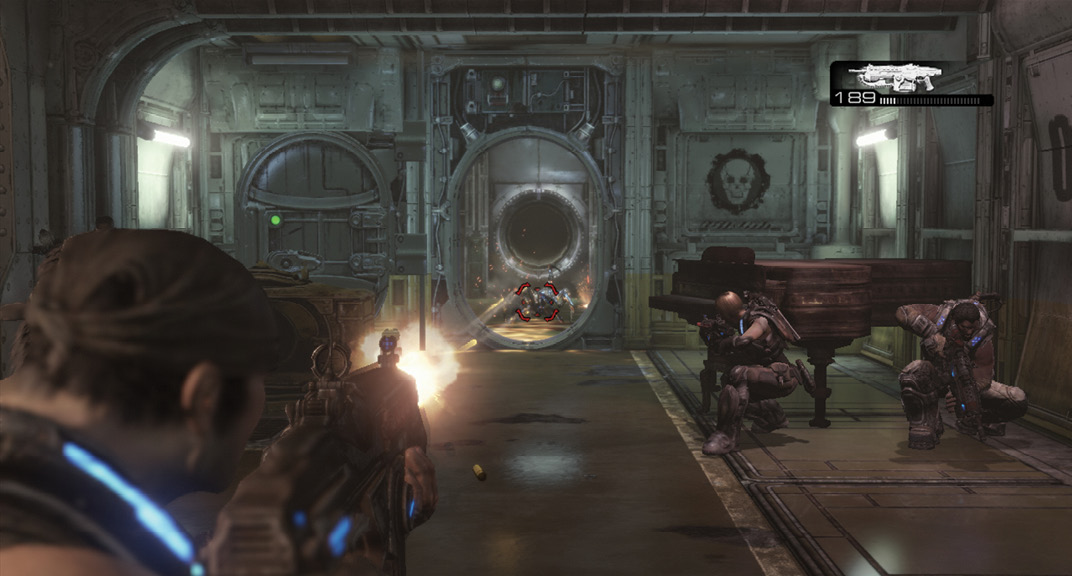
The disgraced Chairman Prescott has returned from his self-imposed exile and is scheduled to land momentarily on the starboard deck, but he’s not the only arrival. Numerous crab-like creatures known as Polyps have somehow boarded the ship and made their way inside. Delta Squad hasn’t encountered a Polyp in months! Equip the Lancer by pressing Right on the D-Pad, and open fire on the Polyps entering through the open door. Don’t worry about taking cover, as these particular specimens are unlikely to perform their spit attack. Just shoot them before they get too close.
 Secure the Deck
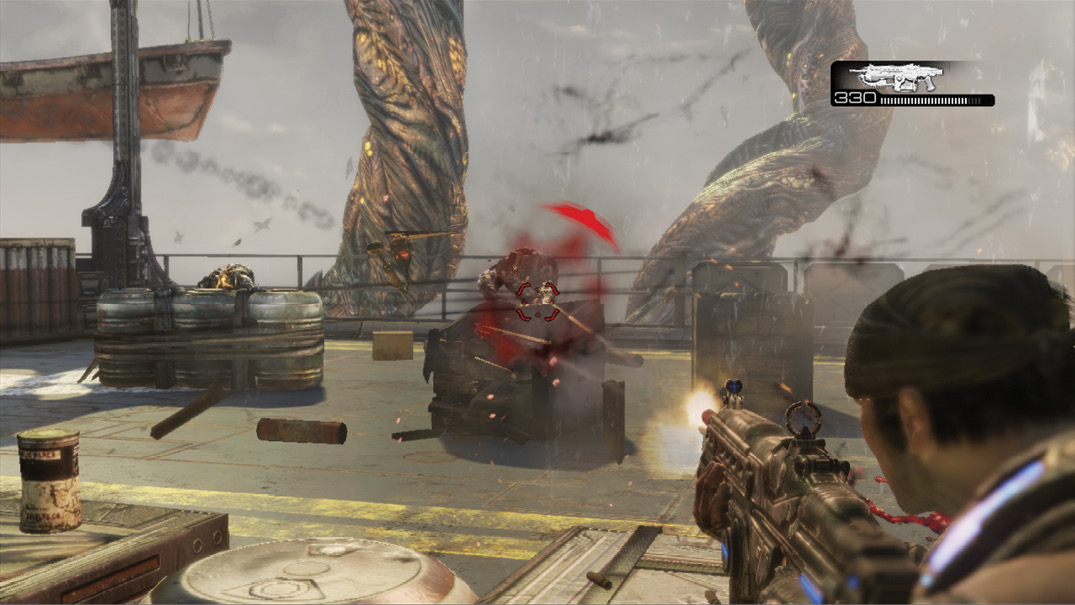
Fight your way up the stairs to the ship’s deck, where a number of Lambent are fast approaching, led by one of their tougher variants, the Drudge. Drudges release massive Imulsion explosions upon destruction, so keep your distance and focus your fire on them first—the Drudges you encounter here don’t mutate. Use the crates and barrels for cover, and gradually push across the deck as you defeat each line of Dark Drones. Blind fire with the Lancer over cover to combat the nearest Dark Drones. Toss a Frag Grenade at the group of Dark Drones before they split up—this is also a great way to destroy fragile wooden crates and remove cover.
The final enemy in this assault is a Drudge that appears near the helipad bay. Roadie Run around the corner, past the control station, and kill it with the Lancer’s chainsaw. Marcus automatically kicks the Drudge into the helipad bay before it has a chance to explode.
 Raise the Deck Lift
Gather the ammo from the crate and ascend the steps to the operator’s booth overlooking the helipad bay. Pull the lever to raise the lift so Prescott’s bird can land. Marcus and the others can be forgiven for not rolling out the red carpet for the AWOL chairman. But that doesn’t mean Prescott doesn’t have valuable information. He hands Marcus a data disc before brushing past the COGs to join Captain Michaelson in his stateroom.
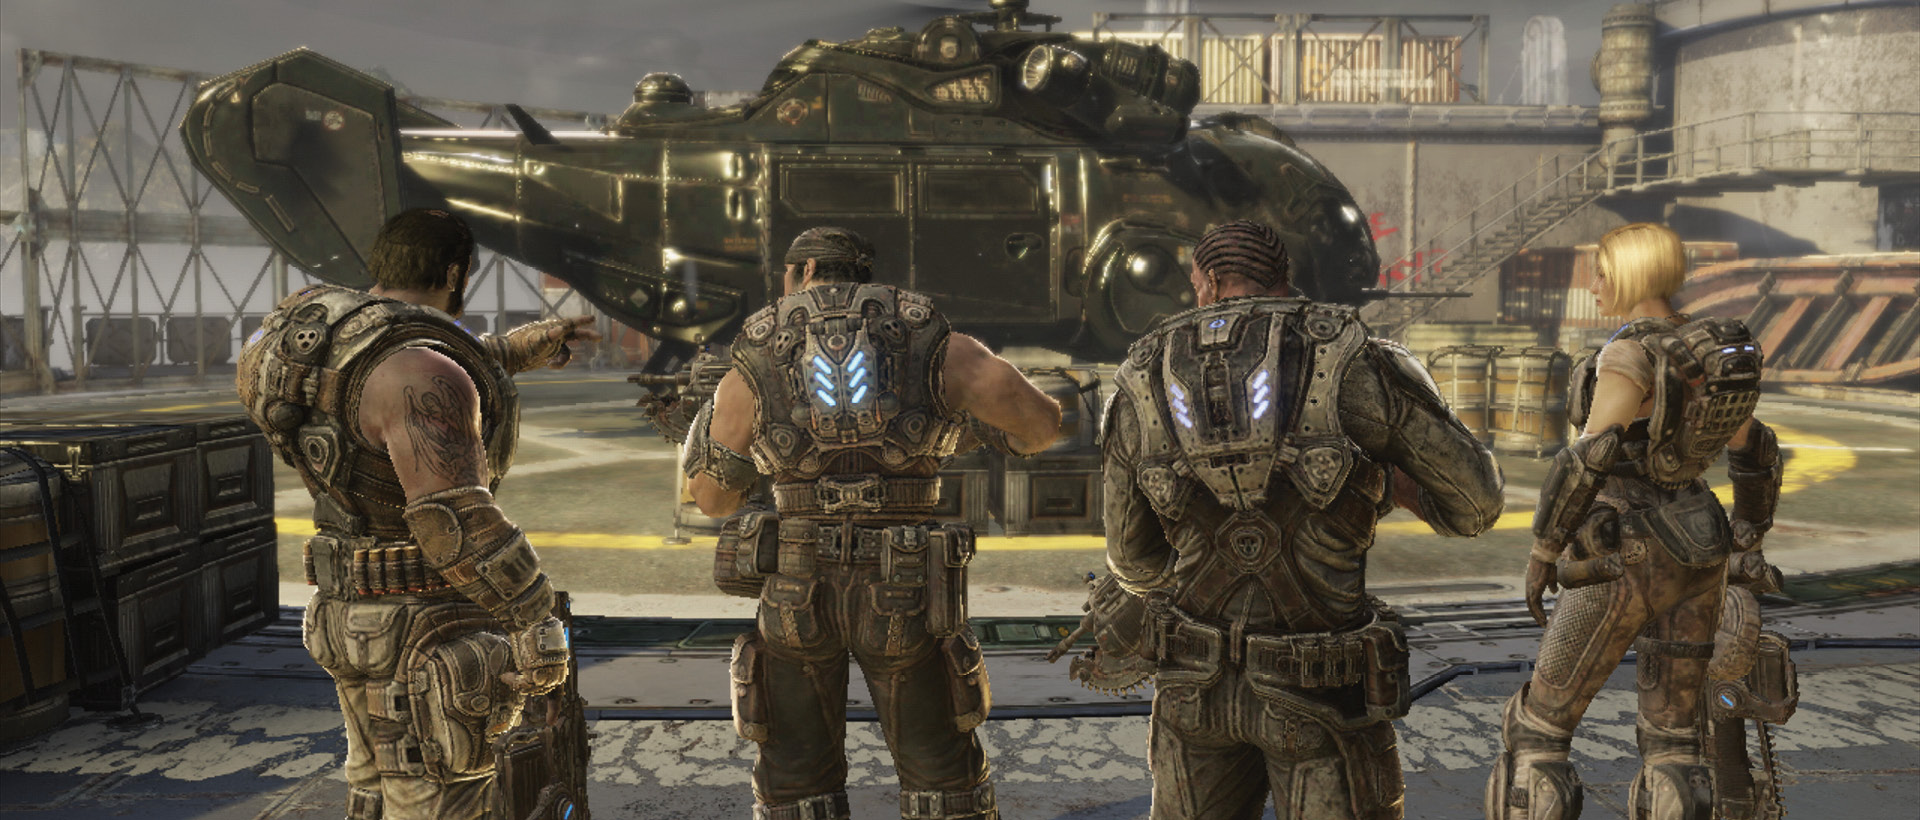
 Head to CIC to View Prescott’s Message
A second wave of Lambent emerges from the Lambent Stalks on the ship’s port side, near the stairs leading up to CIC. Sprint halfway across the deck, and take cover behind the barrels just beyond the sandbags. The Drudge atop the overhead walkway poses the biggest threat, so take it out first. The resulting explosion severs the walkway in two. Ready the remaining Frag Grenade and toss it at a group of Lambent. Advance to the cover just before the pumpkin patch to take aim on the other attacking Lambent. Eliminate this second wave before you climb the stairs on the right. Another option is to flank around the containers on the left to gain a clean shot at the enemies while they focus on your squadmates.
Ascend the stairs to the bridge and swap out the Gnasher for the Longshot that leans against the railing. Collect the ammo from the second Longshot located near the turn in the walkway leading to CIC. The sniper rifle comes in handy soon enough. Enter the door to CIC and watch the video recorded on the disc that Prescott handed Marcus.
 Defend the Raven’s Nest
Another wave of Lambent attack—Marcus is needed on the deck at once! Equip the Lancer and use the chainsaw to cut through the pallets and crates blocking the shed-like structure on the right. Gather the extra ammo and Frag Grenades, and then set to sniping the Lambent down below. The first attackers from this next wave all board the ship from the port side, making this an excellent vantage point. Stay in this position and continue sniping until you exhaust all the Longshot ammo from the two weapons you acquired earlier, or until you kill the last of the Lambent on this side.
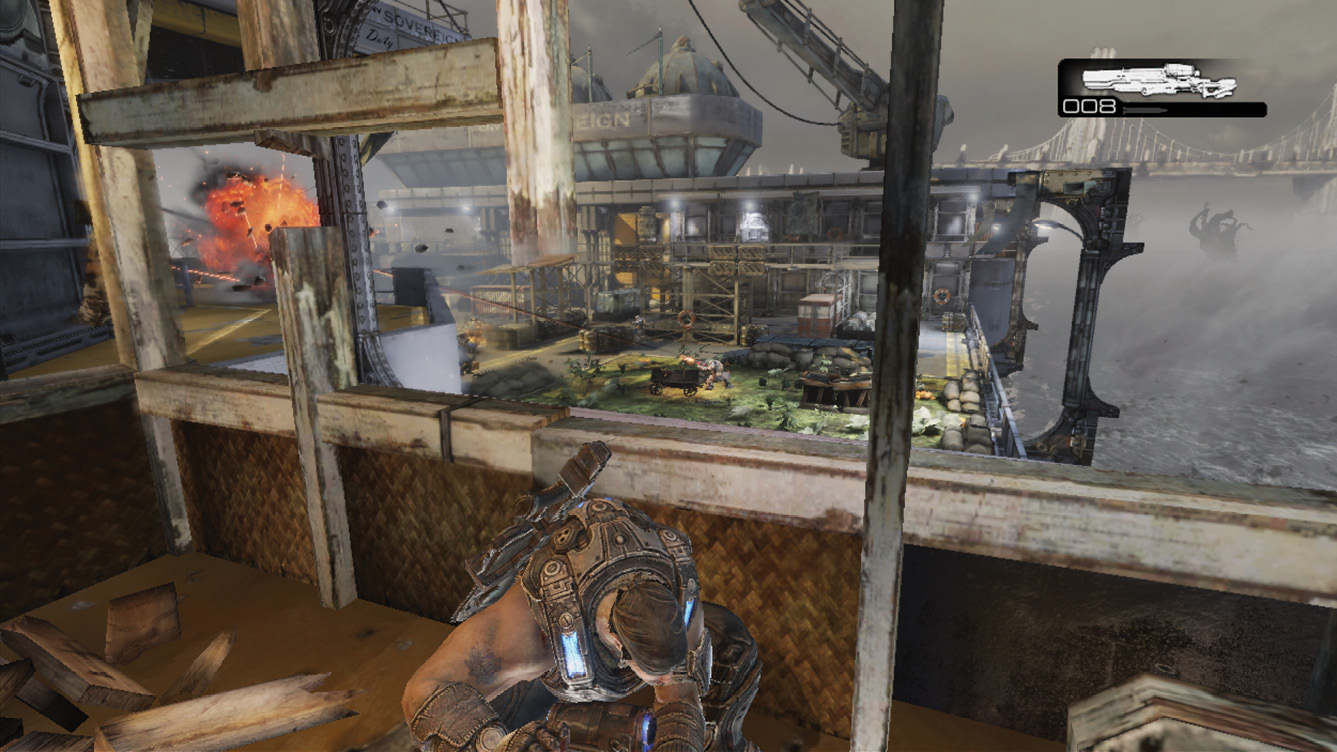
Make a run for cover along the walkway and employ the Lancer against any remaining Lambent down below. Don’t descend the stairs until you dispatch the last of the Lambent on this side of the ship. Most of the Lambent now attack from the helipad lift’s vicinity, but one or two may approach from your rear. Sprint straight to the ammo crate opposite the base of the stairs. Wait a moment there to see if any additional Lambent board the ship from this side—the last thing Marcus needs is to be caught in crossfire! Take cover near the broken walkway and scan for Drudges. Focus your fire on them before they get too close, as their death bursts can be lethal.
 Get to the Captain’s Quarters
Prescott and Captain Michaelson have been attacked in the captain’s quarters, but the COG can’t reach the far side until the helicopter lift is raised. Stay in cover, ready a Frag Grenade, and wait for the nearby crewmember to raise the lift. Sprint across the pad on an angle to the left, take cover, and blind toss the Frag Grenade at the Drudge and Dark Drones. Gather any nearby Lancer or Hammerburst ammo and descend the stairs on the right to the staterooms.
 Use the Fire Extinguisher to Put Out the Fires
The captain’s quarters aren’t far ahead, but the lower deck is on fire. Pick up the fire extinguisher lying opposite the stairs, and use it to douse the first two sets of flames leading to the captain. Hold the Fire Weapon button to use the extinguisher, and sweep it back and forth to put out the fires.
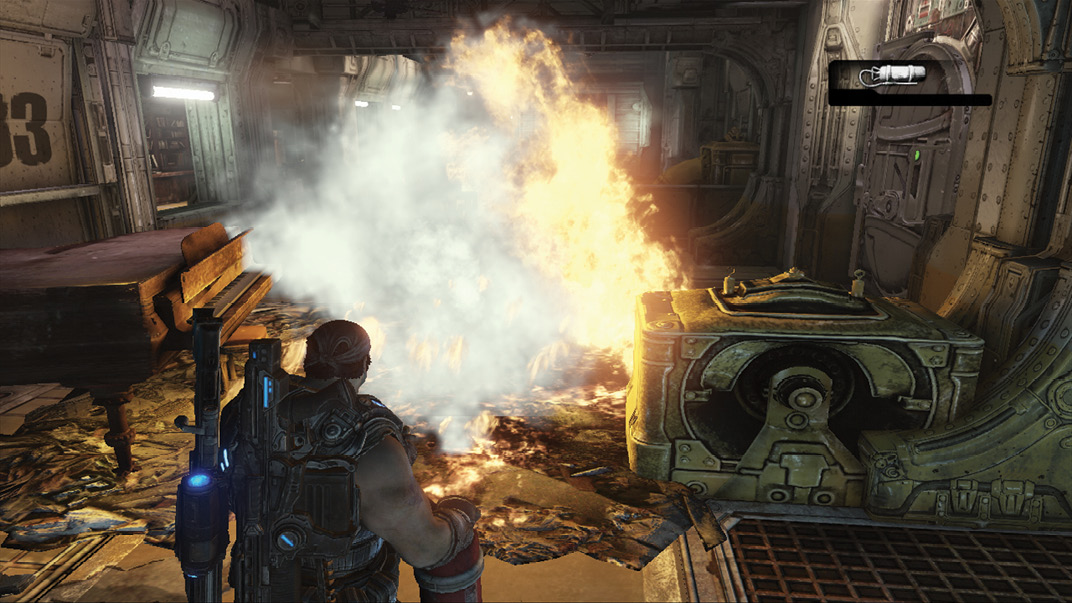
Fire may be a sailor’s worst fear, but a little bit of flame won’t sink the CNV Sovereign. Let the third set of flames burn to block the Drudge that attacks. Duck through the opening to the left to resupply at the armory—swap out the spent Longshot for the Gnasher. Finish off the Drudge in the hallway, and then charge down the hall to the captain’s quarters. Blast the two Dark Drones with the Gnasher.