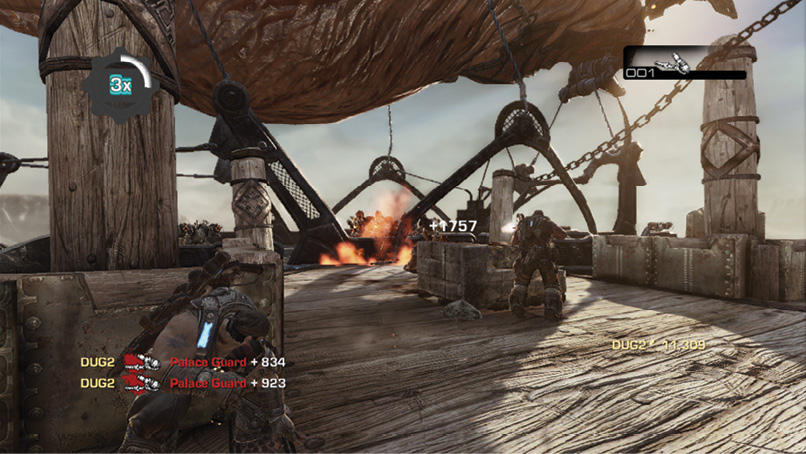
Gears of War 3 Guide Campaign Walkthrough Act 2
Chapter 5: Hijack
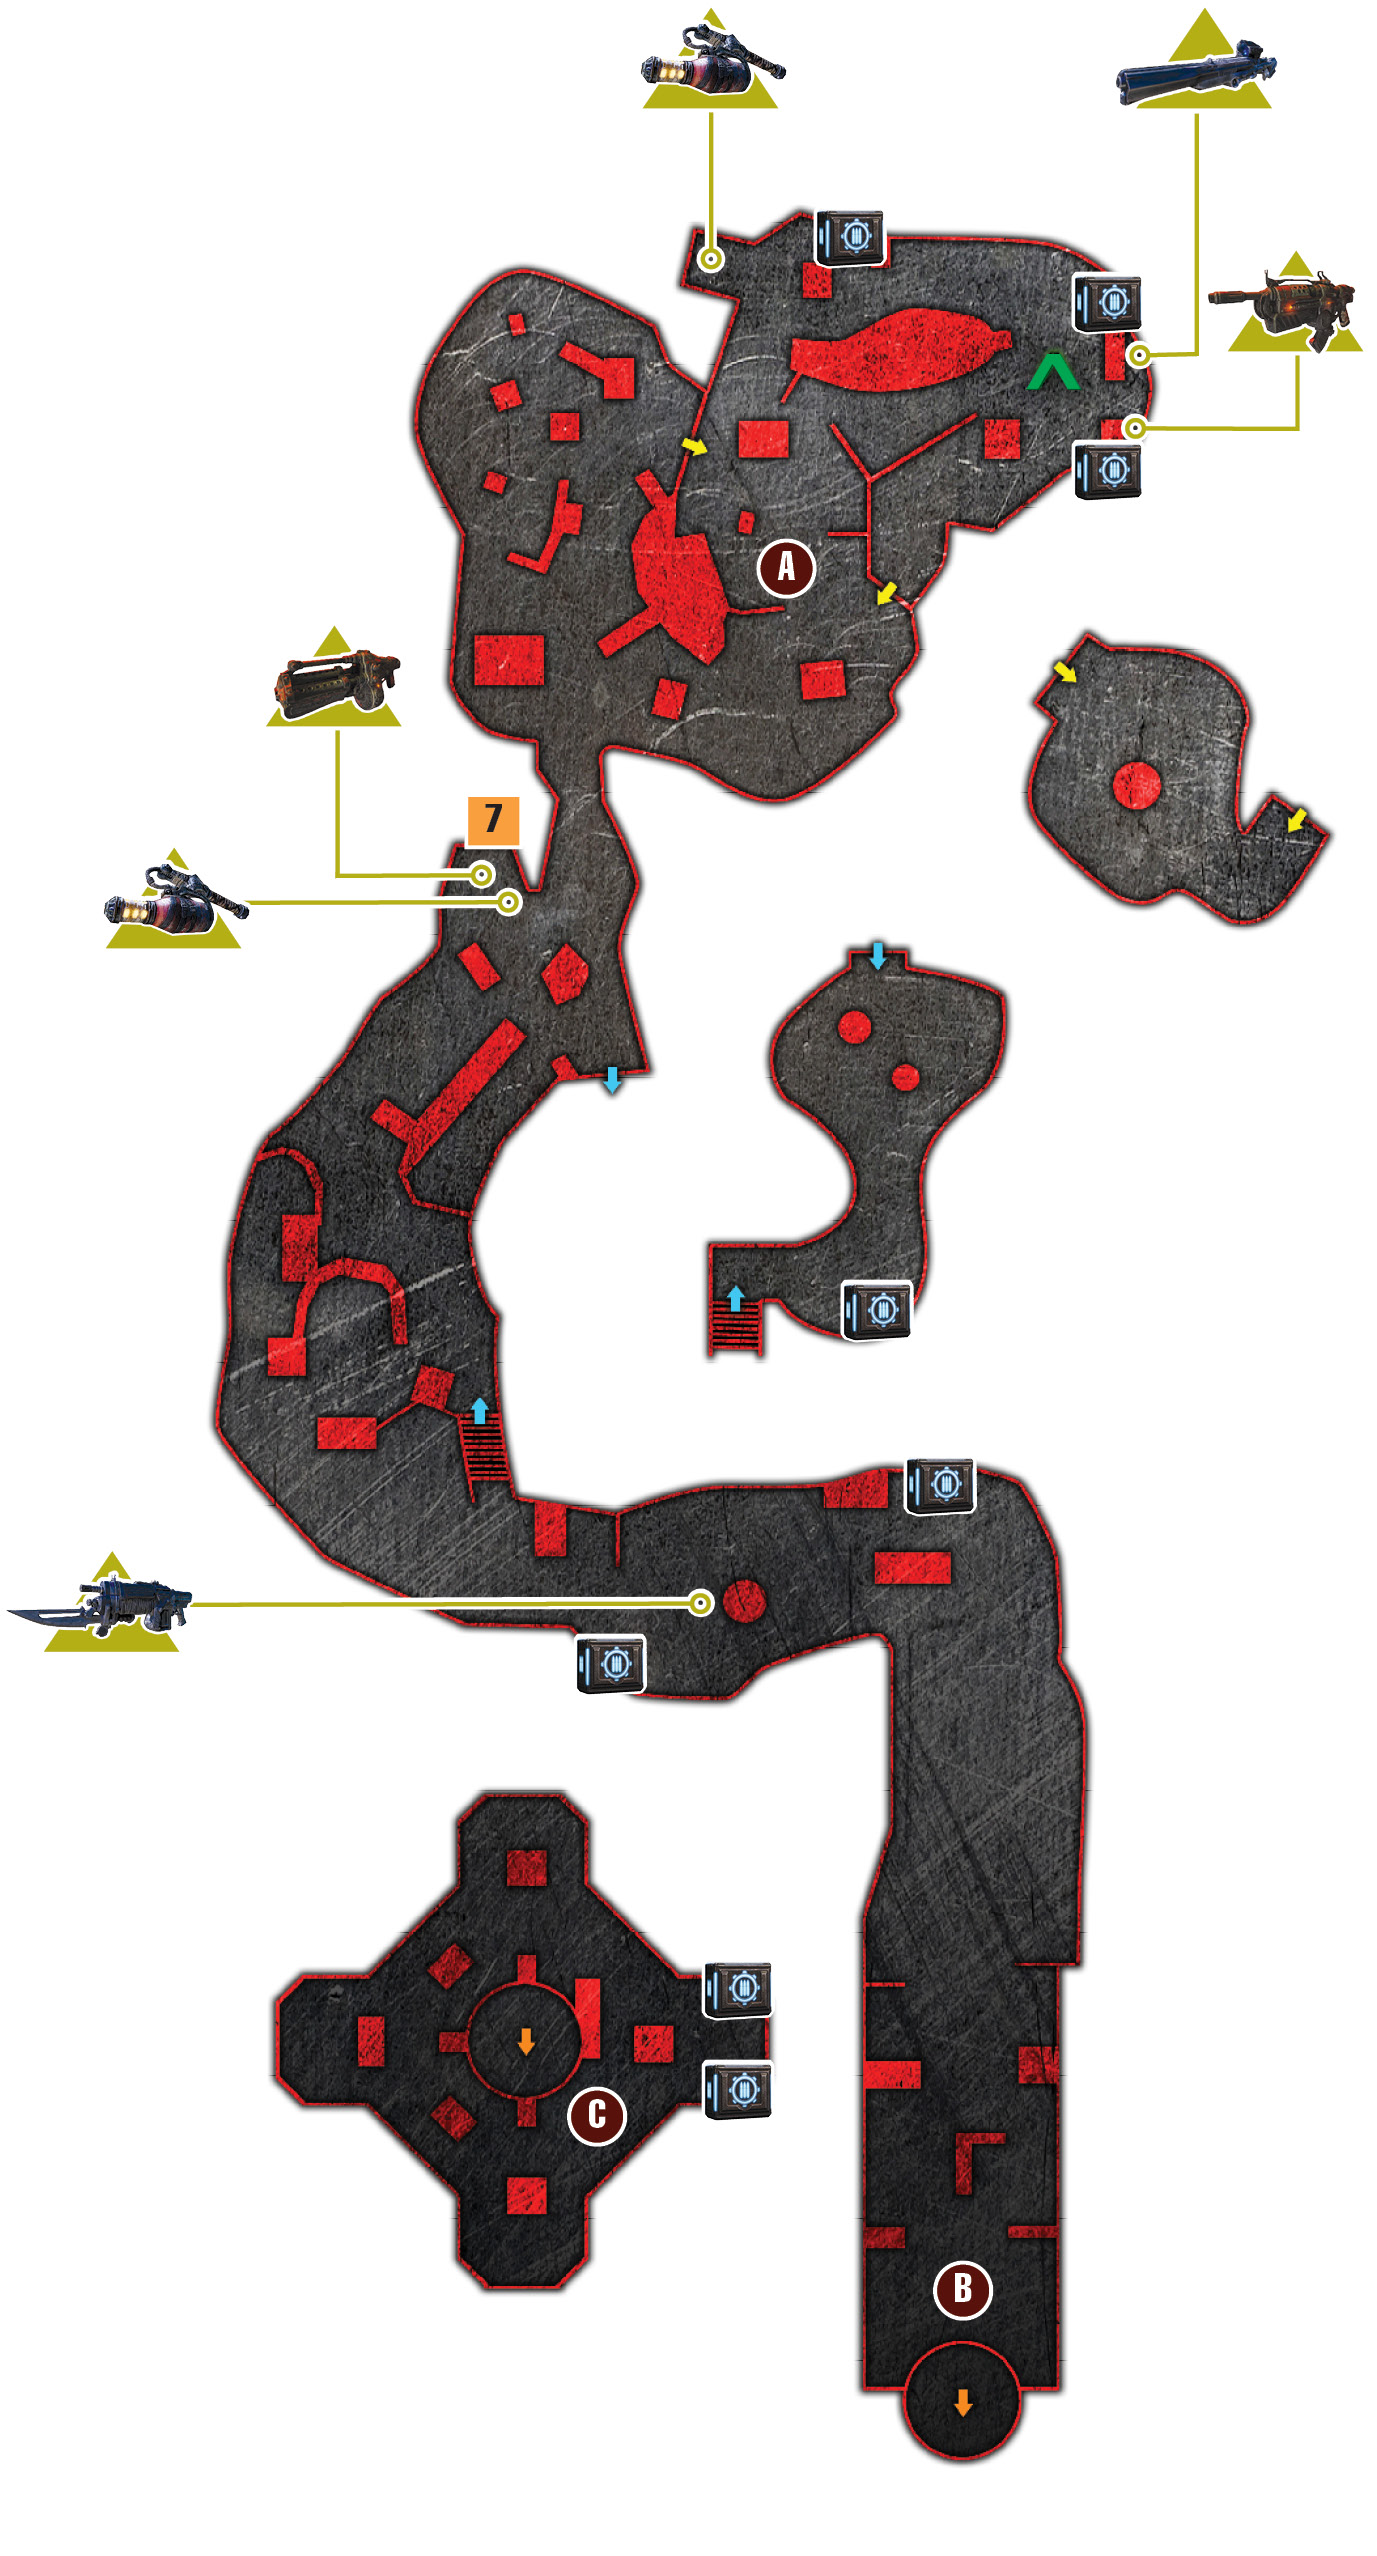
Objectives
Collectibles
|
 Get to the Gas Barge landing tower.
 Ascend the Gas Barge landing tower.
 Defend against attacking Gas Barge.
 Queen’s Symbol
Delta Squad survived the run-in with the Corpser Mother and reached the Gas Barge landing tower, but they’re not home free yet! Their sought-after Gas Barge is nearby, but it’s not alone. Nor is the landing tower unguarded. Marcus must lead his squad through the tower’s fortified base and lure one of the Gas Barges in close to commandeer it. It won’t be easy.
Gas Barge Tower
 Get to the Gas Barge Landing Tower
Delta Squad exits the lift leading out of the Corpser Mother’s den and immediately takes fire from floating Locusts known as Shriekers. Although they have low HP and are relatively easy to kill, don’t take Shriekers lightly. Their twin machineguns (modified Gorgon Pistols) can cut a COG to shreds in no time flat. Take cover, swap out the Retro Lancer for the Hammerburst if necessary, and pop those Shriekers!
Take cover from the Shriekers as soon as you step off the lift and pick up the Hammerburst lying on the ground. Eliminate the Shriekers and then target the fuel containers near the Drones and Grenadiers in the distance. Cover swap to the right and drop your spent power weapon in favor of the Longshot. Snipe the Grenadiers down below.
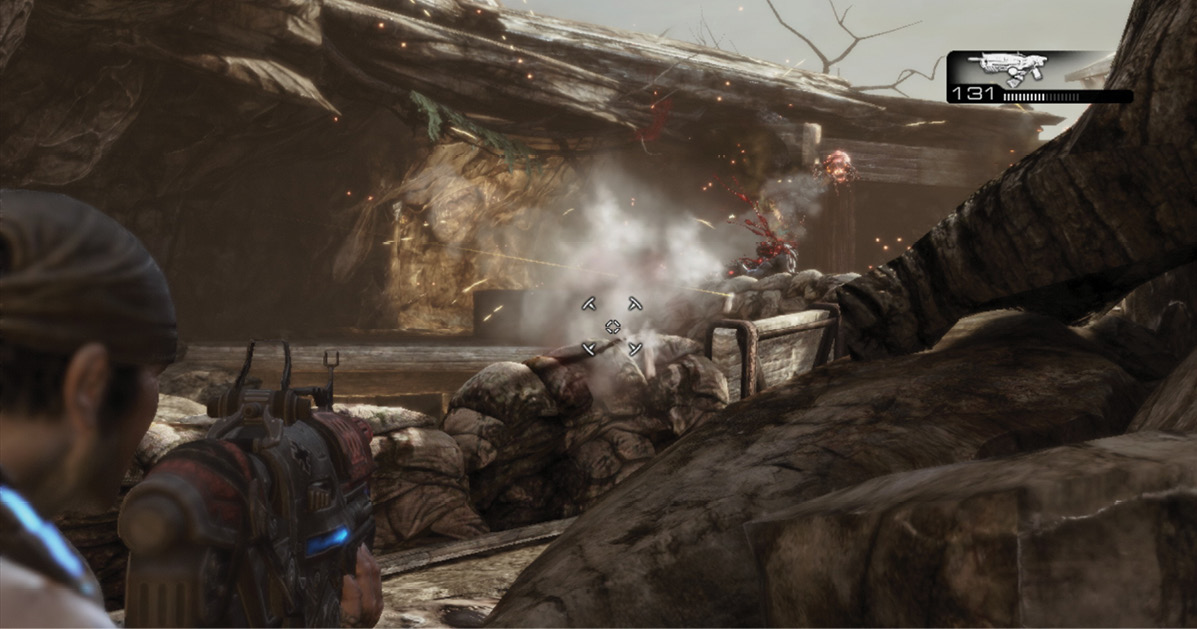
Palace Guards rappel down from the Gas Barge in the distance. Advance along the path on the right to reach the Incendiary Grenades at the lookout tower. Don’t pick up the Incendiary Grenades just yet, as you should still have one or two Frag Grenades from earlier. Take a moment to snipe the Palace Guards with the Longshot—be careful to keep your head down, as they have Torque Bows. Look for opportunities to target other fuel cells for explosive kills.
Once you slay the Palace Guards, the gate to the left opens and reinforcements arrive. Hang back and wait for the incoming Grenadiers and Boomer to appear. Snipe those you can, and then toss a Frag Grenade at the others. Loop around to the corpse pile and swap your spent Longshot for the Torque Bow. Gather any additional Torque Bow ammo.
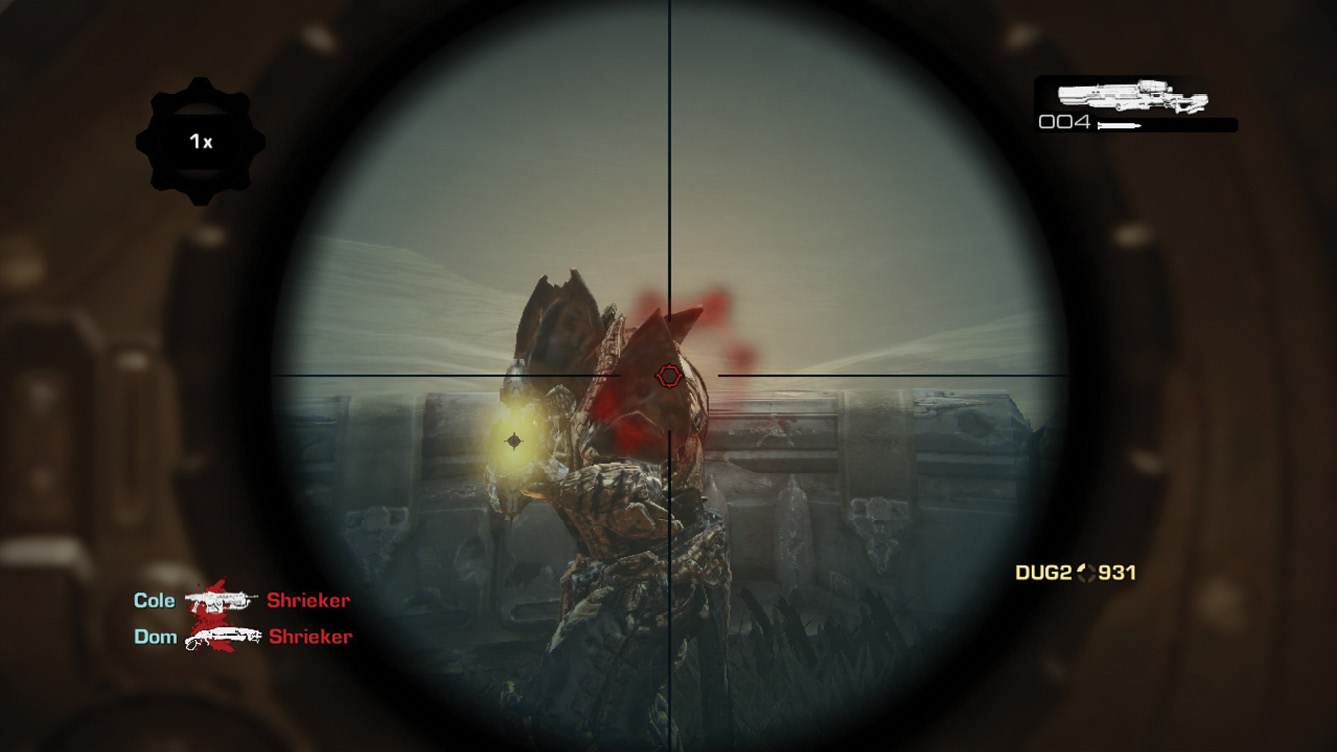
Proceed through the gated area to the left, toward the turret in the distance. Use the Torque Bow to take out the turret’s gunner, along with any Locust that try to replace it. Allow the rest of Delta Squad to draw some fire and fend off the nearby Shriekers while you duck into the gated alcove to the right. Kick open the gate and grab the Boomshot and collectible.
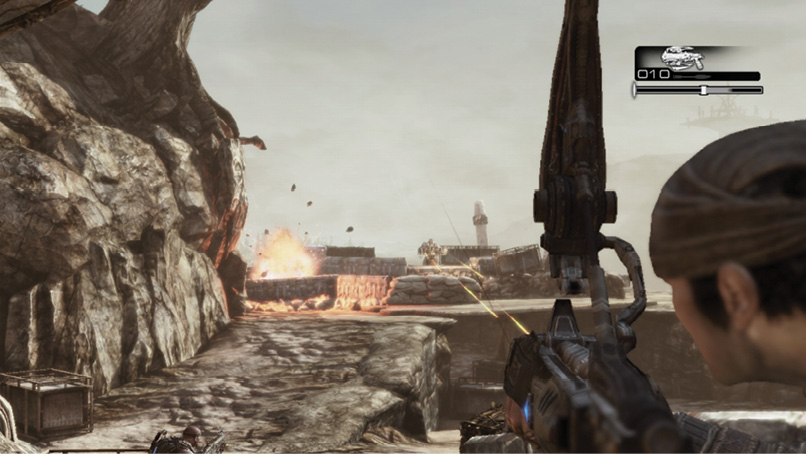
Let the squad charge forward, toward the turret, while you proceed through the tunnel on the left. Gather any ammo you find, and keep the Torque Bow on hand. Continue up onto the ramp overlooking the turret. Either toss down a grenade or use the Torque Bow to take out the Palace Guards near the turret. Continue through the gate to the lift.
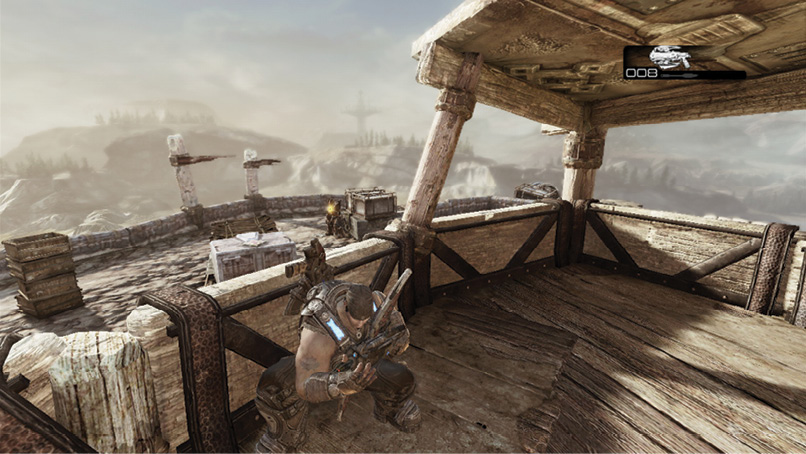
 Ascend the Gas Barge Landing Tower
Ride the lift up to the top of the tower. There’s no sense in firing on the Gas Barge, as doing so only wastes ammo. Just keep your head down and conserve ammunition.
 Defend Against the Attacking Gas Barge
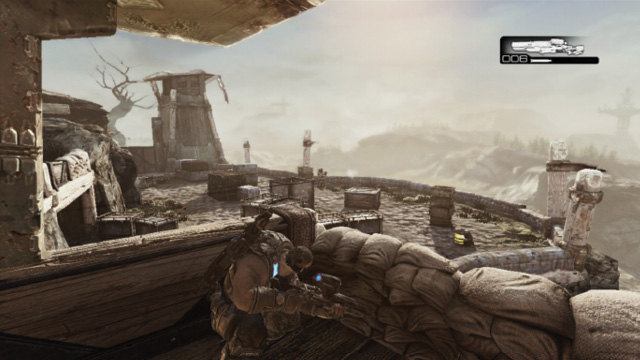
The Gas Barge hasn’t docked yet, but it will. First it circles and fires its mortar bombs at the squad while it slowly descends toward the tower. Take cover on the side of the landing tower opposite the Gas Barge to avoid the bombs. Ready the Torque Bow and stay behind cover on the tower’s far side as it slowly flies a counter-clockwise circle around the tower.
Palace Guards rappel down onto the tower in pairs. Fire on them with the Torque Bow as soon as they release from their ropes. Make sure they’re dead, and then sprint to their location and take cover. It’s important to kill them quickly and move to their location so that the next pair of Palace Guards descends across the tower, where you just were.
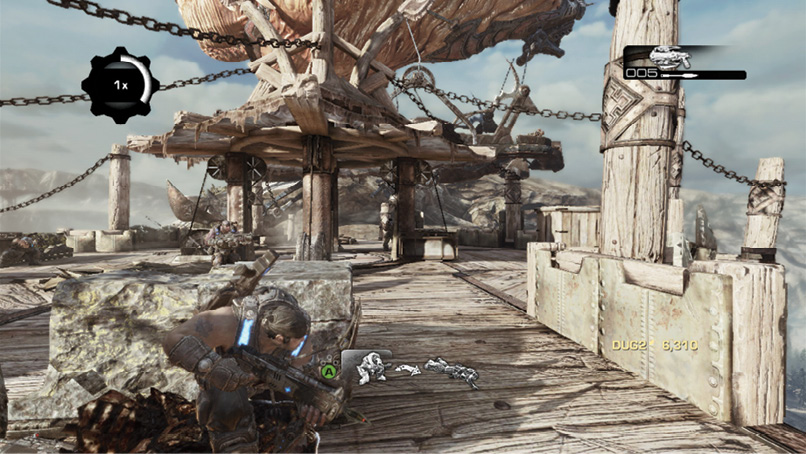
The Gas Barge continues around the tower and soon drops another pair of Palace Guards. This continues until a total of four Palace Guard pairs are deployed. Available cover eventually deteriorates and the Gas Barge attacks with greater frequency. Continue using the Torque Bow until it’s out of ammo, and then immediately swap it for one of the Gnashers that the Palace Guards drop—many of the Palace Guards wield Lancers and Gnashers.
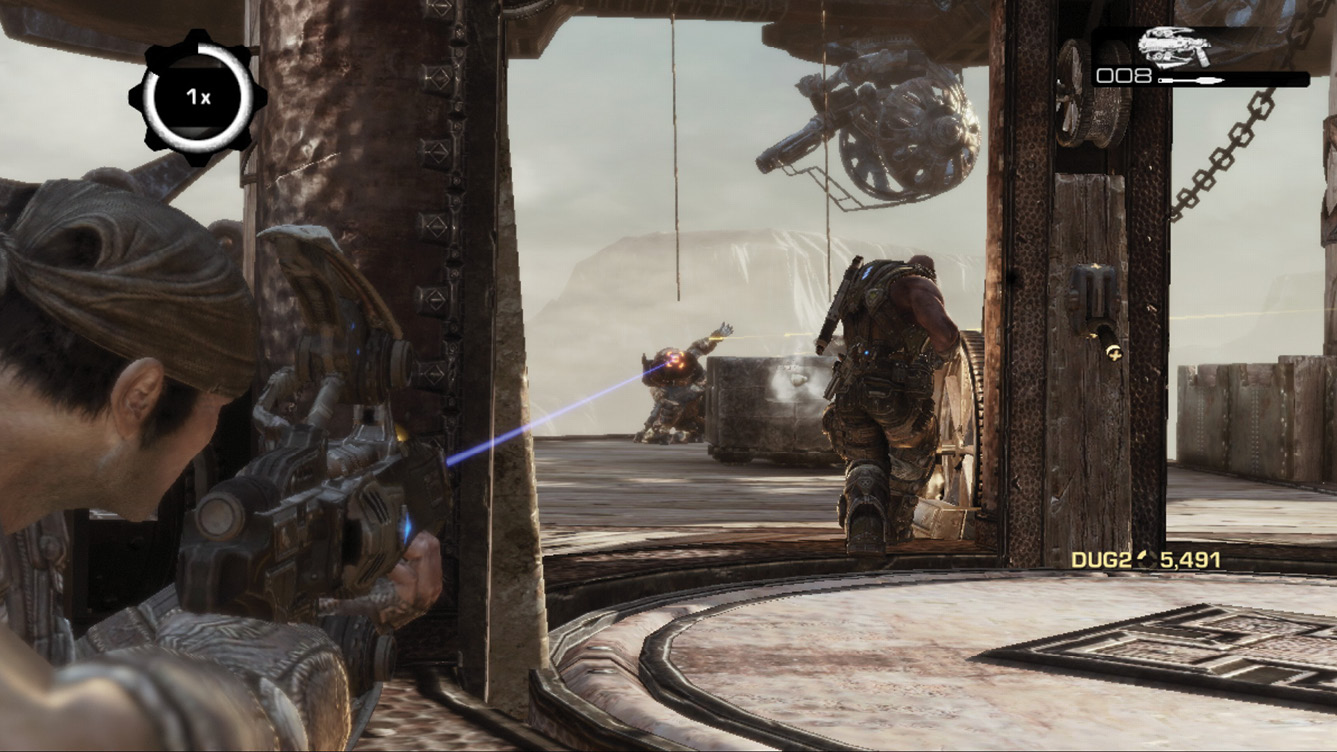
The Gas Barge eventually docks, and an army of eight Palace Guards pours out of the ship onto the deck. As they exit the barge, throw your Incendiary Grenades from earlier. Keep moving and use the Gnasher to finish off the remaining enemies. Be careful of incoming grenades, and watch for flanking Palace Guards, as they’re not above chainsawing you!