
Gears of War 3 Guide Campaign Walkthrough Act 3
Chapter 1: Unbreakable
Objectives
Collectibles
|
 Defend the front gate.
 Defend the second gate.
 Defend the inner courtyard.
 Shoot the “Last Resort” fuel tank.
 Anvil Gate Plaque
 Watercolor Painting
 Sam’s Father’s
 A crash landing wasn’t what the squad had in mind when they lifted off aboard a Gas Barge, but they managed to reach Anvil Gate in one piece. There’s no time to use Prescott’s encryption key, as the Locust are mounting an all-out offensive on the fort. Anvil Gate earned its reputation as an impenetrable fortress during the Pendulum Wars, but that was against humans, and it was before the fort became little more than just another Stranded outpost. The Locust pose a much bigger threat than these walls have seen in past conflicts. It’s up to Marcus and the rest of Delta Squad to see Anvil Gate through the night.
Anvil Gate Fortress
 Defend the Front Gate
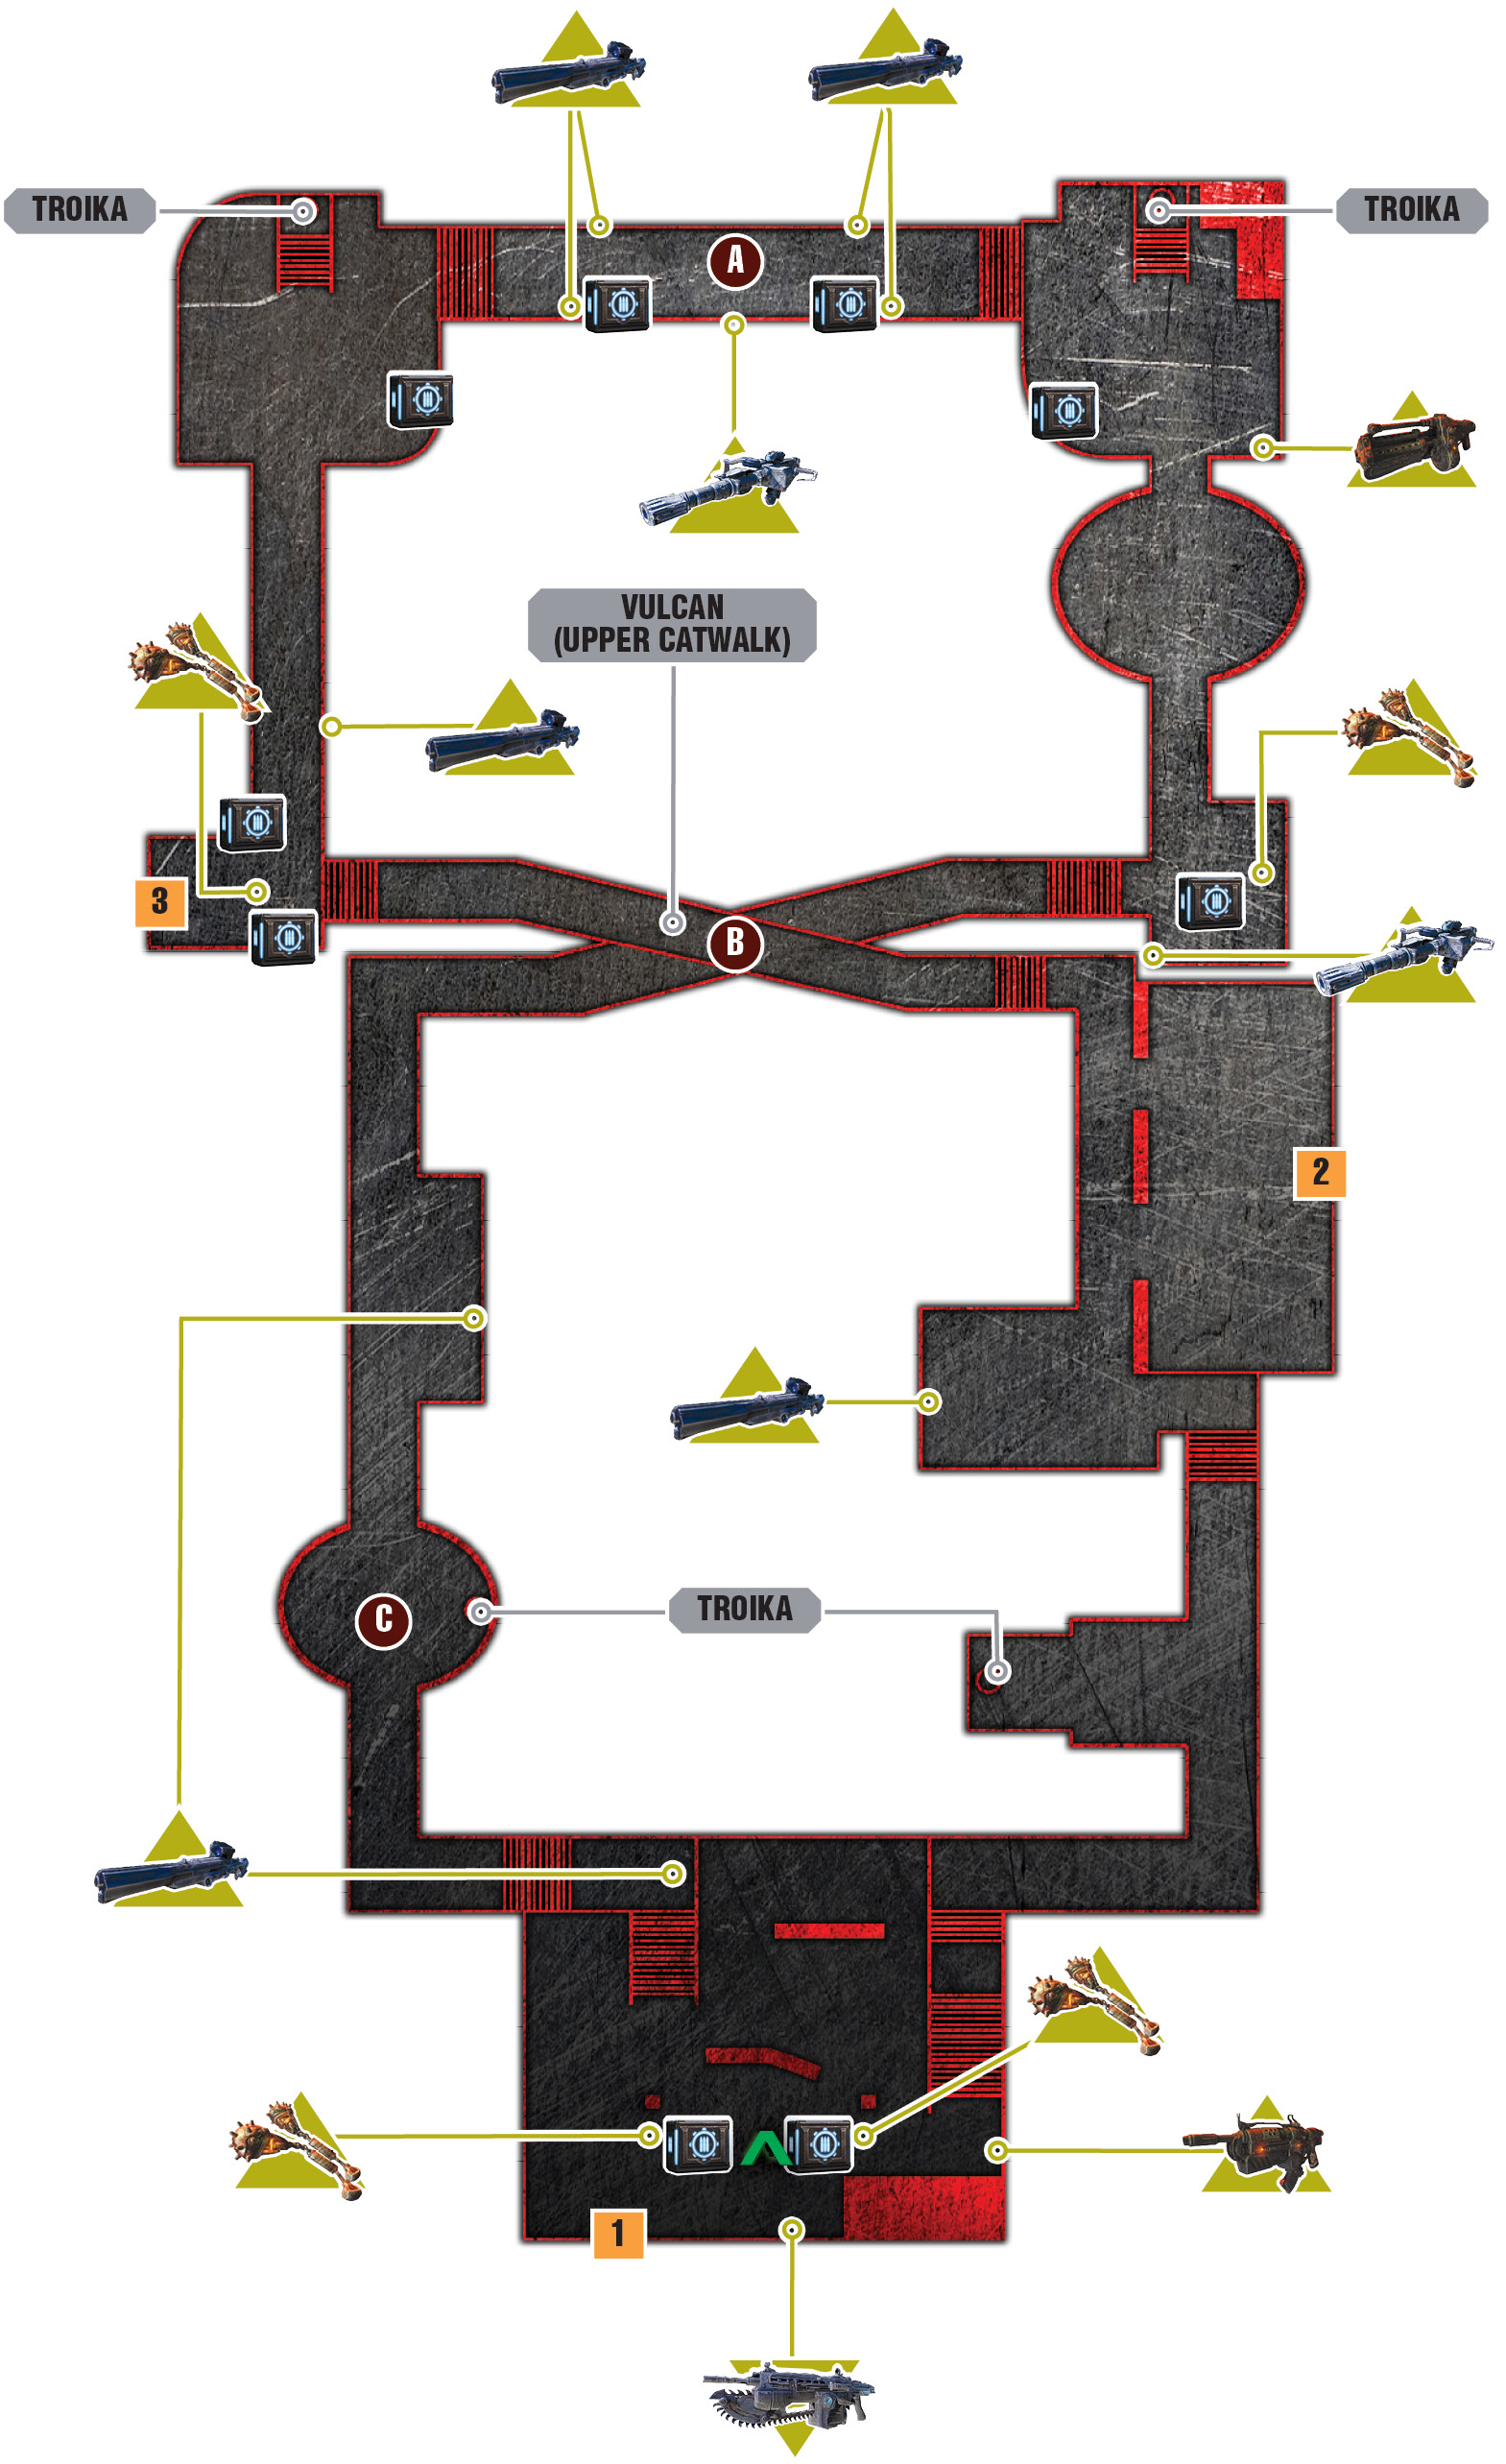
A heavily-armed Locust column is fast approaching for what will go down as one of the largest battles between COG and Locust since E-Day. Anvil Gate has an outer gate and two interior gates separated by multiple courtyards. It’s possible to hold off the assault at the second gate and keep the Locust from breaching the interior courtyard. However, you can still achieve victory even if the Locust break all the way through to the garage, as long as you keep the Boomers from slipping through the door. But more about this later…
Hoffman and the others immediately rush to the front gate, but you have time to gather supplies and to locate the collectibles scattered throughout Anvil Gate. In fact, the battle at the front of the fortress doesn’t truly begin until Marcus arrives, so take all the time you need to study the fort’s layout and to find the collectibles.
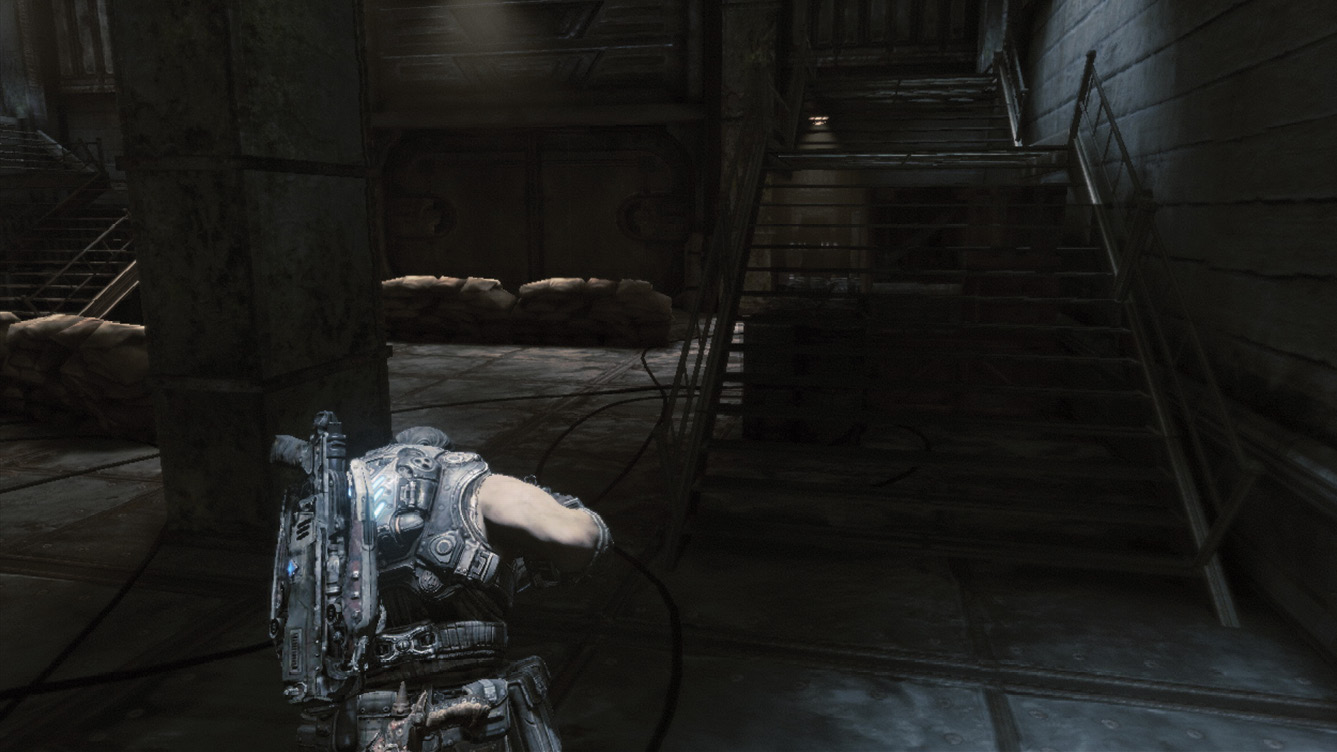
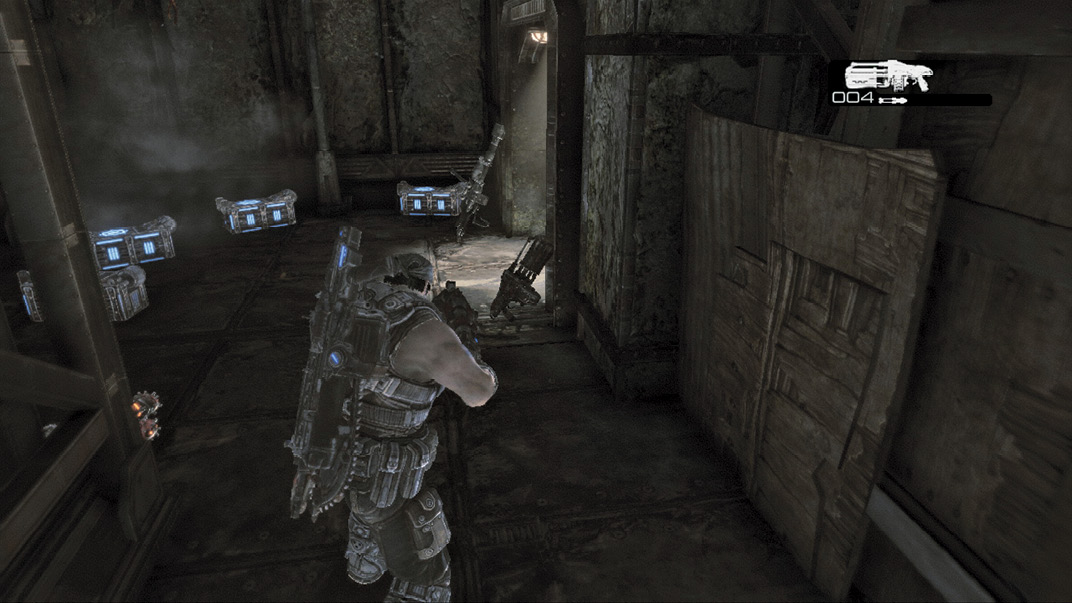
The routes through Anvil Gate essentially form a figure eight of sorts, with the catwalks crossing over one another in the center courtyard. The upper path, accessed via the right-hand stairs in the garage, leads past the living quarters to a Vulcan high above the interior courtyard. The lower path, leading up the left-hand stairs, leads to a Boomshot and a OneShot. Leave each of these weapons in place for now, and advance along the right-hand path, past the Stranded living quarters, to the front gate.
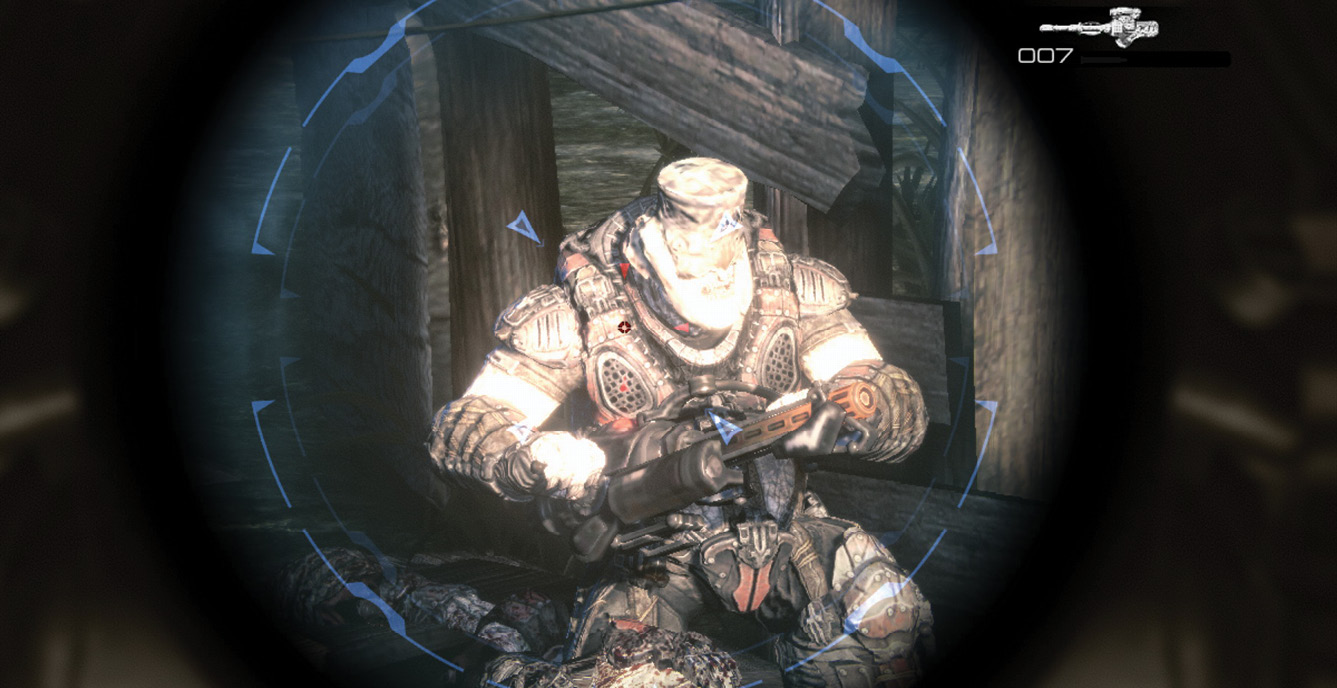
Immediately equip the OneShot above the center of the gate. Take cover or carry it toward the left-hand Troika (as viewed facing out from the fort). The rest of the squad is busy fending off a ceaseless wave of Savage Grenadiers, but they’re not your concern unless you’re playing Arcade mode. Wait for the Reavers to appear, take cover behind one of the vertical beams for protection, and use the OneShot to take them out.
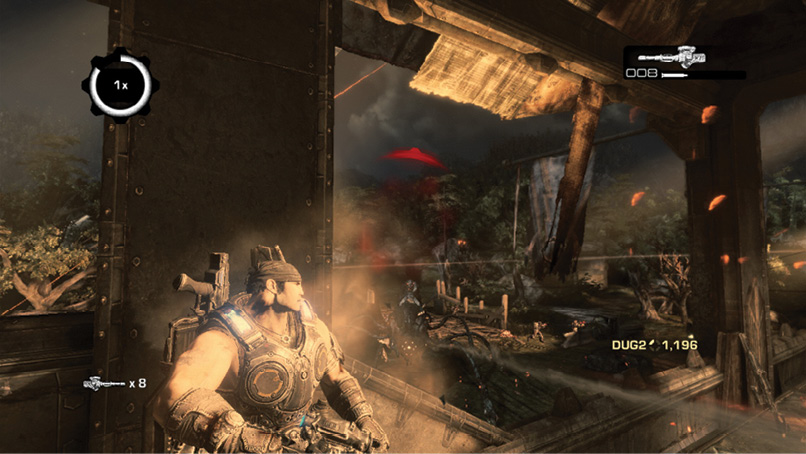
Continue to use the OneShot on the Reavers. Then switch back to the Lancer to mow down some of the Grenadiers. Listen for the call that Grinders are on the way, and pick up the OneShot again. Use it against the Grinders and any remaining Grenadiers that appear. Look for opportunities to get two-for-one OneShot kills on the Grinders as they march across the bridge straight ahead.
Continue defending the fort until the Siege Beast arrives. Don’t bother fighting it, as it will destroy the front gate, forcing you and the rest of Delta Squad to retreat to the second gate. However, the explosion from the Siege Beast’s fiery cannonball does rip a hole in the walkway above the gate.
 Defend the Second Gate
|
 CO-OP TACTIC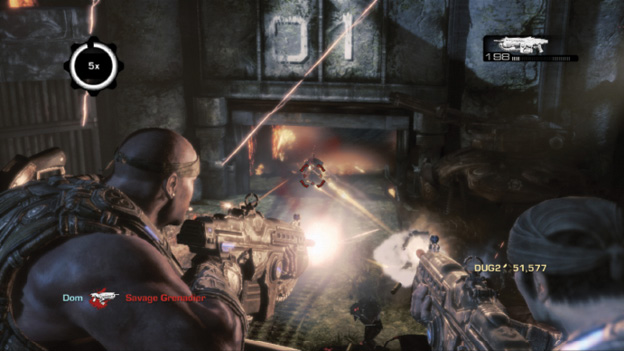
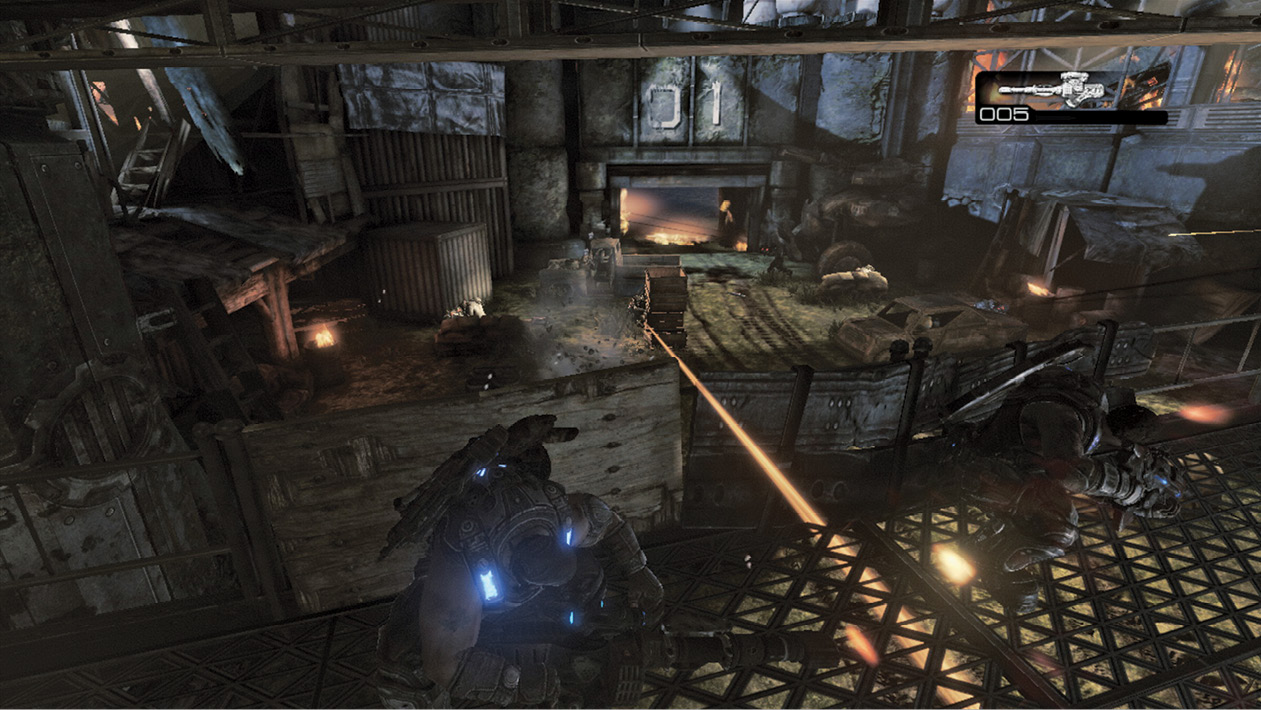
Carry the OneShot onto the catwalk but hold off using it for now. Instead, use the Lancer against the Grenadiers that first slip through the breach. Detonate the cars for a quick multi-kill when the Grenadiers and Bloodmounts pass near them. The Grenadiers enter first, along with several Bloodmounts and Beast Riders, but the Maulers and Grinders are your biggest concern.
Listen for someone to shout that Maulers are approaching, and pick up the OneShot. They’ll likely enter the area in a column, and an Active-Reloaded OneShot can pierce most of them with a single shot. Use the initial shot on the first Boomer. Then Active Reload and go for the others. It’s best to be in the center of the catwalk to line up this special shot.
 Defend the Inner Courtyard
Fall back along the side wall. Reach the Troika in either corner above the third gate leading to the garage. This is where the COG make their last stand, as the third gate is all that stands between the Locust and full dominion over Anvil Gate. The initial Locust wave consists of grappling Savage Grenadiers and Maulers. Hold them off with the Troika and Lancer fire, but save any Boomshot ammo you have for the Boomers that arrive next.
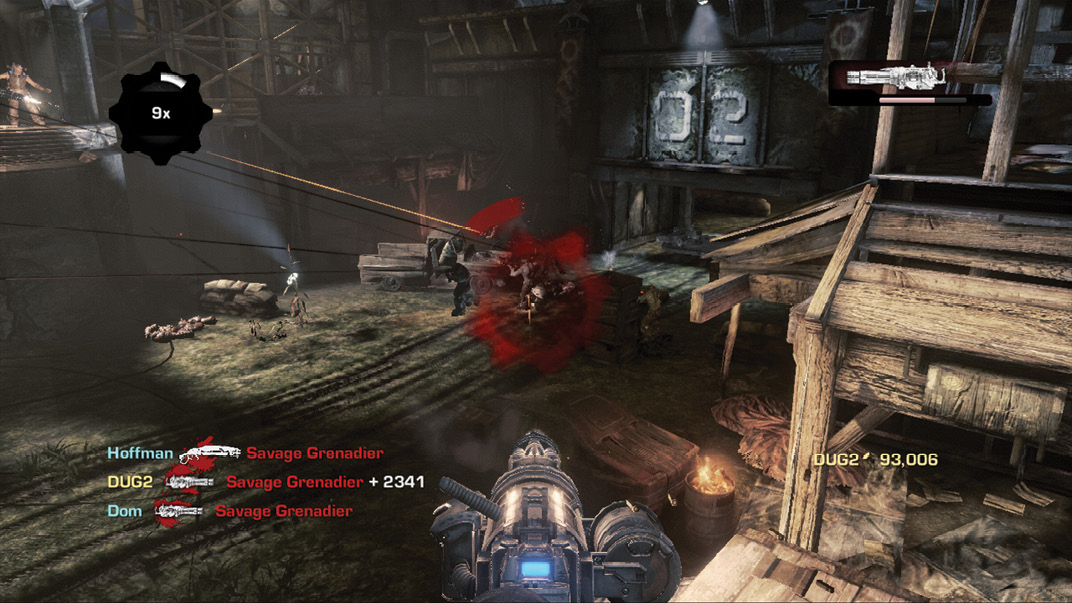
You have roughly thirty seconds to kill all 15 Boomers that march into the inner courtyard. After thirty seconds, any Boomers left standing blow open the garage door, creating an avenue for the Grenadiers to rush in. Once they’re inside the garage, the Grenadiers fan out and backtrack up the stairs, attempting to flank you from behind. Kill all the Boomers to achieve victory.
Beware that the Boomers aren’t so focused on the garage door that they refrain from attacking you up above. They don’t hesitate to fire their Boomshots at the Troikas. Given the Boomshot’s splash damage, this almost certainly downs you on all but the easiest difficulty setting. If you want to avoid being downed constantly, it’s best to stay off the Troika once the Boomers arrive. Employ hit-and-run tactics from the balcony instead. Use your Boomshot, then pepper them with Lancer fire, and then back away as soon as they turn in your direction. This is particularly important if you’re not on the same side of the fort as your squadmates.
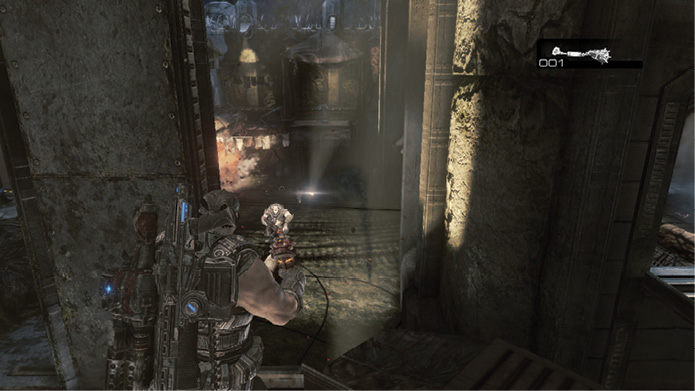
 Shoot the “Last Resort” Fuel Tank
All is not lost if the Boomers manage to rupture the final gate, but only because of Bernie’s quick thinking. She knows that Anvil Gate will fall if she doesn’t enact the plan of last resort. Watch for her to climb up above the second gate and push the reserve fuel tank down onto the ground, just inside the courtyard. Detonating this tank and collapsing the second gate down atop the courtyard is the only option for ending the Locust assault. Open fire on the fuel tank to detonate it and end the invasion once and for all.